Hello! Again, my rate of refashions has taken a toll because of the wedding planning and dress sewing BUT! It’s over (sad face) but it was literally a perfect wedding (happy face). I still plan on doing a post on making the wedding dress (even though it wasn’t a refashion)
But TODAY we are going to finish the dress to bag-things series that I seem to have started with a clutch made from the rest of the dress! Now I have a complete matching set, it’s pretty swell 

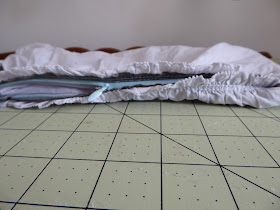
I took the leftover white part from the bottom of the dress and made this little clutch. I liked the ruffled gathered part from where I trimmed it off, so I kept that free when sewing the zipper in. This project is SUPER easy and can be done with any fabric scraps and a zipper!
What you need is:
- 7 in zipper
- 2 pieces of lining fabric cut to 10in x 7in
- 2 pieces of outer fabric cut to 10in x 7in
- A strap piece however long and wide you want it. Remember it will be folded in half lengthwise and in 3rd or 4ths width wise.
Holy cool vintage zipper! A while back I received a bunch of my grandmother’s old sewing supplies and this came with it. SO COOL! Unfortunately, it’s a little hard to zip haha
Anyways, back to the clutch. Now that I have both sides sewn onto the zipper, I’m done with all the hard stuff. Next, let’s make the strap. To do this, I took my strap piece and folded it in thirds. Normally you wouldn’t do this as it leaves a raw edge showing, however I had one finished edge that I thought was pretty and complimented my ruffled edge, so I just folded it in thirds and kept le edge.
Once I sewed the strap using a straight stitch close to the left side fold and finished edge, i folded it in half long ways, awaiting it’s placement into the clutch itself.
At this point, I just constructed the clutch like any other easy zipper pouch - photo story below! To read the whole refashion, visit my blog at recreatables.com :-D
I hope you enjoyed this! Now time to go out with my new set!


2 comments:
Thank you for this detailed post. It is great to see the stages of your bag making.
Debbie EOD
Very pretty, I love it.
Chickie
Post a Comment
Please contact the editor on duty if you have problems posting comments.