
I know Halloween is over but it took me a while to finish this tutu. It took me 3 runs to the craft store for black tulle!
Anyway. Here is my Halloween themed tutu!
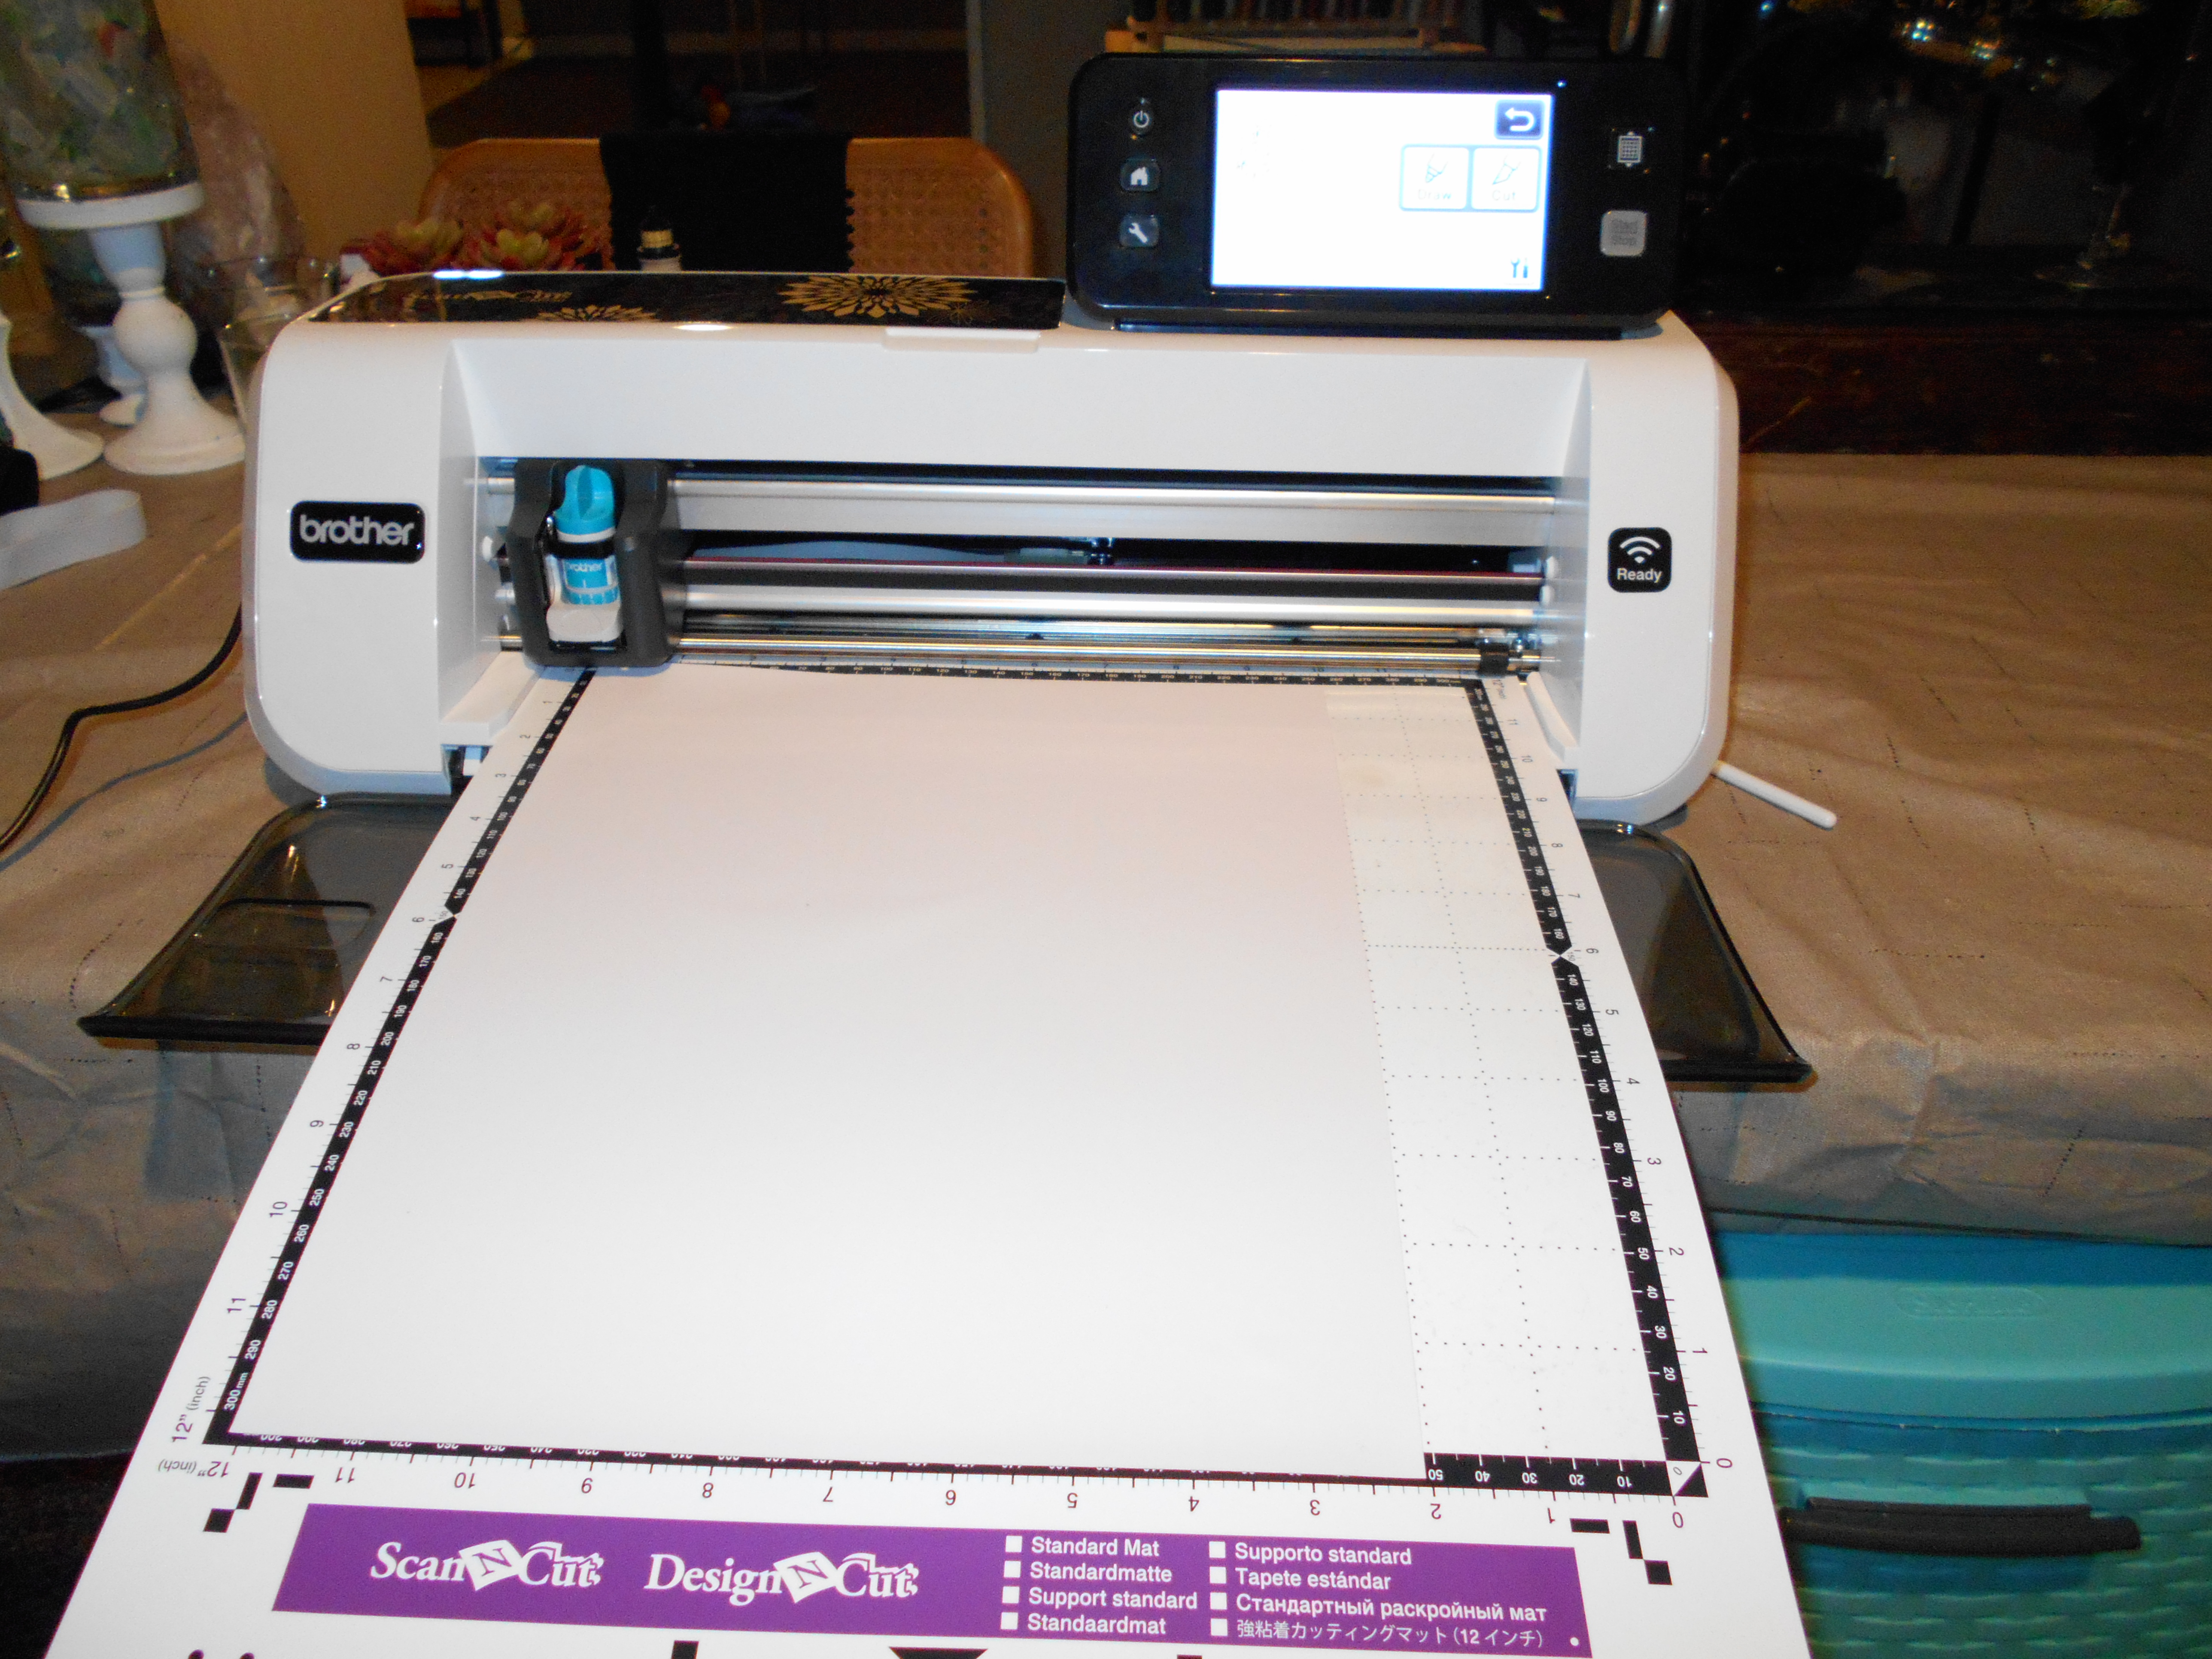
1 st I set up my Brother Scan N Cut and printed out a Happy Halloween text. Scanned it into my Scan N Cut. Made a file and then cut it out using orange heat transfer vinyl.
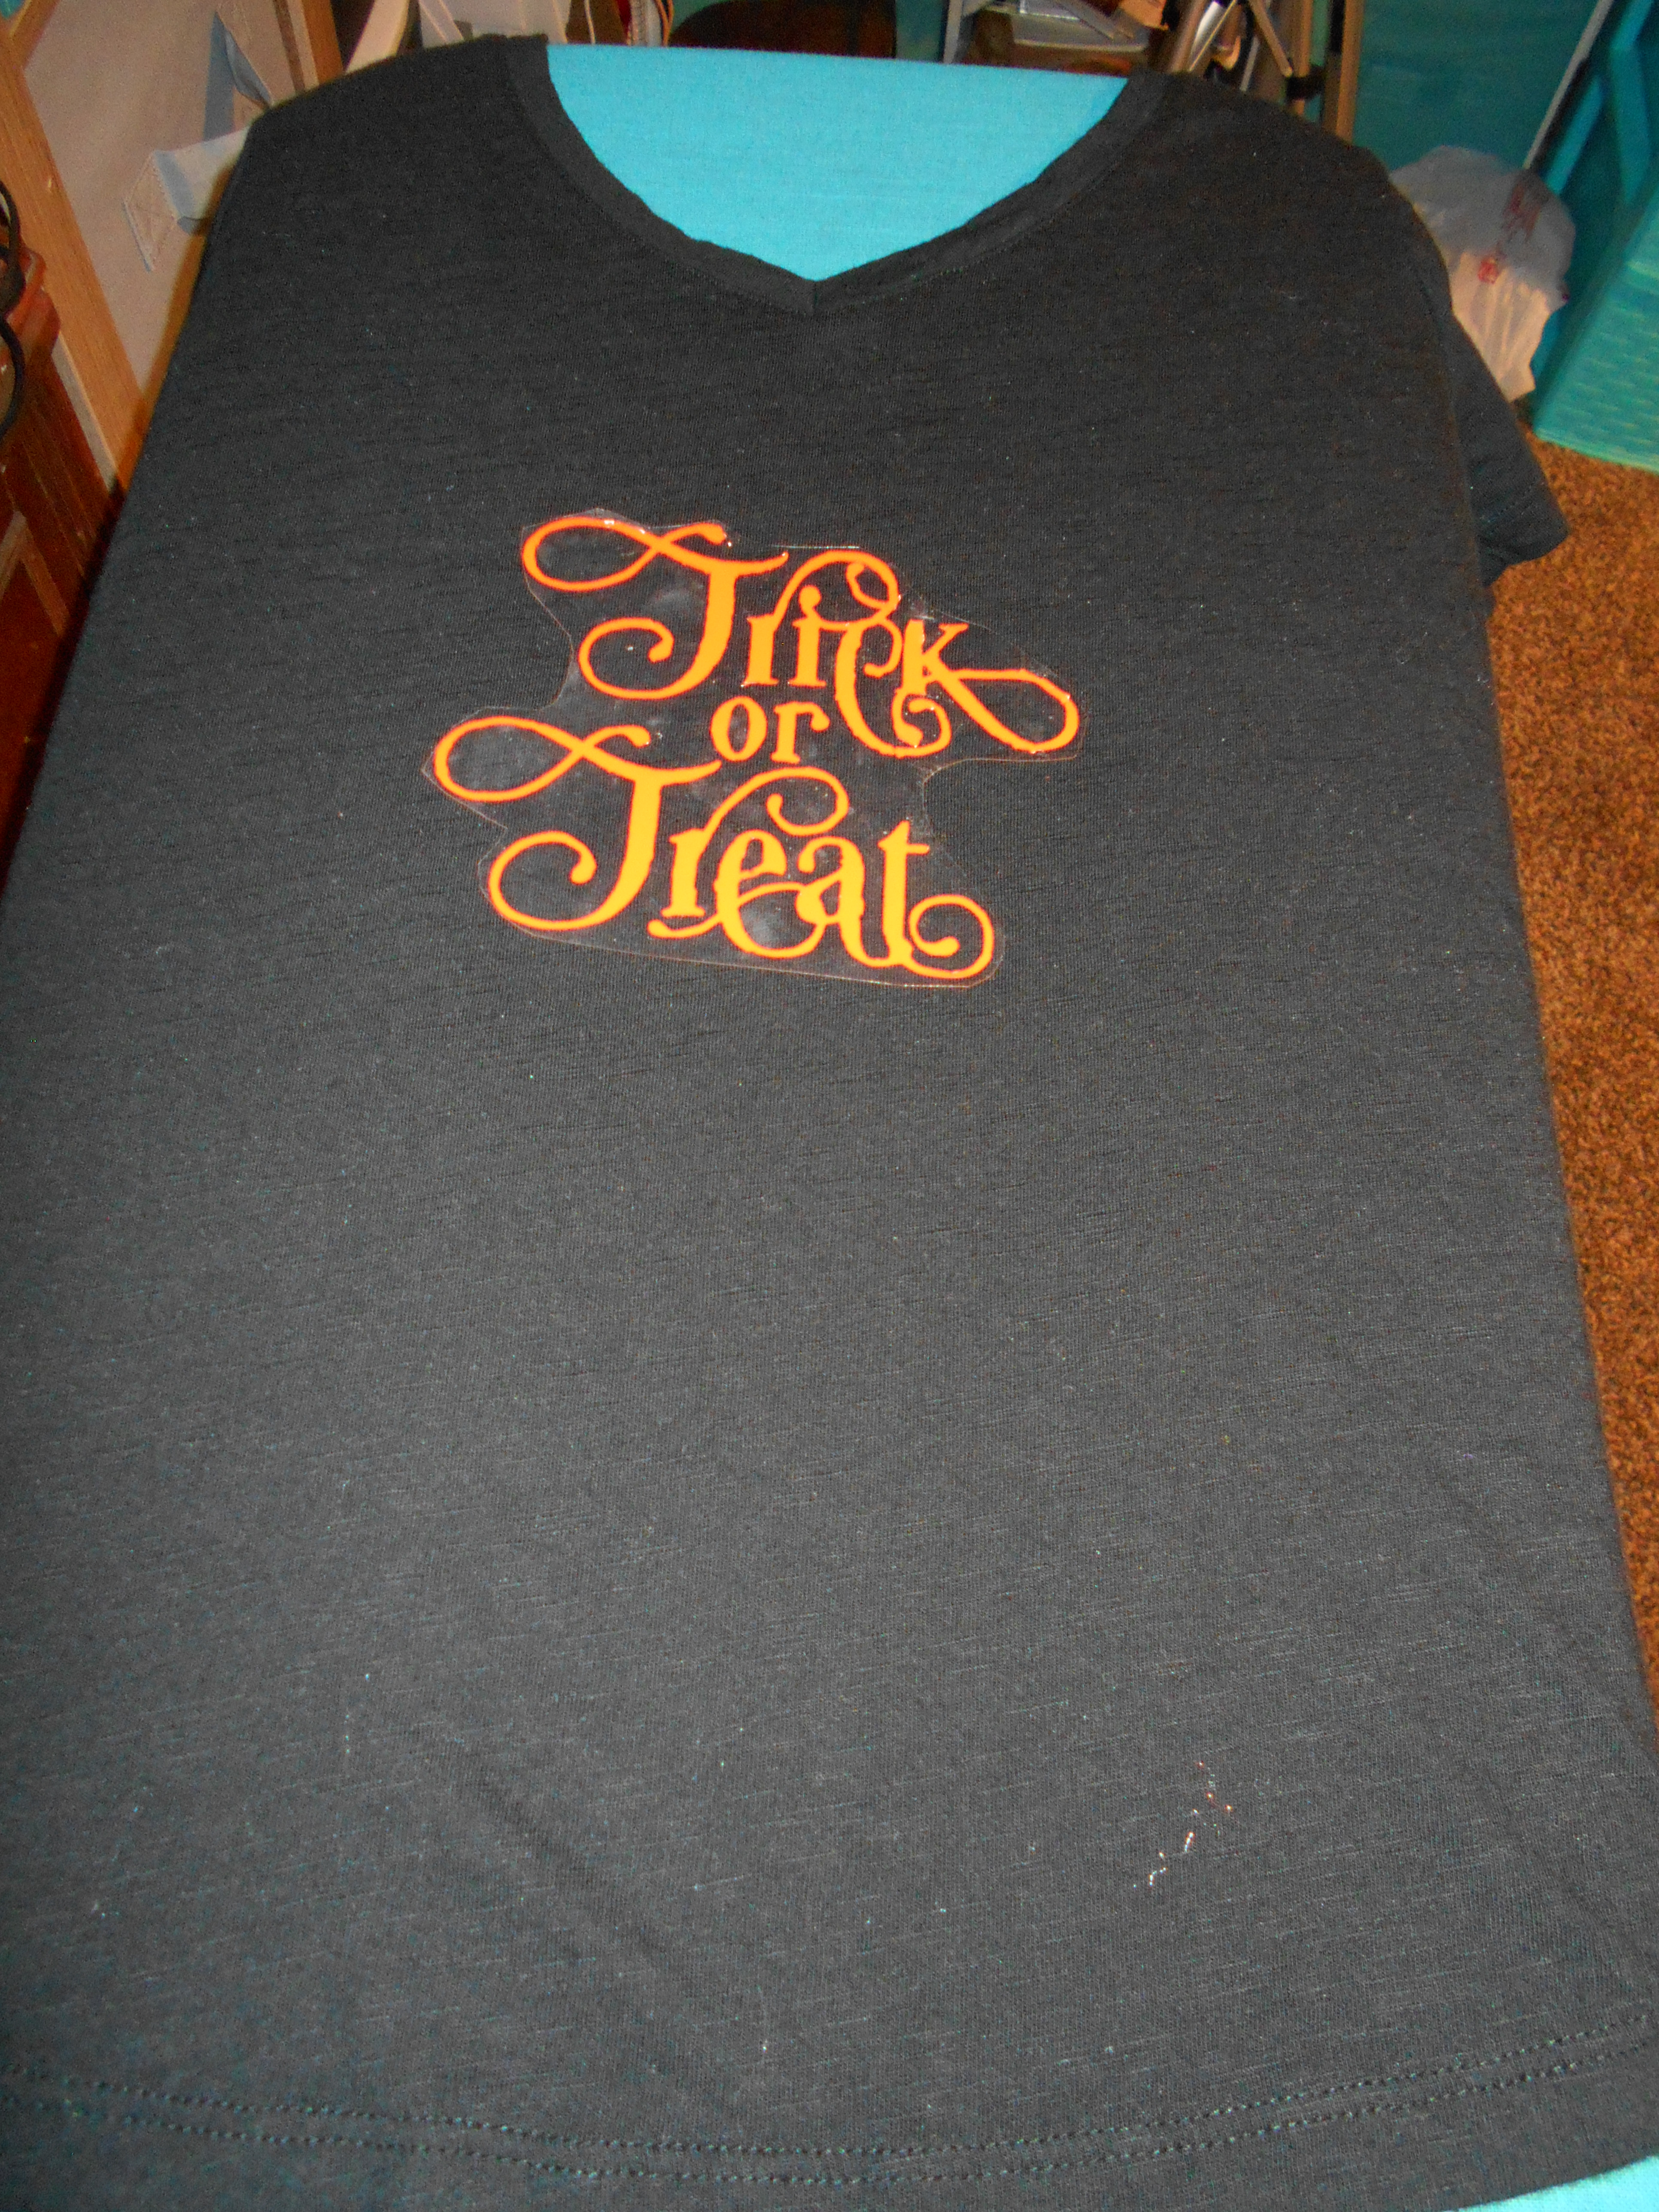
After weeding the vinyl I always like to trim the clear transfer as close to my design as possible before ironing. I keep a thin towel nearby to place over my design before ironing. You don't want to melt the vinyl, just adhere it to the fabric!
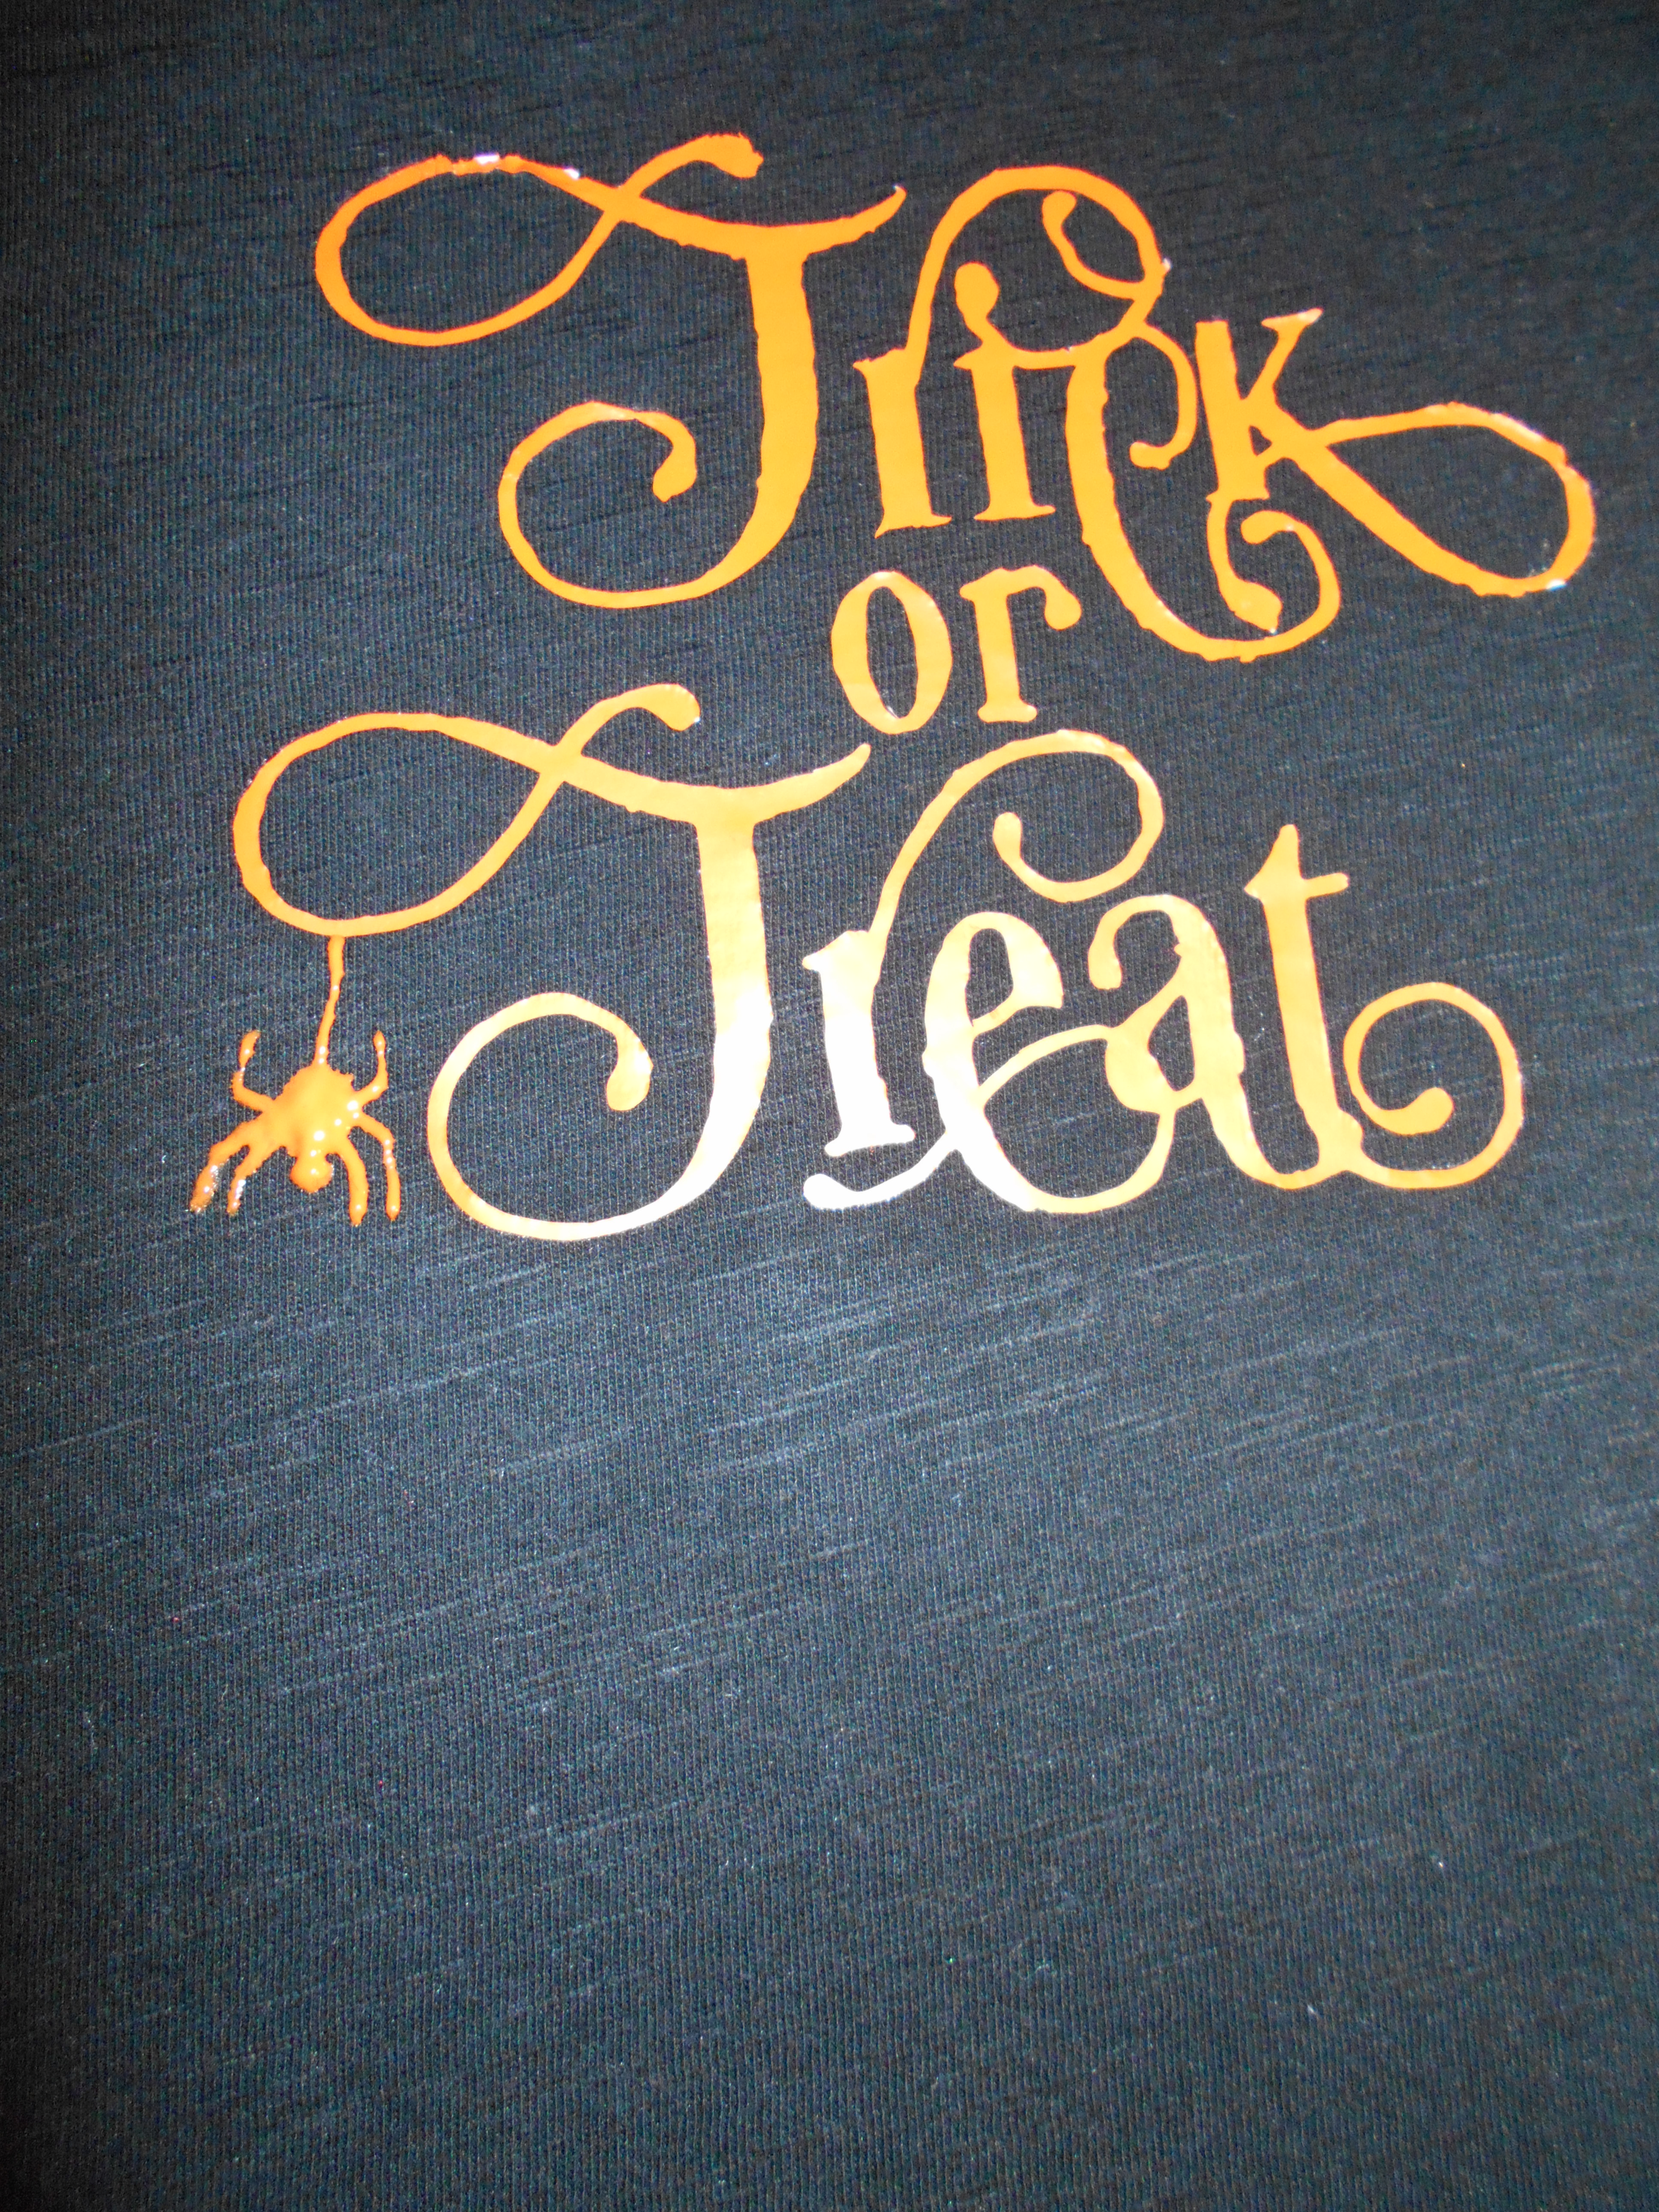
I even drew a little spider using fabric paint!
Okay, now that my shirt is complete I am ready for my tutu!
1st I grabbed some 1/2 inch black elastic, measured around my waist and then stitched the ends together to make a waist band.
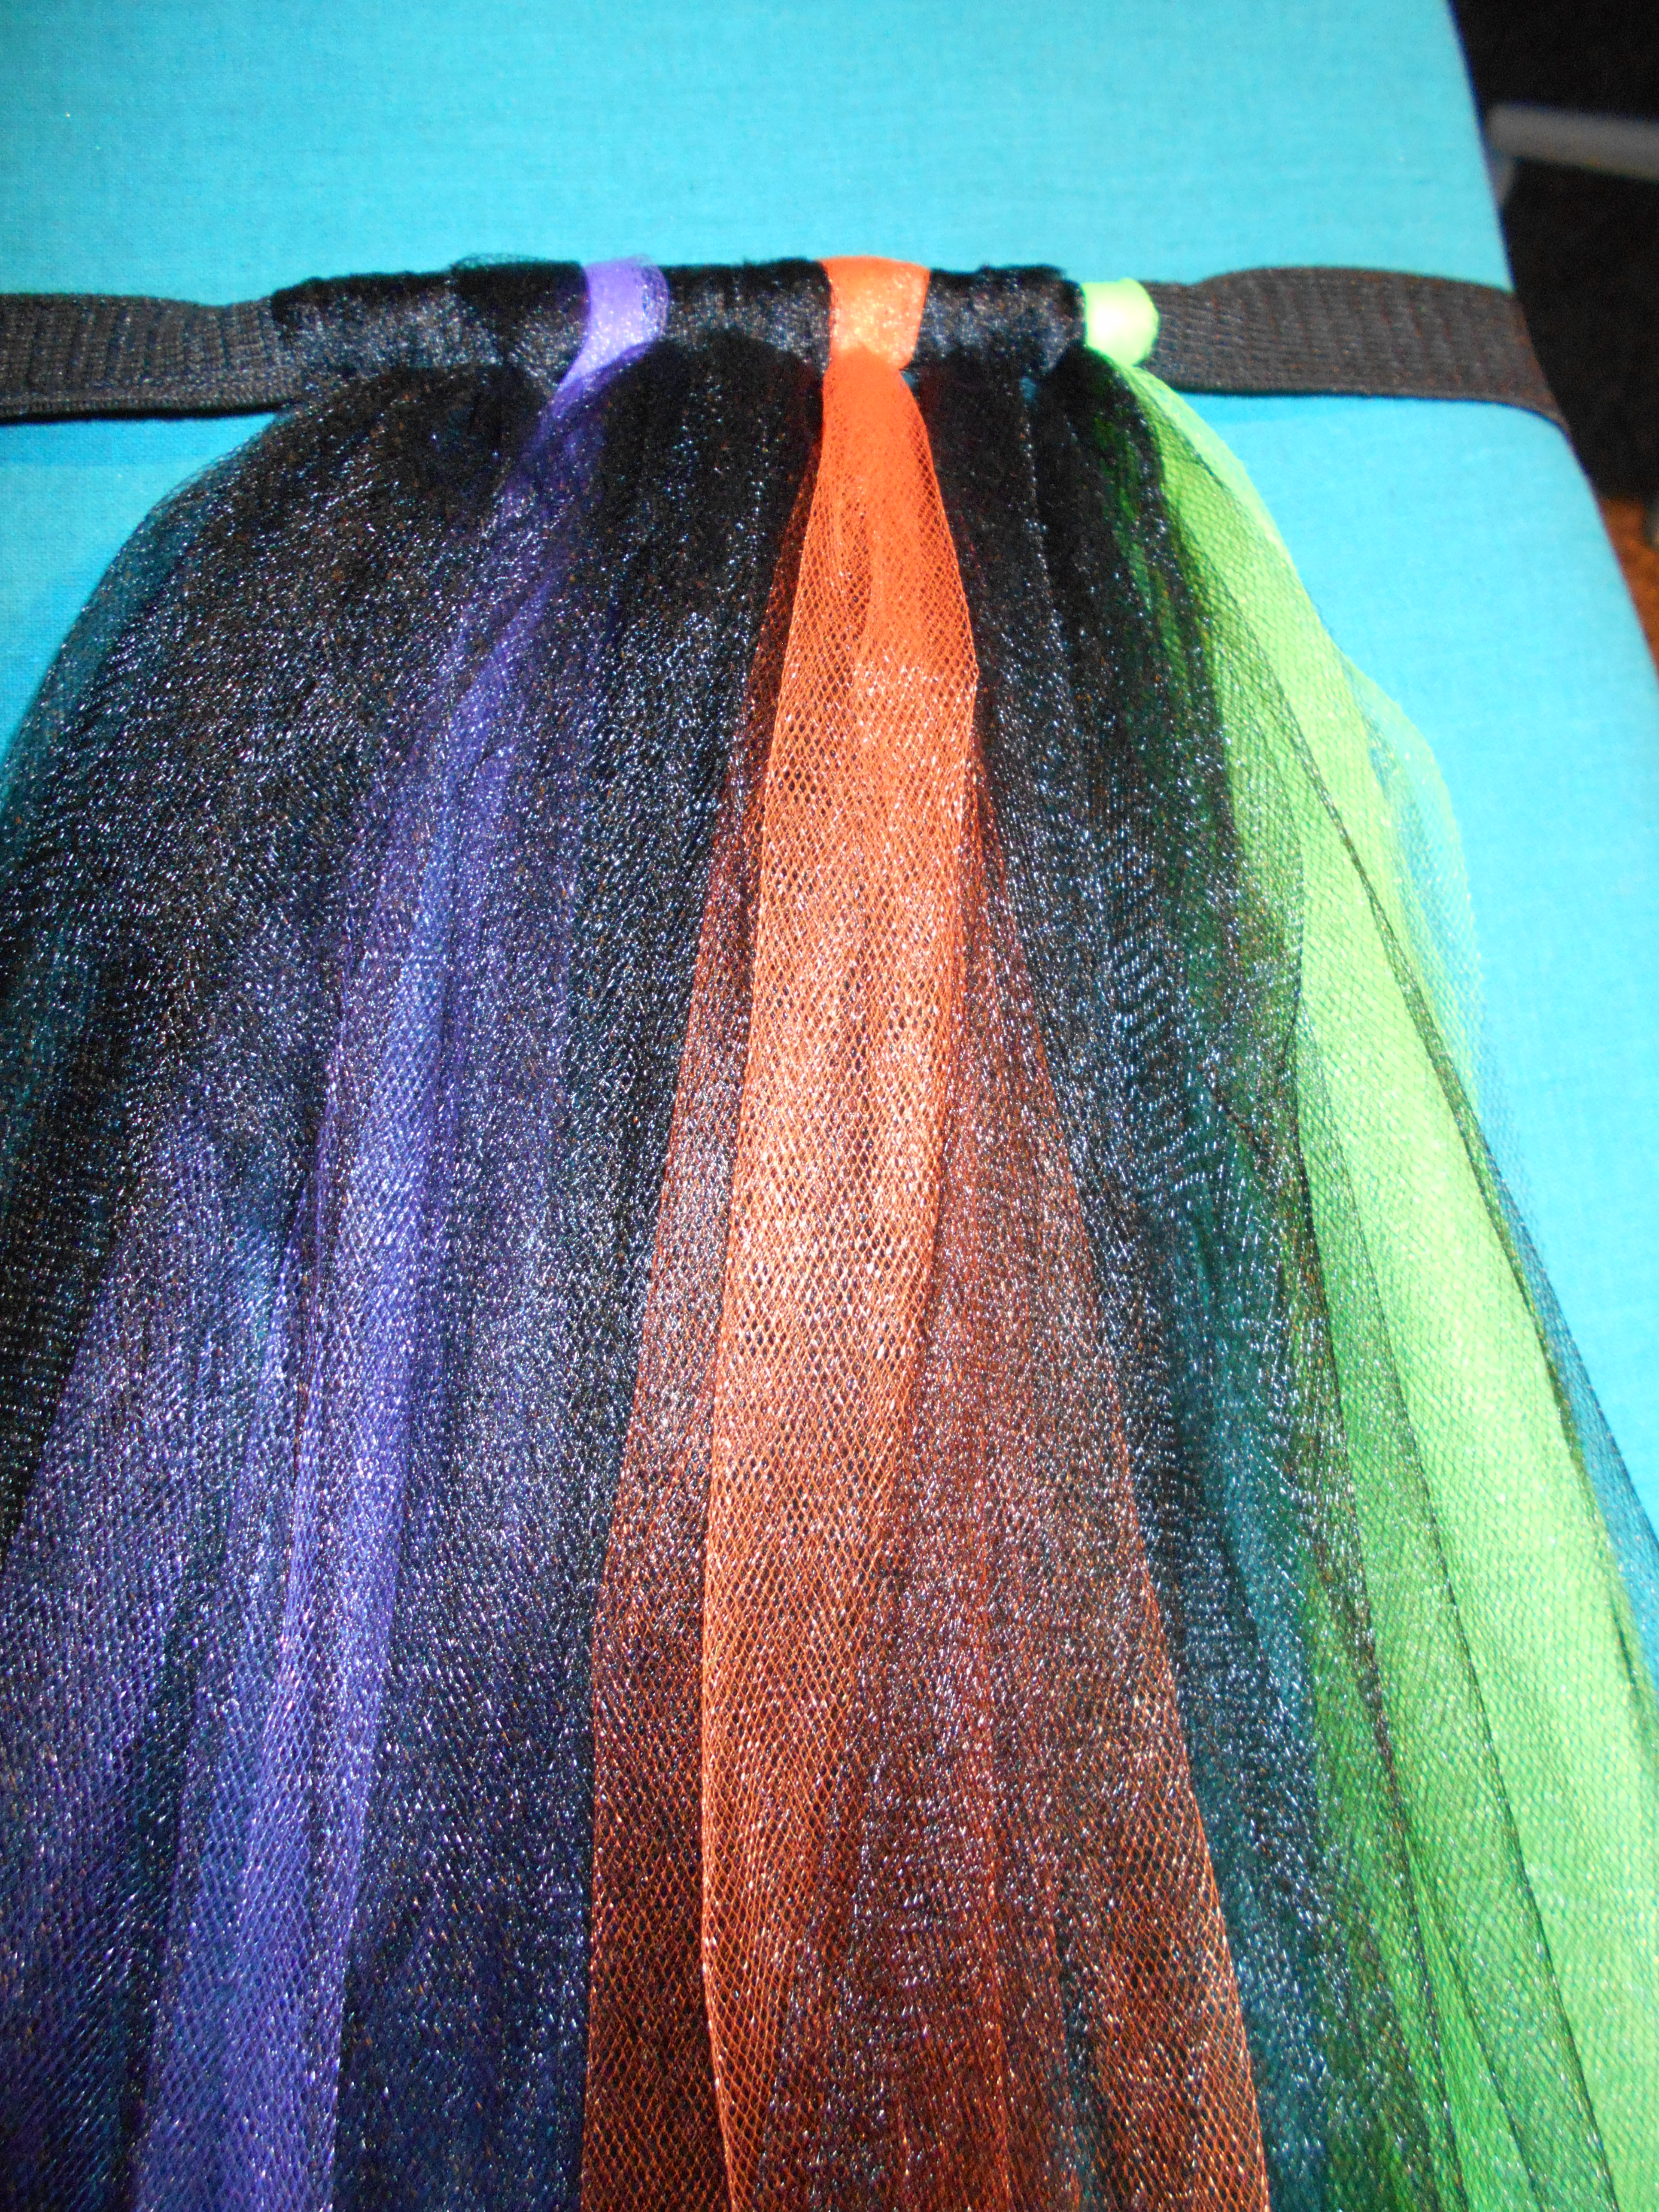
I purchased 4 spools of tulle 6 in. by 20 yard spool in black, purple, green and orange.
Later, I realized I needed 3 spools of just black to finish this tutu.
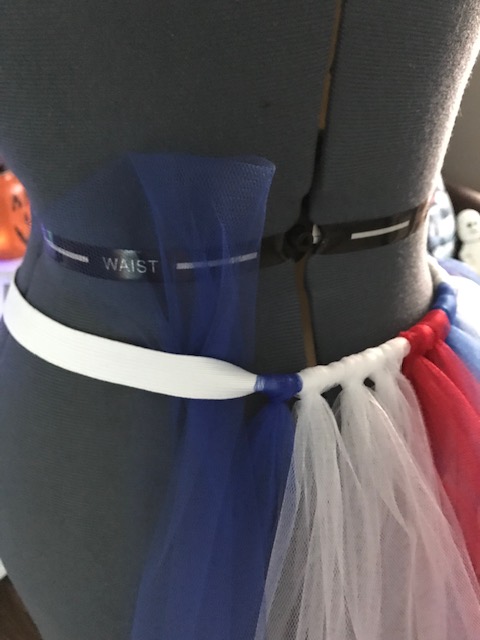
I placed the elastic waistband onto my dress form. (Don't have a dress form? Use a chair or cardboard box).
I cut the tulle in 36 inch pieces, which would make the length of the finished tutu to be 18 inches (Mid thigh for me and I'm 5'2"). It's best to cut all the tulle 1st.
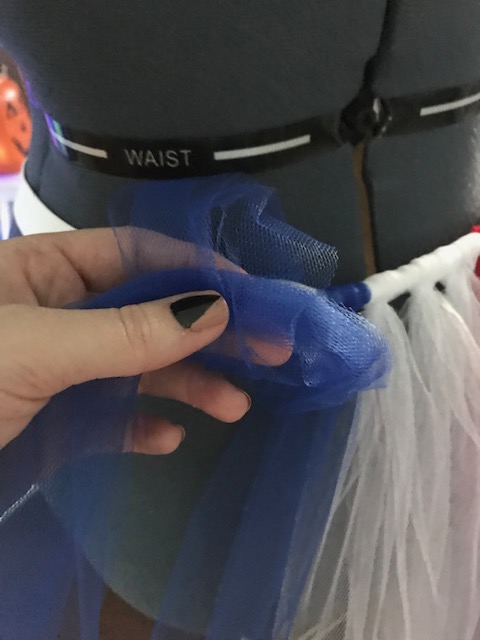
Then I folded 1 tulle pieces in half. Tucked that under the elastic waist band.
Took the ends of the tulle and pulled it through the loop at the top and pulled it tight!
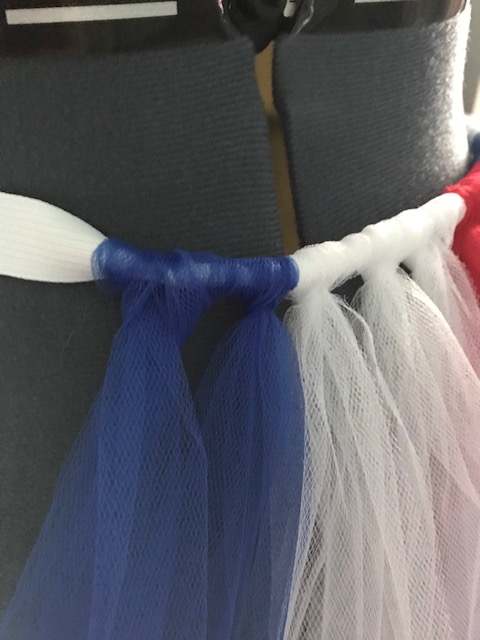
The pattern I used for this tutu was 3 black/1 purple, 3 black/1 orange, 3 black/1 green repeated this until the elastic was filled.

Happy Refashioning!!!
Check out my stash of refashions on my blog!
1 comment:
I love the tutu! Perfect for Halloween too.
Chickie
Post a Comment