Friday, August 31, 2018

Perfect Pajama Pants

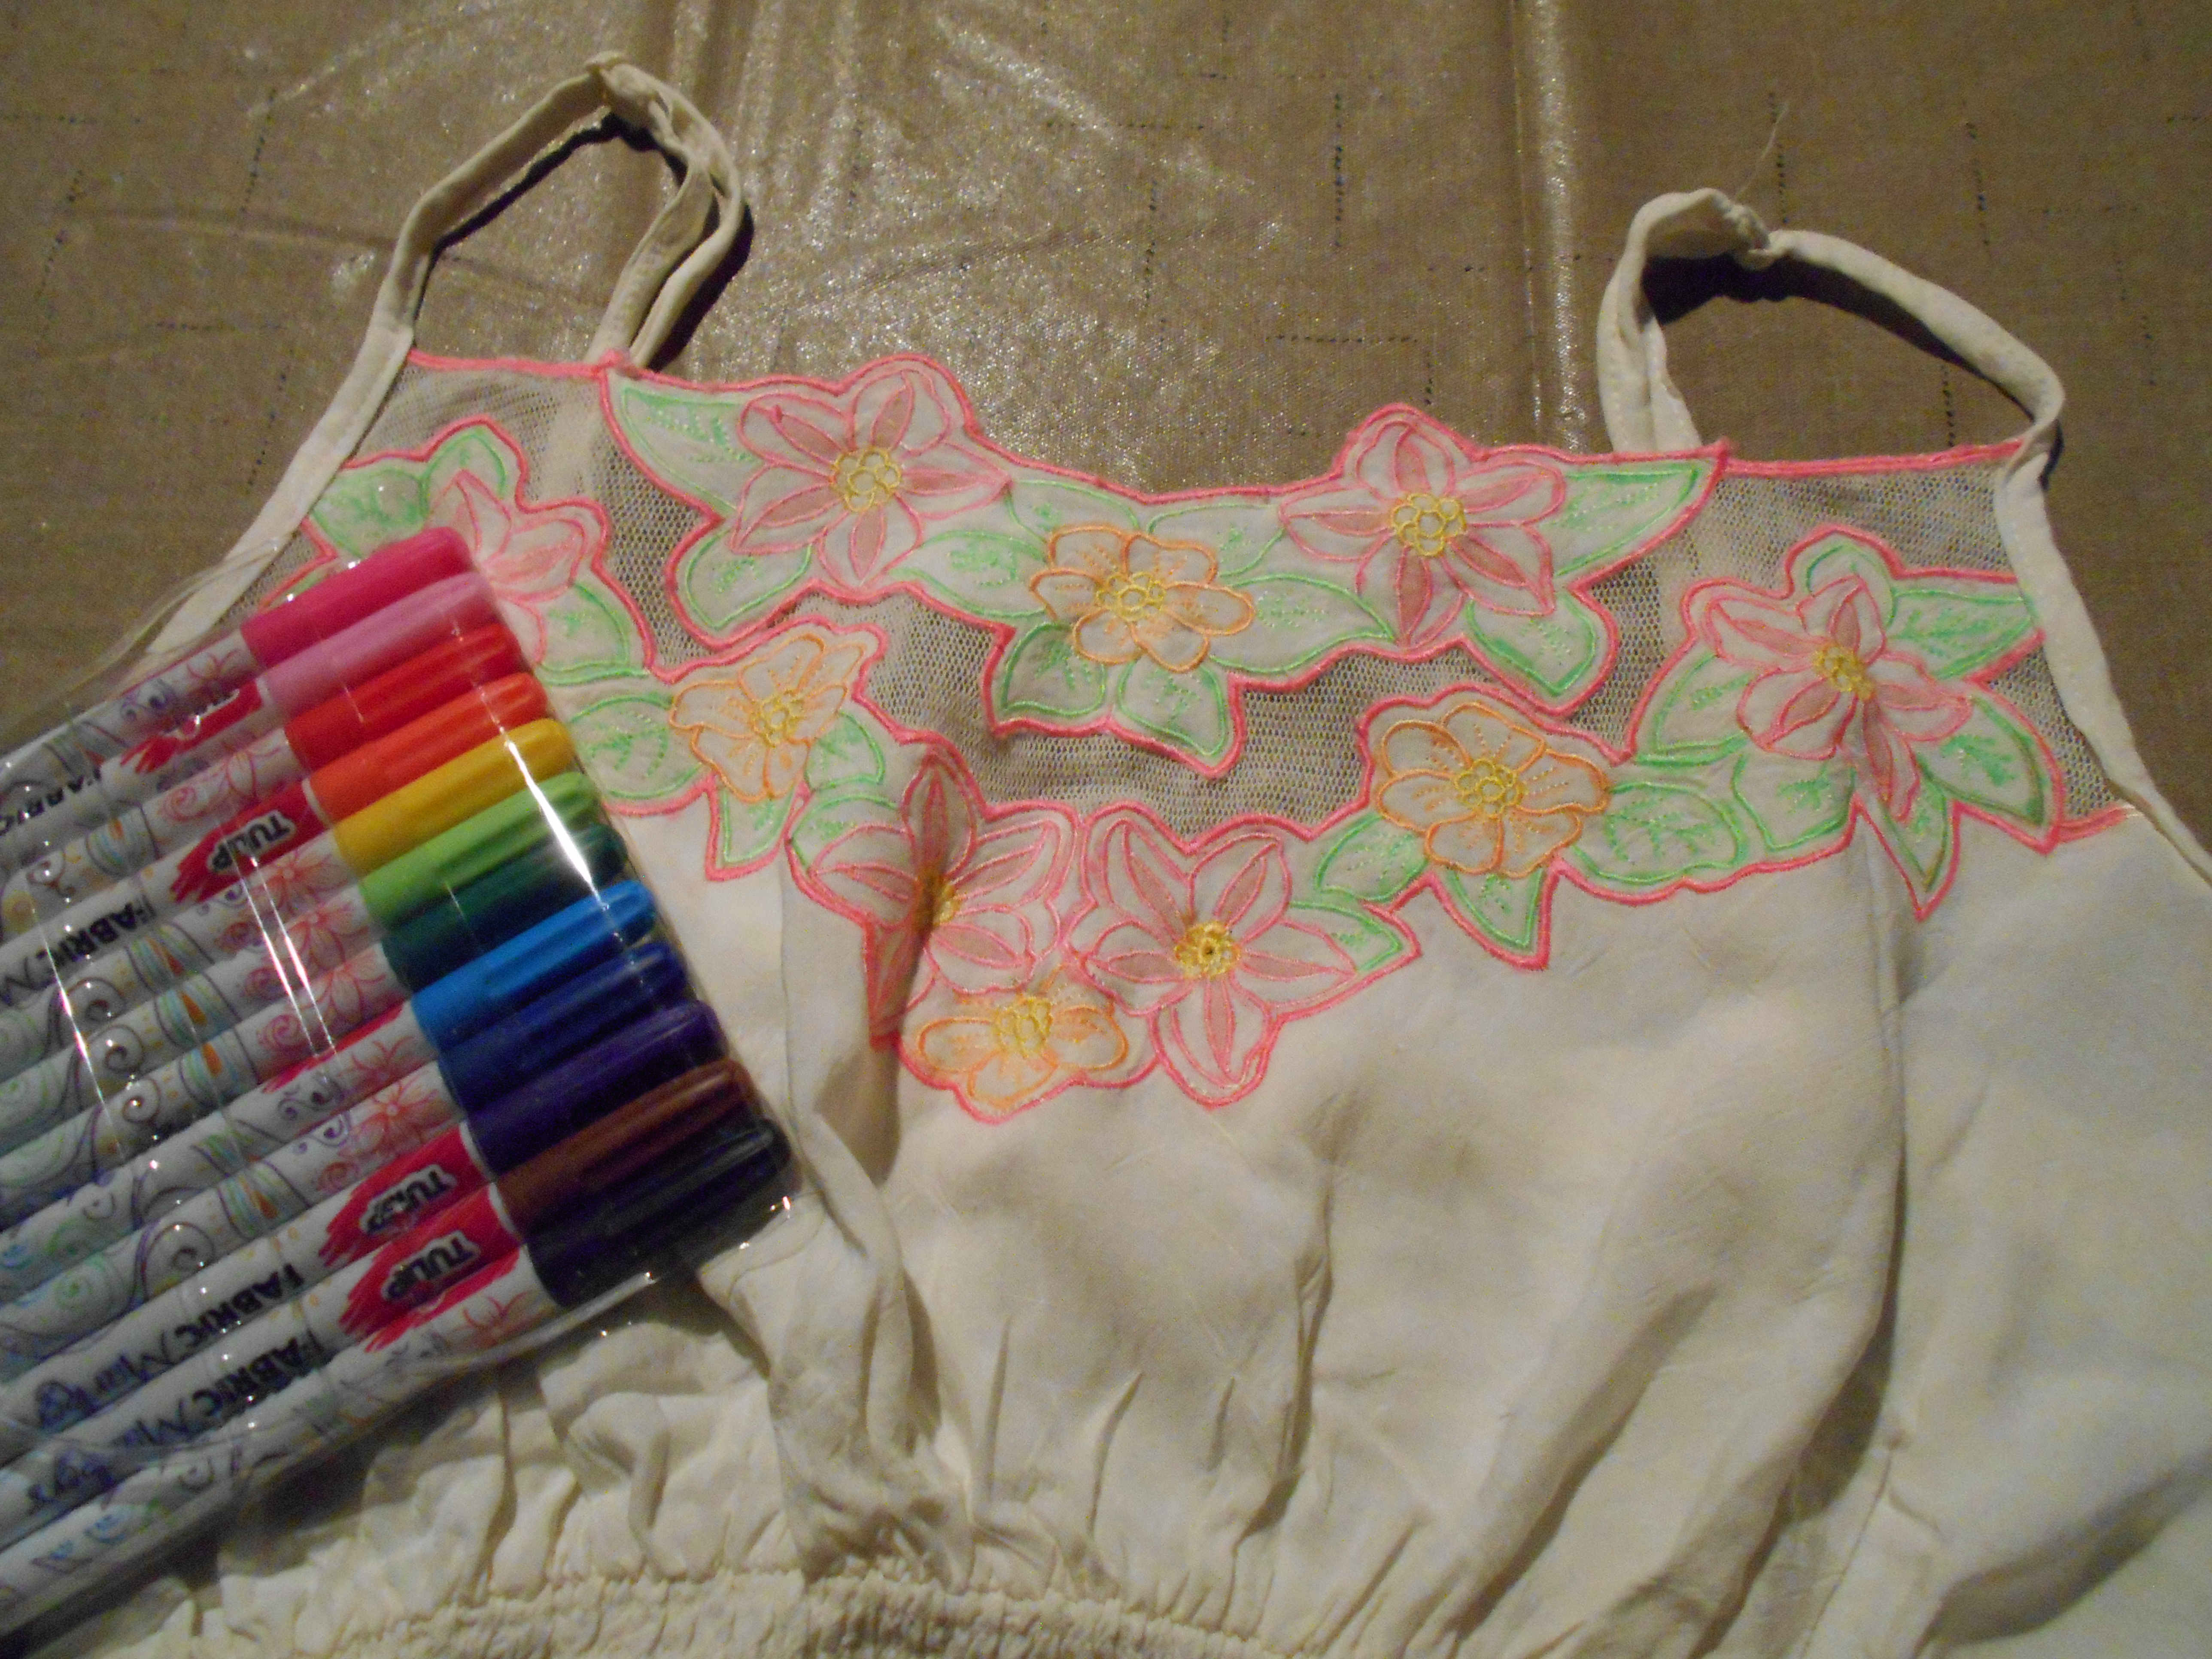
Hello Refashion Co-op. I had a big cotton dress that I didn't know what to do with. It had a really strong pattern to it. I decided to make some cozy pajama pants out of it.


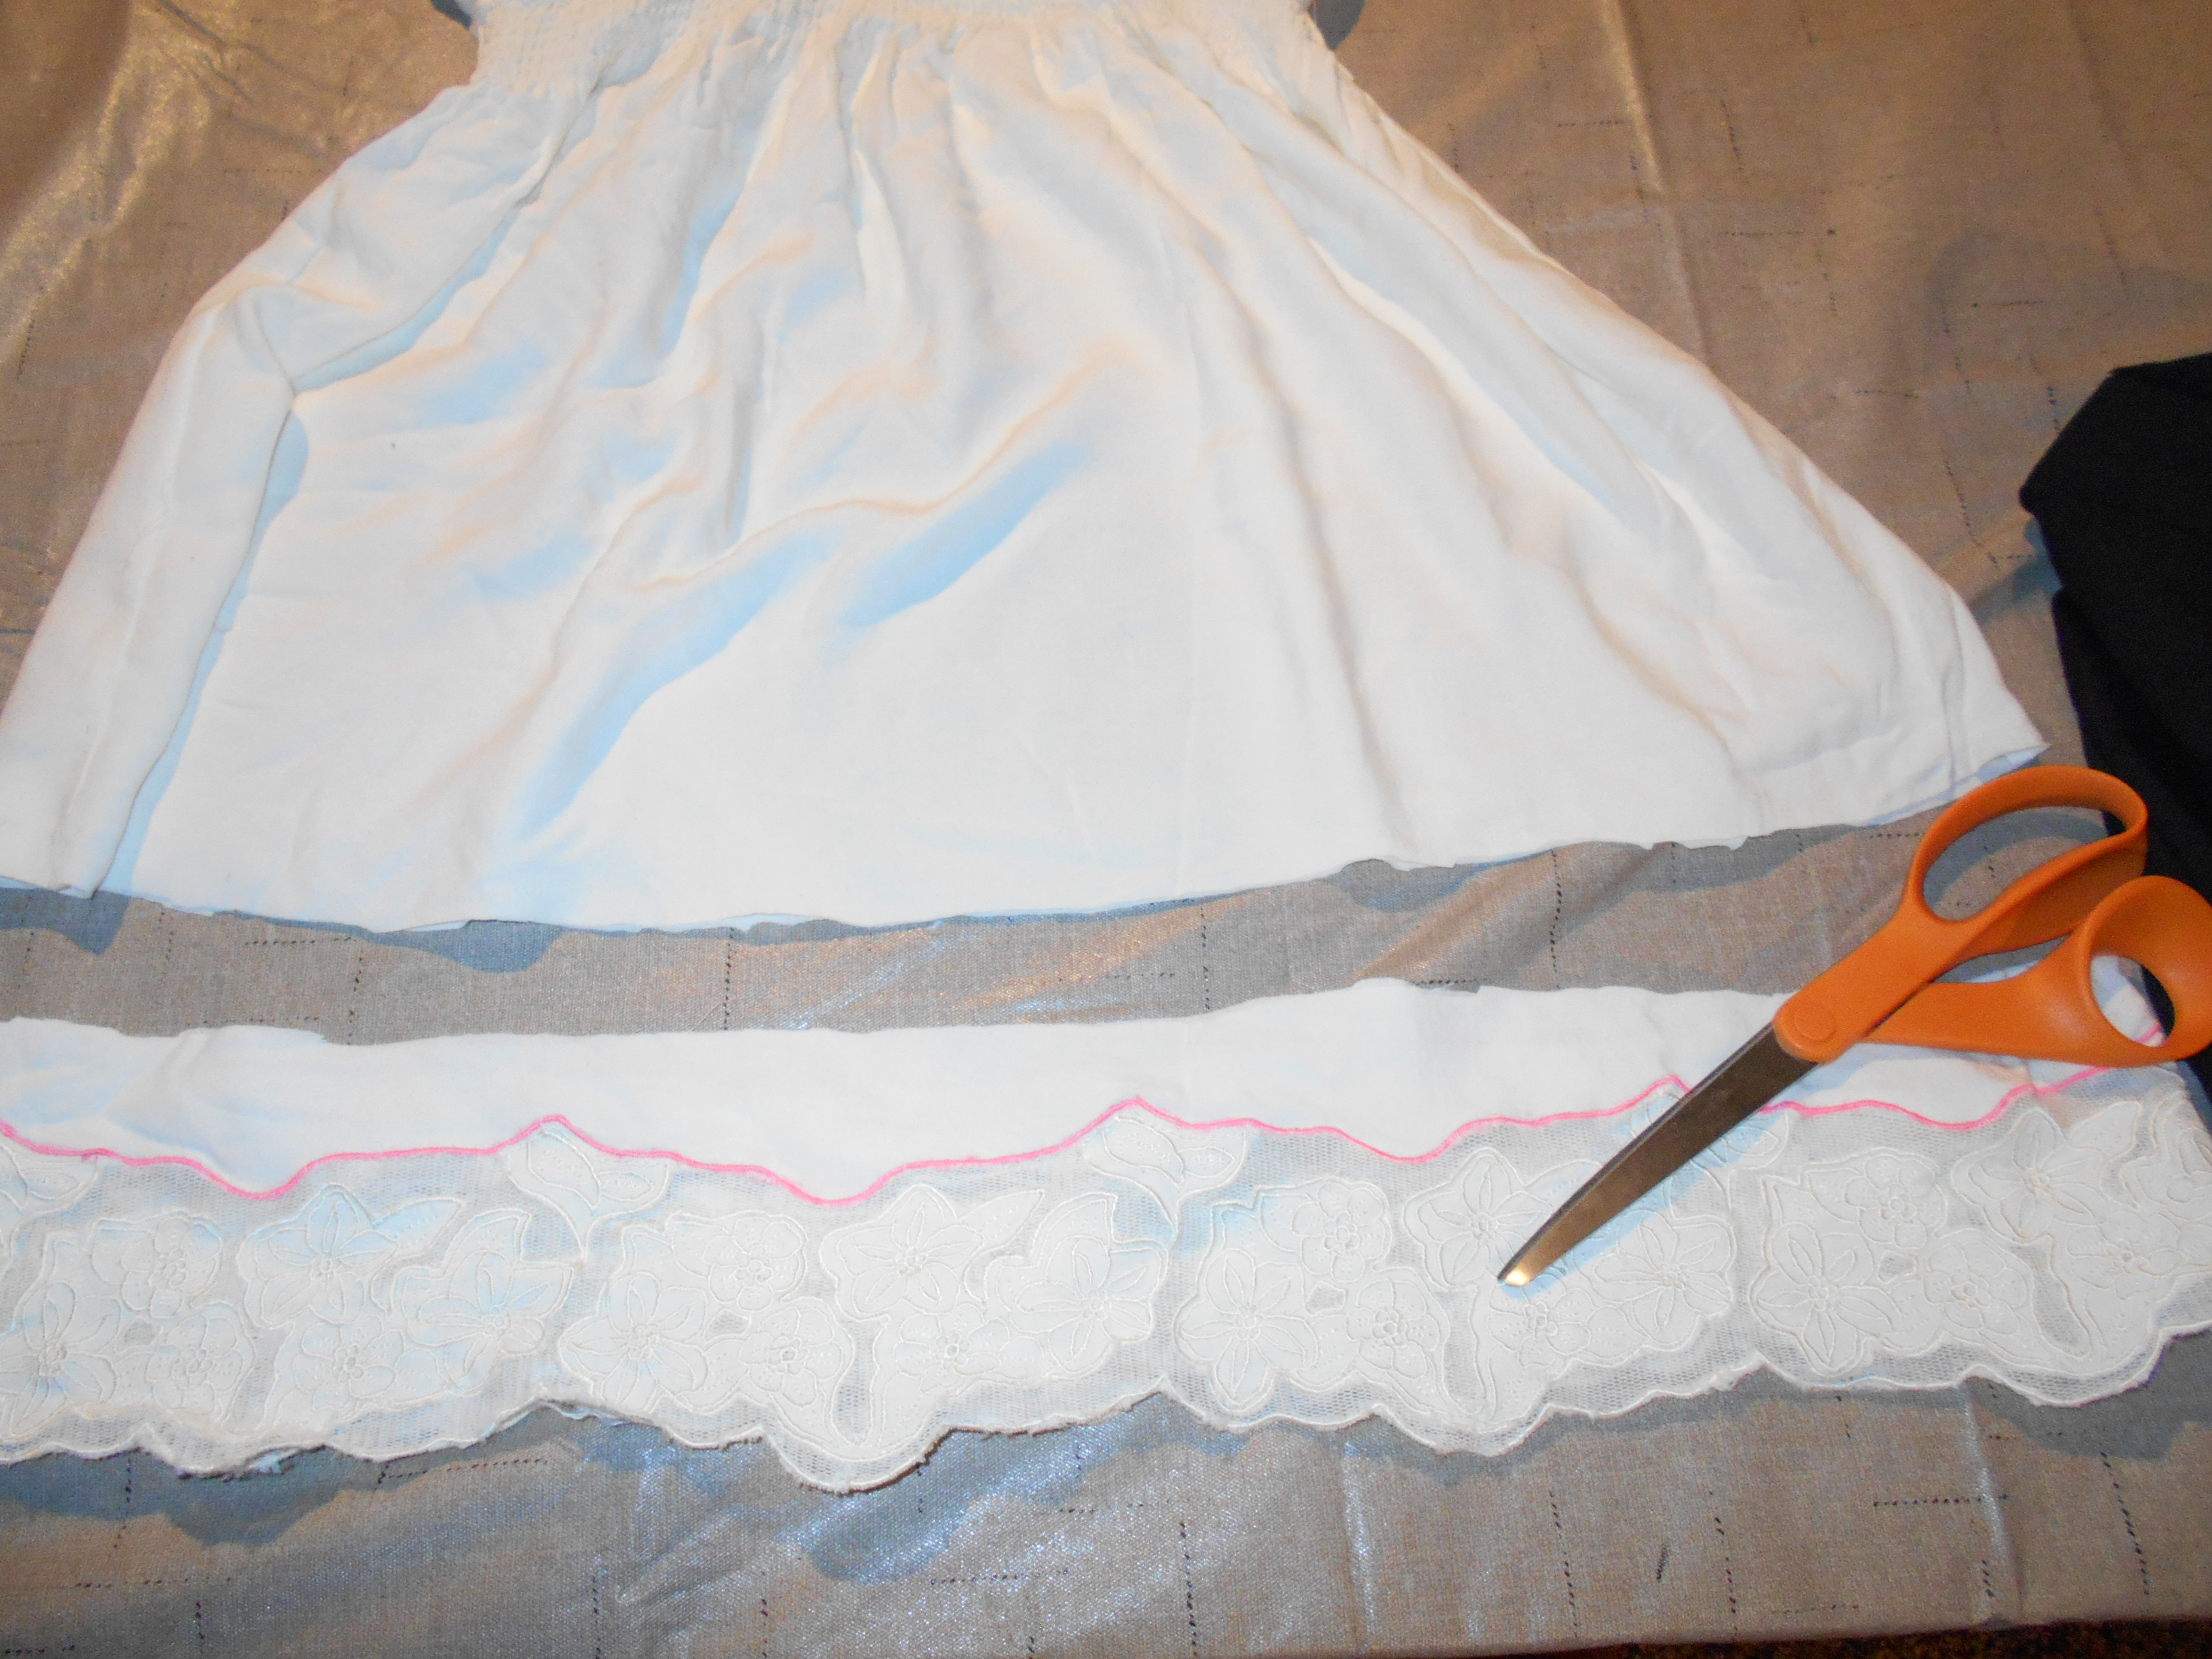
I used a pattern for boxer shorts because it was all I had. I placed the pattern on the dress at the height I needed to keep the side pockets at hip height in the pants. I wanted to save the pockets if I could. The length of the dress would determine how long the pants were. I just extended the pattern to the bottom of the dress.


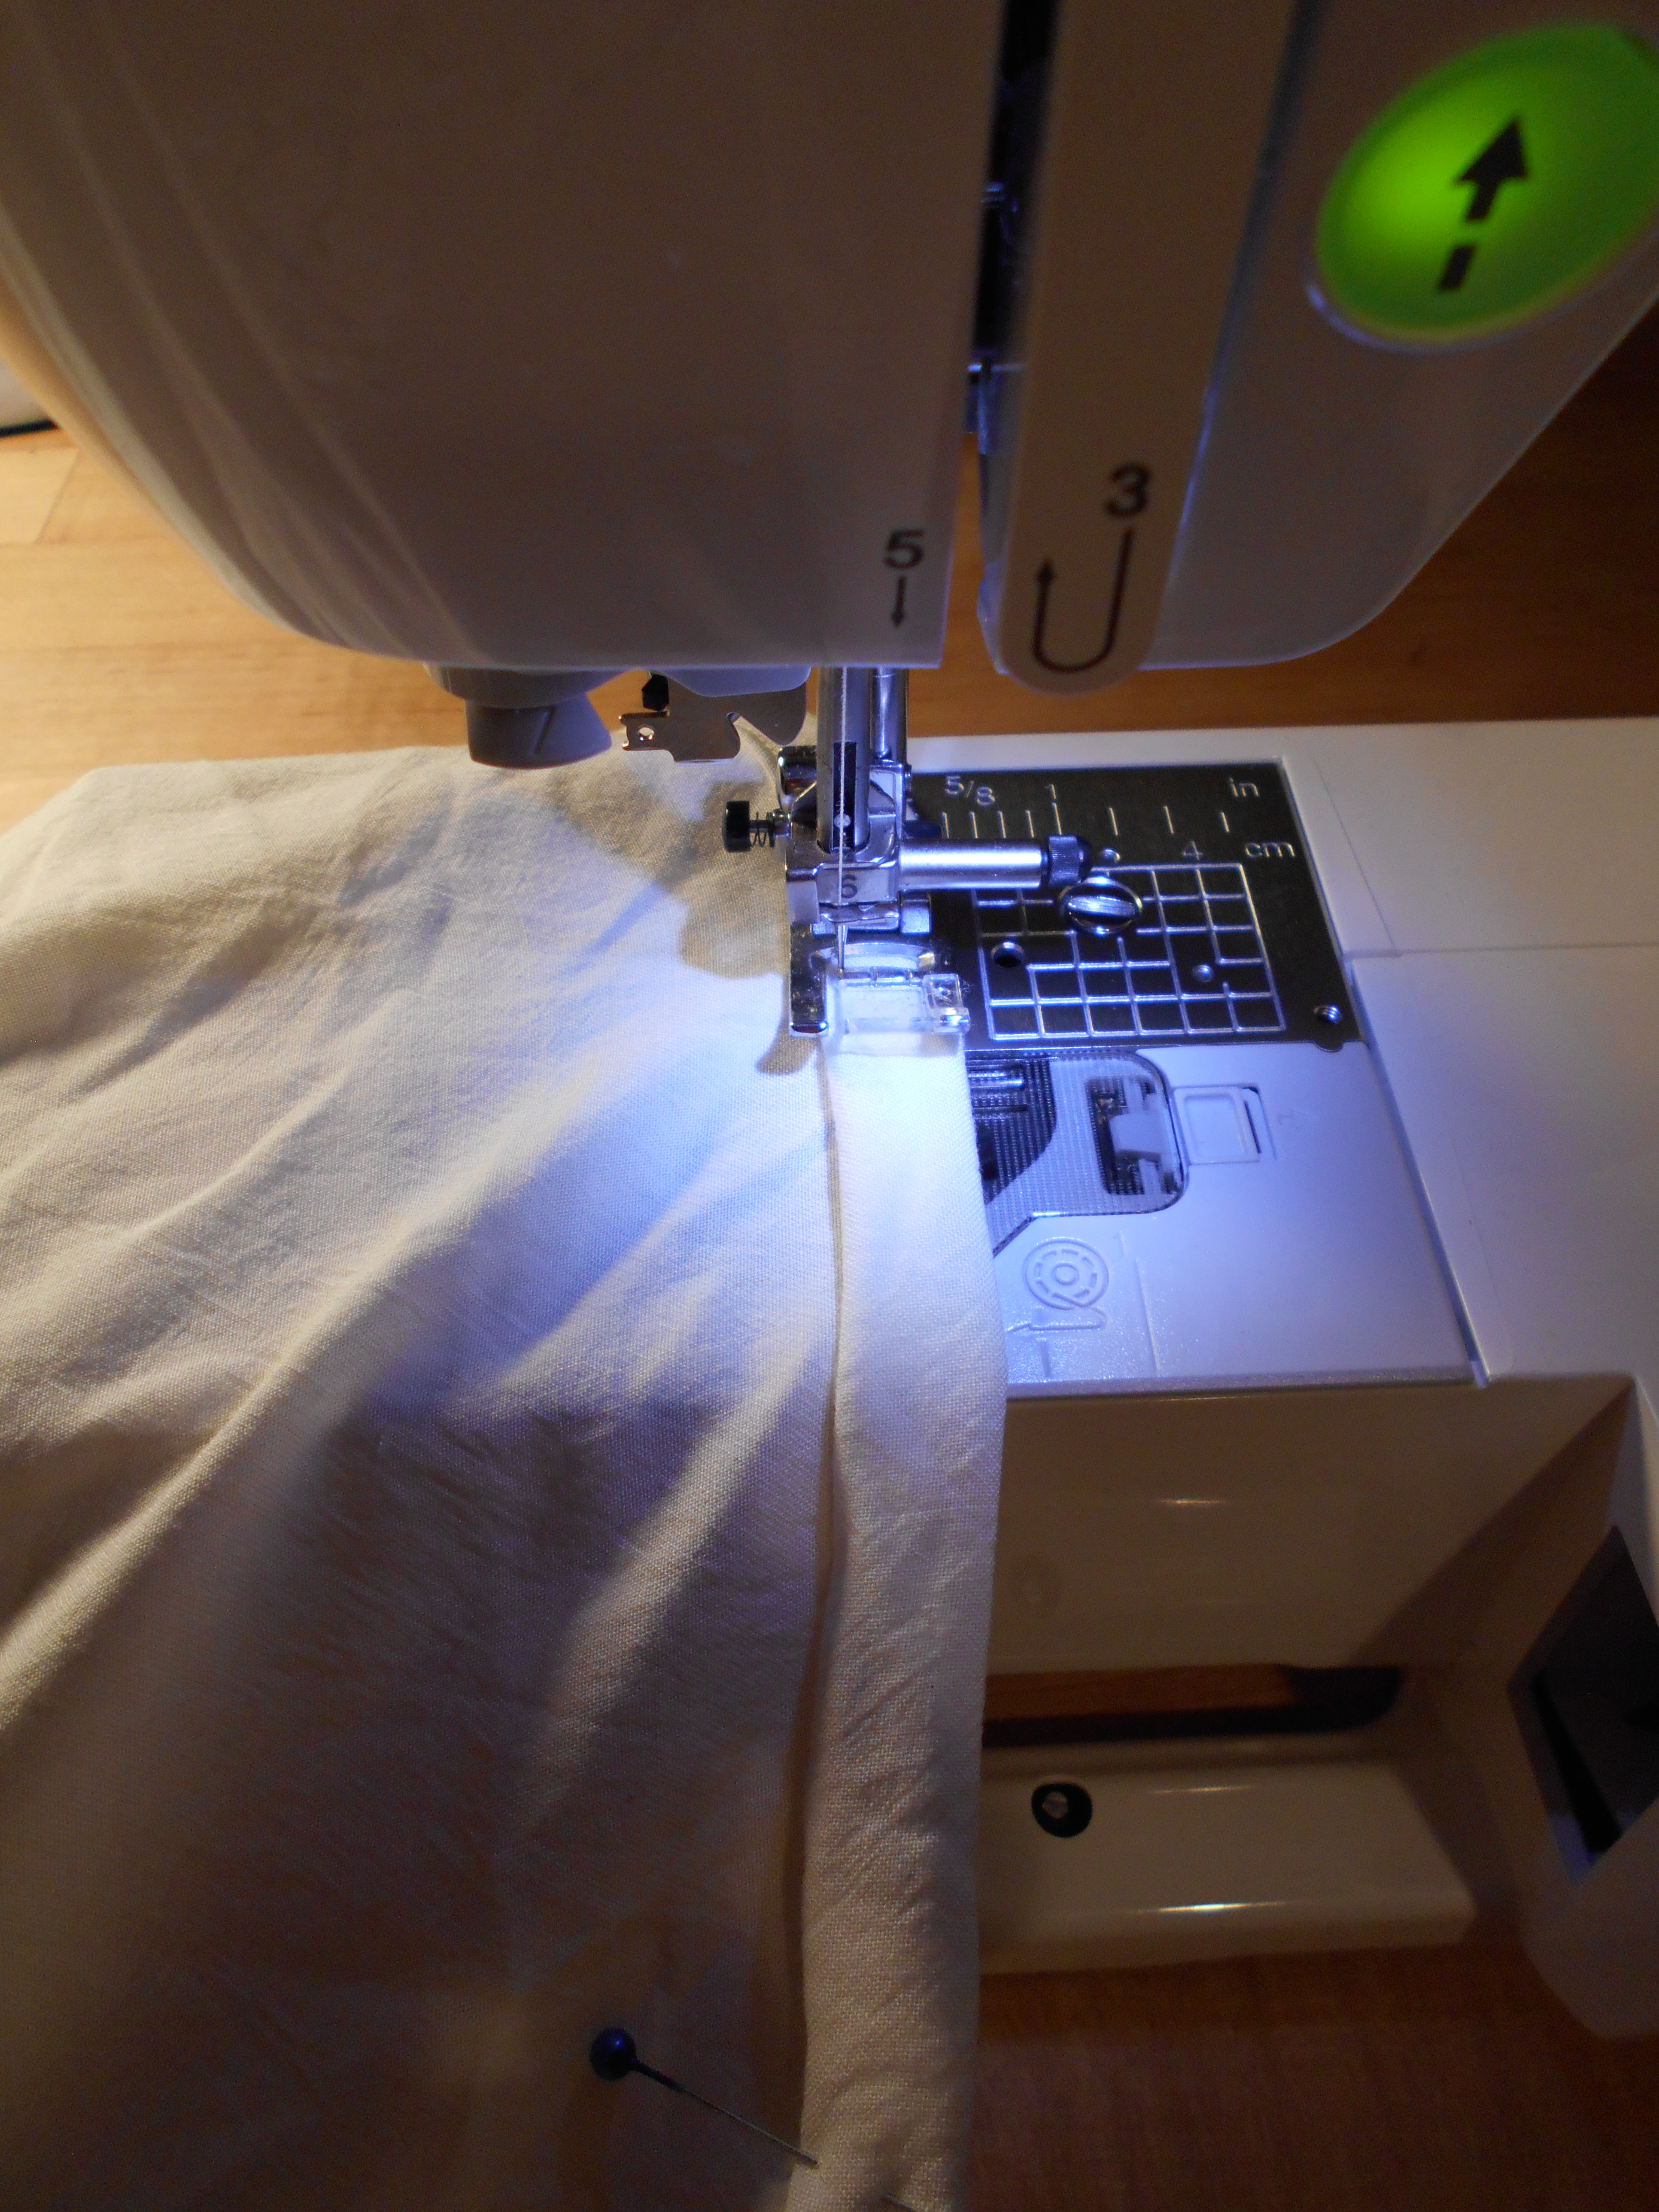
 I cut out my pattern pieces and started sewing. I made a casing for an elastic waistband. It took a little longer than it should have because I stitched the legs together. I had to unpick all the stitches and start over. Oops!


They turned out fine in the end. I didn't try to match my kitchen, it just happened like that. I really like blue and white.


Thanks for reading, for more pictures and details go to I Can Work With That.

Fun with Fabric Markers

I am embarrassed to say I had started this project 3 years ago. WOW how time flies! Needless to say I have lost my before picture. I actually stumbled upon this unfinished project while looking though my piles of clothes to be refashioned.

DSCN1638
This started out as a dress. A VERY itsy bitsy short dreses. I love the flower embroidery detail on the bottom as well as the top of this dress. My original thought was to color the stitching with fabric markers but it got very tedious. I decided to cut the bottom off (and save to later)  and make this dress into a shirt.

DSCN1640
A very tedious job coloring all of the stitching. But I love how it makes the detail POP!

DSCN1642
Pinned and hemmed the bottom!

IMG_1465
I just love those bright colors!

IMG_1471
It just so happens that my lace shorts are the same color as my shirt. lol

Happy Refashioning!!!
Check out my stash of refashions on my blog!

Thursday, August 30, 2018

Un nouveau tee-shirt

Bonjour, ça fait un petit moment que je ne suis pas venu vous montrer de recyclage mais, avec ma tête de linotte j'oublie souvent de faire les photos "avant".....lol

Voici une transformation de 2 tuniques trop justes en un tee-shirt sans manches. J'adore ce modèle (Isabella de Chantal New Style en T44)  qui permet de recycler les chutes de jersey ou des tee-shirts........


et voici le résultat Après :


C'est une transformation "0 déchet" car il ne restait plus rien ......lol ; j'en ai réalisé d'autres que vous pouvez voir ici 

J'en profite pour vous montrer une jupette que j'ai réalisé avec 2 jeans de différentes textures, d'ailleurs ça se voit sur les photos, mais ça donne une petite touche sympa....


A très bientôt, maintenant il va falloir penser à l'automne ...
Bisous, Elisa Elisa


Wednesday, August 29, 2018

Pajama Week Nightgown

 Hello Refashion Co-op. I found this soft knit dress at a clothes swap and took it home. Honestly, I could not figure out what to do with it because it was just a little too floral for me. It waited patiently until I decided to make some new sleepwear out of it. This soft material would make great sleepwear.


I cut the top of the dress off. It was boring and didn't fit me. I was left with a full skirt.


I used some soft cotton trim to cover the cut edge all around the top. I used my machine to stitch it on the outside and it gave the top of my new nightgown more structure. It was also pretty, which helped too. I added shoulder straps from the inside. I did some measuring to make them the right size for me.


I love the material so much more as sleepwear. The floral material looks great with the dark blue trim too.


Thanks for reading this post, for more pictures and details go to I Can Work With That.

Not So Ugly Bridesmaids Dress Refash

My hubby's co-worker's wedding was about 2 weeks ago. Which sent me into a fury to find the perfect wedding dress to refash! I had in my mind of what I wanted...some type of Greek/Roman style dress. But 1st I had to find the perfect base dress to make my vision come true!

DSCN1643
I was ecstatic when I found this dress! It was what I was looking for! It has been a VERY hot summer here in the mitten and this wedding was to be outdoors. So the 1st thing to go on this dress was the length.

DSCN1644
I marked where I would like my new hem to end. Then made the big cut!

DSCN1645
I saved the rest of the material for later.

DSCN1647
I used the leftover material and folded the top and bottom corners together, accordion style. Then pinned it to the shoulder strap so that fabric would drape around the front. (After sewing the corners onto the shoulder straps I then flipped the fabric over to the back of the dress.)

DSCN1648
A beautiful draping across the back. (Very Roman, I think!)

IMG_1500[1371]
Now for the fun part! Sparkles! No dress is fit for a wedding without some sparkle!
I used this clasp style closure on he front of the dress at the waistline.

IMG_1501[1372]
Then added these matching buttons on either of the shoulder straps.

IMG_1497[1370]
An after picture of the back (My hair was a better version of this for the actual wedding, This picture was taken a day later, We were having too much wedding fun for pictures, oops)

IMG_1488
Ta Da! The dress ended up being longer on each side after I cut it. I actually think it was a happy accident!

IMG_1491

2018-12-08-09-31-00.jpeg
Happy Refashioning!!!
Check out my stash of refashions on my blog!

Sunday, August 26, 2018

Better rarely than never...

Although I don't plan on officially retiring my blog, I have relegated it to the "storage closet" of life. I feel like the audience just isn't there at the time; like I'm shouting into a megaphone to an empty backyard.
Nevertheless, my blog lives. Here's a new refash!
Seersucker, sucka! That preppy, lightweight fabric worn by southern ladies and gentlemen I do declare. I bought this dress last summer, thinking it would be a simple hack-and-stitch job. It wasn't.
See? Look what happened with the neckline. It's huge!
I'll cut to the chase and say that when I wore this to school in June, I got some good reviews from the kids and adults. I like to tell people I "made" it, putting air quotes around that word and explaining that I didn't make the dress I just made it better. The after:
I wear those red shoes in a lot of my "after" pics, but I don't actually wear them out very often. They're fab, but they're not walking shoes. I have a sensible pair of red Aerosoles that can withstand a school day or thrift store excursion.
Feel free to check out my full post on my blog, Craft, Thrift, or Die.
Thanks for looking!
Erica

Friday, August 24, 2018

Easy T-shirt Bathrobes

Hello Refashion Co-op. I have been in a pajama mood lately. I just wanted to make some pajamas. And wear pajamas too. I wanted a lightweight robe to wear and I thought a big men's t-shirt would be a good place to start. 
 

 I started by cutting the neckband off and cutting the shirt open down the front. I cut the neck into a deep V shape. I thought that would work best for a robe.


I also cut the bottom hem off the shirt. I kept all the stitching intact. I was going to use it as a belt to tie the robe closed.


I made 2 little cuts in each side of the shirt. I made them a few inches under the arm. The cuts made a loop to pull the belt through.


 I wanted to cover up the raw cut edges I had made. I used this blue ribbon because it matched and it was sitting in a drawer. I just stitched it on the edges so the robe looked more finished.


 This is an actual photo of me, in the morning, before I had my first cup of tea. The robe works great, even though I don't look very happy. I am not a morning person.


Thanks for reading this post.
 For more pictures and details, of this and another robe I made, go to I Can Work With That.

Thursday, August 23, 2018

Cruise wear to Cool wear


There was a lot of fabric in these wrap around palazzo pants which I found for £3 in a charity shop. It was some kind of man made drapey stuff that was going to fray a lot.


I used the same curved neckband pattern as in my previous post to make a sleeveless top, but this time with a gathering under the neck instead of using bust darts.


I also decided to add a high low straight/curved hemline.

Only one of the leg of the pants was needed to make this top, and with this style there are 4 legs.

My daughter was being artistic with this slated photo, sorry.
There are more details and photos here


Wednesday, August 22, 2018

Shorts; Done Right and Wrong

Hello Refashion Co-op. I made some short recently. The first pair just needed a hem. They turned out so well it went to my head.


 I decided to make another pair of shorts from this blue skirt.


 There seemed to be enough fabric to use a pattern. What could go wrong?


Well, The full gathered skirt didn't work well as shorts.
 

I knew the shorts would be full and loose. I expected that they would be a little poofy in the legs. I thought that would be cute.
 

It wasn't cute. It was awful. They made my backside and upper thighs look HUGE! The proportions were all wrong. This isn't what I thought they would look like.


Oh well. That's life! For more pictures and details of this disaster go to I Can Work With That.


Moving and back to Full Time work has not left time or much space for Re-fashion projects.
Are there any College Station / Bryan Texas area Re-fashioners who would like some of my Re-fashion stash?
Send me an email marycordell2452@gmail.com