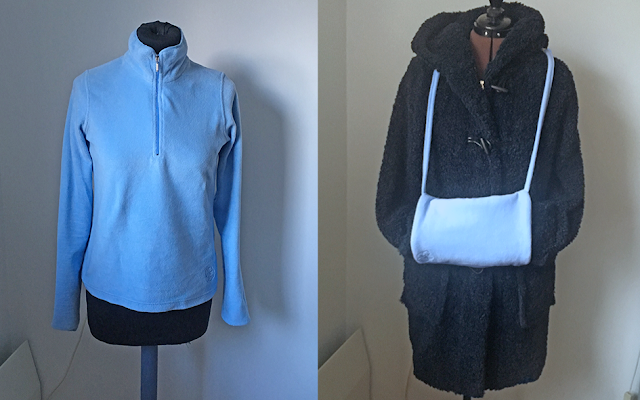
Is it too soon to throw in DIY Christmas gifts? Nah... you need time to collect ideas, get inspired, choose your projects for this year... right? And by then you won't have much time left. So this muff might be a good choice! It won't take up much time (leaving out the inside pocket helps:)) and could be the perfect gift for someone who regularly has cold hands. And who doesn't in this time of year?
I'd like to dedicate this refashion to Jillian Owens, the Refashionista, who sadly passed away, she suffered from ovarian cancer. It was a sad, sad day when I found out in October. Her refashions have been a big inspiration to me and, I'm sure, to lots and lots of other creatives all over the world. And if I'm correct, she was also one of the early contributors to this blog. She will be missed!
You're welcome to visit vermaakster.blogspot.com where I explained the steps, my blog is in English and Dutch. You can also find a detailed explanation on the zipper pocket there.
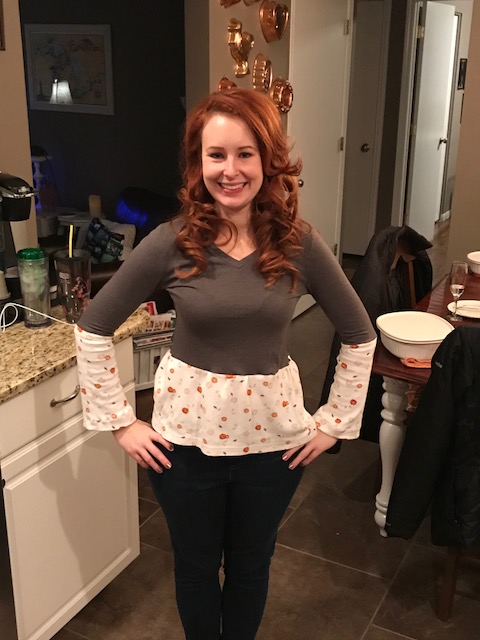
This is not a new refashion but I love it so much I wanted to share it again in light of the Thanksgiving holiday! This was such a fun refashion!
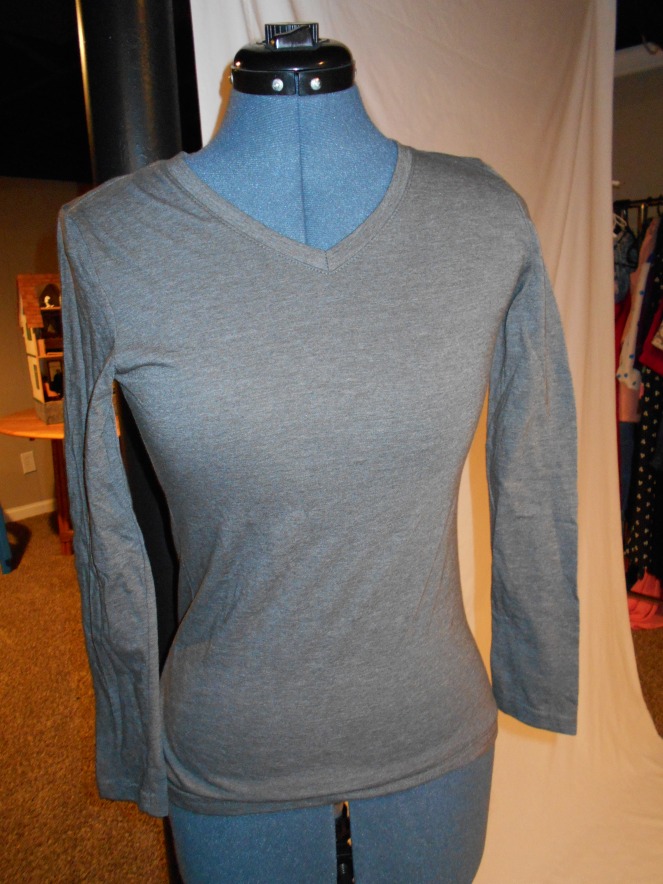
I love the holidays because it always gives me inspiration for some refashions! I purchased this pumpkin turtleneck back in the summer in preparation for Thanksgiving! This shirt has been burning a hole in my re-fashioners pocket!
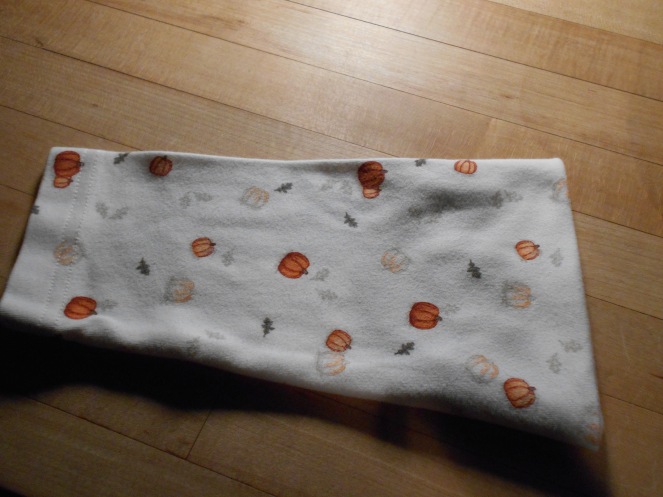
I love this simple pumpkin pattern!
My idea was to add the pumpkin turtleneck and this shirt together. Then I thought about a peplum shirt, how cute would that be?!
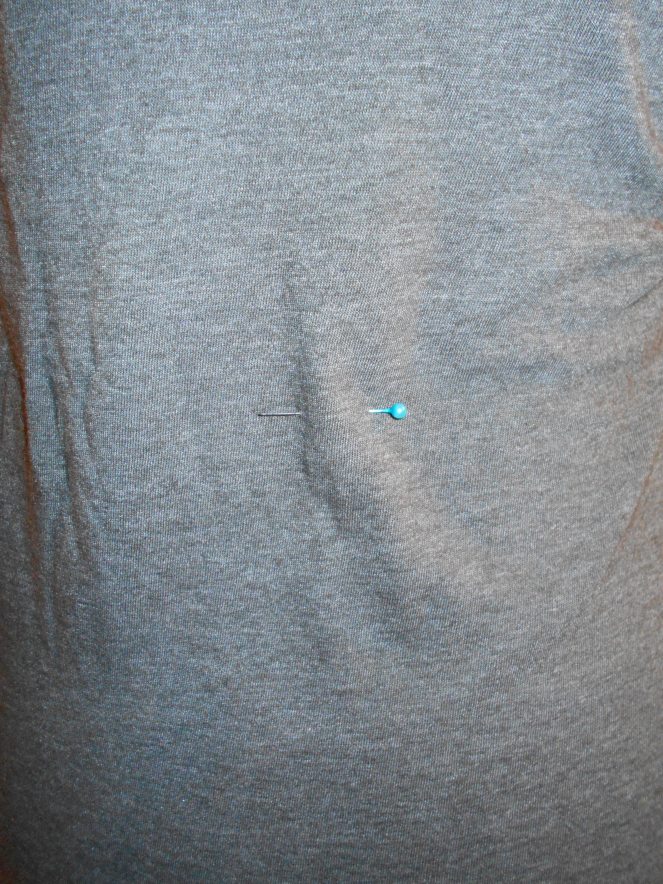
I marked where my bellybutton was, which is where I wanted to start the peplum part of this top.
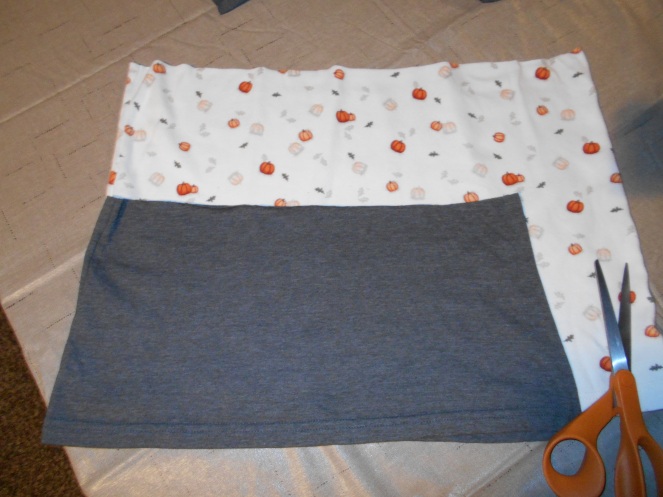
I cut the pumpkin turtleneck just under the armpits.
I placed the scrap of the gray shirt on top of the pumpkin shirt so I could measure the length. Then I trimmed thee pumpkin shirt to size.
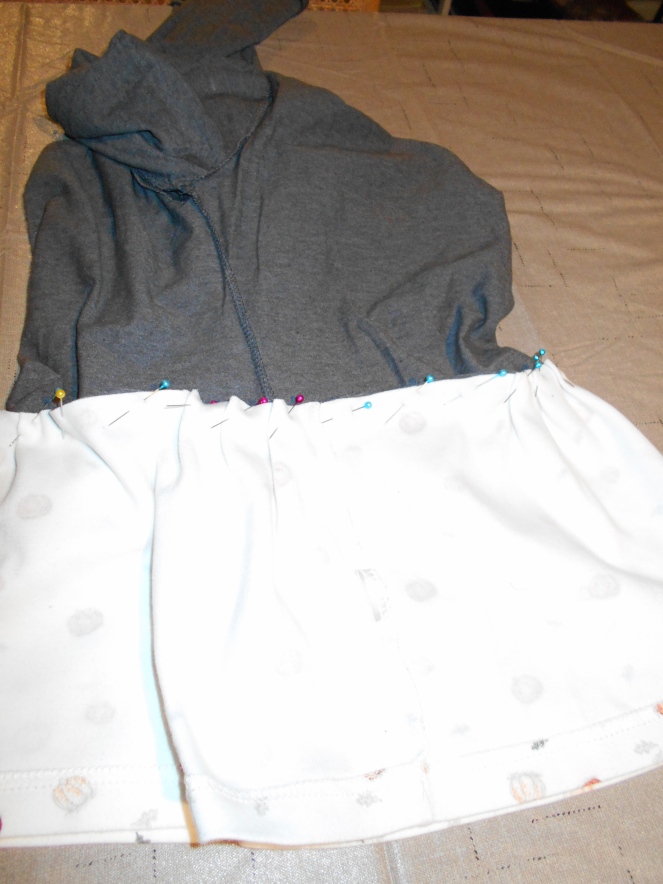
I pinned the pumpkin fabric to the top of the gray shirt.
Once the body of the shirt was done, it was time for the sleeves. I was playing around with adding part of the pumpkin sleeves to the gray shirt. During my trial and error process I came upon the idea to make them bell sleeves!
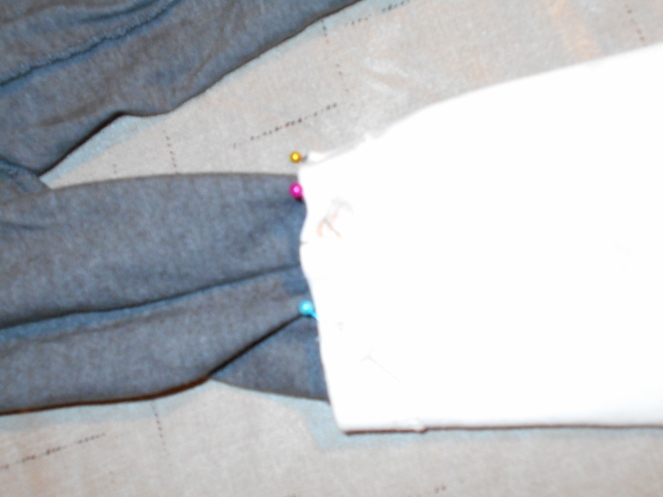
I cut the bottom section of the pumpkin sleeves. Then cut the same length off of the gray shirt sleeves.
I pinned the original hem of the pumpkin sleeves to the bottom of the newly cut gray sleeves. I folded under the bottom of the pumpkin material to make a new hem for the sleeves.
Hello Refashion Co-op. My mother-in-law gave me a lot of fabric samples from when she worked at a fabric store. This orange sample was wool and it wanted to be a scarf. I just knew that is what it wanted.
Before and after.
This looks a little red but trust me it's orange.
I cut this finished edge off the sample piece. This edge was to keep it from fraying but I want it to fray.
I stitched a straight line about an inch from the edge to stop the fraying if it got out of control and just started pulling threads.
This process took longer than I thought it would. You can see I had a nice pile of threads.
My scarf was done. I loved the fringe I made. It is a square because that is all I had to work with. It went great with this green dress. Thanks for reading along, for more details go to I Can Work With That.
Hello👋😀, in this DIY/ thrift flip tutorial I sew Patchwork Cardigan
.I show you step by step sewing tutorial on how to recycle old sweaters and sew beautiful Patchwork Cardigan .
This cardigan is very similar to crochet one but way more easy and faster to make.
Hello Refashion Co-op. I had a great black sleeveless dress to refashion and I wasn't sure what I wanted to do. I decided to do it all!
The dress fit well but had so much length.
I knew I could use that length to make sleeves. I wanted sleeves so that was my first step. I used another shirt as a pattern to make short sleeves. I traced the sleeves with chalk.
The sleeves turned out well.
I made the dress shorter.
And shorter.
I tried it as a tunic.
I ended with a t-shirt that I could wear to work.
This was fun to play around with. The short dress was my favorite. For more pictures and details go to I Can Work With That.
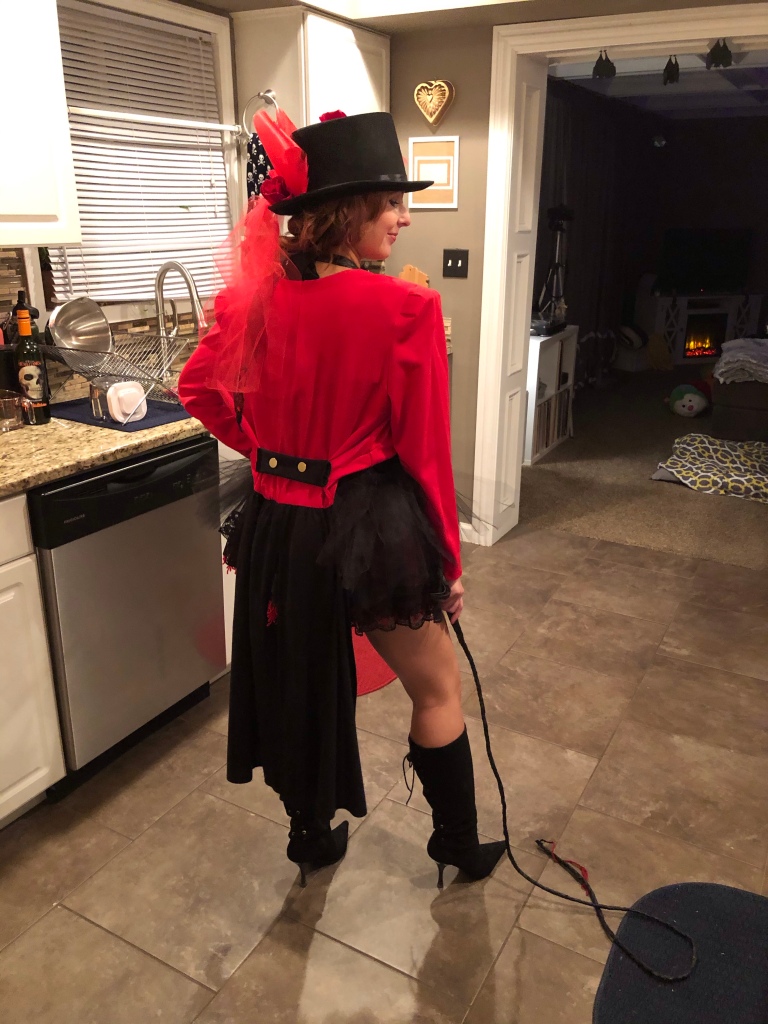
Happy Halloween!!! This year I decided to be a Lion Tamer and my pup, Ian would dress up as my Lion (He is such a good sport)
I could have done as frumplizzla lol
I must say this was the FIRST time I was EXCITED to see shoulder pads!
I sewed the keyhole together that was in the back.
I removed the faux black shirt that was part of the front.
I then used the material for the faux shirt and used it for the detail in the back.
I resewed the buttons on the front and cropped the front of the jacket.
I left some of the skirt material in the back for the coat tails.
Lucky for me the skirt had a seam right up the middle of the back so I ripped the seam and sewed 2 separate seams to make the tails.
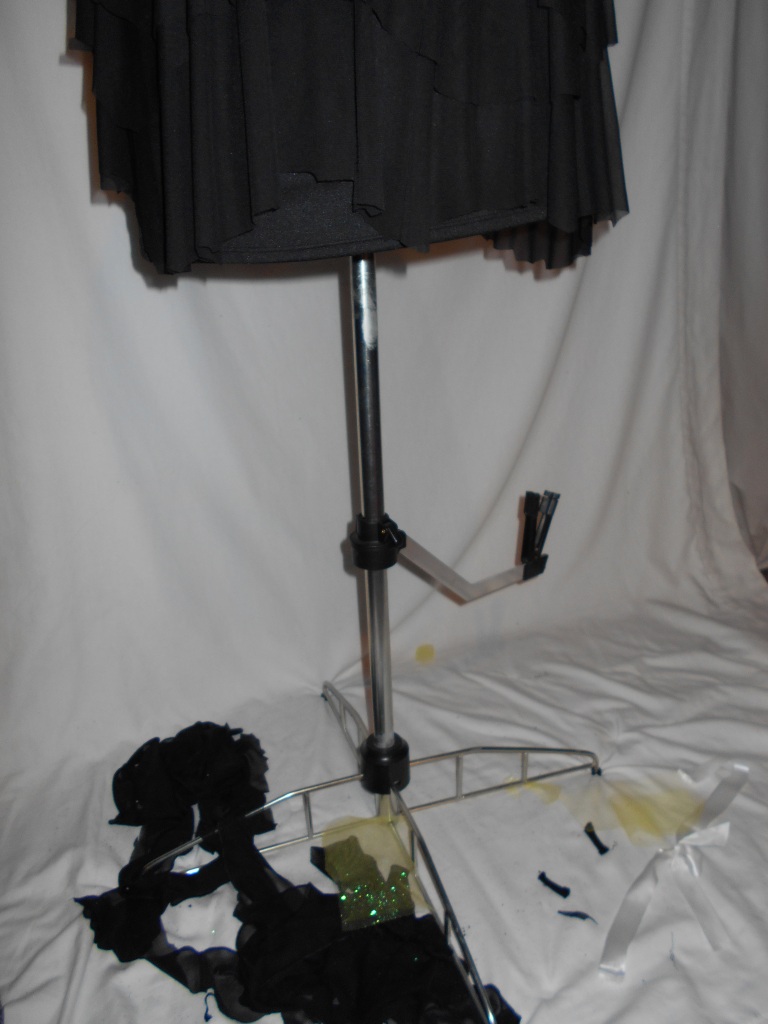
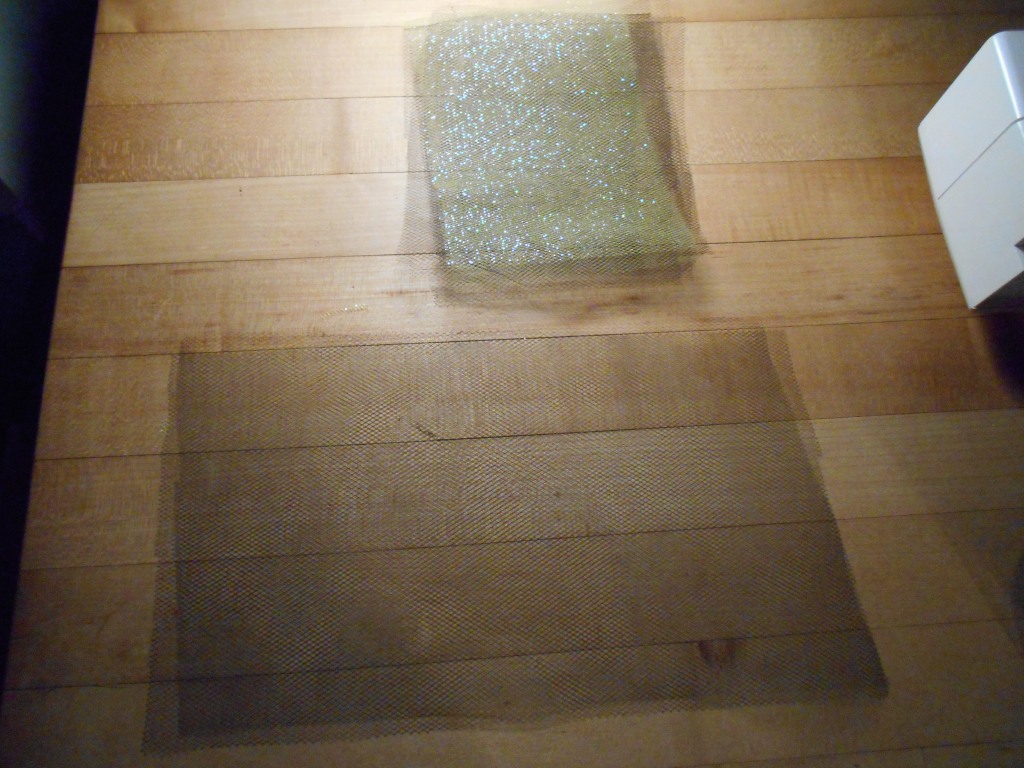
This costume wouldn’t be complete without a black tulle tutu!
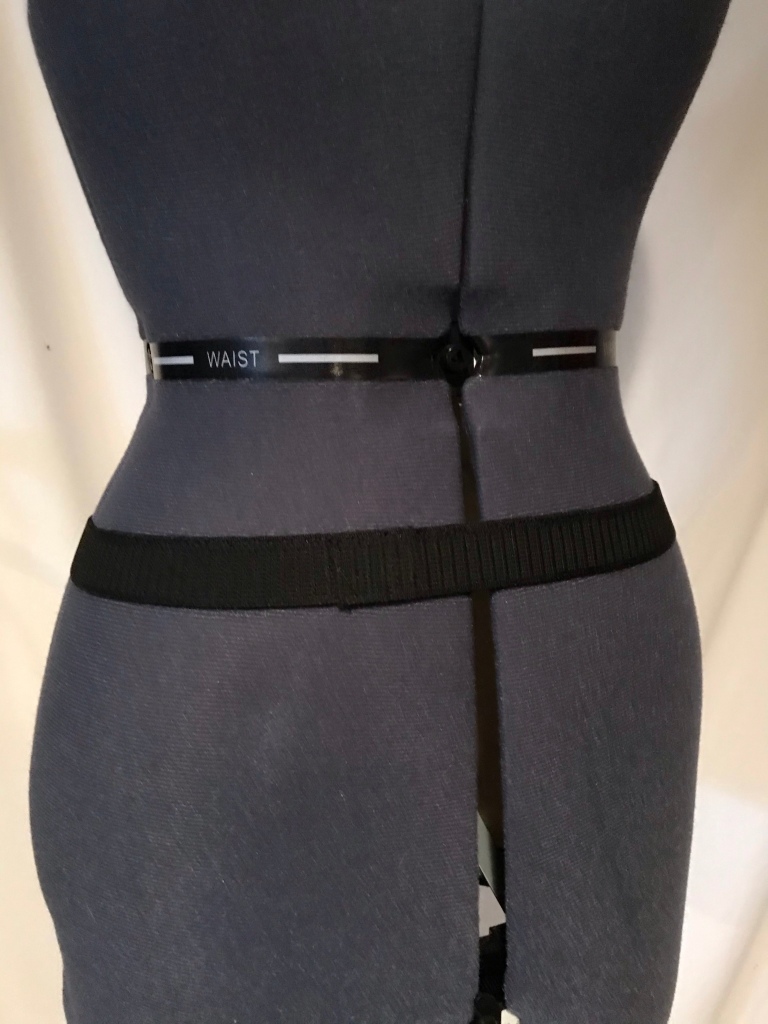
I measured my hips and stitched together the piece of elastic.
For this tutu I cut the tulle in lengths of 24 inches.
I used the loop and pull method and continued until the elastic was full.
My new coat and tutu were paired with a black corset and 2 petticoats of black and red. Plus you can’t forget the iconic top hat- which I had refashioned for a past Kentucky Derby!


 I marked where my bellybutton was, which is where I wanted to start the peplum part of this top.