Thursday, August 31, 2017

Maxed Out Two

 Hello Refashion Co-op. This is the second maxi-dress/skirt in this series. I found this maxi-dress at a clothes swap and didn't know how tight it was until I got home. It was so tight I couldn't even post a picture of it.
 I really liked the material and the stripes were cute. I decided to try and do something with it. 
                                                                               

I cut the dress to remove the top where it was so tight. I kept the lower part that was fuller and bigger.


I folded the raw edge under and made a casing for an elastic waistband. 


I wore it for lounging on the hammock, y'know how mom's like to lounge. Just kidding. 


Thanks for reading, for more pictures and details go to I Can Work With That.


You can do it too

Often the thrift shop clothes I buy only need small changes. And then I wonder if I should even blog about those clothes.. They aren't as spectacular as upcycling a strange skirt into a wonderful kimono blouse.
But I like to post them to inspire others to make changes to your own clothes as well. Start small.

First one
A simple viscose (rayon) blouse. Two things had to be changes: I have a short upper body and the neck slit ended too far down my cleavage. And the length of the blouse was the usual 5-6 cm (2") too long to fit me nicely.

Before:

I made my first button loop ever, with matching embroidery thread. I am very proud of that little thing. I put a button on the other side of the slit.

And then I shortened the blouse to make it fit me.
After:
Next one
I had to have this pretty dress I found in a thrift shop. But short sleeves aren't my thing. I think I look childish with short sleeves. The dress would also be more versatile it is was sleeveless; I could easier use shirts and blouses underneath it and cardigans over it.
Before:

After:

Last one
I had wanted such one for a long time. Not because I needed a black lace skirt, but because I needed a black half slip with just a tad of width to it..

Before:

I removed the lower flounce and now the skirt is good as a half slip - and could still be a skirt, should I want to use it as that.After:

Wednesday, August 30, 2017

Recyclage en rouge ..........

Voici un petit recyclage avec au démarrage les éléments suivants :


Une robe en guipure et un polo rouge ; et un début de jupe (fait avec 2 chemisiers en viscose)  commencée y'a .......pfff .... des années.......

Et après transformation, cela donne ça :


et ça :


Pour en savoir plus c'est Ici 
A très bientôt, Elisa Elisa


Tuesday, August 29, 2017

Maxed Out One

Hello Refashion Co-op. I started a series of maxi-dress and skirt refashions. This is the first. I had this extremely long skirt that I really liked. It fit at the waist and hips, it was just so long.
I also had a shirt that went with the skirt nicely, but it was too tight.


I shortened the skirt and made a new hem. I used the extra fabric for the shirt.


I cut two long narrow pieces. The material kept curling up but the two pieces were the same exact size.


I cut the shirt open on the sides and put in the patterned pieces. I didn't alter the shirt any other way.


I was done with this outfit quickly. It fit so much better now. 


Thanks for reading, for more pictures and details go to I Can Work With That.


Monday, August 28, 2017

And the last green beauty - Greenery #4

Some time ago I removed the wide and rather ugly neckline/decoration from this blouse (no photo), and then nothing happened after that. I dyed that one green as well...

...and the result was so nice because the little white dots didn't take colour at all.


My plan was all along to make the blouse wide necked, and the new colour sparked my creativity. I adjusted the neckline. Then I made a narrow casing at the neckline edge and pulled a narrow elastic through it. Now I have a blouse I want to use a lot.

I designed the neckline to lie exactly on the shoulder edge.


But you can also pull it out over one shoulder.


Or both.


Check out my blog for more refashions: http://www.sagaifarver.com

Saturday, August 26, 2017

Sweater with Tablecloth inserts

My sister gave me a plain dark grey sweater a few years back.  I had an old (antique?) hand embroidered table cloth that had holes in random places, but was still beautiful.  I sewed pieces of it inside the sweater. Then I cut out the sweater parts out, following the shapes on the tablecloth.  I think that is called "reverse applique".  The first picture is the back, and the second picture is the front with just a small applique off to the side.  


Sadly, I've never worn this!  I keep putting it in my donation box, then pulling it back out because I DO like it, just not enough to wear it.   I'm considering cutting it down the center, or off to the side and turning it into a cardigan instead of a pull over sweater.

Any other ideas for me to consider?  Any other ideas of how to use beautiful embroidered tablecloths in your wardrobe?

Thanks for reading!
Love,
Amy Jo at The Little Moments

Friday, August 25, 2017

how to dye and repair old damaged leather bag 👜

leather-handbag-refashion-jak-naprawić-torebkę-zniszczona-torebka-diy-tutorial-handmade-

Damaged leather bag,  scratched bag and scratched bag's flap, cracked handle from the bag, how to clean the leather purse, how to paint the purse, refurbish the purse, how to renew the leather purse, how to change the color ...

Uncle google 🕕🕛  receive so many questions connected with leather bags 👜👛 everyday ,
 but do he unswer all those questions well, there is so many advertisements, sponsored articles and paid posts ... , it's hard to find the right answers, that's the reason why I created this post , to help 💪 you all with your ''leather problems''.
Real leather is a precious material so let's use it wisely and don't throw away easily.

Leather bag Before 

As you can see 👀 it's a sad view 😢

during work 👊

READY BAG 


LEATHER BACK BEFORE AND AFTER DYEING 💡

👇
Love ,

Beautiful annoying dress


I don't know where the Before photo has been lost to, but this dress was too large and I resized it to my size. Which sounds easy, but it gave me so much trouble. It simply refused to budge. But the fabric was so pretty. I so wanted to be able to use this dress. And in the end I managed to shape the dress as I wanted it. So despite the lacking before photo, I post the dress anyway. As a symbol of not giving up.


I wanted to make bra straps  in the back, but couldn't get it to work out. The straps were too narrow. Do anyone have a good idea on how to make adjustable straps without using bra hardware?


More refashions on my blog (In Danish and English): http://www.sagaifarver.dk

Tuesday, August 22, 2017

Dress to skirt refashion

I started with a dress and a skirt, both were too small and too short.


The dress fabric was thin and stretchy, the skirt was heavy cotton.


I cut the top off the dress and made strips out of the skirt.


To make a pleated strip for lengthening and adding interest to the new skirt.


I just turned the fabric over at the waist to make a yoga type waistband, its very comfy.

There are more details here

The Eclipse Shirt

Hello Refashion Co-op. I was all eclipse crazy the passed couple weeks and made a shirt for the occasion.


I used a big men's shirt and cut off the bottom and cut the back open. I pulled the two sides together and over lapped them. My back was covered but had some fresh air too.


I added some round yellow suns.


And some black moons too.


Then I went out and watched the sky, like everyone else in North America. It was really cool.


For more pictures and details go to I Can Work With That.

Rockin' 80's Refash

Last week the hubby took me to see my most favorite rock band: Foreigner!!! O-M-G I can't begin to tell you guys how happy I was! I LOVE every single one of their songs!
DSCN1296
This lovely vest shirt was given to me by our roomie, who actually move out and is not a roomie anymore :(
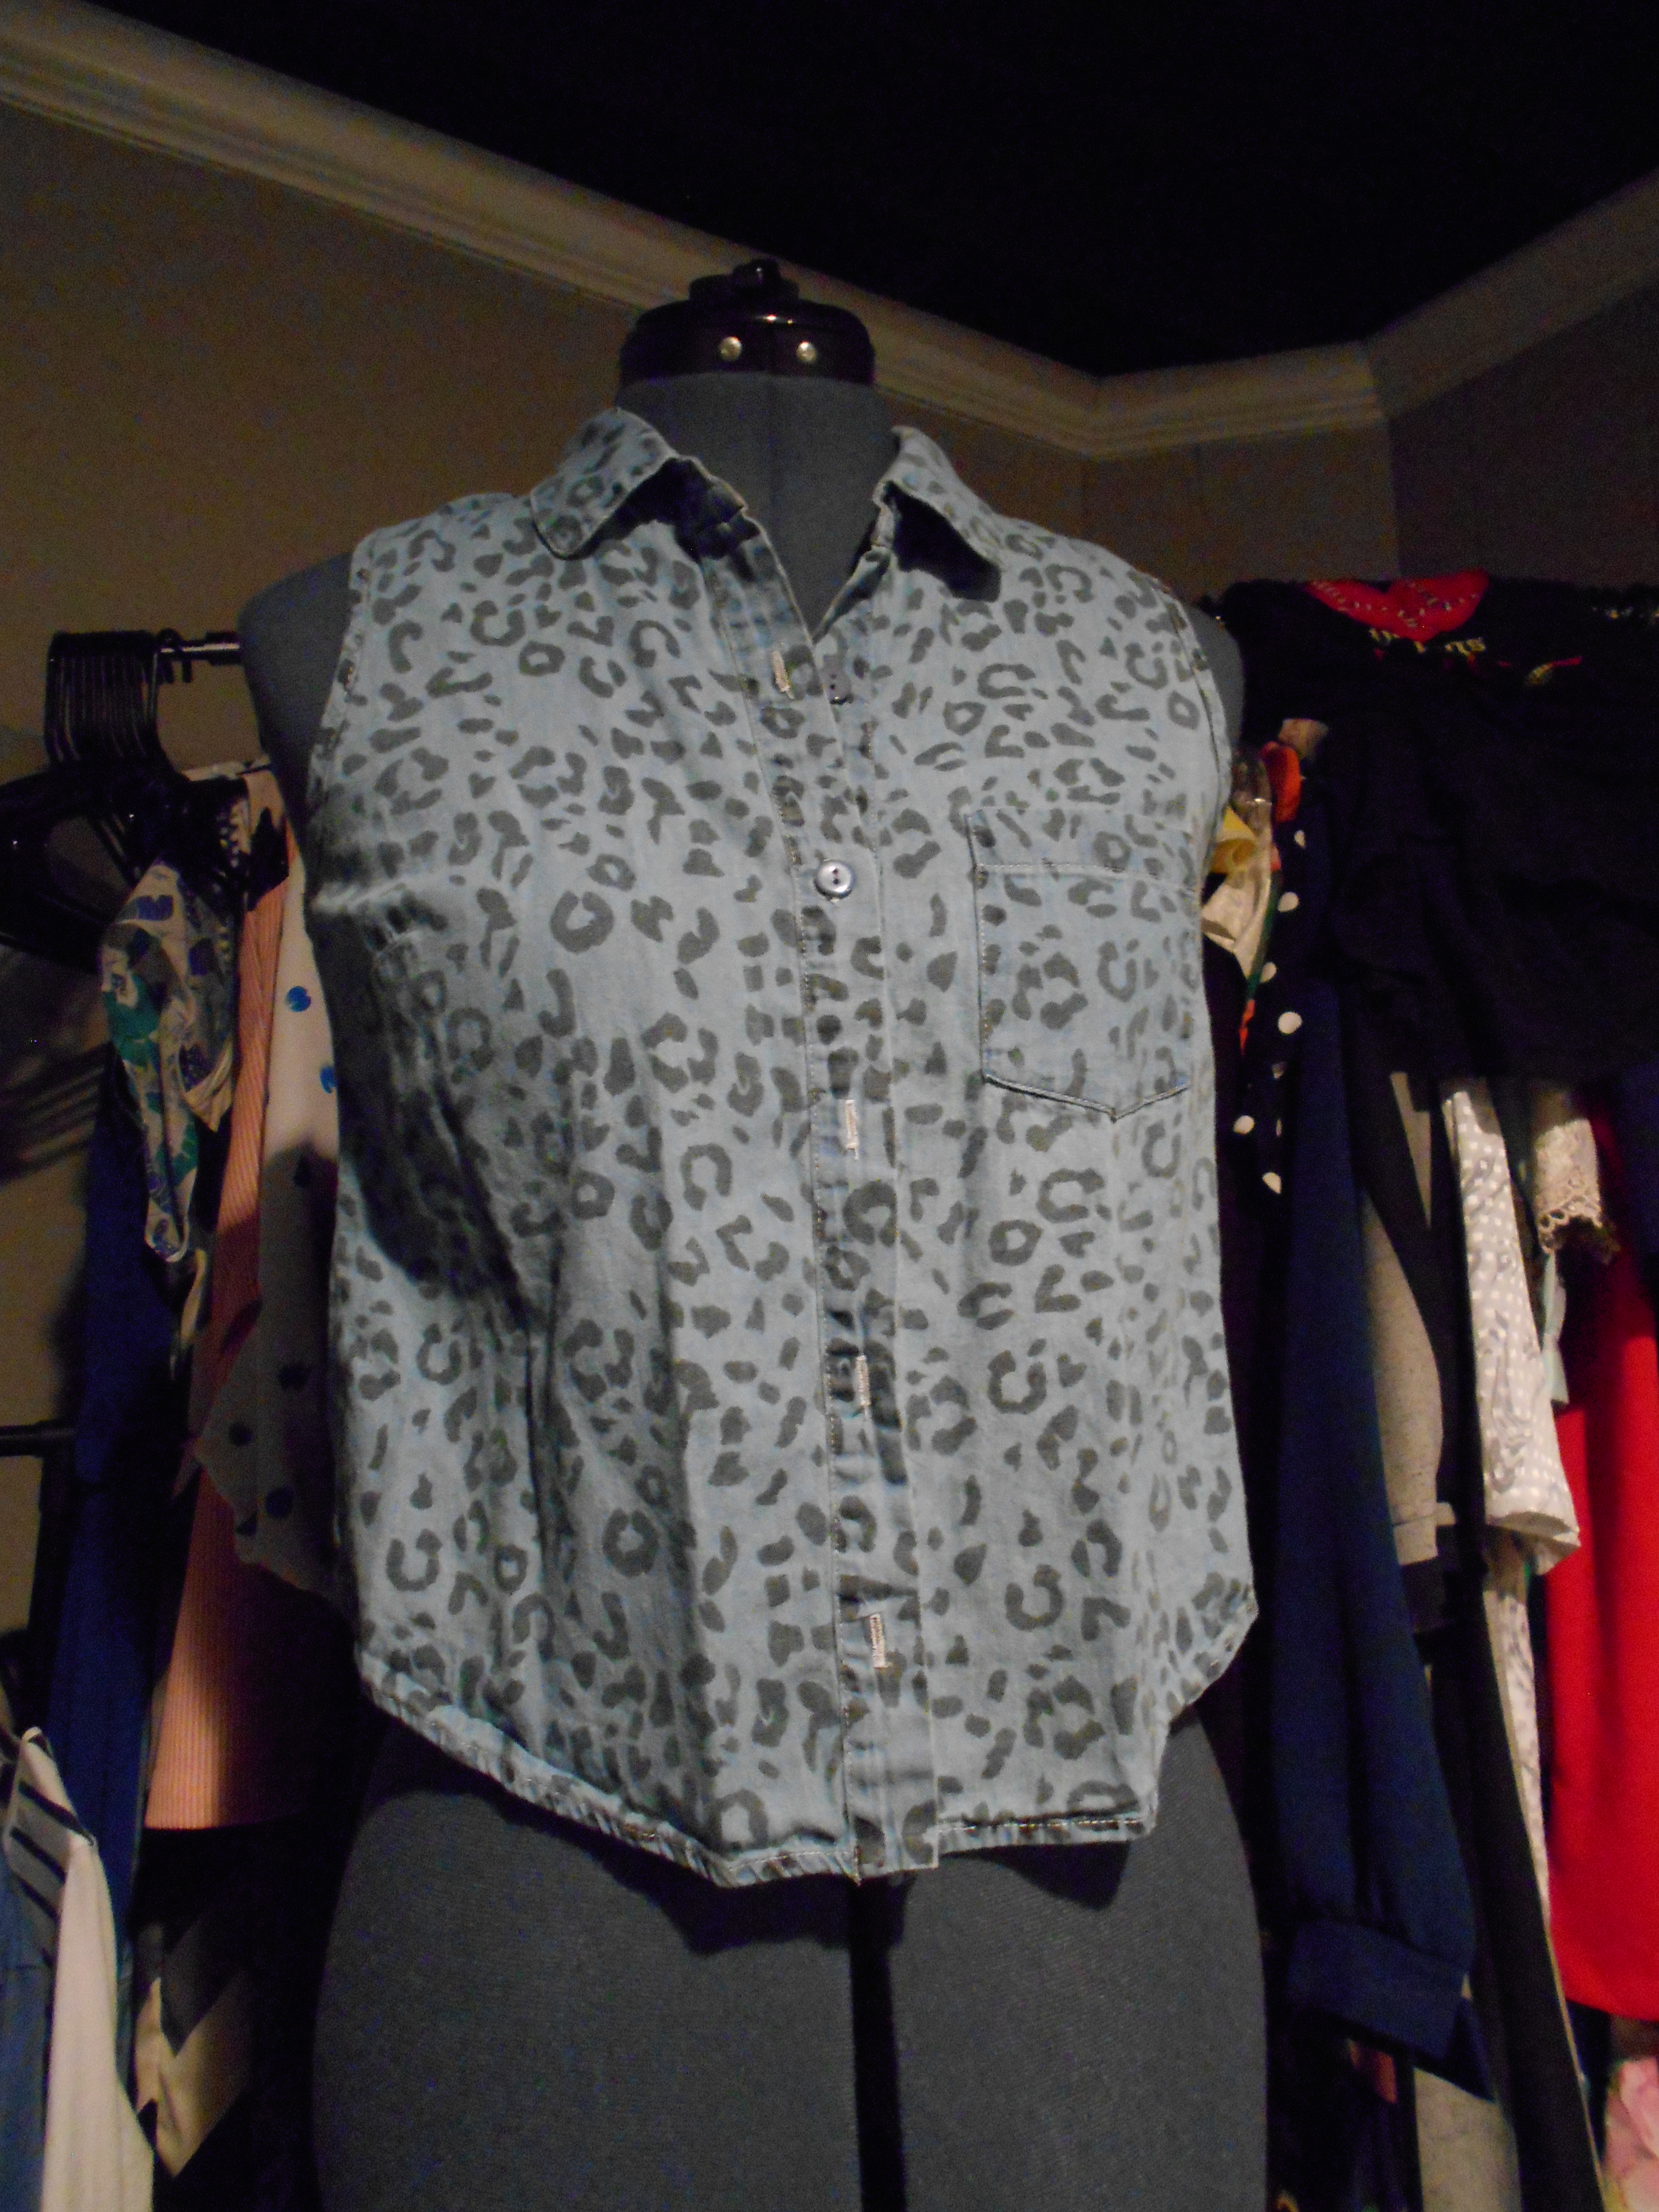
I began by turning it inside out and putting it on my dress form: Sally.
DSCN1298
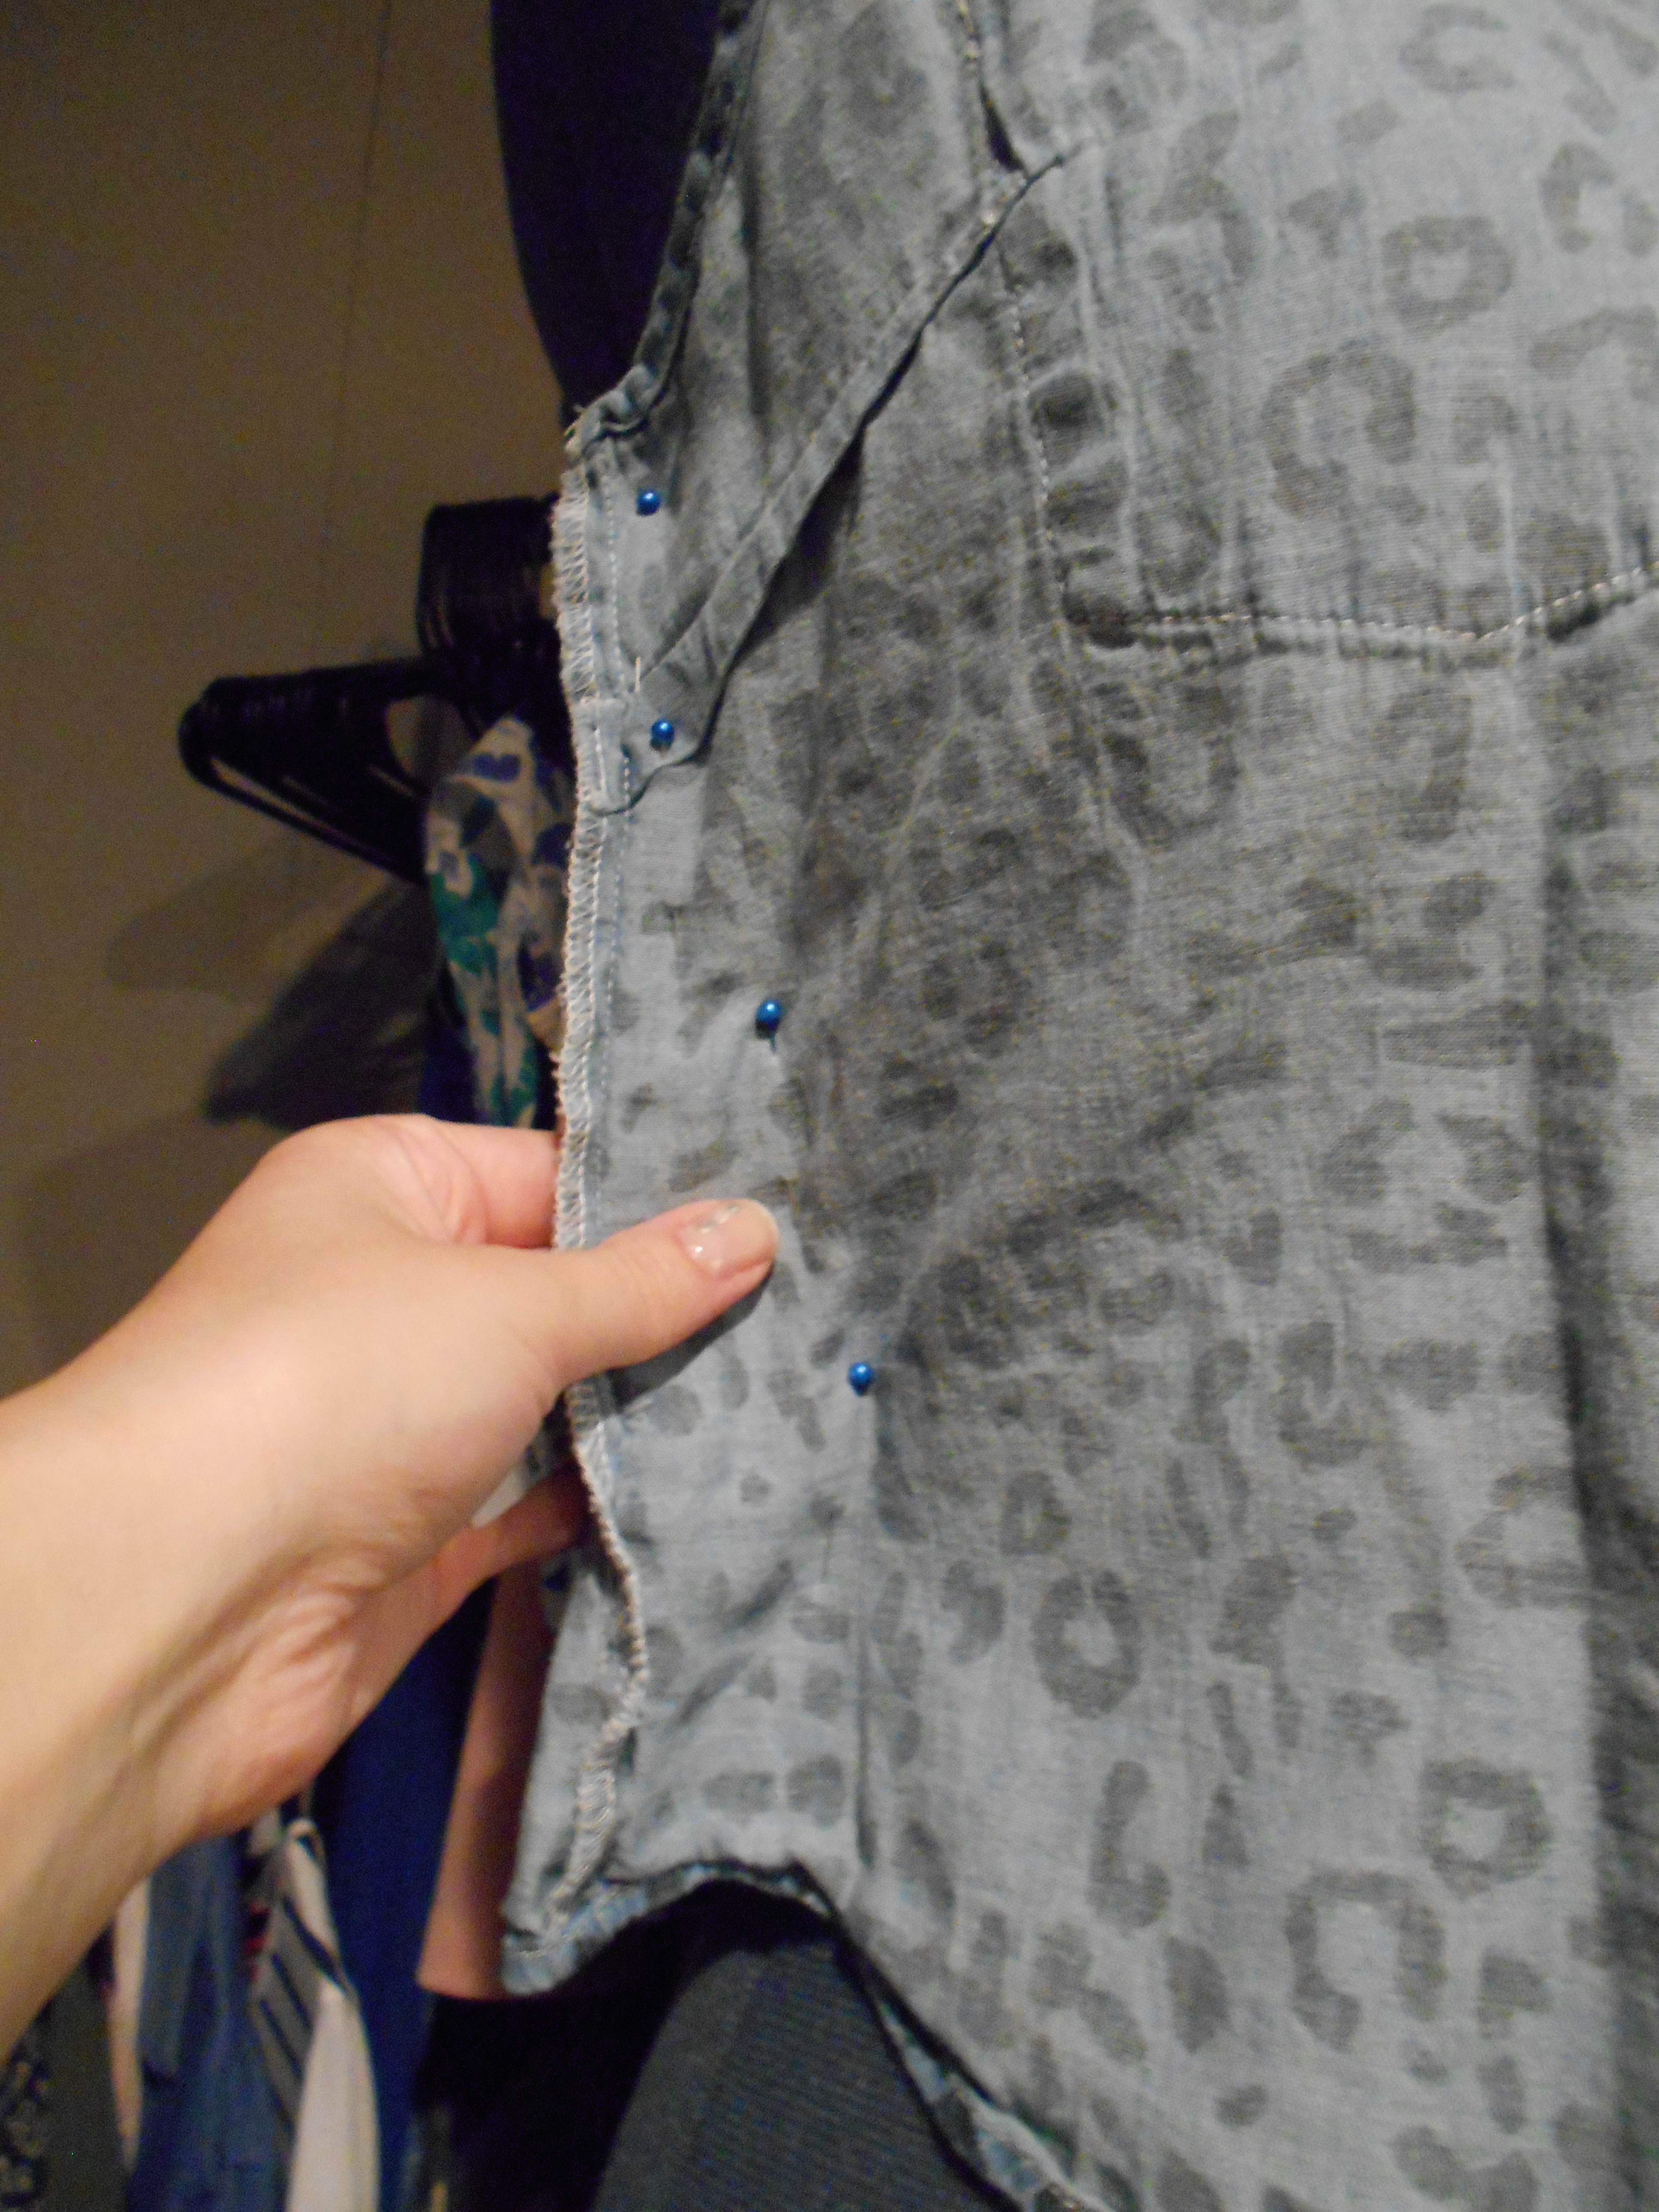
I took the sides in a bit, about 1 inch. I stitched the sides up and that was it! Shirt: done!
Now for this next part...don't judge me!
DSCN1299
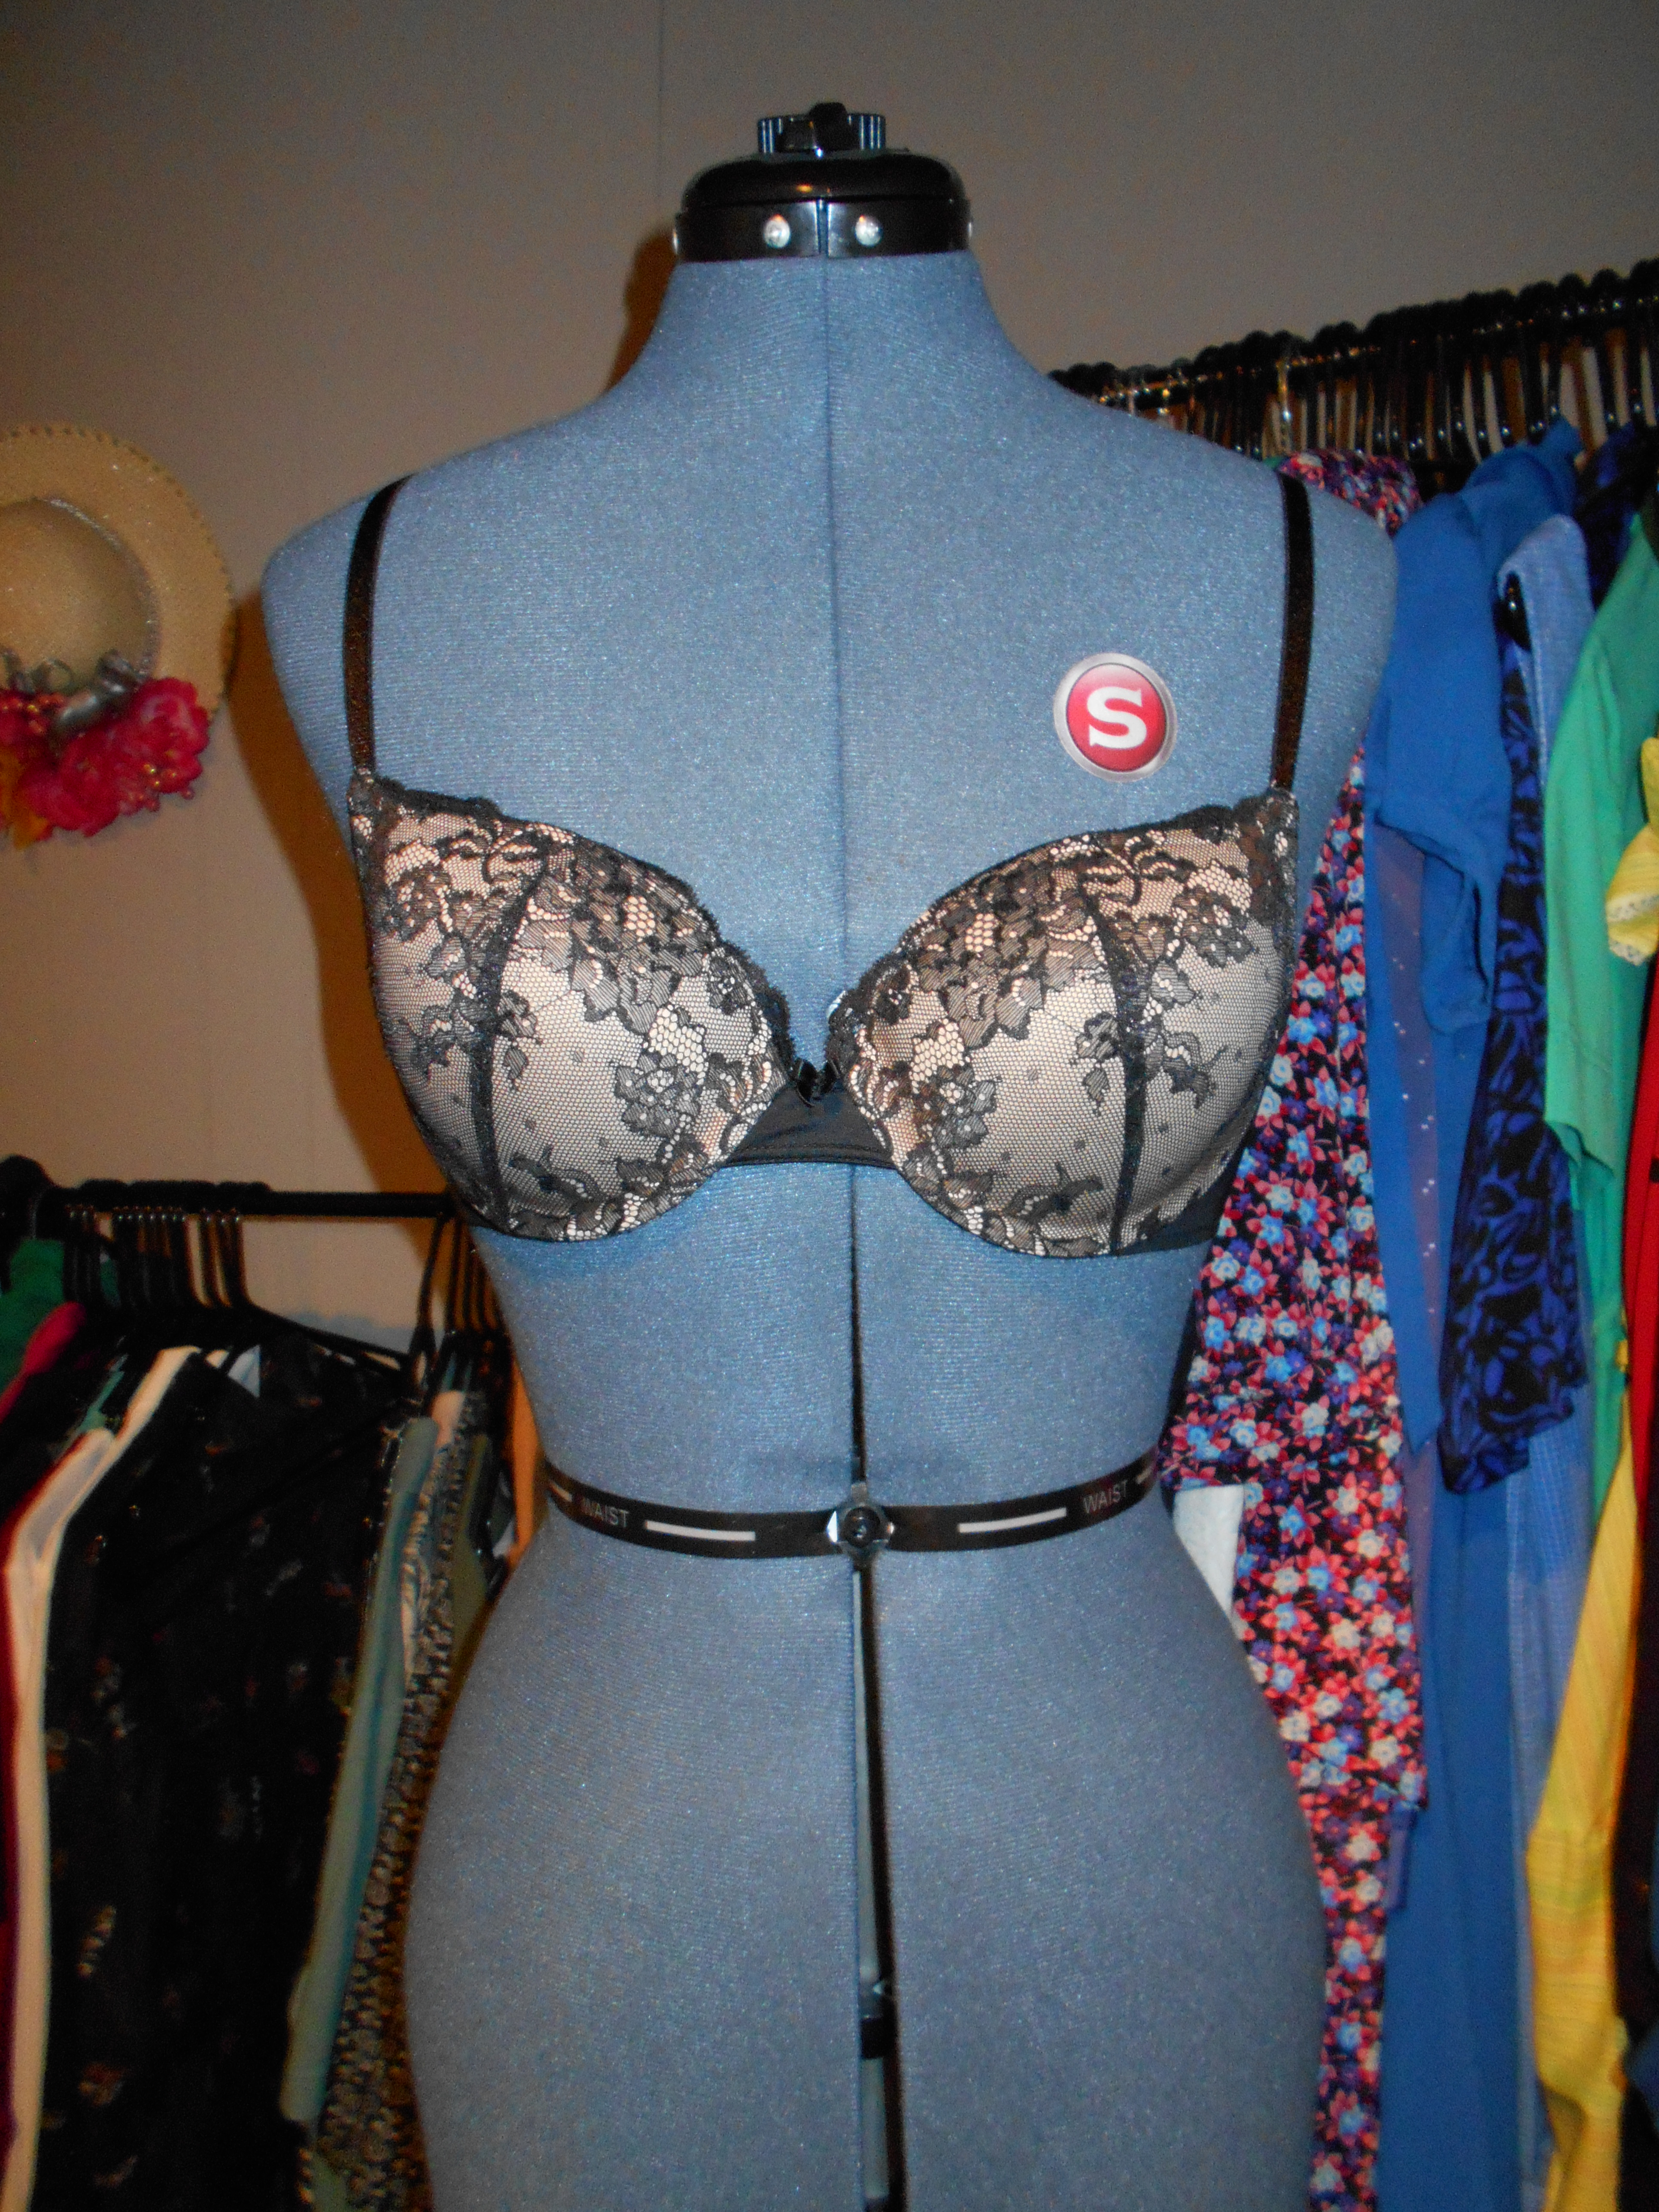
This is something I usually frown upon....Undergarments as OUTERgarments. But seeing that this was a rock concert I made an exception.
But this undergarment will not do all by it's self! It needed some pizzazz!
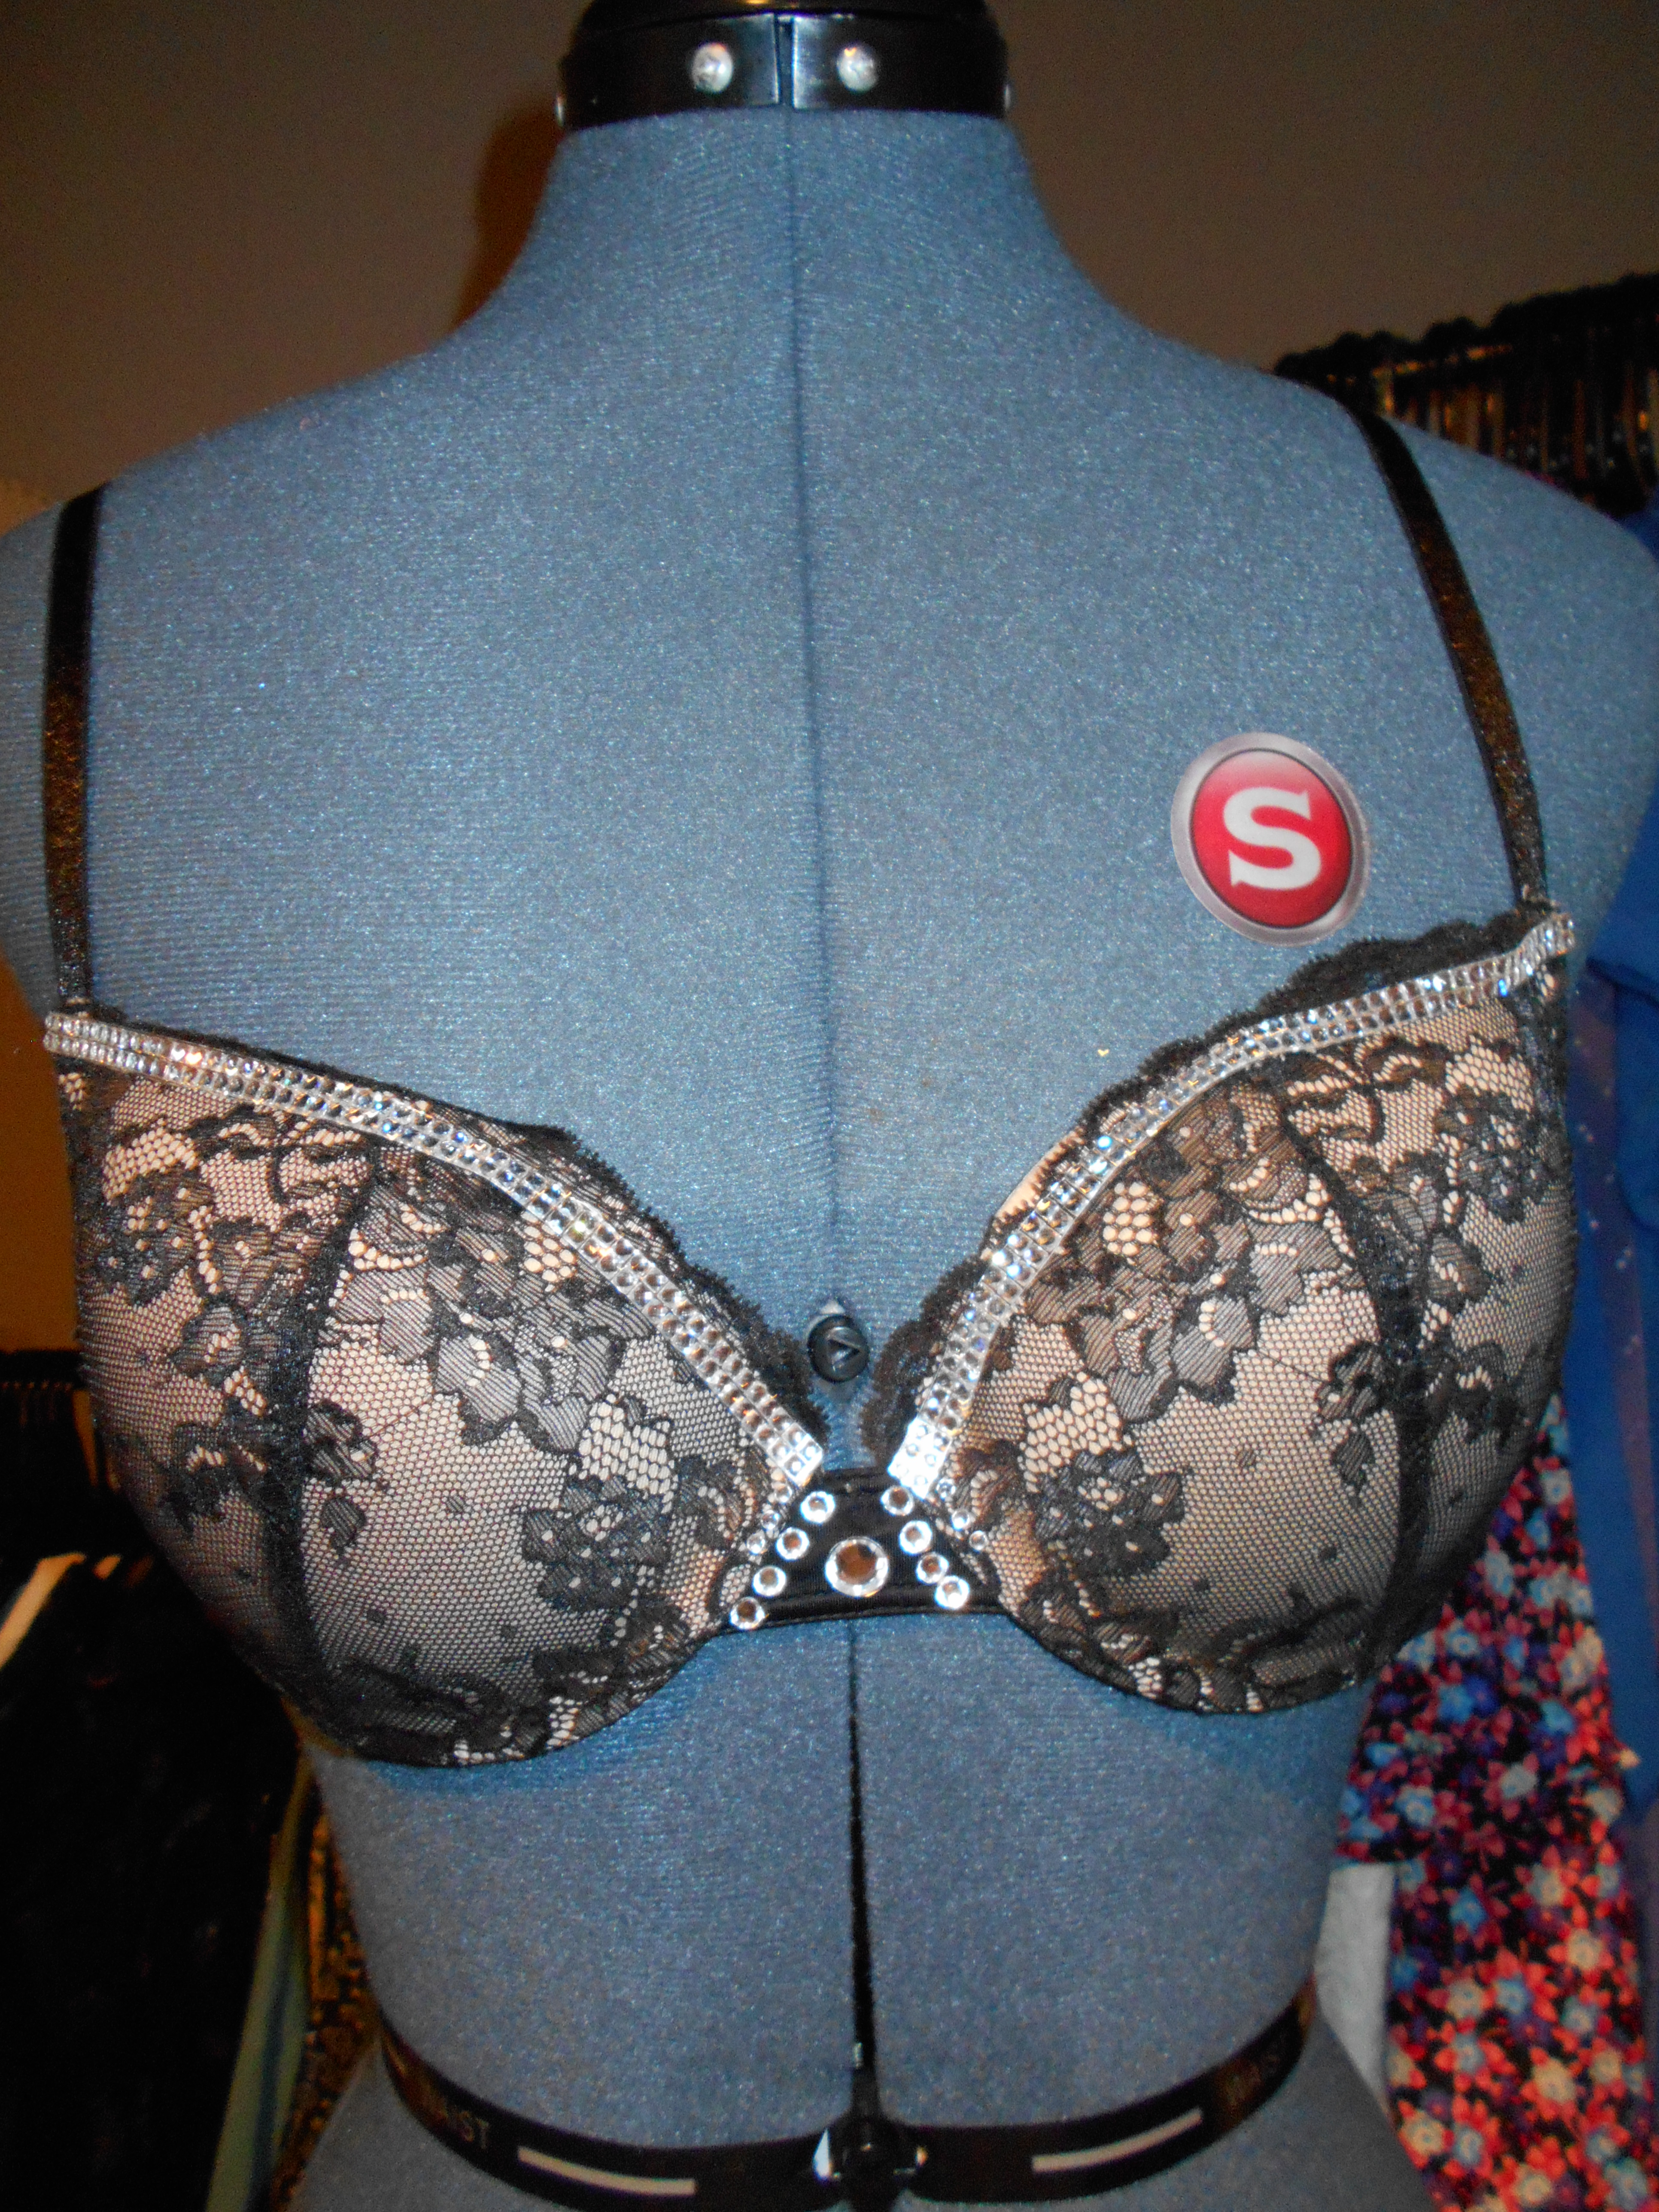
QUE THE BLING!
DSCN1300
I picked up some sticky rhinestones and sheet of rhinestones and stuck that on to add some pizzazz! Ohhh Yeah!
IMG_0166[387]
Foreigner was SO AMAZING!!! I was so happy I finally got to see them in concert! Plus I made a rockin' outfit!
IMG_0174[383]
I also made these cut off shorts a few years ago! Bonus! I think they really completed my outfit! (I had to take my after picture after the show due to the horrible downpour of rain during the show).

Happy Refashioning!!!

Check out my stash of refashions on my blog: http://therefashstash.wordpress.com