Tuesday, October 09, 2018

A recipe for de-puffed sleeves

I have broad shoulders, and anything that makes them look bigger (ahem, puffed sleeves!) is something I'd rather just avoid. However, I have gotten a ton of puffed-short-sleeve blouses from friends offloading their old career-wear, so I've had lots of opportunities to learn how to make puffed sleeves into something a little more streamlined. Often I just remove the sleeves entirely, but I discovered a useful technique for keeping the sleeves and just removing the puff!

In short form...

Start with a shirt with puffed sleeves:

Detach the top halves of the sleeves.

Iron out the wrinkles, re-attach the sleeves from the bottom up, and sew a seam across the new top edge of the sleeve!

After cleaning up the new seams and hemming the sleeves to your ideal length, you will get something like this:

That's the gist of it! I go into a little more detailed description over on my blog post.

It seems like huge sleeves are coming back into fashion, but they're just not for me, so I'm glad I can count on this technique to get ordinary, unobtrusive sleeves out of any puffy top! I hope this helps some other people, too! Thanks for reading!

--The Unfashionista

Friday, October 05, 2018

 Hello Refashion Co-op. Sometimes I find some strange clothes at clothes swaps. It adds to the fun of hunting for clothes.
 

 This light-weight sweater dress was extremely small and tight. It was also super low cut. I would need to be a foot taller and 40 lbs lighter to fit in this dress properly.


I decided to use this green blouse to make the dress bigger. It had a rip in the sleeve, so I didn't mind cutting it up.
 

I cut the dress open in the front and inserted the lace panel from the blouse. I wasn't sure what to do with the lower half of the dress. I didn't have anything to fill it in with. 


I decided to cut it off and make a shirt. I added the waistband from my sewing scraps. It looked great with a high-waisted skirt, so that is how I wore it. (See the photo above.)


Thanks for reading along, for more pictures and details go to I Can Work With That.

Wednesday, October 03, 2018

If Charlie Brown Wore a Dress

Hello Refashion Co-op. I loved the fall colors of this dress the moment I saw it. The chevron stripes made me think of Charlie Brown from The Peanuts. When I really looked at the dress I decided that there were just too many stripes. It was a little overwhelming.


 I cut off the skirt and started making a top. It was a nice soft light-weight knit, It would make a great fall sweater. I was originally just going to turn that lower edge under and give it a hem. The lining got all tangled in my machine, because I was using the wrong bobbin. Now I had to do something else.
 I thought I should remove the nylon lining, because it was so destroyed and because I hate nylon.


This was a huge mistake because there was a lot of mess hiding under that nylon lining. There was some ugly net stabilizer around the neckline. And now it was all hanging out. Ugh! I am not proud but I attacked it and cut off the elastic waist and all the material attached to it. 
This left me with a very short sweater with a very ugly neck.


The only solution I could come up with (Besides setting it all on fire.) was to use the skirt I had cut off to make it longer. I couldn't match up the stripes exactly.


 I added some narrow elastic when I stitched the two striped pieces together. It gave the sweater a more defined waist and the gathering kind of hide the imperfect stripes.


I used my machine to stitch the neckline down and that kept the net hidden under the sweater. I cut off any excess netting. It all turned out alright in the end.


Thanks for reading along, for more pictures and details go to I Can Work With That.

Sunday, September 30, 2018

Just Ducky Refashion

I have been very productive this past month. I have been finishing at lot of unfinished projects and let me tell you, it feels great!
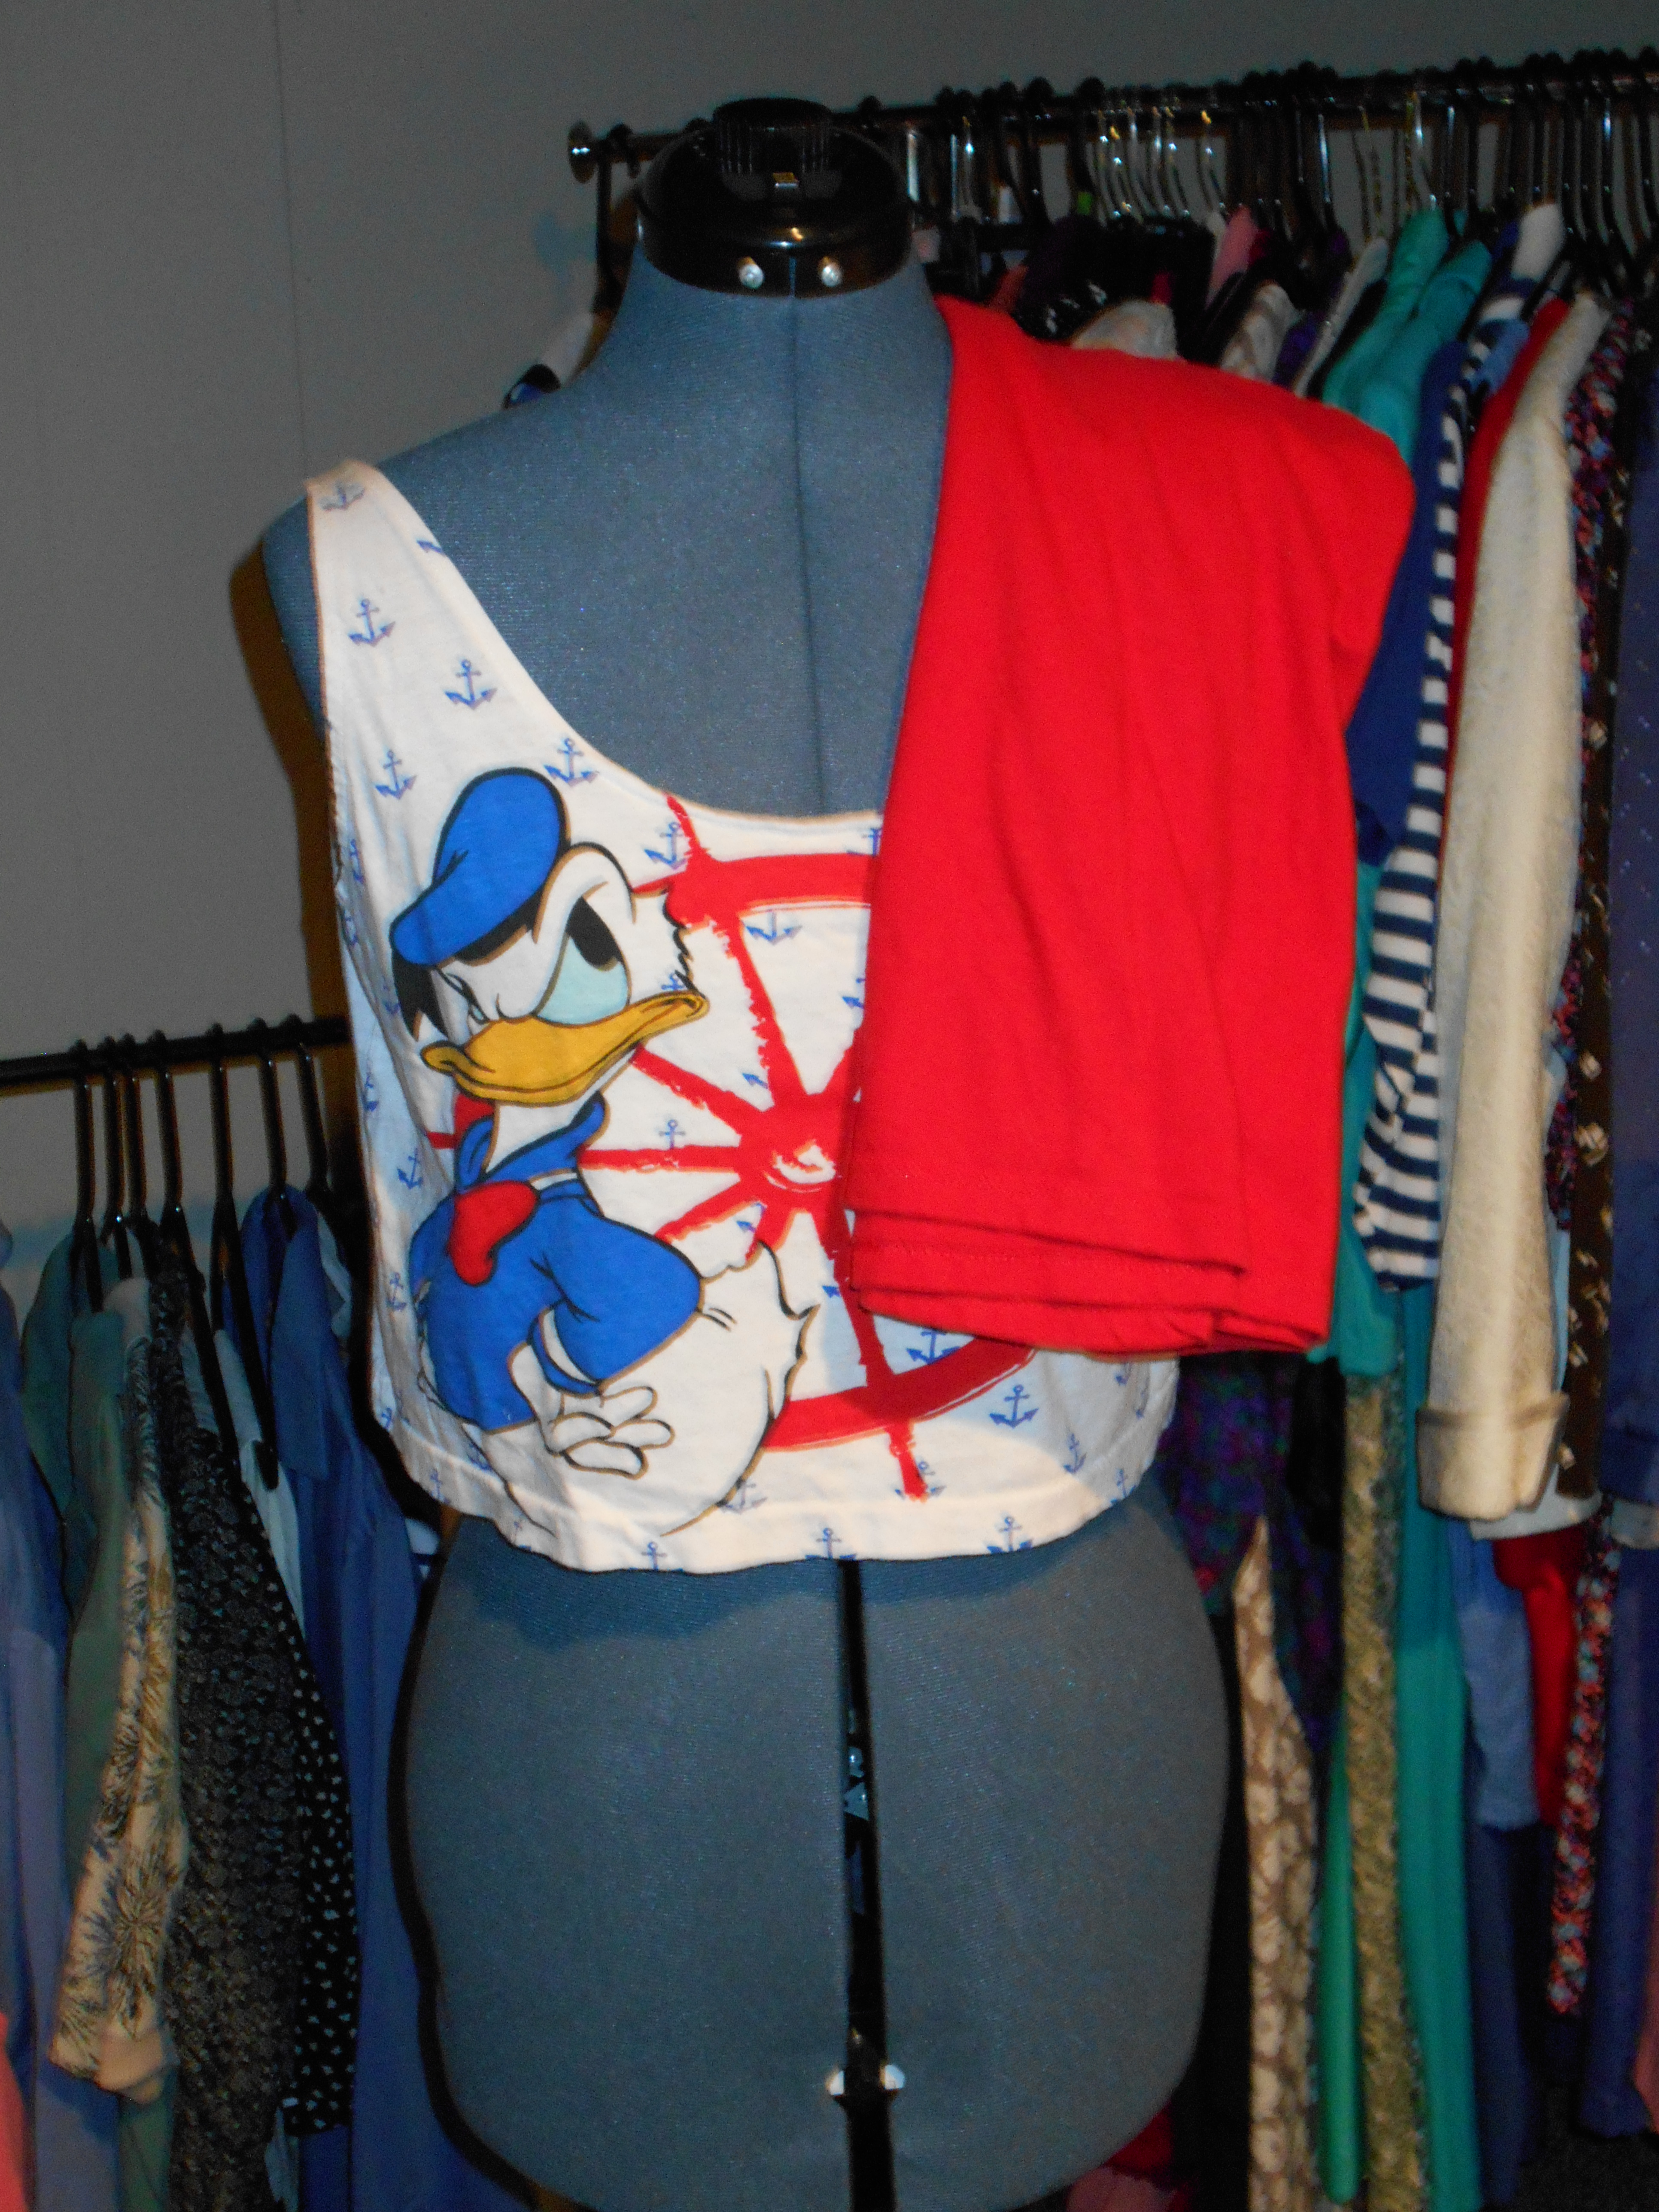
DSCN0612
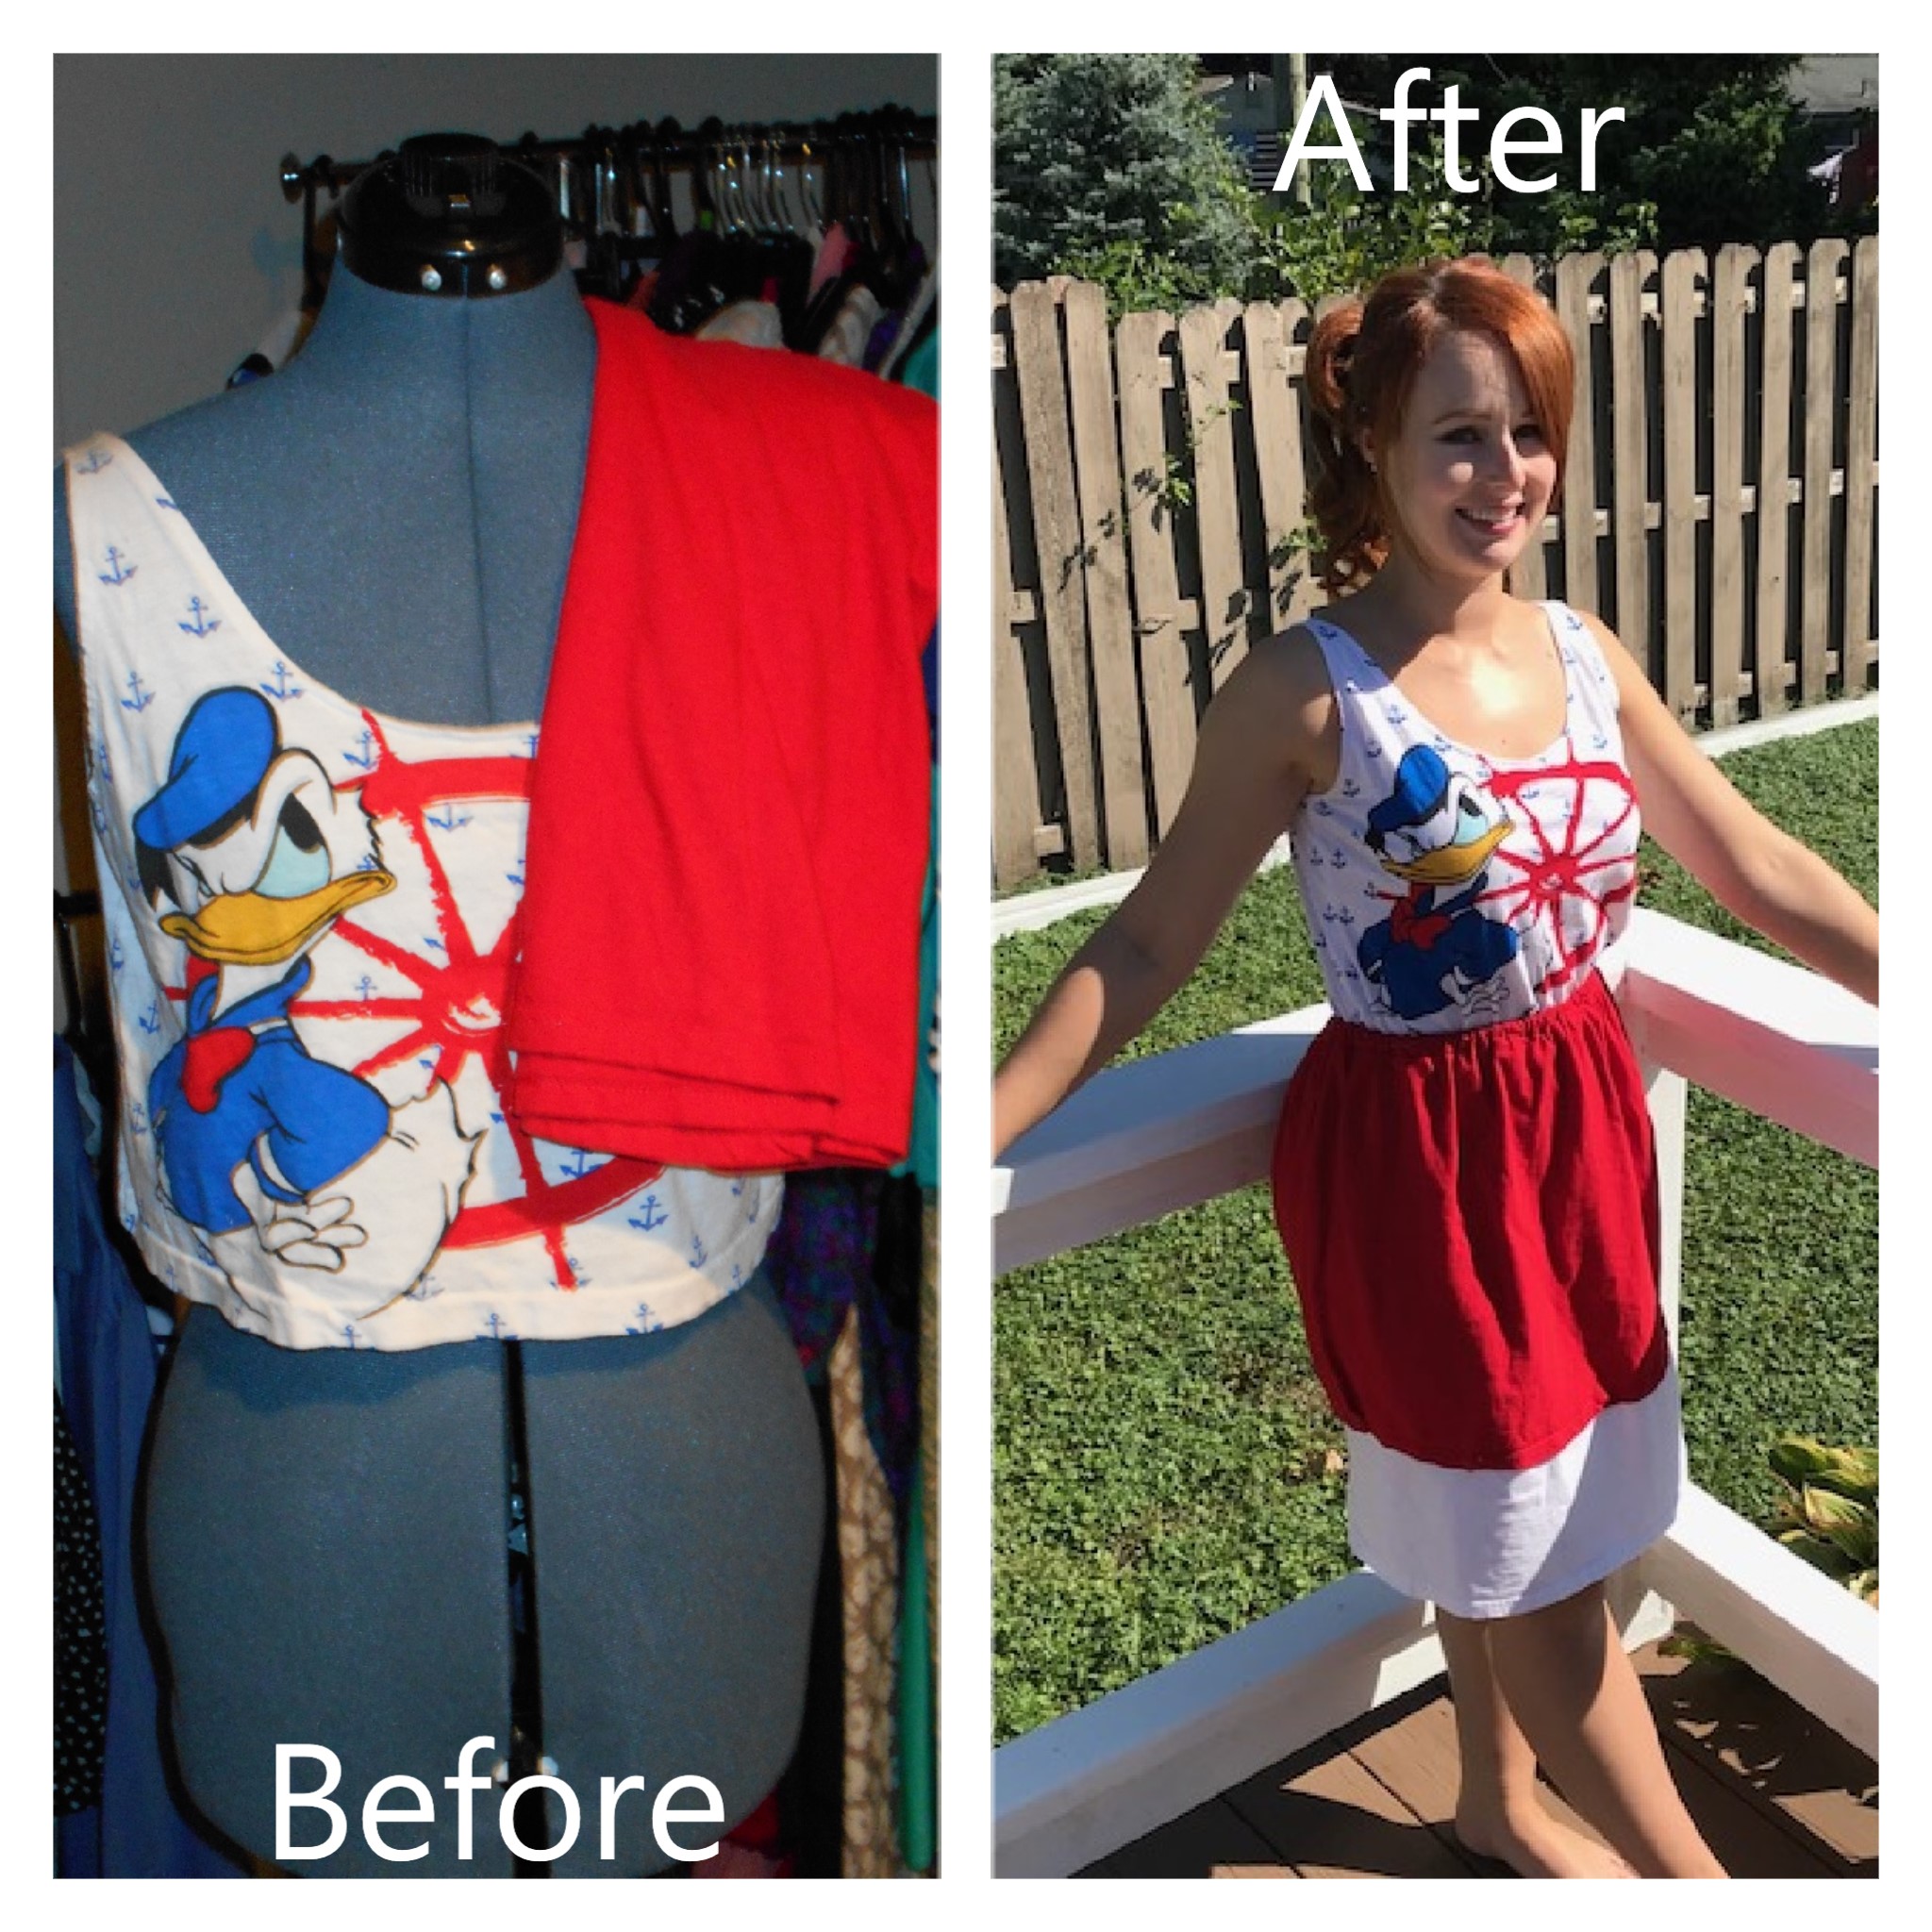
I acquired this Donald Duck crop top a few years ago and was really looking forward to making this into a dress but every time I sat down to finish this the weather turned cold.

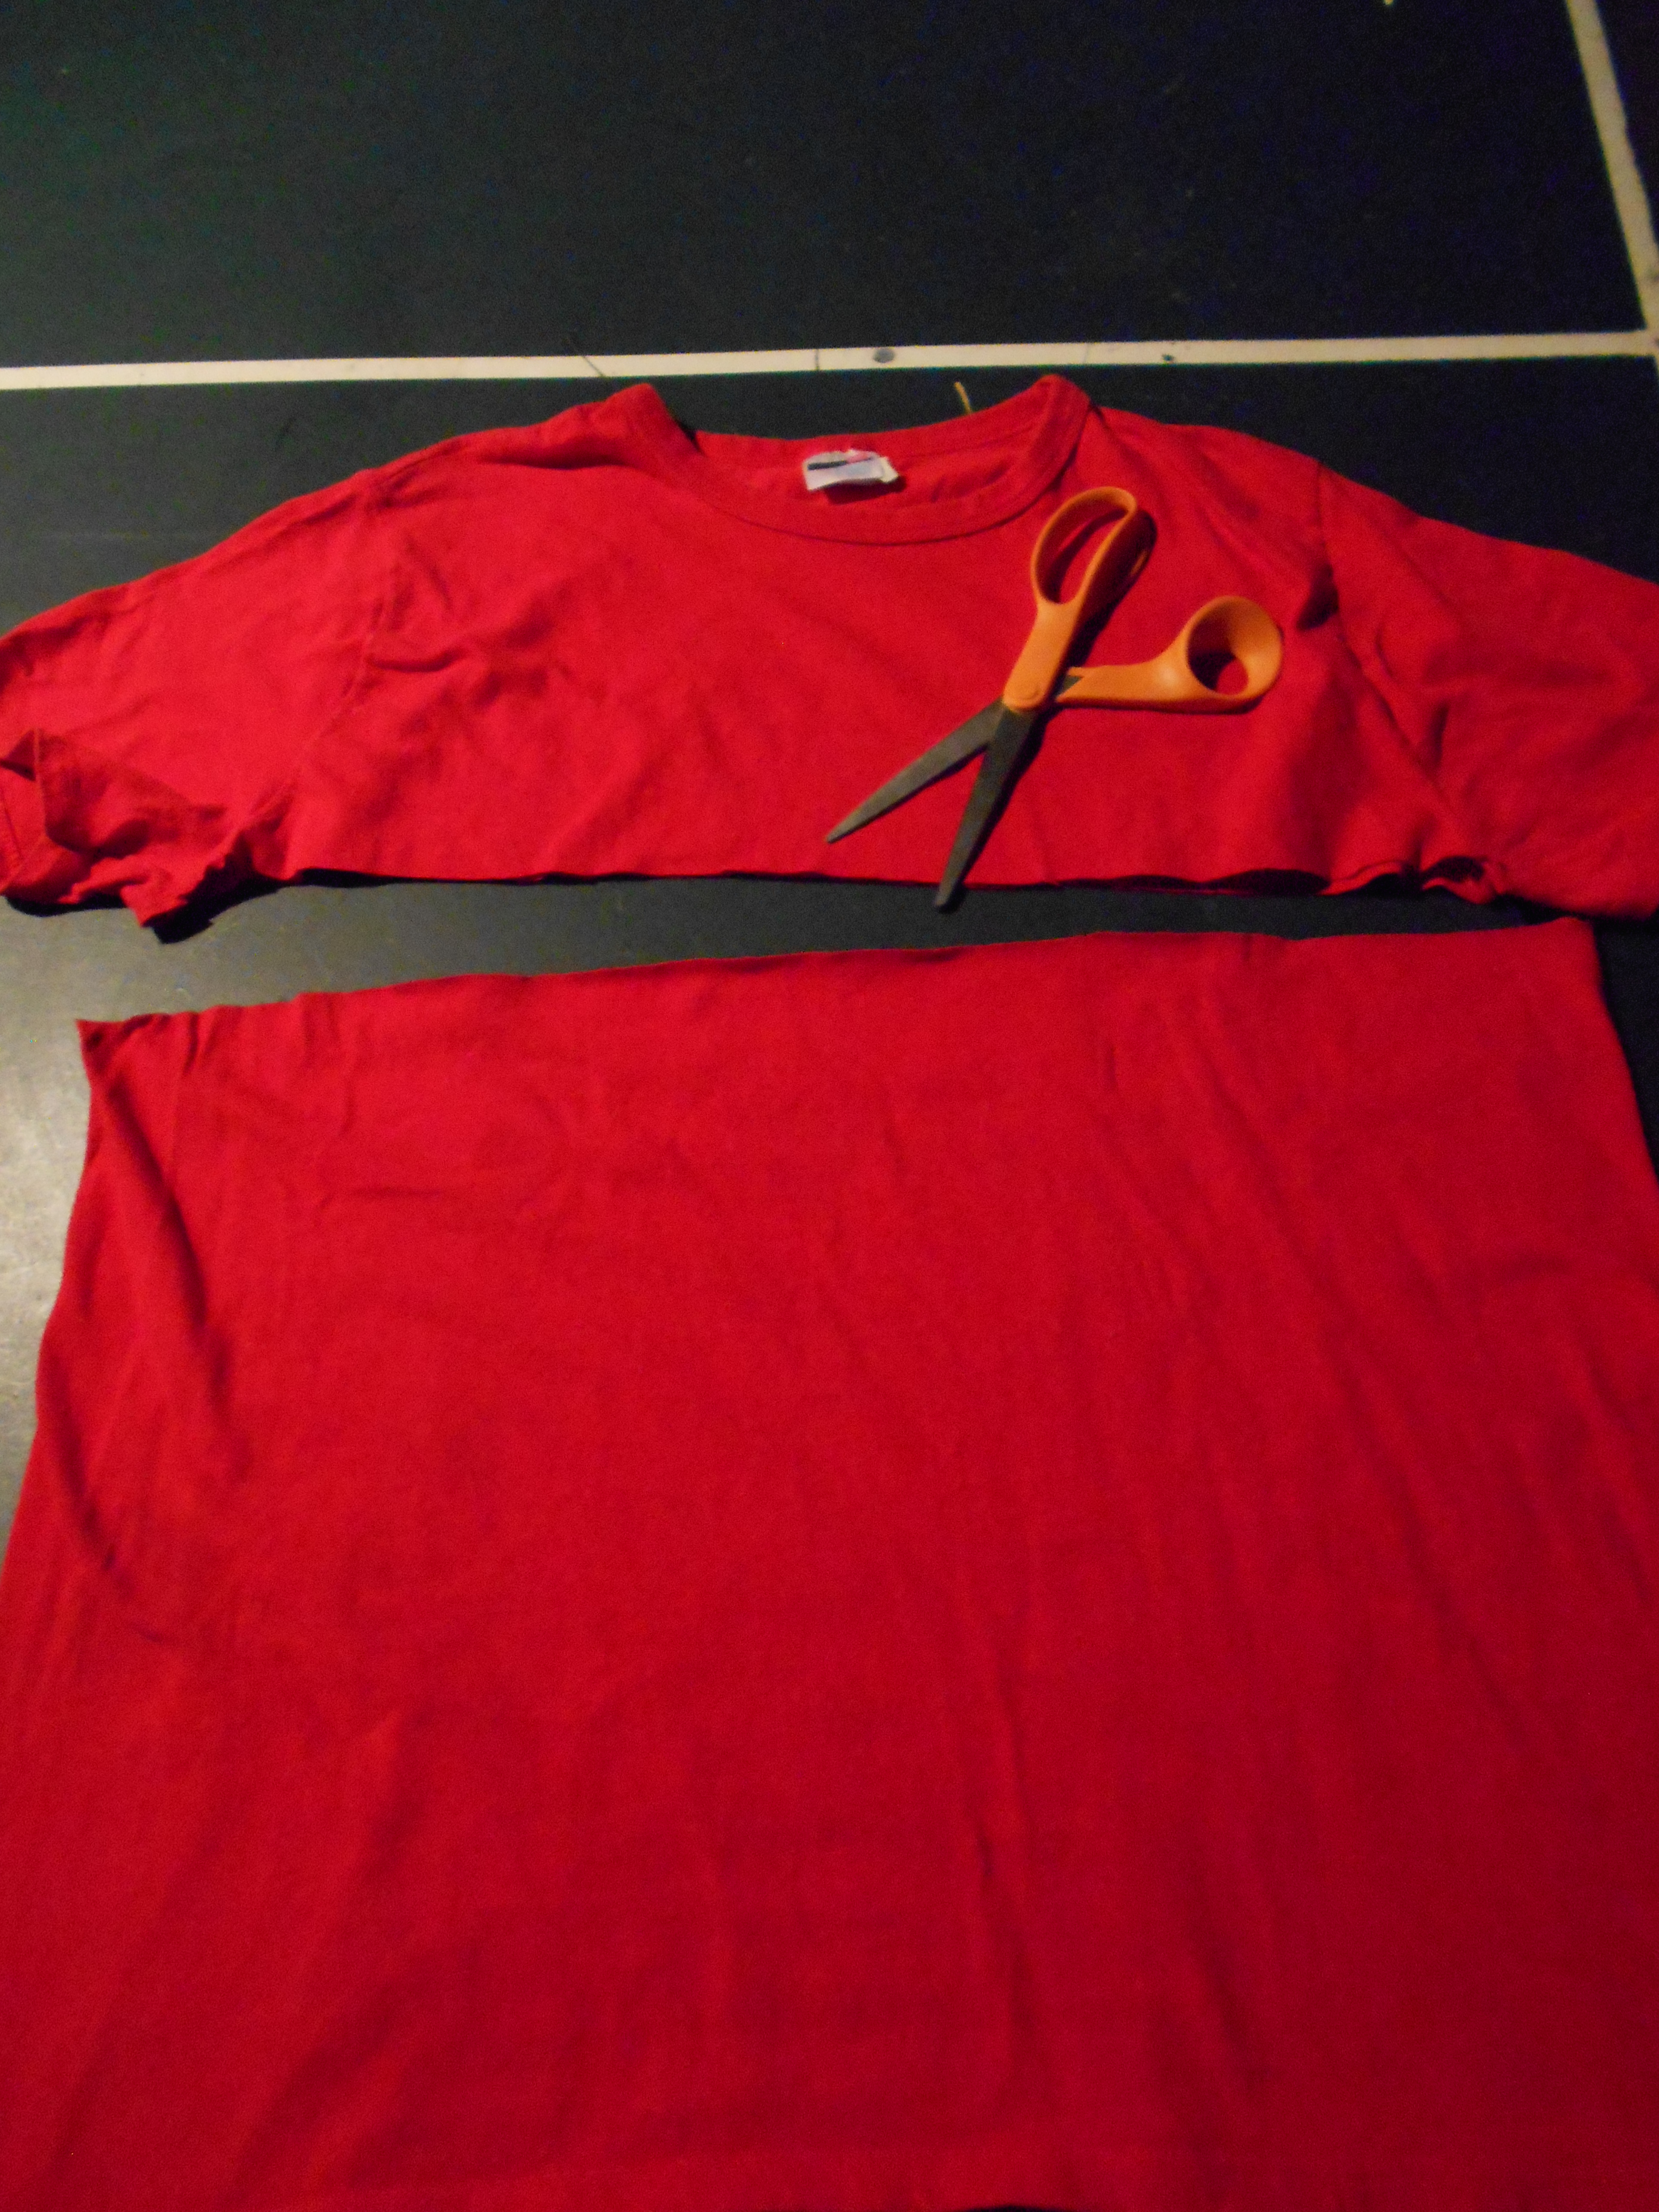
DSCN0615
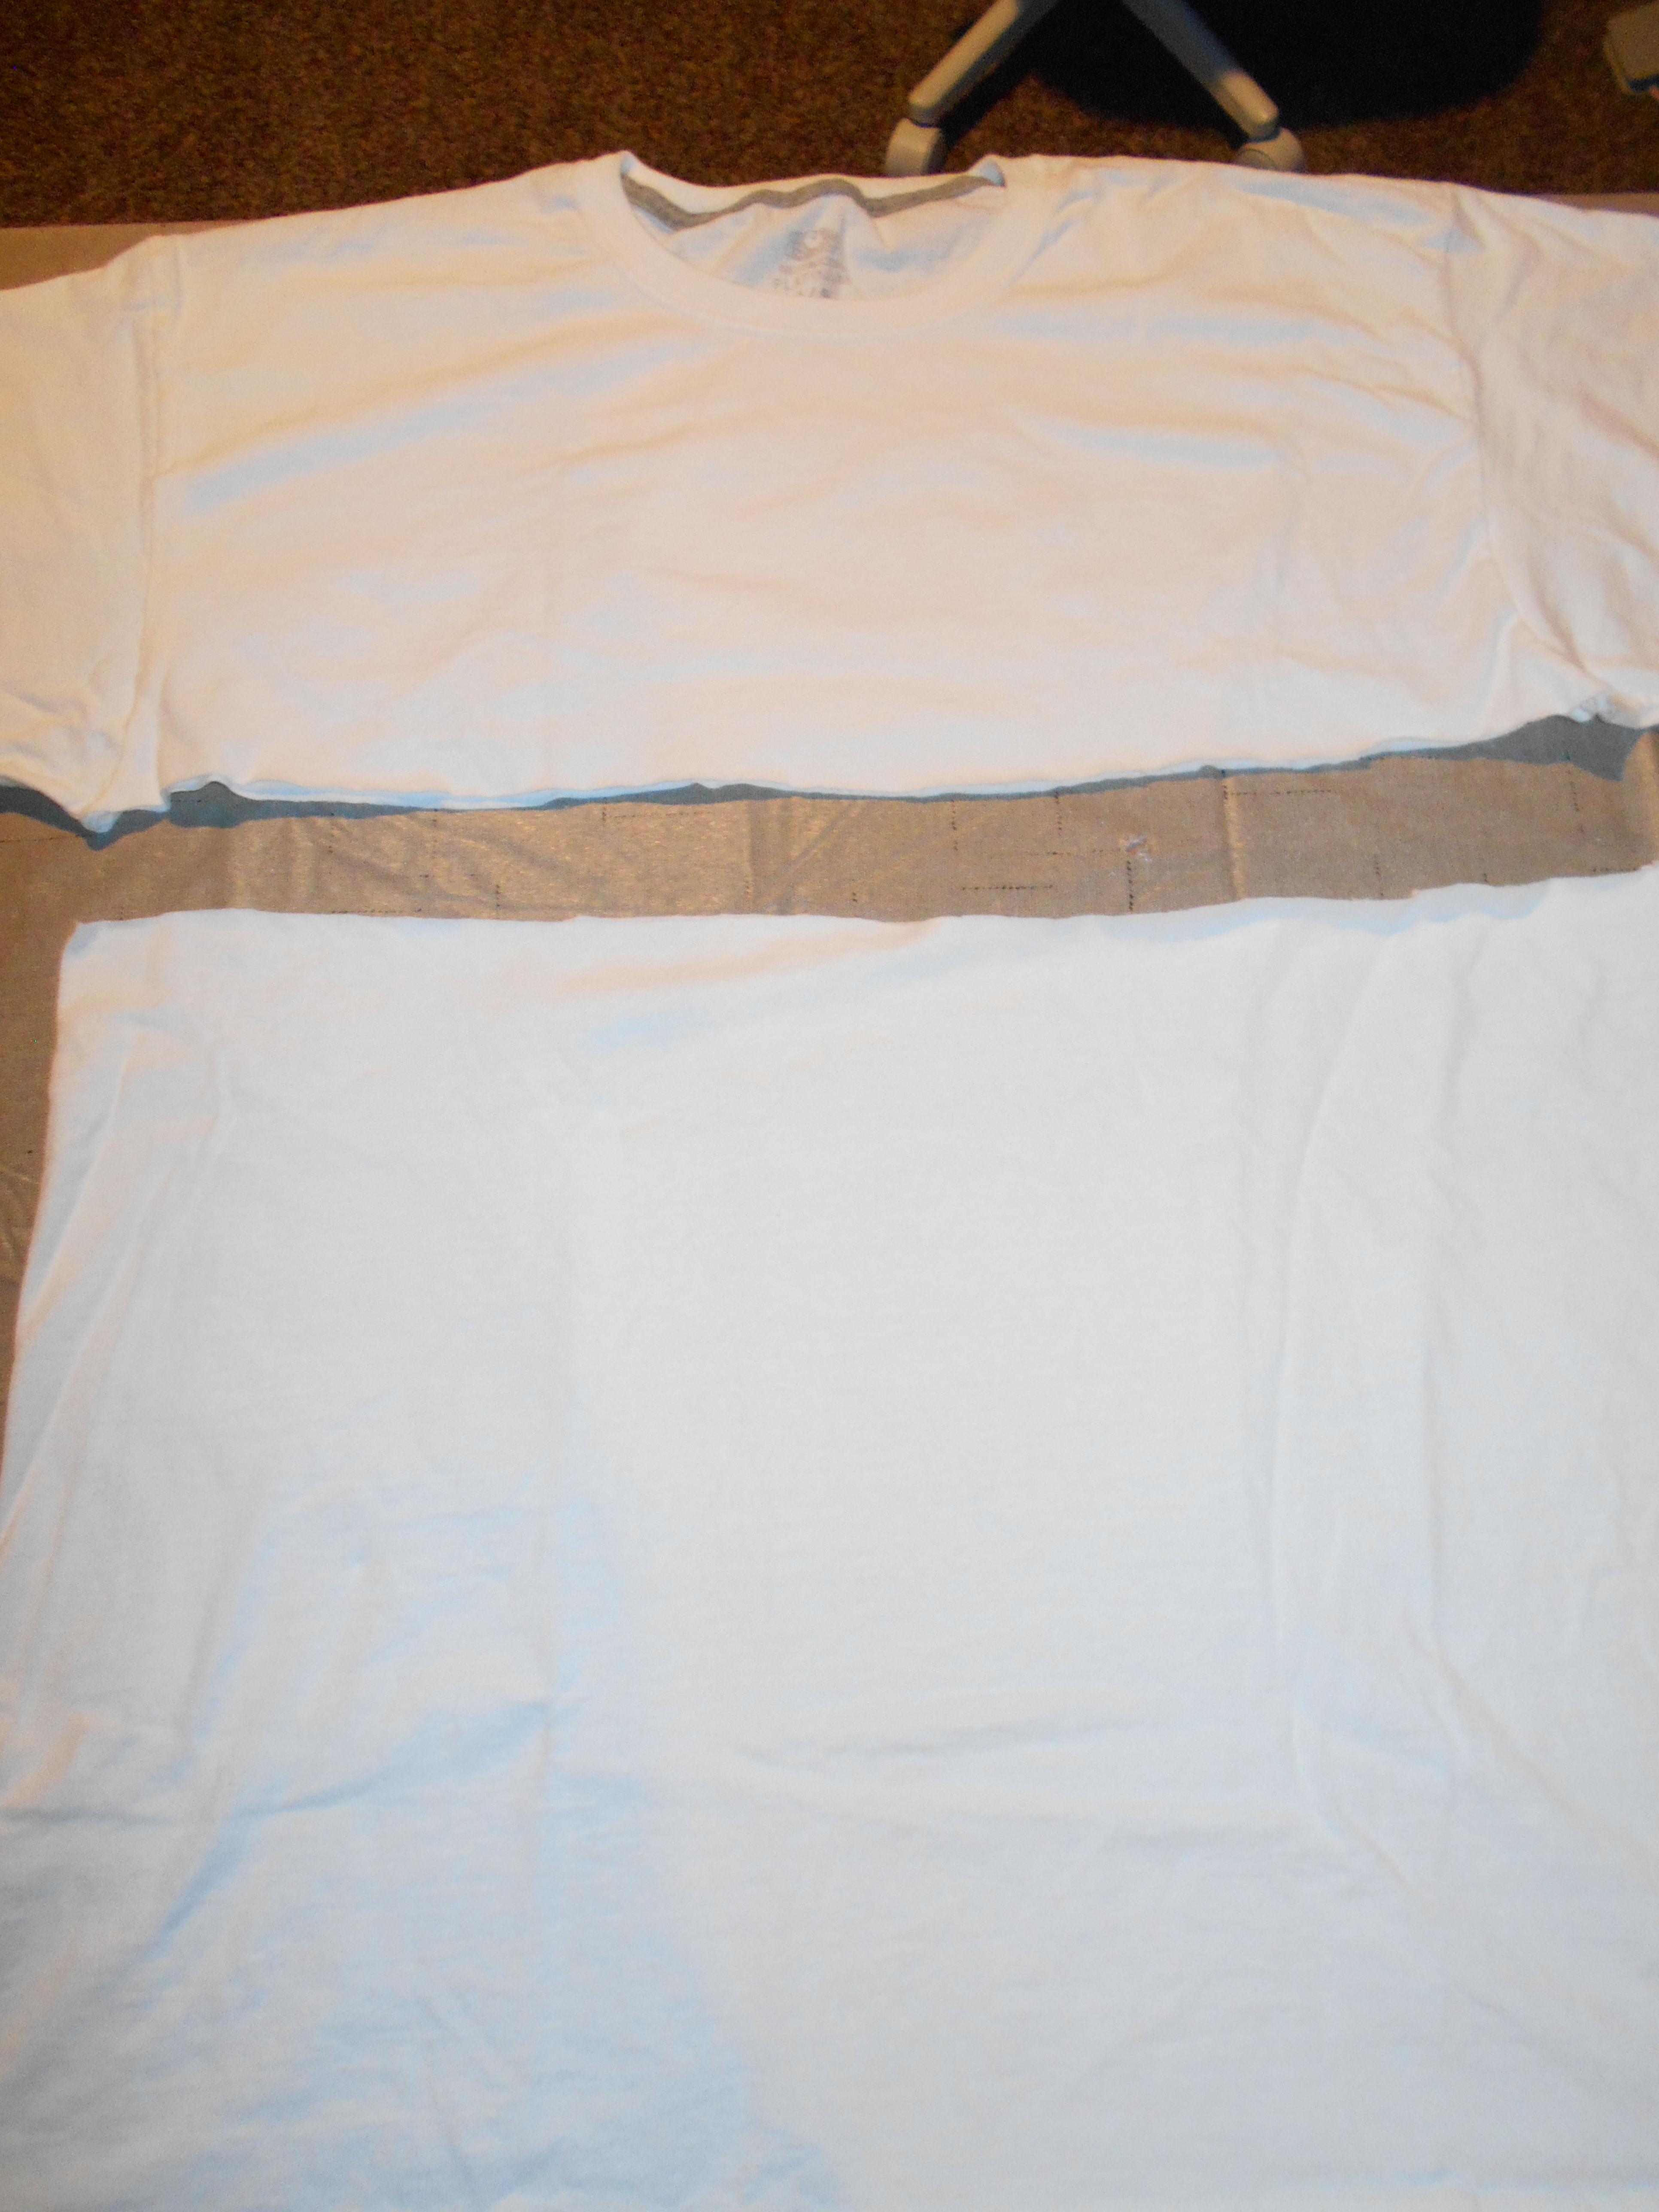
I began by making a skirt using this XL men's t-shirt. I cut just below the sleeves.

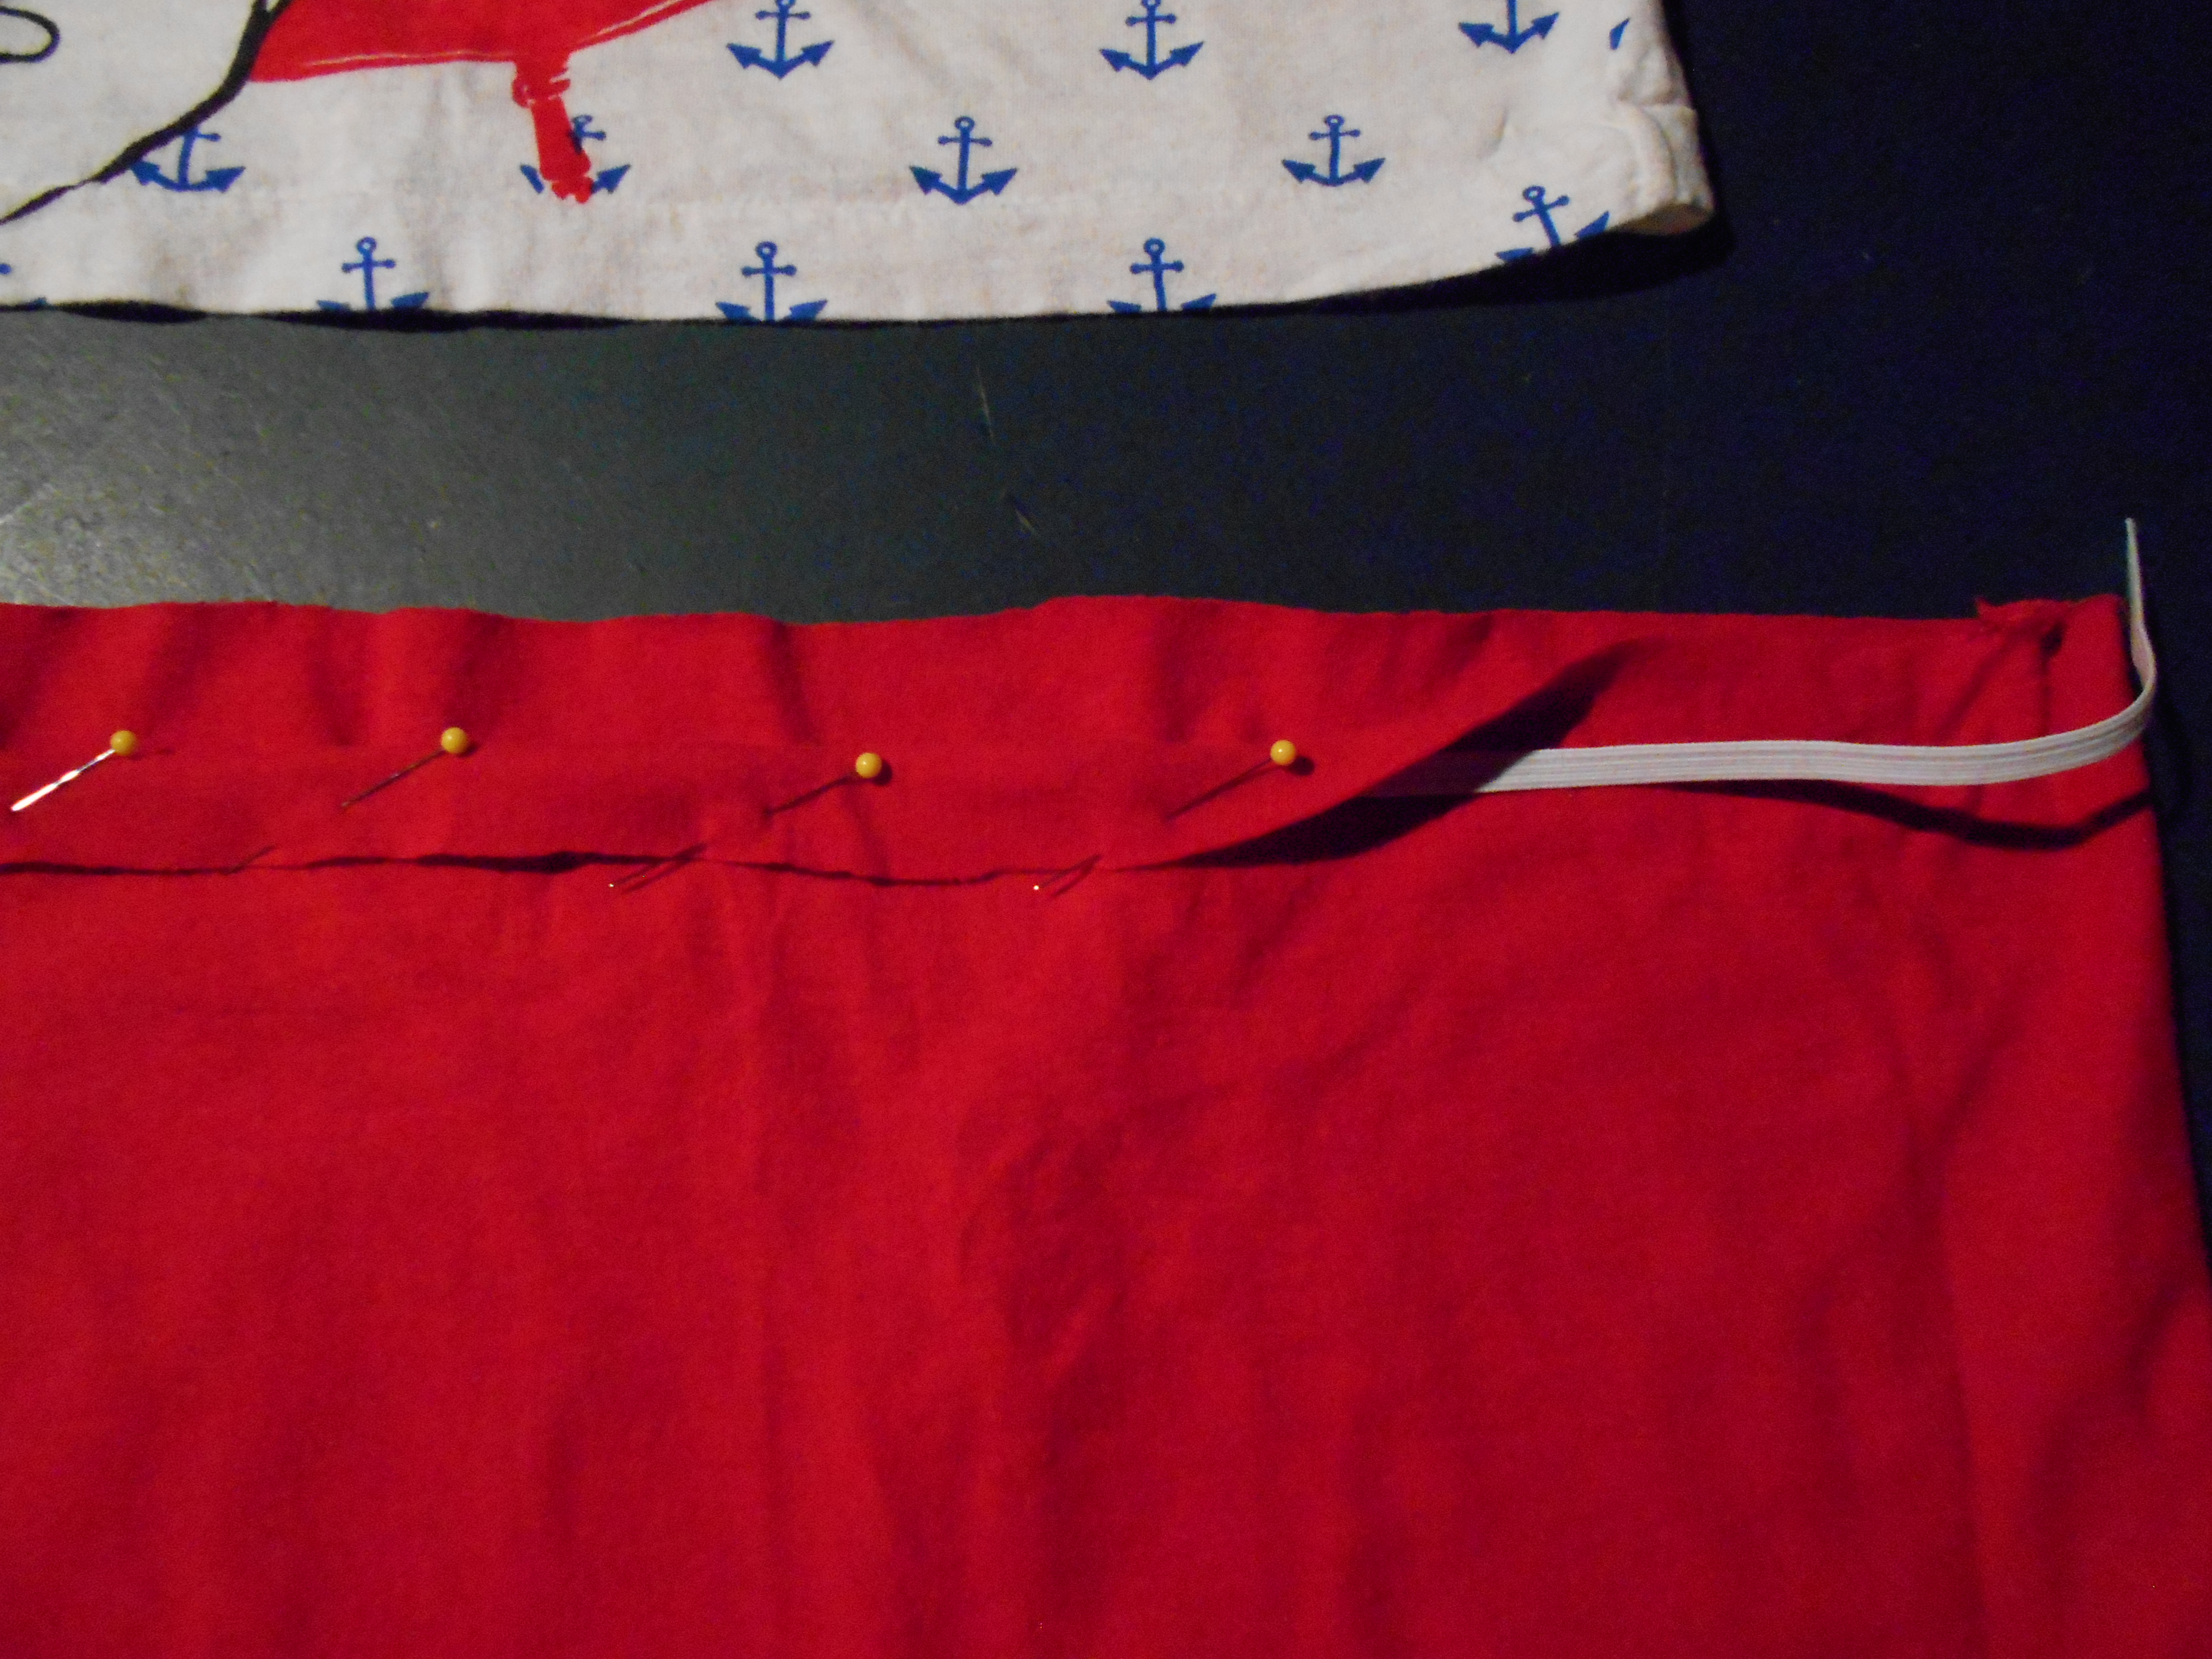
DSCN0617
I folded over the top just enough to make a casing for 1/4 inch elastic.

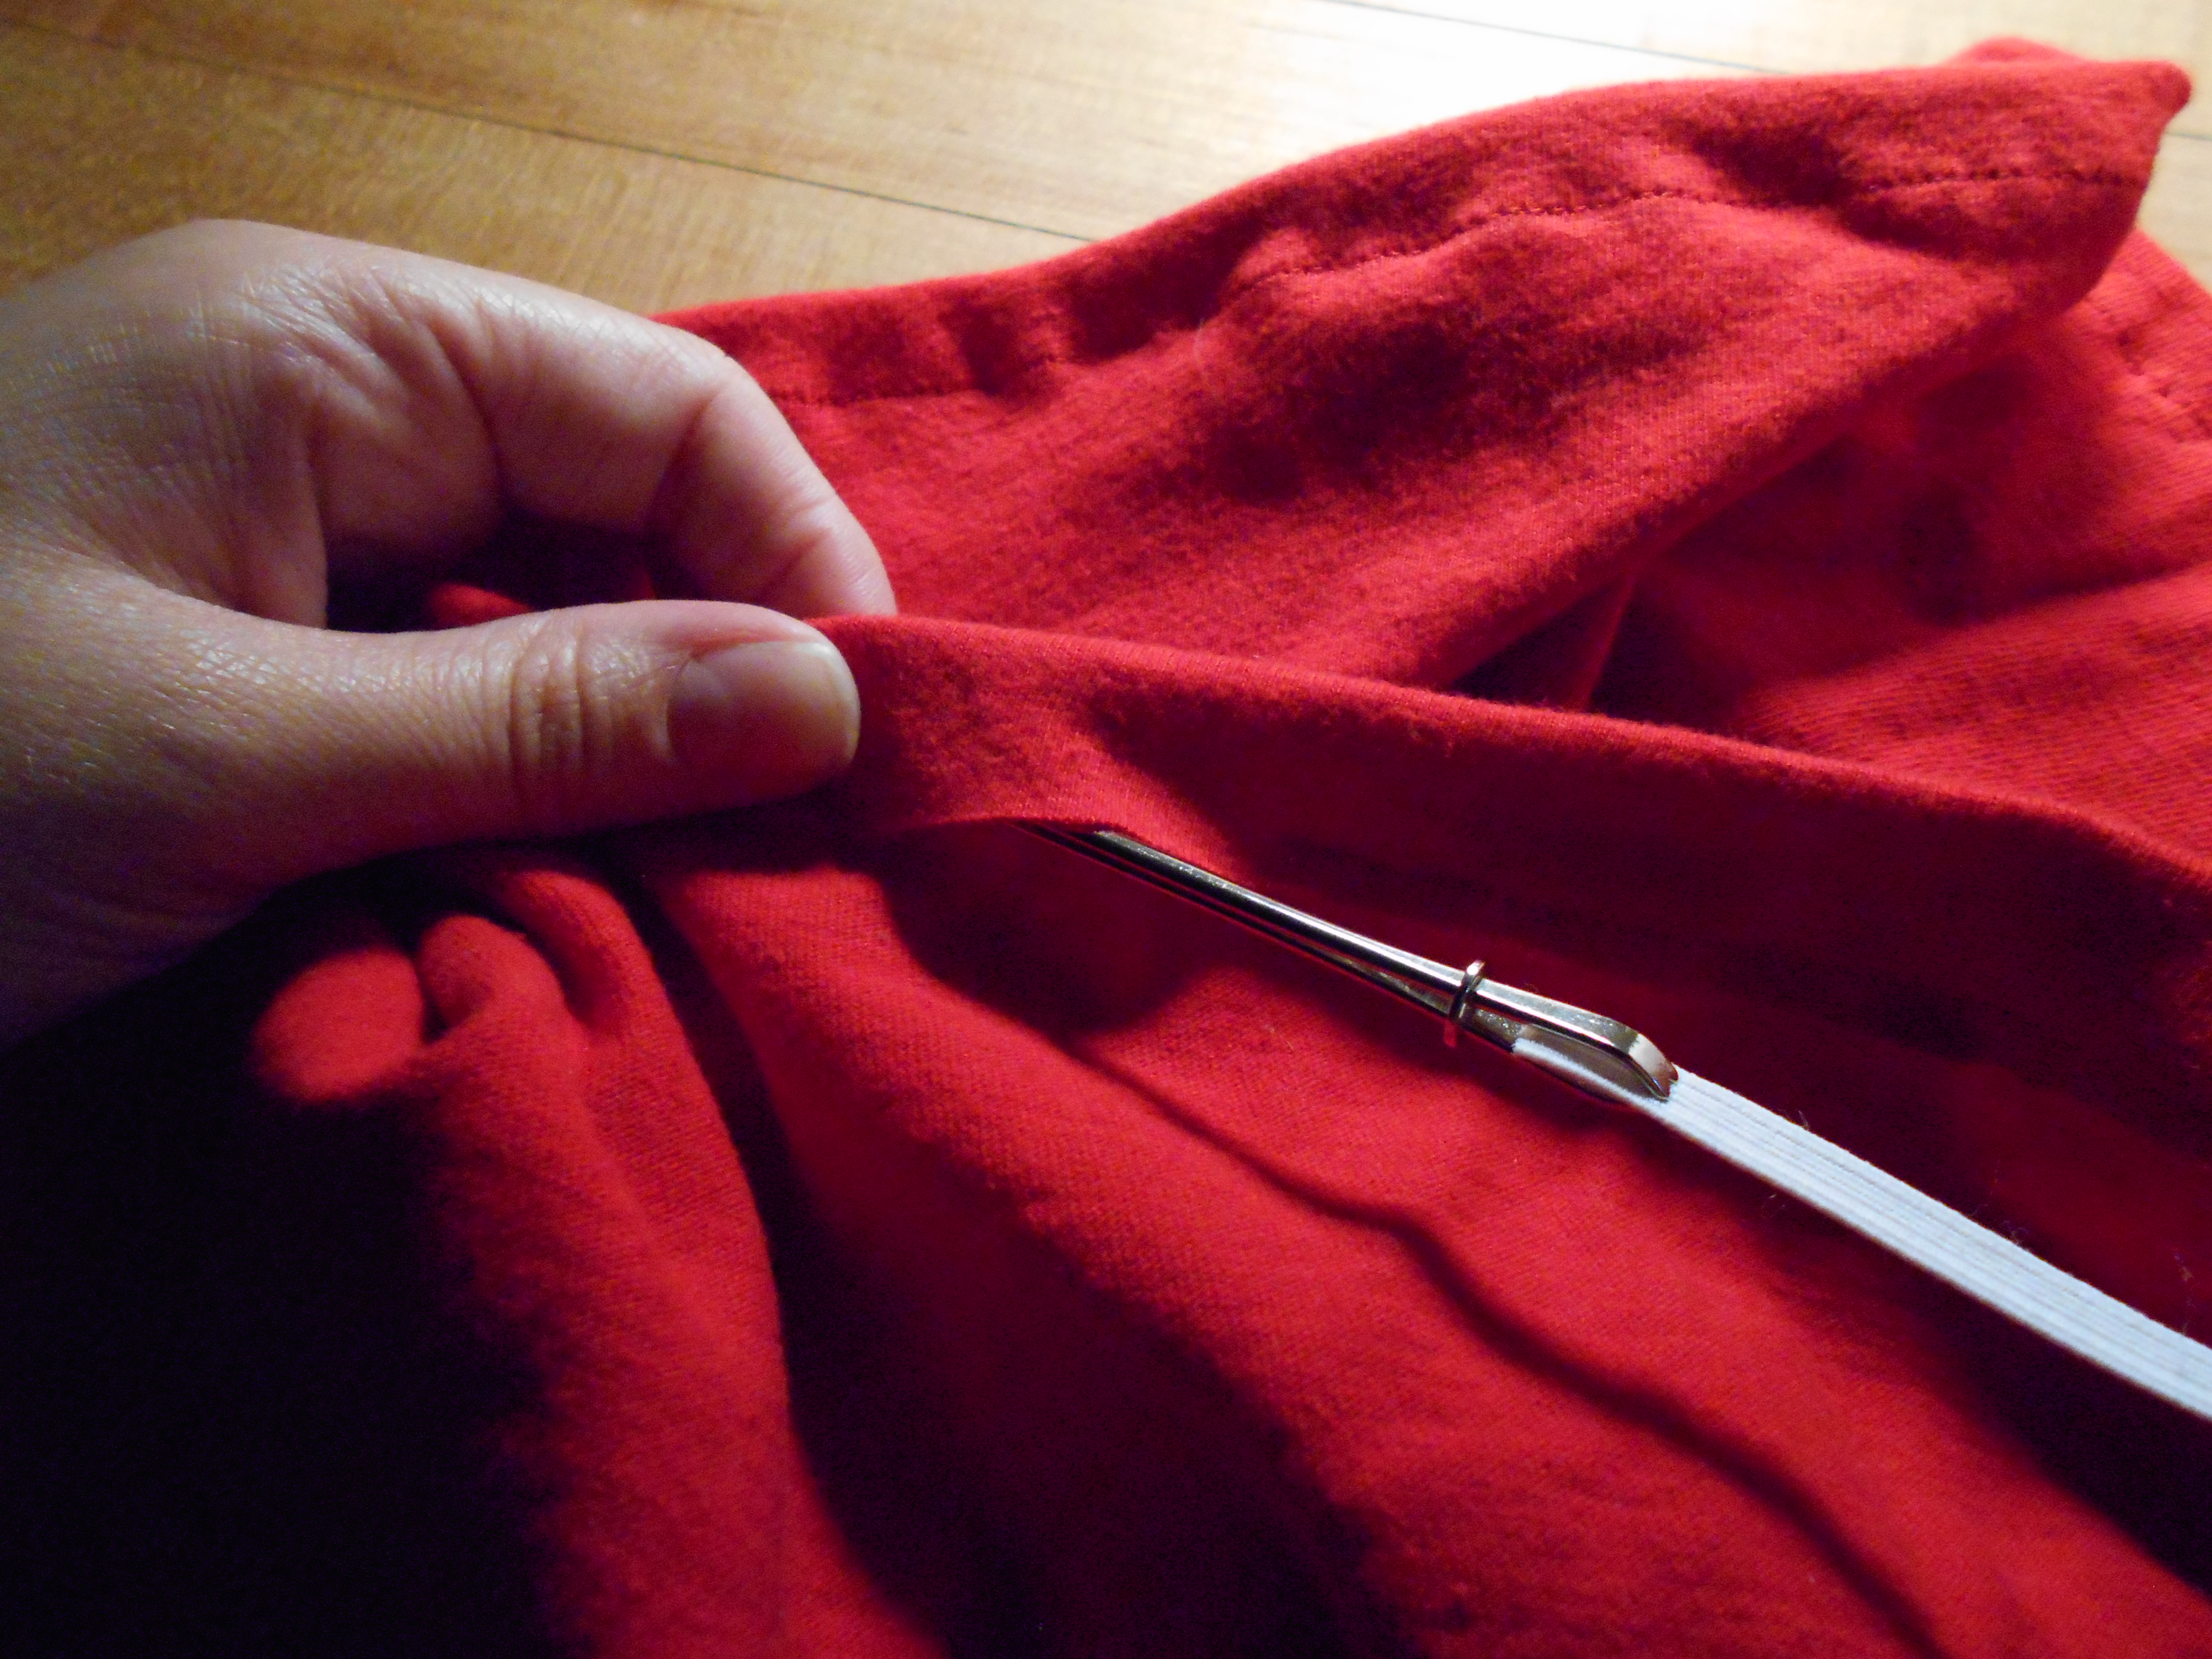
DSCN0619
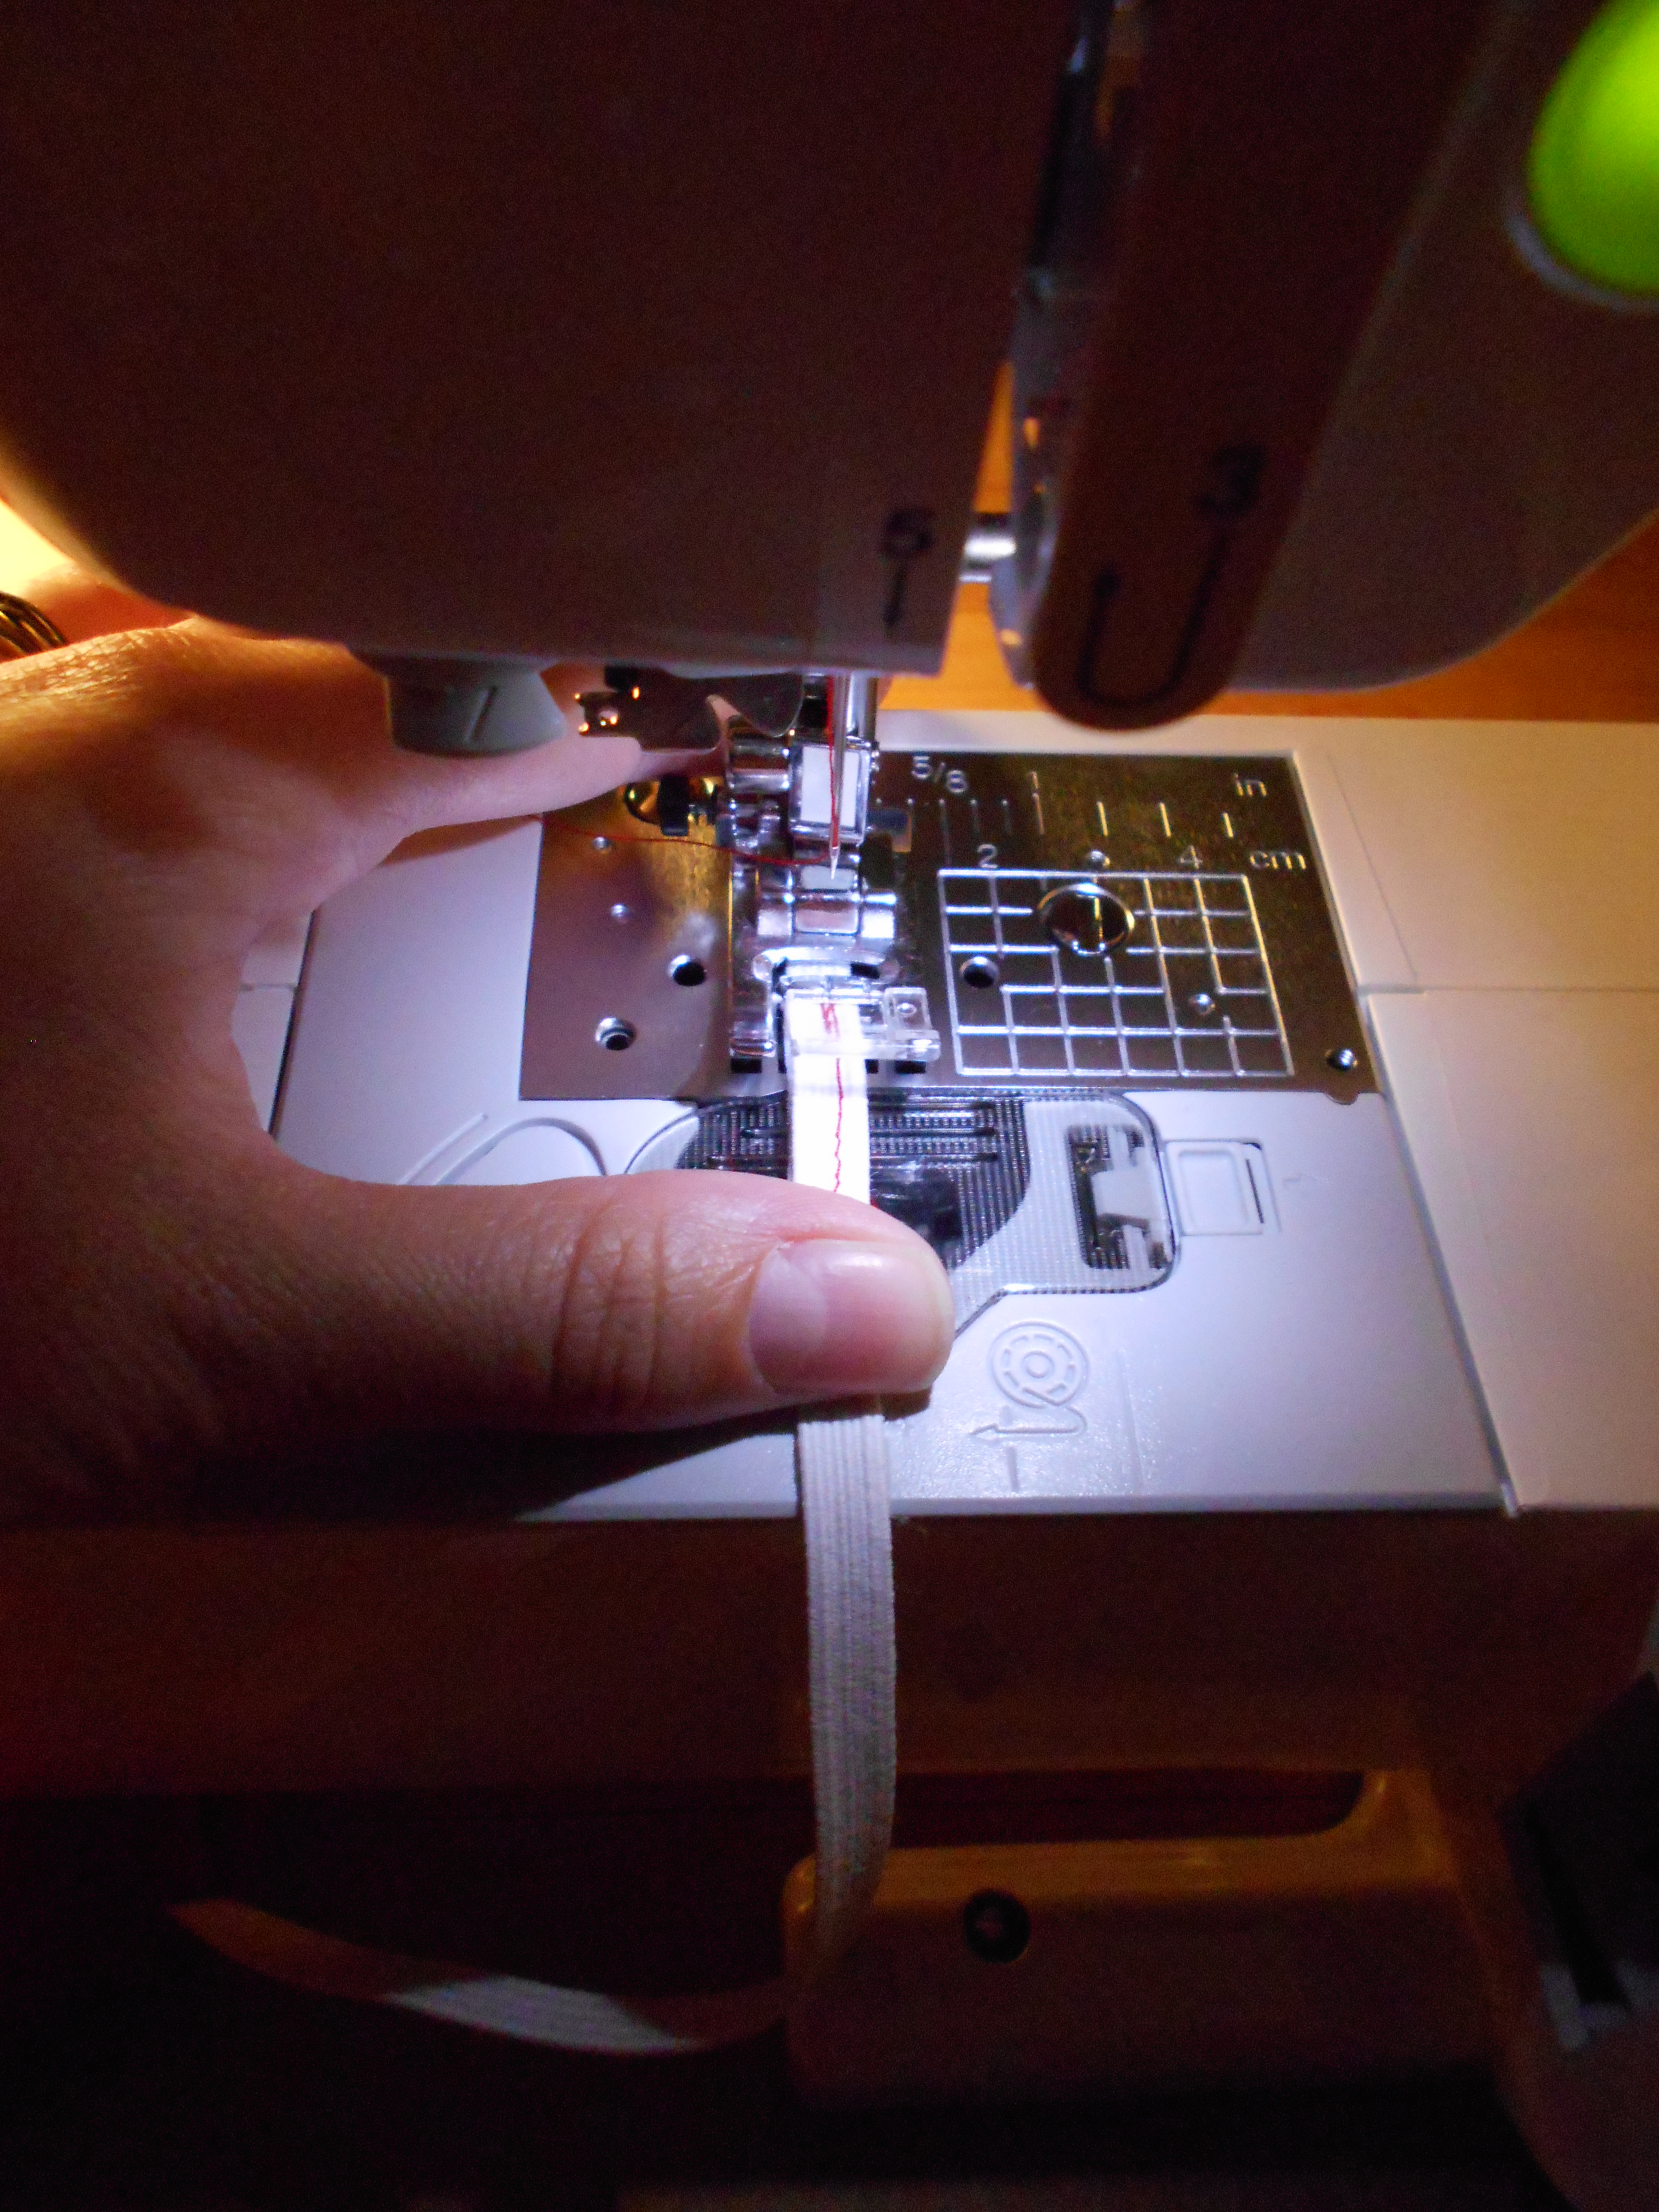
Threaded the elastic through with my bodkin.

DSCN0620
Once the elastic waistband was through the casing I stitched the elastic ends together.

DSCN1669
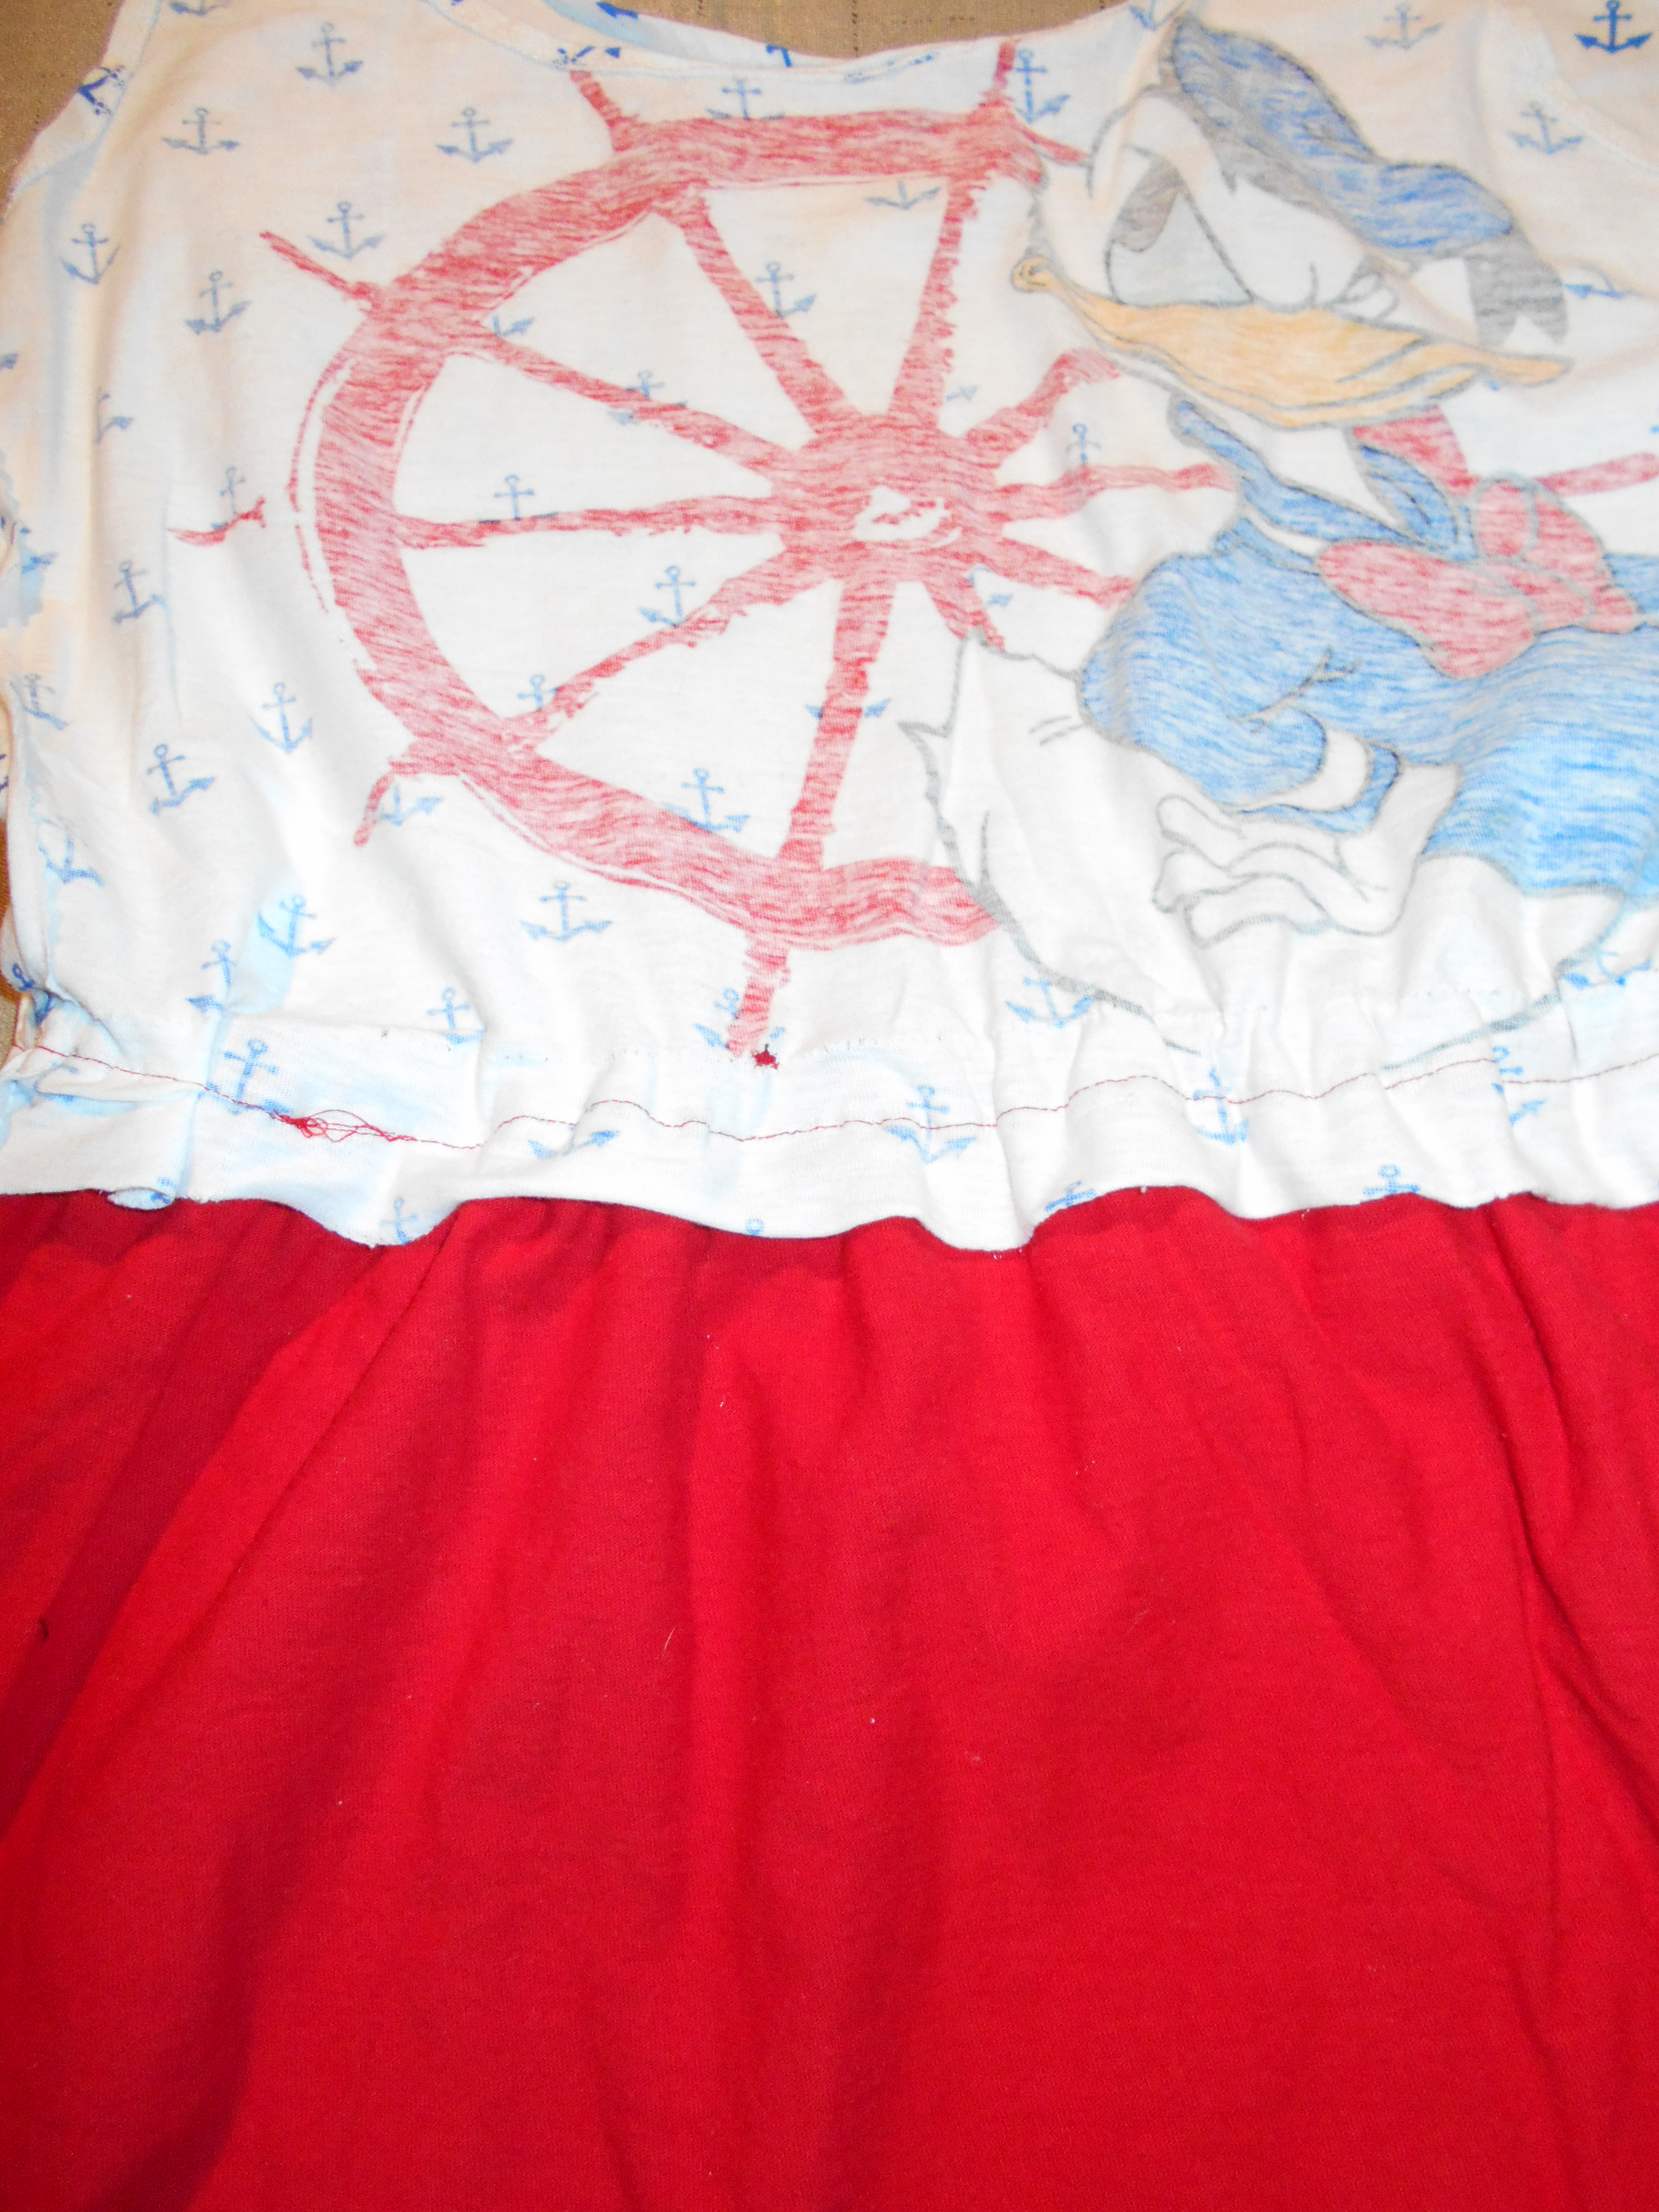
Then I stitched the crop top to the skirt I just made.

DSCN1670
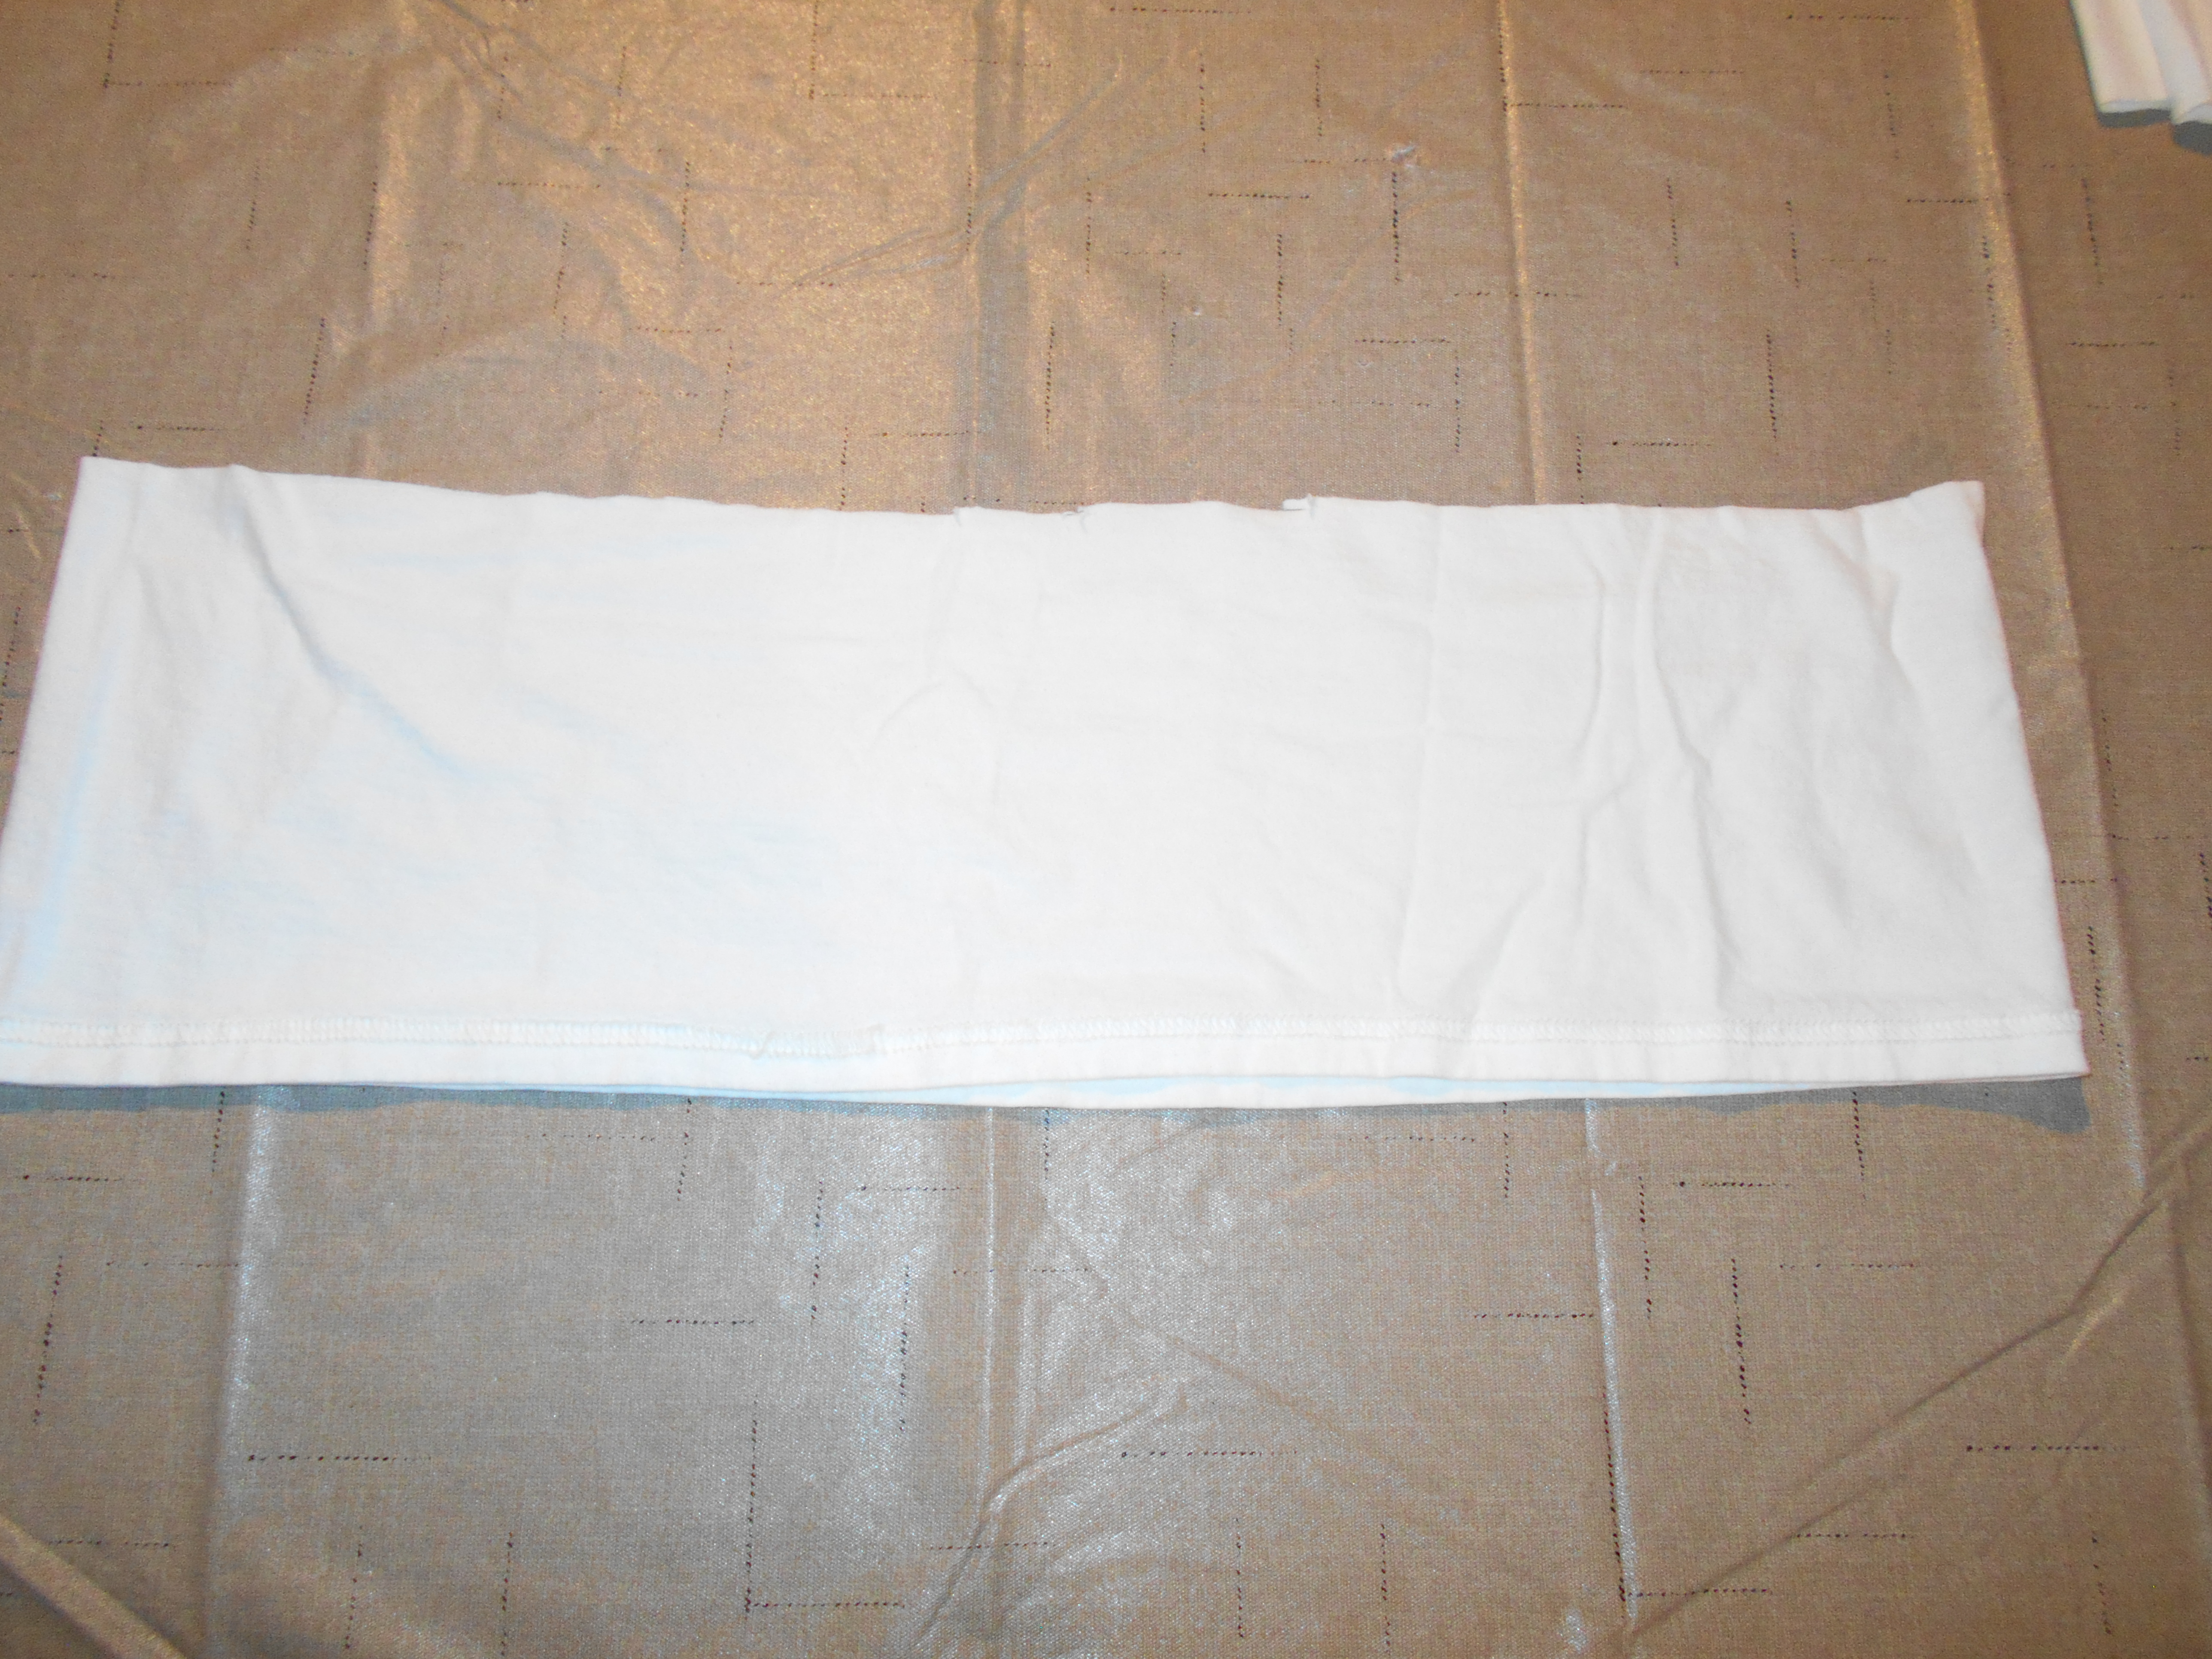
Once both pieces were stitched together I noticed that it became a very short dress. I fixed this by adding some material from a white men's t-shirt. I cut just below the sleeves.

DSCN1671
I trimmed that piece down to 5 inches and kept the original t-shirt hem. Which worked well because I would not have to hem it again!

DSCN1672
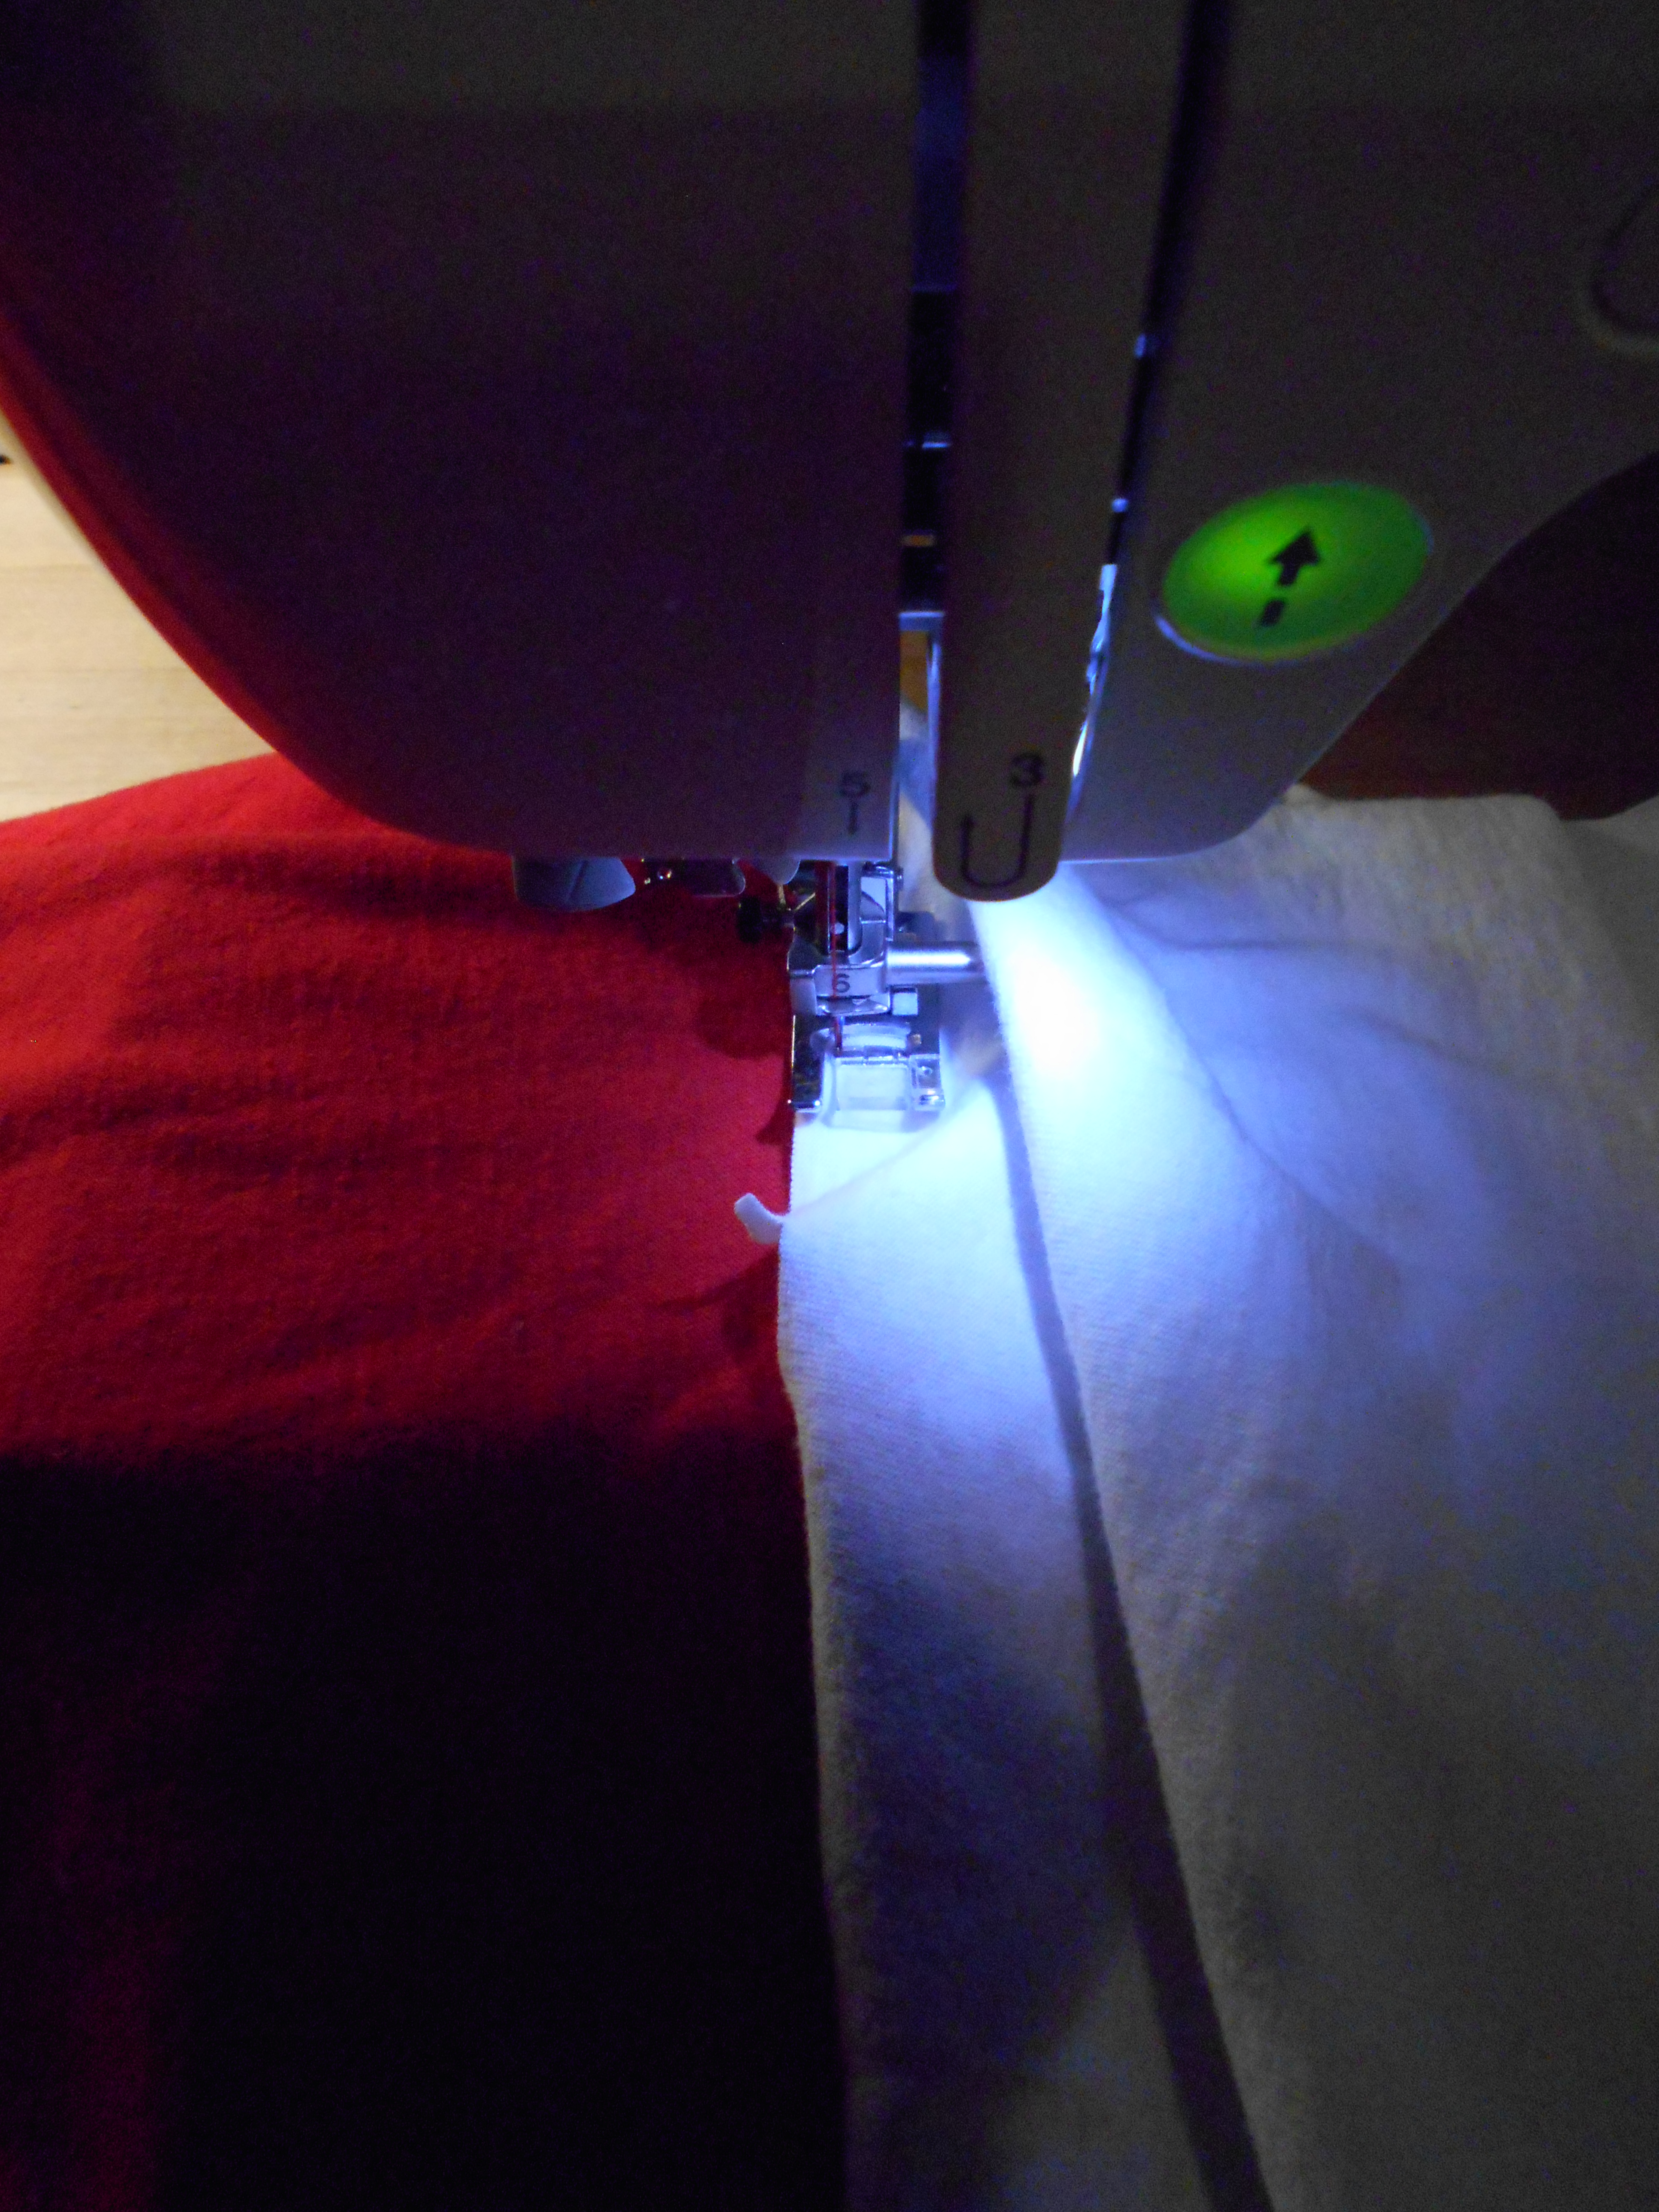
I stitched the new white piece to the bottom of the dress.

IMG_1594[1533]
I am so happy with this new summer dress and it was definitely worth the wait!

2018-23-09-15-54-56
Happy Refashioning!!!

Check out my stash of refashions on my blog!

Friday, September 28, 2018

Going Gray On Purpose

Hello Refashion Co-op. I thought this white shirt needed a total re-do so I decided to use some gray dye.


This white cotton shirt was a little old, a little yellowed, and a little blah.


I wanted to use the dye I had on hand. It was for synthetic fabric but I hoped it might work for cotton too. Even if it only worked a little, it would really help cover the yellow color tone of this shirt.


 It worked great! The color was much better, the fabric looked fresh and crisp. I made the shirt more narrow so it would fit a little better.


I connected those scraps into a long tube that I wanted to use as a belt.


I liked the shirt with the waist cinched in, it was a great tunic length.


Thanks for reading, for more pictures and details I Can Work With That.