Friday, September 14, 2018

Removing Ruffles and Ripping Seams

 Hello Refashion Co-op. I really gave my seam ripper a workout with this outfit. But it was worth it.
 

I love hand-me-downs and this J.Crew blouse was lovely. Except for the slightly huge ruffled neckline. I couldn't handle all that material around my neck so I found where it was attached and removed it. I just used my seam ripper. I was left with this smaller ruffle that was attached separately, like a collar. Some of it stood up and some of it fell over.


 I used my machine to stitch it down so it was more uniform. It was off my neck and opened up the neckline. 


This tiered skirt has been sitting in the refashion pile for a few years. I didn't really like the tiers but I didn't have any ideas for refashioning it. 
Now I knew what to do. I used my seam ripper again and removed the lowest tier of fabric from the skirt. It made it shorter and more flattering. The colors and the smaller amount of ruffles in the blouse and skirt really went together well.


Thanks for reading this post, for more details and pictures go to I Can Work With That.

Update: A Refashion for Florida

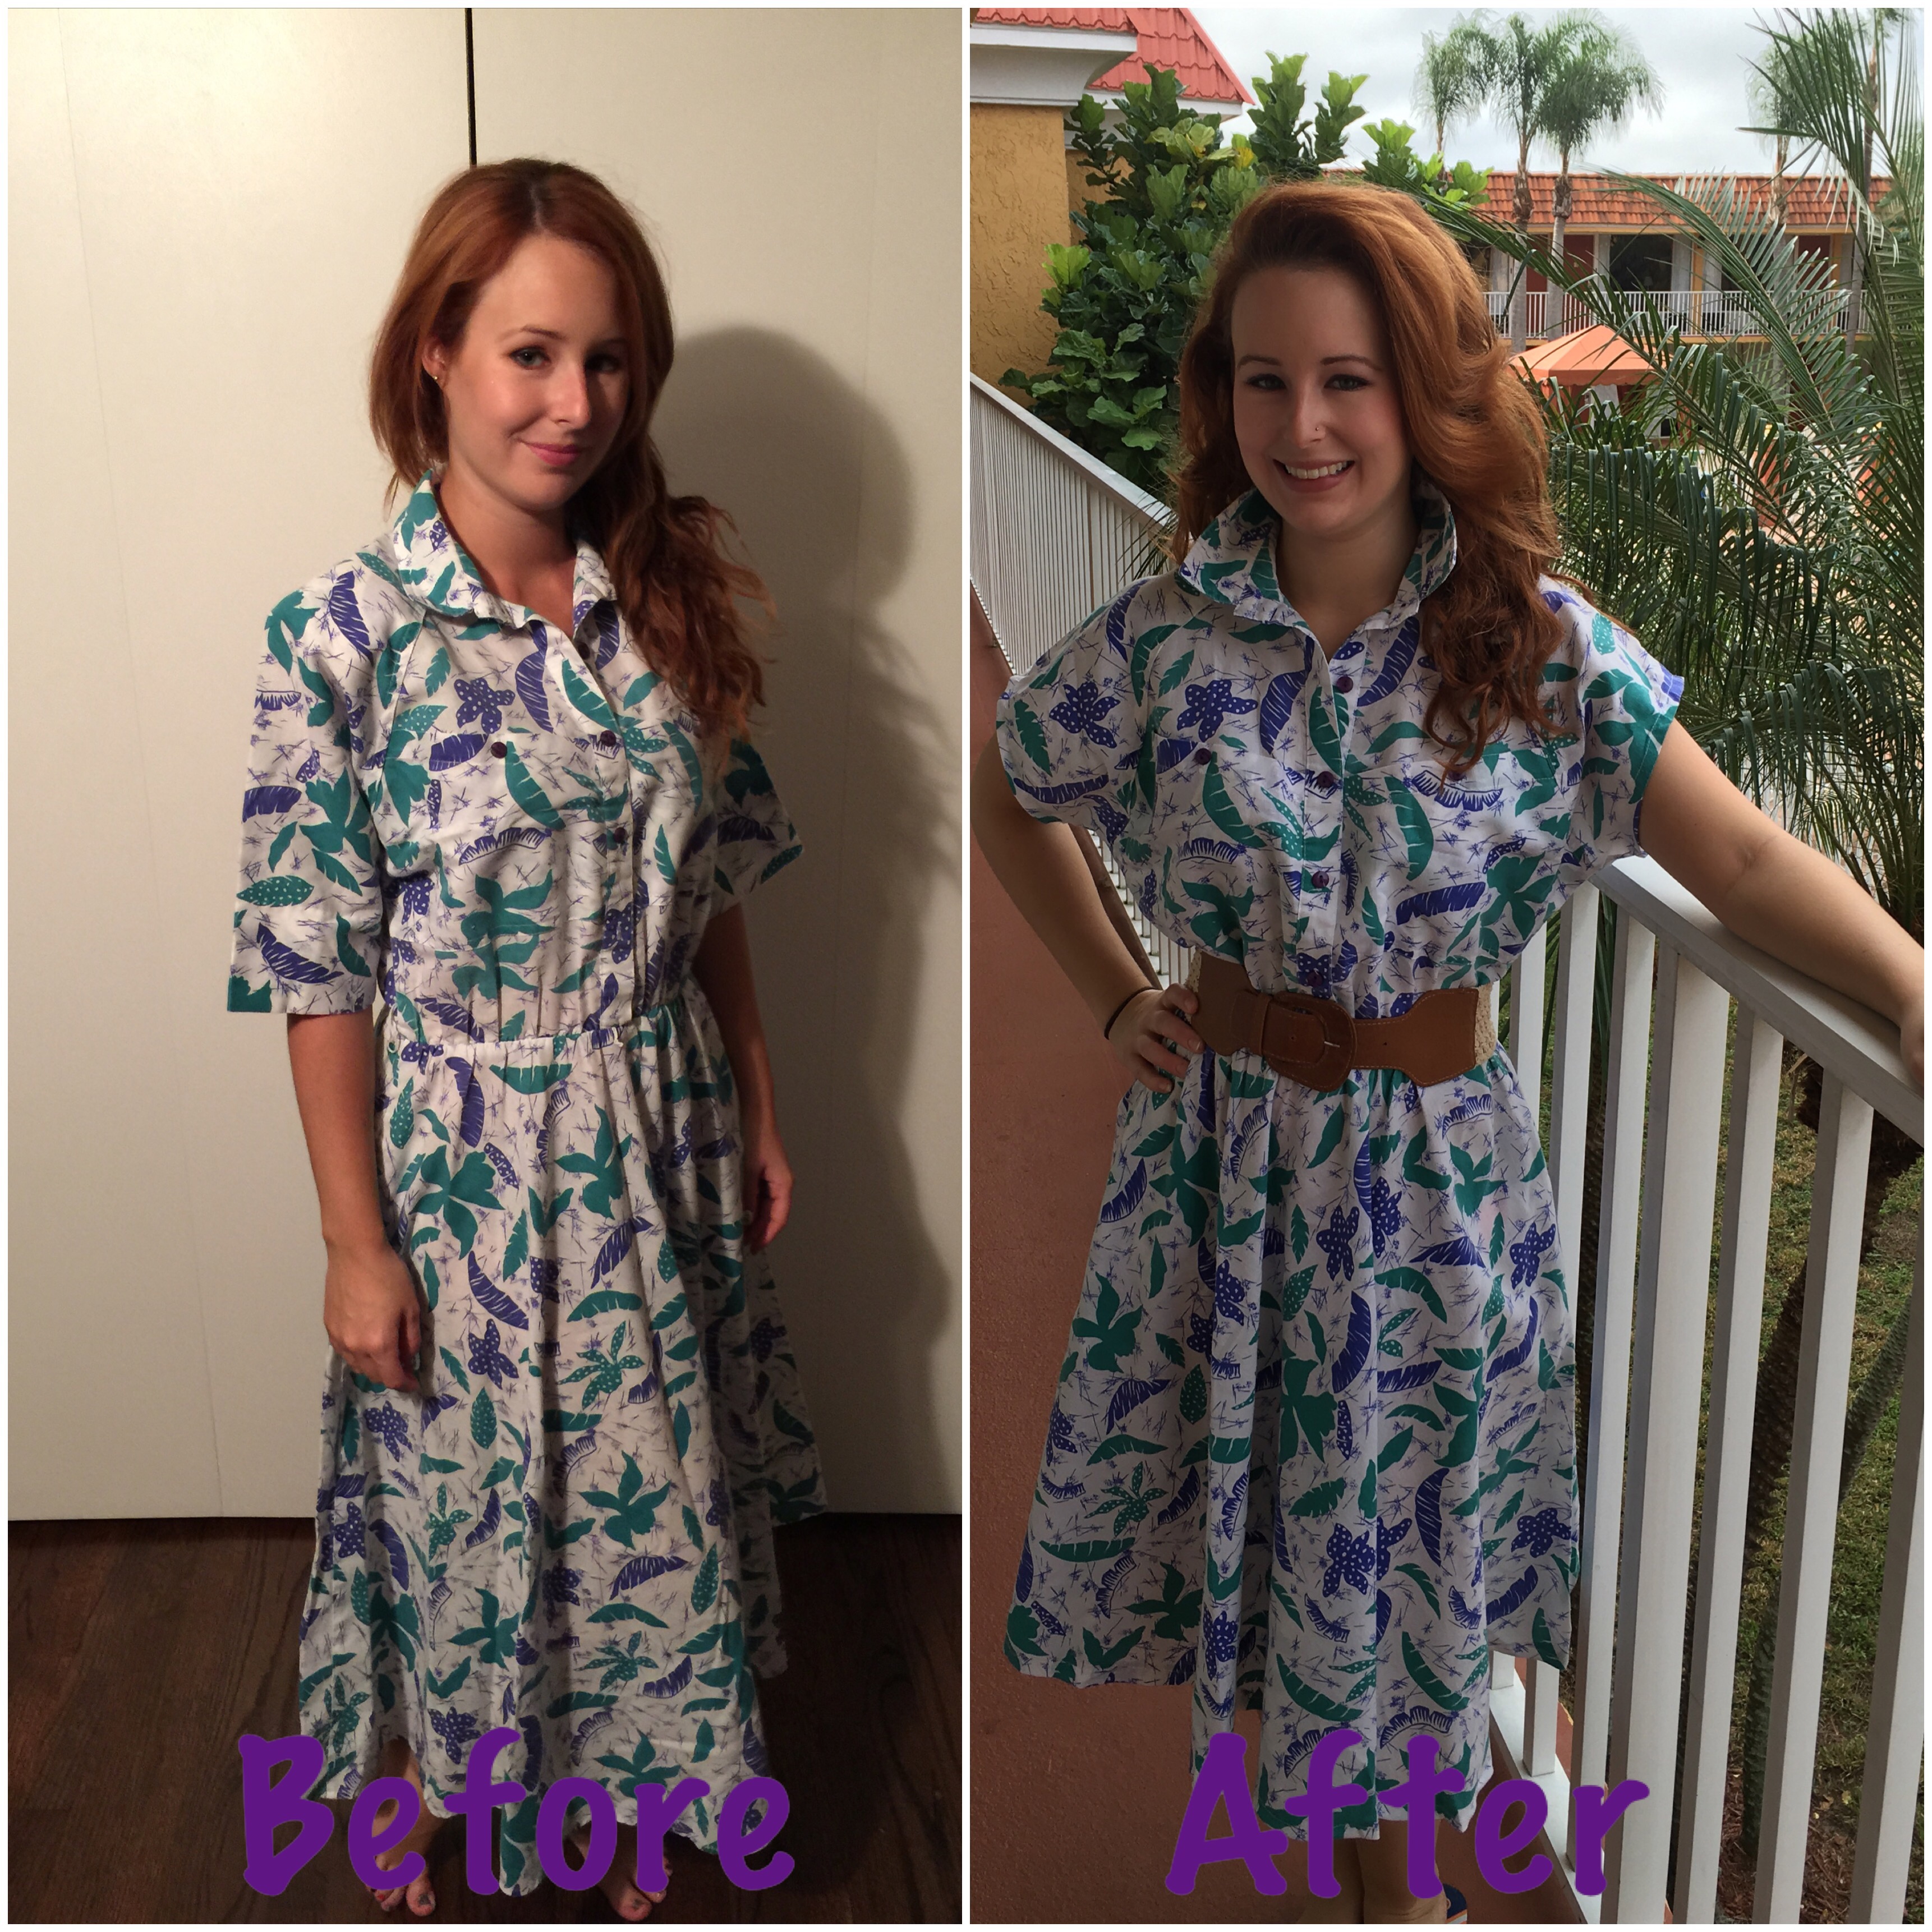
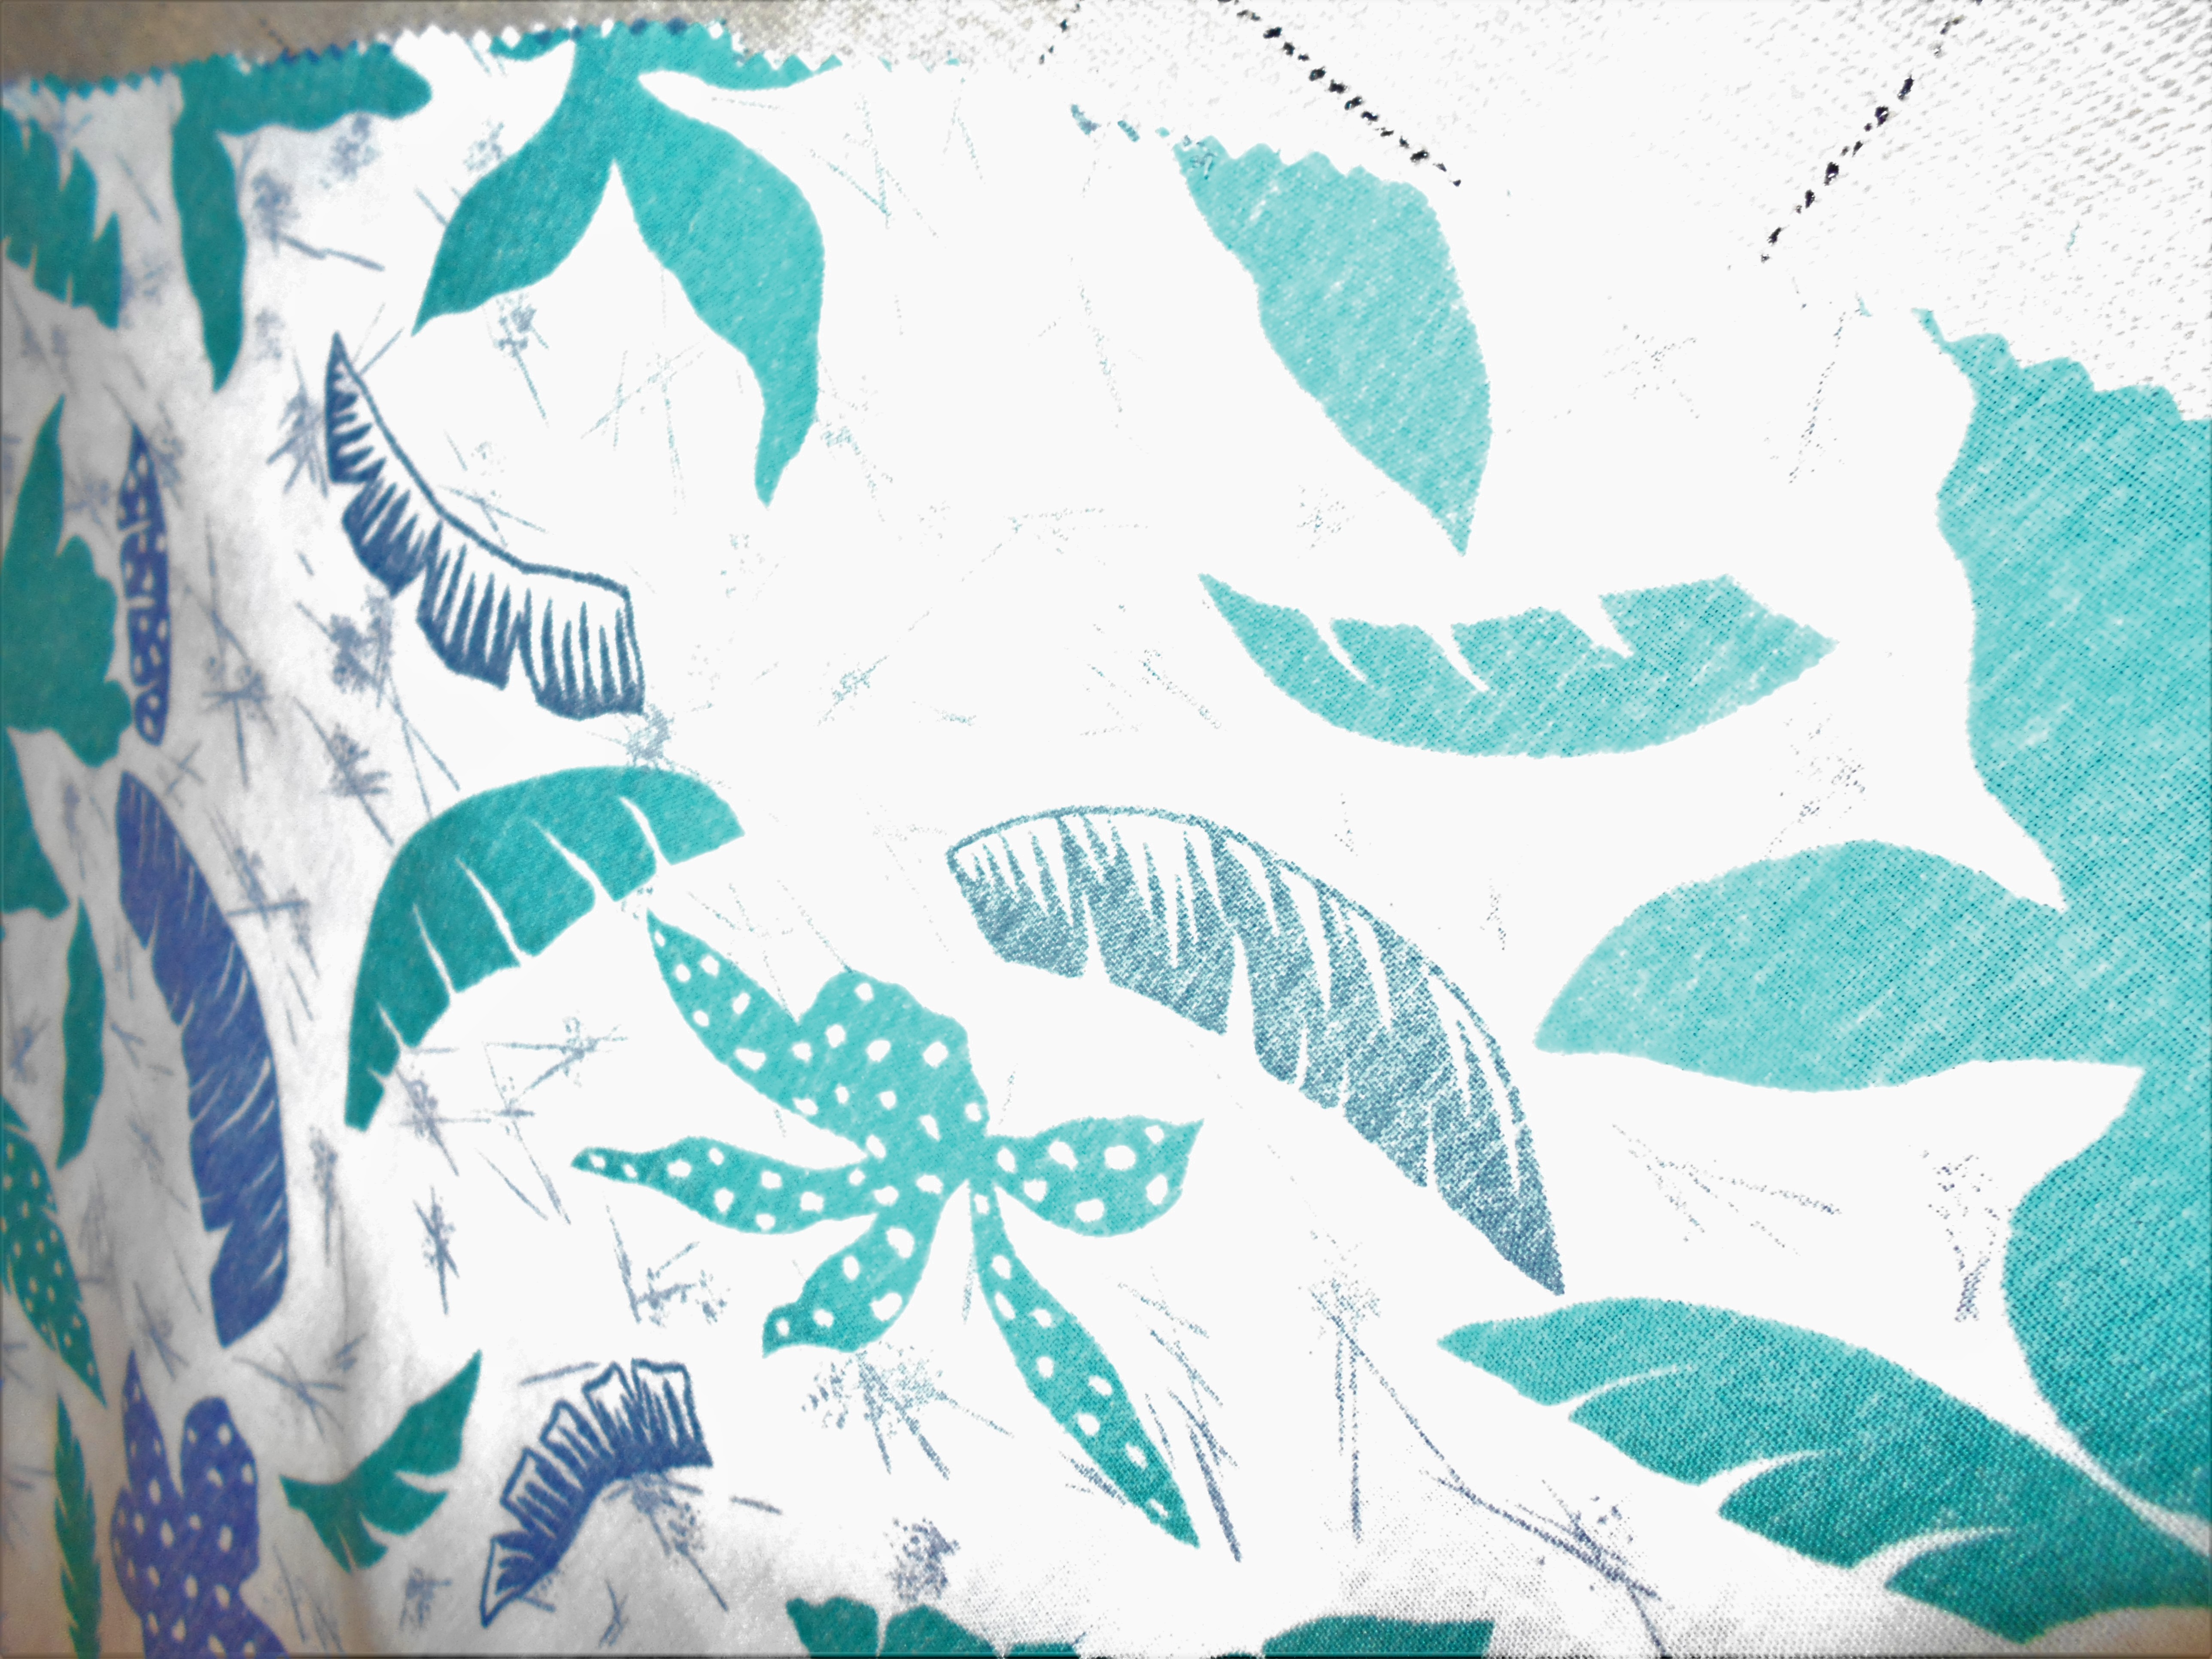
Back in 2016 I had refashioned a dress to wear on a trip to Florida. It was a rushed refash and I wasn't completely happy with the results. I had always intended on fixing it, but time and other projects kept me busy. So, finally I got around to fixing my refash. I absolutely love the print on this dress so I was super excited to fix it!
You can see the original post Here
img_0109
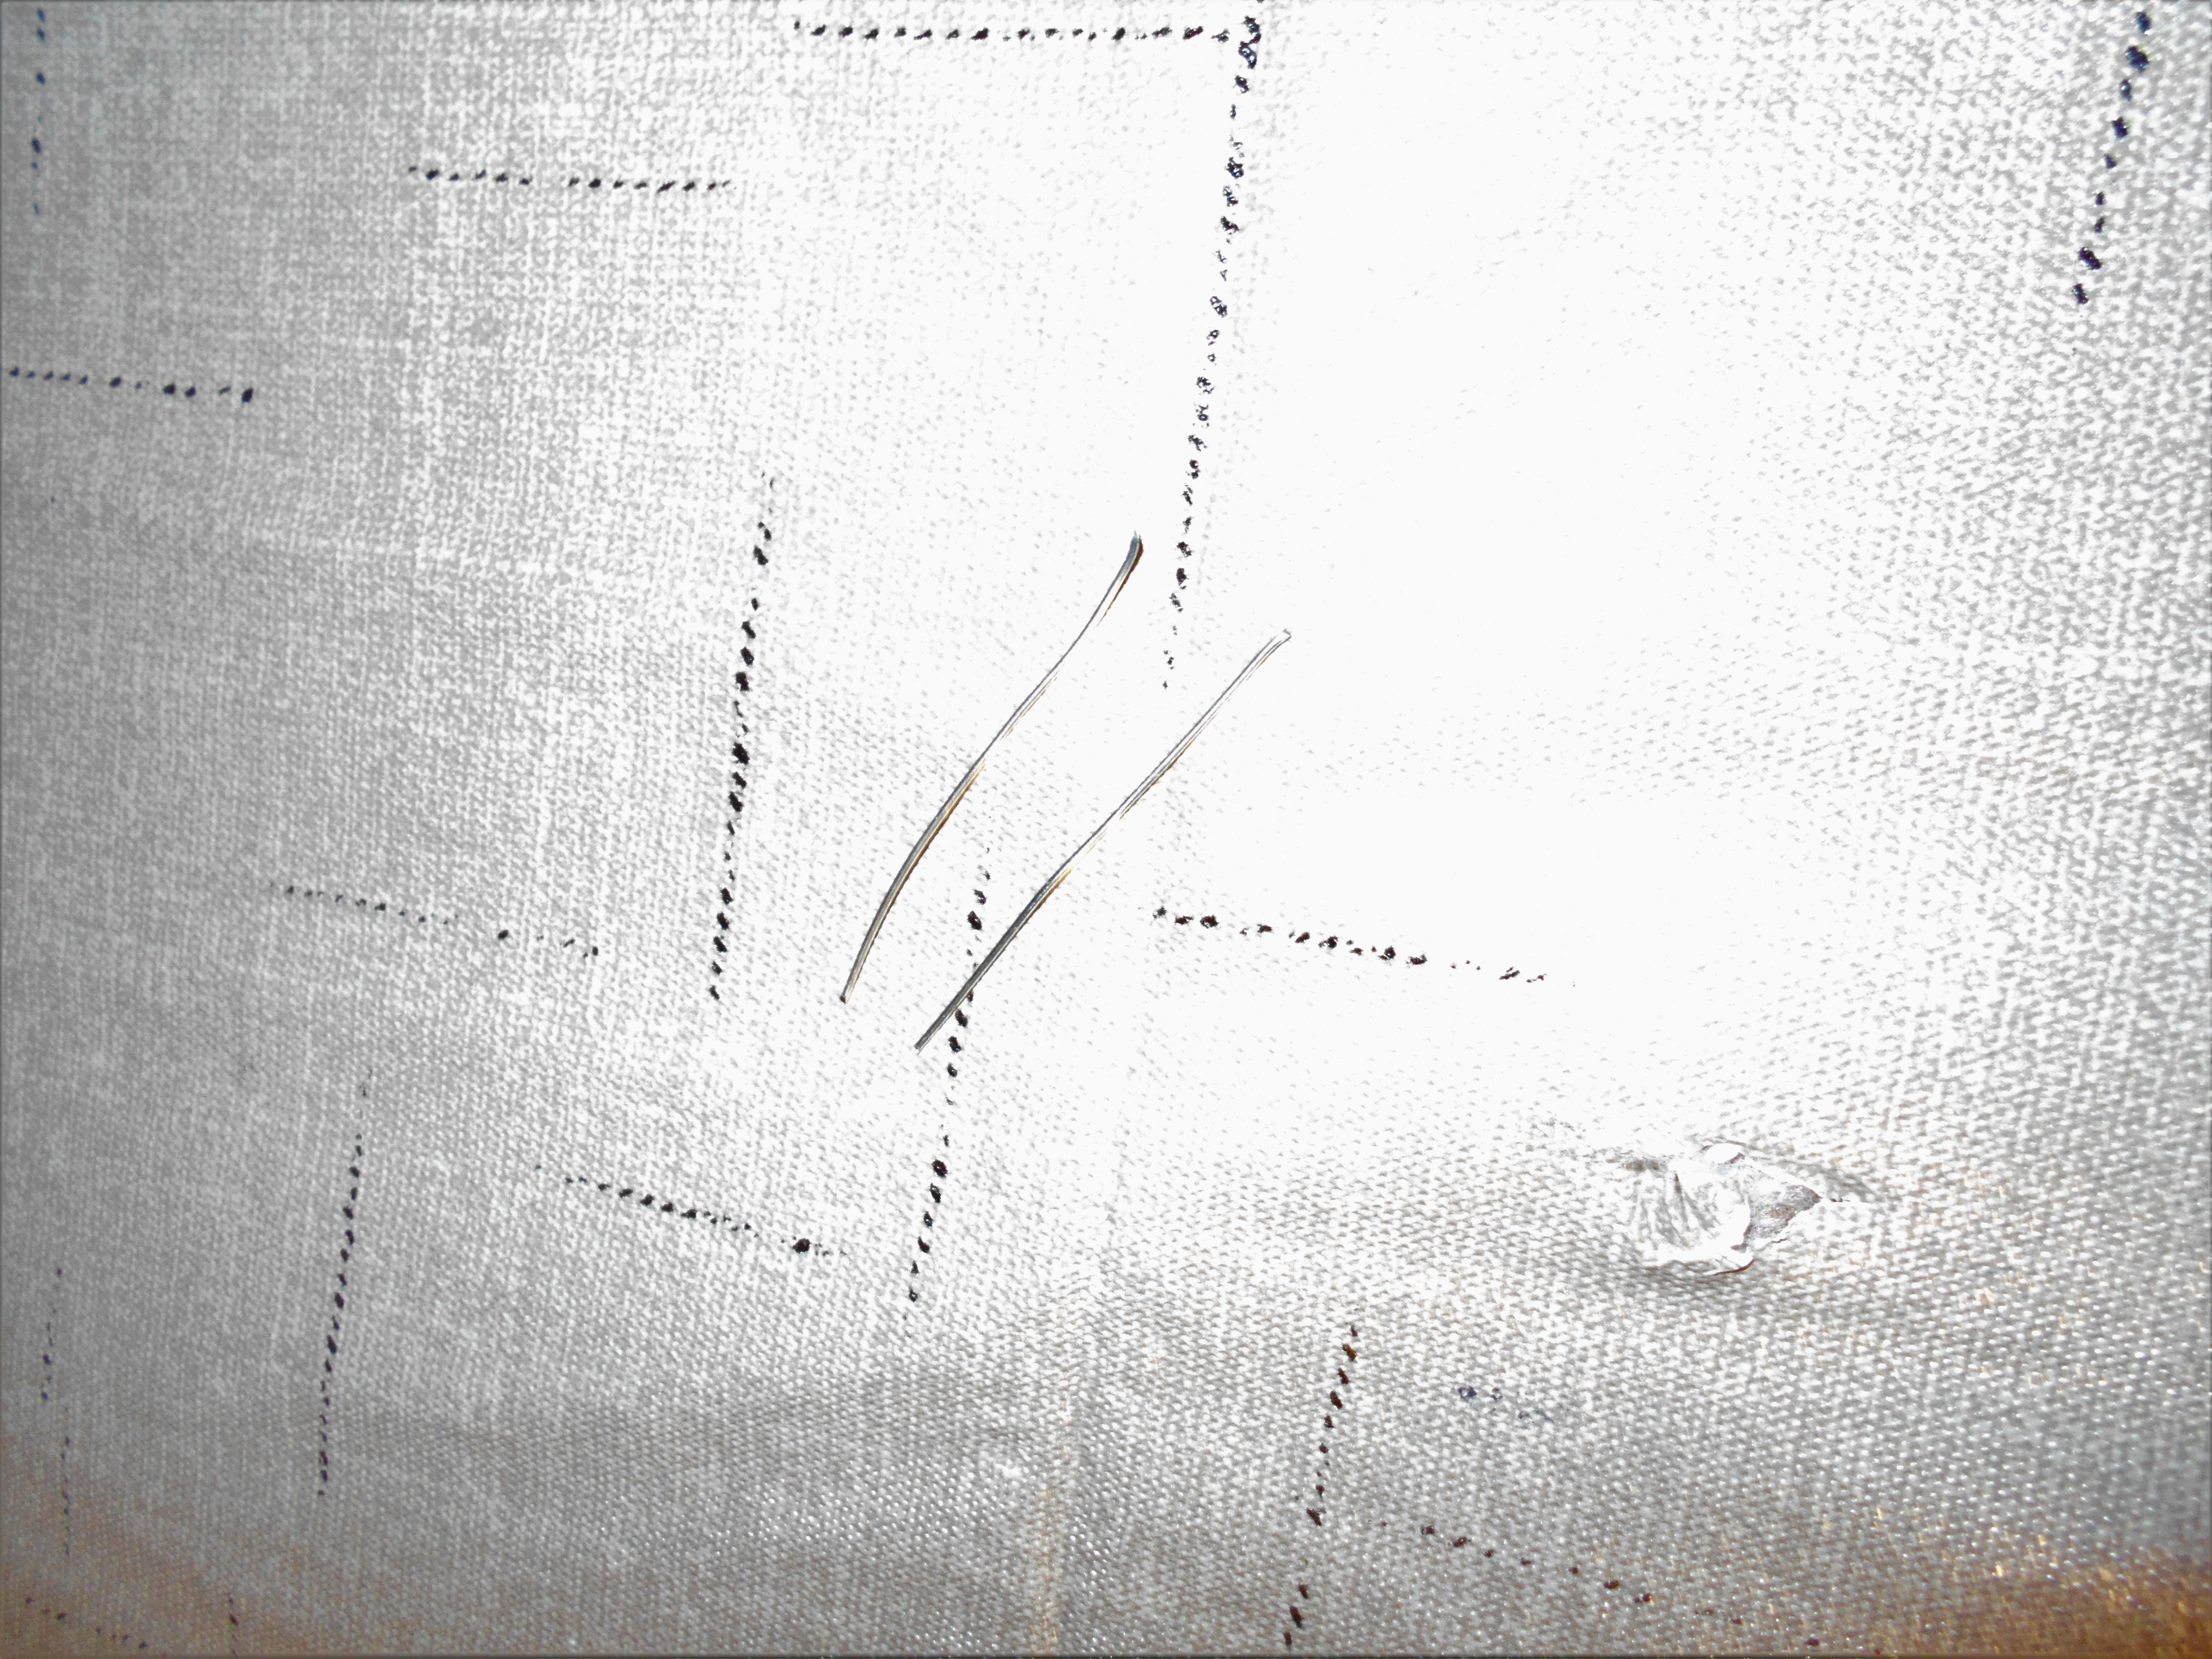
In my original post I had mentioned that I liked the collar on this dress popped up. But it had a hard time staying like that. I had an idea of adding small pieces of wire to stiffen up the collar.

DSCN1663
I cut 2 small pieces of craft wire.

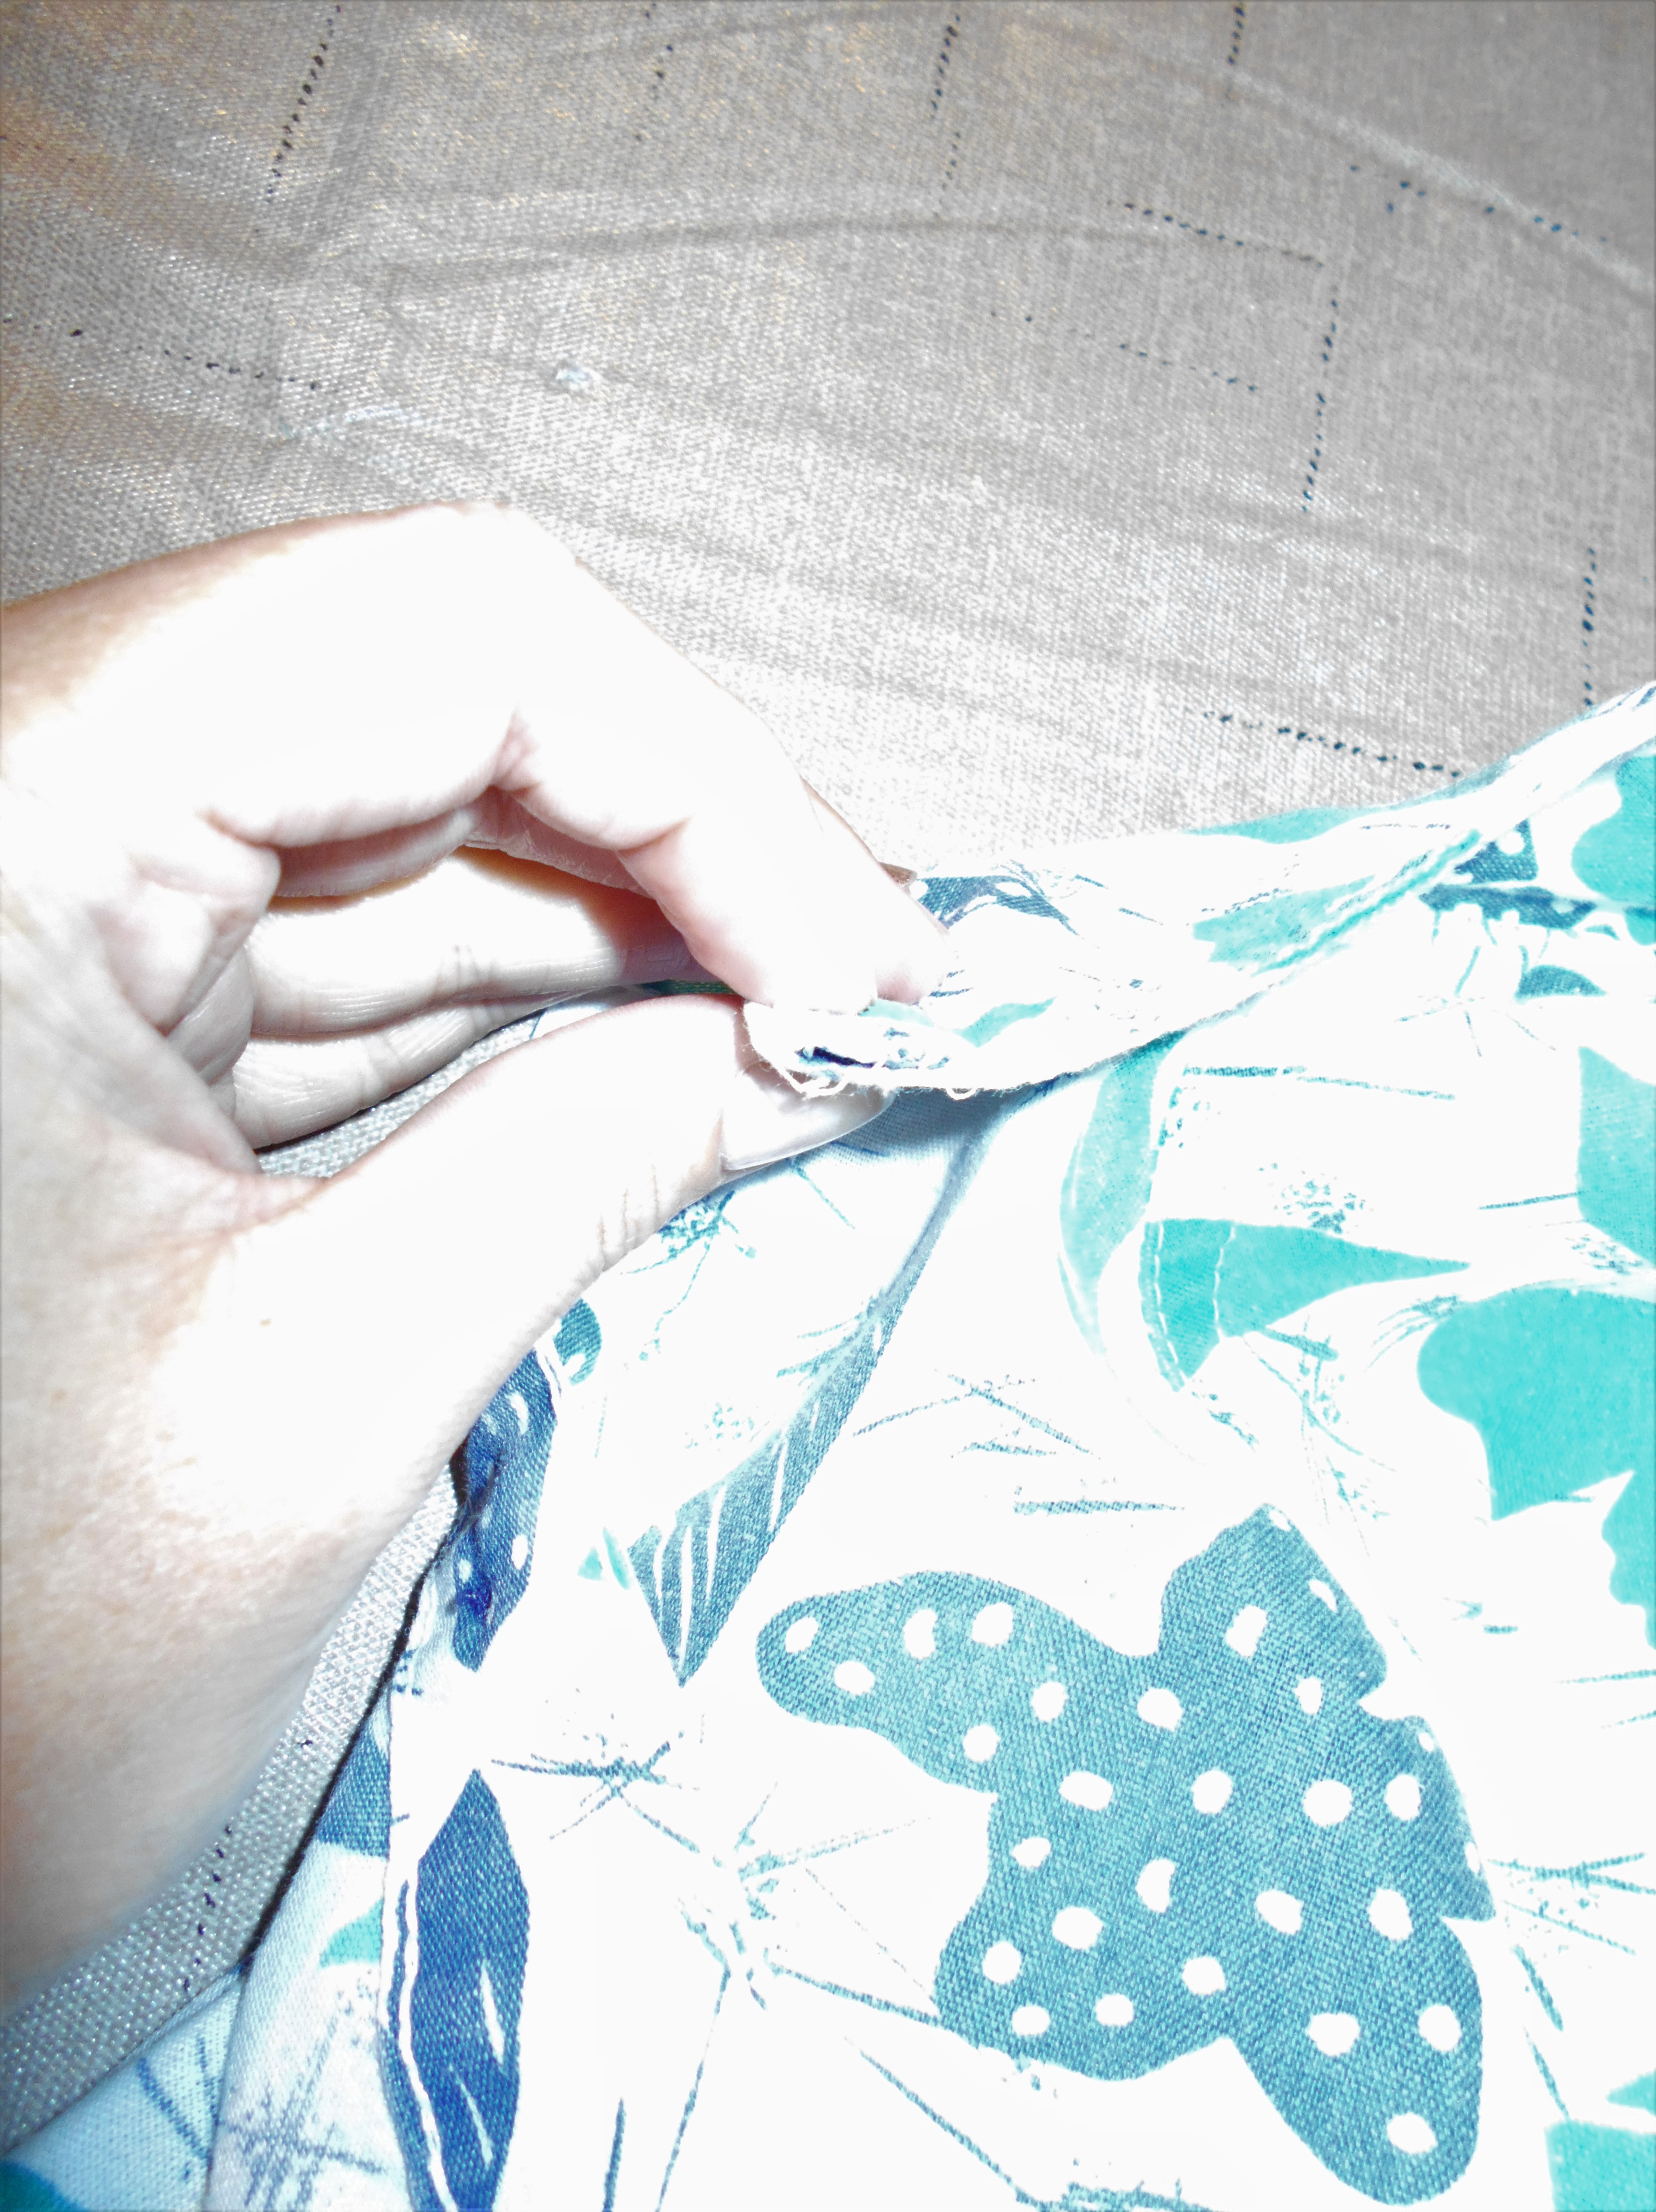
DSCN1664
I opened up the front collar seam and inserted the wire and sewed it back up.

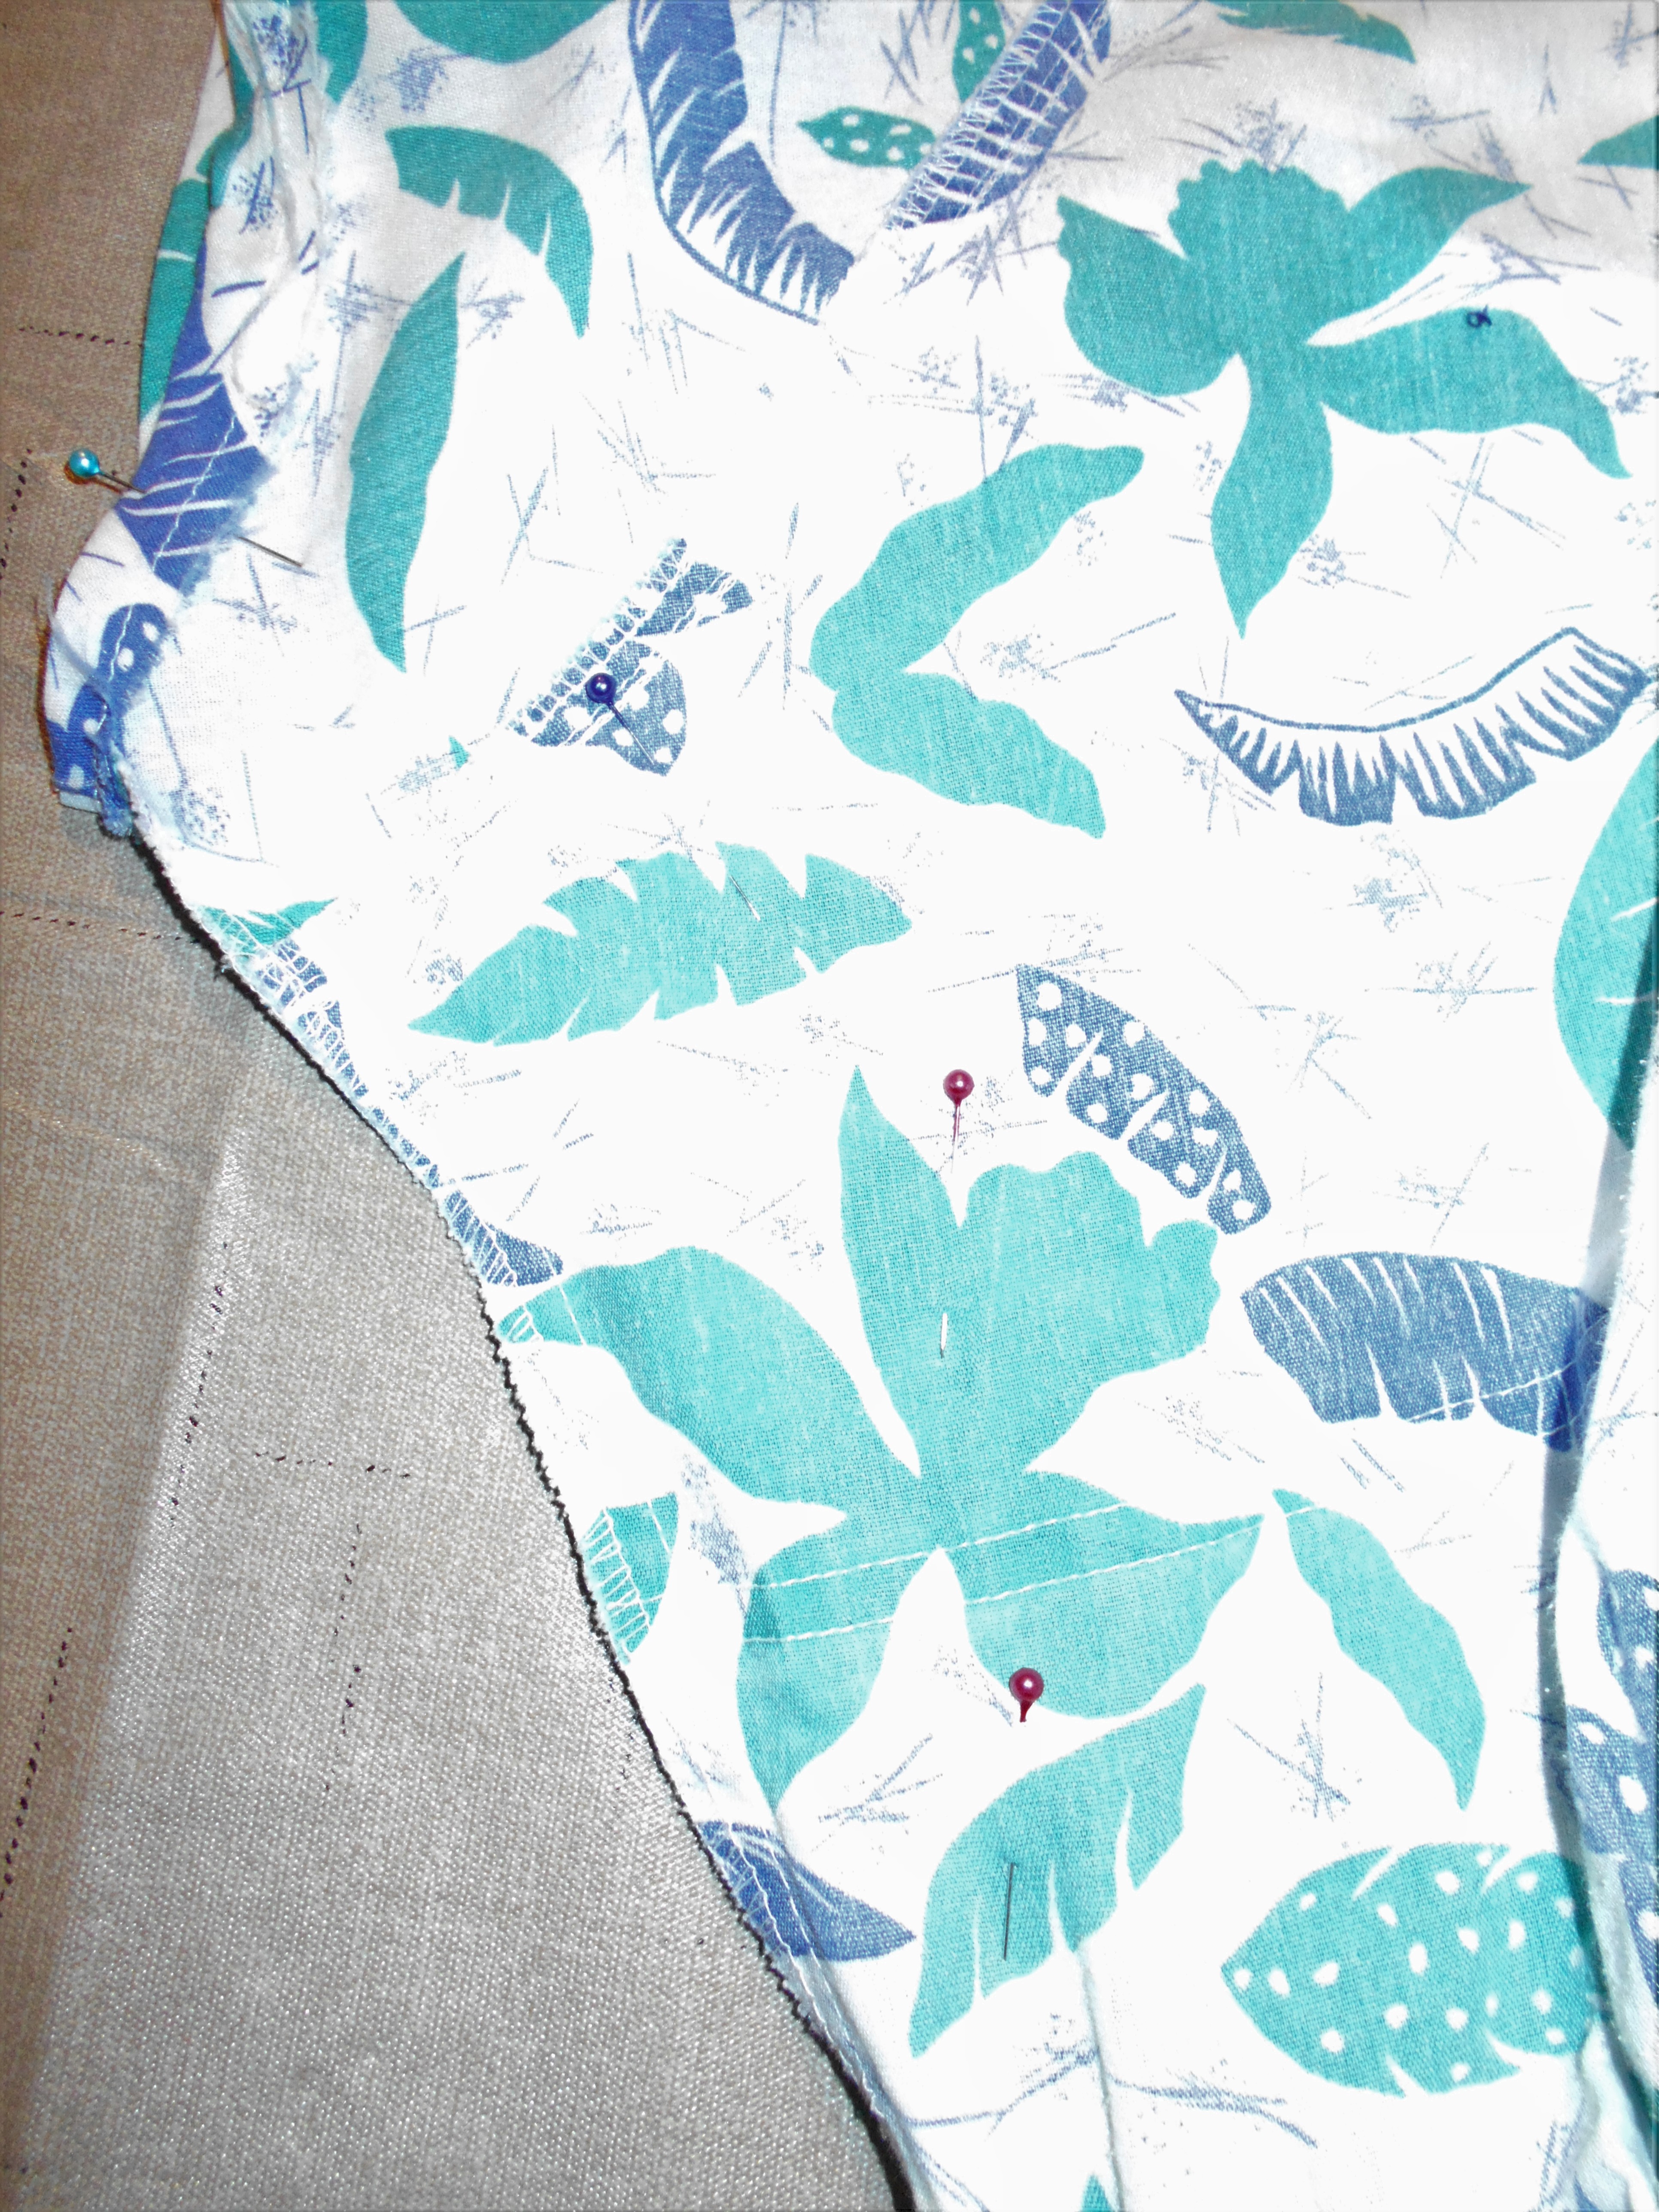
DSCN1665
Originally, I had taken 5 inches off the length of the sleeves. Which was good until I put it on and realized the arm holes were all the way down my sides! Not vert modest! I closed up the arm holes and even took the sides of the bodice in by 1- 1/2 inches in places. Stitched that up and used pinking sheers to remove the excess material.

DSCN1666
Also I had originally  took a large portion of the length of the dress off. Yet again I did not notice I did not take enough until it was too late. I cut off another 5 inches from the length and made a new hem.

DSCN1667
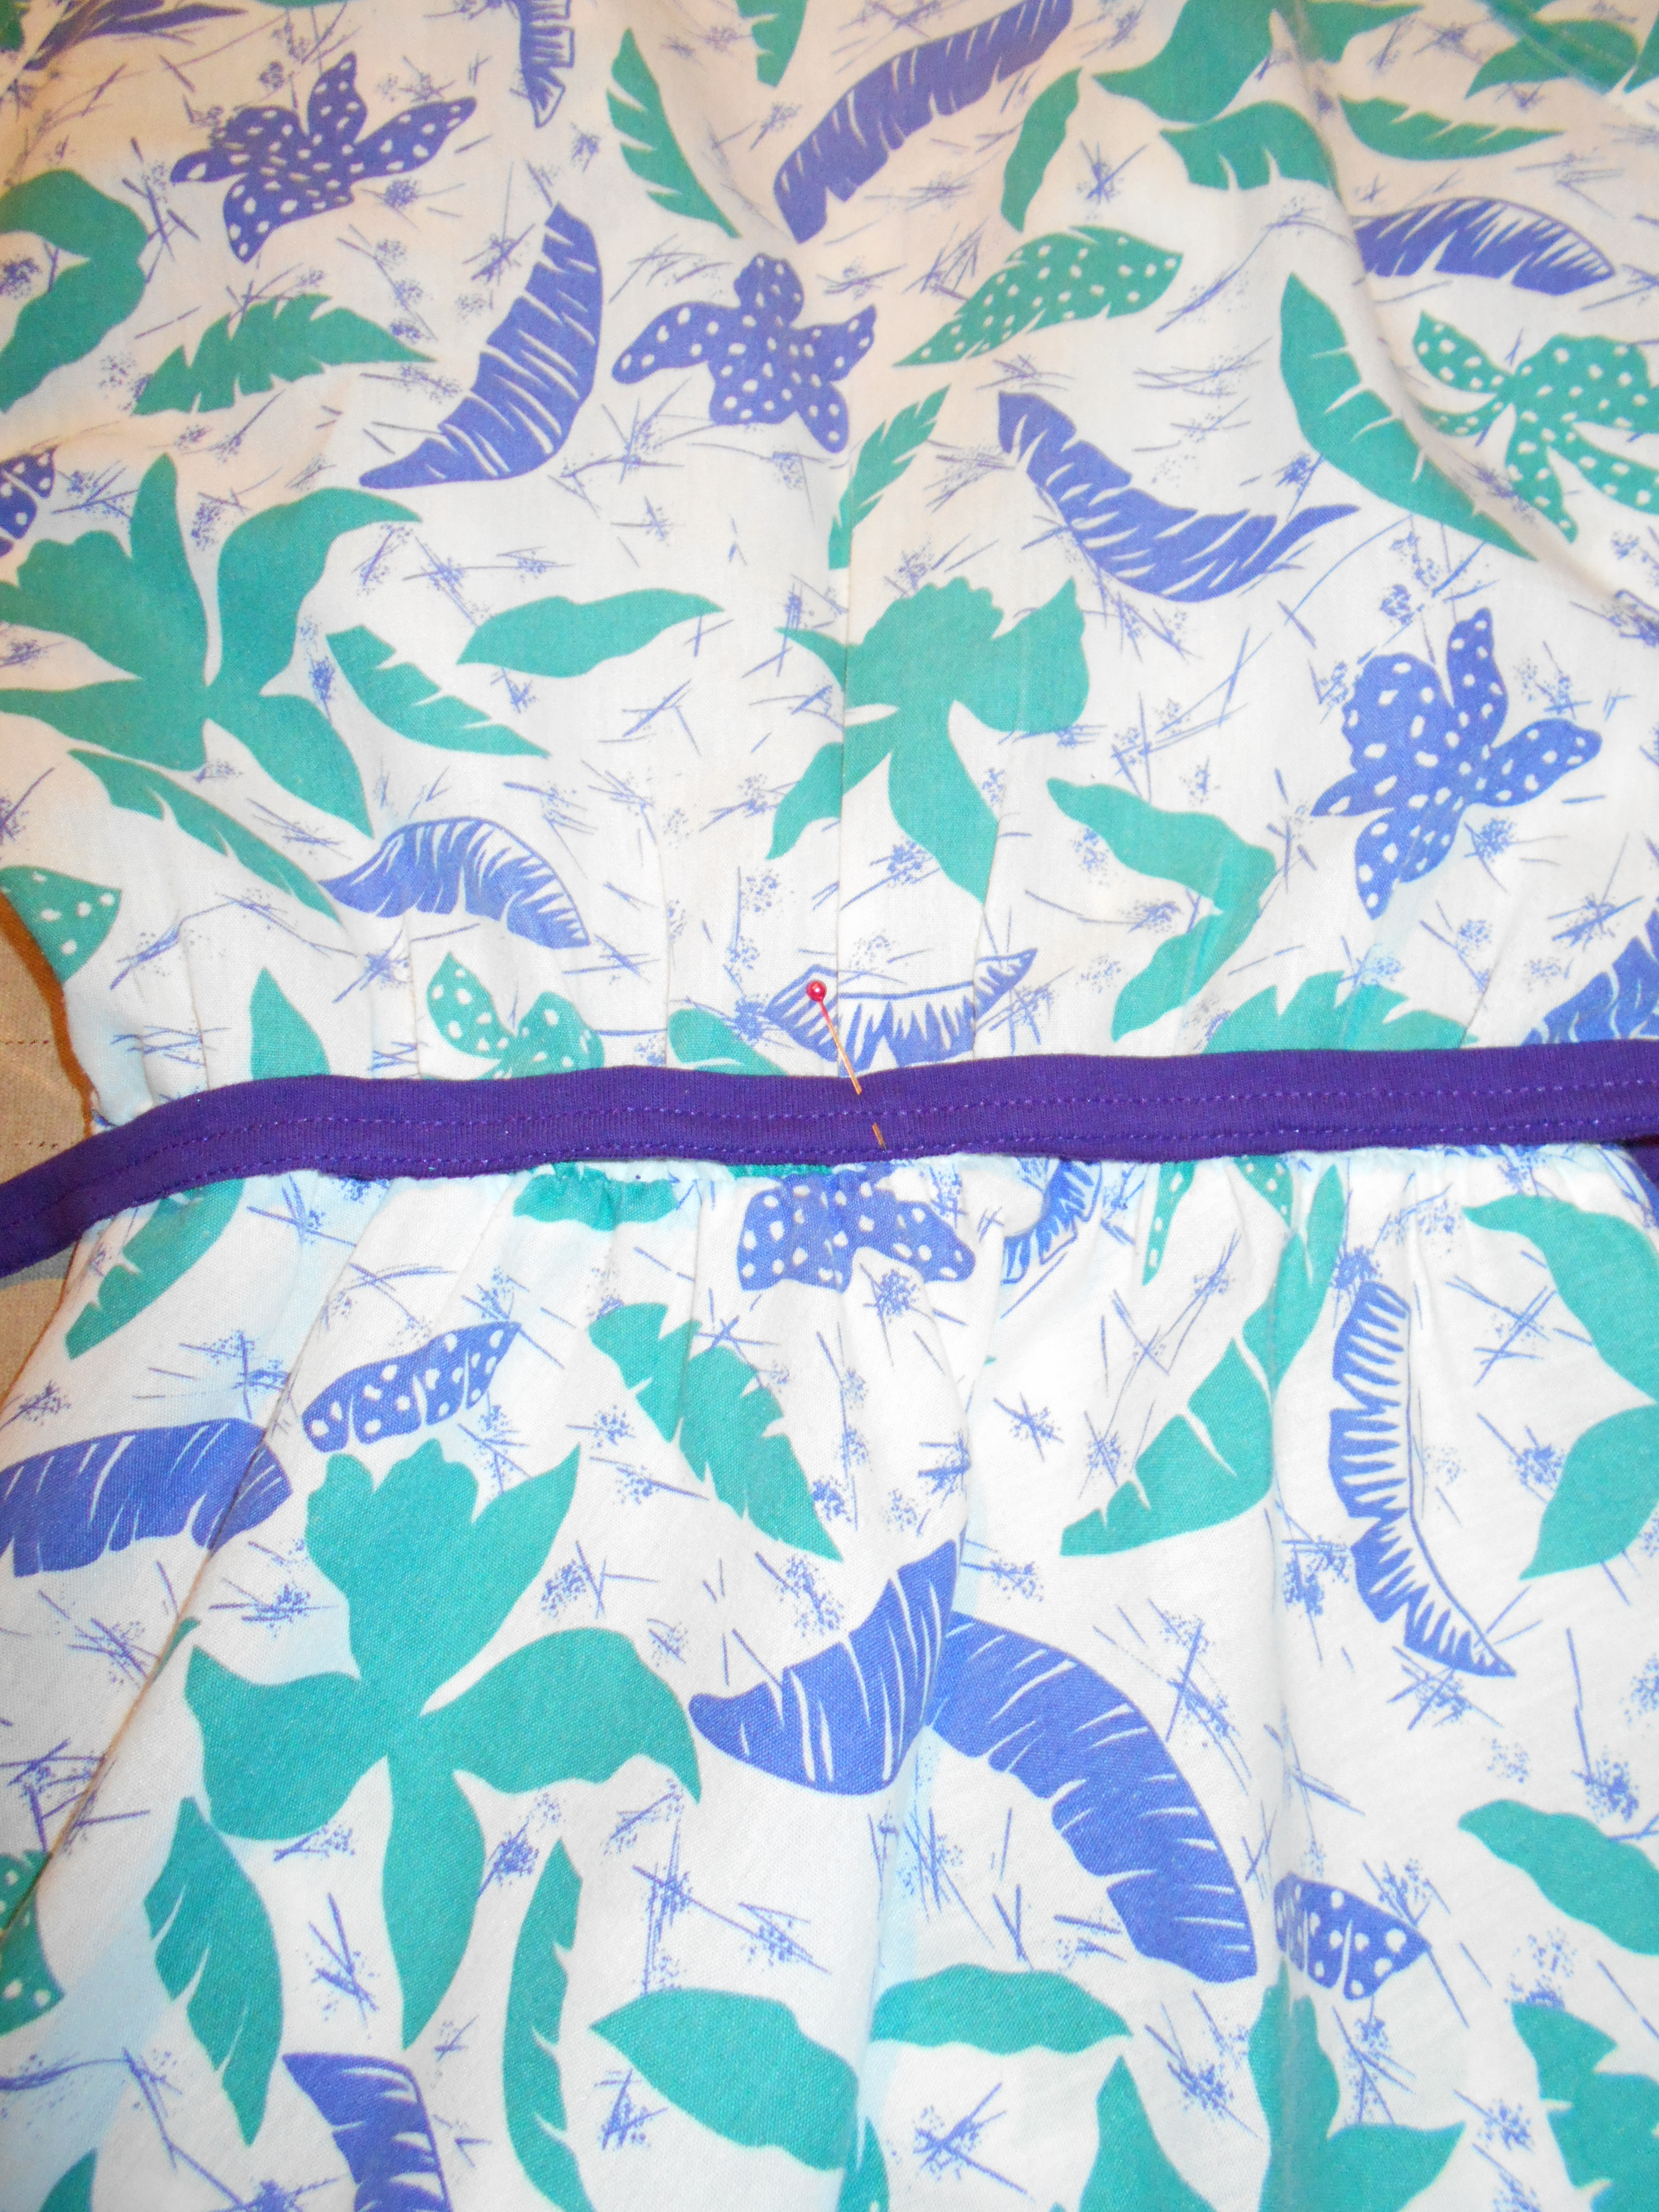
I had a bottom seam of a purple t-shirt left over that was the perfect match. I used this to sew a faux "belt" around the waist. I say "belt" because it was only for decorative purposes and I fixed it to the dress with these perfectly matching buttons I picked up on clearance.

IMG_1550[1394]

IMG_1549[1393]

IMG_1554[1395]
See the popped collar?!

2018-09-09-15-45-55
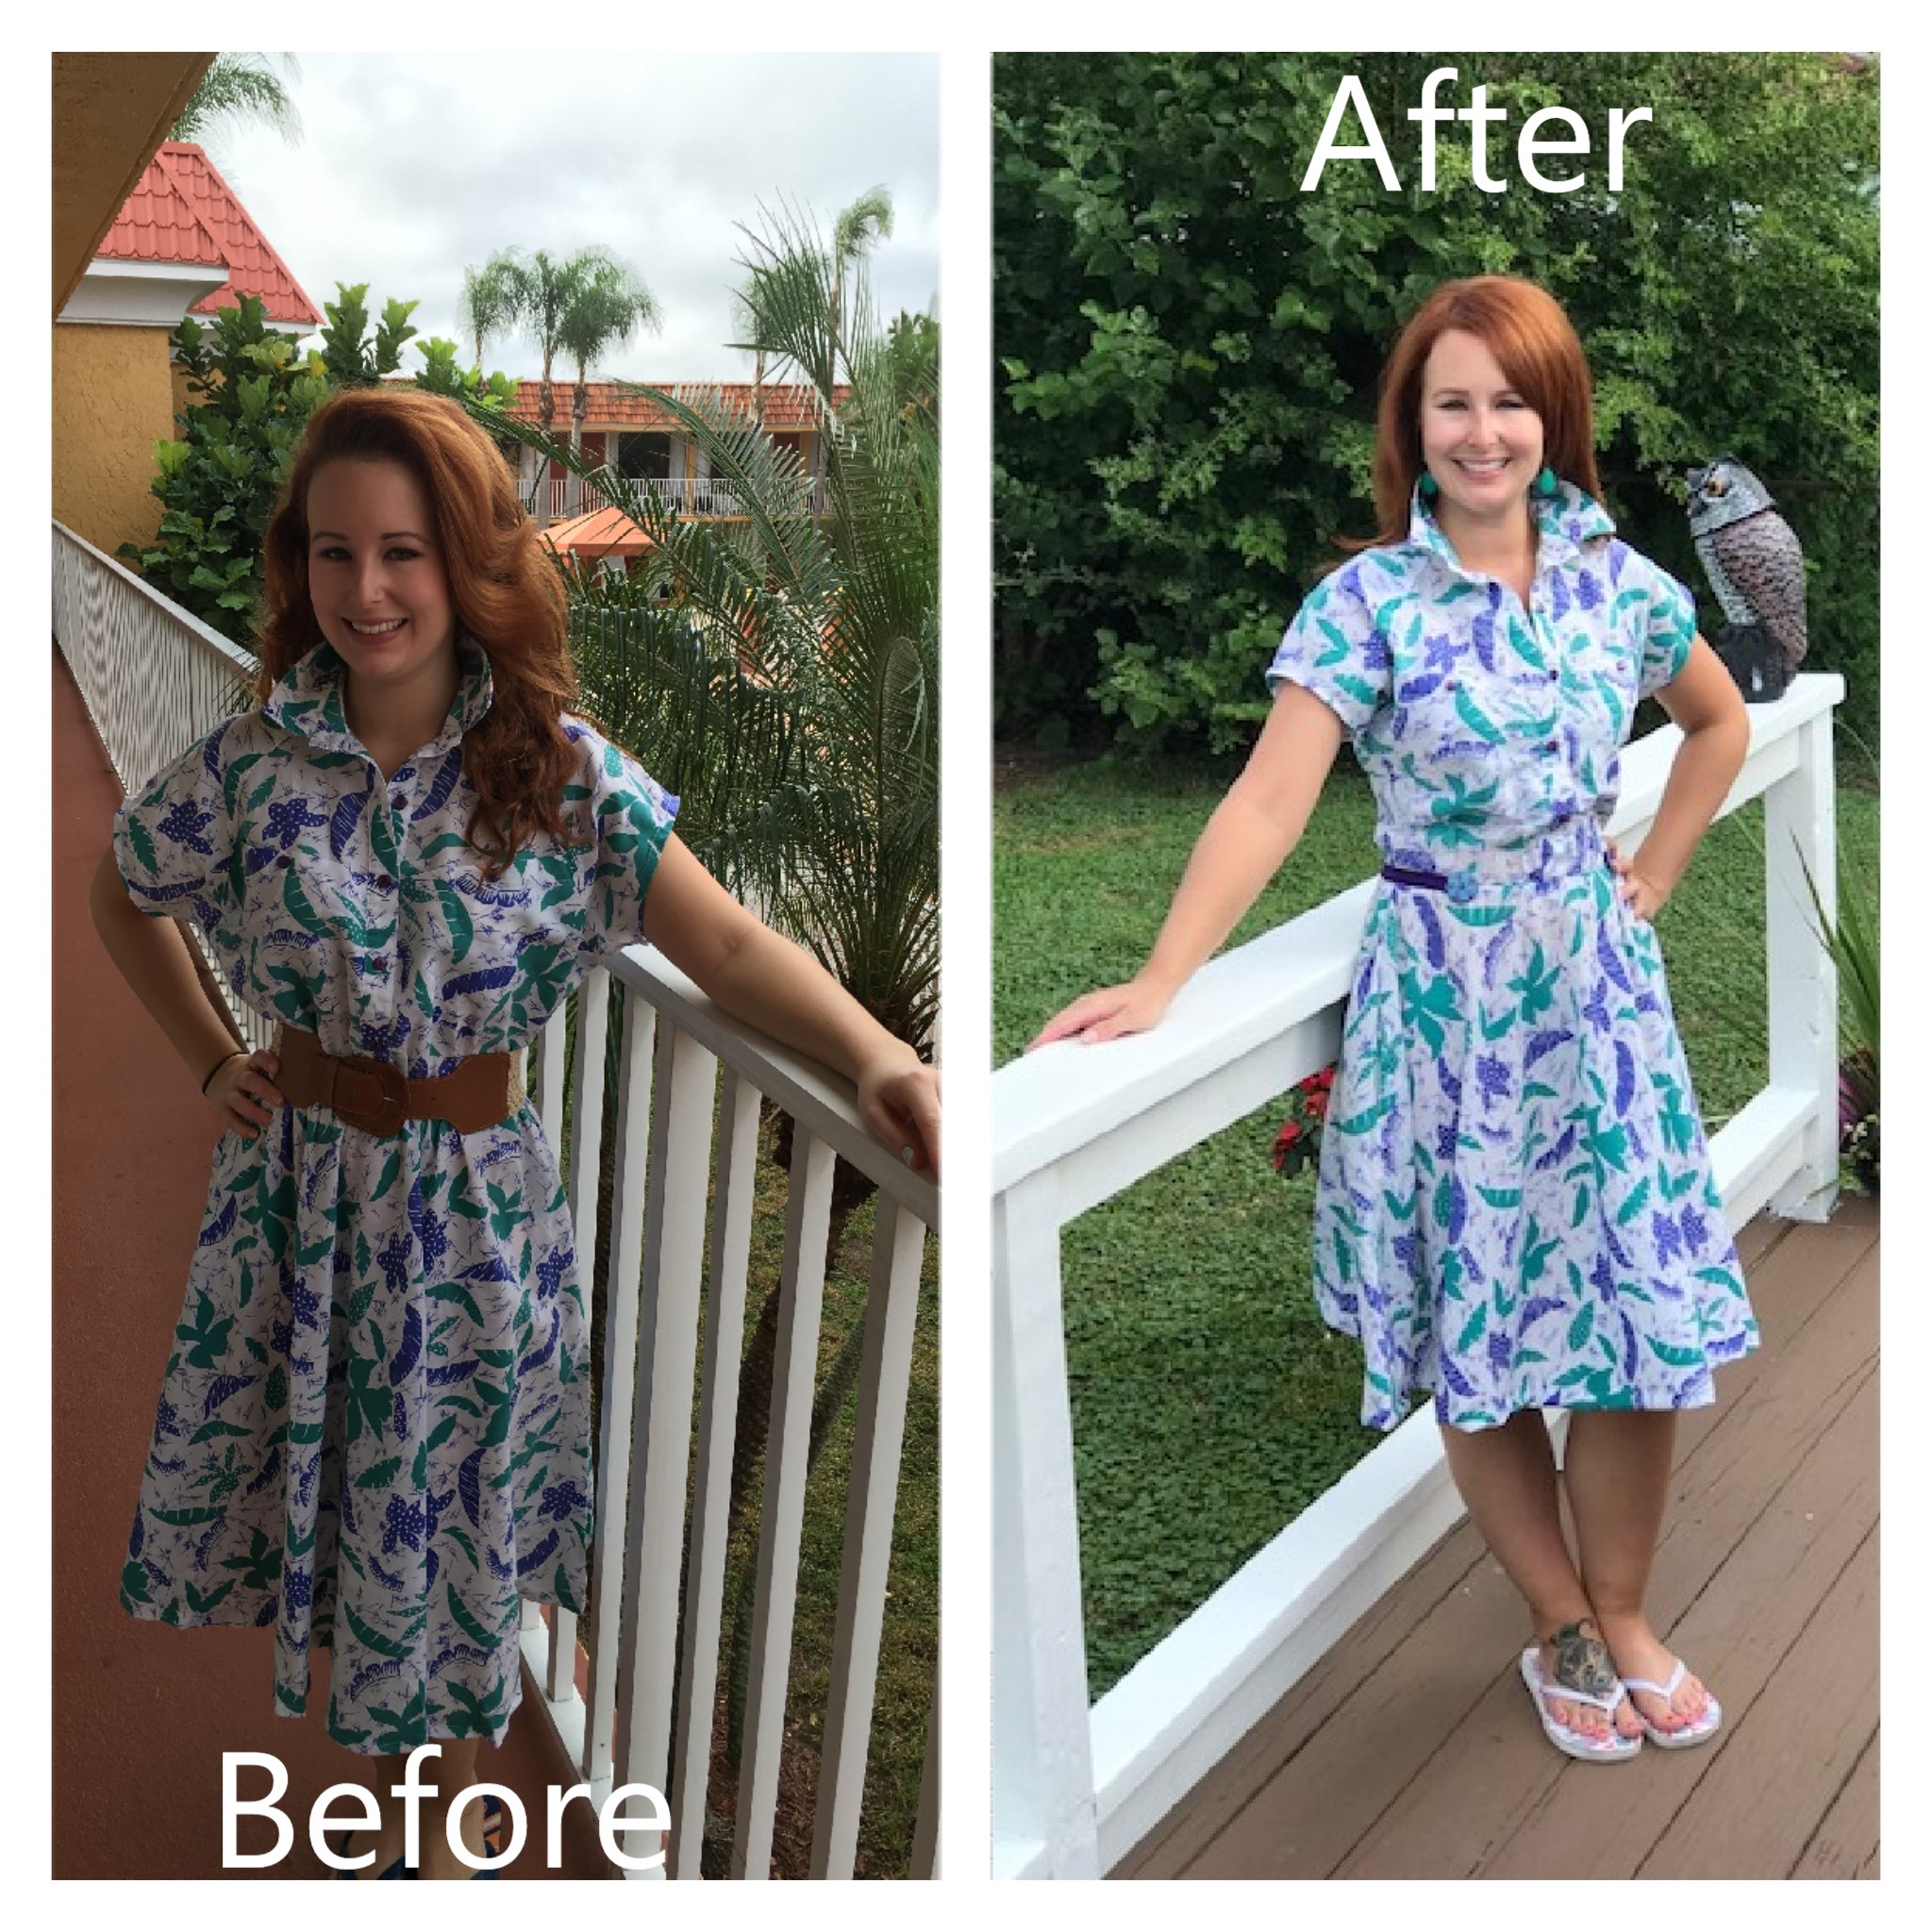
It doesn't look like a HUGE transformation but I feel like it fits so much better! I am finally happy!

Happy Refashioning!!!
Check out my stash of refashions on my blog!

Thursday, September 13, 2018

Scarf to shawl refashion


This refashion was very simple.

I found this scarf in my local park, but after trying it as a scarf a few times It wasn't working for me. 

With one cut and a few lines of stitching I made it into a lightweight shawl.

I cut and hemmed a hole for the neck.


2 lines of stitching don't really create arms but do add a bit of stability to stop the shawl slipping to one side or another.


It provides just the right amount of warmth for September evenings.


There are more details and photos here

Wednesday, September 12, 2018

a scarf into a troussers

Hi,

this summer I made a refashion with scarf.

This time I transform a big scarf into a troussers.

The scarf before


and after....


For more .....  visit my blog HERE

Another Dress to Shirt

 Hello Refashion Co-op. I really needed a new shirt and I was willing to sacrifice another dress to get one. I liked the fit of this dress, I just wanted it to be a shirt. 
I also wanted to make those big bell sleeves more narrow and simple.
 

I decided to cut the dress to the length I wanted. I saved the hem of the dress so I could reattach the blue edging to the bottom of my new shirt. I also made the shirt sleeves much more narrow. This is a stretchy knit material so it will be very comfortable even if it is more fitted in the sleeves.


I liked the blue edging as a finishing touch at the bottom of the shirt.


 I also had this blue sweater that I thought would be a great second layer with this new shirt. It was a little big, especially in the sleeves. I couldn't keep the sleeves pushed up because they were too loose. The sleeves were in my way covering my hands like this.


I took a few tries but by making the sweater sleeves and body a little more narrow. I just used the existing seam as a guide and made small adjustments until the fit was what I wanted.


Thanks for reading this post, for more details go to I Can Work With That.