
Hi All!
This has been a BUSY month! March is BIRTHDAY month! Plus, I have actually been able to do a decent amount of sewing  YAY!
YAY!
YAY!
The hubby took me to none other than one of our favorite place: Frankenmuth, MI to celebrate my BIG 3-0! Wow!

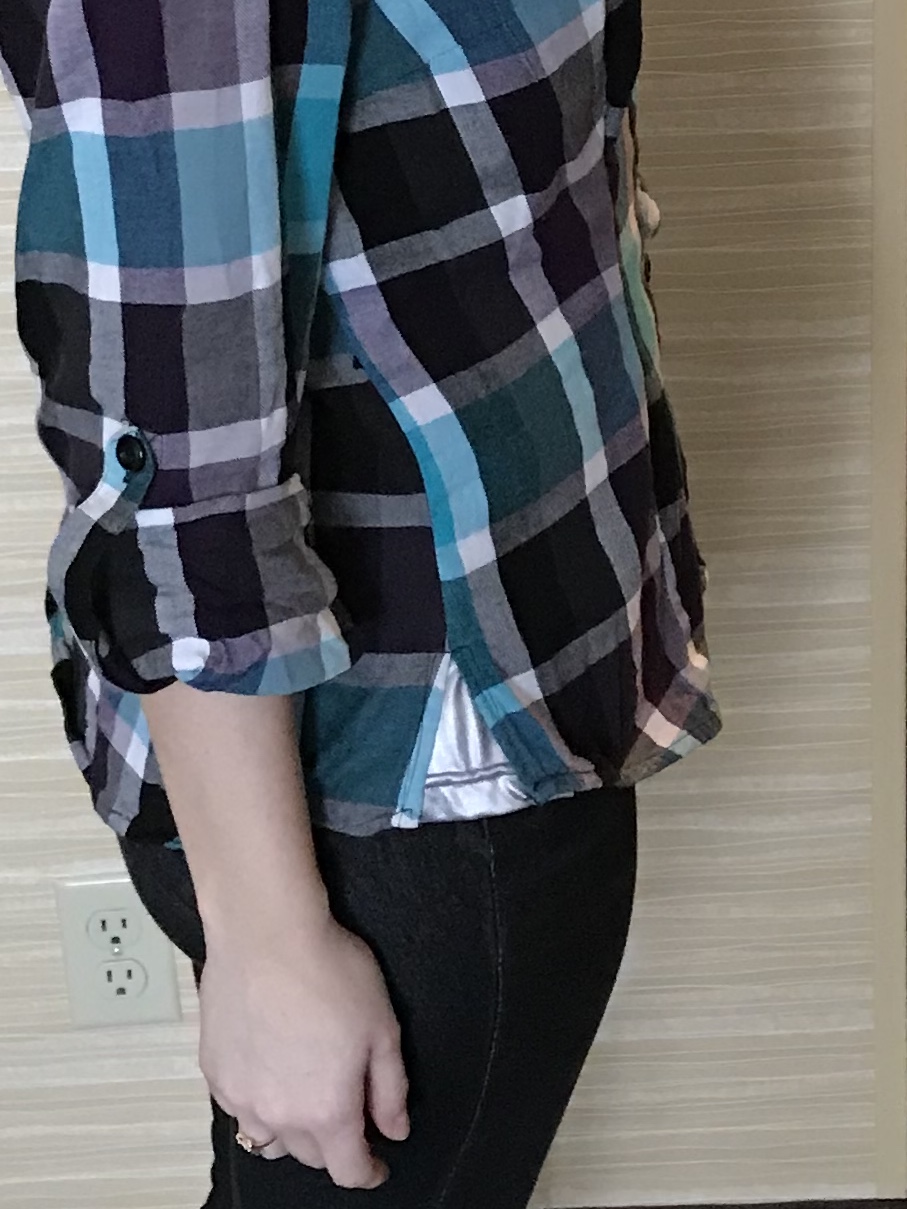
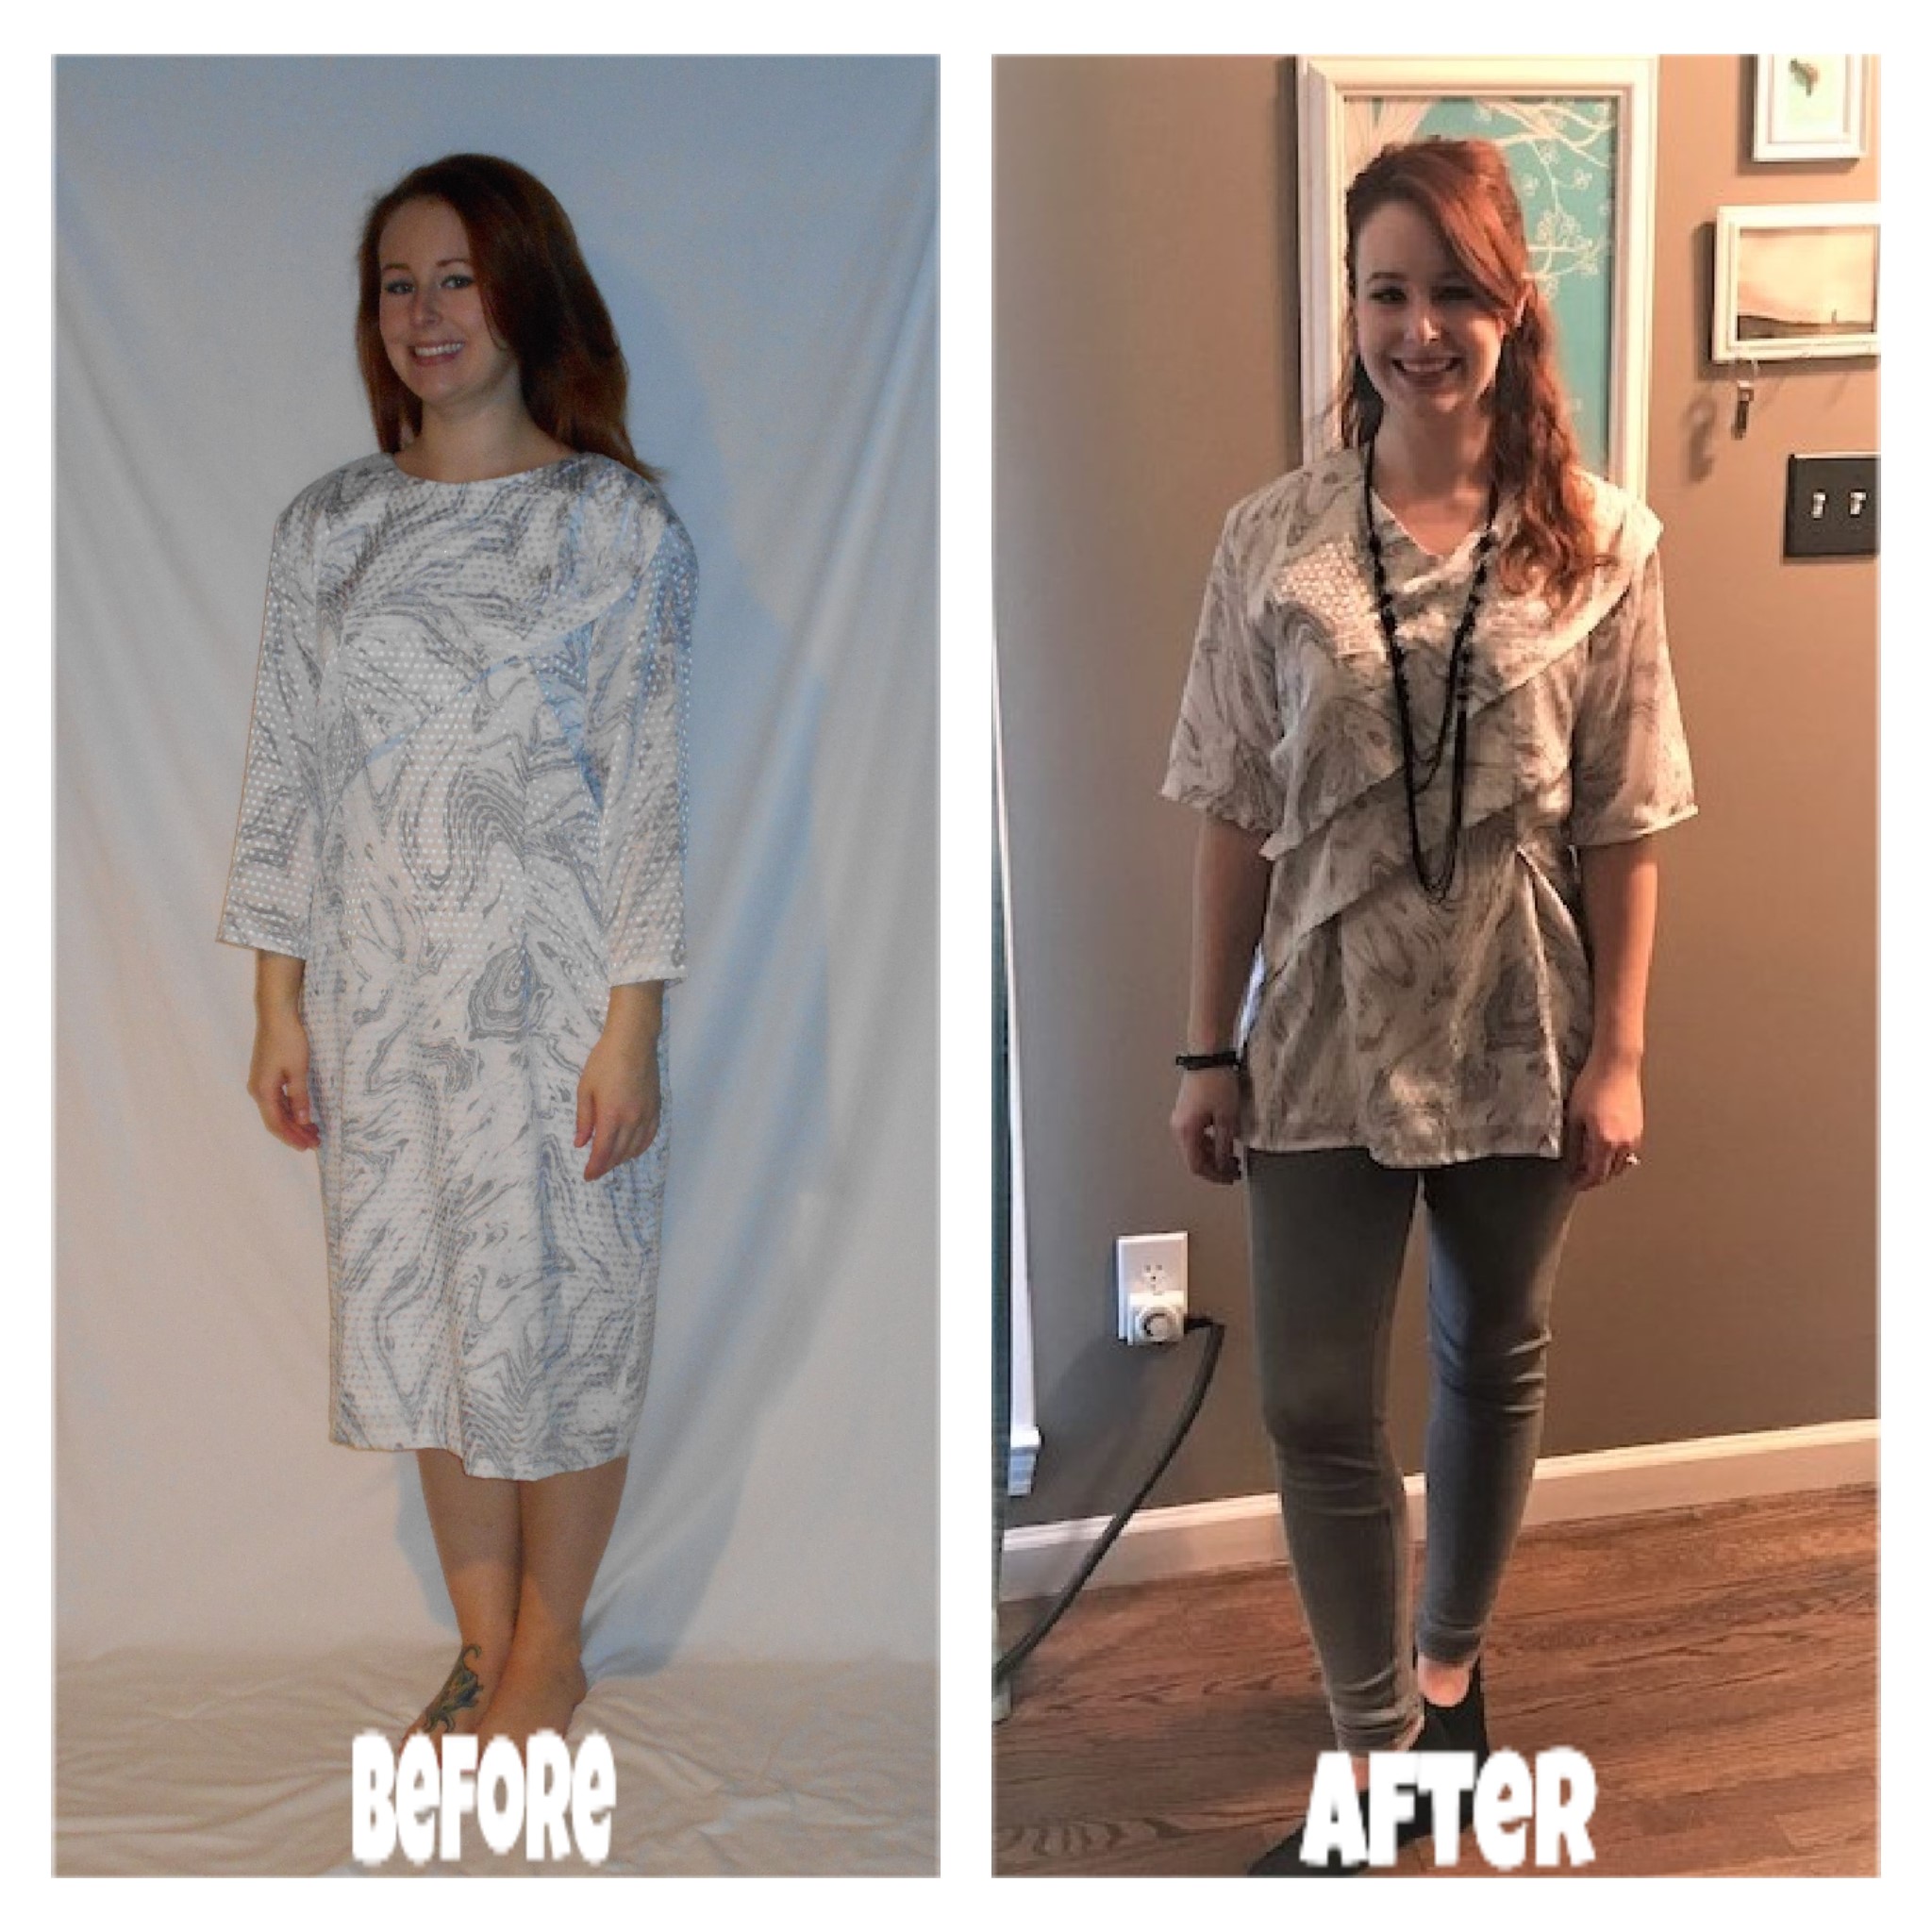
I started with this hum-drum plaid button up shirt. I love the colors in this plaid shirt! Nice metallic leggings 
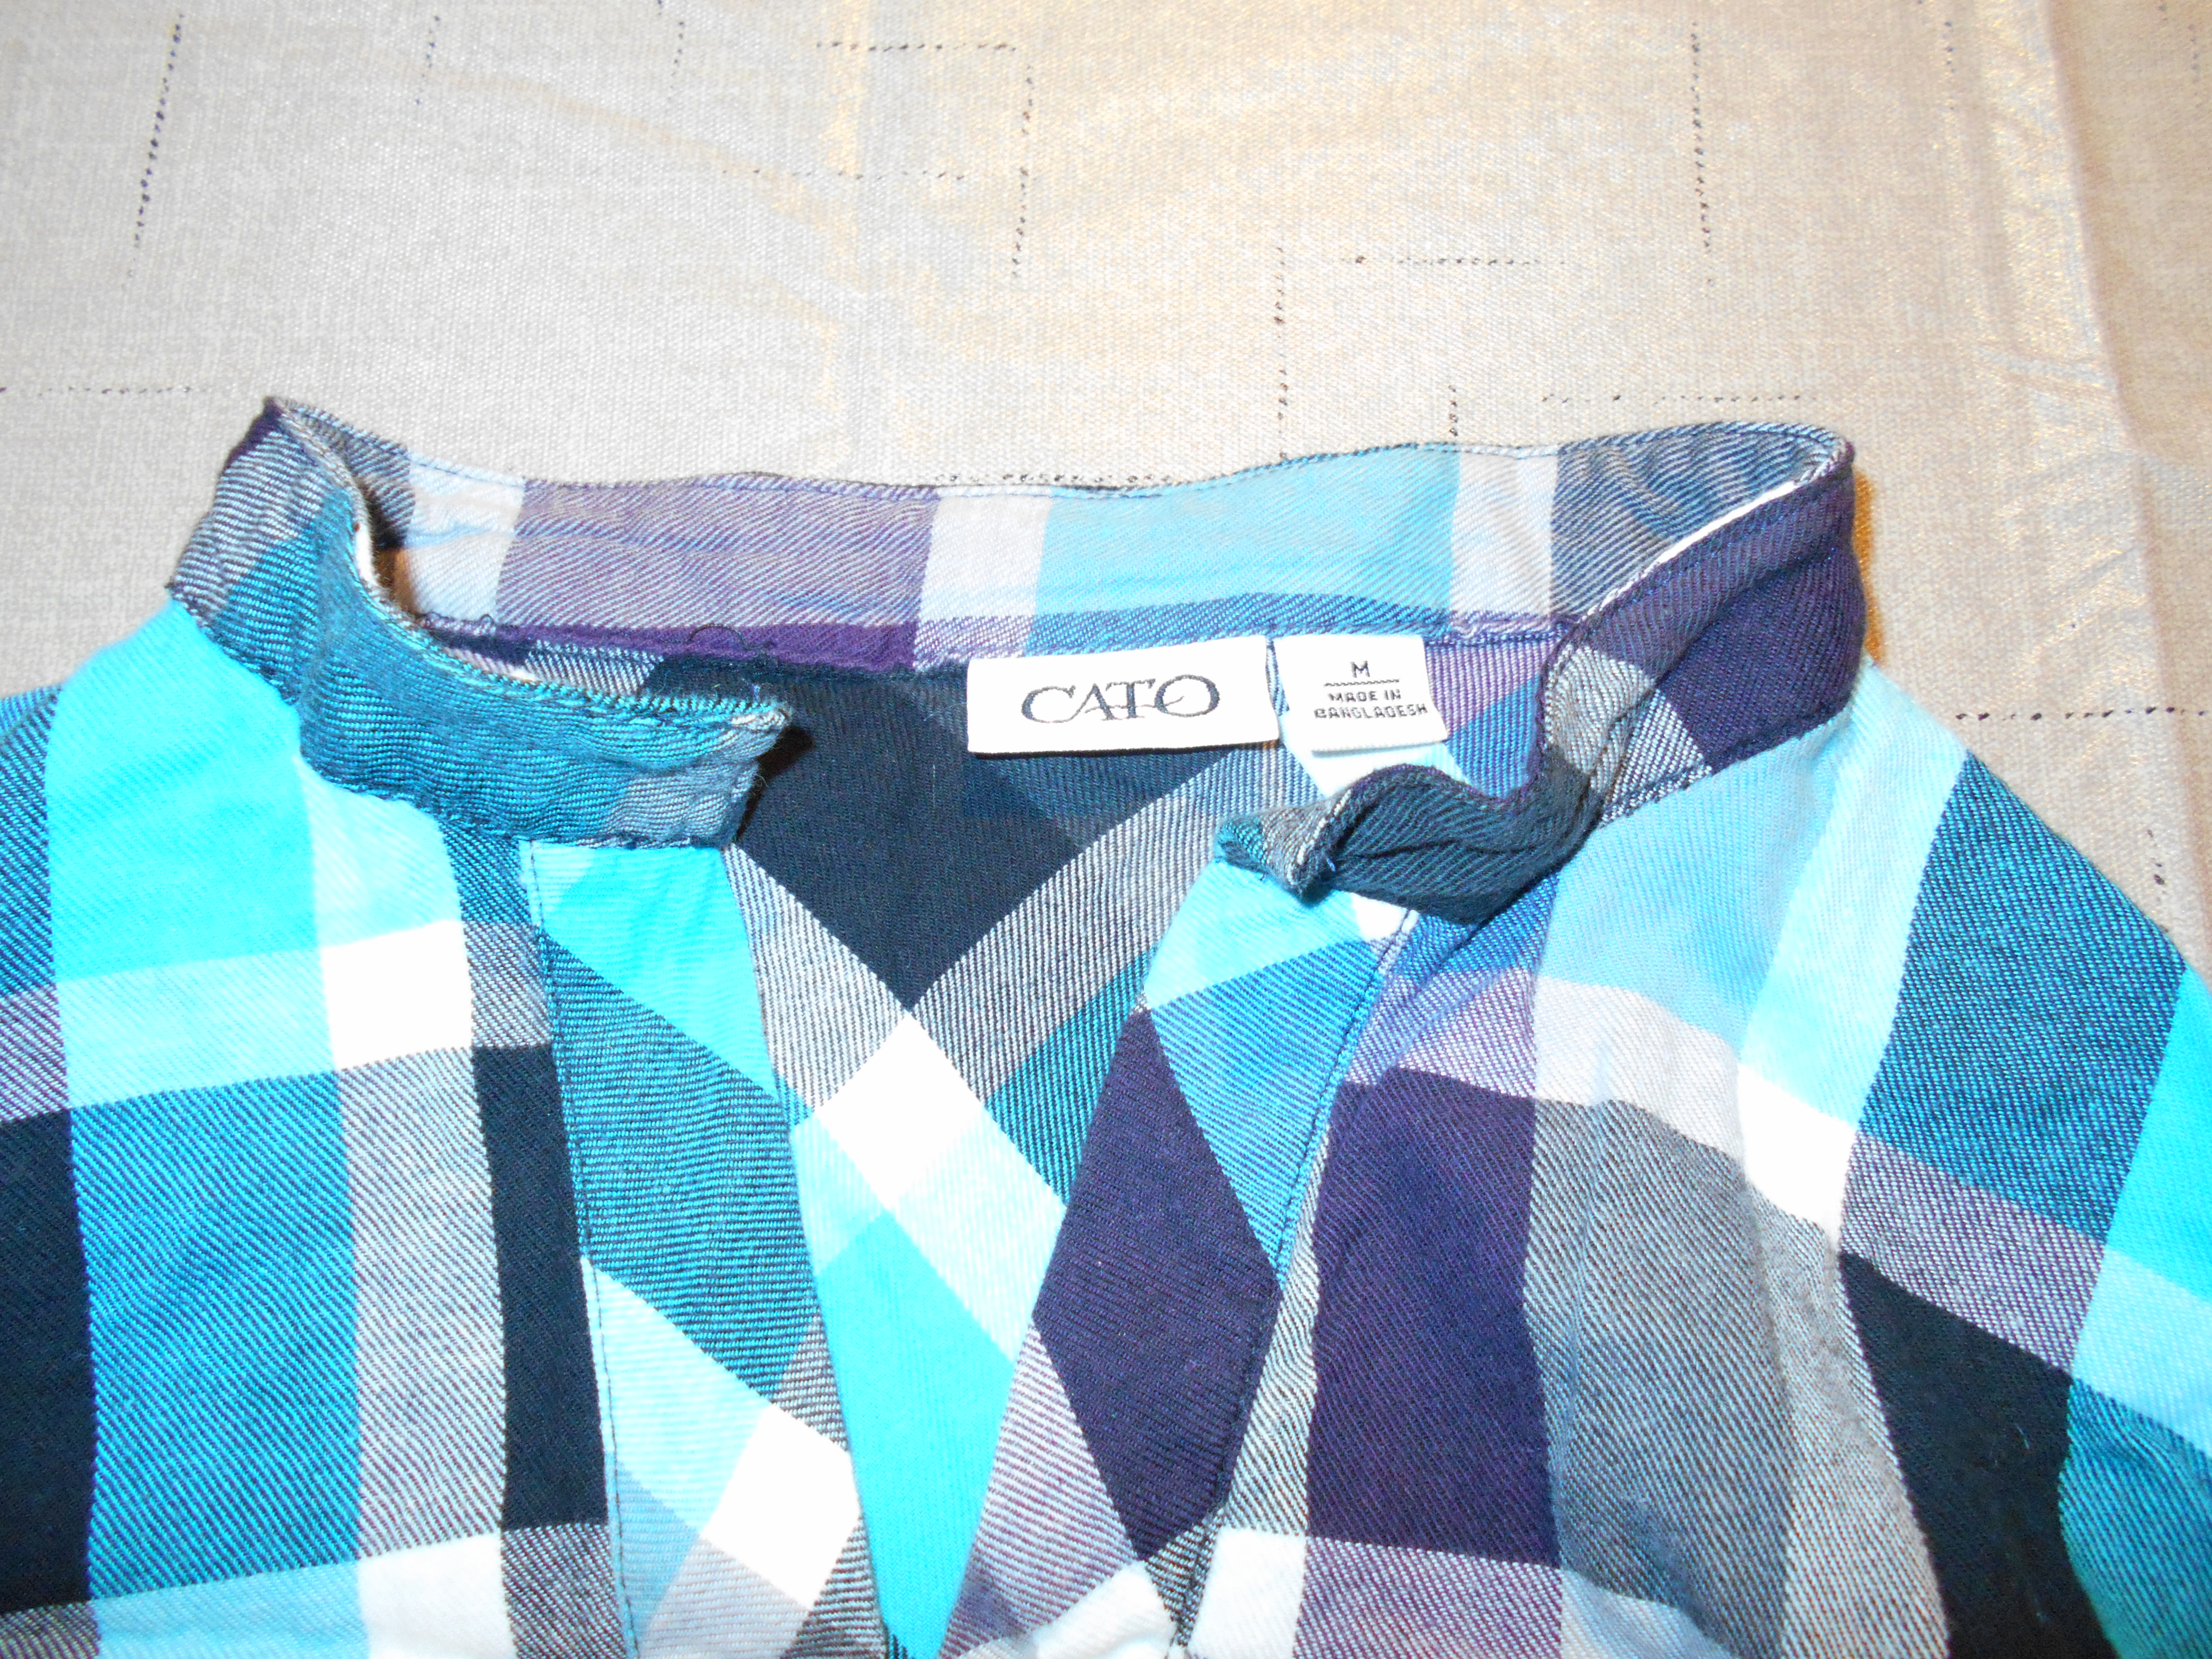
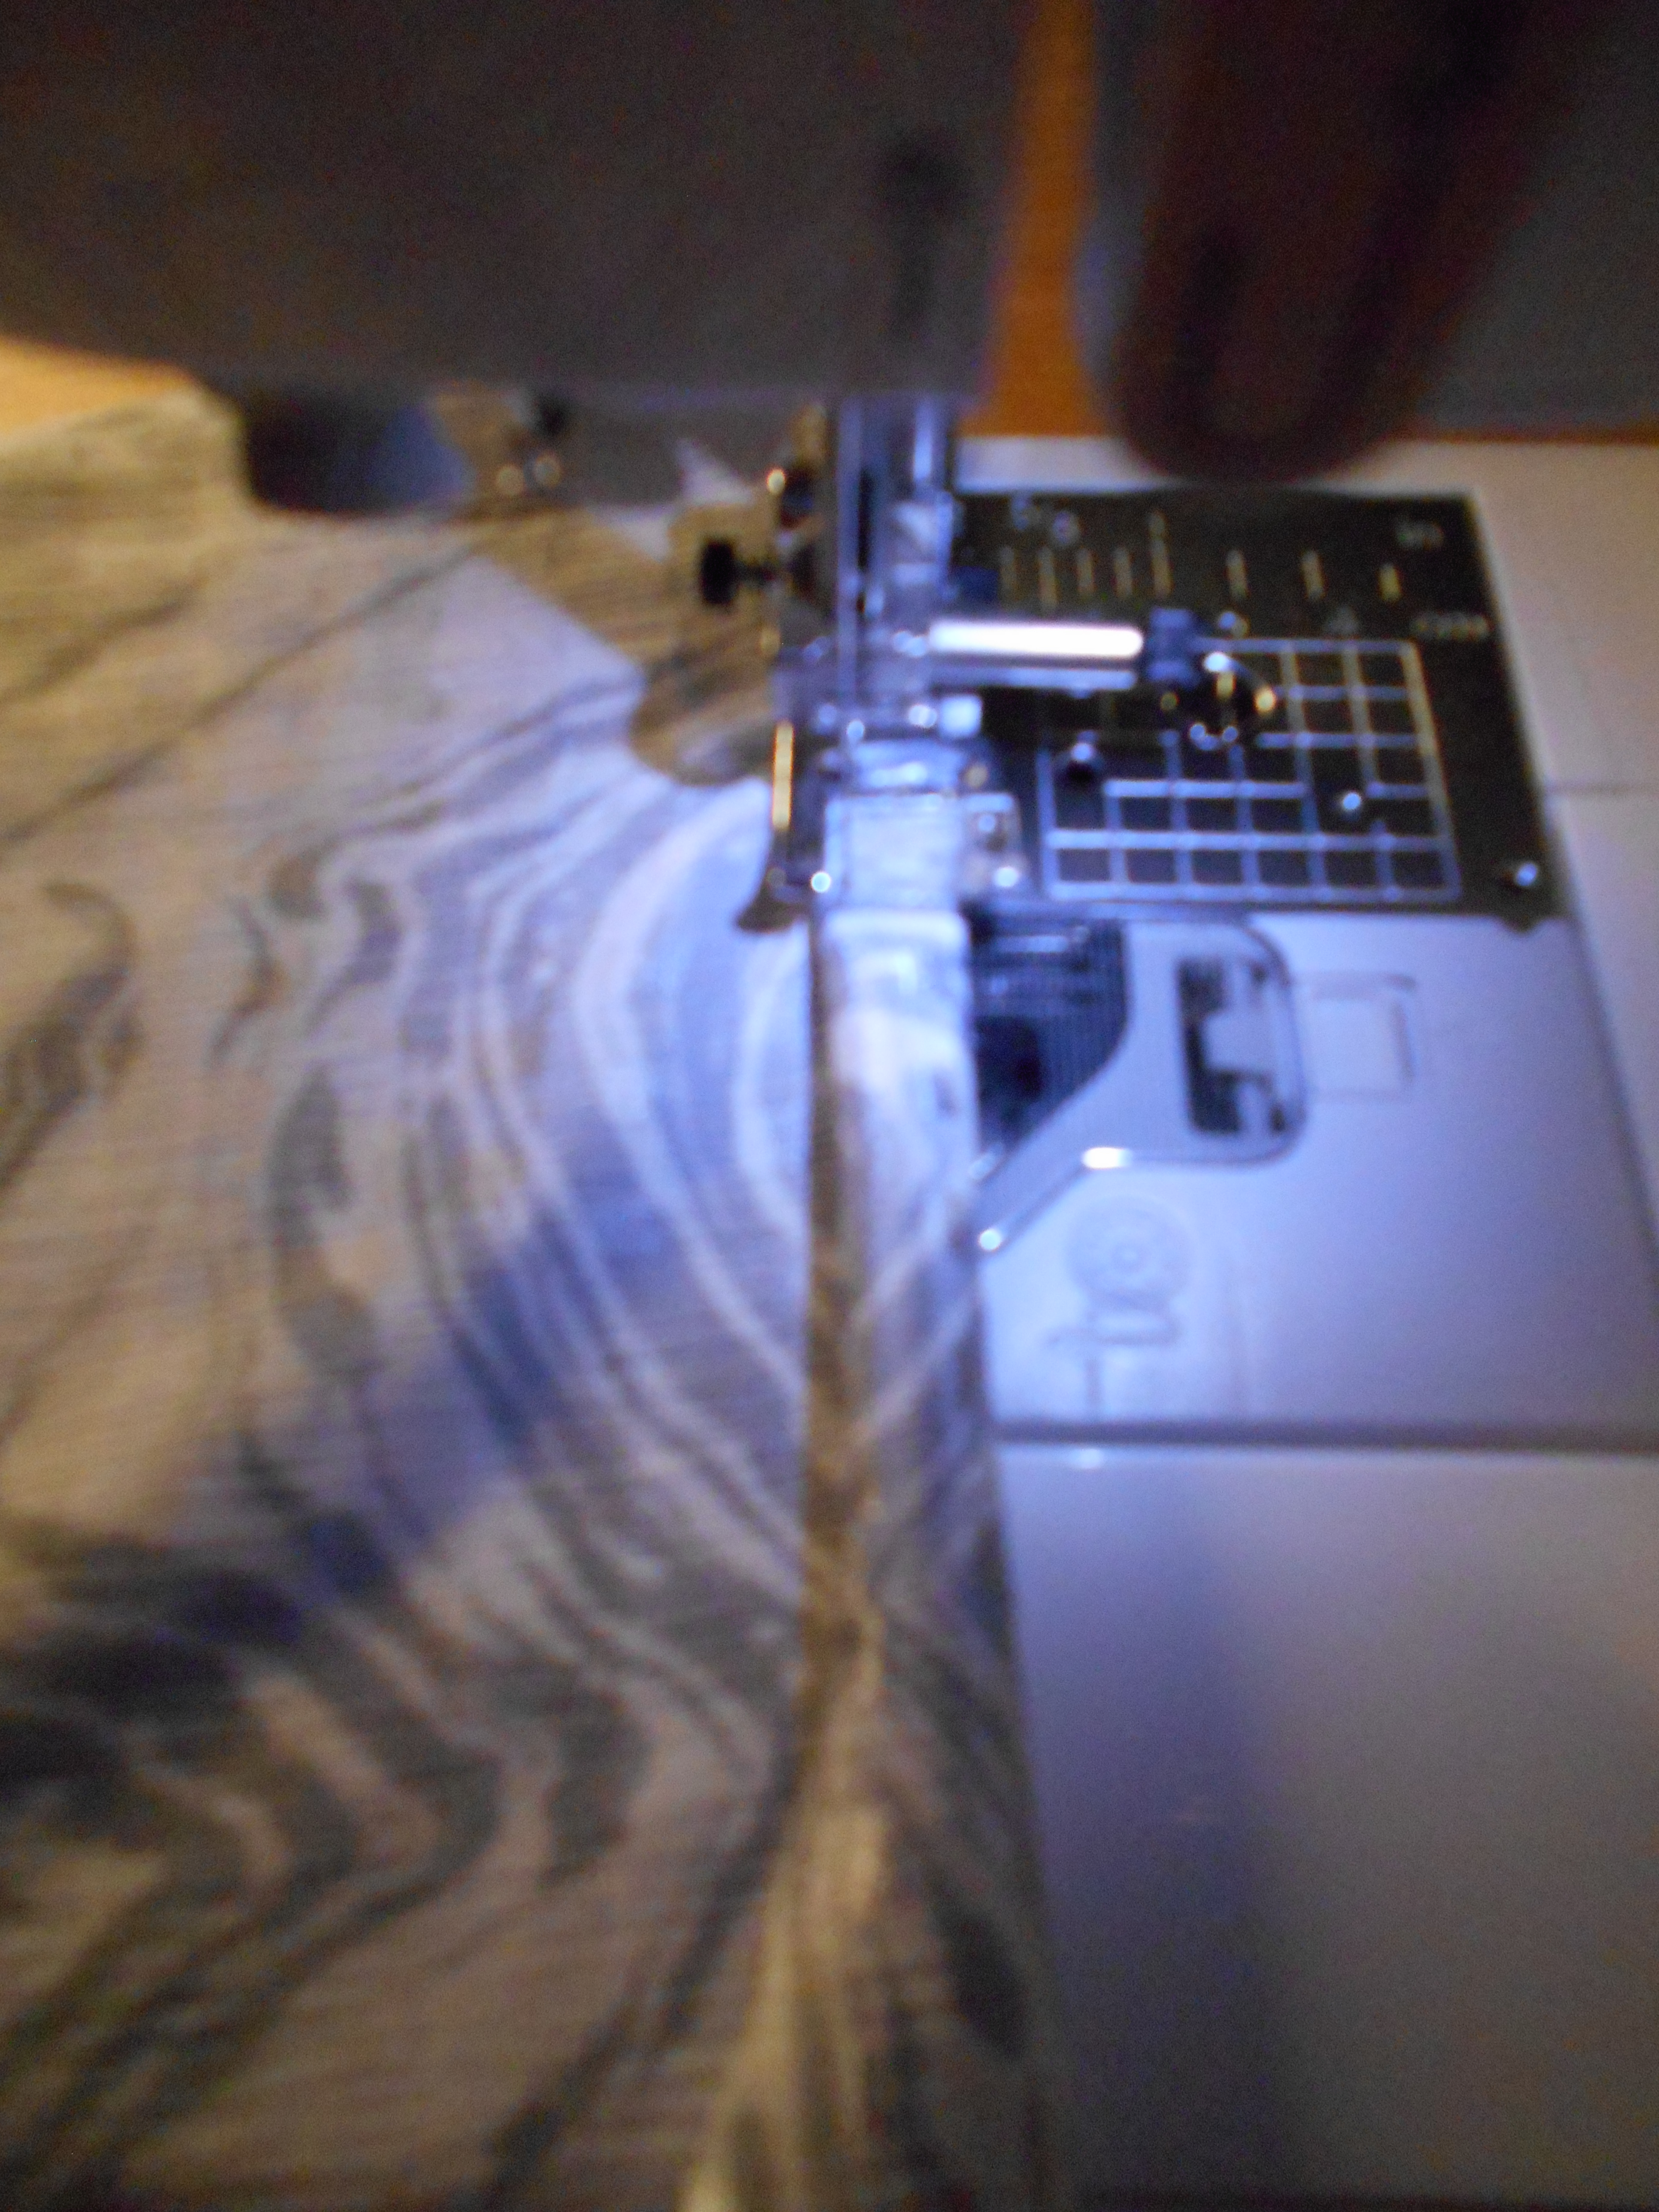
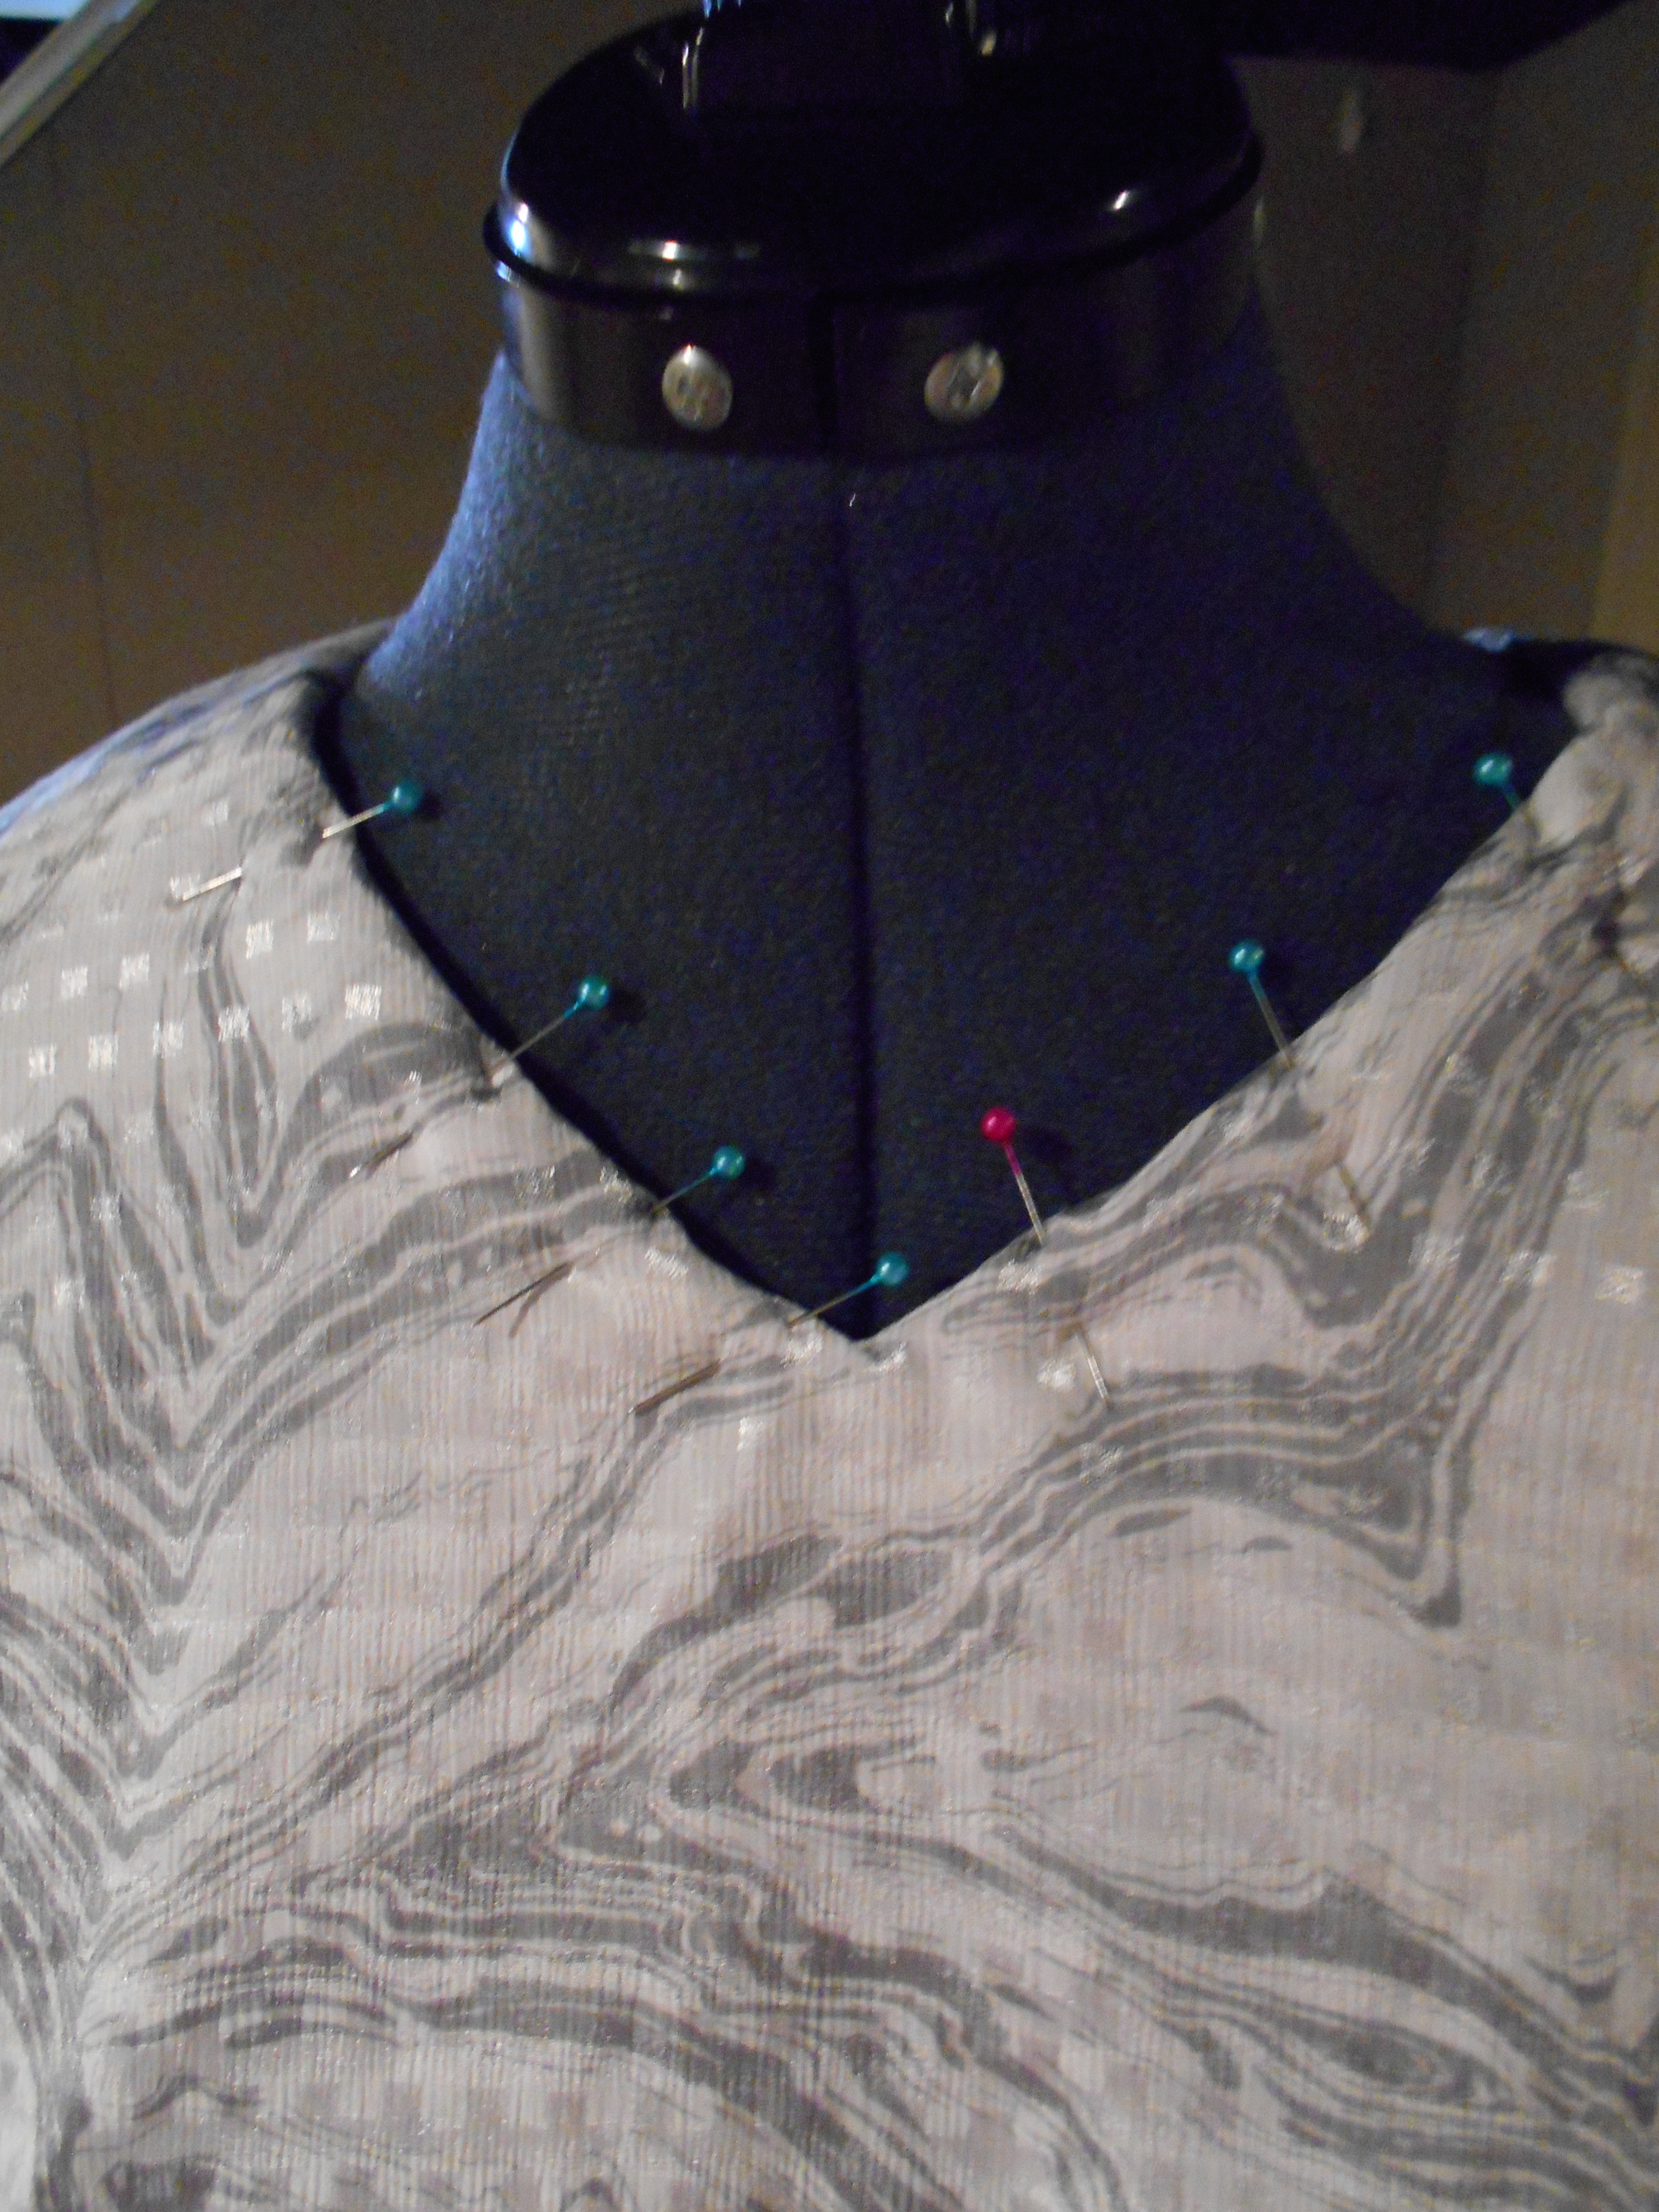
I removed the collar and stitched it up.
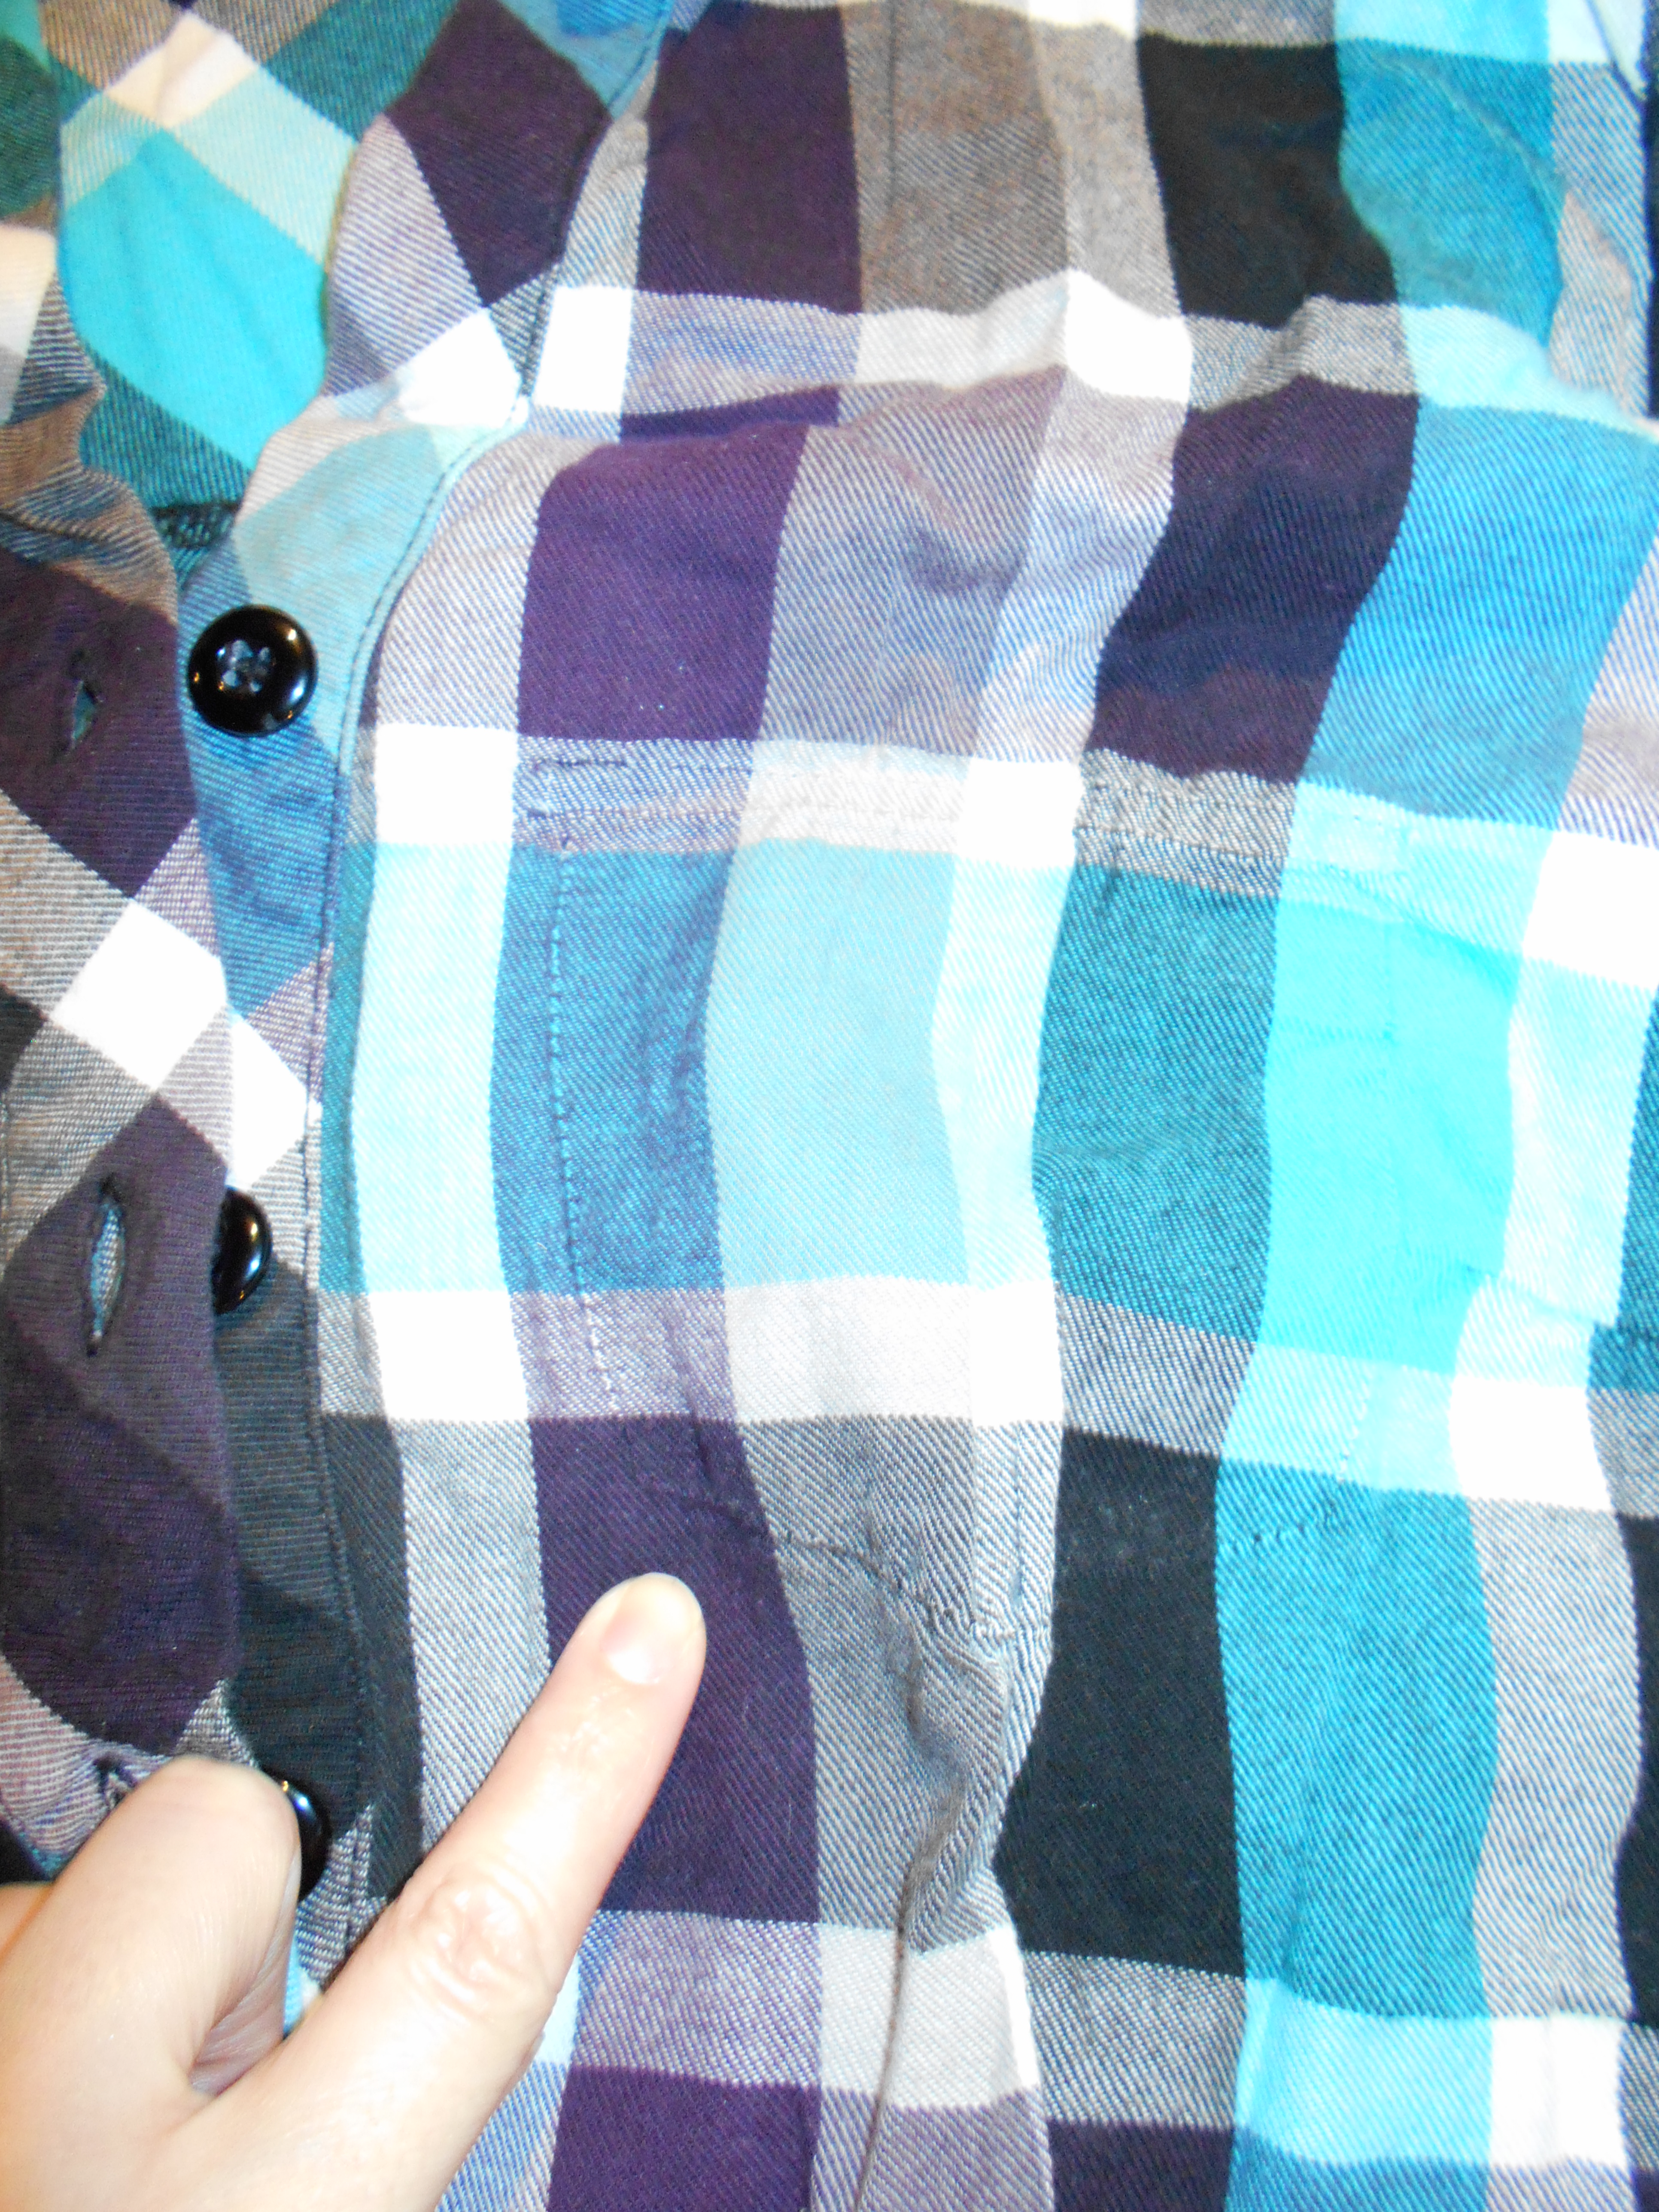
Removed the pockets (usually an easy task, but these were very stubborn!)
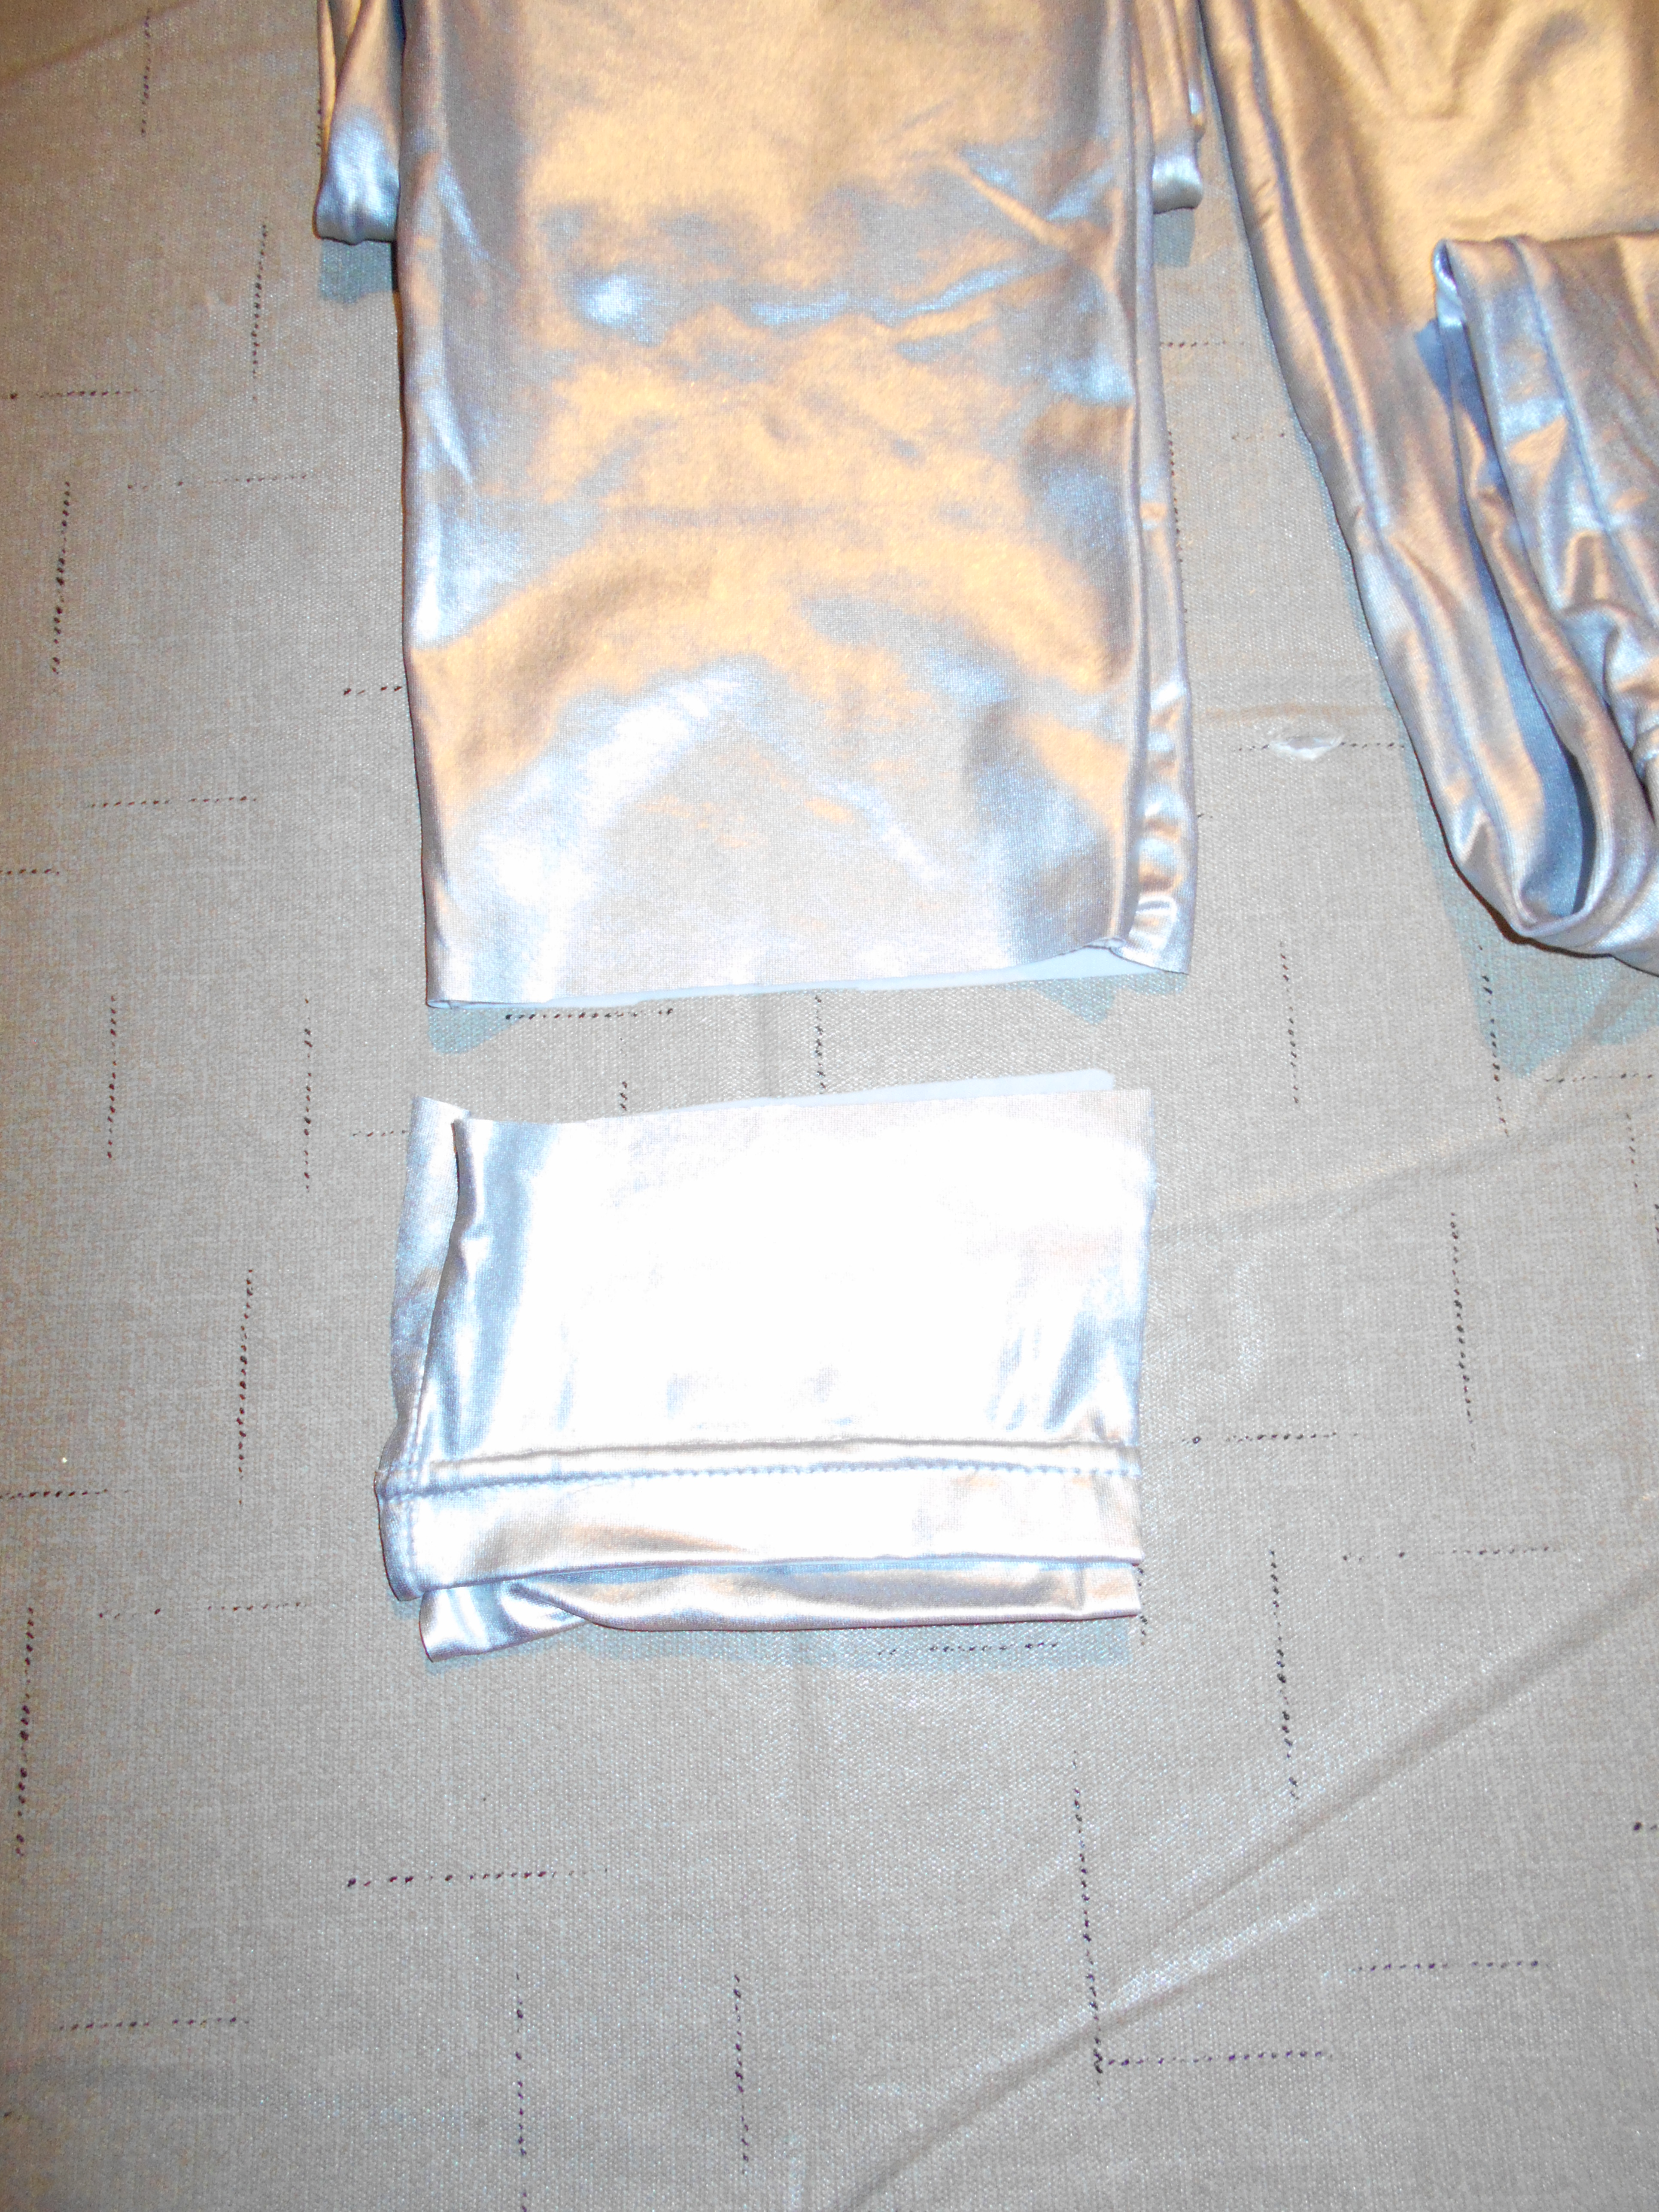
Remember my metallic leggings?! I cut off the bottom hem….
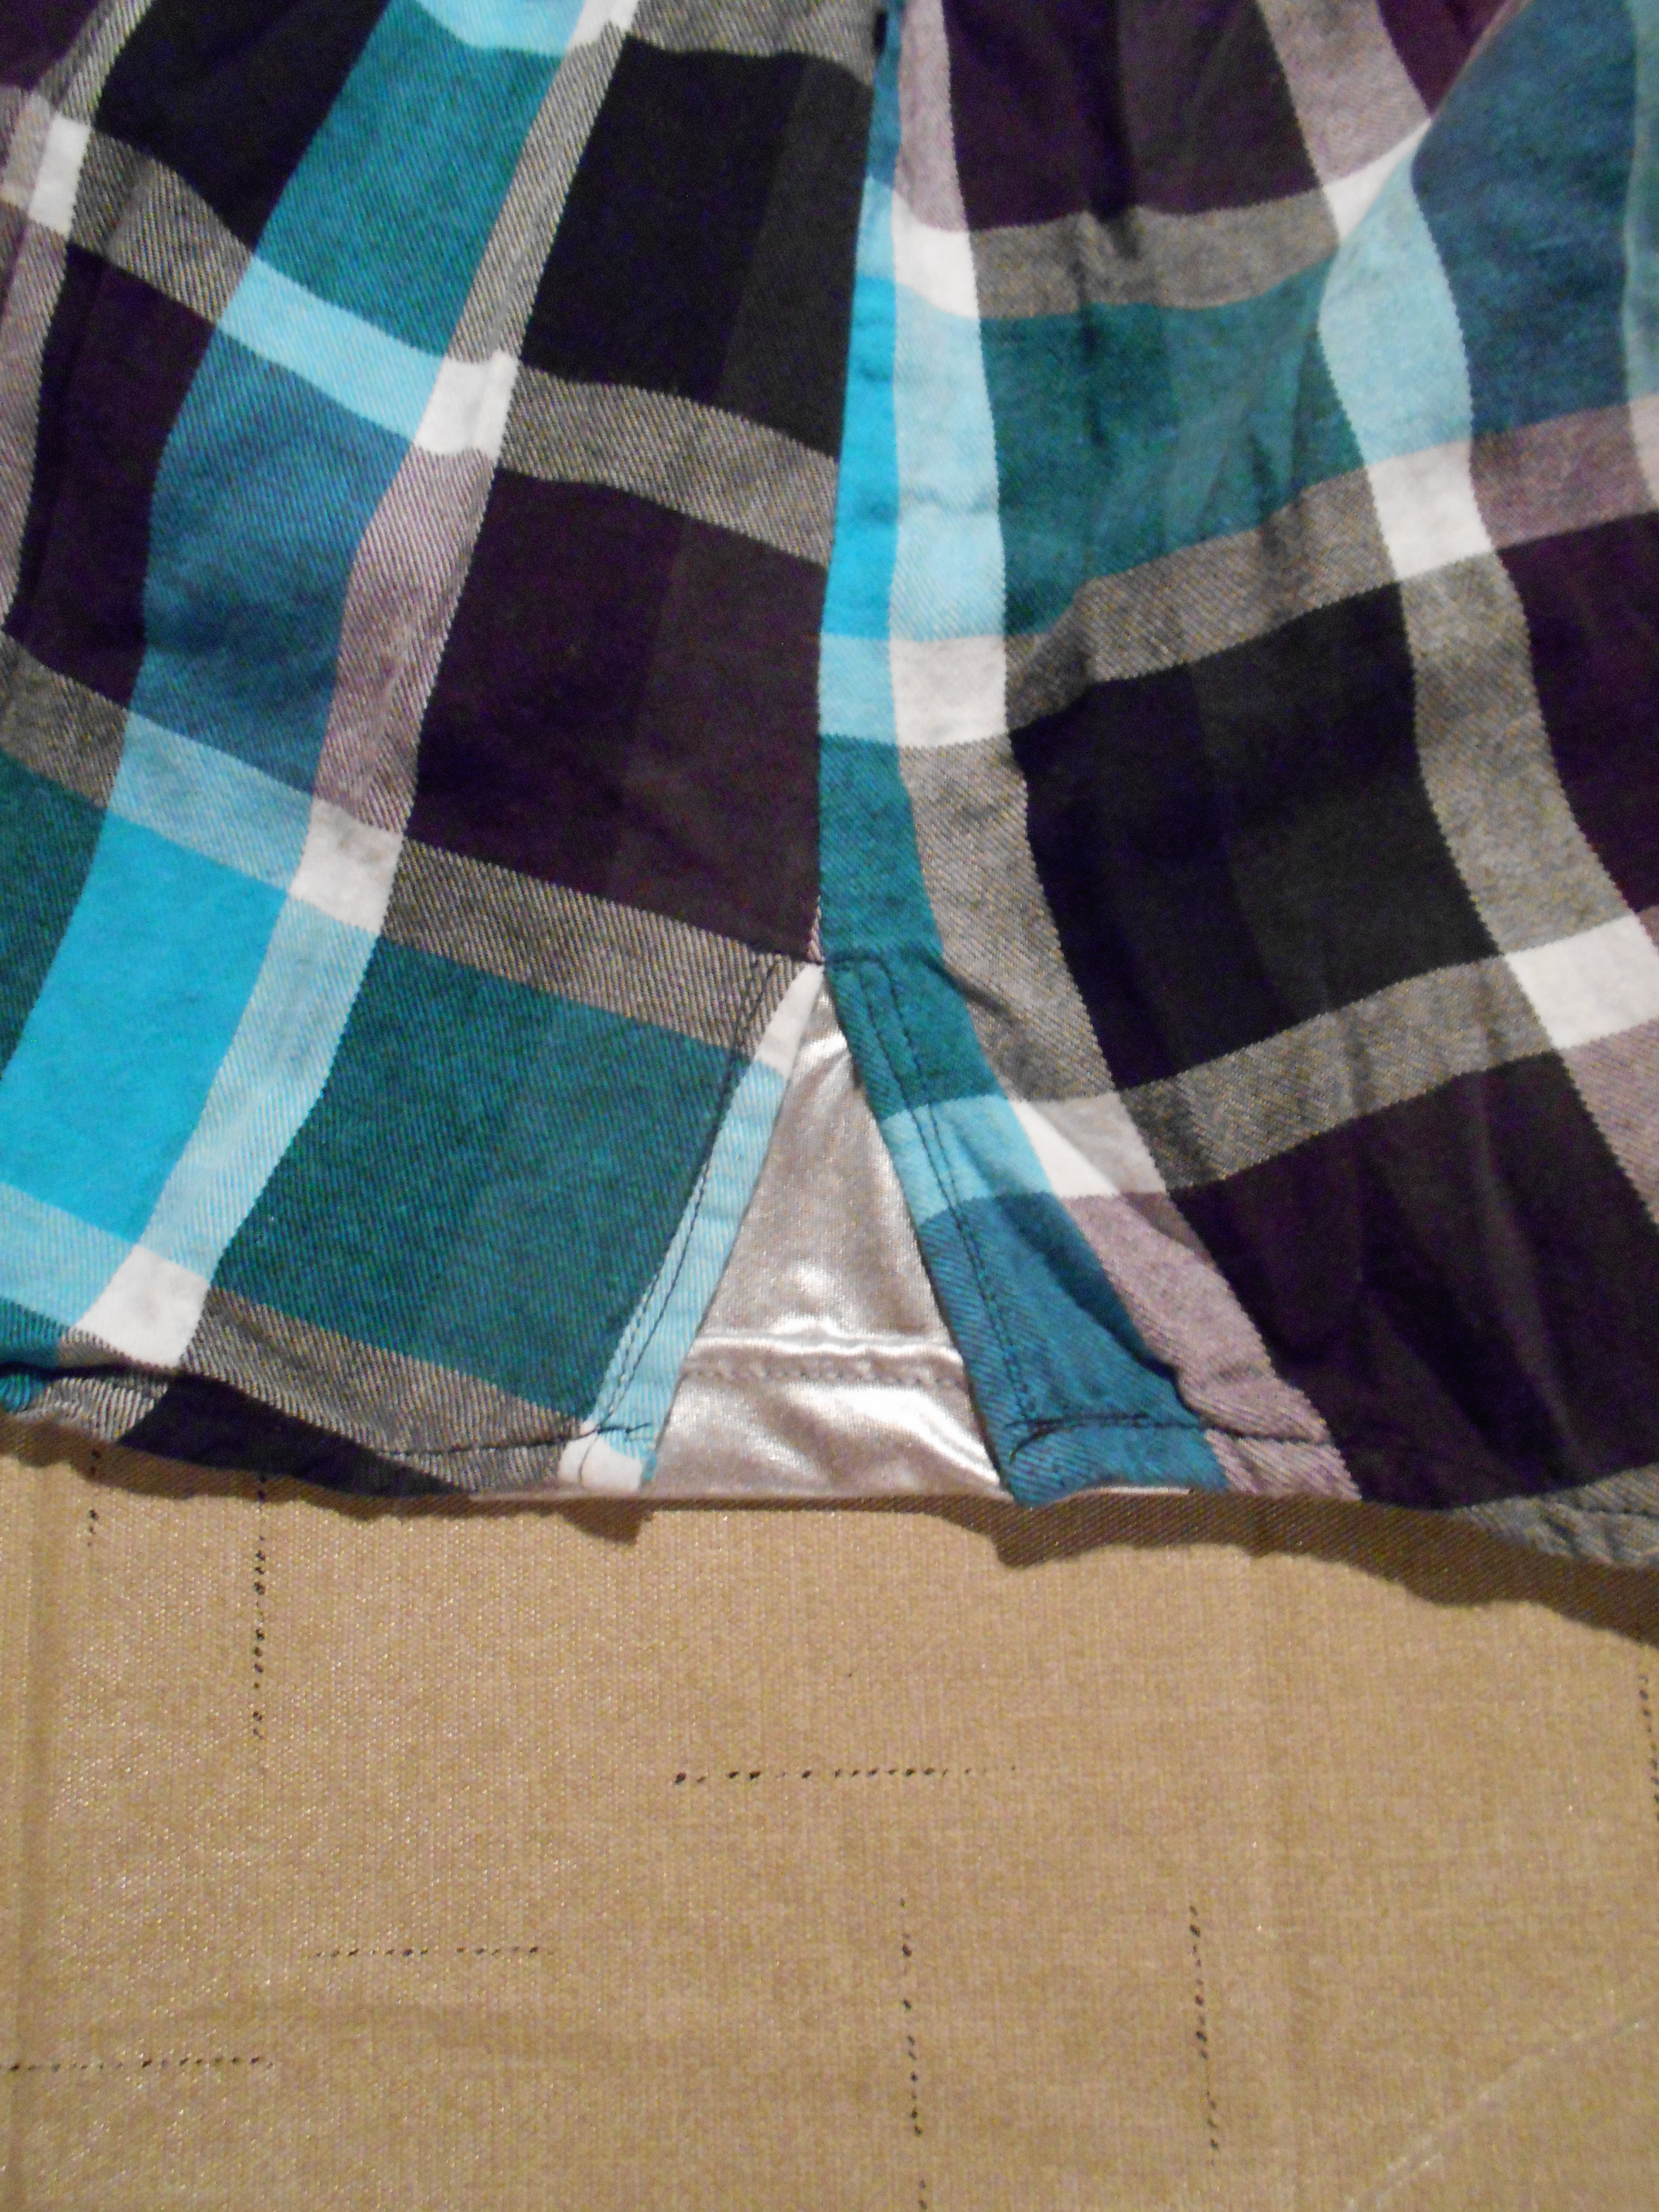
I used the bottom of my metallic leggings to fill in the open flaps on each side.
A little pop of shine!
![IMG_0763[920]](https://therefashstash.files.wordpress.com/2018/03/img_0763920.jpg?w=480&h=640)
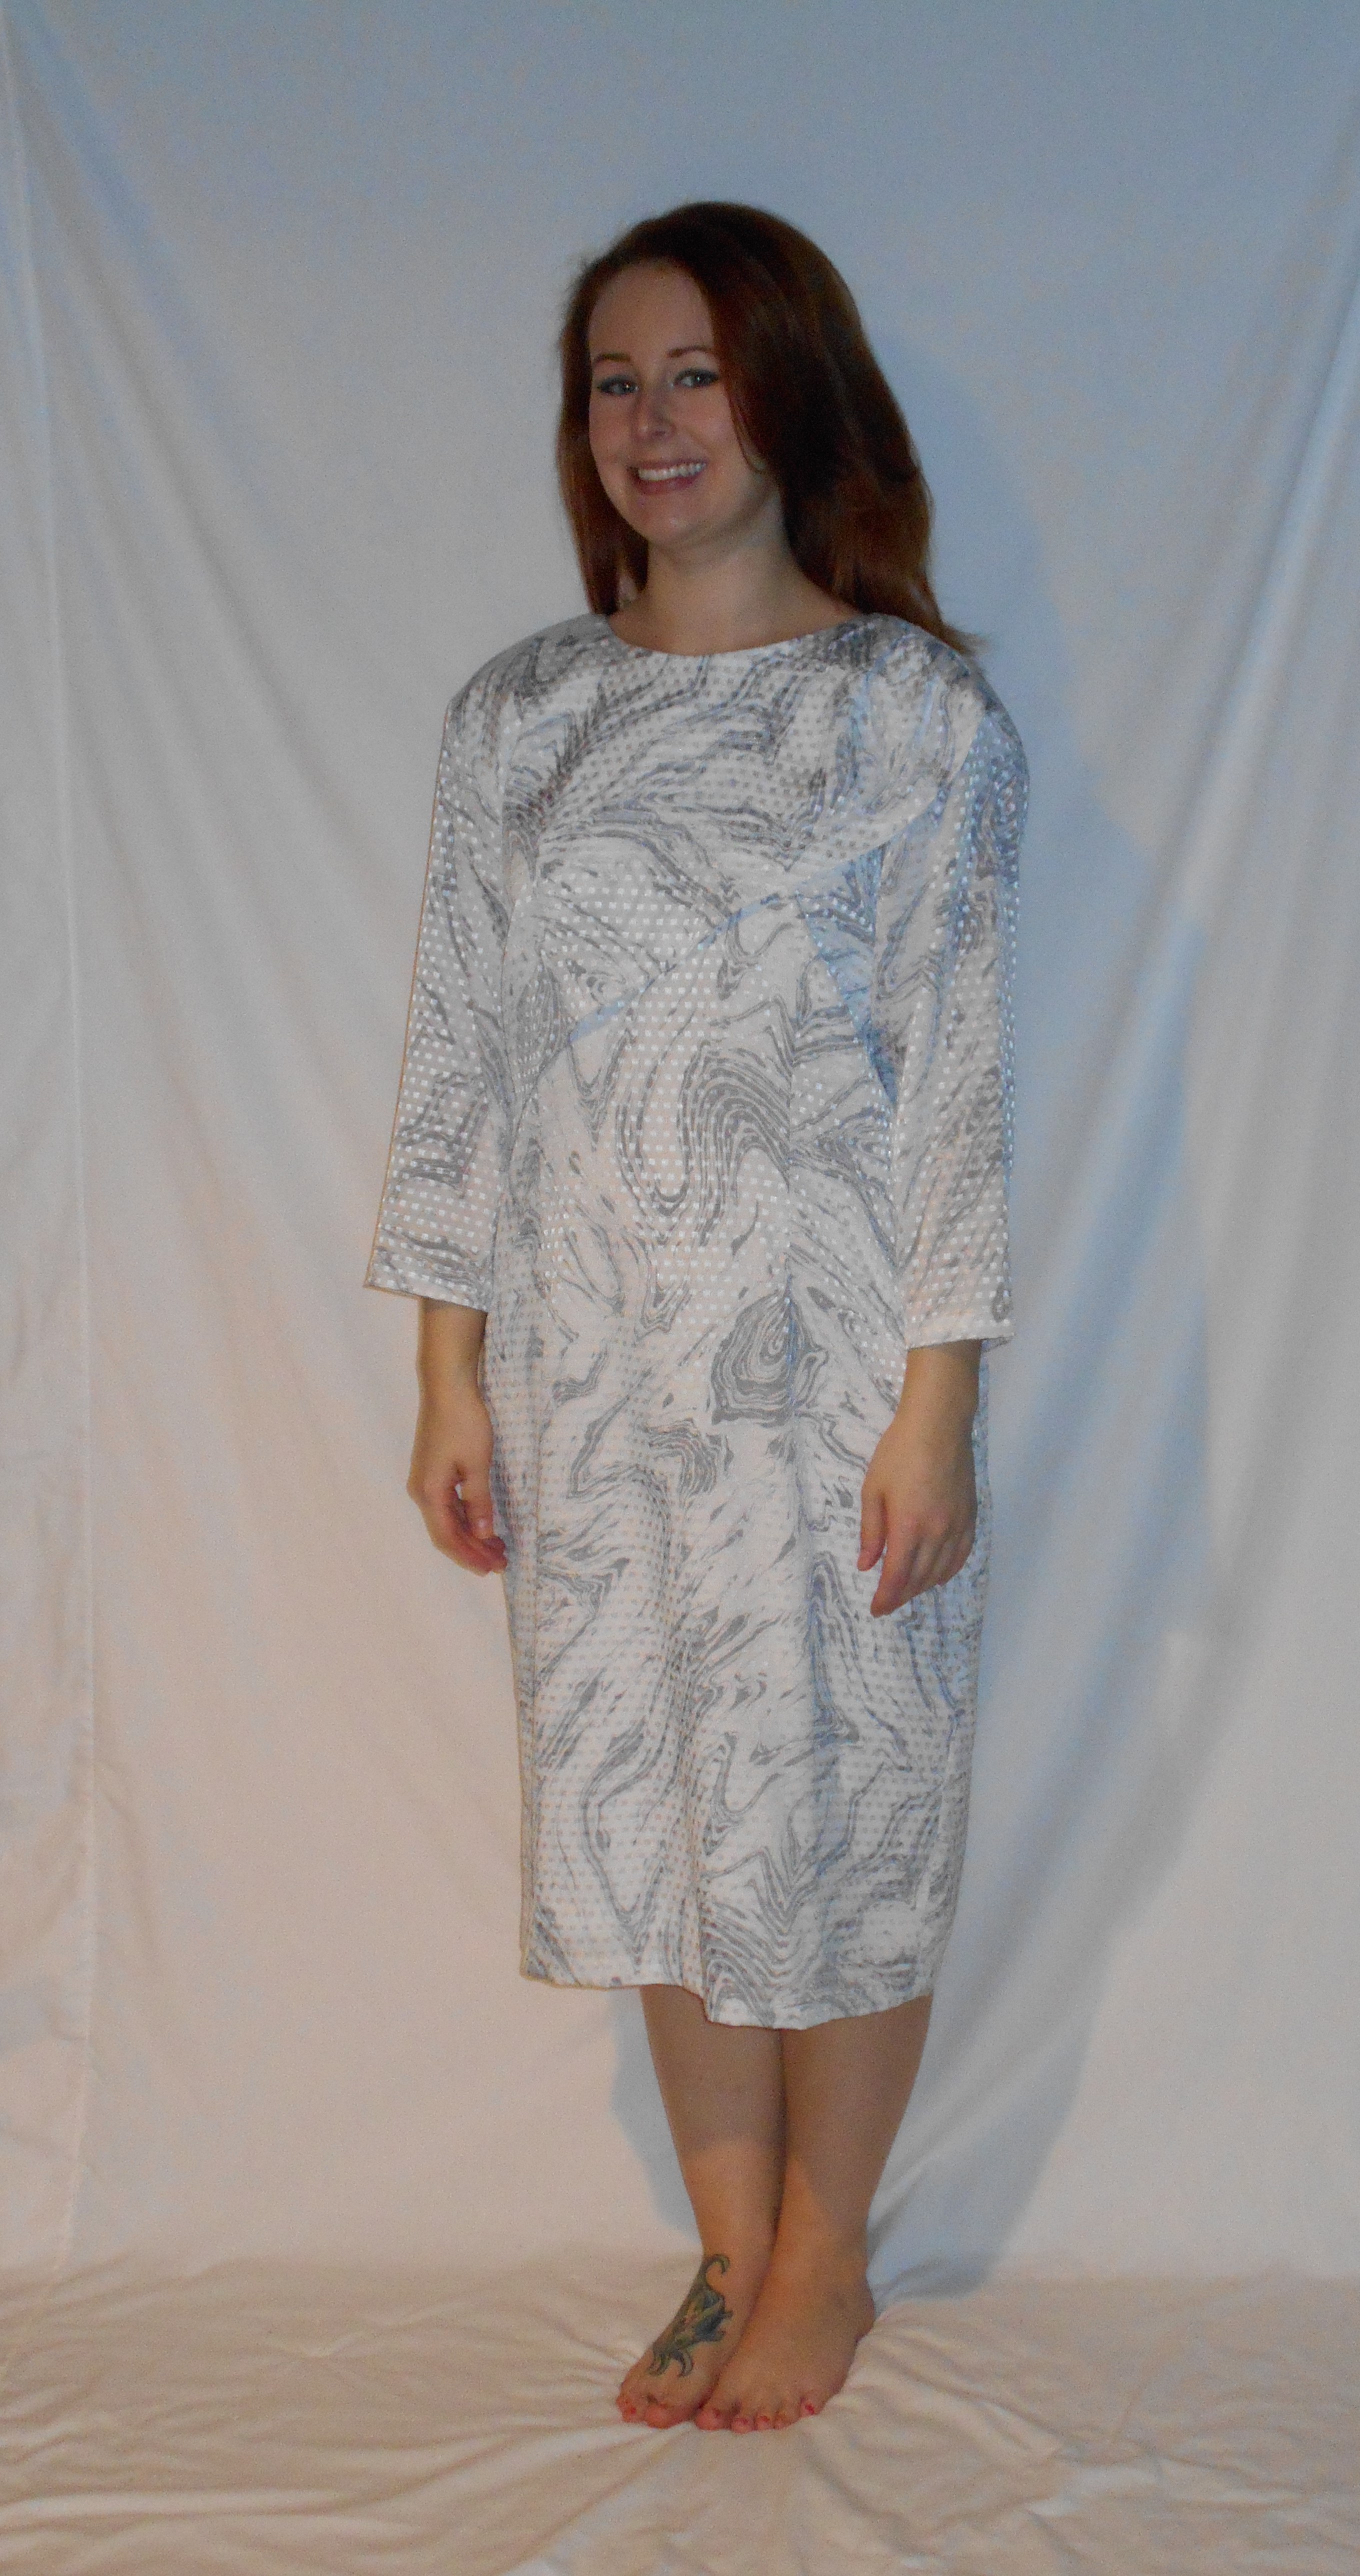
Happy Refashioning!!!
Check out my stash of refashions on my blog


![IMG_0757[921]](https://therefashstash.files.wordpress.com/2018/03/img_07579211.jpg?w=326&h=640)


