
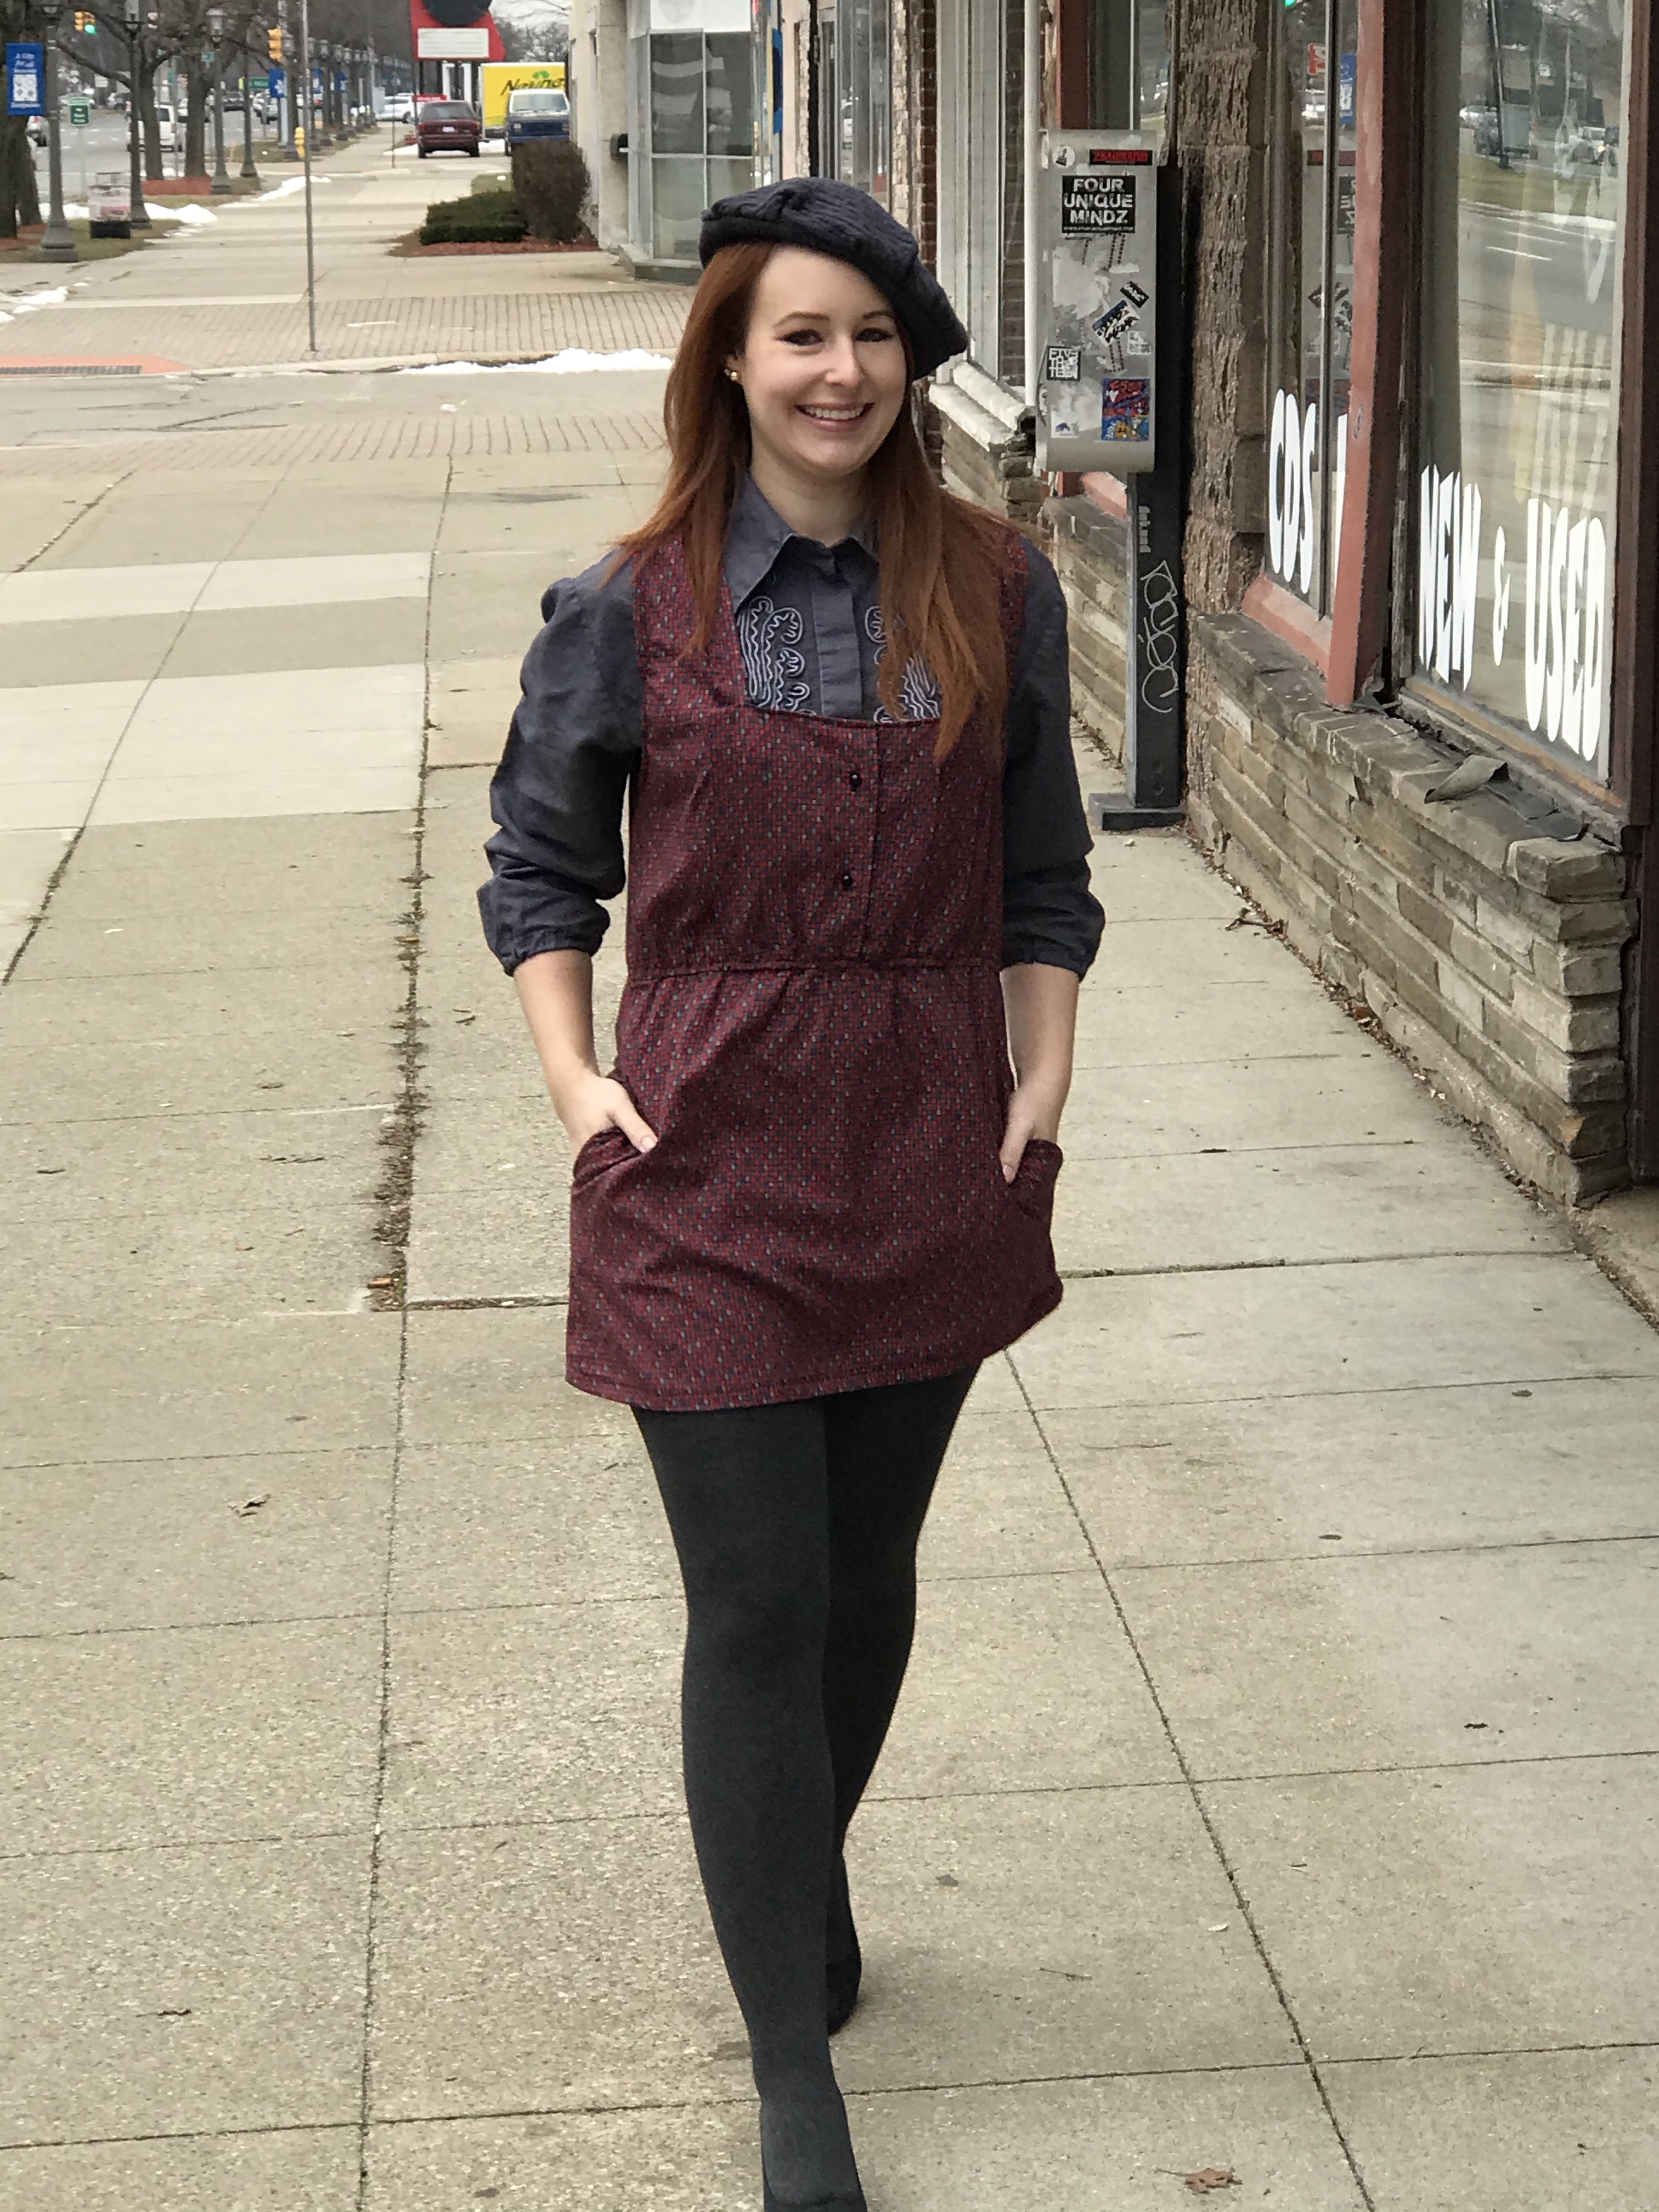
This week's Refashion Runway Challenge 1979s! I decided to go with a casual everyday 70s look.

I started with this lovely 80's dress and white button down shirt. The shirt has a beautiful design on the front made of cording, hard to see since it's white on white.
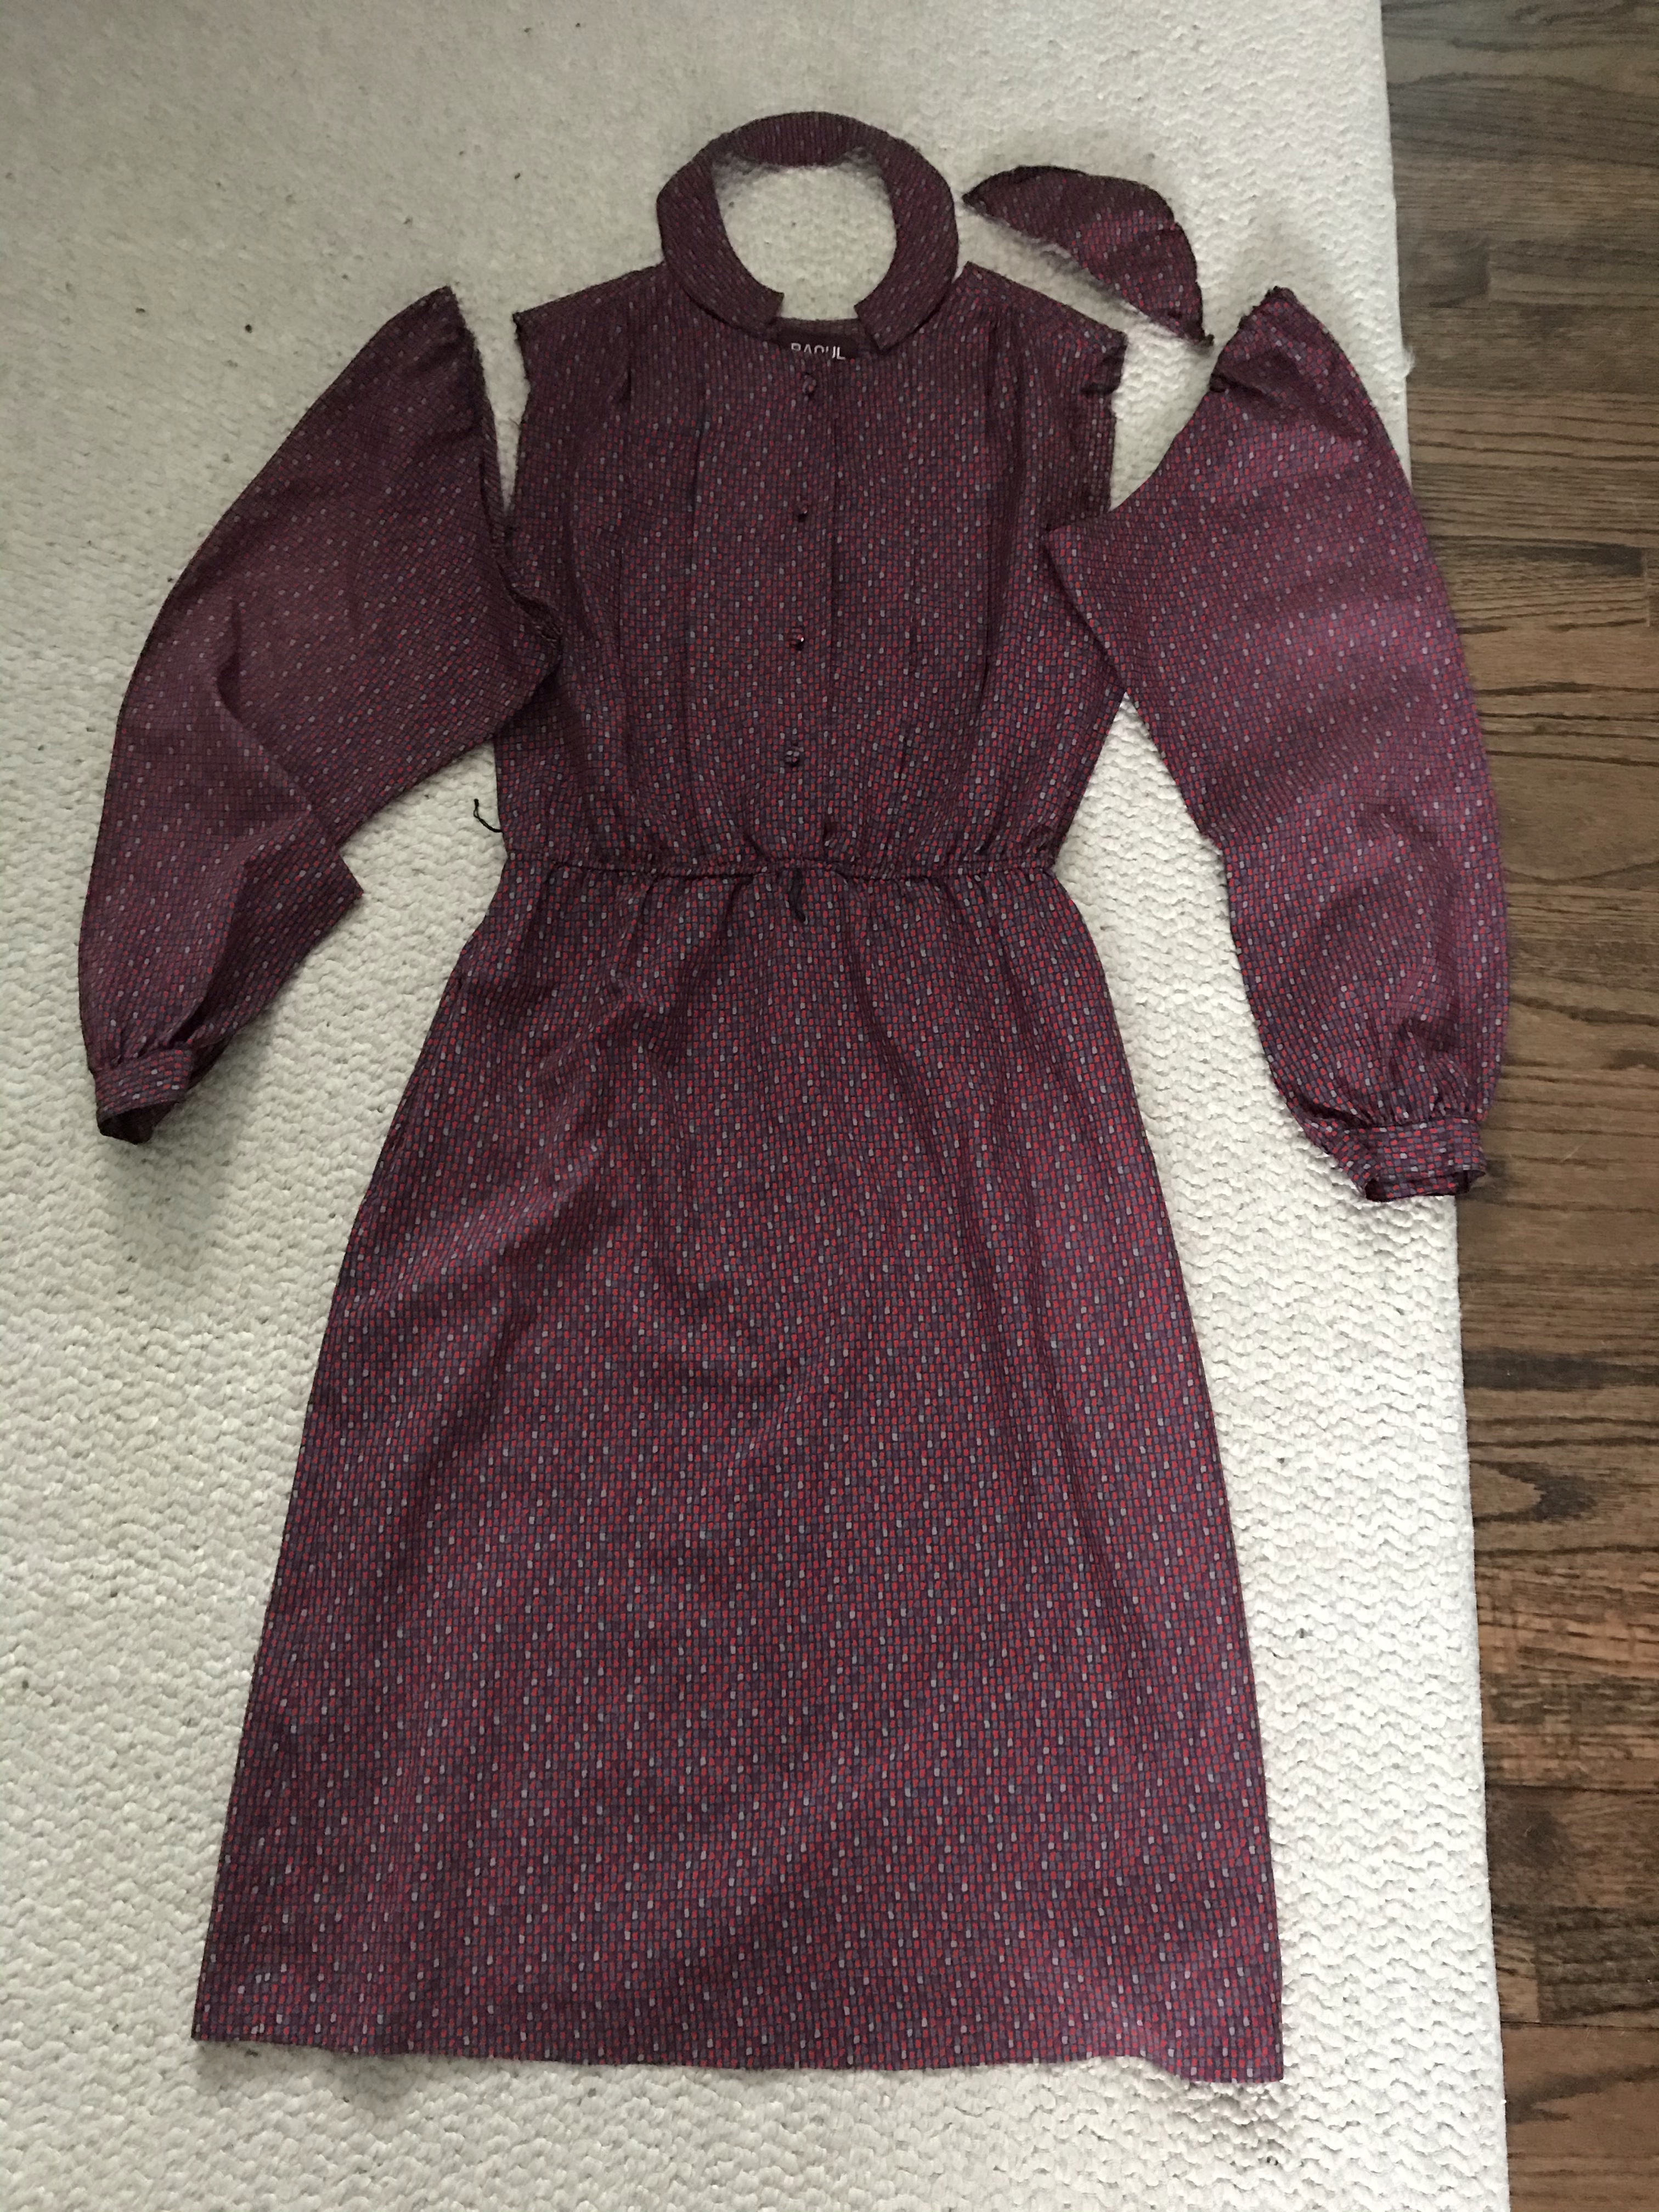
First thing is first: removing the sleeves, collar and 1 shoulder pad. The opposite shoulder pad must have been lost long ago?
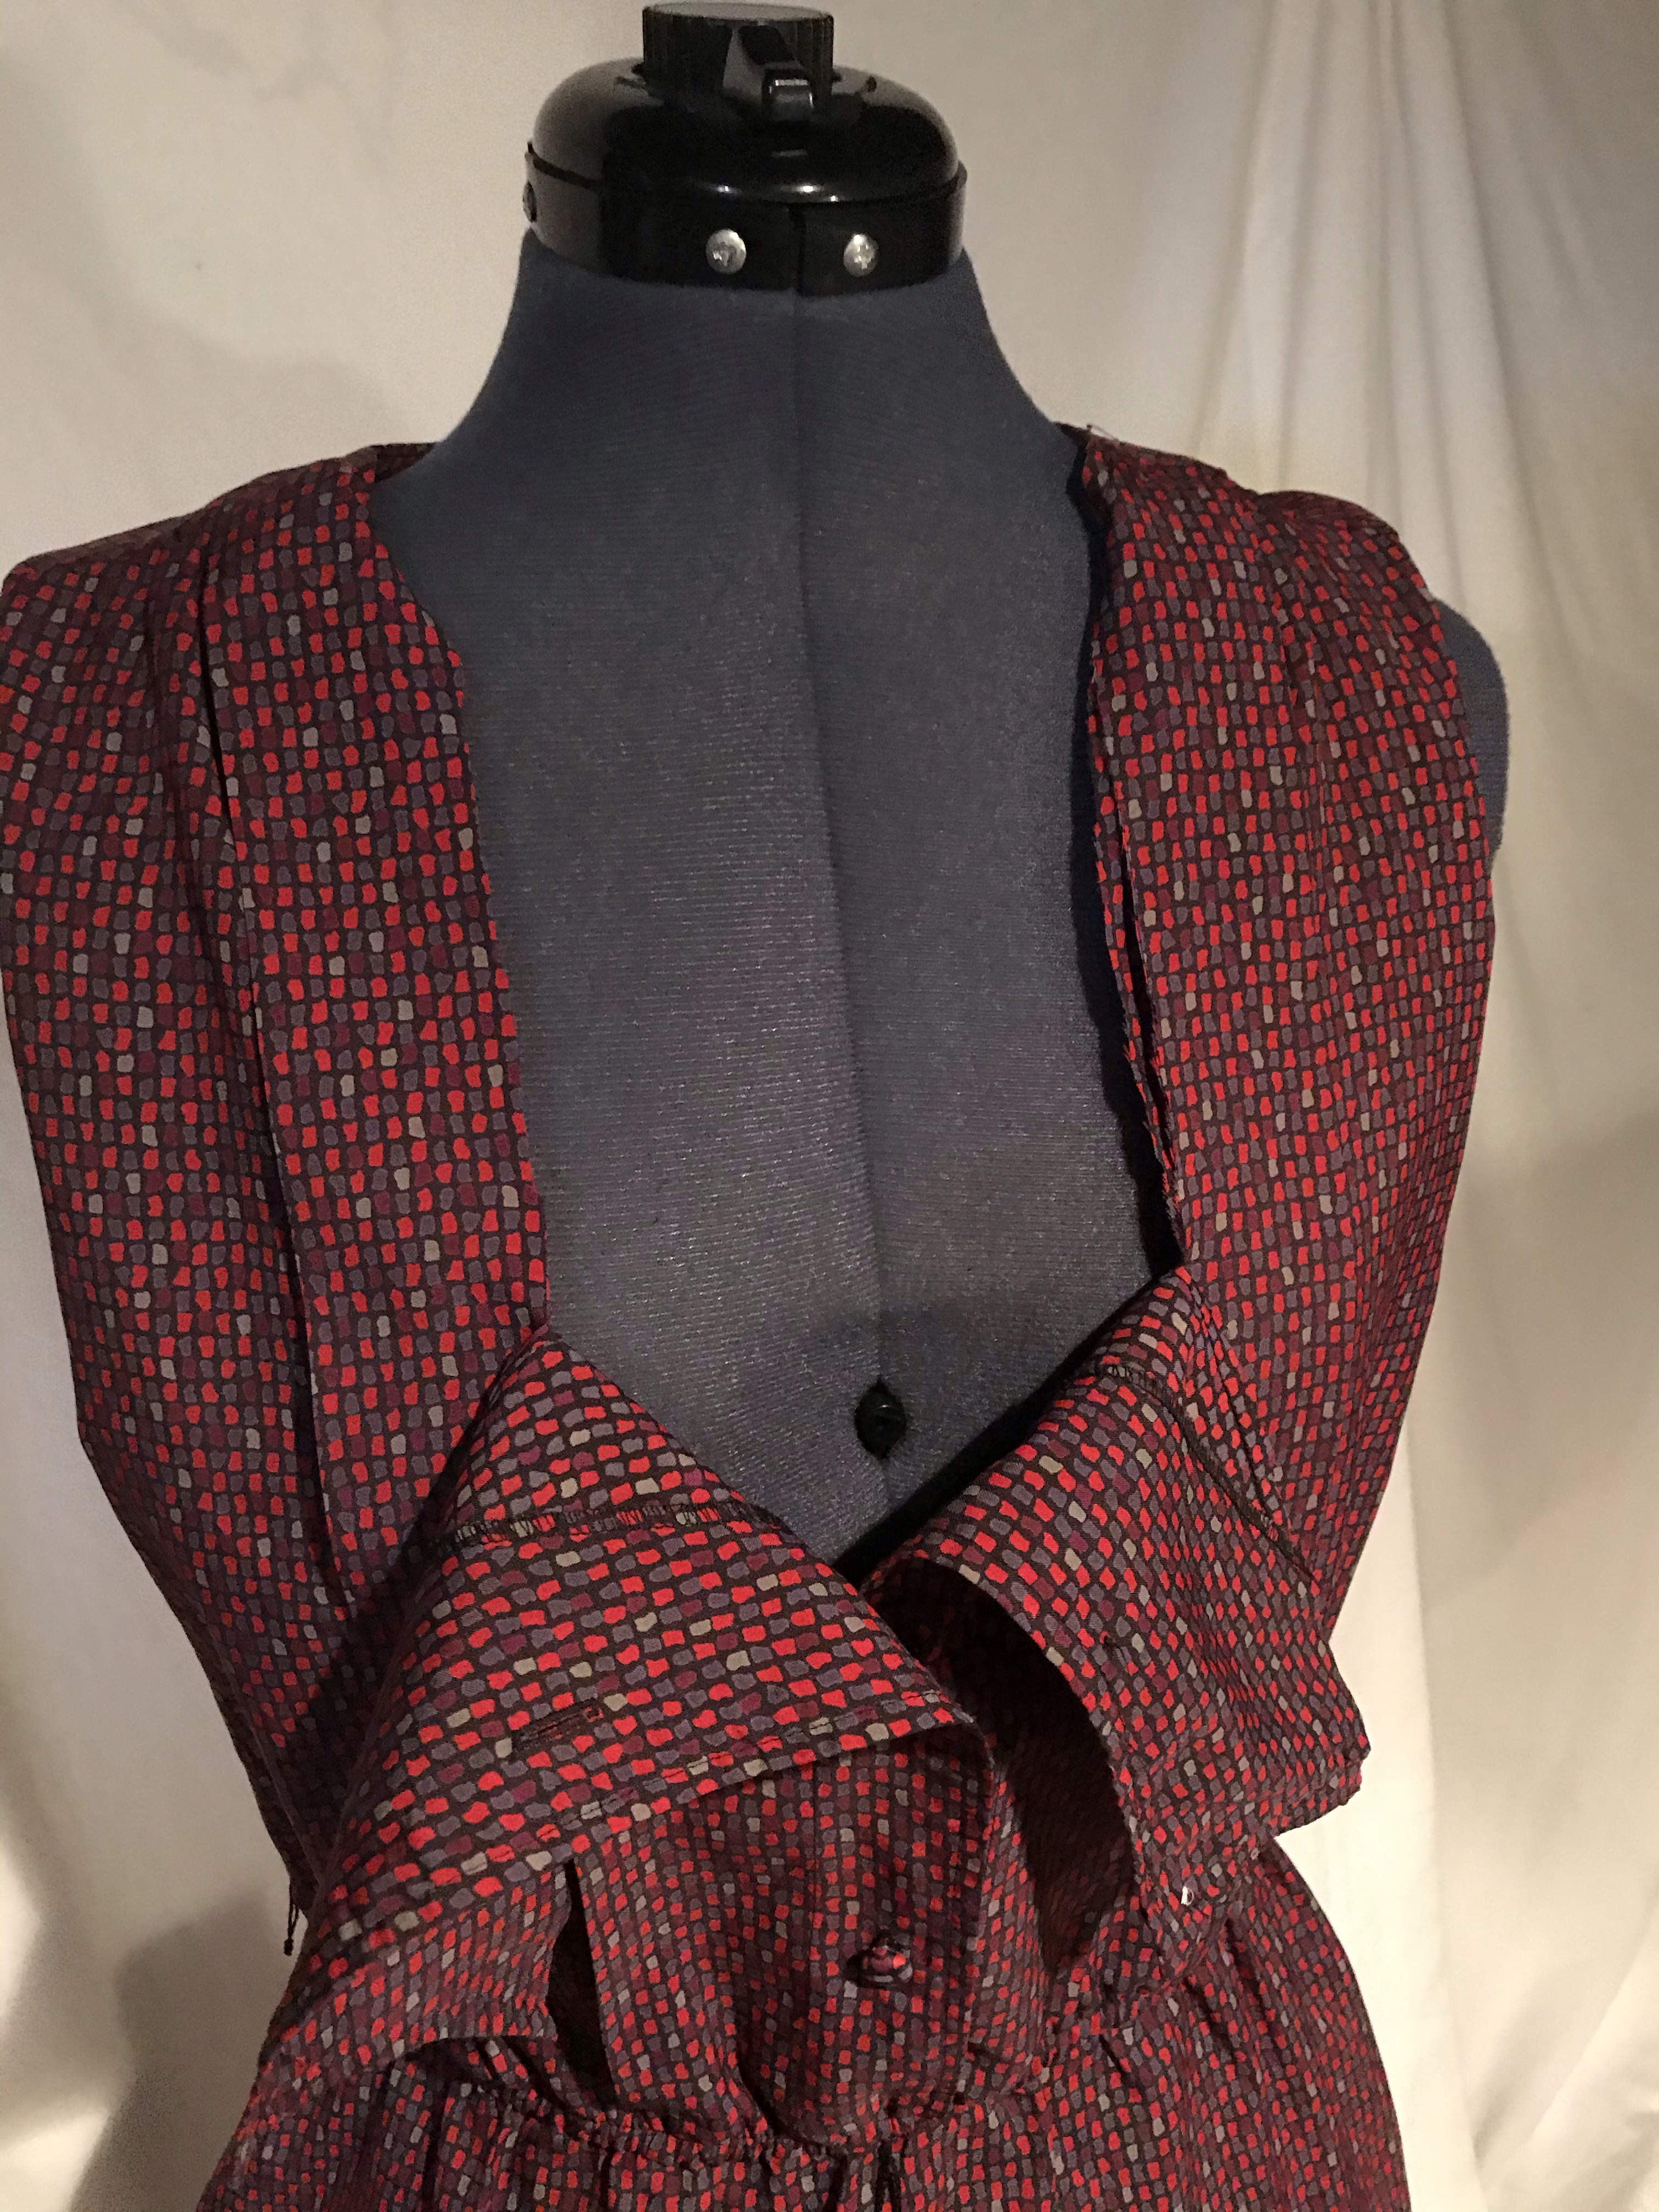
I wanted to turn this dress into a jumper of sorts. I decided on a square neckline, which I accomplished by carefully cutting the front into a square.

Then I pinned new hems for the armholes as well as the square neckline. The. Sewed that up!

I marked where I wanted the new hem to bed, it was in dire need to be shortened. I cut off the excess material.
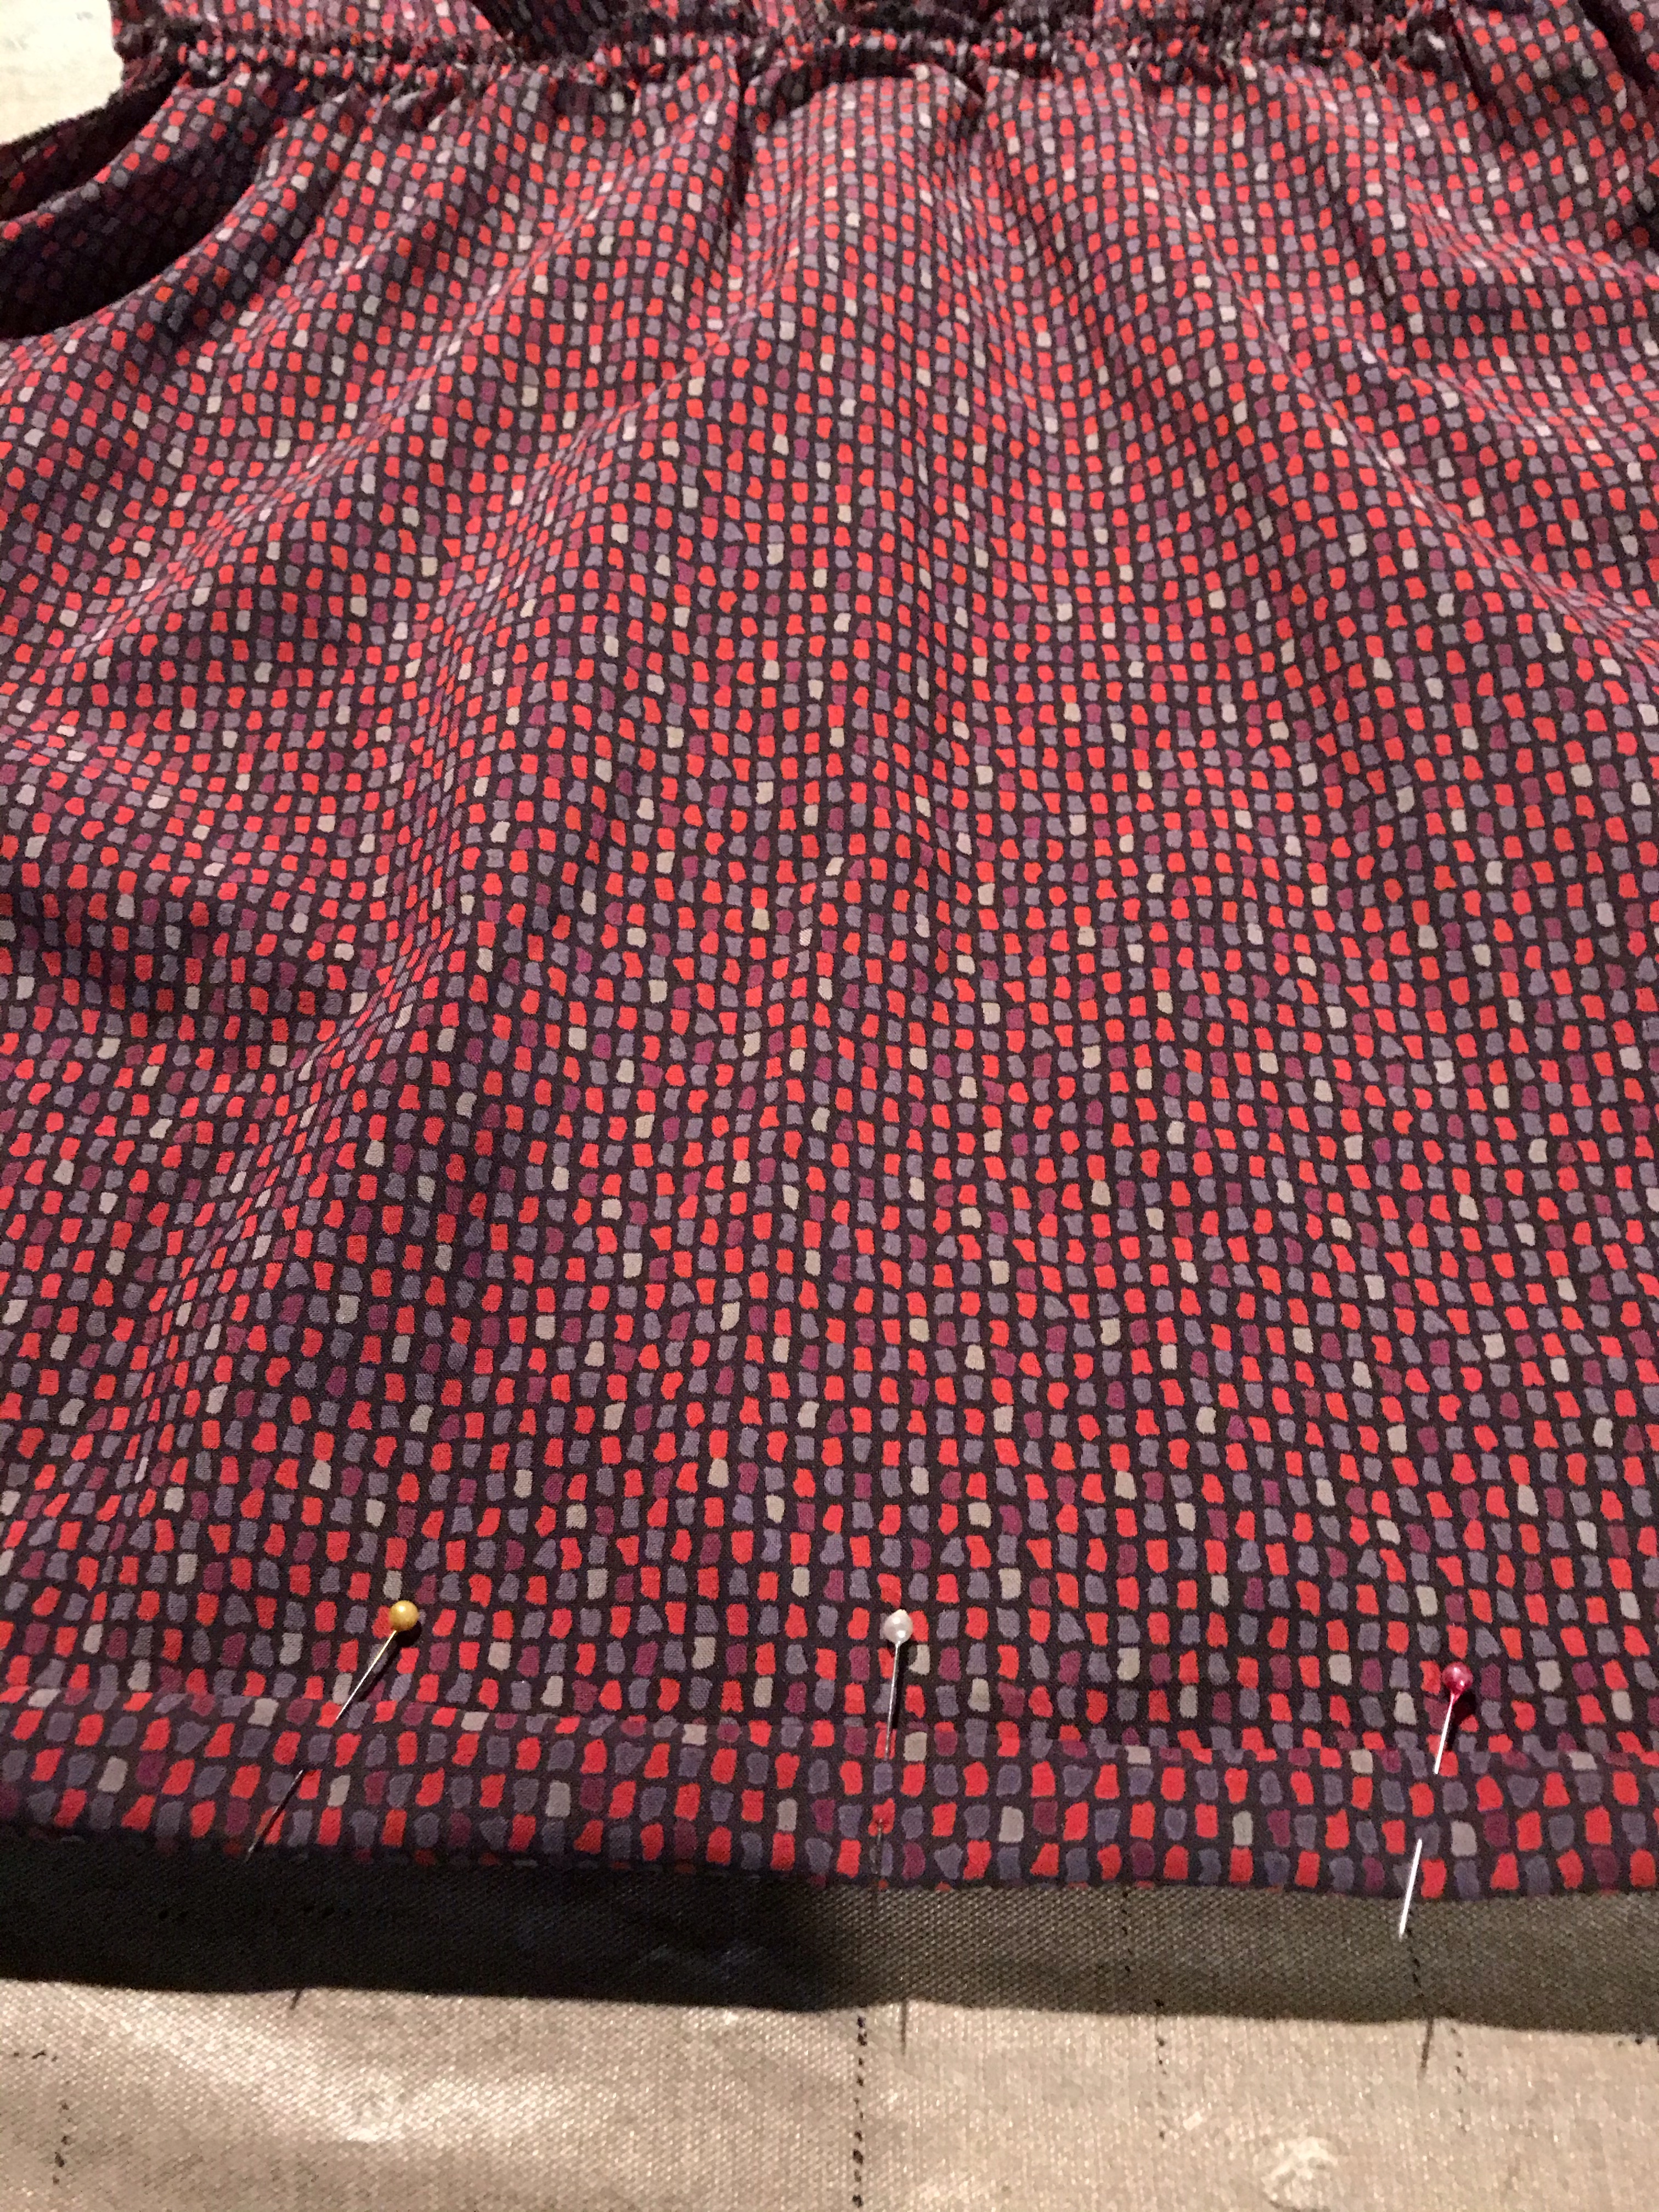
I pinned and stitched a new hem!
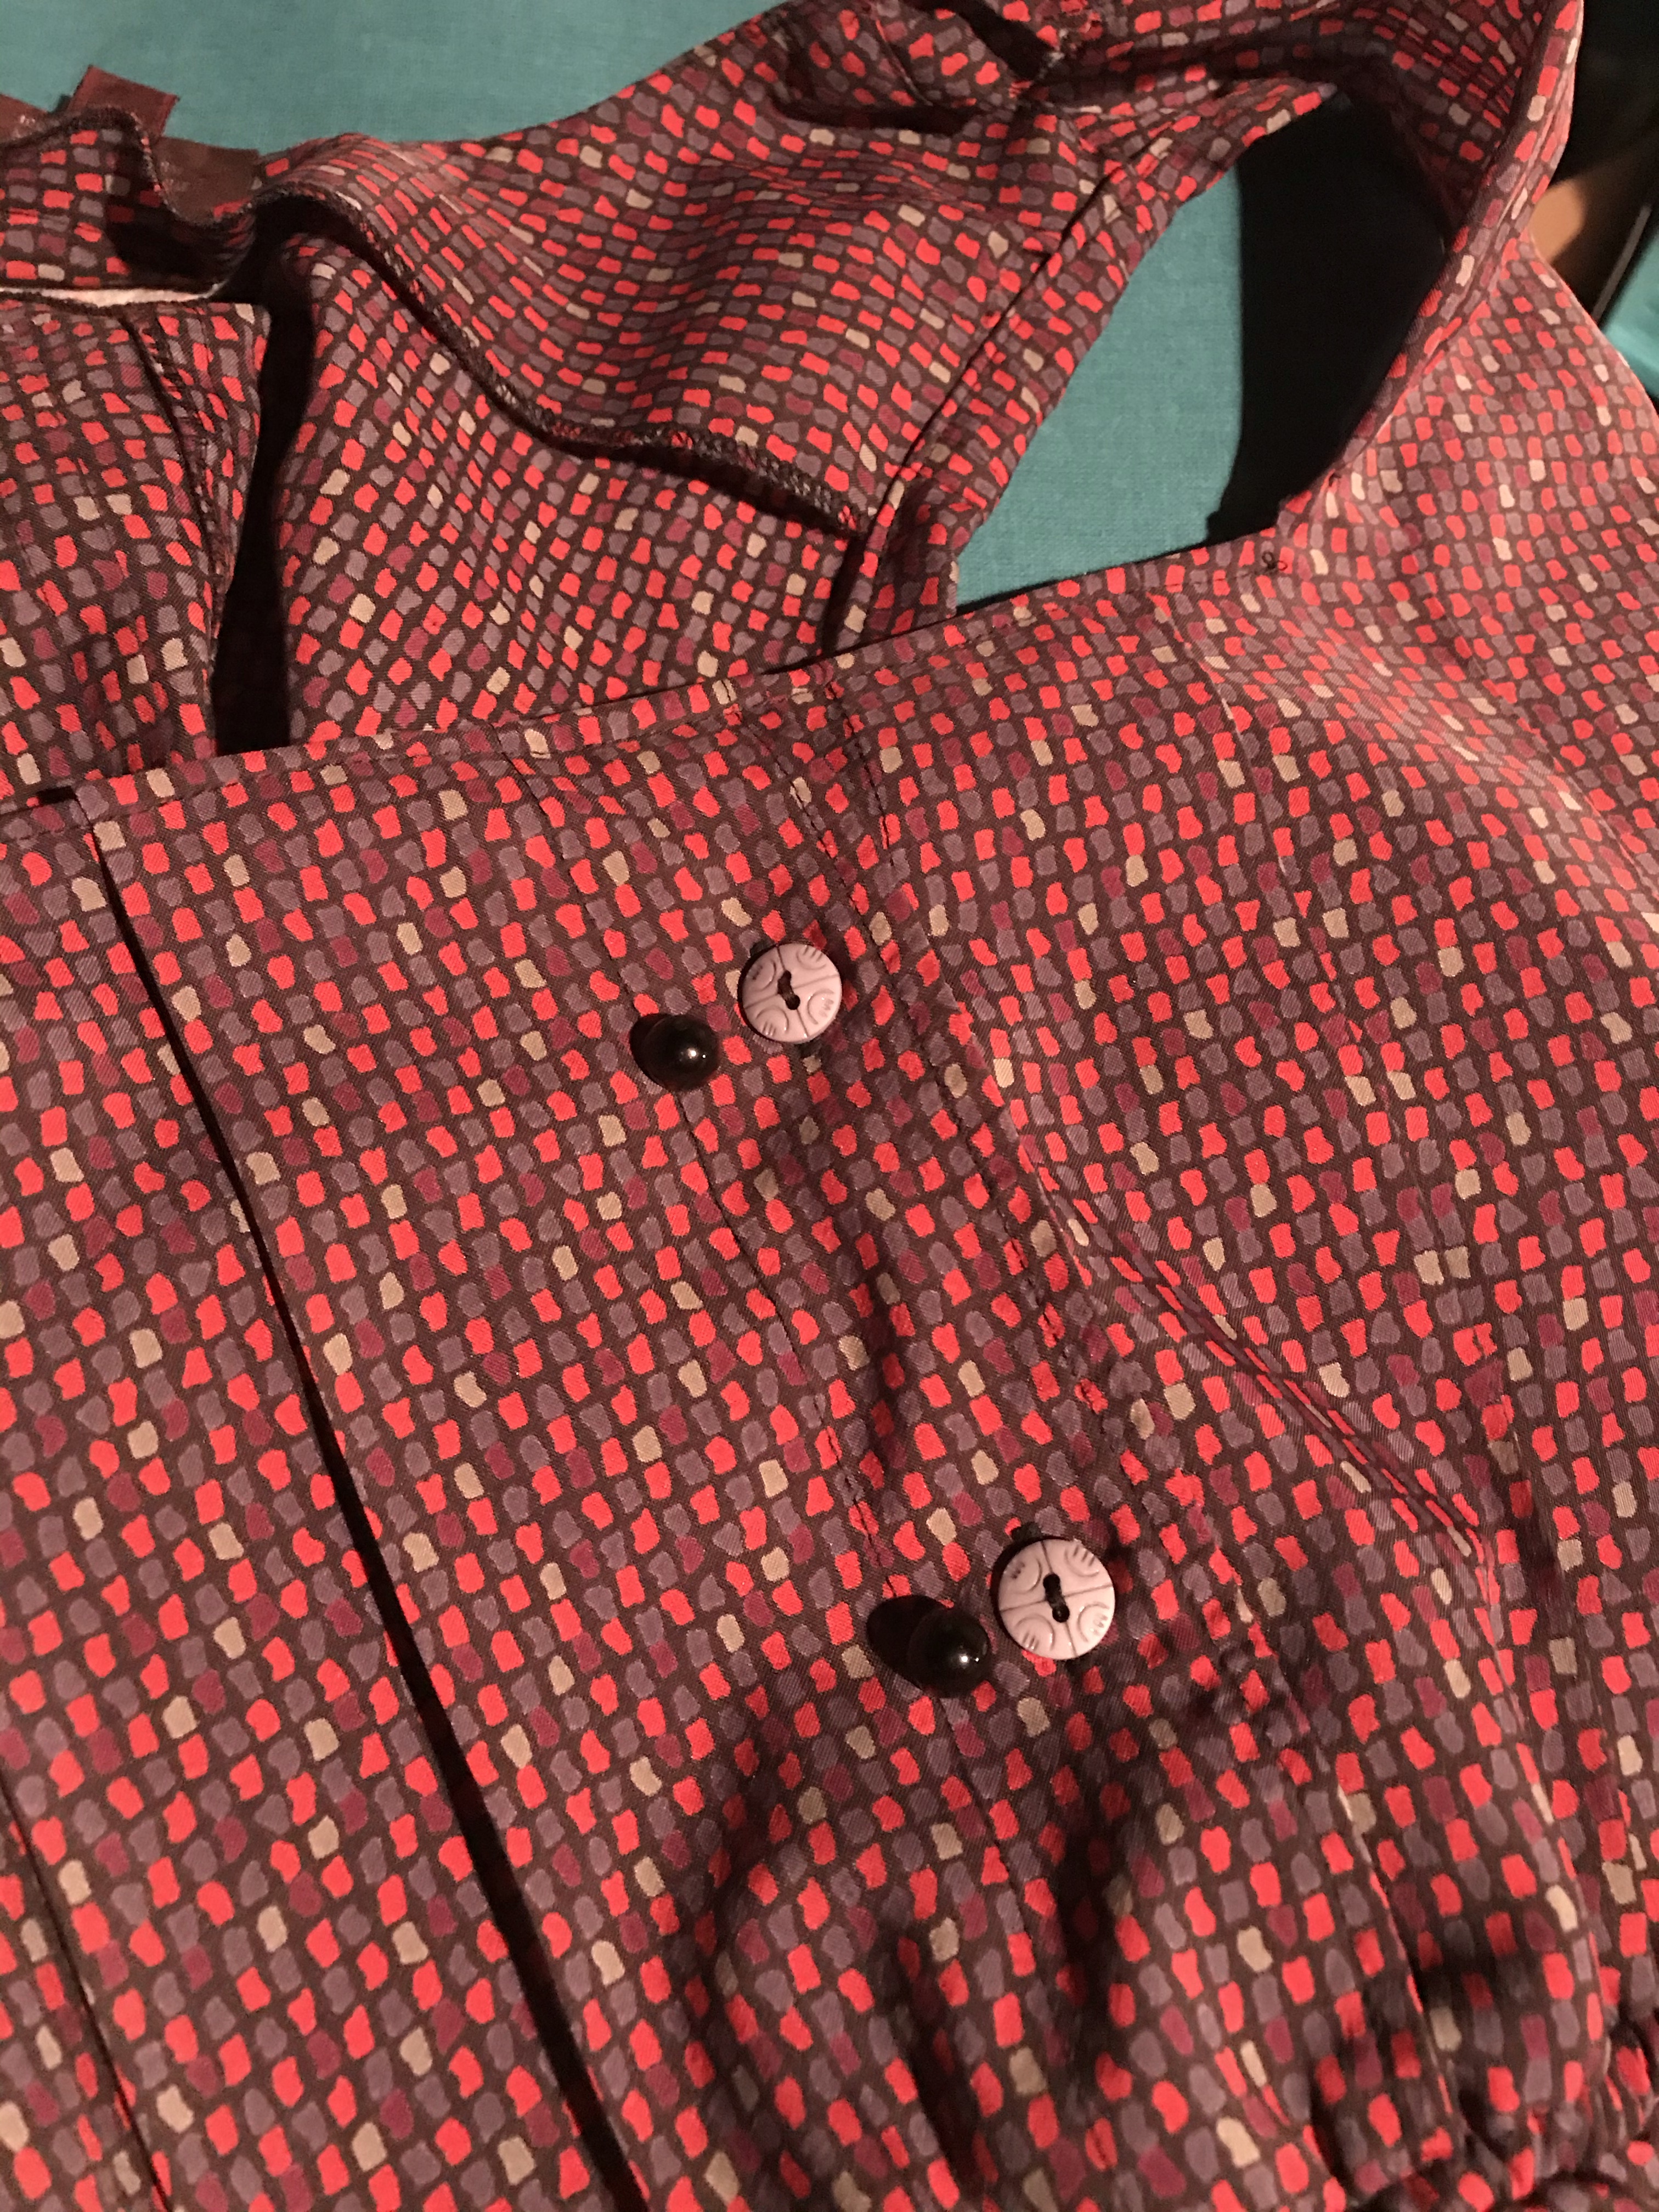
One last detail for the jumper: buttons. The dress originally had buttons that were the same pattern as the dress. First I changed them to grey buttons. I hated that idea so I changed them again to black buttons.
Now for the shirt!

I took in the shirt on each side to make it more fitted.

The grey dye ended up being a flop. So, I had to resort to plan B- dye it again in black.
Whelp! After this came out of the dye bath, I realized I hated the grey.

After the failed grey dying attempt I threw the shirt back in with some black dye!
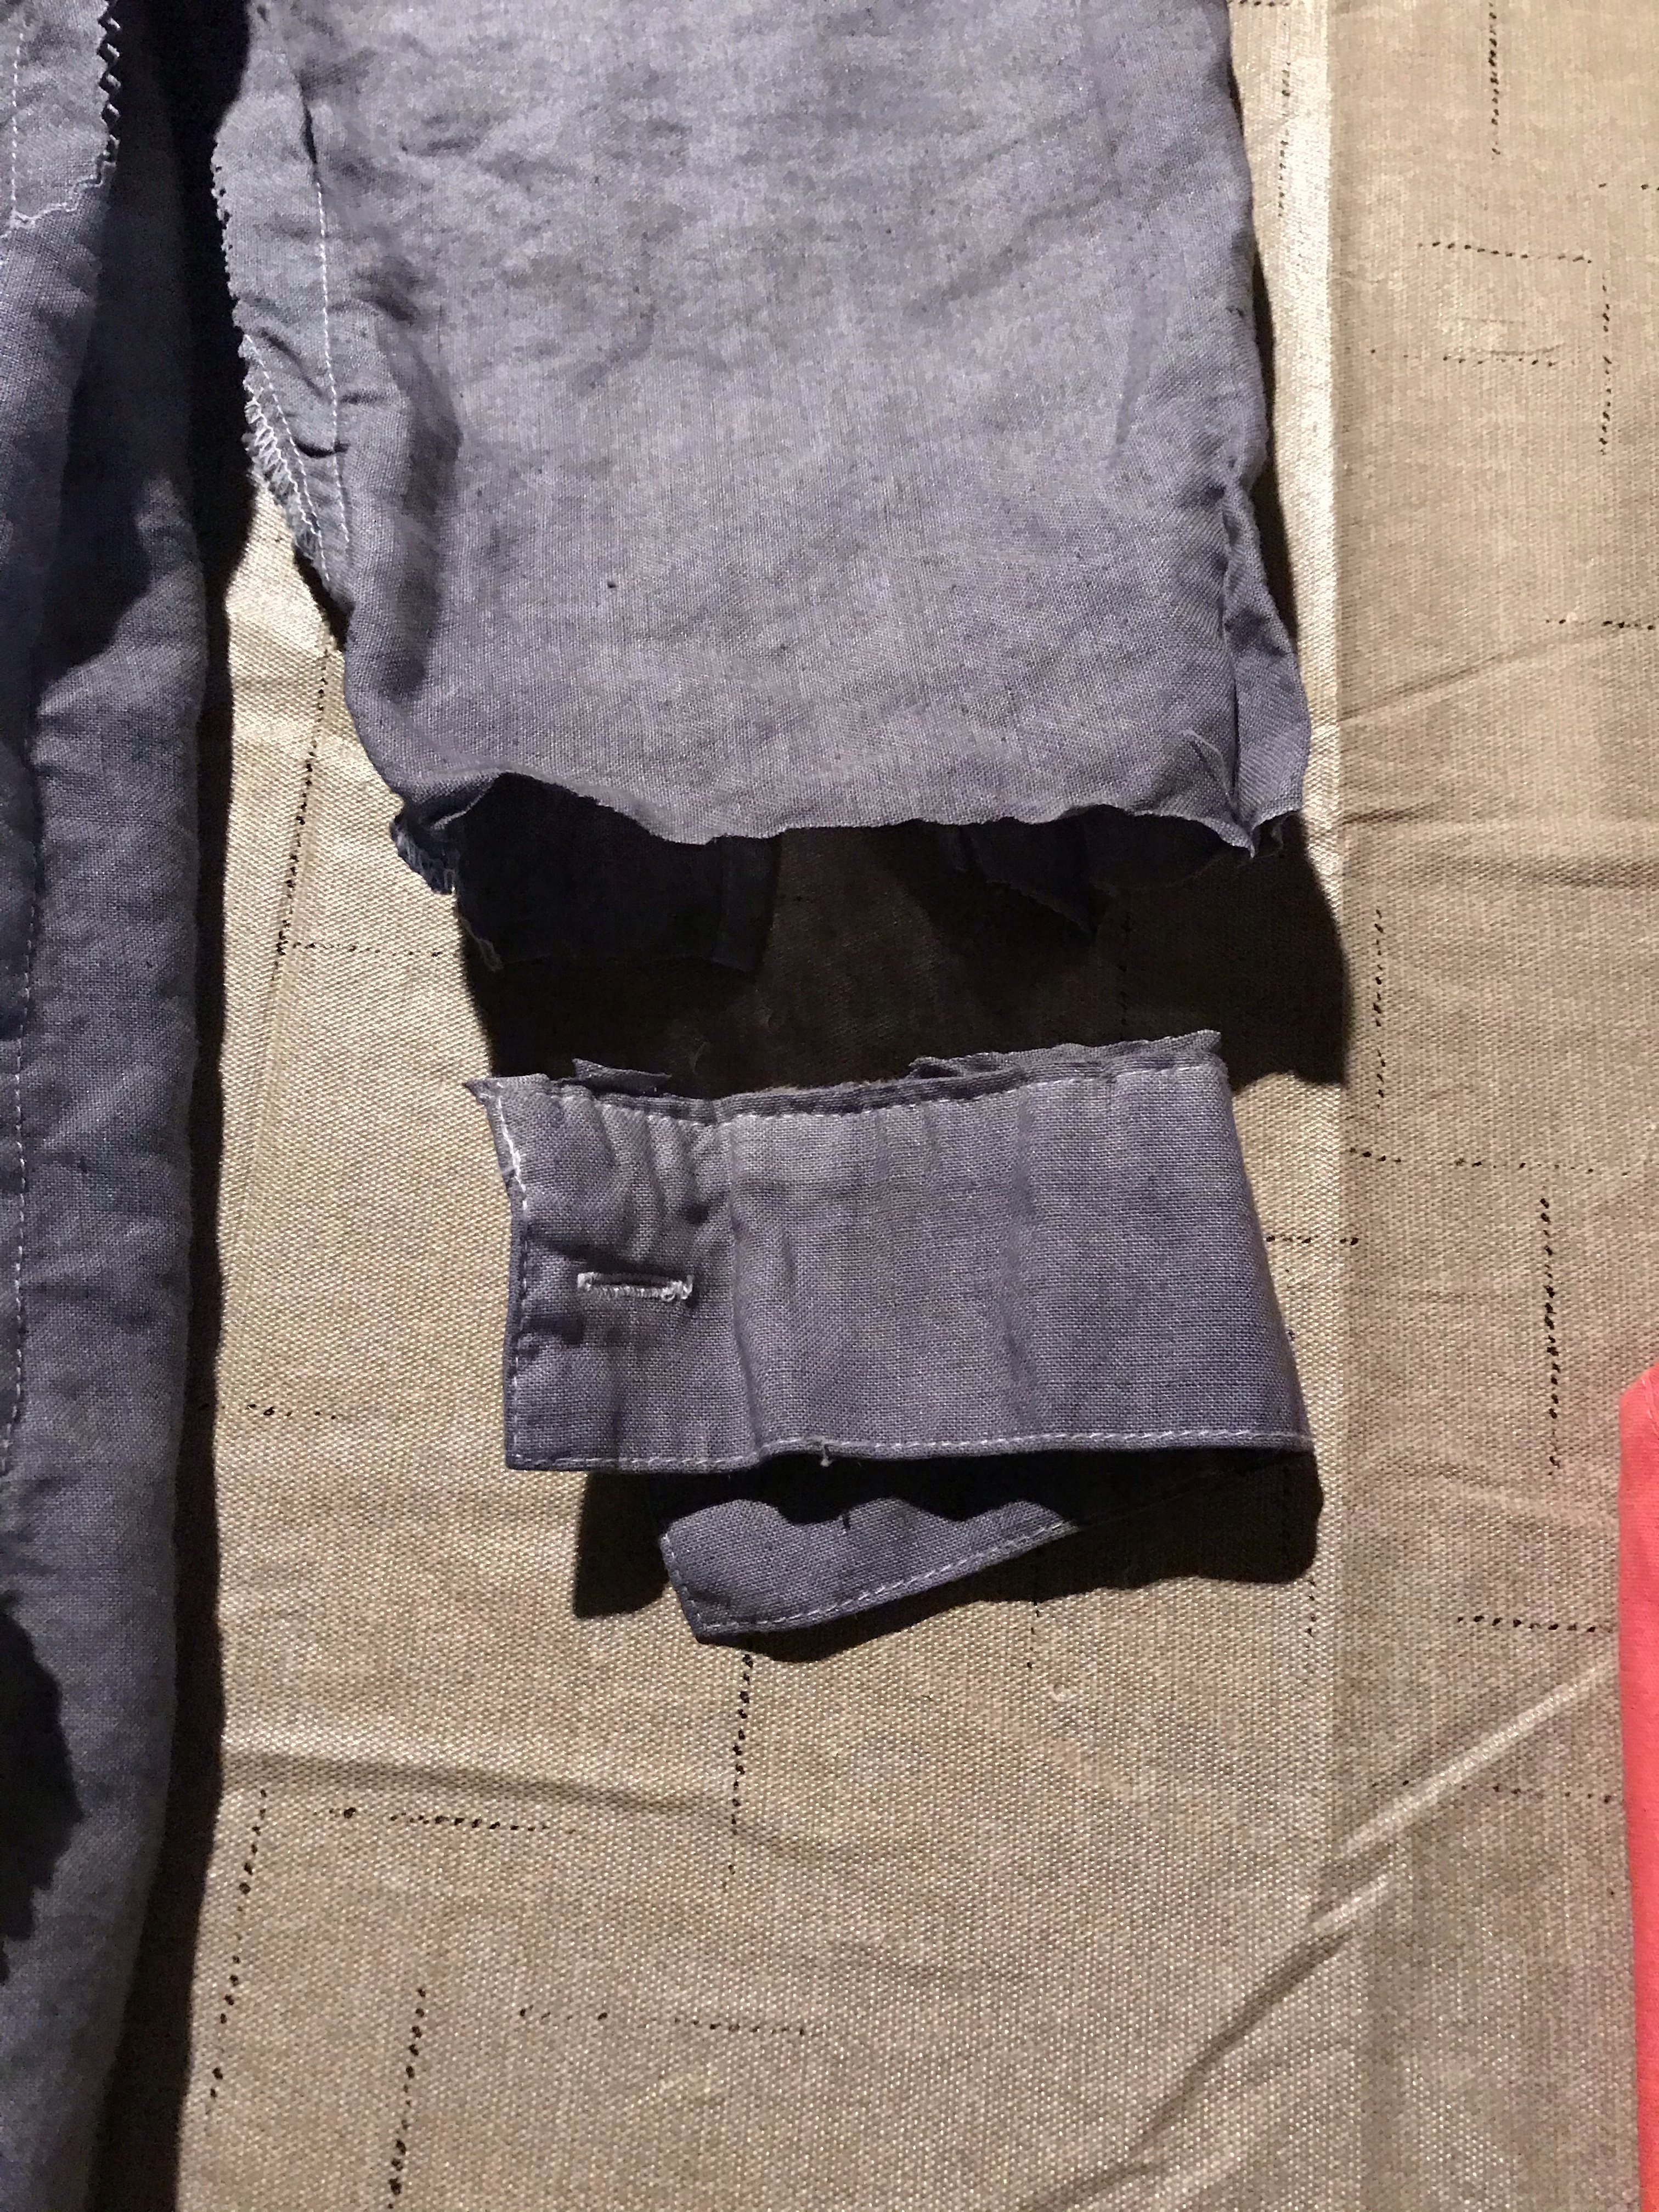
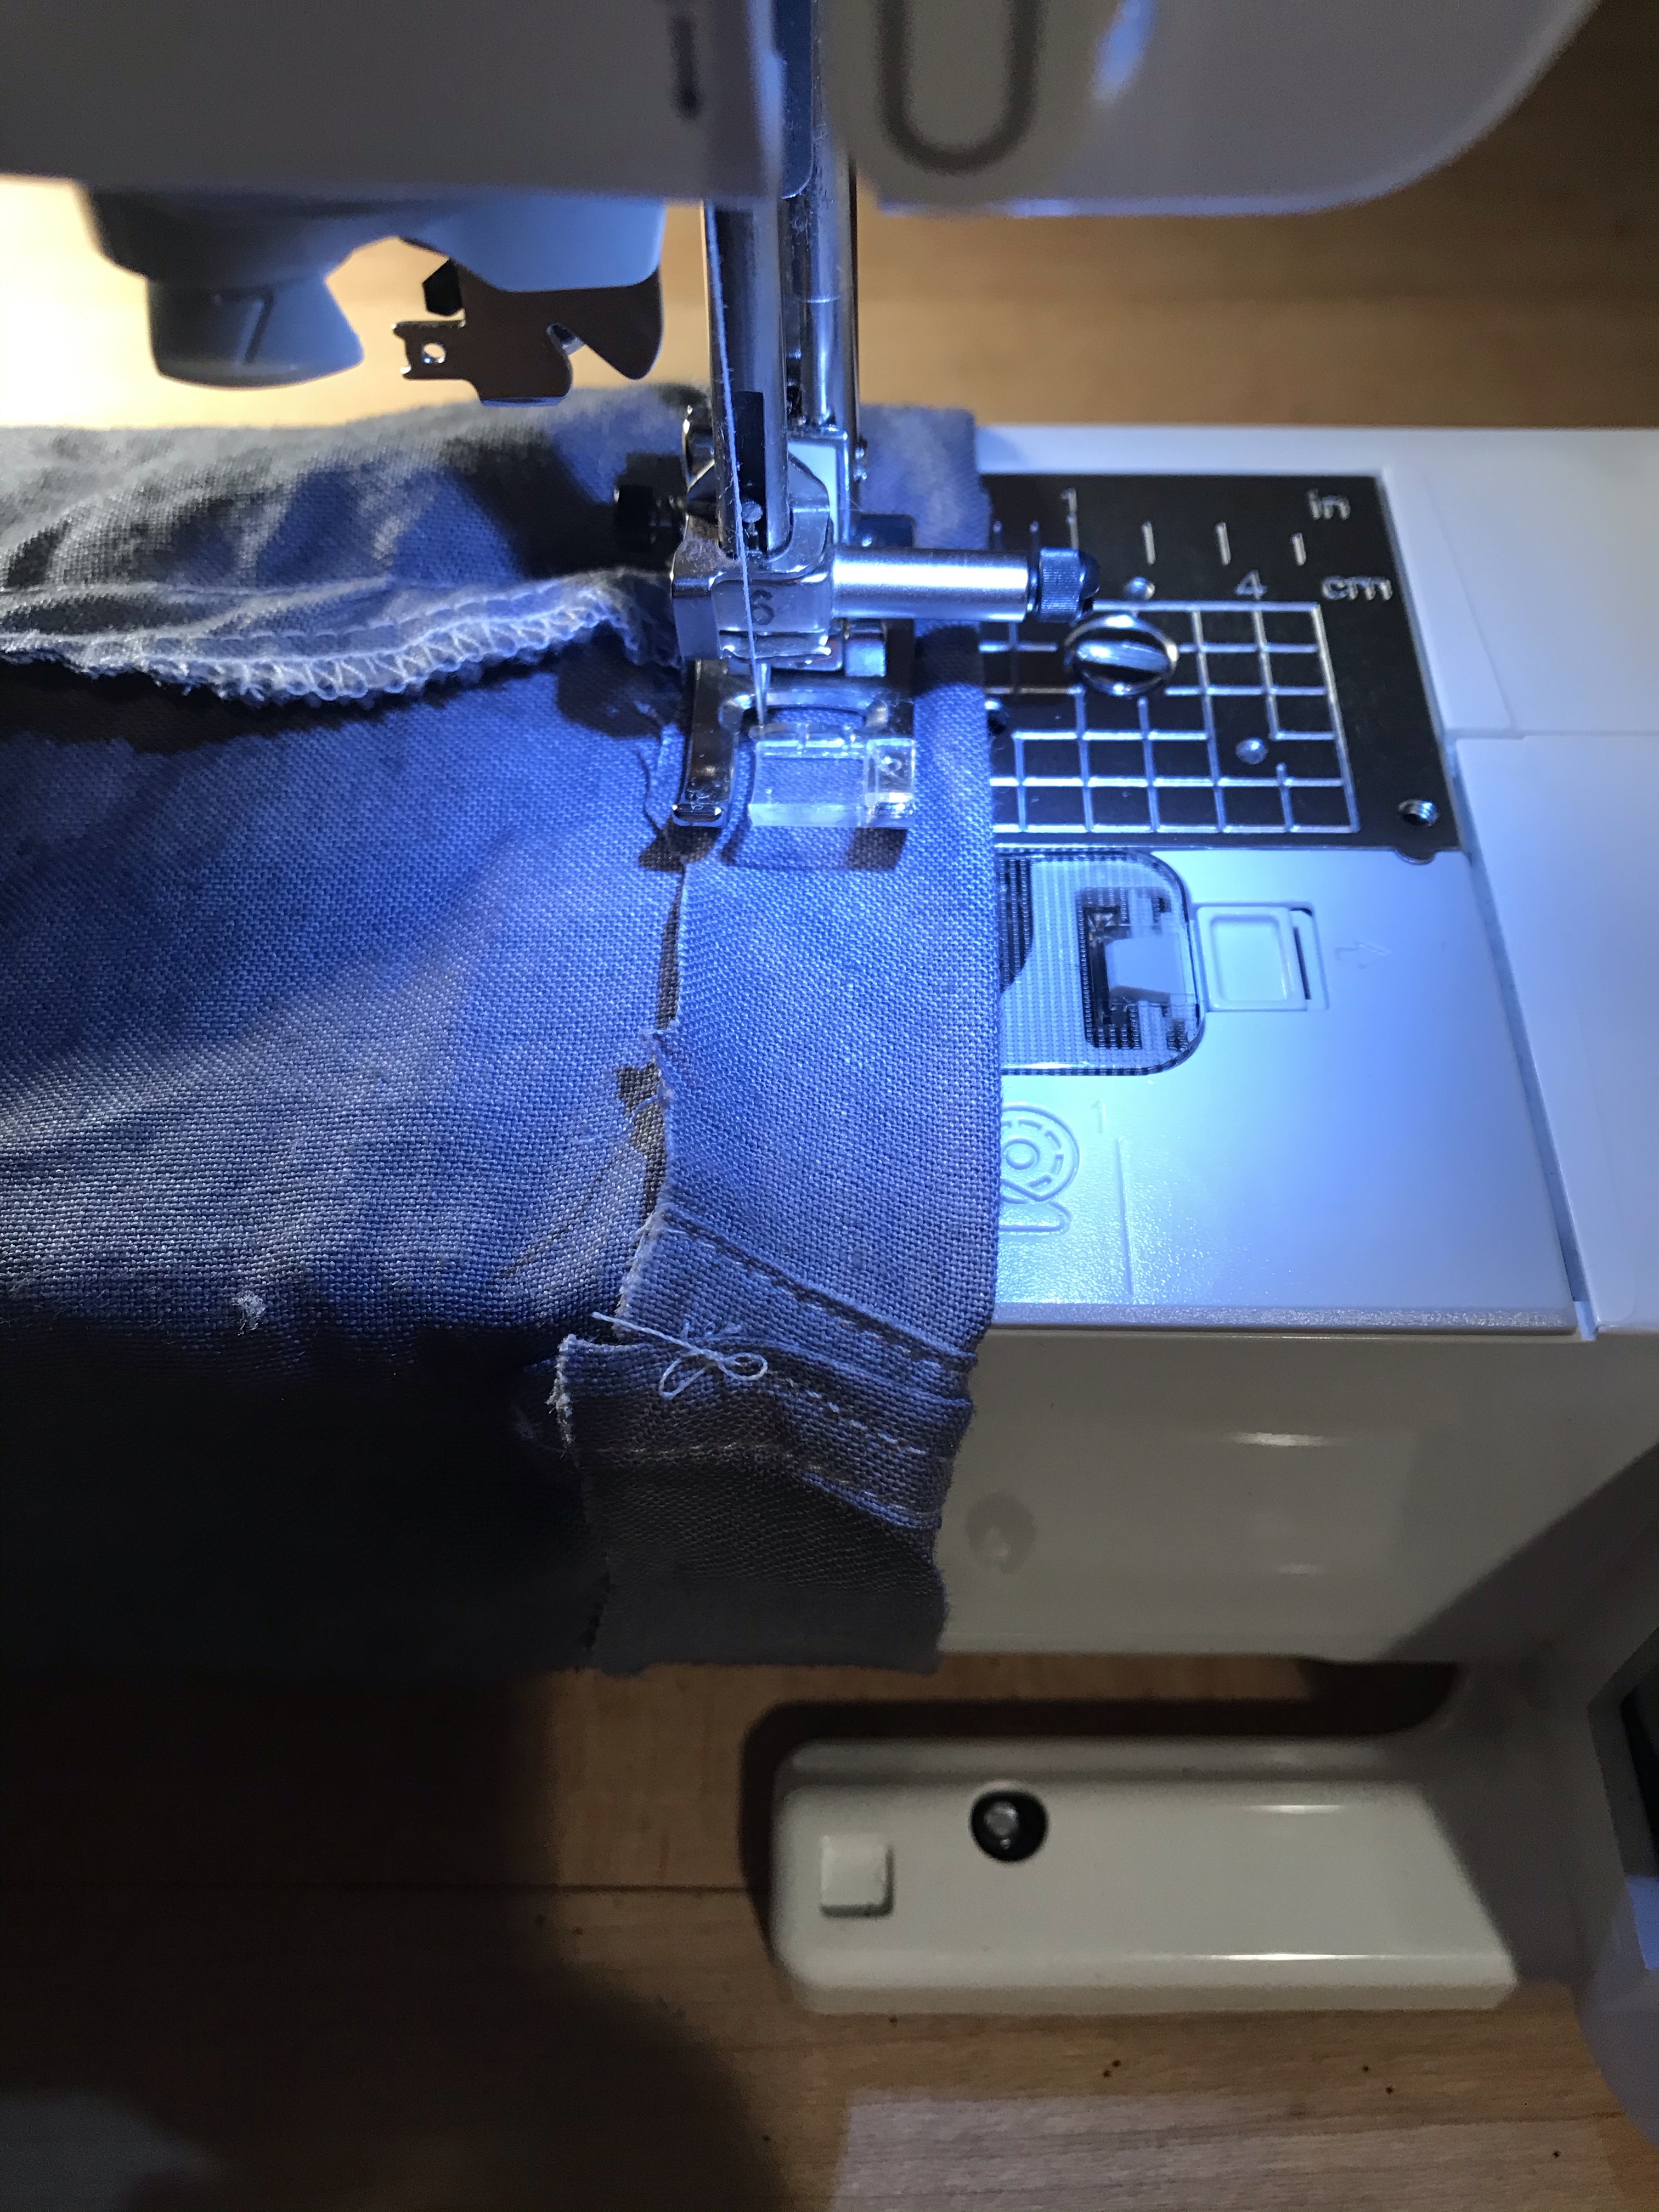
I sewed a casing for some elastic around the sleeve cuff.

Threaded the elastic through and stitched the elastic ends together. Then finished stitching up the casing.
An accessory:
I thrifted this old sweater and threw it in the black dye with my shirt.

I cut a circle using a BIG plastic lid I had out of the back of the sweater.

The I cut 1/2 of the waistband off the sweater.
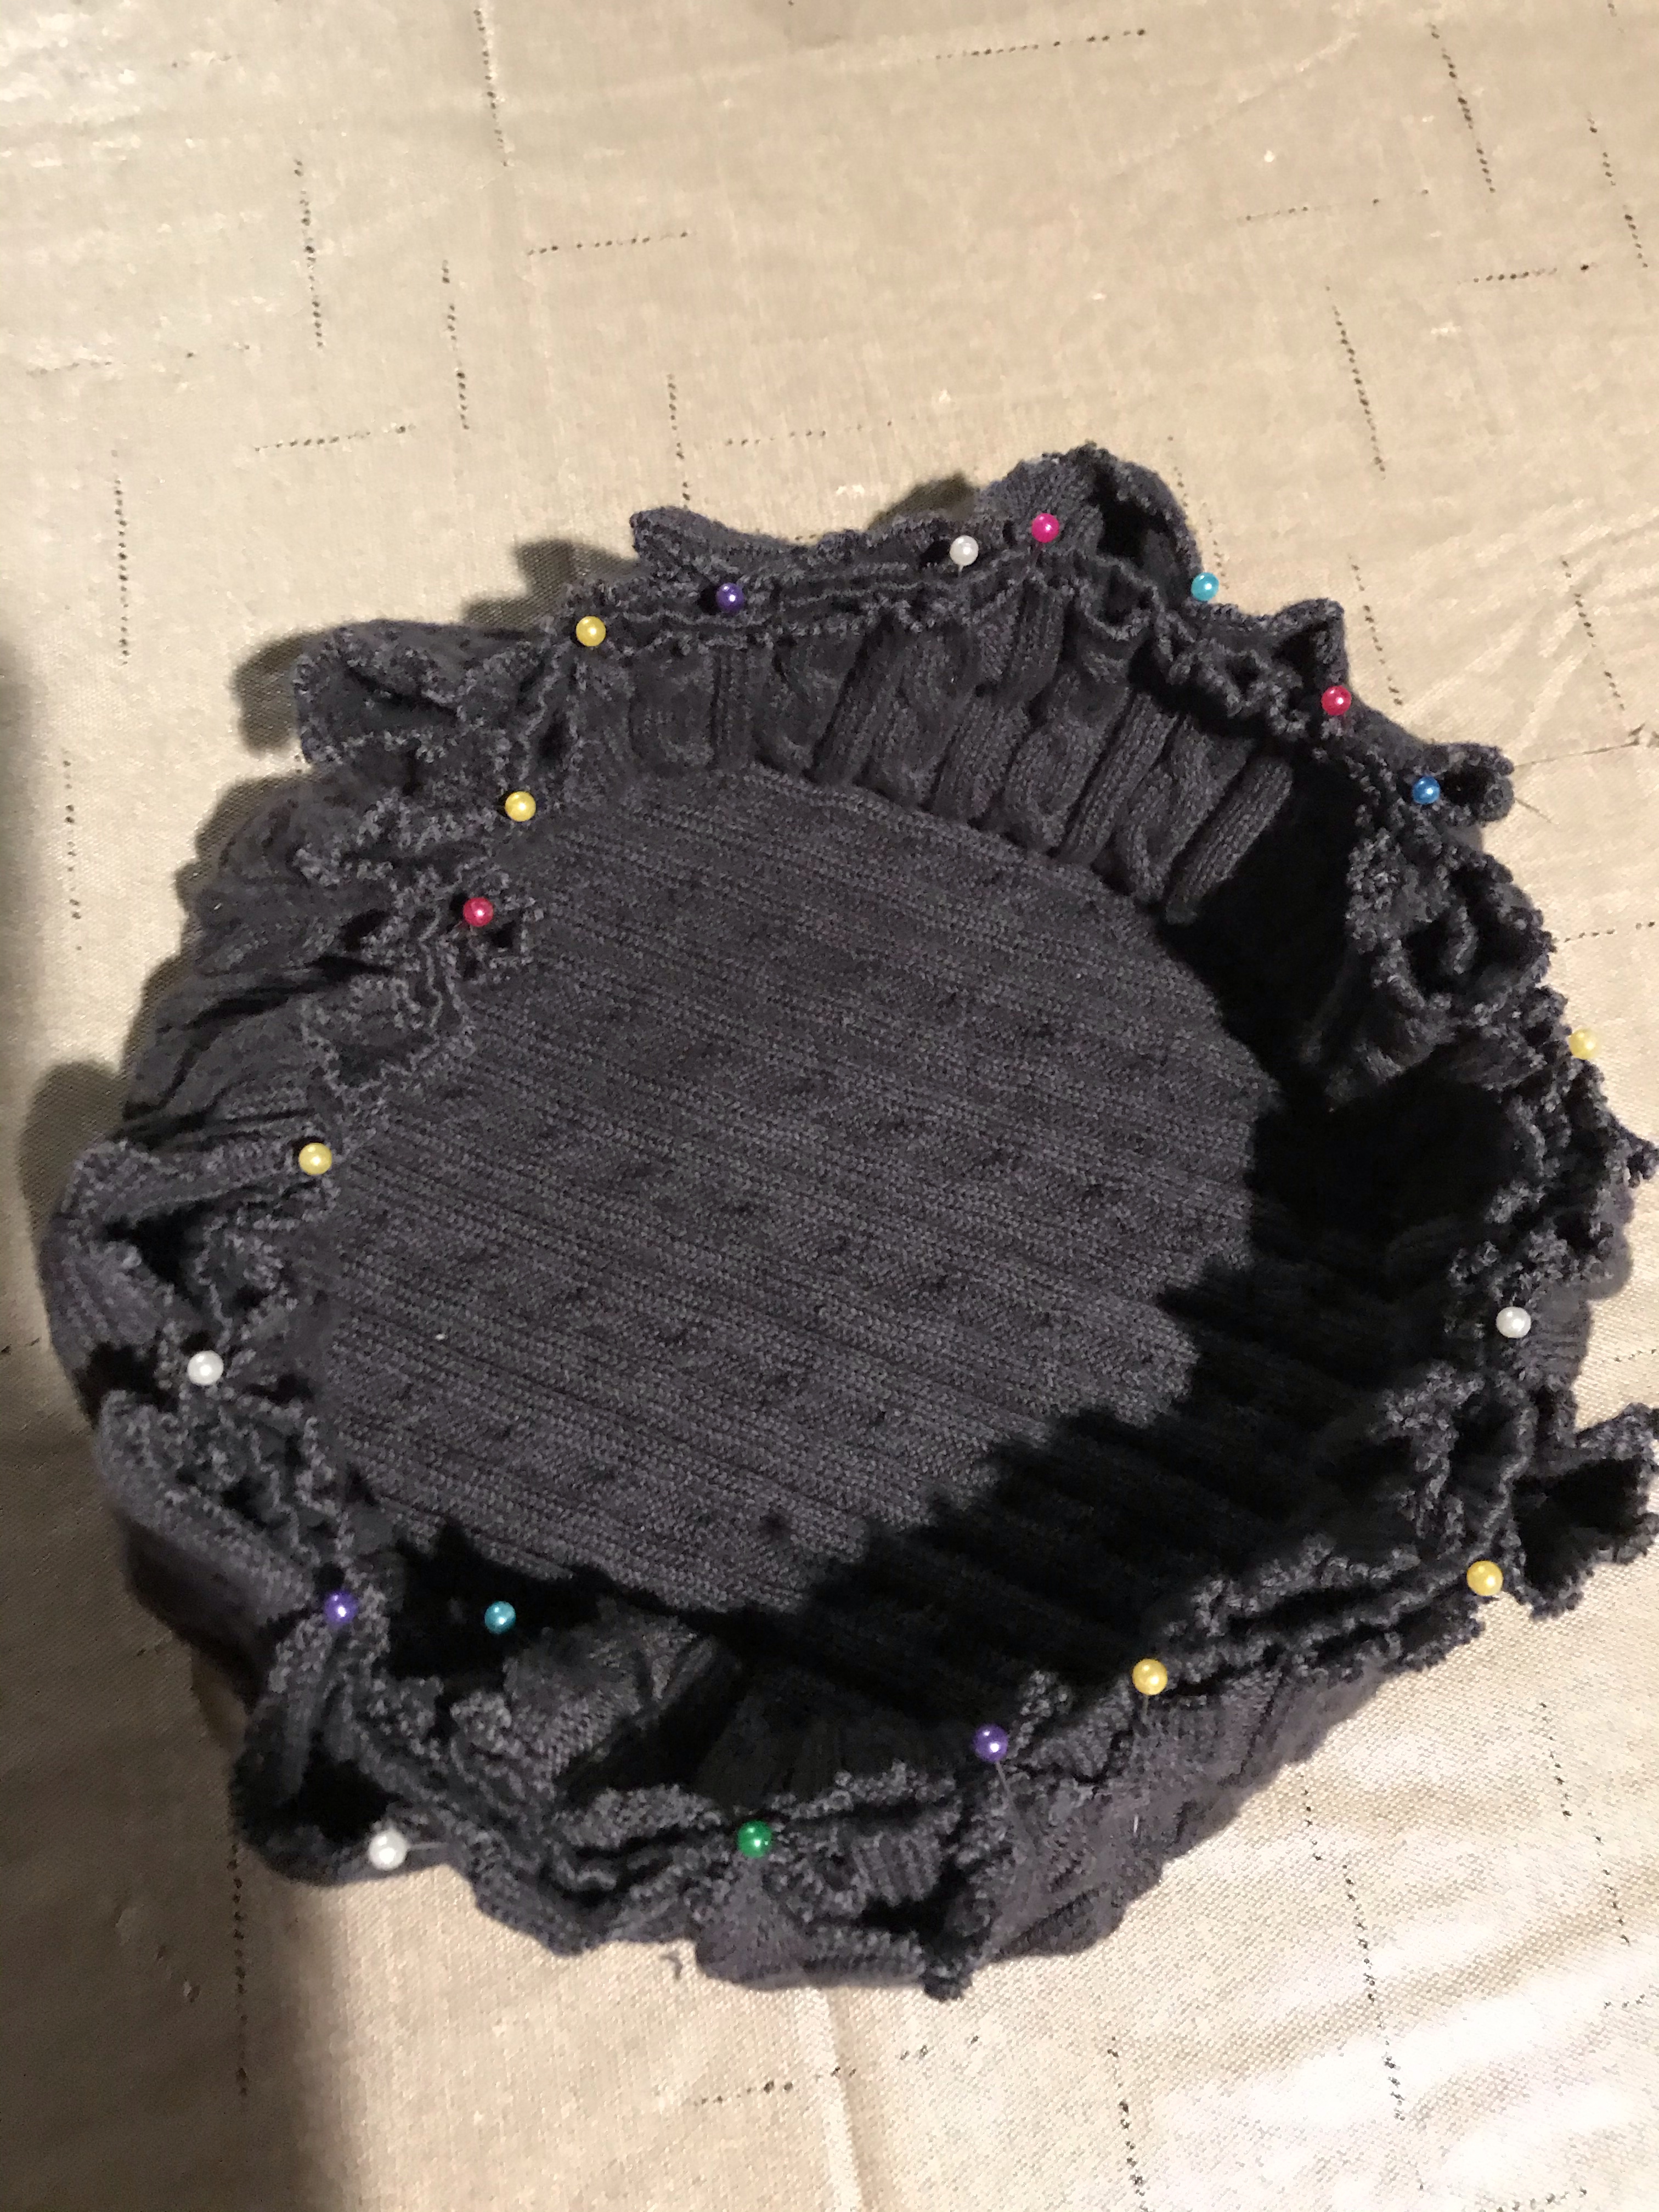
I placed the circle of sweater fabric with the right side facing down. Then I folded in the sids around the waistband that I cut and pinned it all together.
I slowly stitched it up being mindful of the gatherings.


Don't forget to vote for this week's challenge: 1970s.

1 comment:
This whole outfit is so fabulous! I see the 70's but it doesn't look costume or camp. I love it!
Chickie
Post a Comment