Showing posts with label The Enchanted Forest. Show all posts

Saturday, May 16, 2015

Holey Dress Fix

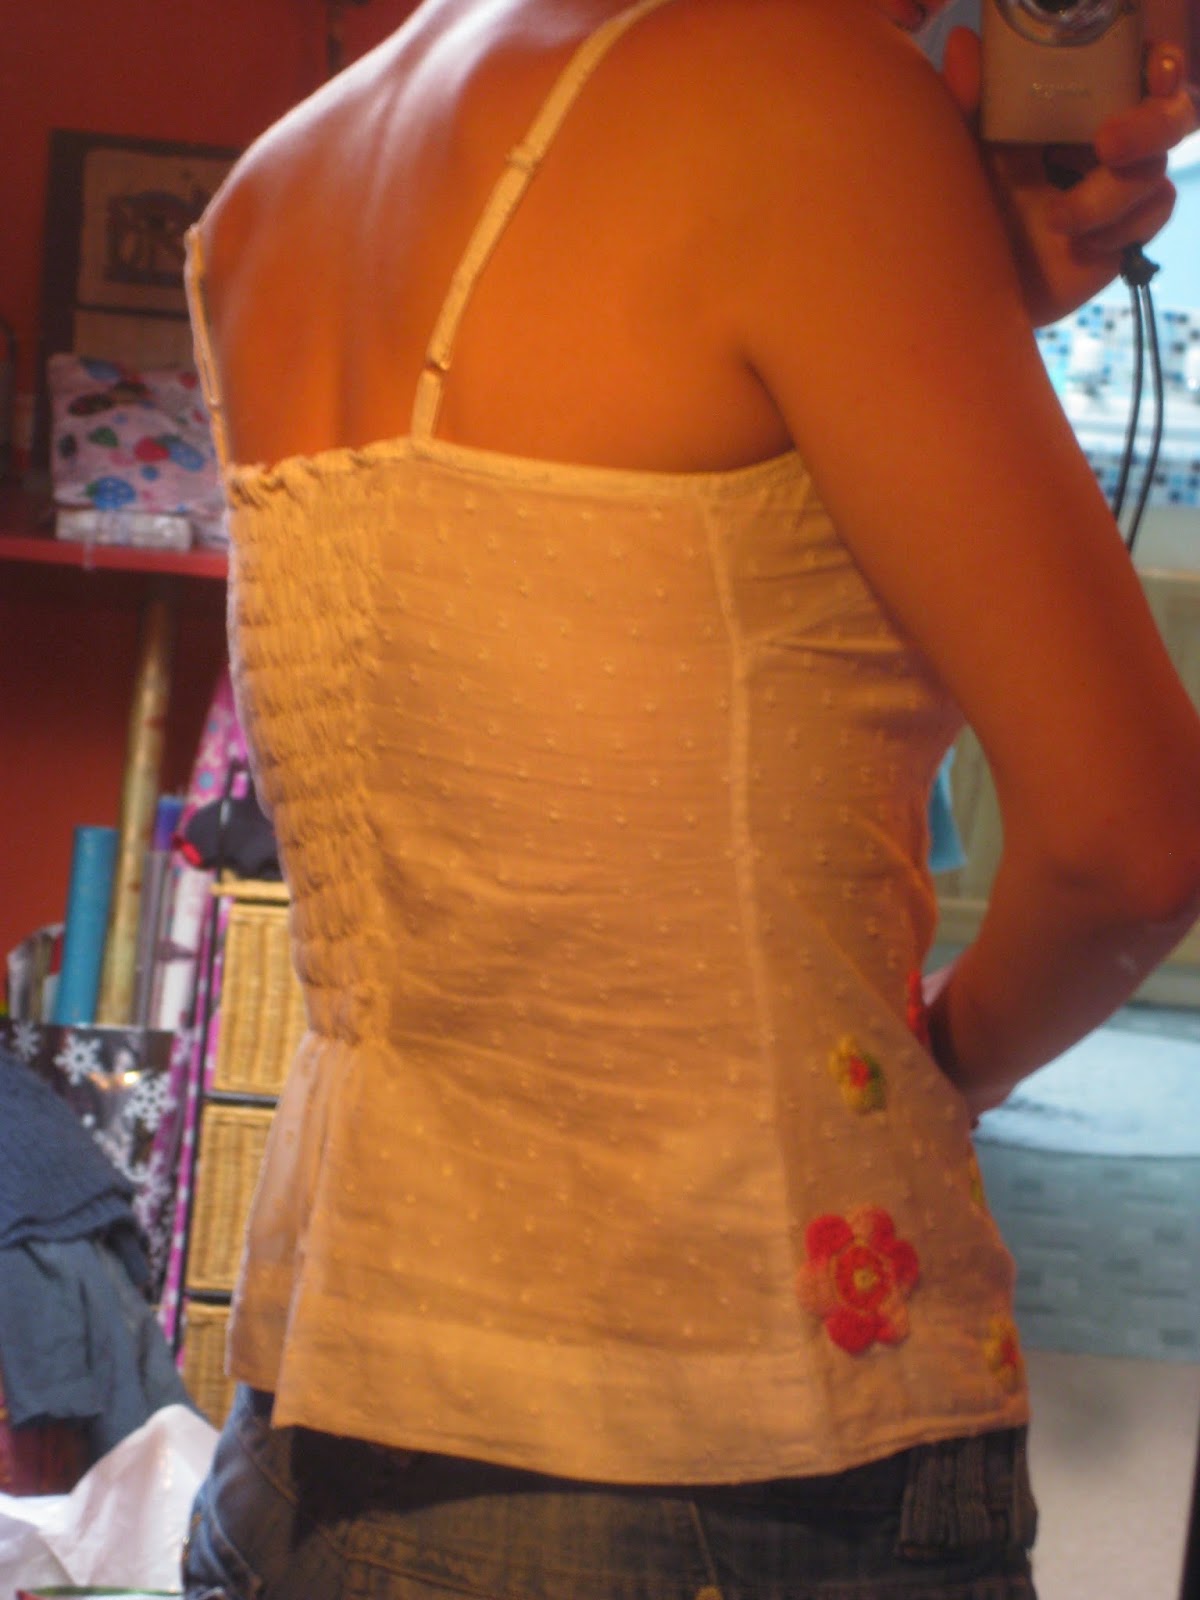
This lovely summer dress had a bit of a hole. I got it in the sale and didn't realise until later why it was reduced! Oh well, no problem for me! 


Close-up of the holes (after patching!) you can see some yellow through them between the white spots.


My solution - socks! (obviously.) I had a pair of lovely rainbow trainer socks whose heels were utterly destroyed, but the rest was still in good condition. I'd been keeping them for just such an occasion! Add some turquoise embroidery thread and voila!


The largest heart was originally a pocket, but the edges kept curling over (if i did this again, i'd reinforce it with another fabric before attaching it but this time it was too late and i didn't want to unpick what i'd already sewed) so i just stitched it down to the dress as an appliqué.

Thanks for reading! xx

Saturday, April 18, 2015

Warm and Woolly

Here are a couple of jumper-to-cardigan refashions i did to keep me warm at work over winter:

First this woolly, slightly felted thrifted turtleneck -
cut down the middle, some nice big wooden printed buttons added and buttonholes sewed:

Also a cream jumper (no before pic) - sliced down the middle, facing added, and a button and loop closure. i also added a couple of colourful buttons on one sleeve as a nice bit of detail.


Thanks for reading! xx

Saturday, March 14, 2015

Christmas aprons

I always try to make Christmas presents where i can, and sometimes kids' ones can be tricky. I tend to do soft toys, little make-up bags etc but this year had a bright idea for a couple of the little girls we know. I used an old apron (i'd been gifted it a while back and liked the polka dots and colour but didn't use it as i have a half-apron that i always use instead) that was turquoise with white spots and pink straps and had a funny quote on the pocket (no before pic as ever, but it was adult size) along with some scrap fabric in pinky floral print to make an apron for one of our friend's daughters who is very into baking. I used scraps from the apron fabric to make the straps -

 - so that i could use the pink straps - cut apart and re-sewed into half-width straps so there was enough length - on an apron i made for her baby sister from matching fabric.

 We gave the aprons with a baking book, ceramic mixing bowl, star shaped cutters and mini rolling pin. Apparently they loved it! :)


Saturday, February 07, 2015

Bring on the summer!

It's still freezing here in Manchester (UK) but i've been looking through pictures of past, more summery refashions and will share a couple of these with you...

No before pic (i am really bad at remembering to take them, sorry!) but this was a t-shirt with a weird square neckline that never sat well, and was a bit too wide and too short. So i chopped off the top and stitched up the sides, folded over the back top to make a hem adding some elastic to pull it in, and crocheted a bikini top and bottom trim.


This next one is a refashion in the loosest sense - i haven't changed it dramatically, just made it work better for me! I got this dress from a clothes swap, and while the fabric was gorgeous, stretchy and comfy and covered in lovely leaf designs, the bust area was a bit... stretched. It was quite saggy on me :s The dress was a couple of sizes too big, but it didnt look weird anywhere but in the bust. The straps had also stretched out A LOT. No before pic - it would have been indecent!

The bodice was lined, so i was able to shorten the straps dramatically by unpicking the back where they were attached, chopping off a few inches and reattaching, and i also took in the sides of the bust. I added some lovely little beads gifted me by a friend the year before to the front of the straps for some interest. Now i have a lovely summer dress that fits great!

 I'm not kidding about how much the straps had stretched. From the bit i cut off just one strap i made a bracelet to match the dress with some more of the beads.

This last refashion is one i wear all the time. There wasn't much wrong with the original tshirt, except the neck was a bit tight and there was a kind of reverse image of the neckline on the back of the shirt, both of which meant i didn't wear it all that much, which was sad as i loved the design and colour. So i copied another shirt i had, which had a deep cutout in the back and a tie across the shoulders. I made binding, and the ties, from fabric from another tshirt in the refashion pile.

Before: (i finally remembered to get a picture!!)
Close up of the back-imprint - the design must have been printed after the tshirt was sewn up.

I cut off the original neck edging and added purple binding,
and a scoop back with a tie
sorry for the awkward picture! I also cut the original hems off the sleeves as i thought the raw jersey edge would look more in keeping with the raw-edged binding.

That's all folks, thanks for reading!

xx xx


Sunday, October 26, 2014

Skirt to Dress refashion and Dilemma!

 Hi :) I refashioned this huge skirt, which had been handmade by the look of it from beautiful green fabric but evidently for someone VERY tall or to be worn with VERY high heels. This is me trying it out for length as a dress:

It totally swamped me as a skirt -

I used an existing dress as a pattern to make this:
In retrospect i think an empire line or lower-waisted dress would have been better for this fabric as it looks nicer smooth than gathered, but on balance i was please with how it turned out. However the straps, which i'd made from some of the scrunchy green lining fabric, were not stretchy and so tended to fall off my shoulders. So i added a clasp from an old necklace to remedy the situation:
This holds up the straps well and adds an extra bit of detail to the back of the dress which i enjoy. You might notice i have been doing a LOT of shirred back things recently! I love how it allows me to create a fitted garment without needing someone around to repeatedly pin something on me or having to buy a dress model!

BUT. I am still not wearing this dress, and several times i have passed over it for something else. I thin the problem might be the lining, which i went to great pains to include in the dress as i wanted it showing out from the bottom of the skirt part. But now i'm not convinced, it hangs oddly and i don't love it.

Here is a picture with the lining tucked up out of the way, this is how it would look with the lining removed -
What do you think? Should i remove the lining or keep it? What else could i try to help rescue this dress? Help! Any advice or suggestions gratefully received :)

Thanks for reading! xx


Saturday, September 27, 2014

The rest of a previous refashion...finally!

So a while ago i posted about some little gifts and things i'd made before Christmas last year (seems like forever ago now!) including a jewellery case lined with fabric from this shirt:
 I used the sleeves from the shirt to make the jewellery case, but i had bigger plans for the main part. The shirt itself was a size or two too big as it originally was, but I was able to make use of the darts in the front (having unpicked the pocket) to make my final top more fitted. I used an existing top as a base for the pattern, though i left the length of the shirt as i found the black top a bit too short for some occasions.
 the end result:
I shirred the back to make if fit while still being stretchy and comfortable (and without having to do a lot of tailoring - essentially i'm lazy!) - i actually cut out the back panel, shirred it separately, and the attached it. I made the straps from long tubes cut from the back of the shirt (either side of the back panel). I did have to add an invisible press stud (snap fastening) hand-sewn inside the button placket between the top two buttons as the elasticated back made it gape otherwise, but with the press stud it's no longer a problem. One of my favourite bits is the ribbon detail across the top front, which i had to add to hide a small rip where i'd not been careful enough as i removed the pocket! But i managed to find some short pieces of ribbon which needed used up and just happened to almost exactly match the colours in the top. Worked out well in the end!

Thanks for reading :)

Monday, August 25, 2014

Better late than never!

Hard to believe it's been a whole month again! Where does the time go? It's been a busy few weeks and i've not done a whole lot of sewing, so i'll take this opportunity to catch up on posting some refashions from a while back that i never got around to putting up.

These are really just a couple of simple adjustments to make things more wearable. The first (no before pic sorry) was a patterned, strappy top on which i'd previously cut the straps where they attached to the back, creating a halterneck. I more recently added some shirring in the centre back to make it fit better around the bust area, since before it didn't sit right, was slightly too loose and had a tendency to drift a little, which meant i'd rarely worn it, certainly not out of the house, despite loving the pattern. Below is the after (the before was similar, just no shirring and thus a looser fit around the bust).

and the shirred back:


 I did the same to another top which i had previously added colourful buttons and crocheted flowers to (here), again just to make it a bit more fitted as it was a little too large and i felt the shirring would make it a more flattering fit.


I also took in a tunic top gifted to me by my mum, which started off several sizes too large (again, no before pic, sorry!) The problem with this top was the beautiful beaded hem, which was hand stitched and i really didn't want to cut into or have to try sewing over (i've broken needles this way before!). I managed to flare the new fit of the top at the hips to allow the hem to remain whole while making the rest of the top fit me better. I love this top and now wear it all the time :) i'm actually really happy i had to work around the beaded hem, as the flare in the tunic gives it a more feminine look and makes it really nice to wear with a skirt as well as jeans.


Thanks for reading! xx

Saturday, June 21, 2014

A quick fix and a new skill!


My last couple of posts were all about gifts i had made for other people. This one is about a gift someone gave me that let me not only learn a fab new skill but use it to make a 'gift' for myself! A lovely friend of mine bought me a voucher a while back for a course at a local craft shop, and i chose a screen printing course. I took along a boring old tank top, and made it a little more interesting!

before:

IMG_3956

and after:
 IMG_3957


I love my 'new' top, and I'm totally in love with screen printing. A really quick way (once you've drawn and cut the design at least) to add interest to old or boring clothes, cushion, curtains, bags...you can tell i've got the bug! It's a bit messy so you can't really do it just anywhere, but hoping to develop my great new garage (we recently moved to a house with both garage AND attic - all the crafting space you could dream of!) into a workspace to include screen printing facilities! (by that i mean a table i don't mind getting paint on and a big sink, so hopefully it won't take me too long!) Watch this space! xx

Tuesday, May 20, 2014

More Bits and Bobs - Refashioned Gifts

Last week (ok maybe a little more than a week ago!) I posted about some refashioned gifts i had made in the run up to Christmas, mostly from jeans kindly donated by my boyfriend. This week i'm finishing off that train of thought with a few more little gifts i made from unloved clothes.

I had a couple of quite vivid, stripy shirts from the charity shop that i'd picked up for their lovely bright colours, and i paired with an old jumper that had accidentally got a little felted as i hadn't realised it wasn't entirely synthetic... No before pics of the jumper or one of the shirts, sorry, but i'm sure you can imagine a rather shrunken and sorry-looking purple jumper! and the other shirt was like this one but more bluey-purpley.

IMG_3490  
The little gifts i made used the sleeves of the shirts,  the main body of this shirt i used more recently in another refashion - coming up soon!
 
So anyway, two sets of bright shirt sleeves and one too-small purple jumper became

Two cute travel jewellery cases! I used a couple of zips taken out of old skirts when cutting up and using them as fabric for other projects, buttons and ribbon from my stash, and press studs (snaps) donated by my mum who had them for years and thought she would never use them. Each wrap has a zip pouch, a snap-fastening pouch, a ring holder (a stuffed tube sewn down at one end and secured at the other end with a snap) and a strip of fabric stitched down at intervals to create little gaps for hooking dangly earrings into!


IMG_3836 IMG_3838

I made a third one of these from scraps left over from making some things for my living room, and yet another zip taken out of a skirt (i hadn't realised how many skirts i have dismantled until now!)
 
More refashions and such on my blog, as ever. xx

Saturday, May 10, 2014

A Few Little Bits and Pieces

Today I've got a few little refashions to share - things i made as gifts in the run up to Christmas and haven't had the chance to post about yet. I'm afraid i don't have before pictures for all of them but as they were made out of pretty standard items of clothing i'm sure you can use your imagination!

First off - a pair of my boyfriend's old jeans he didn't wear any more became...

A pair (sort of!) of oven gloves - I have probably posted something similar before as i've made these a few times - love them!

A notebook cover with a couple of scraps left over from another project and some free machine embroidery (where you adjust the sewing machine to let you move the fabric freely so the effect is like drawing with the stitching - have recently discovered this technique and i am seriously in love!) making a cute little mushroom. I made a crochet pencil case to go with it, the yarn was one that was given to me by a lady who'd decided she was never going to use it so it was 'rescued', the zipper was new (tut tut) but the lining was made from pieces of a white shirt from my scraps bin.


Another covered notebook - i really went to town on the free embroidery on this one! I had been looking at peacock feathers for another project (which has since been 'postponed' in favour of work, gift making, work, work, moving house and more work. Eventually you may yet get to see it!)
But anyway, i had a lot of pictures of peacock feathers lying around while trying to decide what to make for a friend's birthday. So i ended up with this:


And another pair of jeans (he handed me a stack about a year ago that didn't fit well any more and i'm slowly working through them!) became a bag to match the notebook cover for our friend. I sometimes wonder if our friends find it weird that they get gifts made from our old clothes. Or if they even really think about it. What do you think? Has anyone ever found it odd that you make non-clothes things, and gifts, out of your old clothes? Or do your friends appreciate your refashioning adventures? Mine did :)


This is turning into a long post, so i'll leave the rest til next week i think! Just a few more to go.... see you then! xx

Friday, April 11, 2014

Wizard Shrug!

Well, maybe not quite that magical...

I went from this fabulous 80s velvet dress/tunic/thing (which i think is actually from the 80s, i have actually had it since i think mid-90s and it was second hand then) which never got worn, as despite being such lovely colours it was just a bit TOO much, and that awkward not-quite-dress, not-quite-top length. Apologies as always for the pile of junk that is my room.


To this - I've always wanted a tail coat!


Ok, so this isn't really a proper tail coat (for a start it only has one tail) but it has the right sort of look! And the colour is much less overwhelming now. I just folded it in half so the cutting line would be symmetrical, chopped off the bits i didn't want and hemmed. I don't know if you can tell in the pictures but i gave it pointy pixie sleeves as well. The two metal clasps i used came free with a magazine that i was given as a gift, so this refashion was totally free! And i still have quite a lot of 80s wizard velvet to use somewhere else...including those massive pockets!

More refashions as usual on my blog
xx