Wednesday, February 28, 2018

2 Sweatshirts Into 1

Hello Refashion Co-op. I had 2 sweatshirts that didn't really work. I put together a sweatshirt from 2 sweatshirts.
 
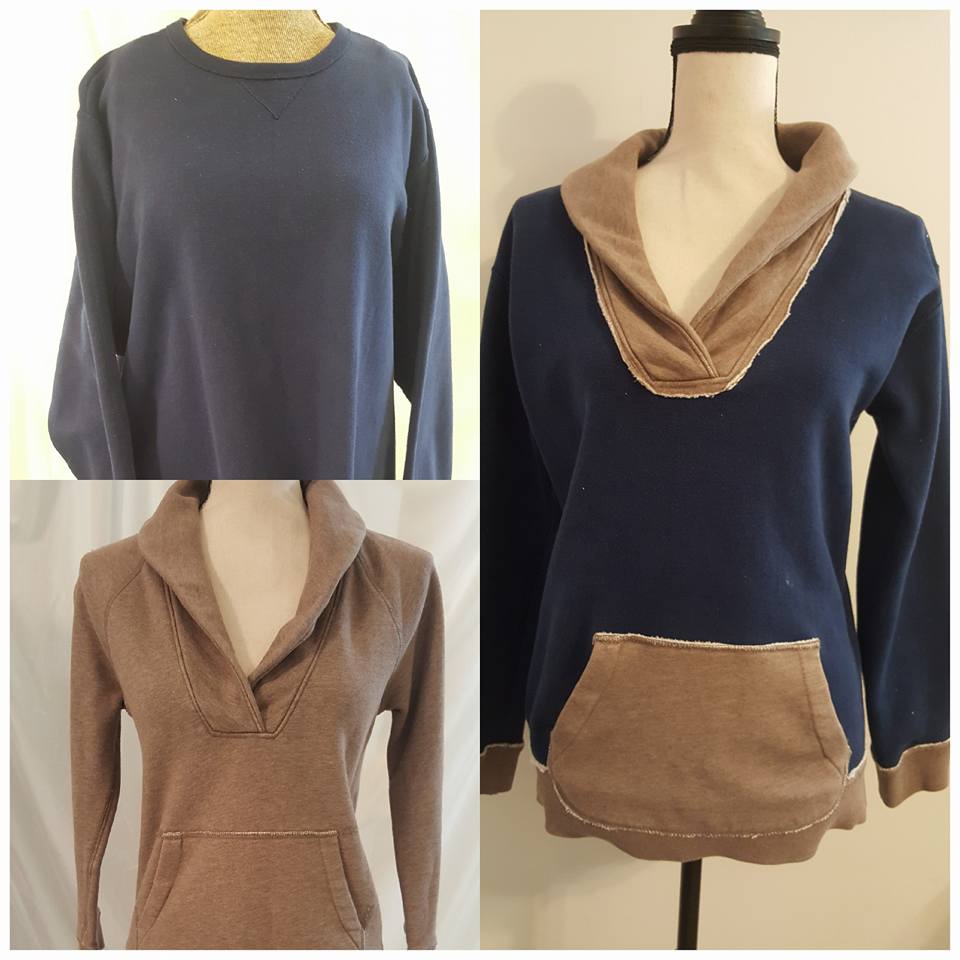
This navy blue sweatshirt was very plain and a little too big. This brown sweatshirt was very nice and a little too small.

 
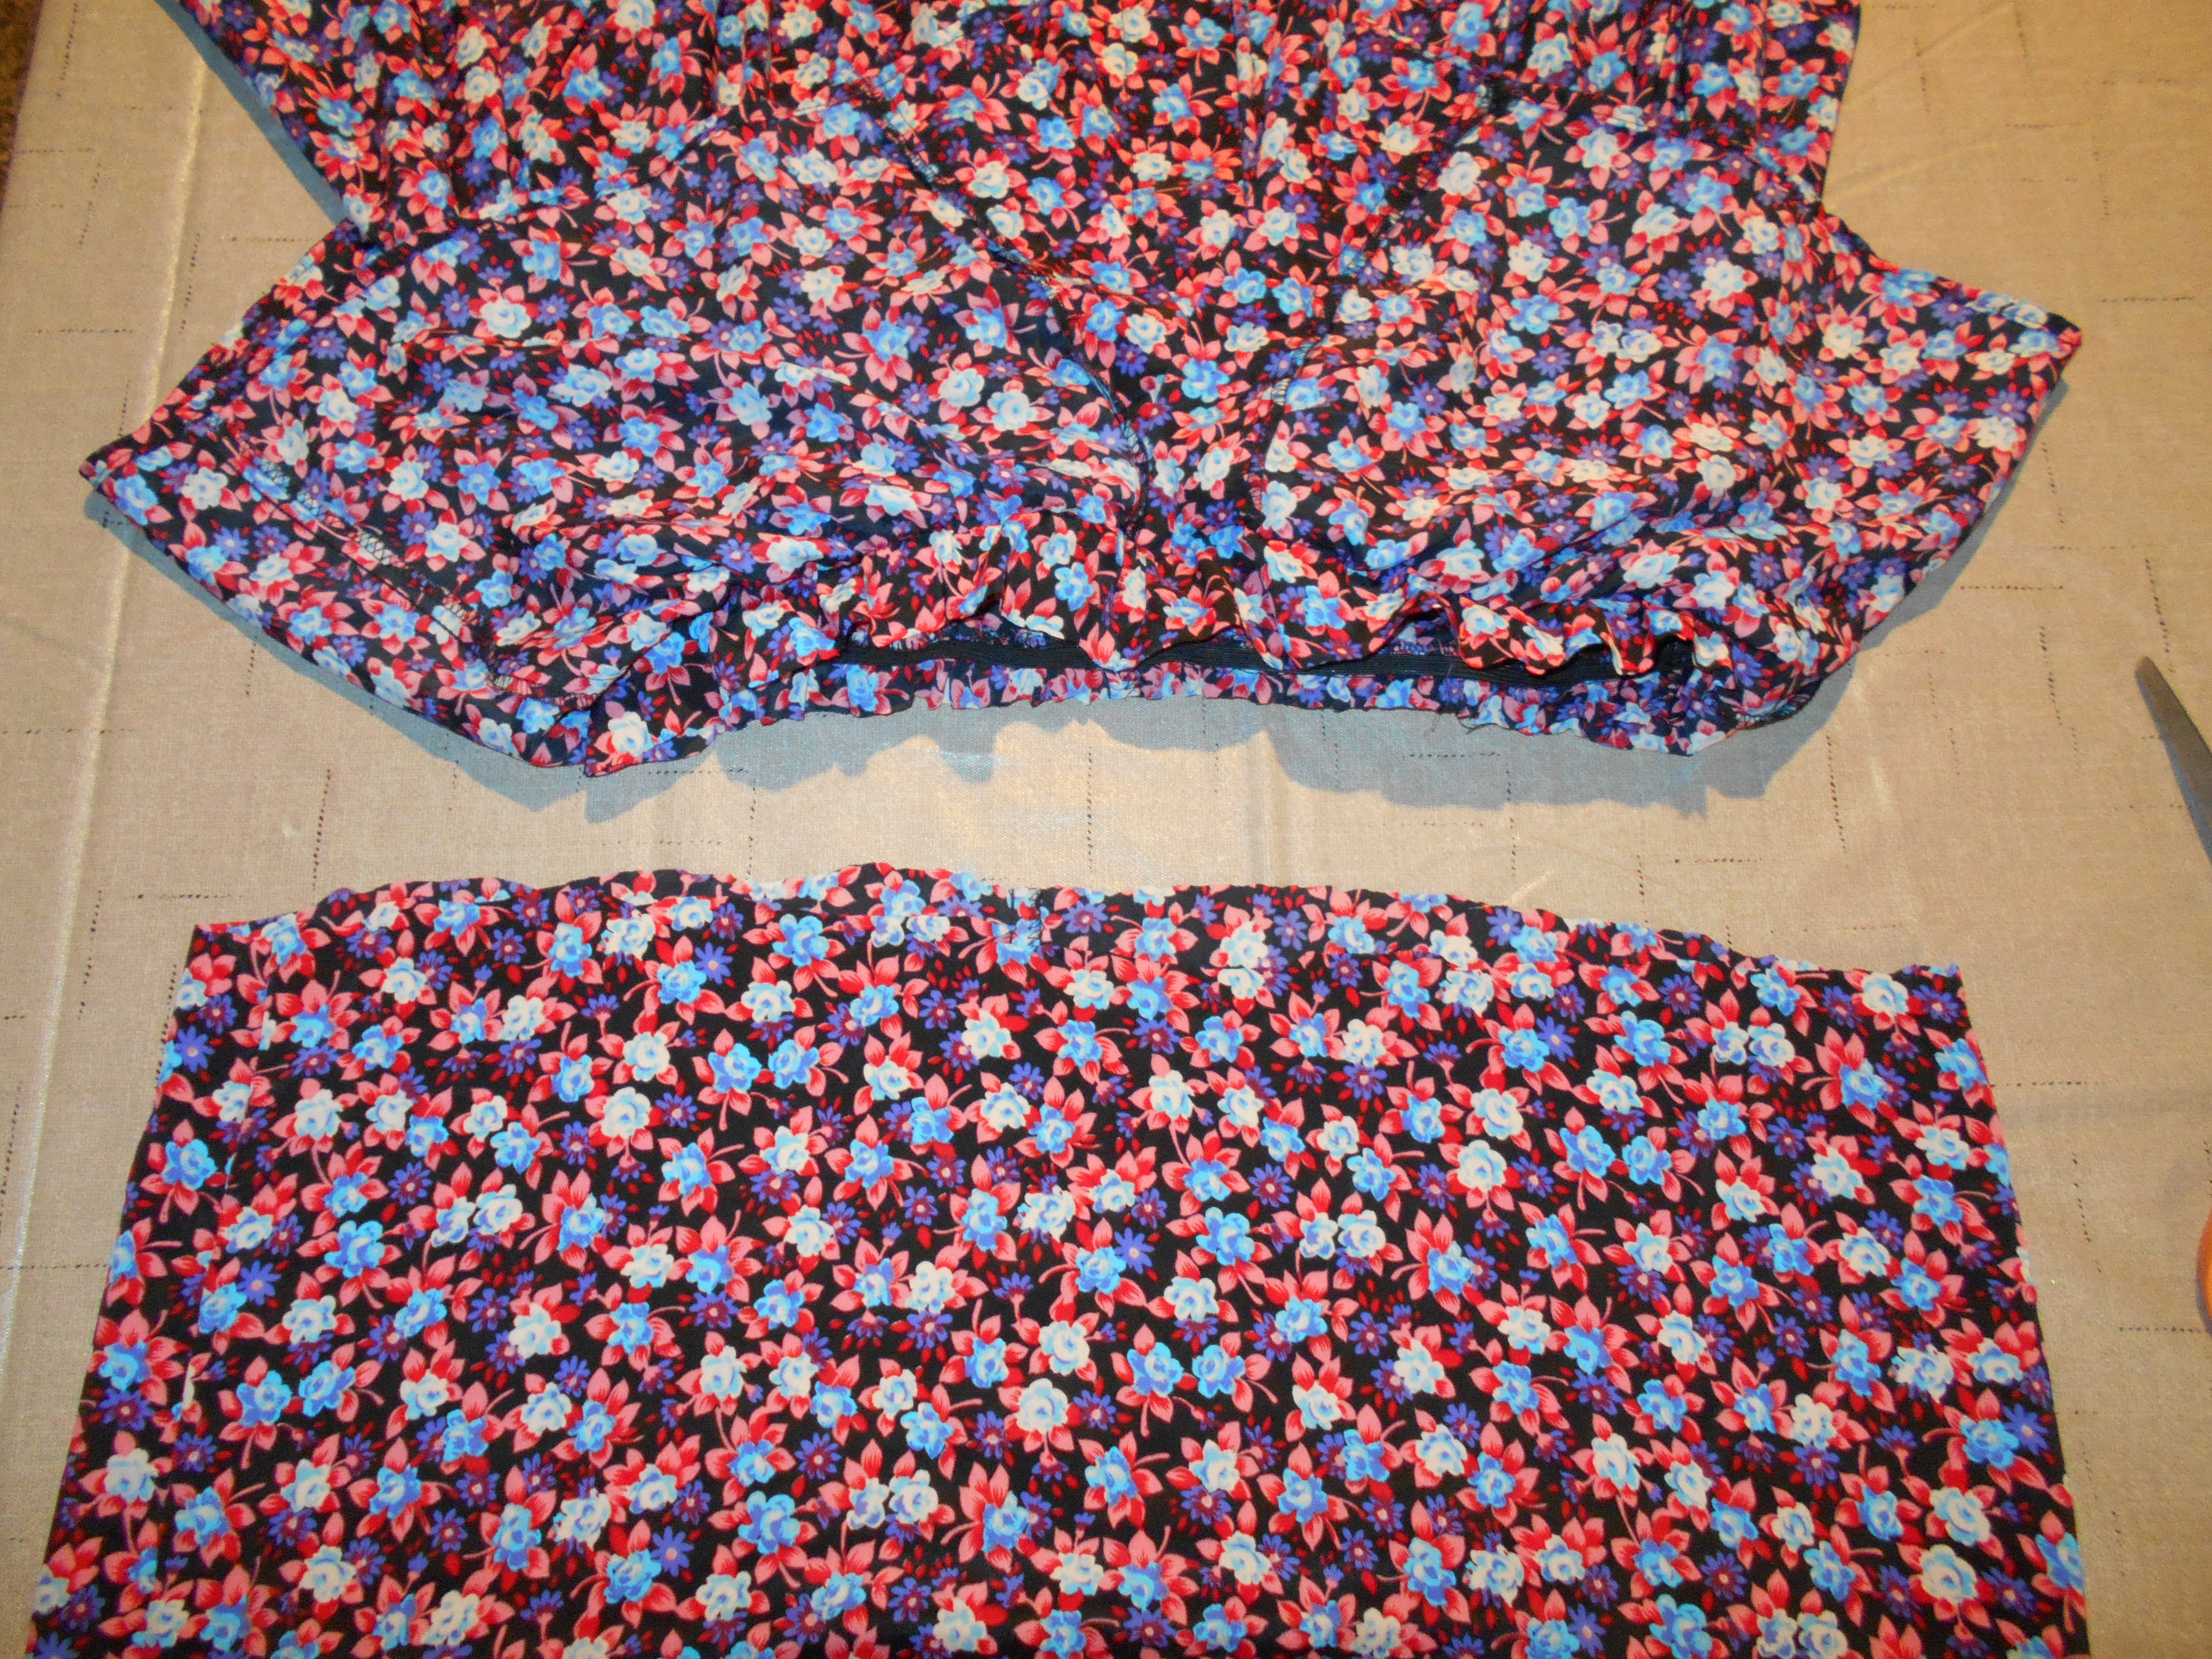
I cut the navy blue down and made it fit a little better. I also cut off the waistband and wrist cuffs.

 
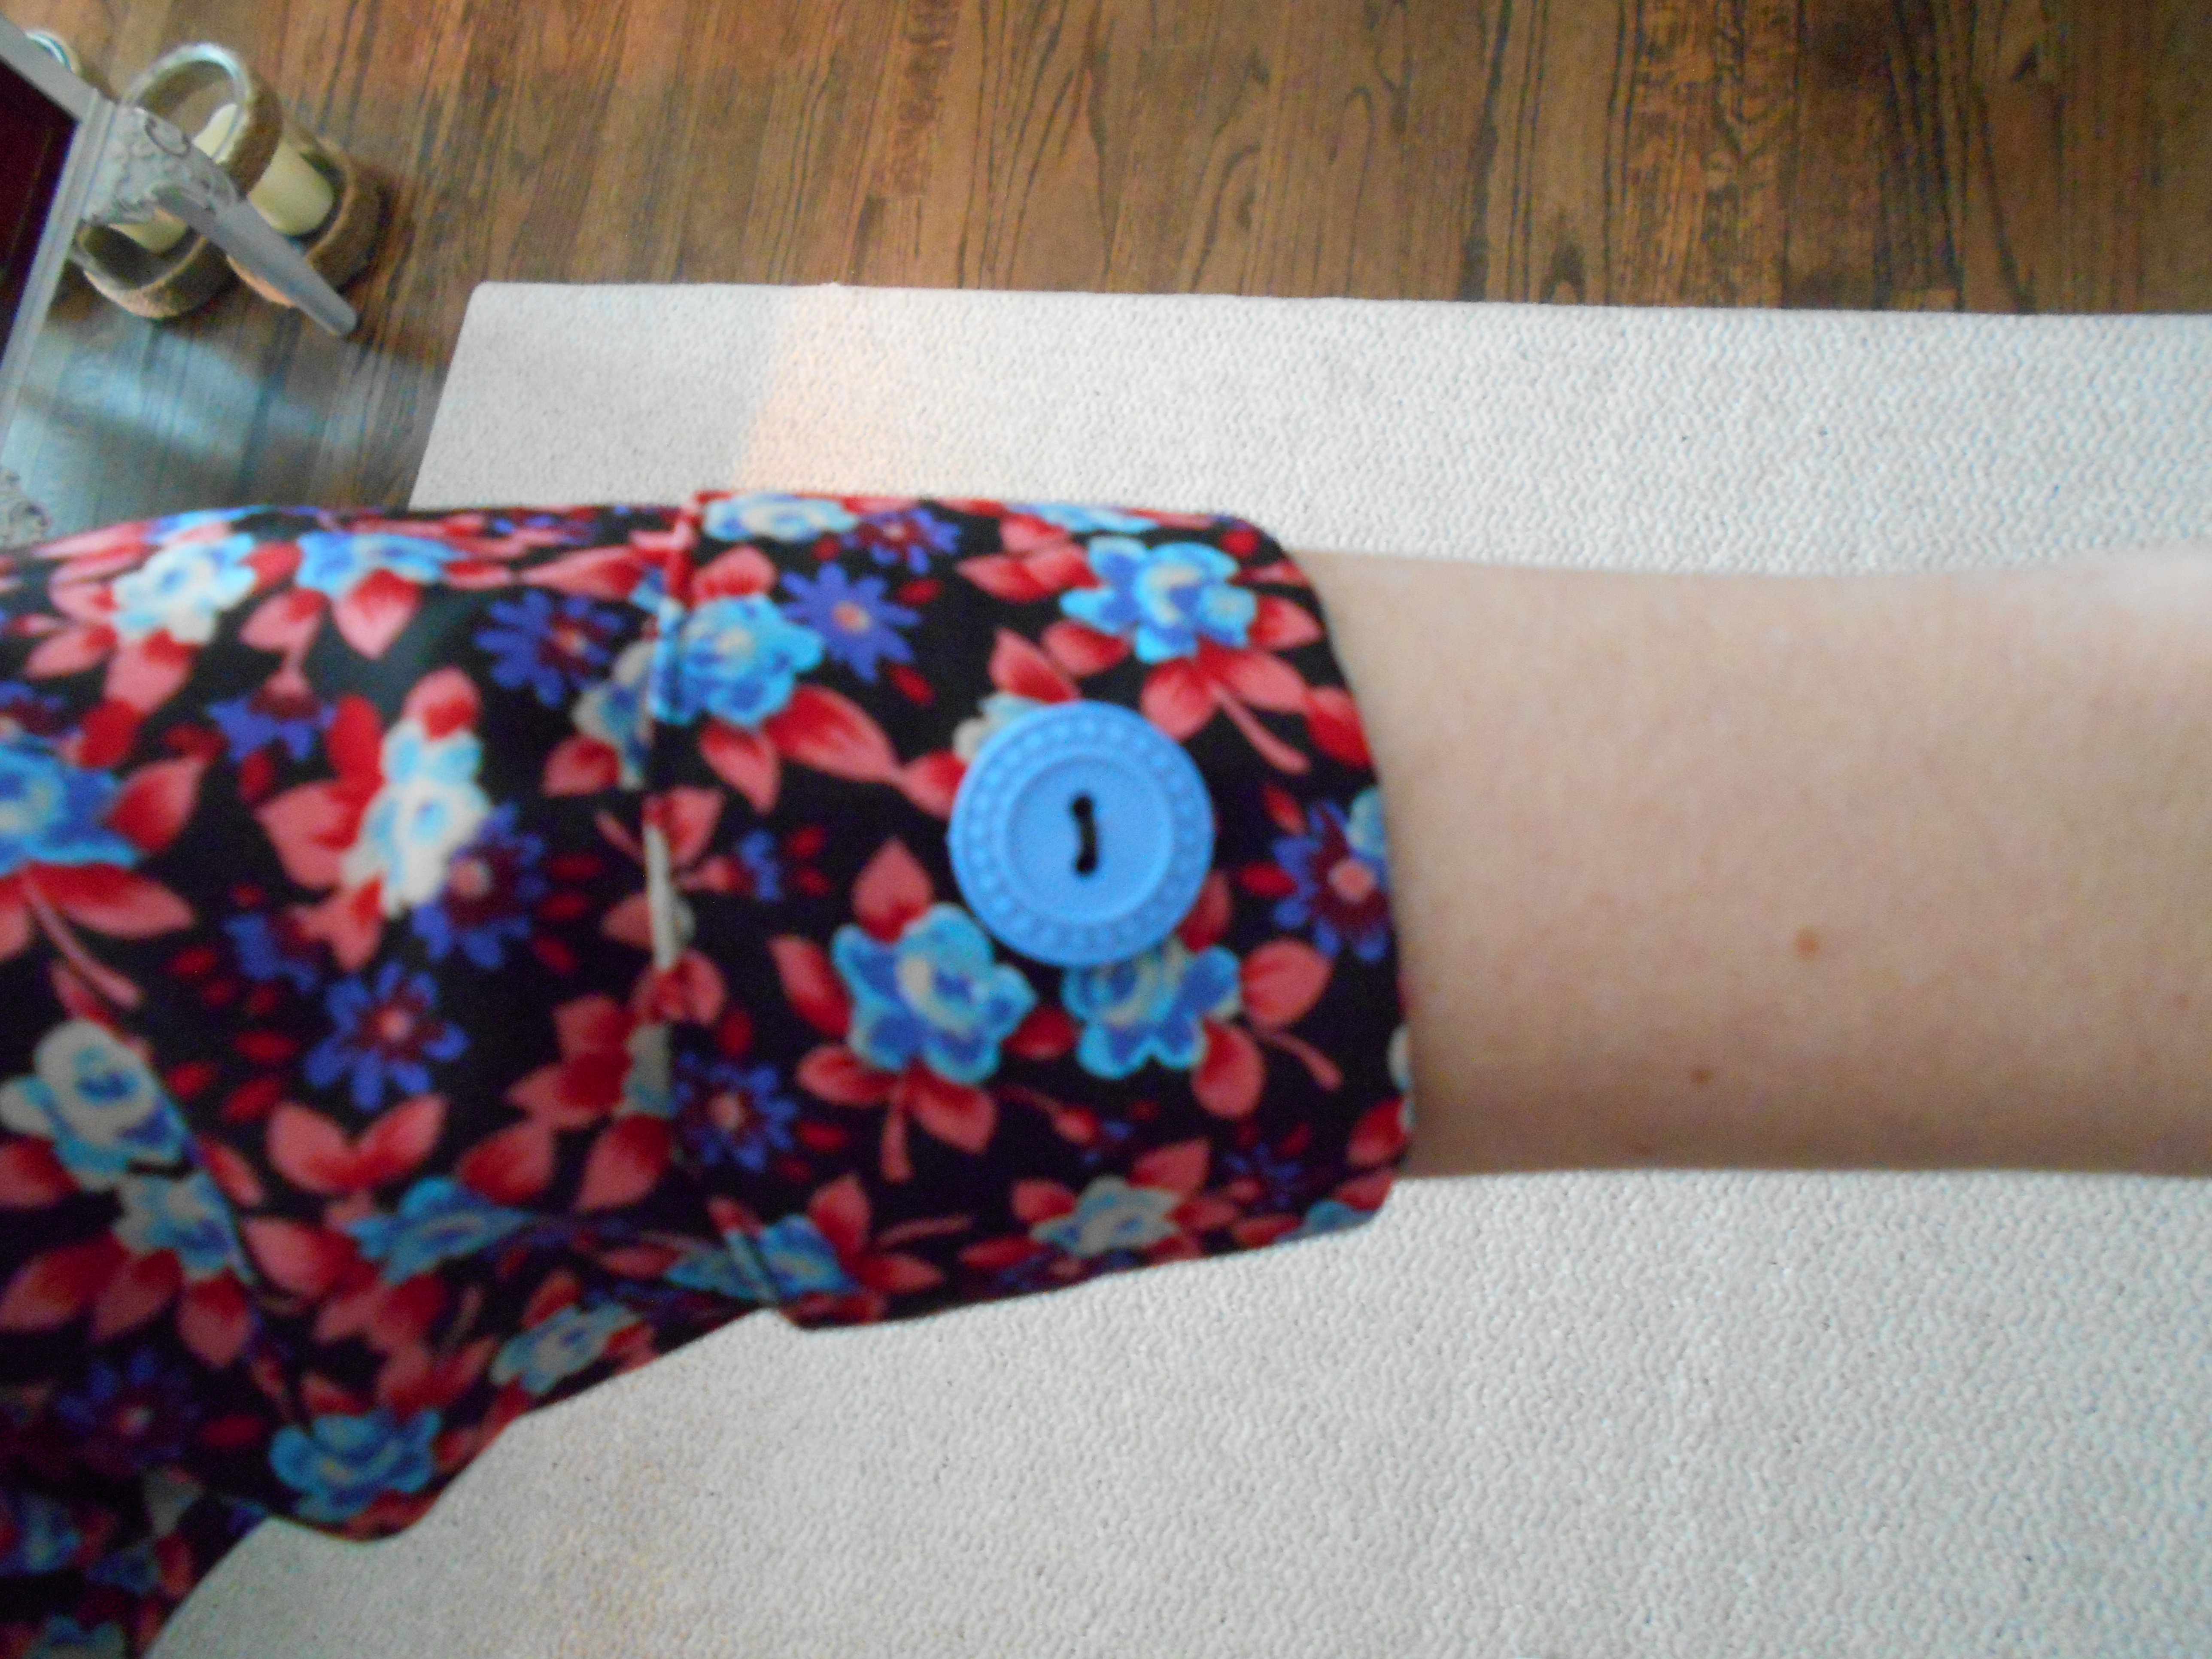
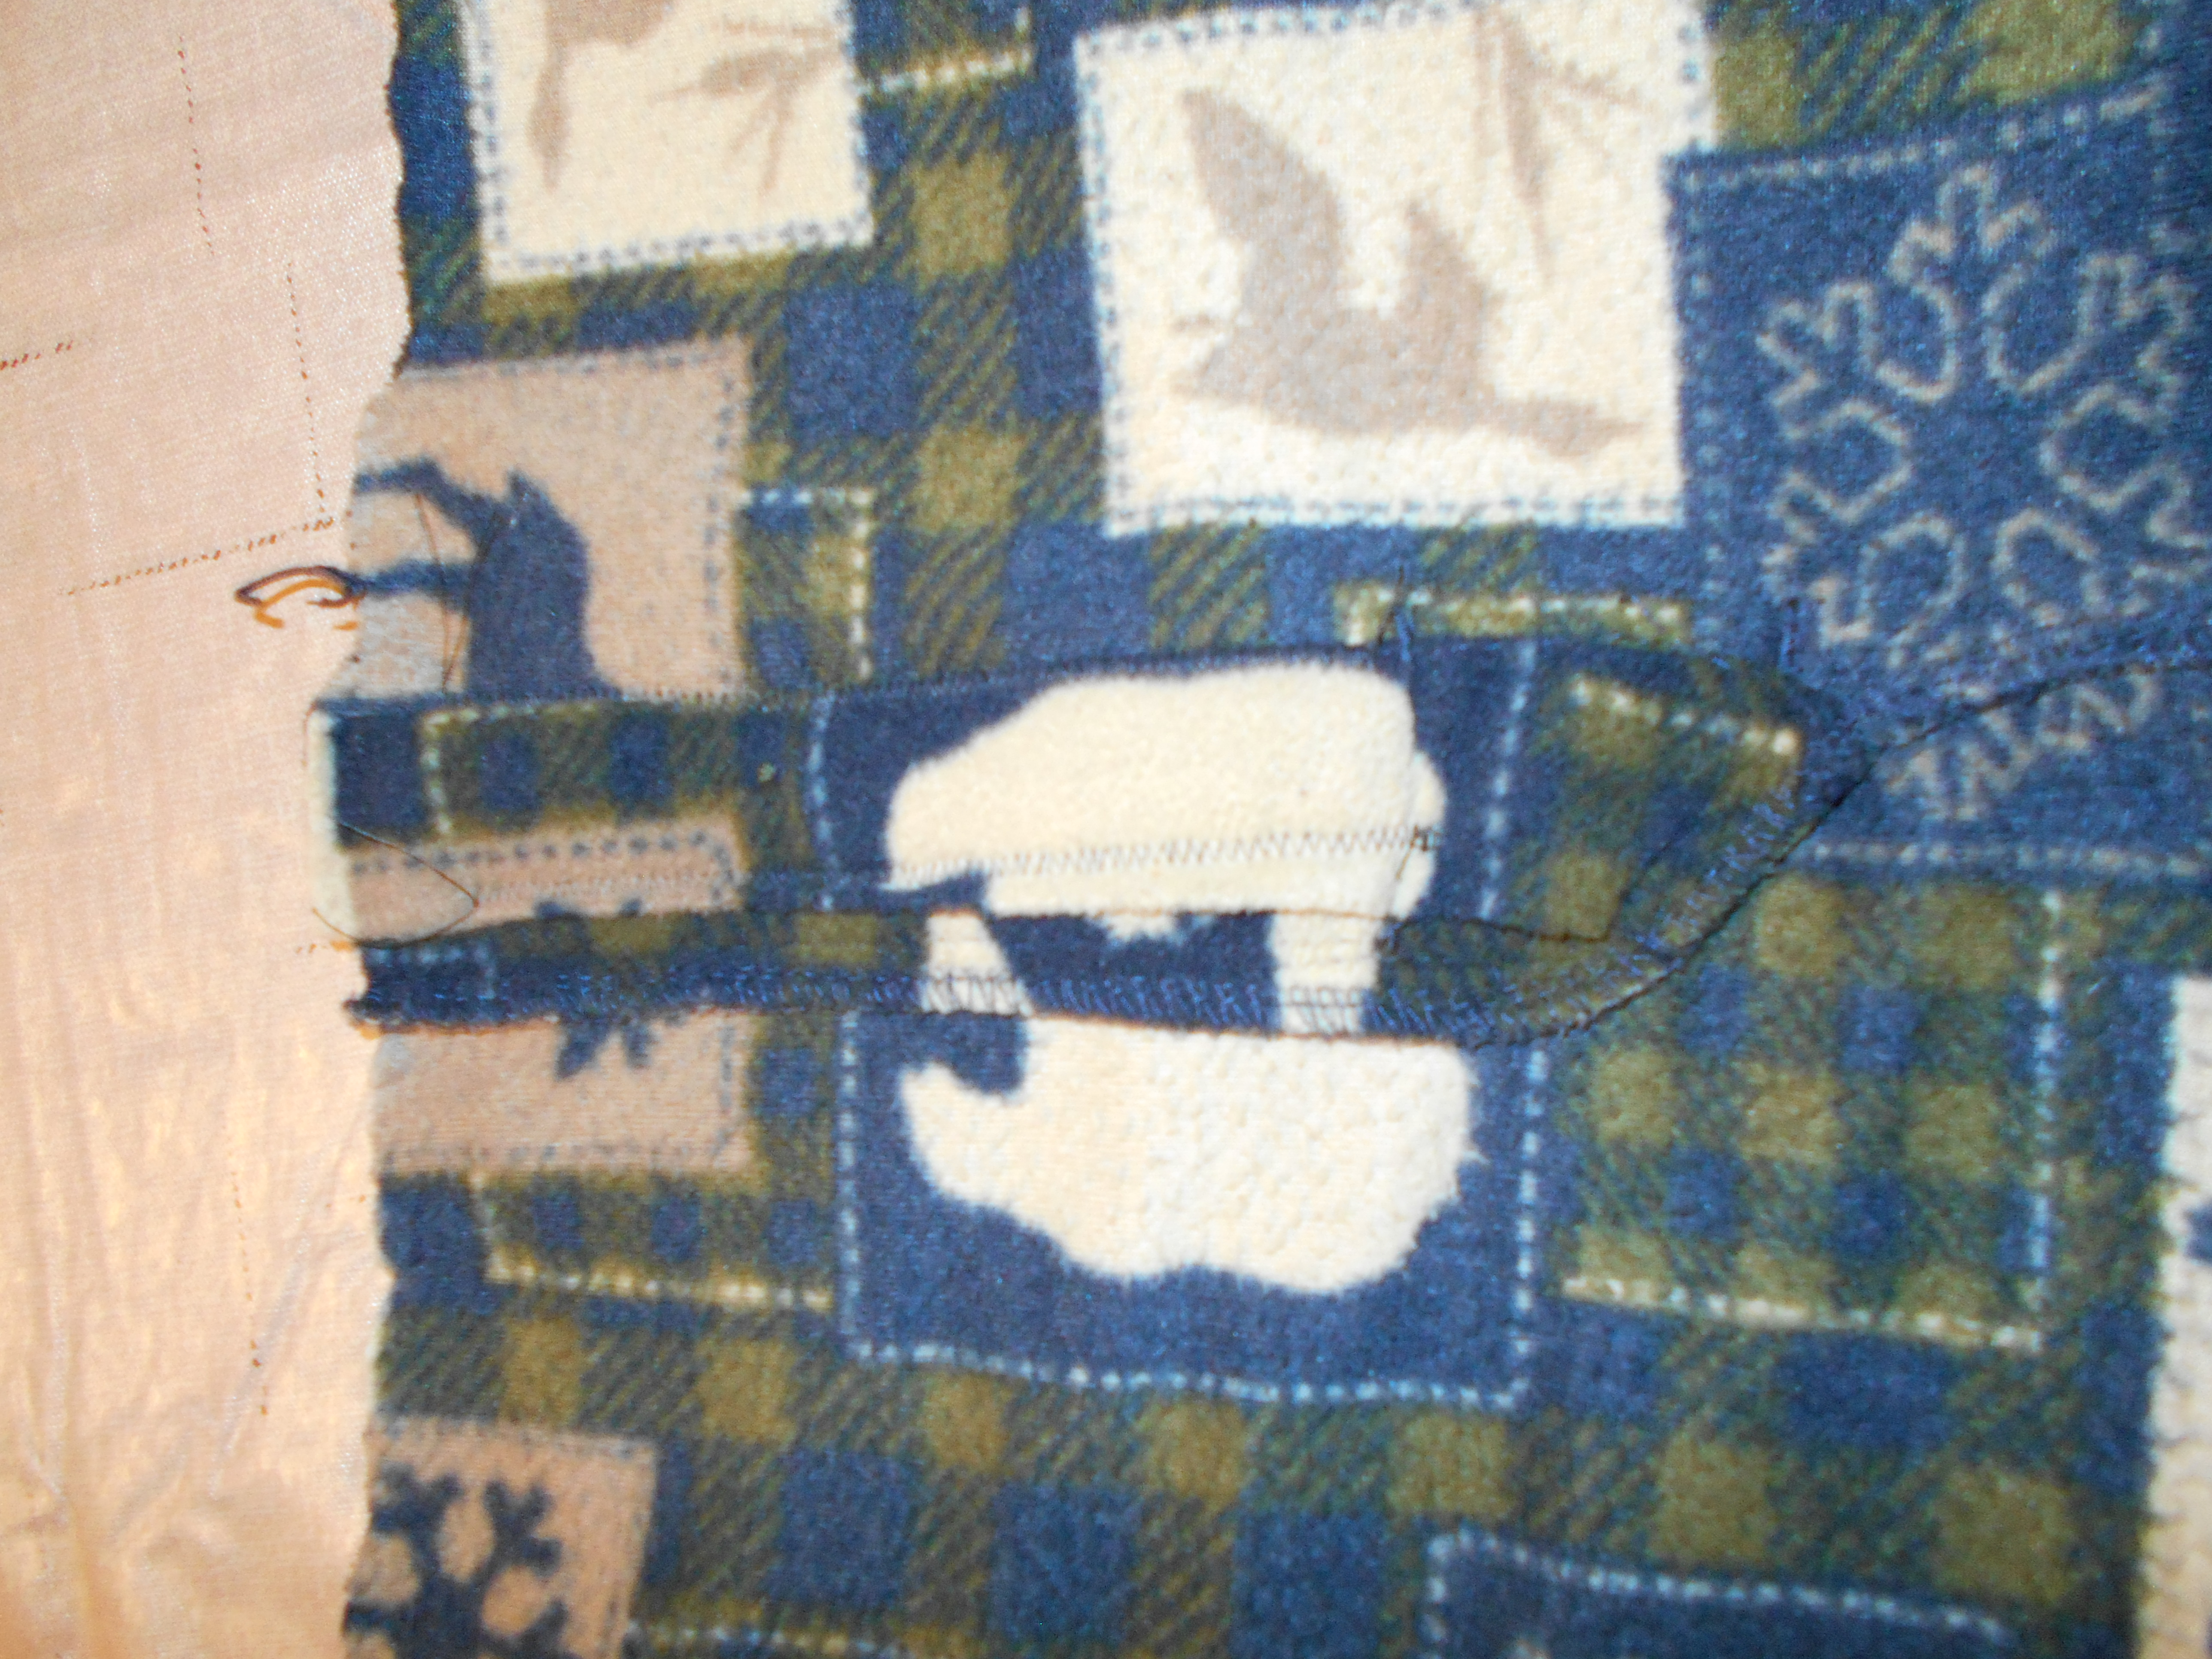
I cut all the good bits off this brown sweatshirt. I removed the wrist cuffs, the collar, the waistband and the front pocket.

 
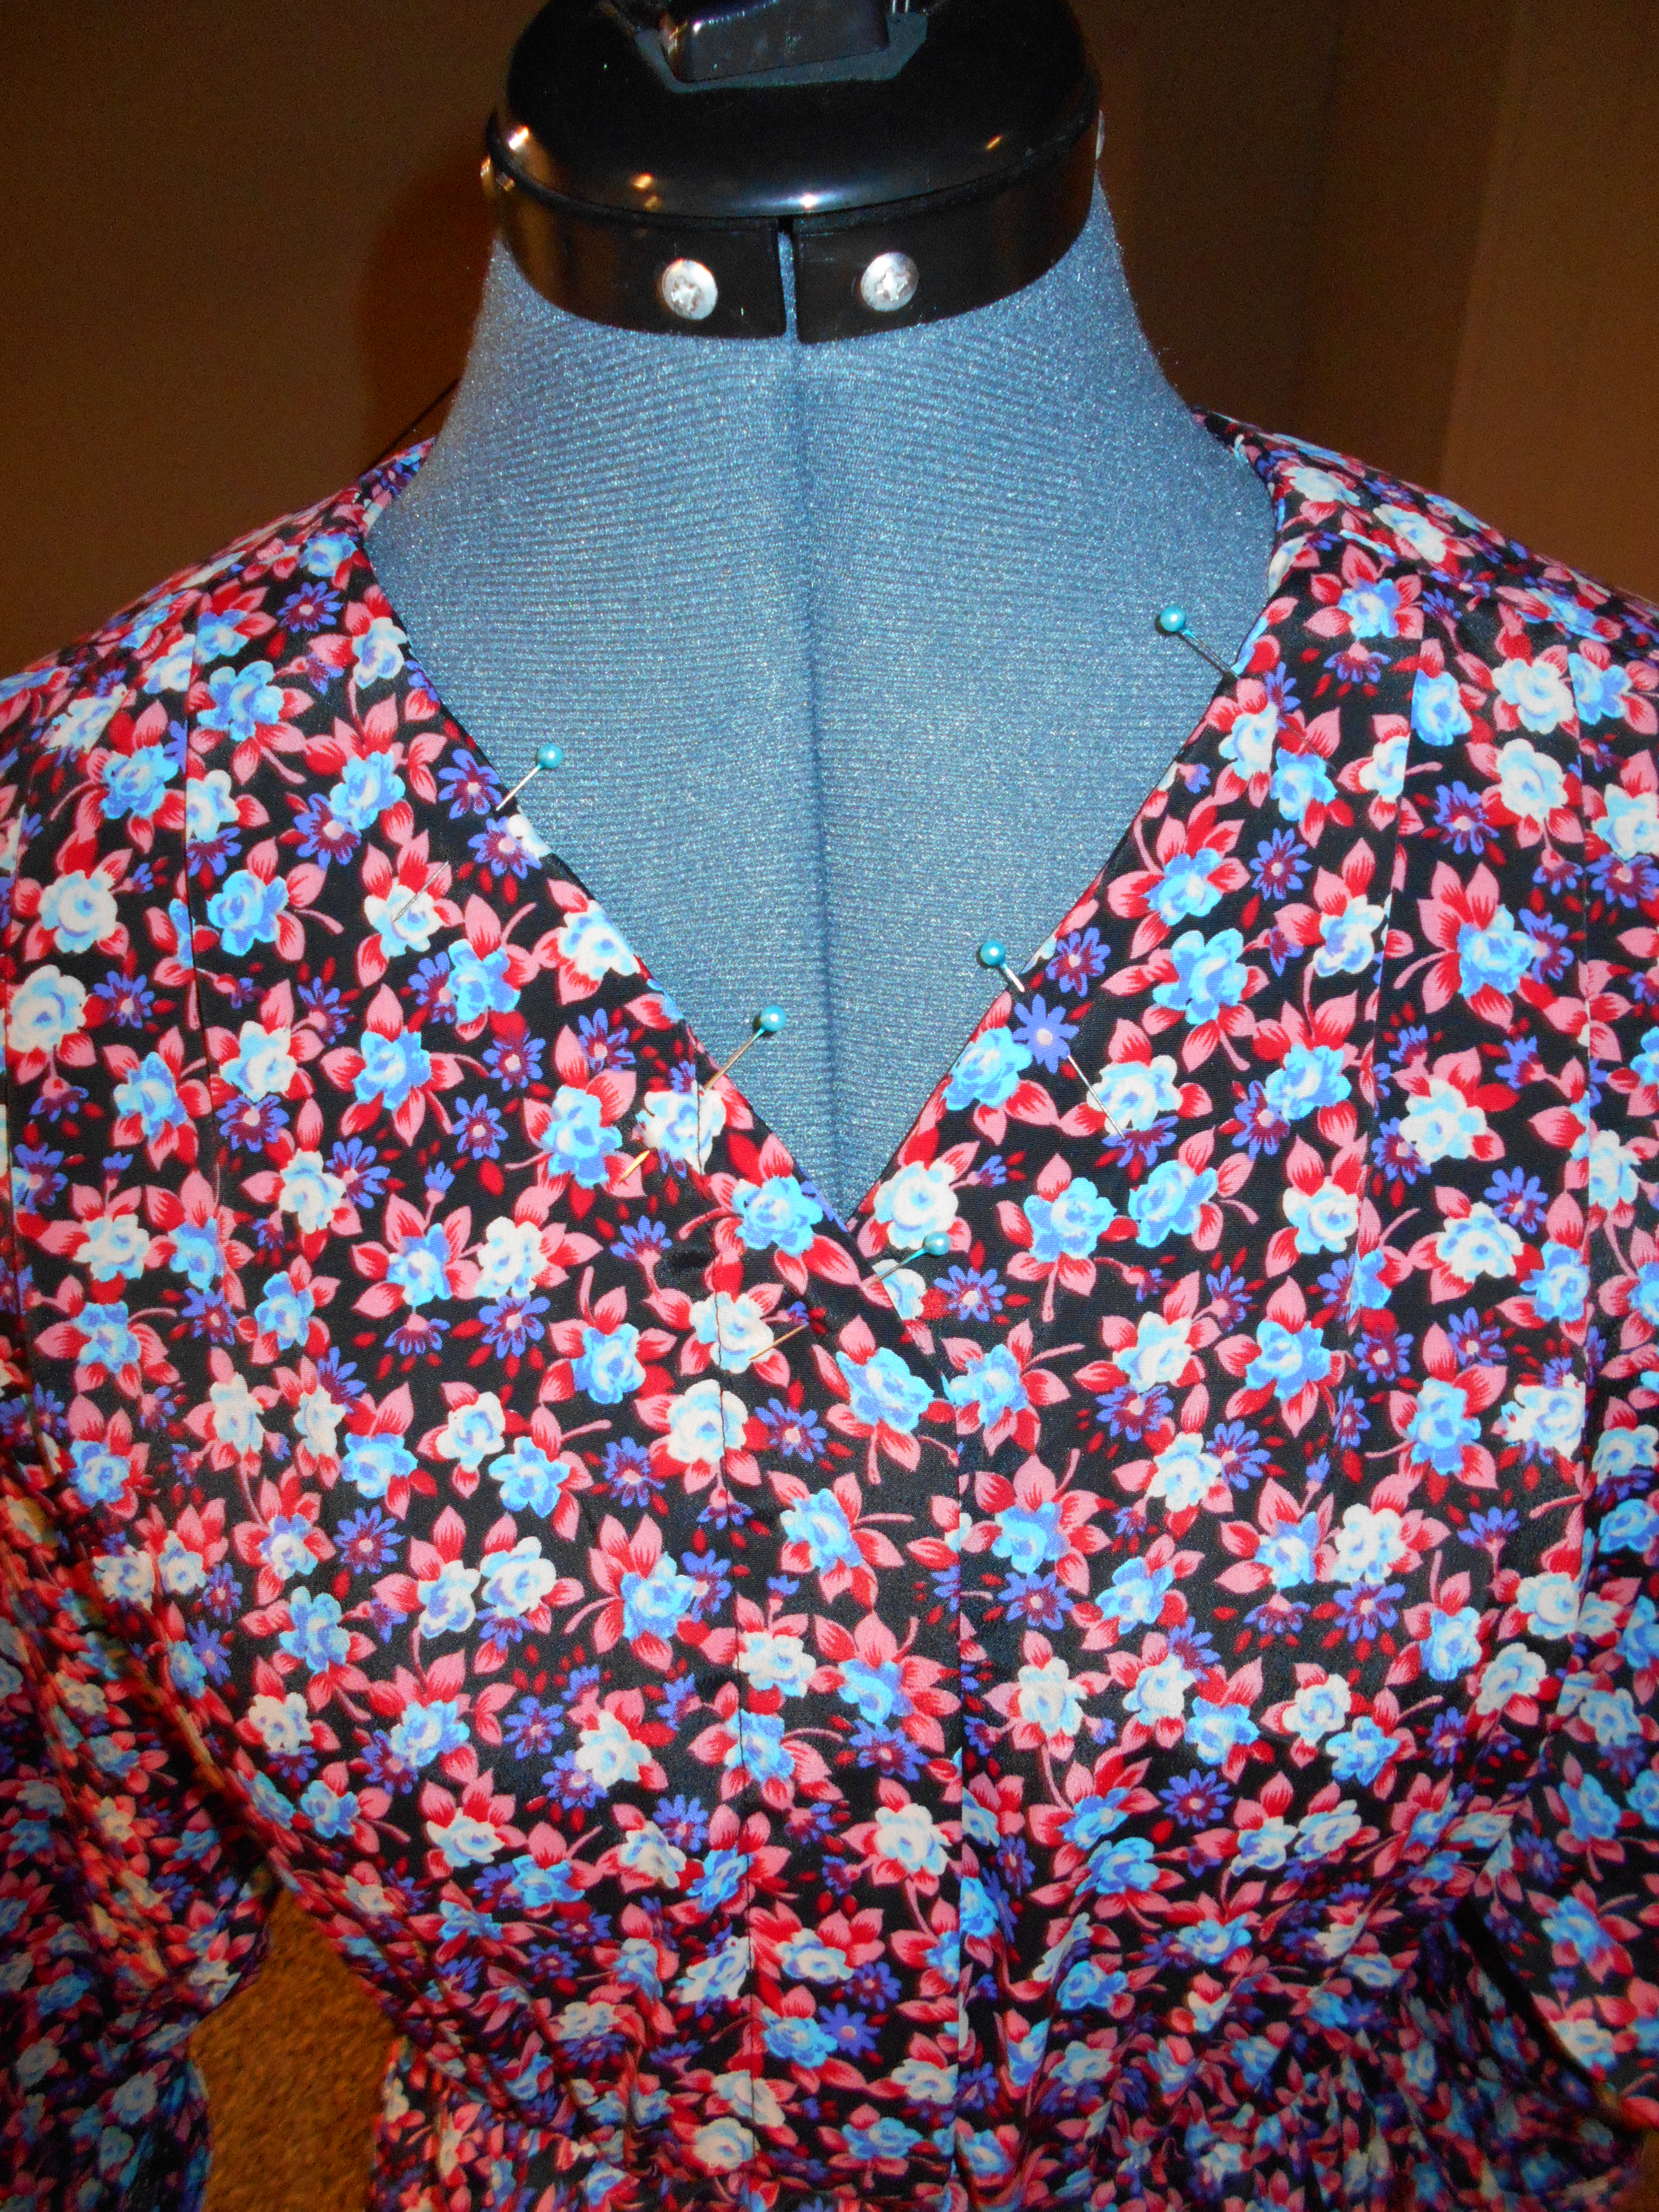
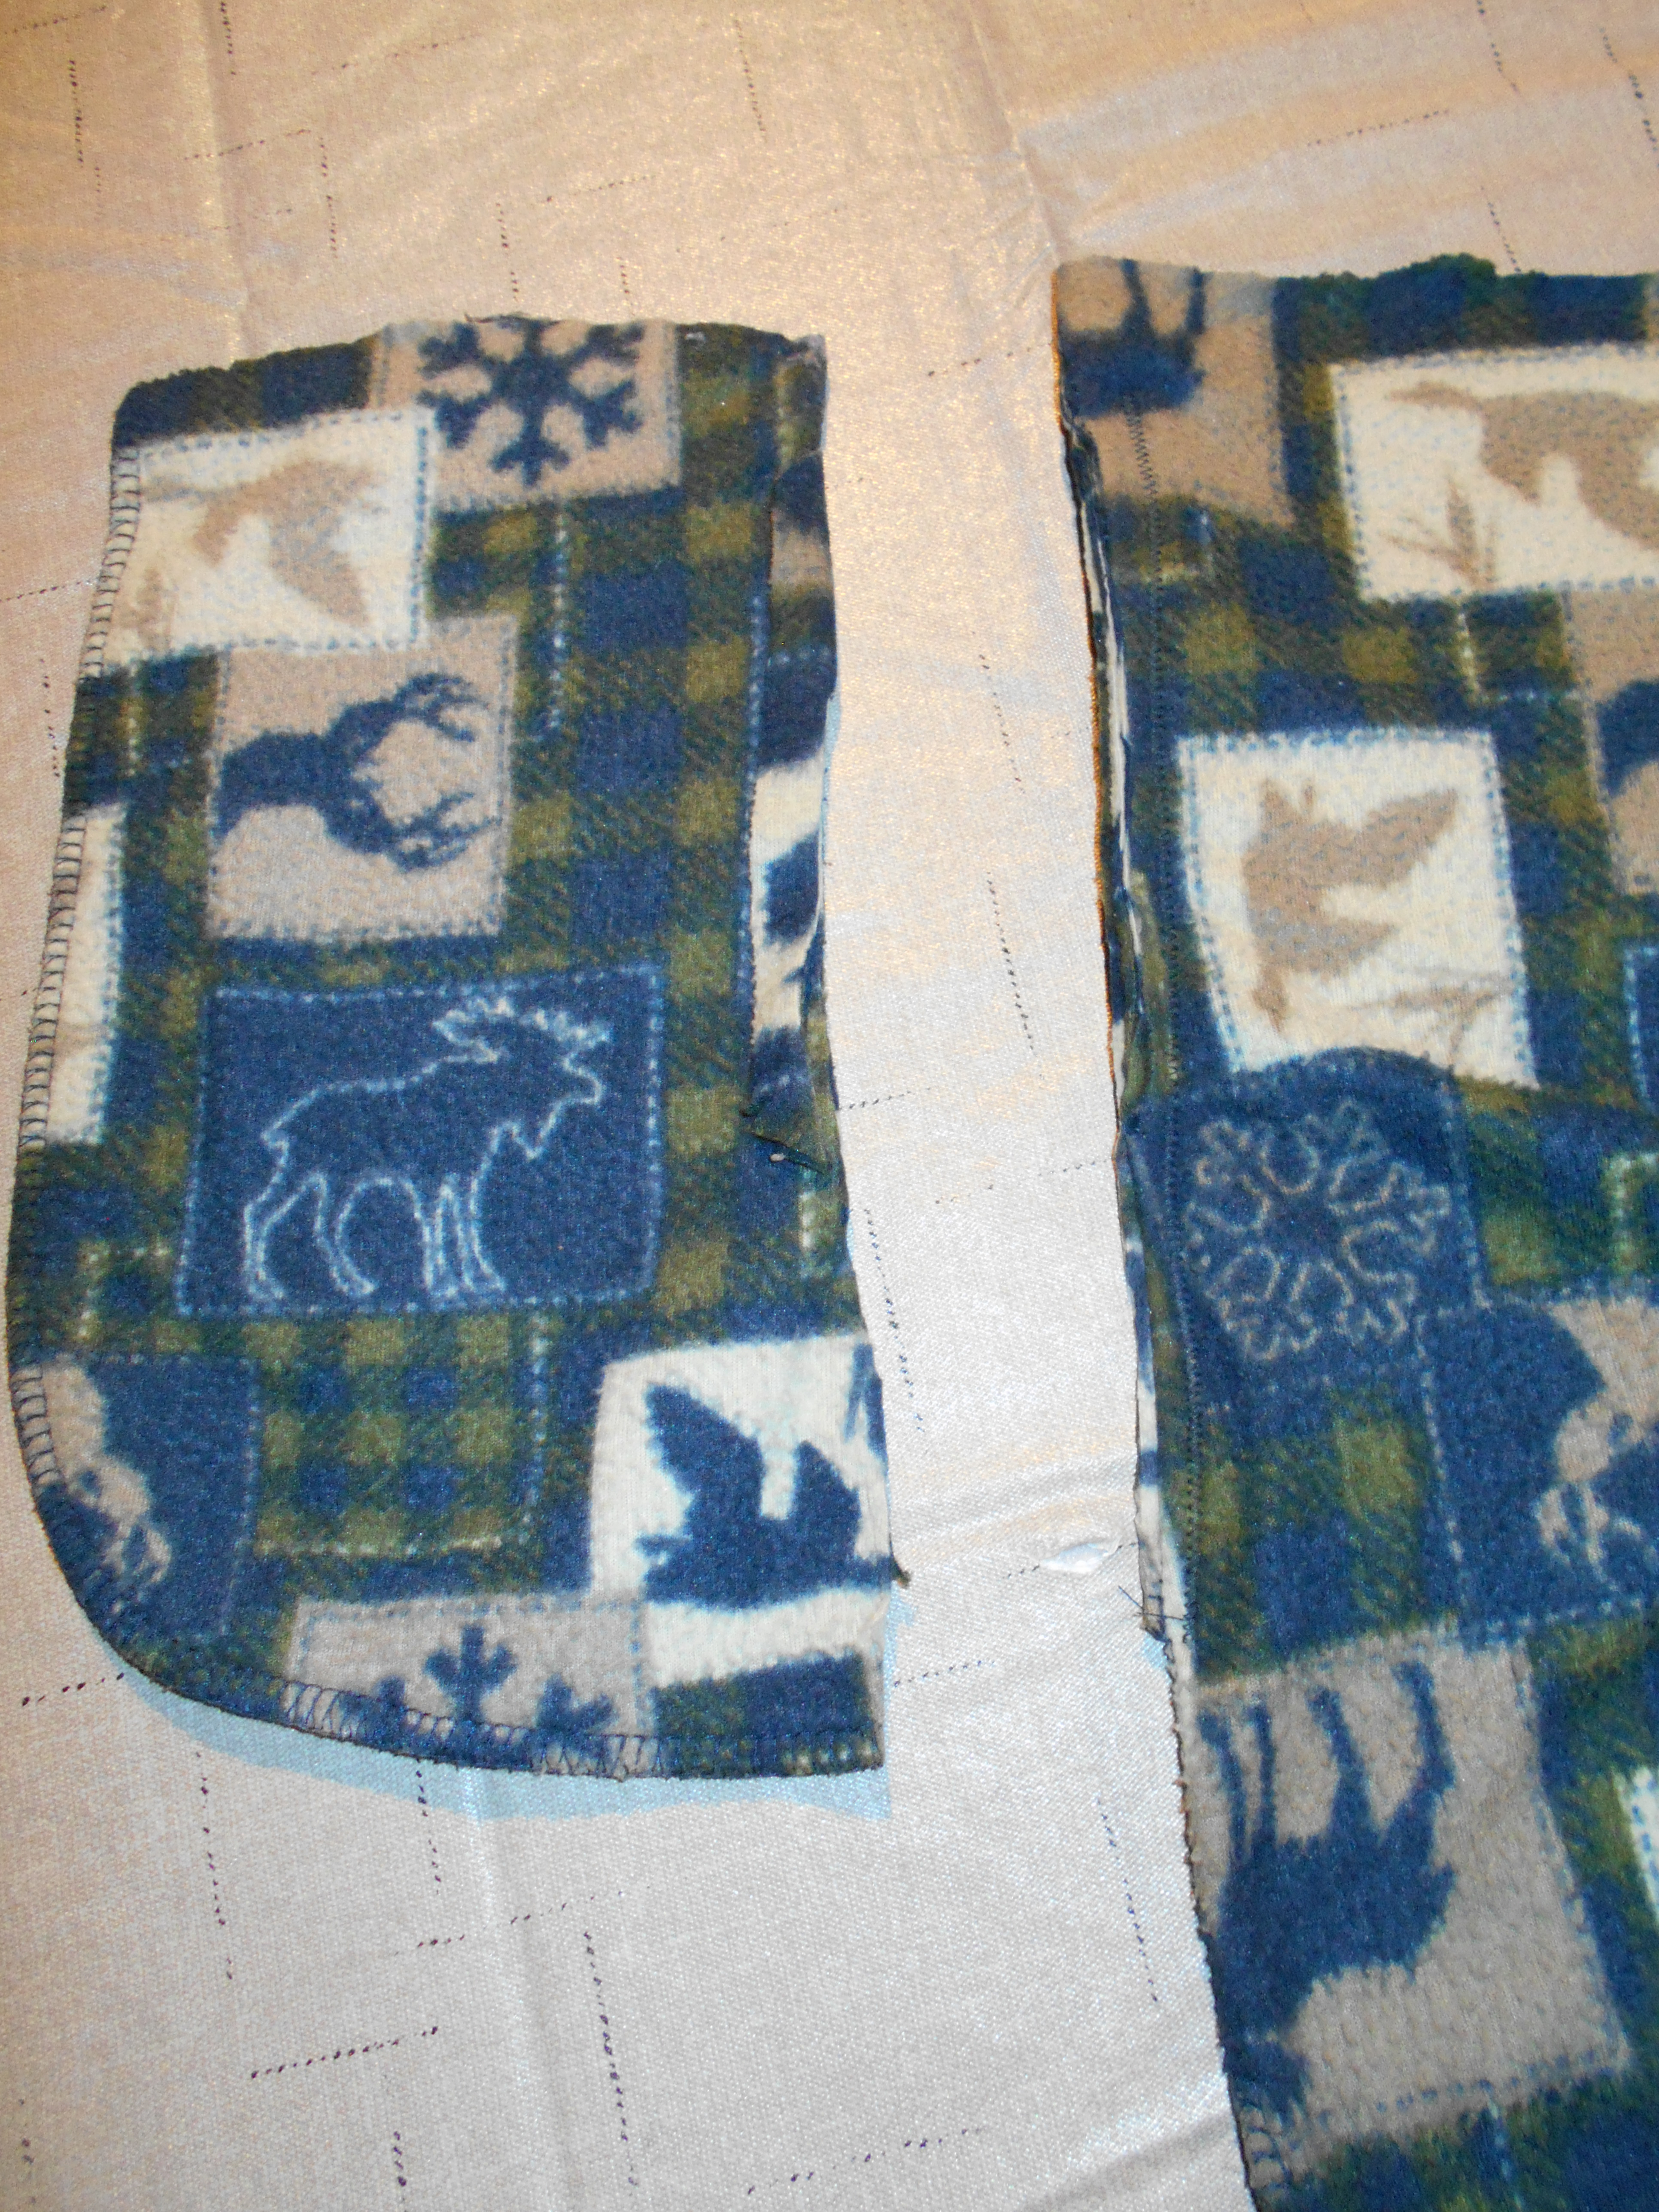
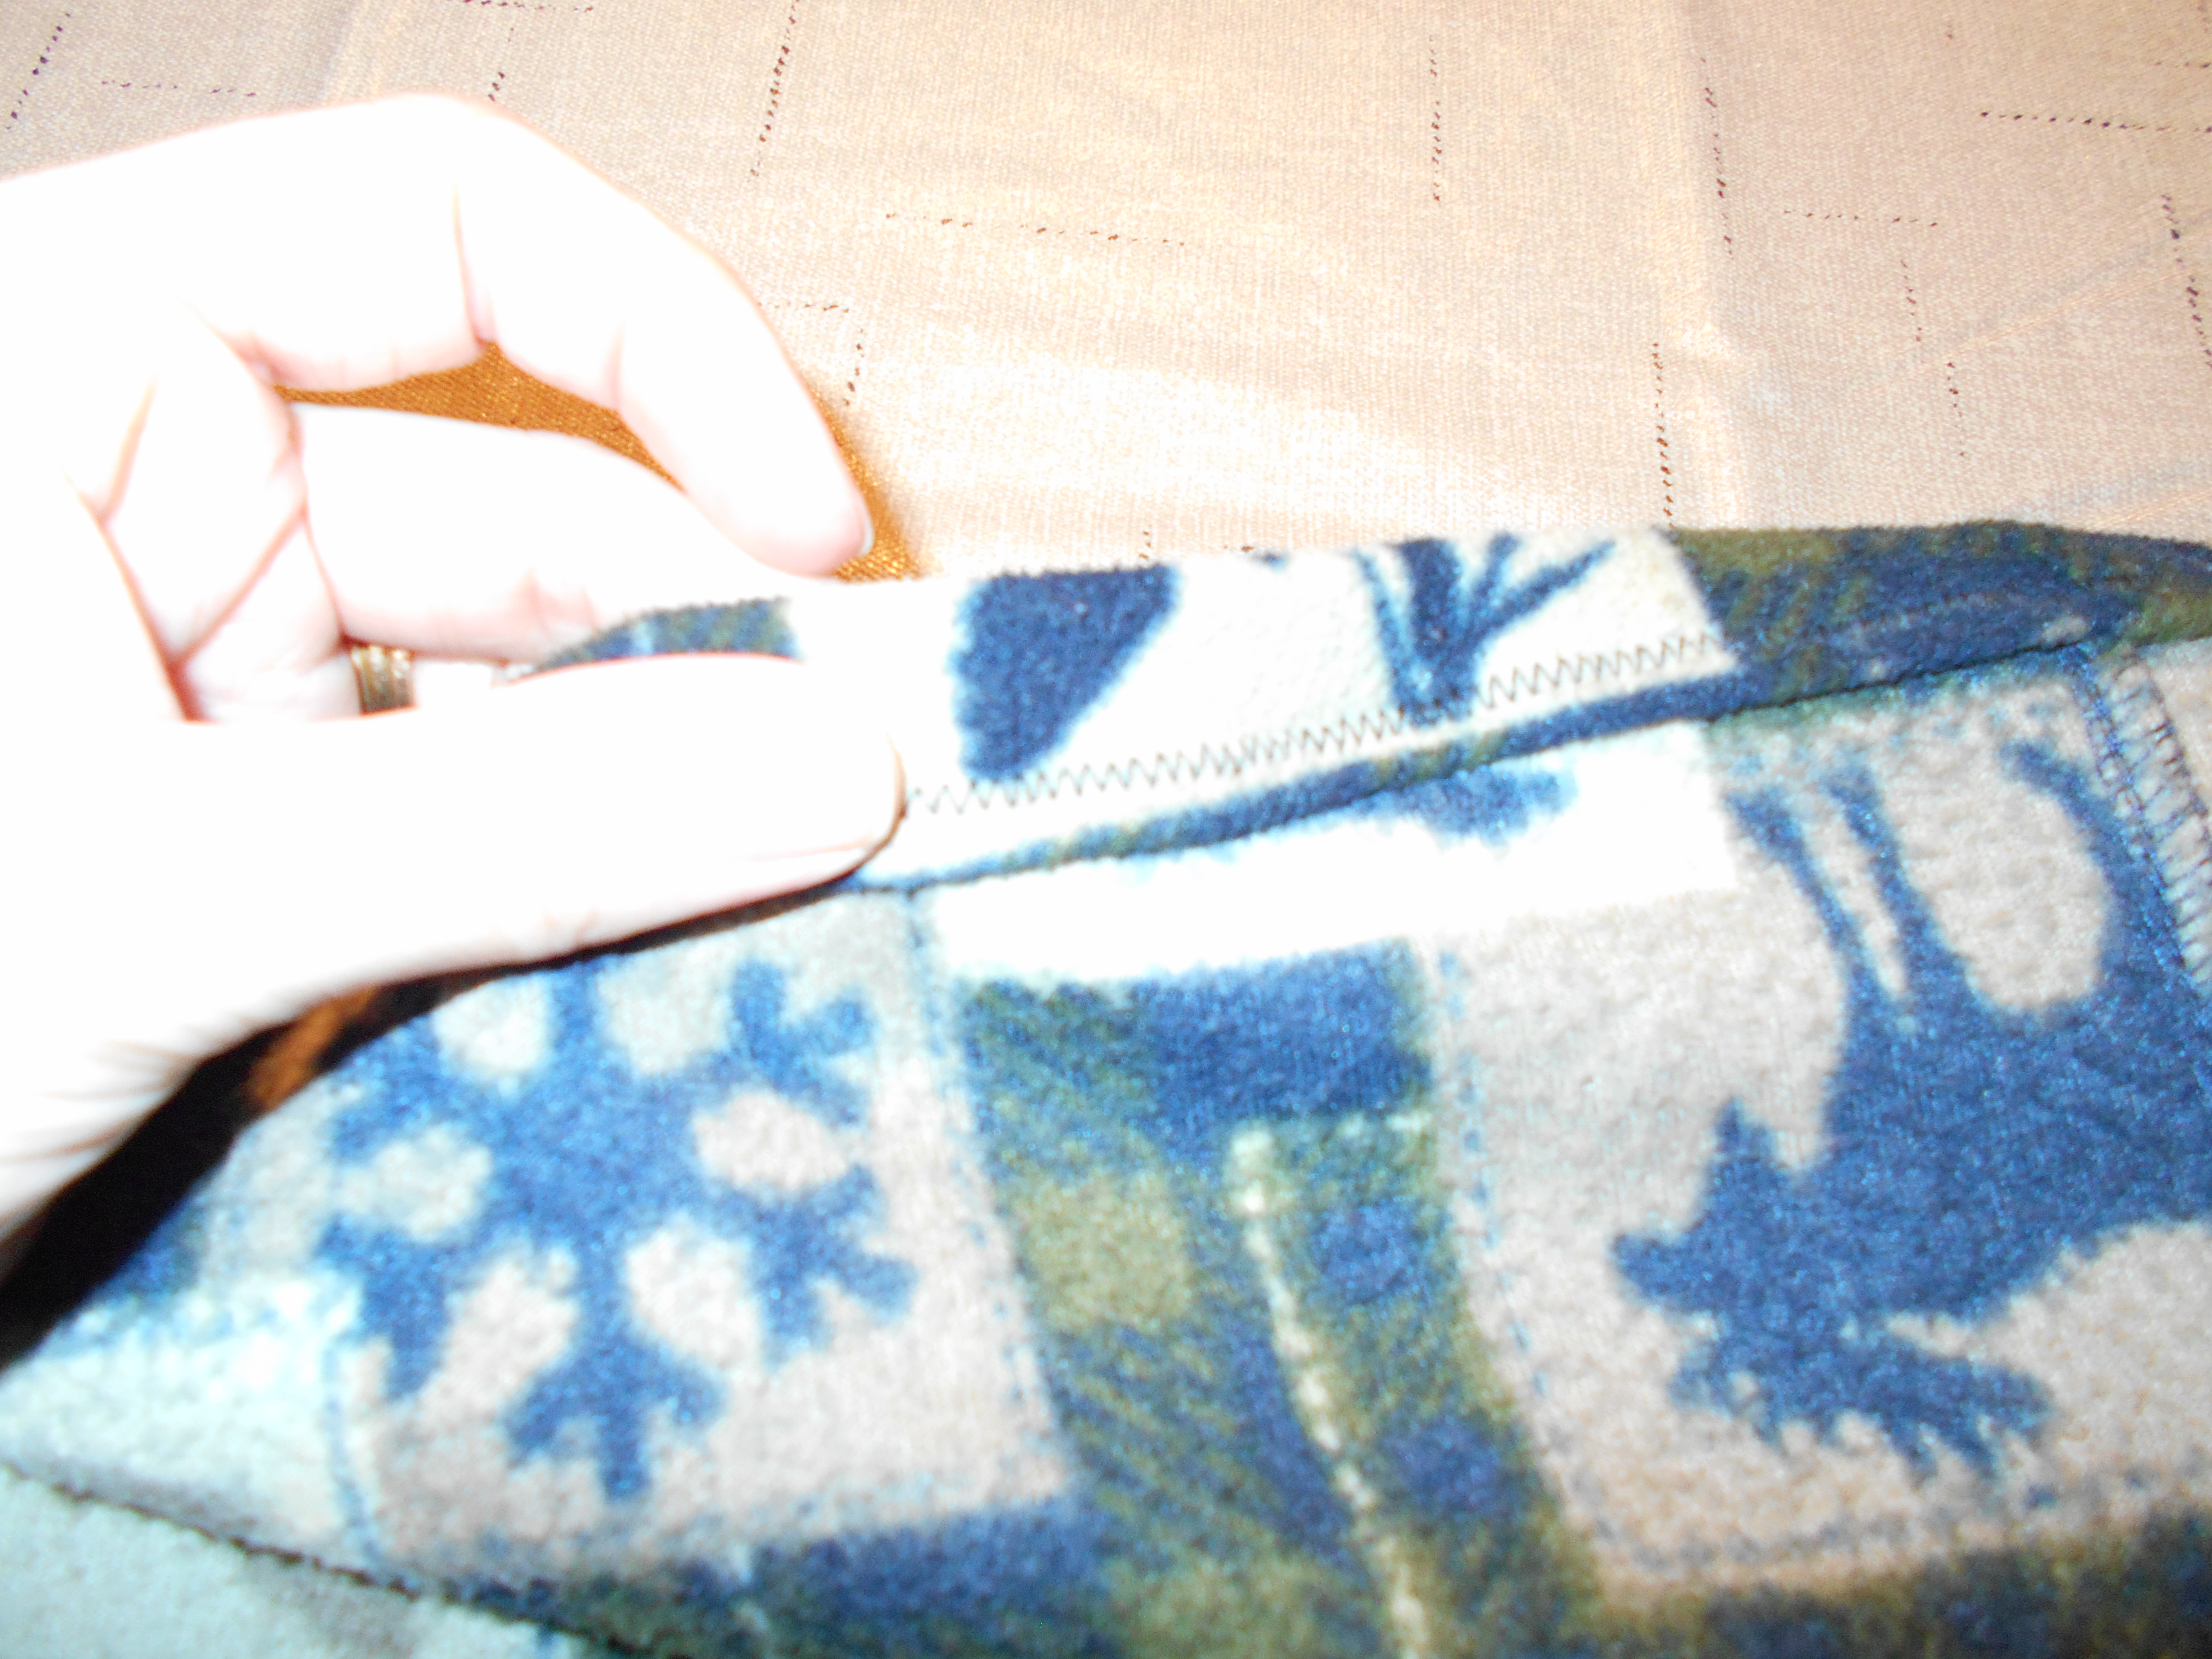
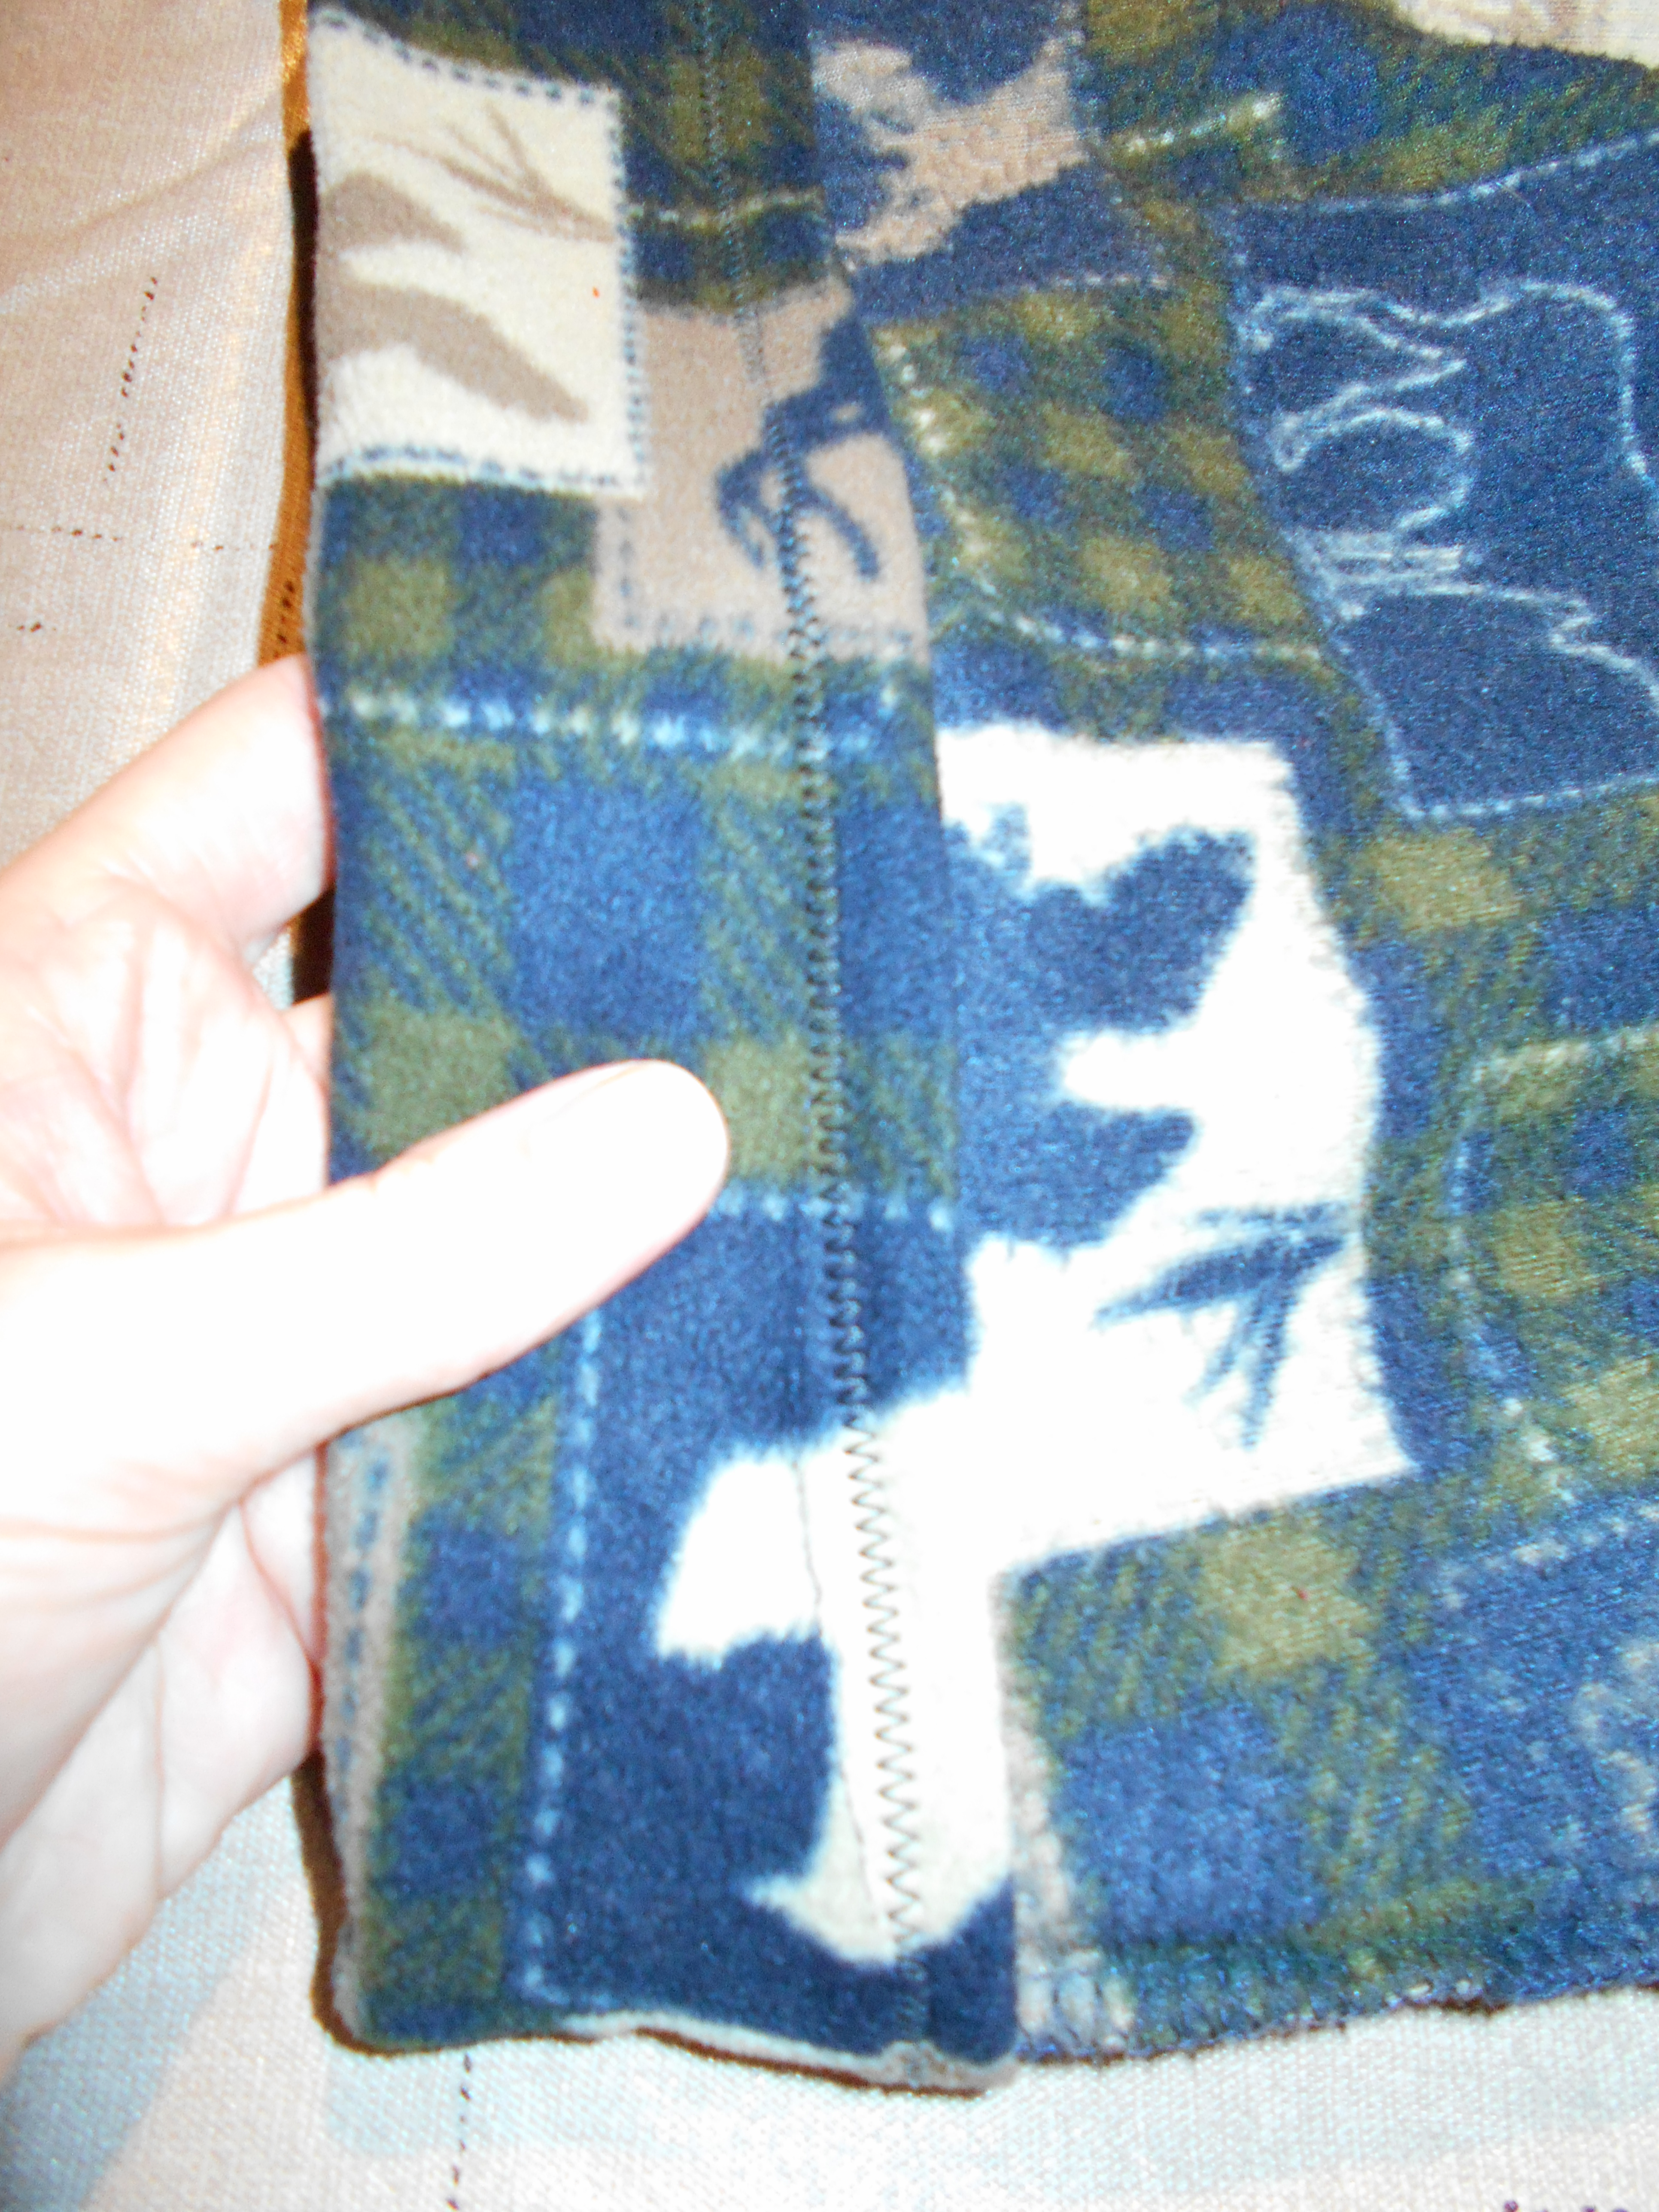
I left a little extra fabric along the edge of the brown pieces to help make it easy to attach them to the navy blue sweatshirt.

 
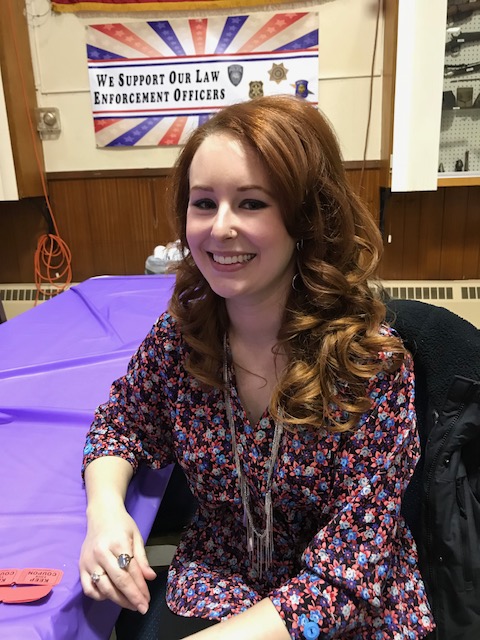
I liked how the brown pieces looked on the blue shirt and it is super cozy to wear.

 
Thanks for reading, for more pictures and details go to I Can Work With That.

Sunday, February 25, 2018

Fantastic Floral Refashion

Hi readers! It's been awhile! I have really missed posting but February has been a difficult month for me. I have been under the weather for what seems like most of the month. Hopefully this will be the last of being sick for a good long while.
In between being healthy and sick I managed to slip in this refash!

DSCN1486
Yep! Picked this floral frump!

DSCN1492
The obvious 1st order of business was to remove the shoulder pads! Bye-Bye!

DSCN1493
Then I cutoff  the skirt portion of the dress. I left the elastic waist to keep the original peplum top of the dress in tact.

DSCN1495
Now to take care of the modest top. I folded back the front of the dress to make a v-neck. Pinned and sewed that into place. This defiantly helped break up that floral pattern so it wasn't so overwhelming.

DSCN1502
The sleeves were already had a rolled cuff but I think it needed a little embellishment. I dug through my button jars and found these perfectly matching blue buttons!

IMG_0730 (1)
I was lucky enough to get out of the house and wear my new refashion! The hubby and I attended a spaghetti dinner benefit that was put together by our dear friend Karl for one of his close friends :) The benefit was a smash hit! We both were so proud to have been invited to give our support!

IMG_0731
After showing our support we stopped off for a drink before heading on home! At this time it was snowing outside but since we stopped at a summer themed island brewery we pretended it was summer!
2018-25-02-17-22-12

Happy Refashioning!!!

Check out my stash of refashions on my blog

Friday, February 23, 2018

The Peasant Skirt Shirt

Hello Refashion Co-op. I decided to make a shirt from some pieces I had at home that I never wore. I had a cropped sweater and a peasant skirt that were just waiting for something. Something like this project.


 I removed the lowest tier form the skirt. I planned to use it to make the sweater longer.


I used my machine to attach the skirt fabric to the bottom of the sweater.
 

 I used a small triangular shaped piece to fill in the front of the low cut sweater.


The shirt was finished and ready to wear. 
 

Thanks for reading, for more pictures go to I Can Work With That.

Friday, February 16, 2018

Shoulder Ruffle Sweater Refashion


Ruffles! I love ruffles. They are a great way to add a chic and feminine touch to anything in your closet. Lately, I've been seeing ruffles everywhere and on everything. Ruffles have been trending, especially when placed on the shoulders. 

I had this grey sweater in my closet that had awkward fitting sleeves. The shoulder part somehow got stretched out and the sleeves hit at an awkward length between 3/4 and long. At first, I was just going to change the sleeves, but I decided this sweater needed a little more. As I was scrolling through Pinterest, I kept seeing shoulder ruffles, and I decided that was what this sweater needed.

WHAT I DID:


1.  I chopped off those awkward sleeves.
2. I traced new sleeves out of the old ones.


3. I drafted my shoulder ruffles, cut them out, and hemmed them.


4. I basted the ruffle to the shoulder, then I sewed on the sleeve. The shoulder ruffle should be sandwiched in between the sweater and the sleeve.


See, gorgeous ruffles! 
For the full tutorial and more photos, please visit Sew Much Love, Mary

Thank you for reading!


The Ribbon Tie Sweater

 Hello Refashion Co-op.  I hope you are doing well.  I decided to try and make this blue sweater a little more fun. It was a little boring and shapeless.  A little bit of gray ribbon was all it took.


I started by adding a little ruffle to the bottom. I just pinched and pleated the ribbon as I sewed it on the sweater. That looked a little more fun than it did before.

 
I pinned a long piece of ribbon to the back of the sweater. I used my machine to attach it permanently to the back of the sweater. 
 

Once the ribbon was sewn onto the back of the sweater I could tie a nice pretty bow and it would pull the sweater in a little bit. This made the sweater less shapeless and boxy. And it's more fun to wear too.
 

Thanks for reading this post, for more pictures and details go to I Can Work With That.

Wednesday, February 14, 2018

Wearing My Heart on My Sleeve

Hello Refashion Co-op. Happy Valentine's Day. I wanted to make something with a valentine theme but I didn't want something so crazy and over the top that I couldn't wear it at other times of the year. I decided that some heart shaped elbow patches would be just the thing. They would make this wool jacket more fun and they would be perfect for the holiday too.


My sister-in-law gave me this jacket. She had washed it and it didn't turn out very well. It shrank and it got very rumpled. I started by ironing it. It was thick and I just ironed it the best I could.


I cut out 2 heart shapes and hand sewed them onto the sleeves. I had already tried the jacket on to see where my elbows would be, so the hearts were in the right spot.


I made the jacket a little more fitted so it would look more flattering and less bulky. The elbow patches really stand out on the sleeves.


I found these red velvet jeans at a clothes swap. I didn't know I needed them until I saw them. Red velvet? Yes, please. I made them a little smaller and a little shorter.


They red jeans are perfect for Valentine's Day or any other day.


Thanks for reading this post, for more details and pictures go to I Can Work With That.

Saturday, February 10, 2018

Daddy's sleeves = son's shorts

I know I've been silent for quite a while. I had plans to make at least one refashion every month but things haven't exactly gone as I hoped to, and I haven't been able to keep up with my goals. 

Indeed I did a few refashions that I haven't posted yet, but they are rather boring and simple refashions so I've been wondoring if I should share them or not. I guess I will. Starting with these shorts I made for my son out of the sleeves of his dad's shirt. The patches from the elbows, turned into knee patches. I used a pattern to make them, the Orbis Skinny Harem by Sofilantjes Patterns, I just love the design. For the waist and leg bands I used scraps of rib knit that I saved from some men hoodies I refashioned into stage outfits for a local metal band, a couple of years ago. 


So sorry I don't have the original shirt's photo!

Un peignoir qui devient pull "doudou"

En ce moment je me fais des vêtements un peu "doudou" pour l'intérieur , et du coup j'ai transformé un peignoir en pull "doudou"
Voici le vêtement de départ : un peignoir en pilou tout doux , couleur vieux rose  :


Et voici le pull "doudou"  :


Bien entendu j'ai du faire quelques petites modifs afin d'optimiser au maximum mon tissu principal..


Et voici le pull porté  :   


Il est très confortable et douillet ........
Si vous souhaitez en savoir plus, c'est Ici 

A bientôt, bisous
Elisa Elisa

Friday, February 09, 2018

The Distressed Valentine T-shirt

Hello Refashion Co-op. I decided to get ready for Valentine's Day by making a shirt for the day. Actually, I made 2 shirts. I made one for myself and one for my daughter. I started with a freebie red shirt and a little shite shirt to cut up for fabric.
 
 
I measured the writing on the red shirt. I cut a heart shape from the white shirt that was big enough to cover the writing on the red shirt.

 
I turned the red shirt inside-out, and then I pinned the white fabric heart to the inside of the redshirt. I want the white fabric heart to be right behind the writing on the red shirt. I stitched around the heart and then stitched 10-12 horizontal lines across the heart.

 
I turned the shirt right side out and cut away the red fabric in between the horizontal lines/stitches. I wanted the white shirt to show and there are little narrow stripes of red but the heart shape really stands out.
I cut off the neckband to open up the neck and rolled the sleeves, because my daughter suggested it and I was making a shirt for her.

 
Here we are in our shirts, ready for Valentine's Day to come.  This is my daughter but she doesn't want to be on the internet so I concealing her identity.

 
Thanks for reading, for more pictures and details (Including some small mistakes I made.) go to I Can Work With That.

Wednesday, February 07, 2018

Pajama Pants Refash Part:2

Hi Readers!

I know you have been in suspense since my last post! Since you have waited so patiently here is the 2nd part of the pajama pants refash :)

DSCN1457
It may be hard to see in this picture but these are wildlife themed jammies! They were so cute I just couldn't "bear" LOL to donate them!
My inspiration for this refash came from the 90's.
Does anyone remember the cropped shrug?

When I was a young fashionista I was in LOVE with these! And I guess I never fell out of love with them.
So here ya go, I'm reliving my younger days. I will have a new handmade cropped shrug!
DSCN1466
I started by cutting off the waistband. I also took the fly button off and saved it. No sense in wasting a button!

DSCN1467
First order of business, I sewed up the fly.

DSCN1468
I also sewed up the pocket holes and trimmed off the pocket material.

DSCN1469
I sewed a new hem around the top.

DSCN1470
I folded over what, used to be the original bottom of the pant leg, to make a new 2 inch hem for my sleeves.

DSCN1471
After I finished the new hem for my sleeves I had to slim the pant legs down to make them fit more like sleeves! I kind of free handed one sleeve and placed it over the other sleeve to trace it as a pattern. With that done, I stitched it up!

IMG_0717[886]

2018-29-01-20-14-24
Happy Refashioning!!!

Check out my stash of refashions on my blog