I had this plaid dress and scottie dog print shirt for sometime now and I had always wanted to incorporate the two together. Here was my chance!
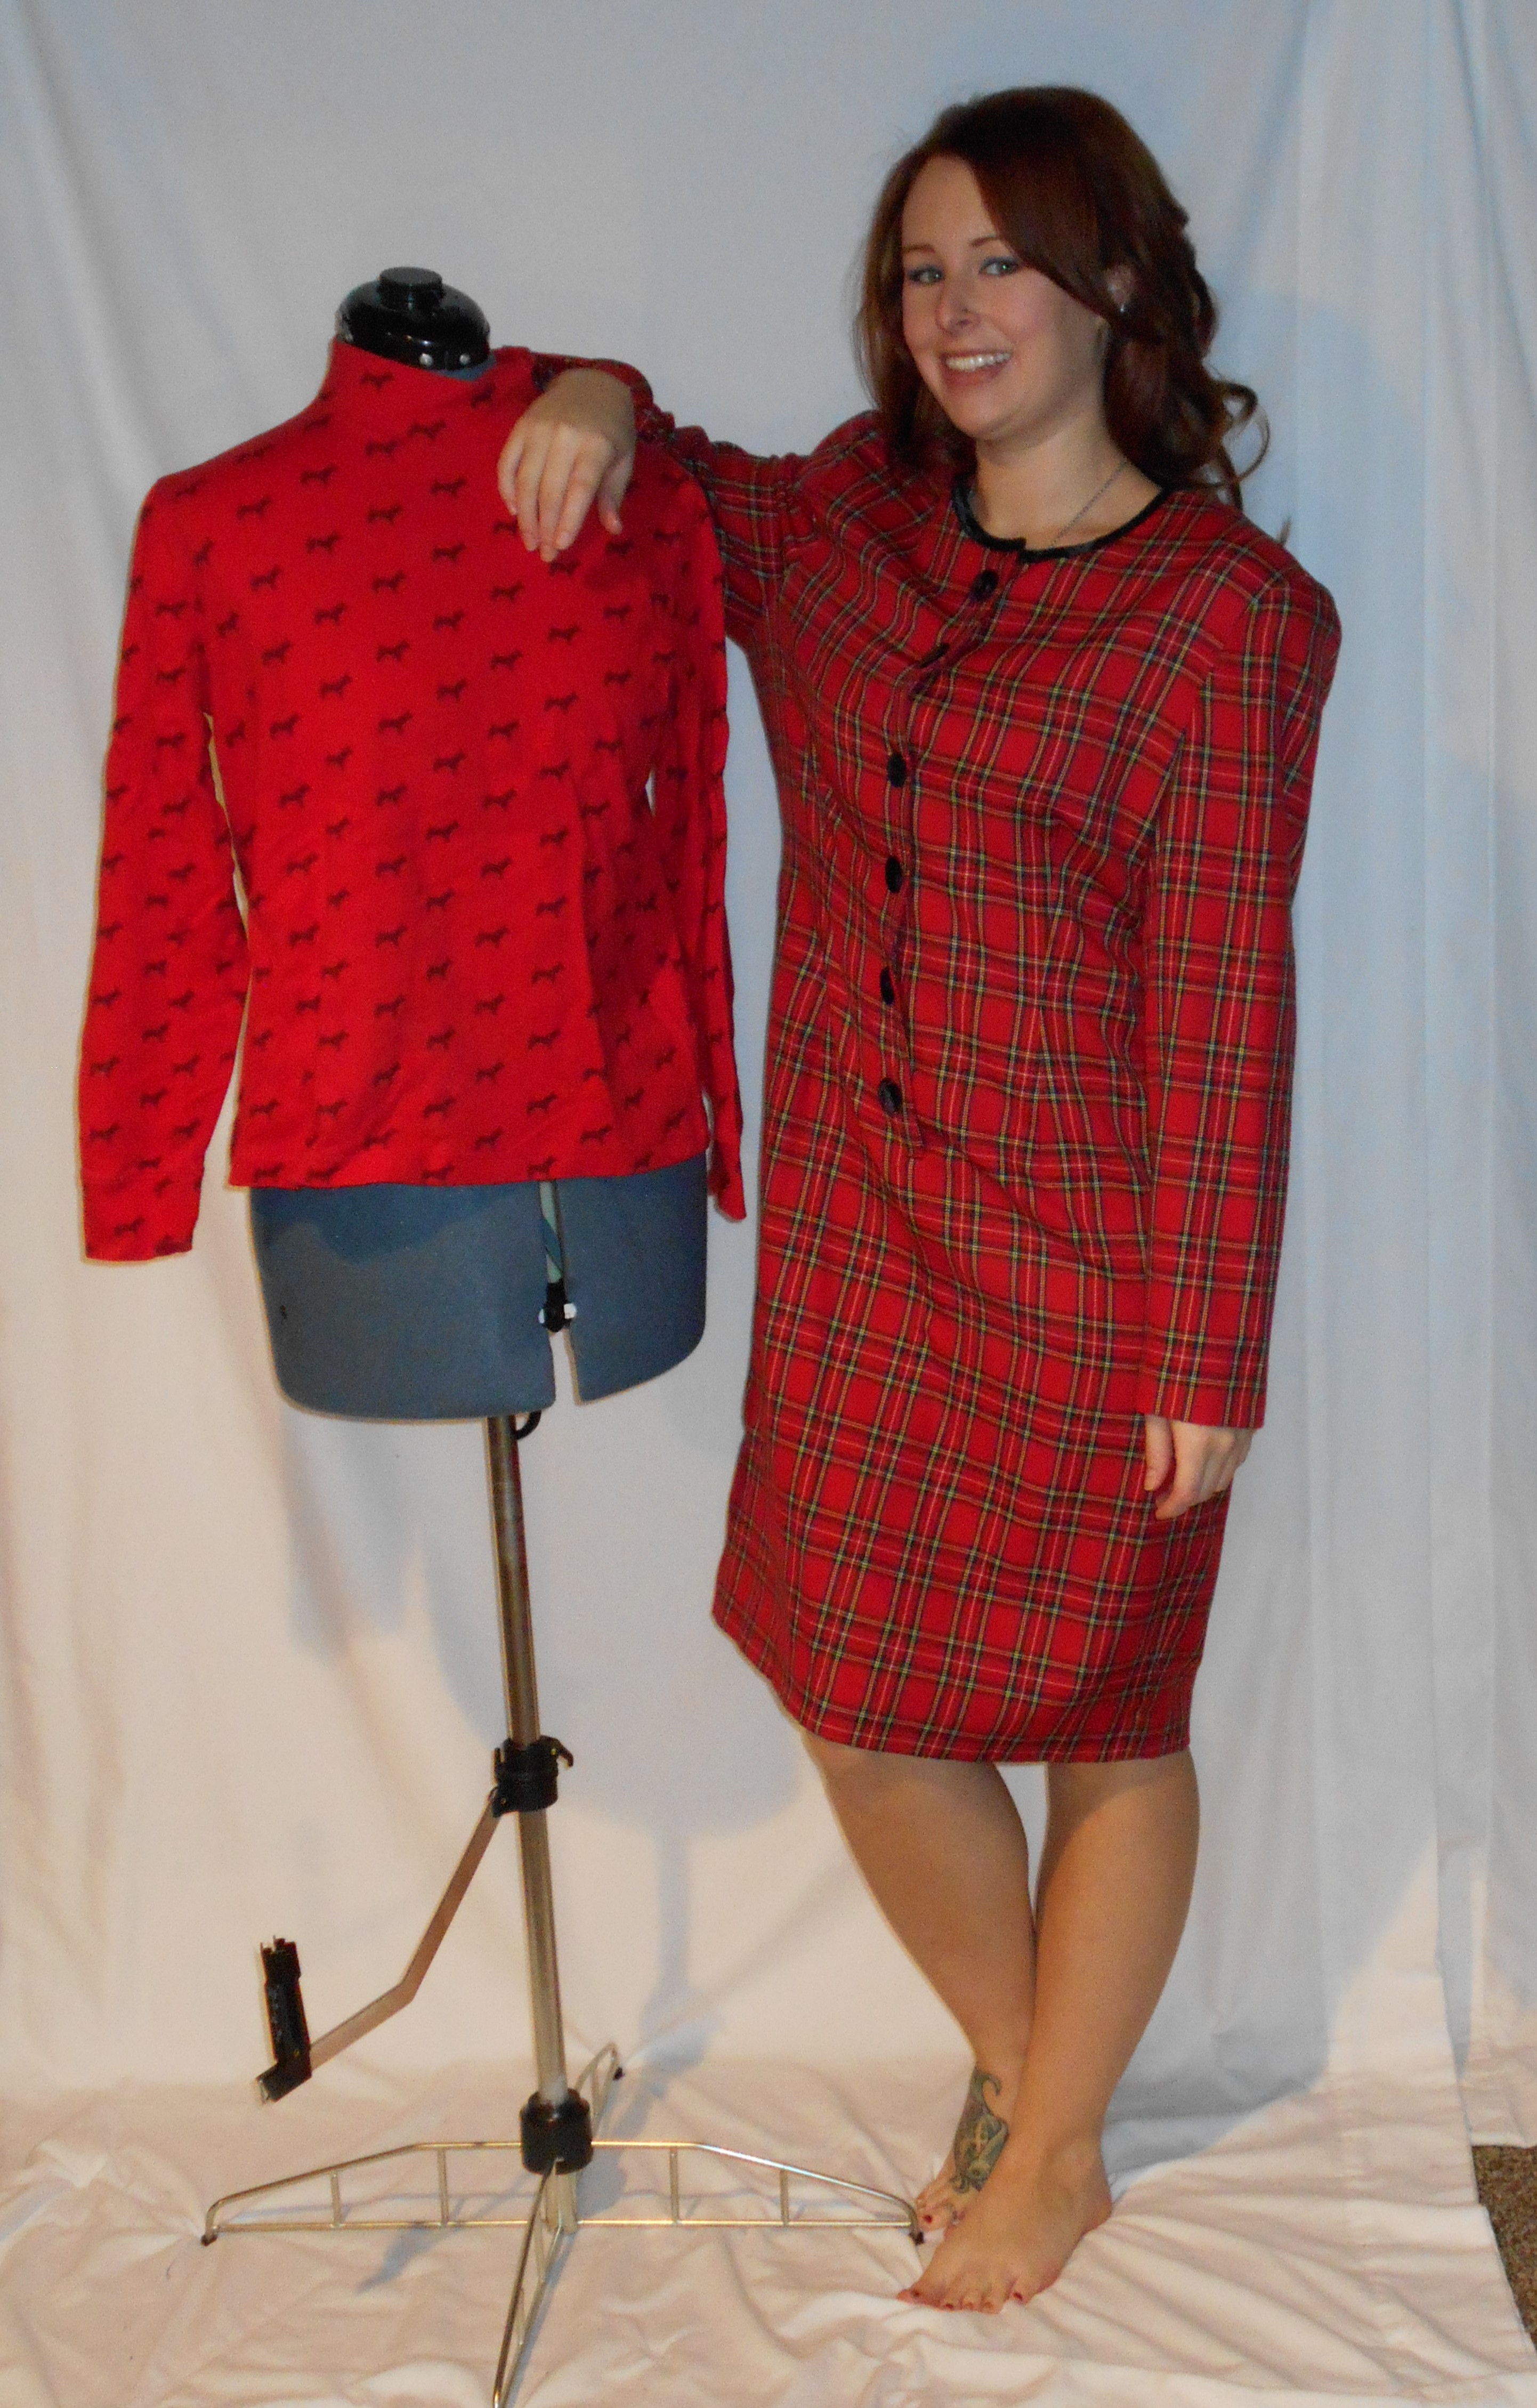
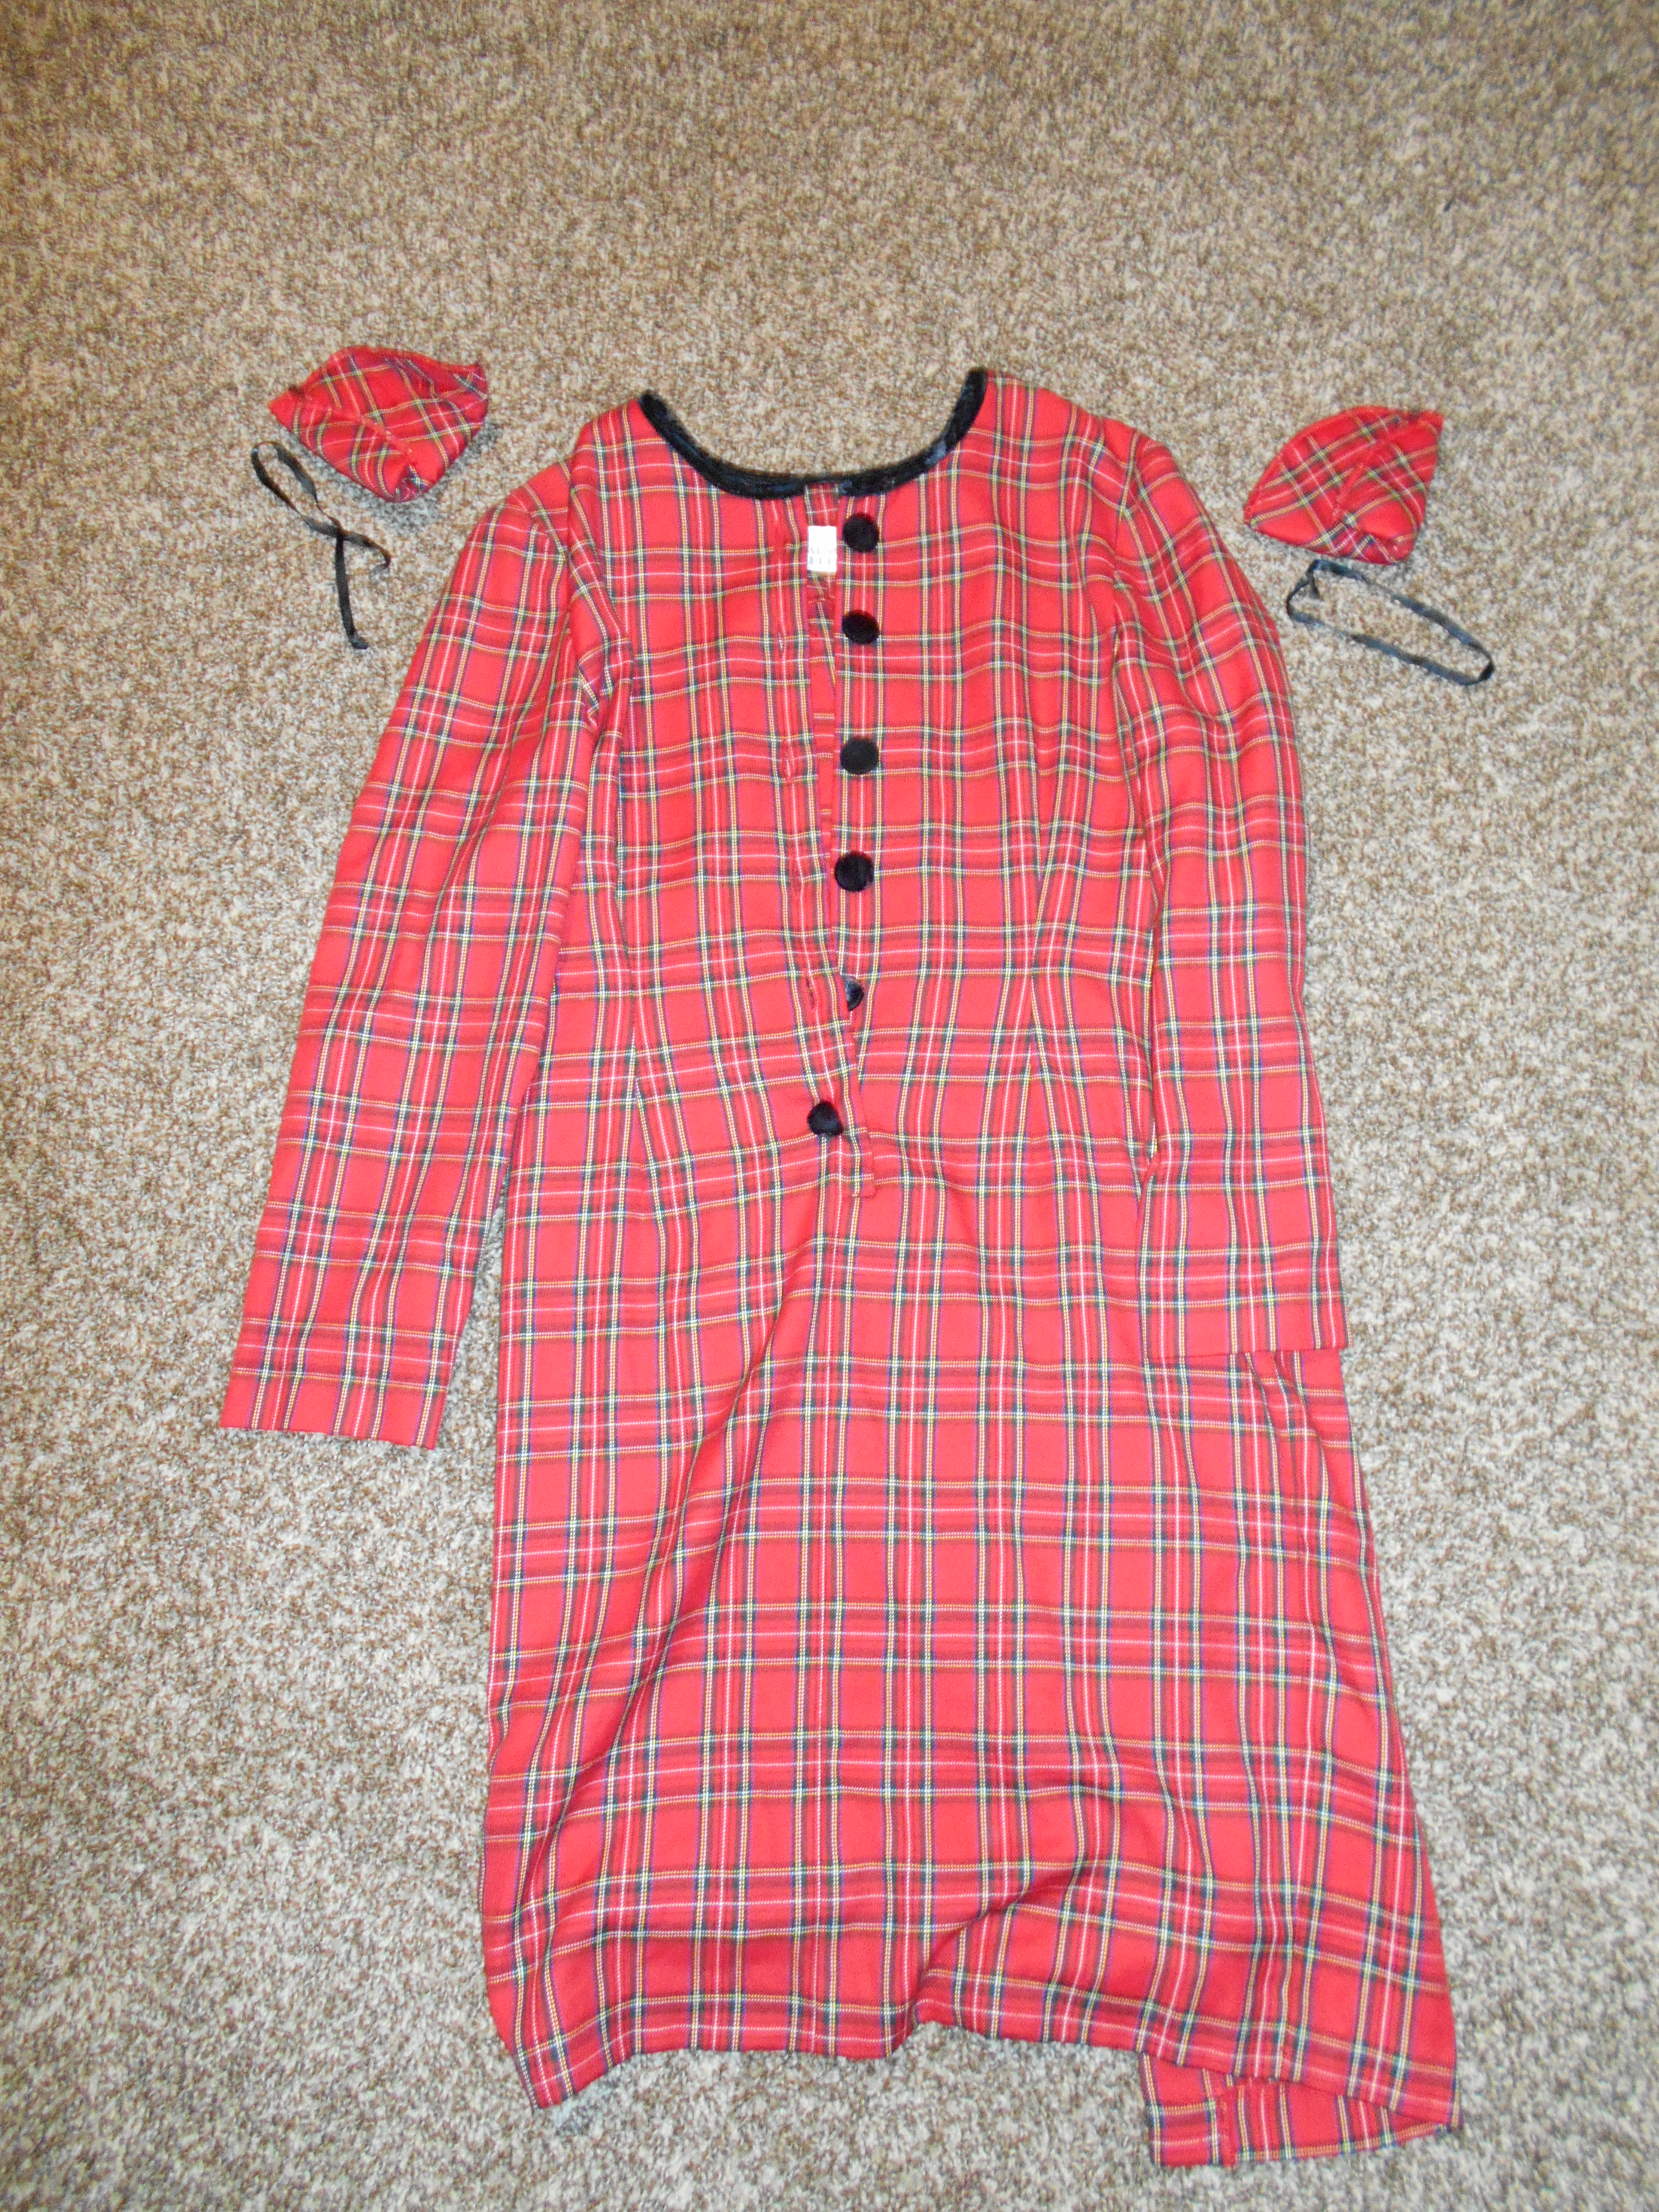
First thing is first! Away with the shoulder pads!
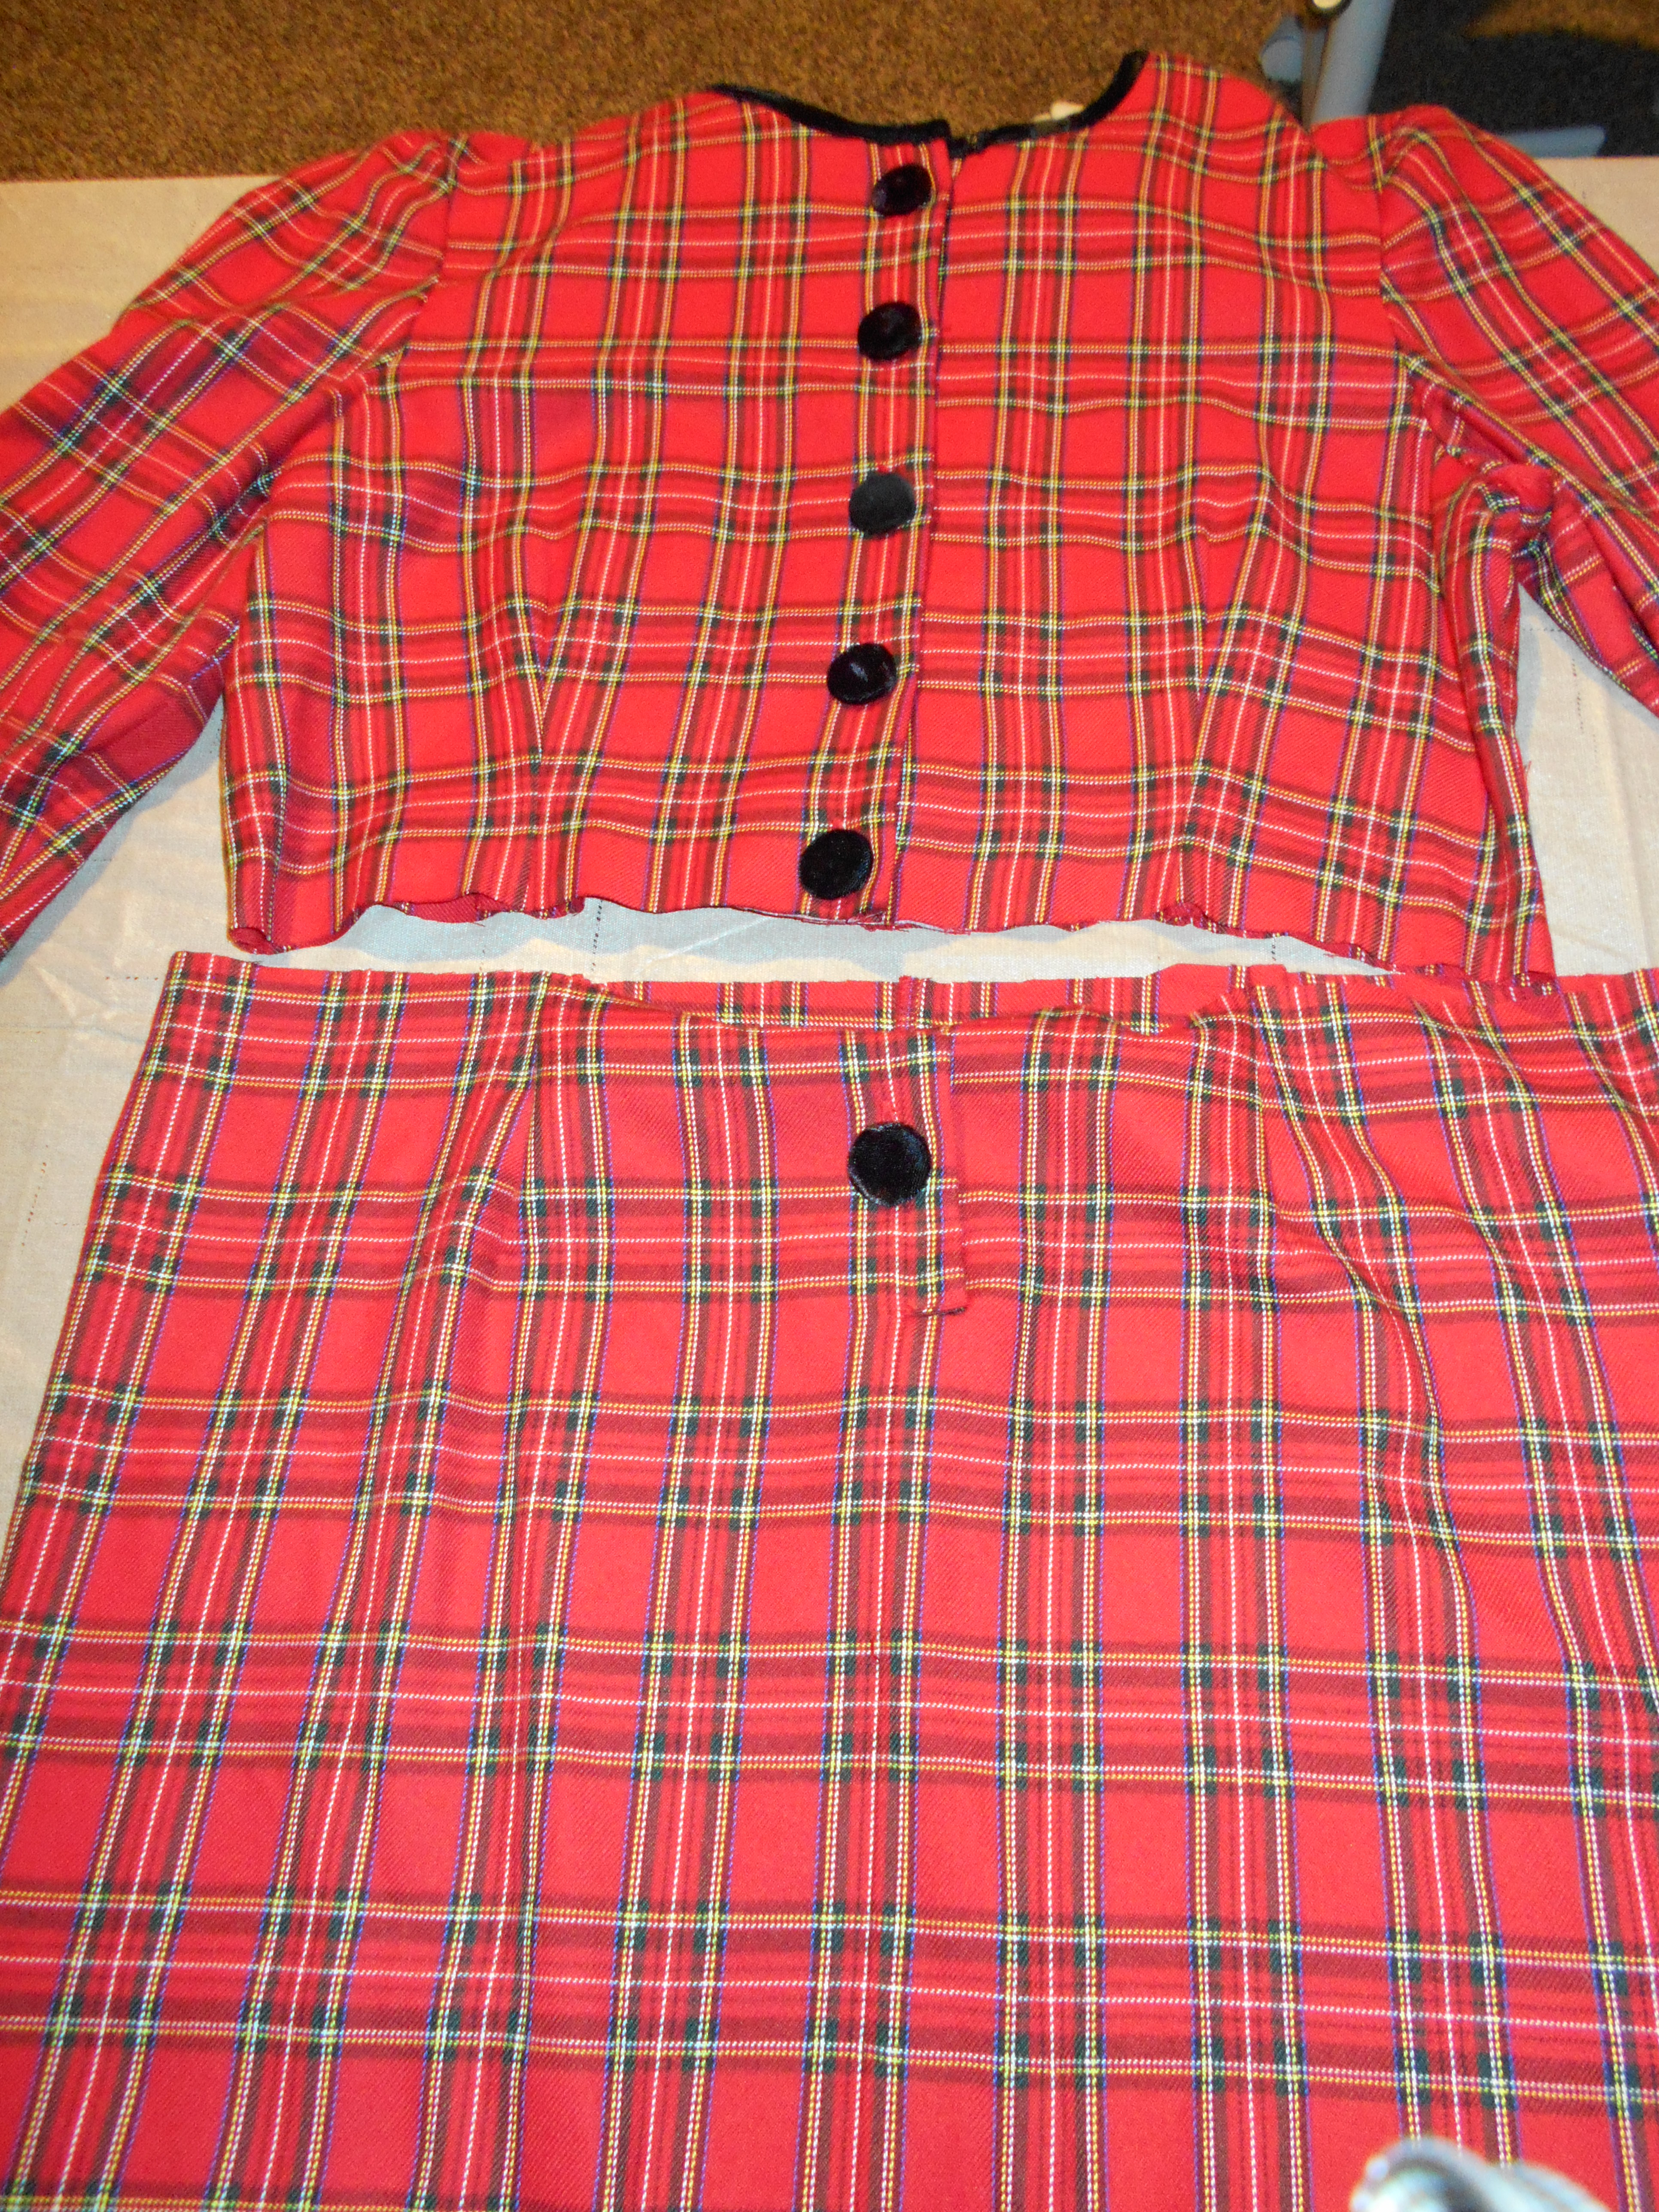
I cut my dress in half, keeping most of the buttons on the top half.
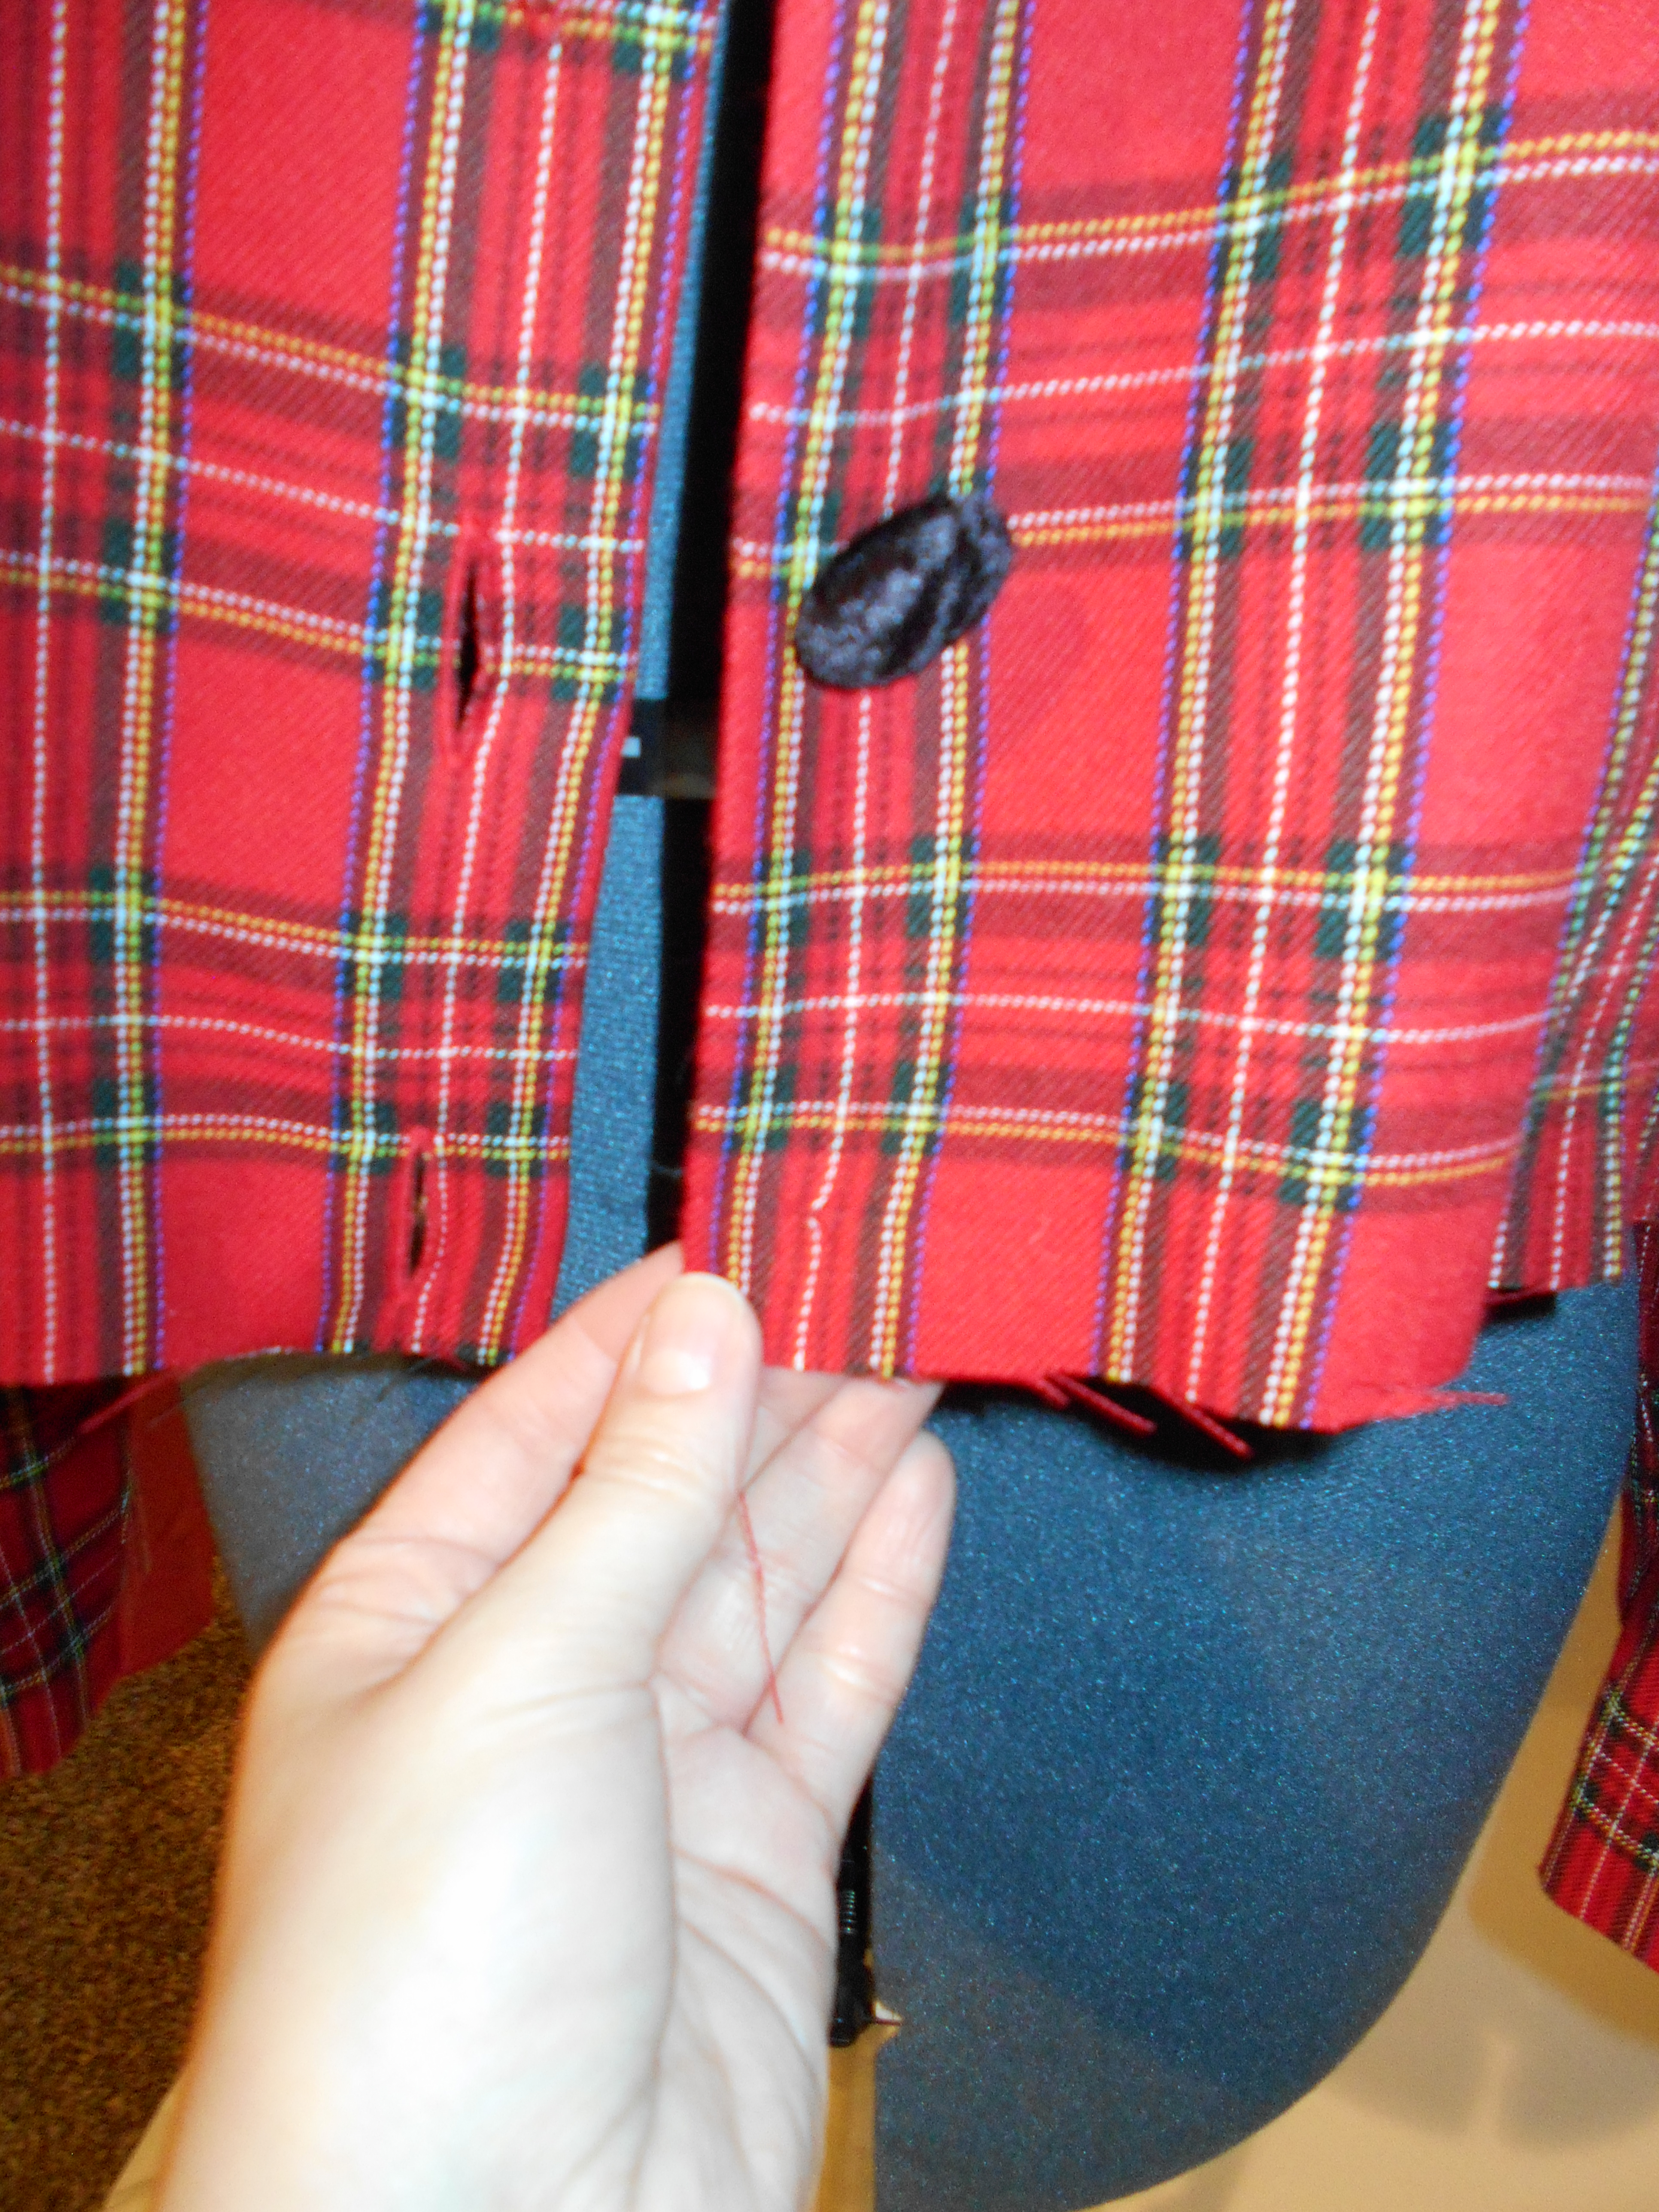
I decided to make this dress into a crop jacket and skirt! I sewed a new hem on the bottom of the jacket.
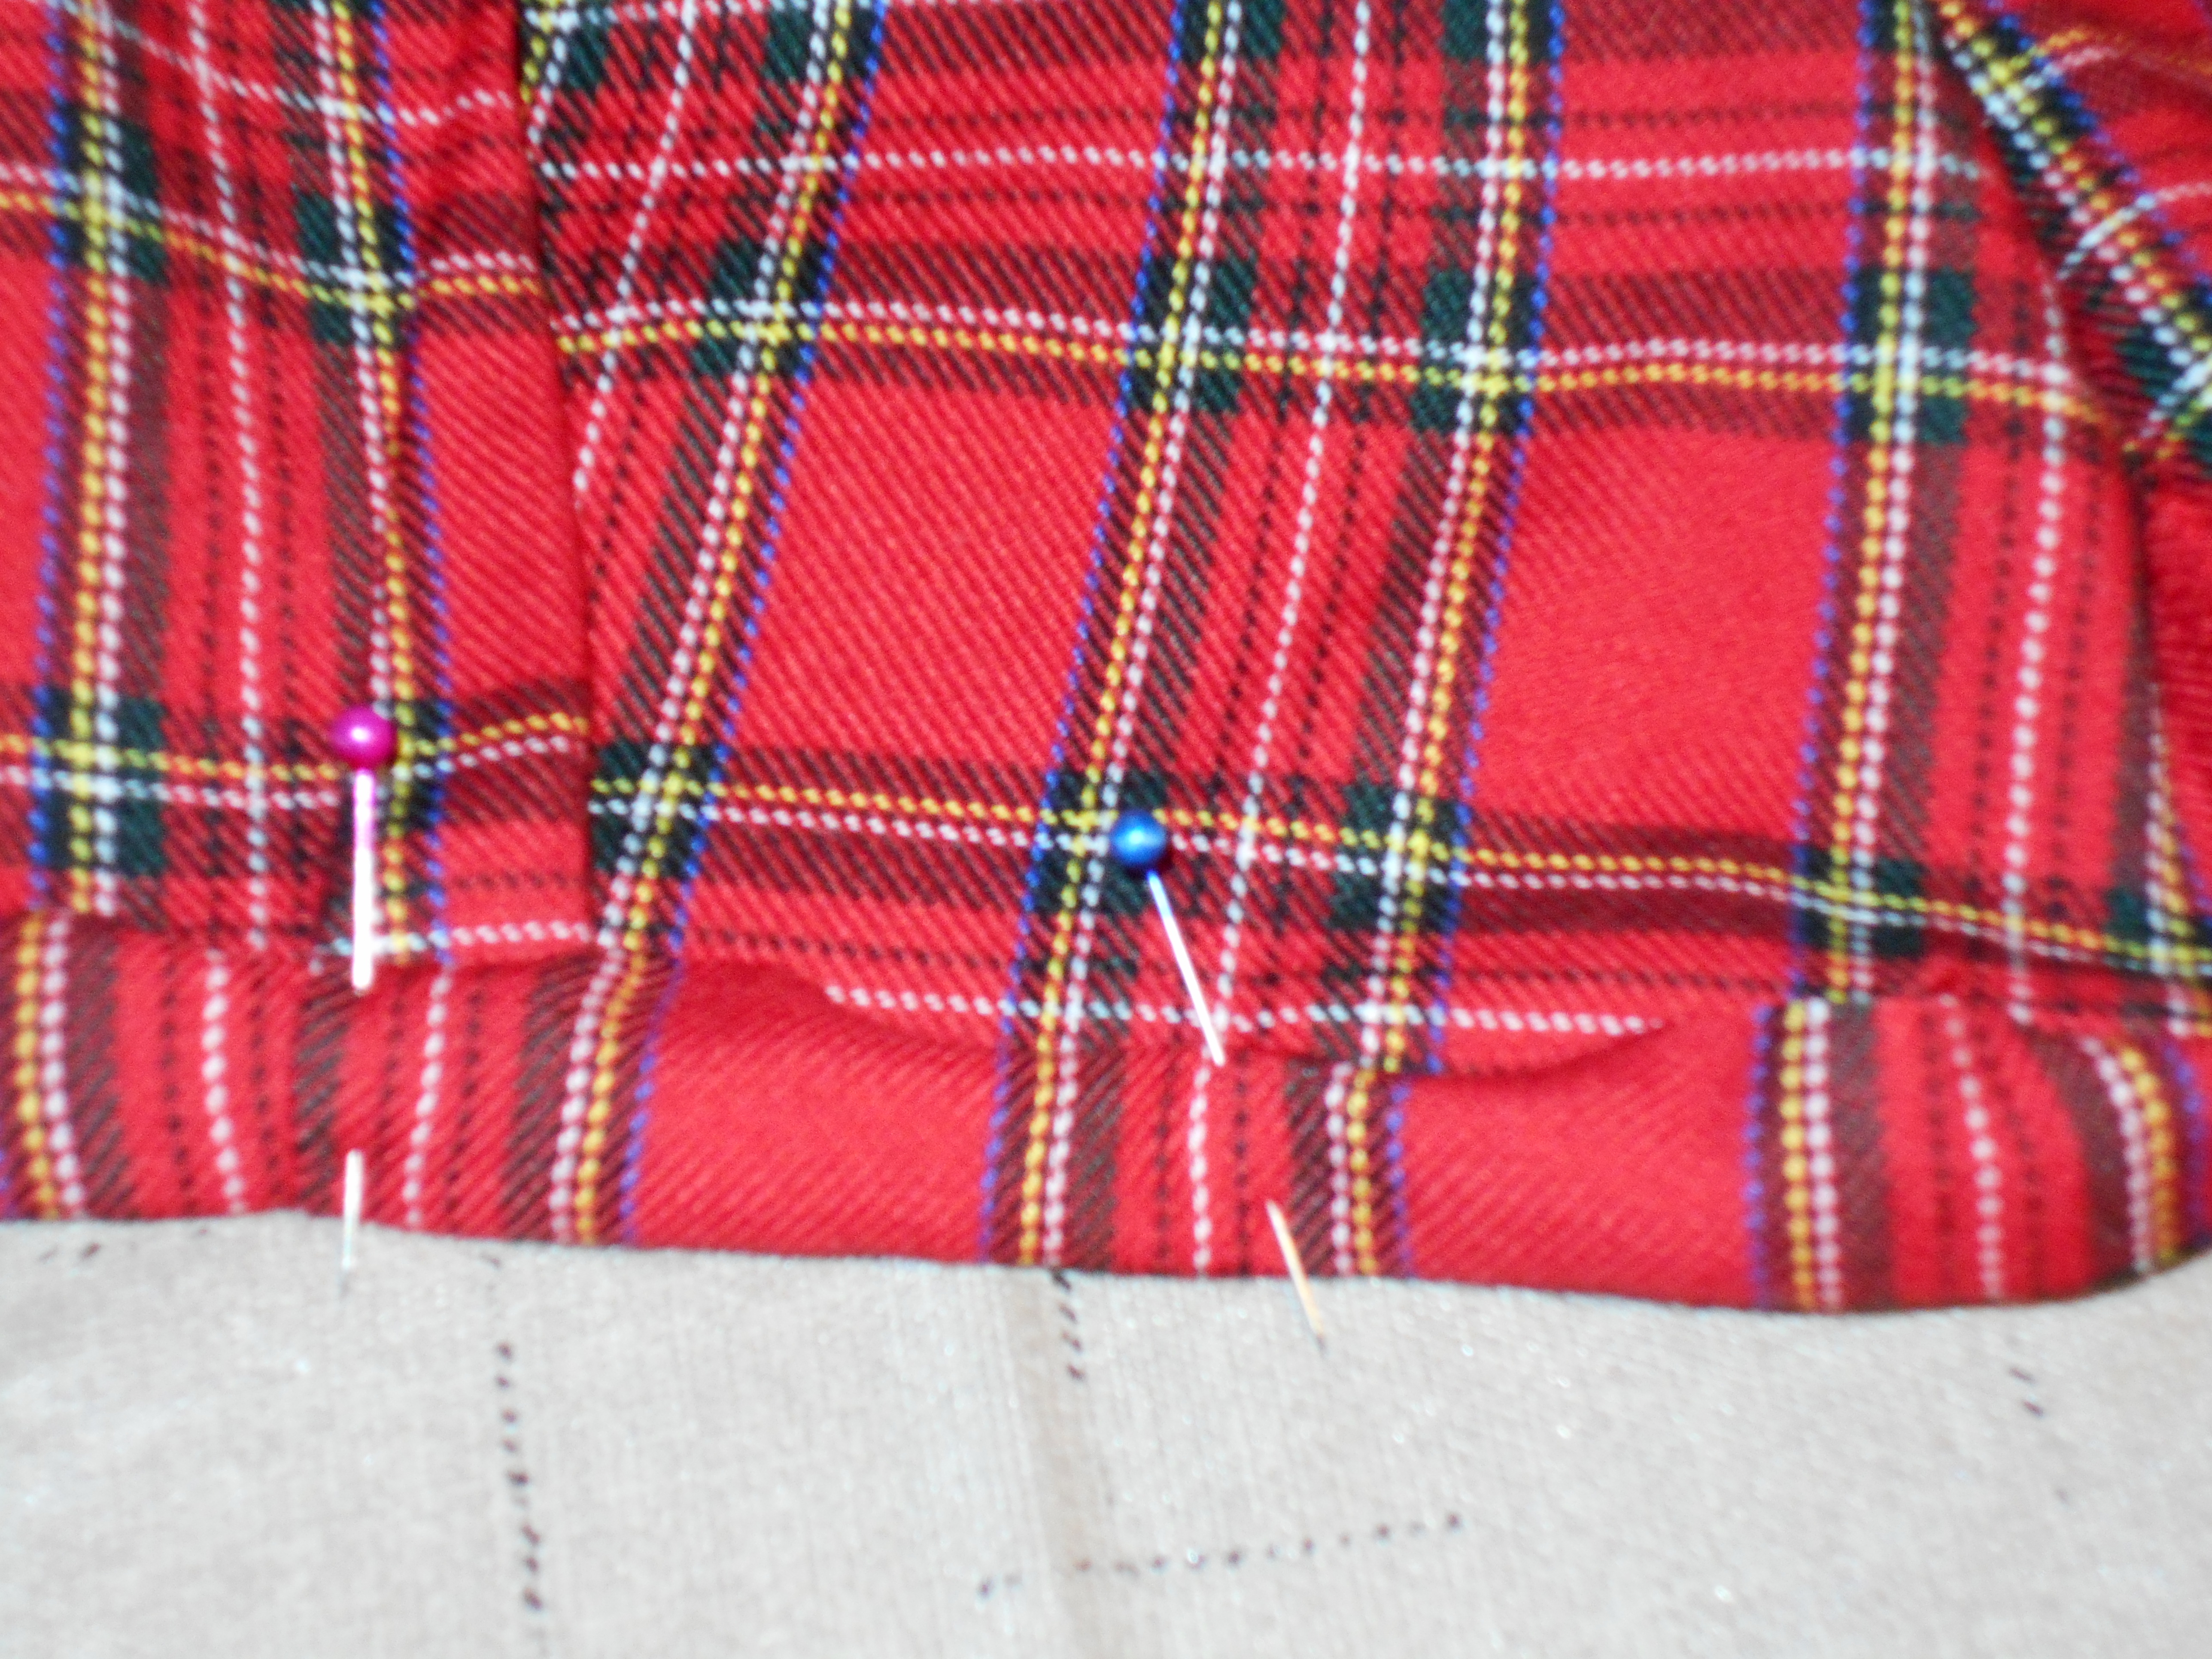
For my skirt I folded over the top to make a casing for some elastic at the waistline. (I feel that elastic skirts are more comfortable for me, Yes I am probably getting old!)
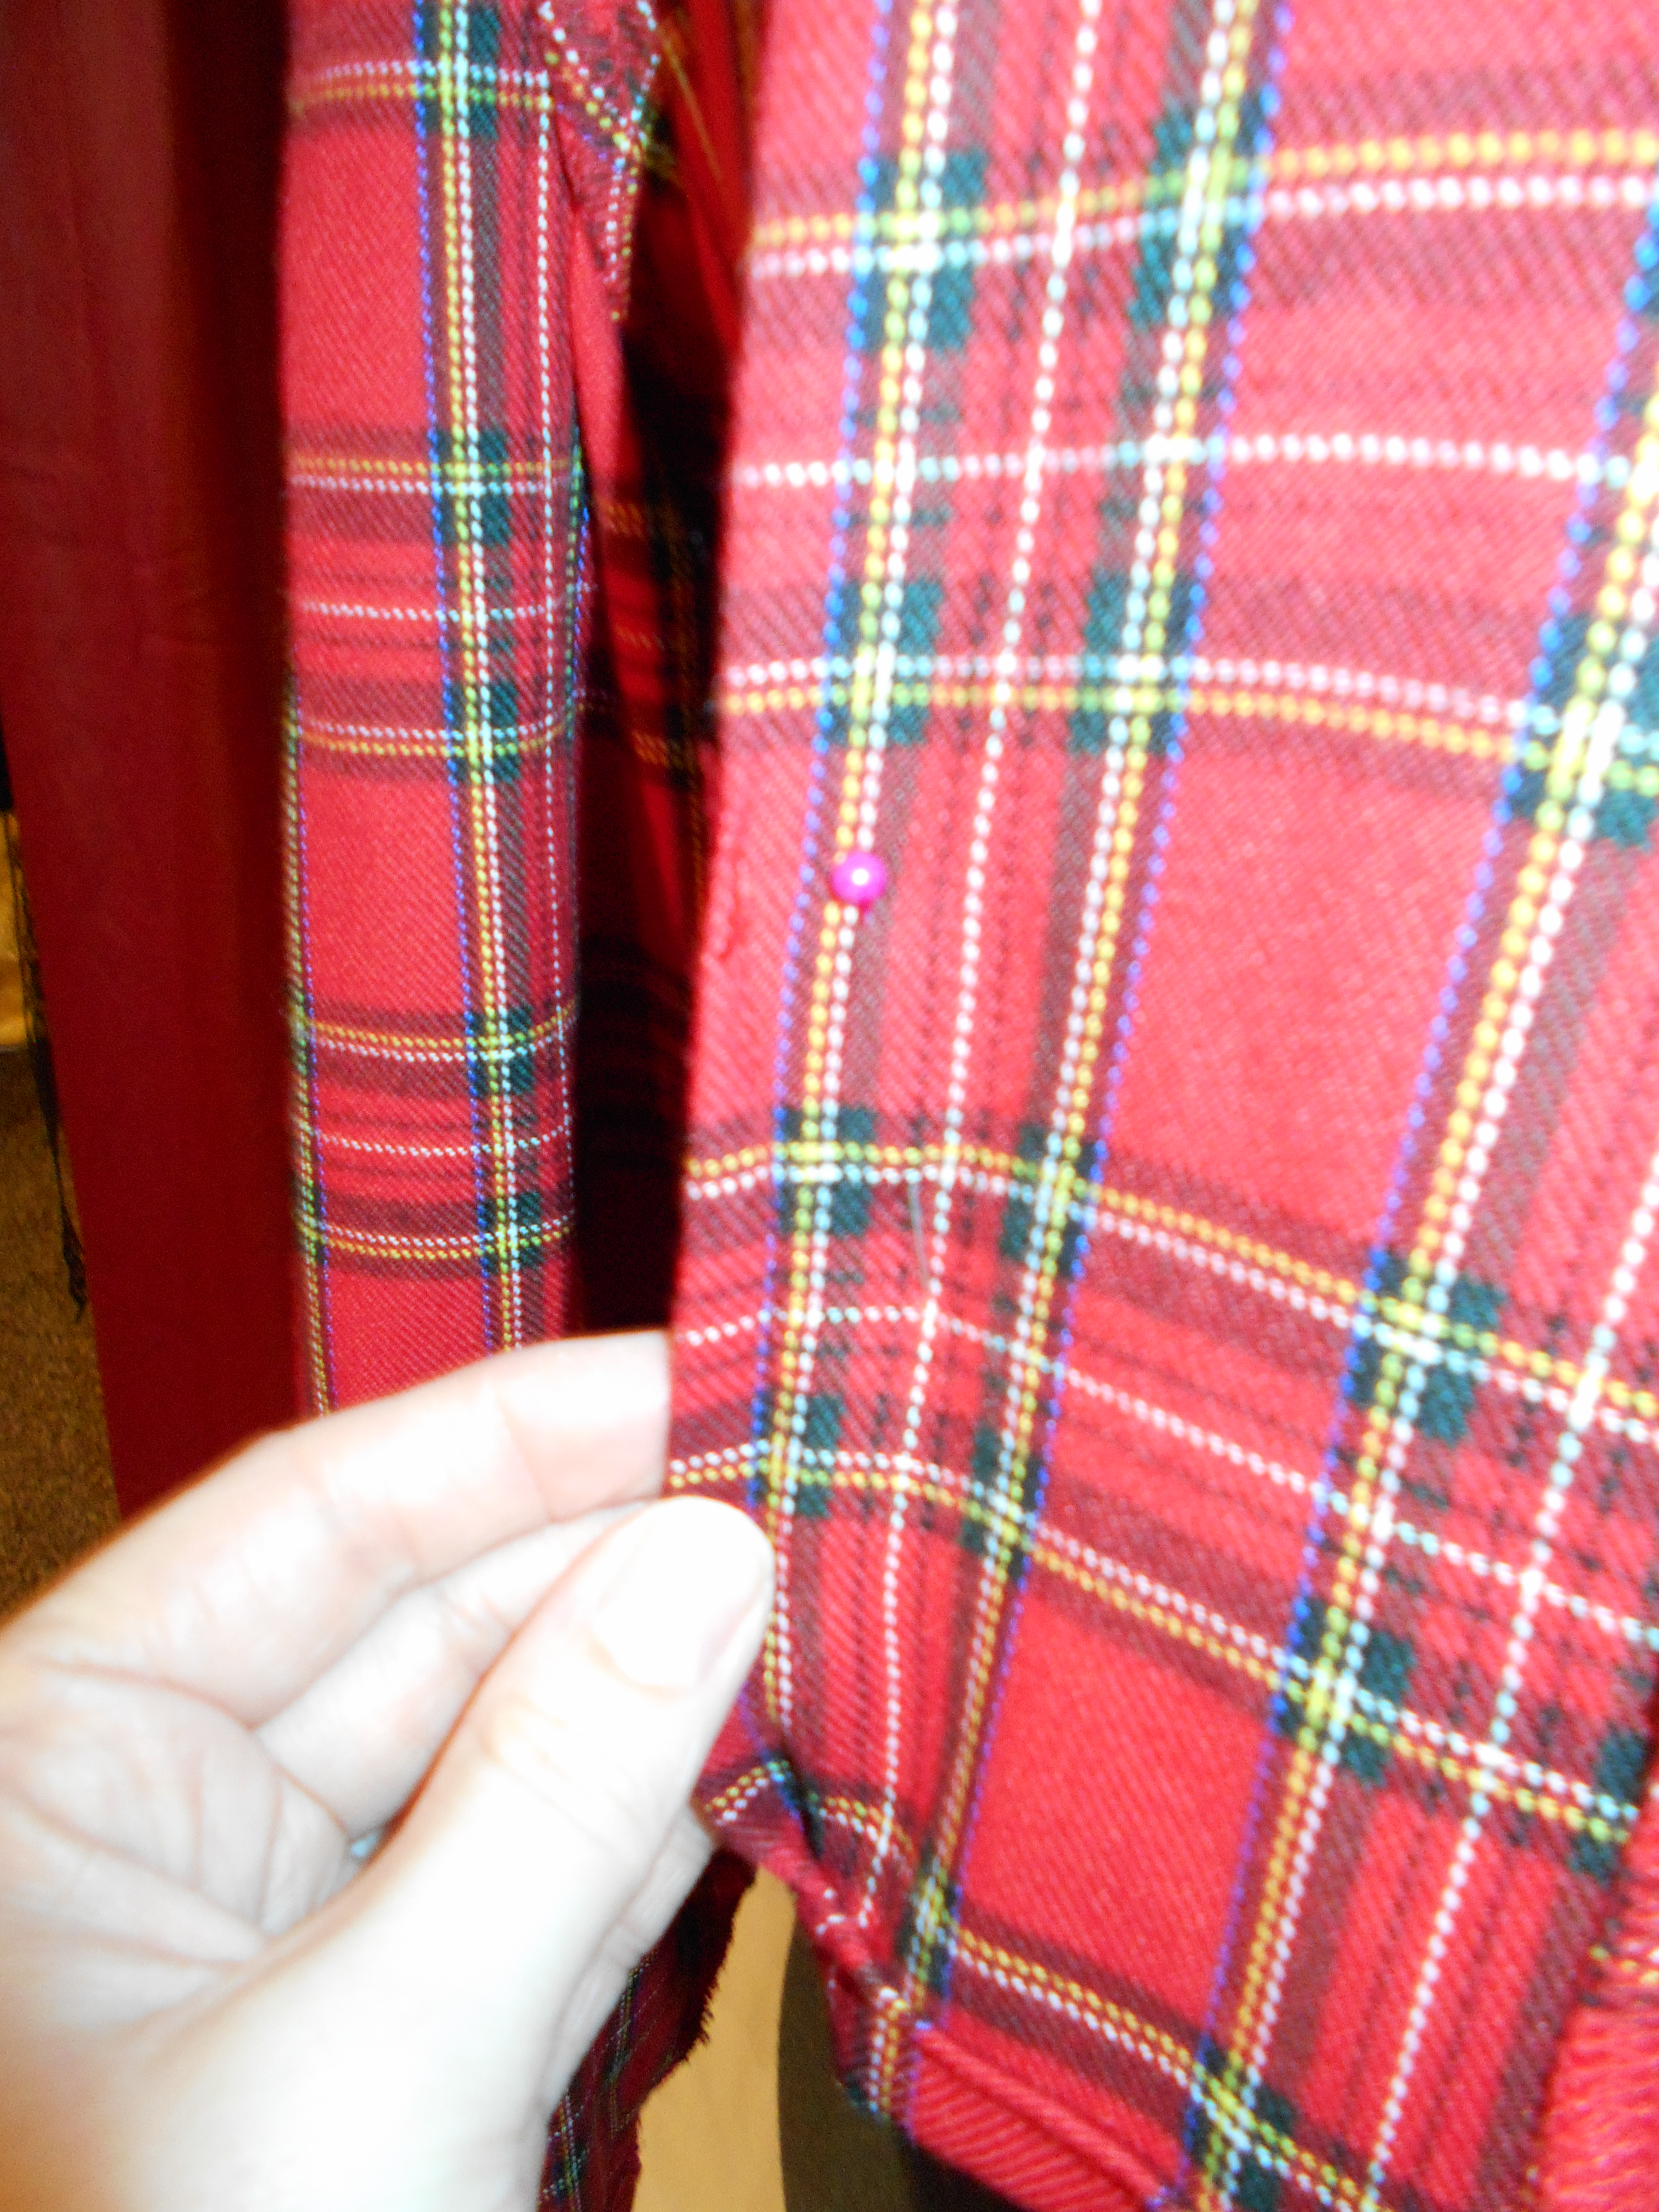
The crop jacket needed a little slimming up so I took it in where the original darts were.
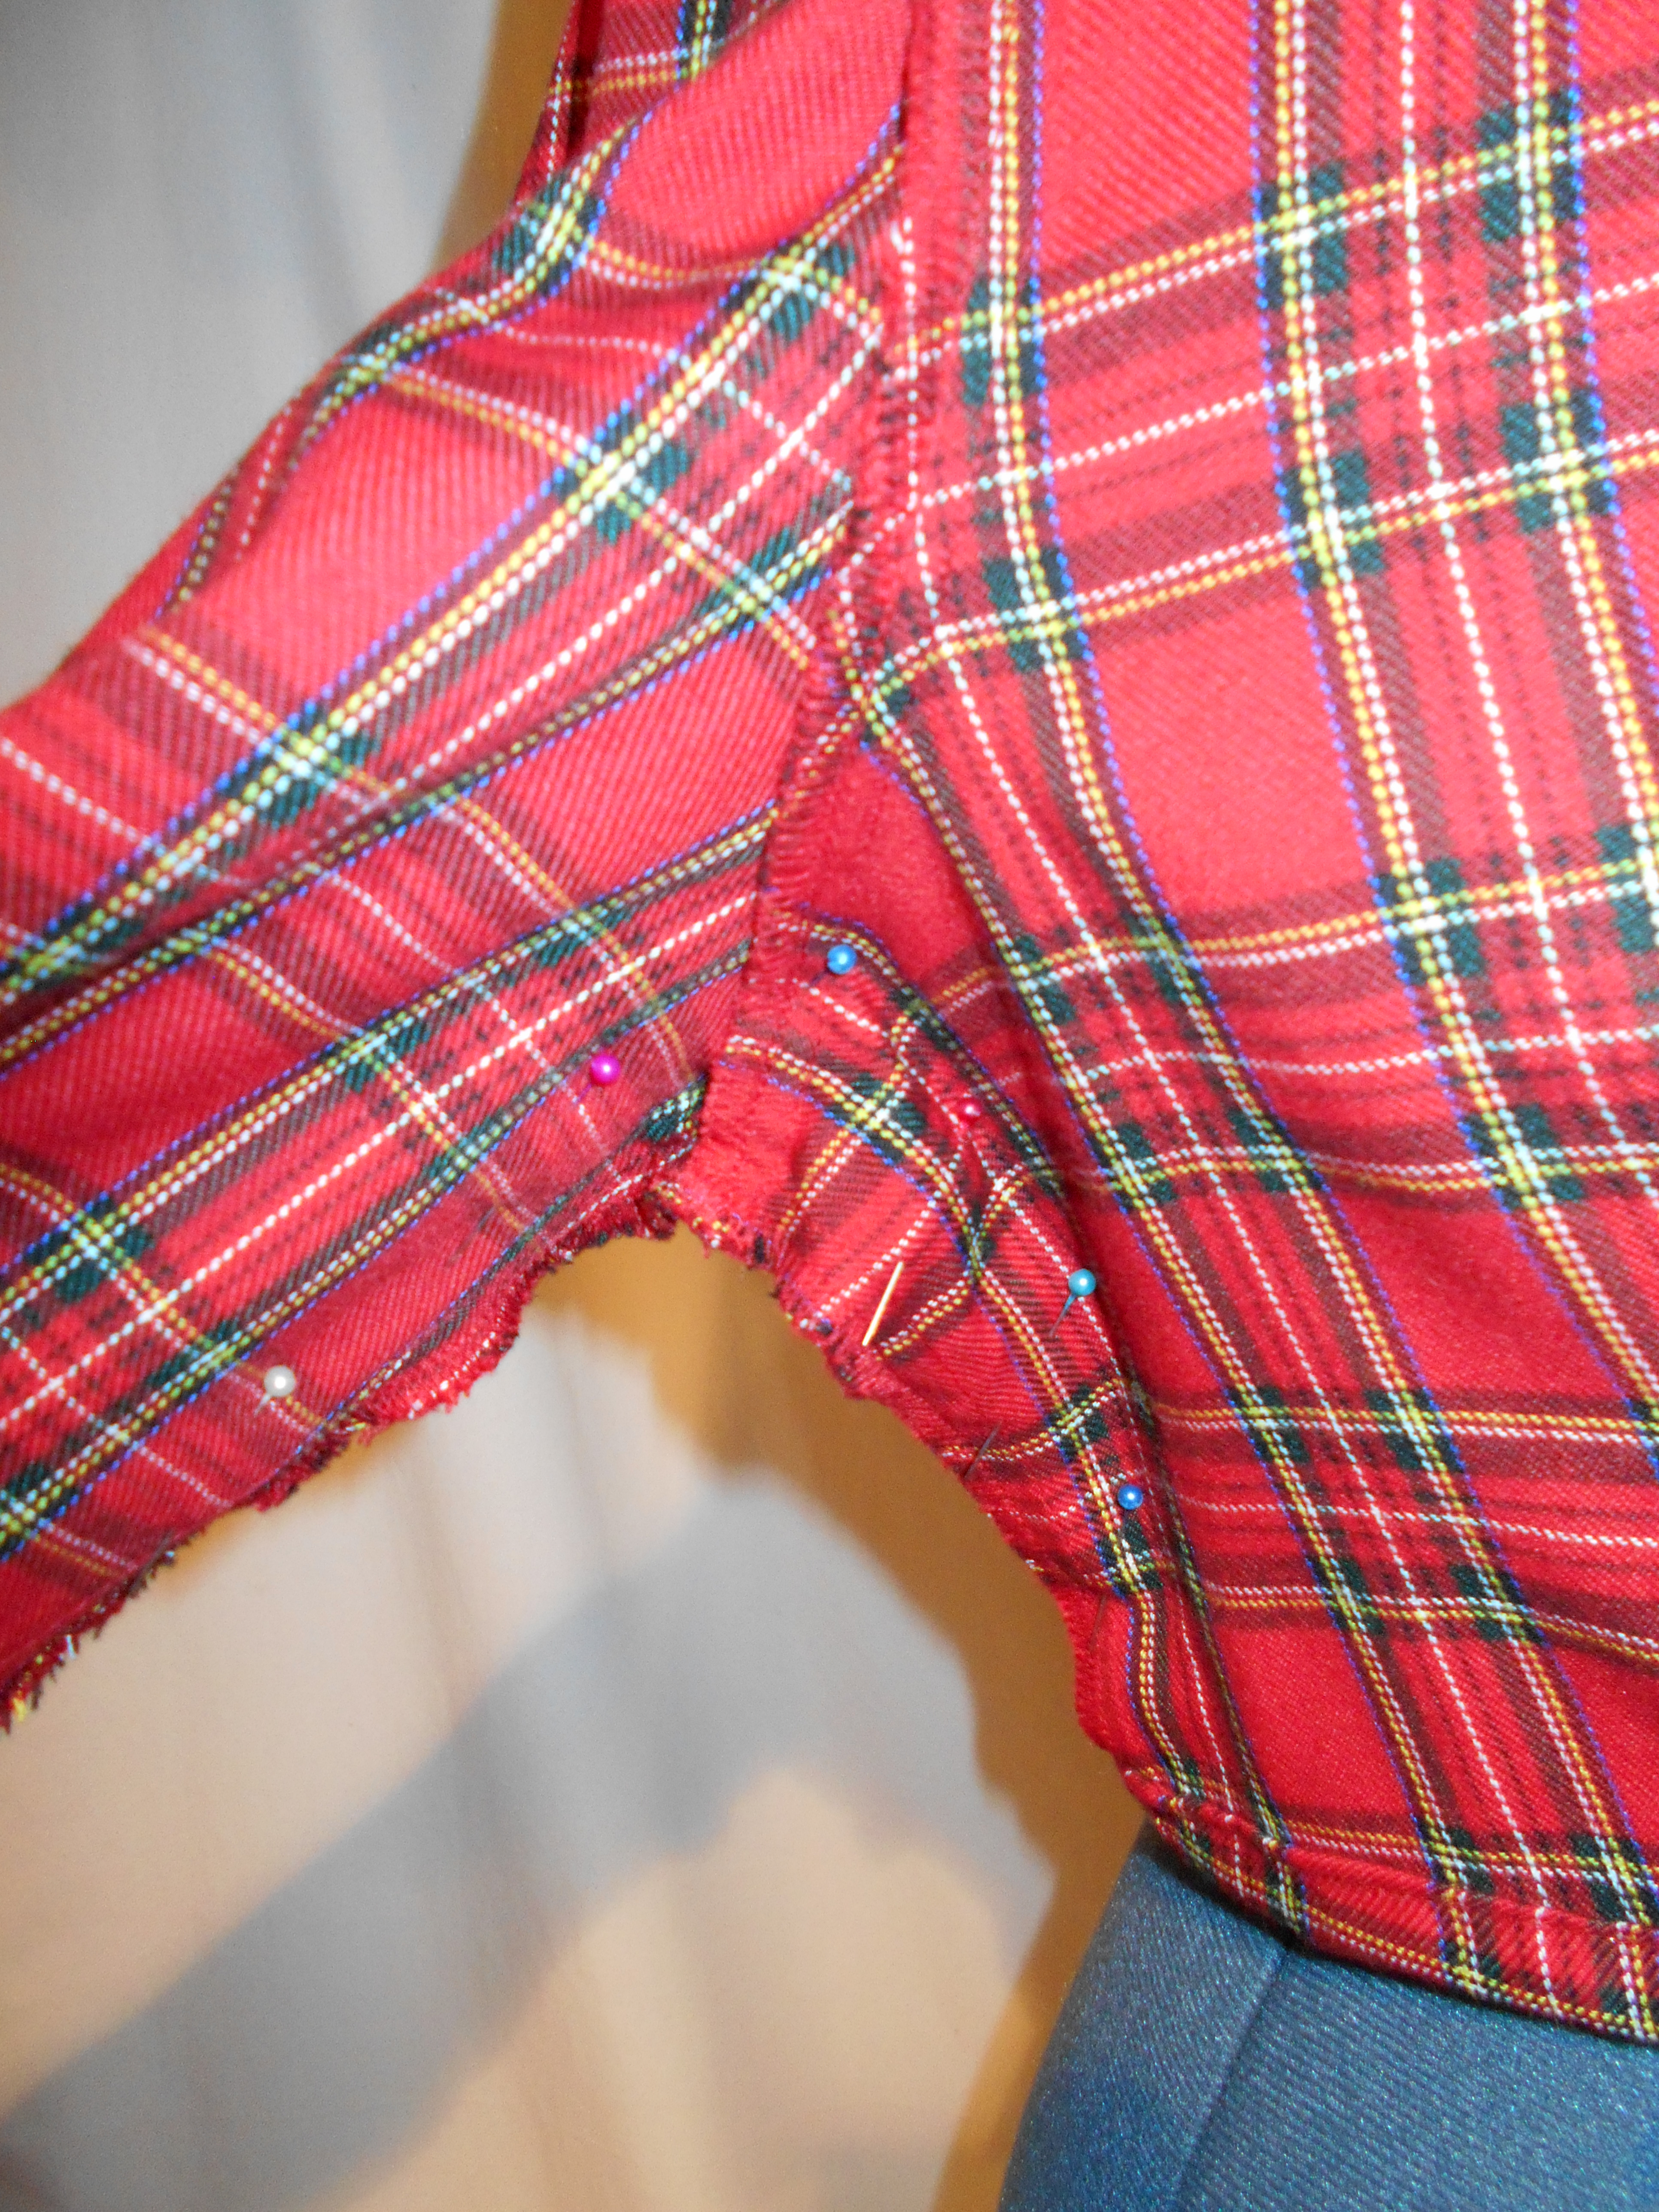
Then I took it in a little more on each side, up around the armpit and little down the sleeves.
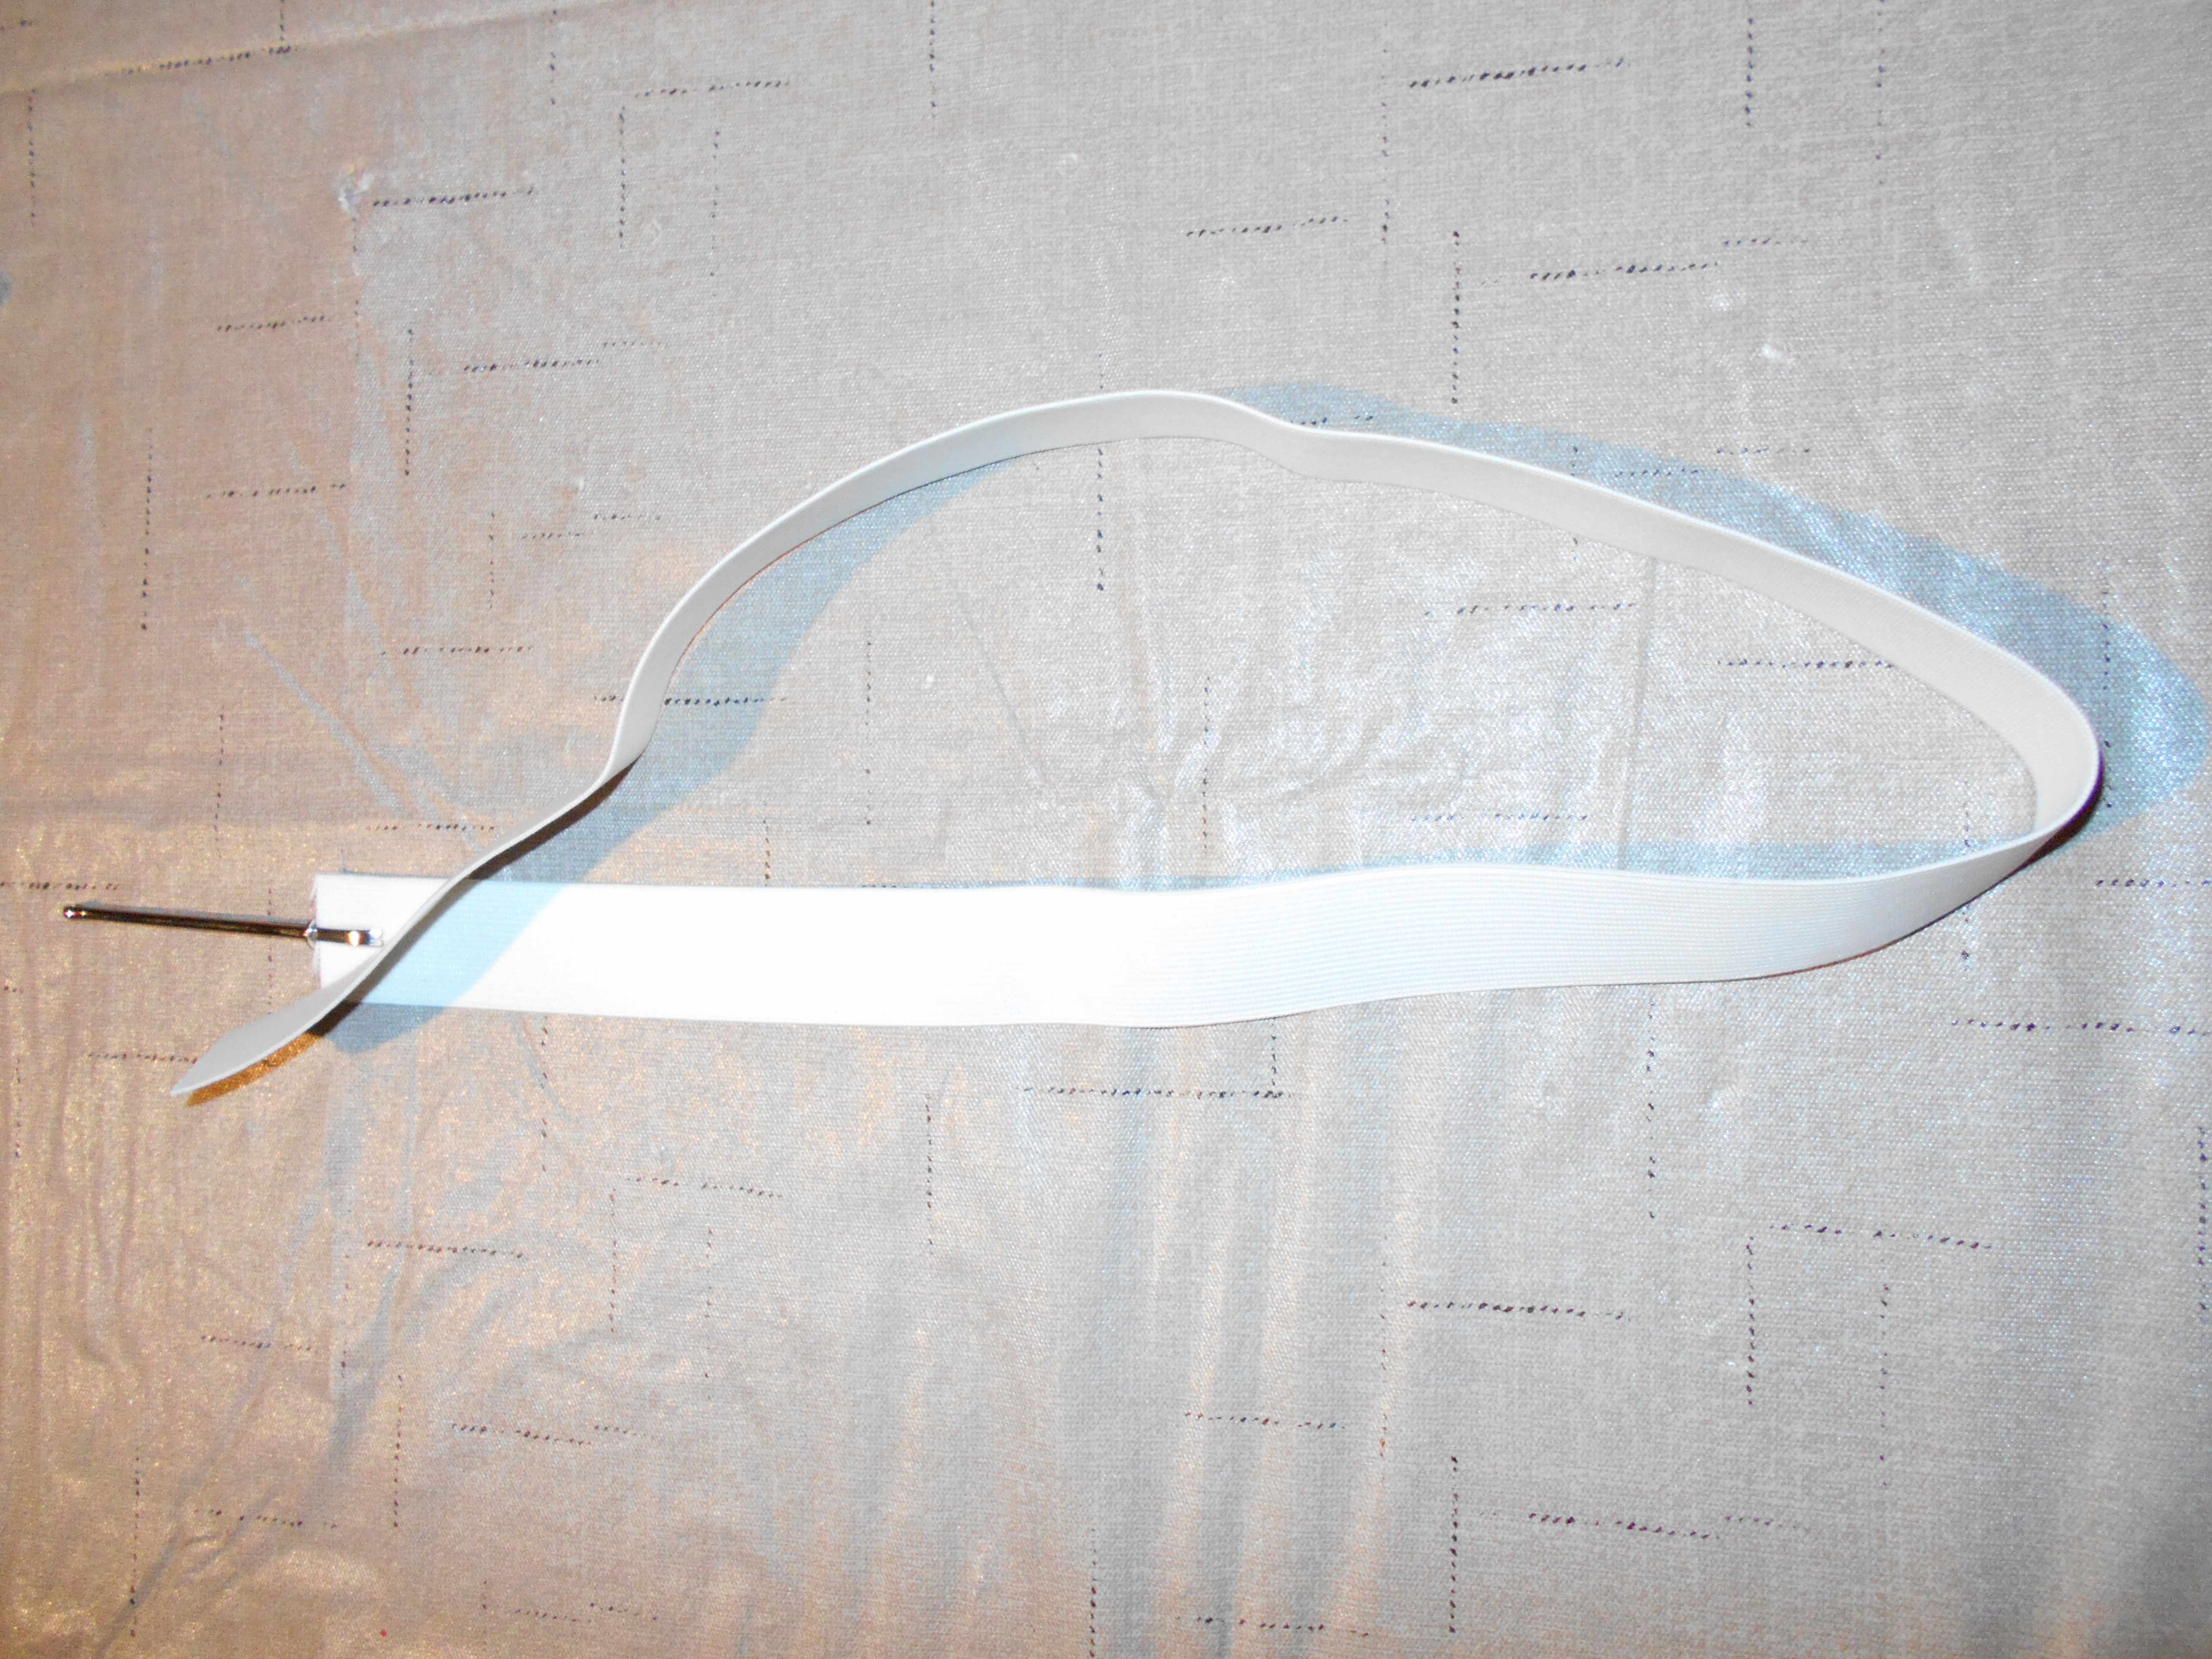
Next, I measured for the elastic around my waist. I left an overlap of 1 1/2 inches so I could sew it together once it was in the casing of the skirt.
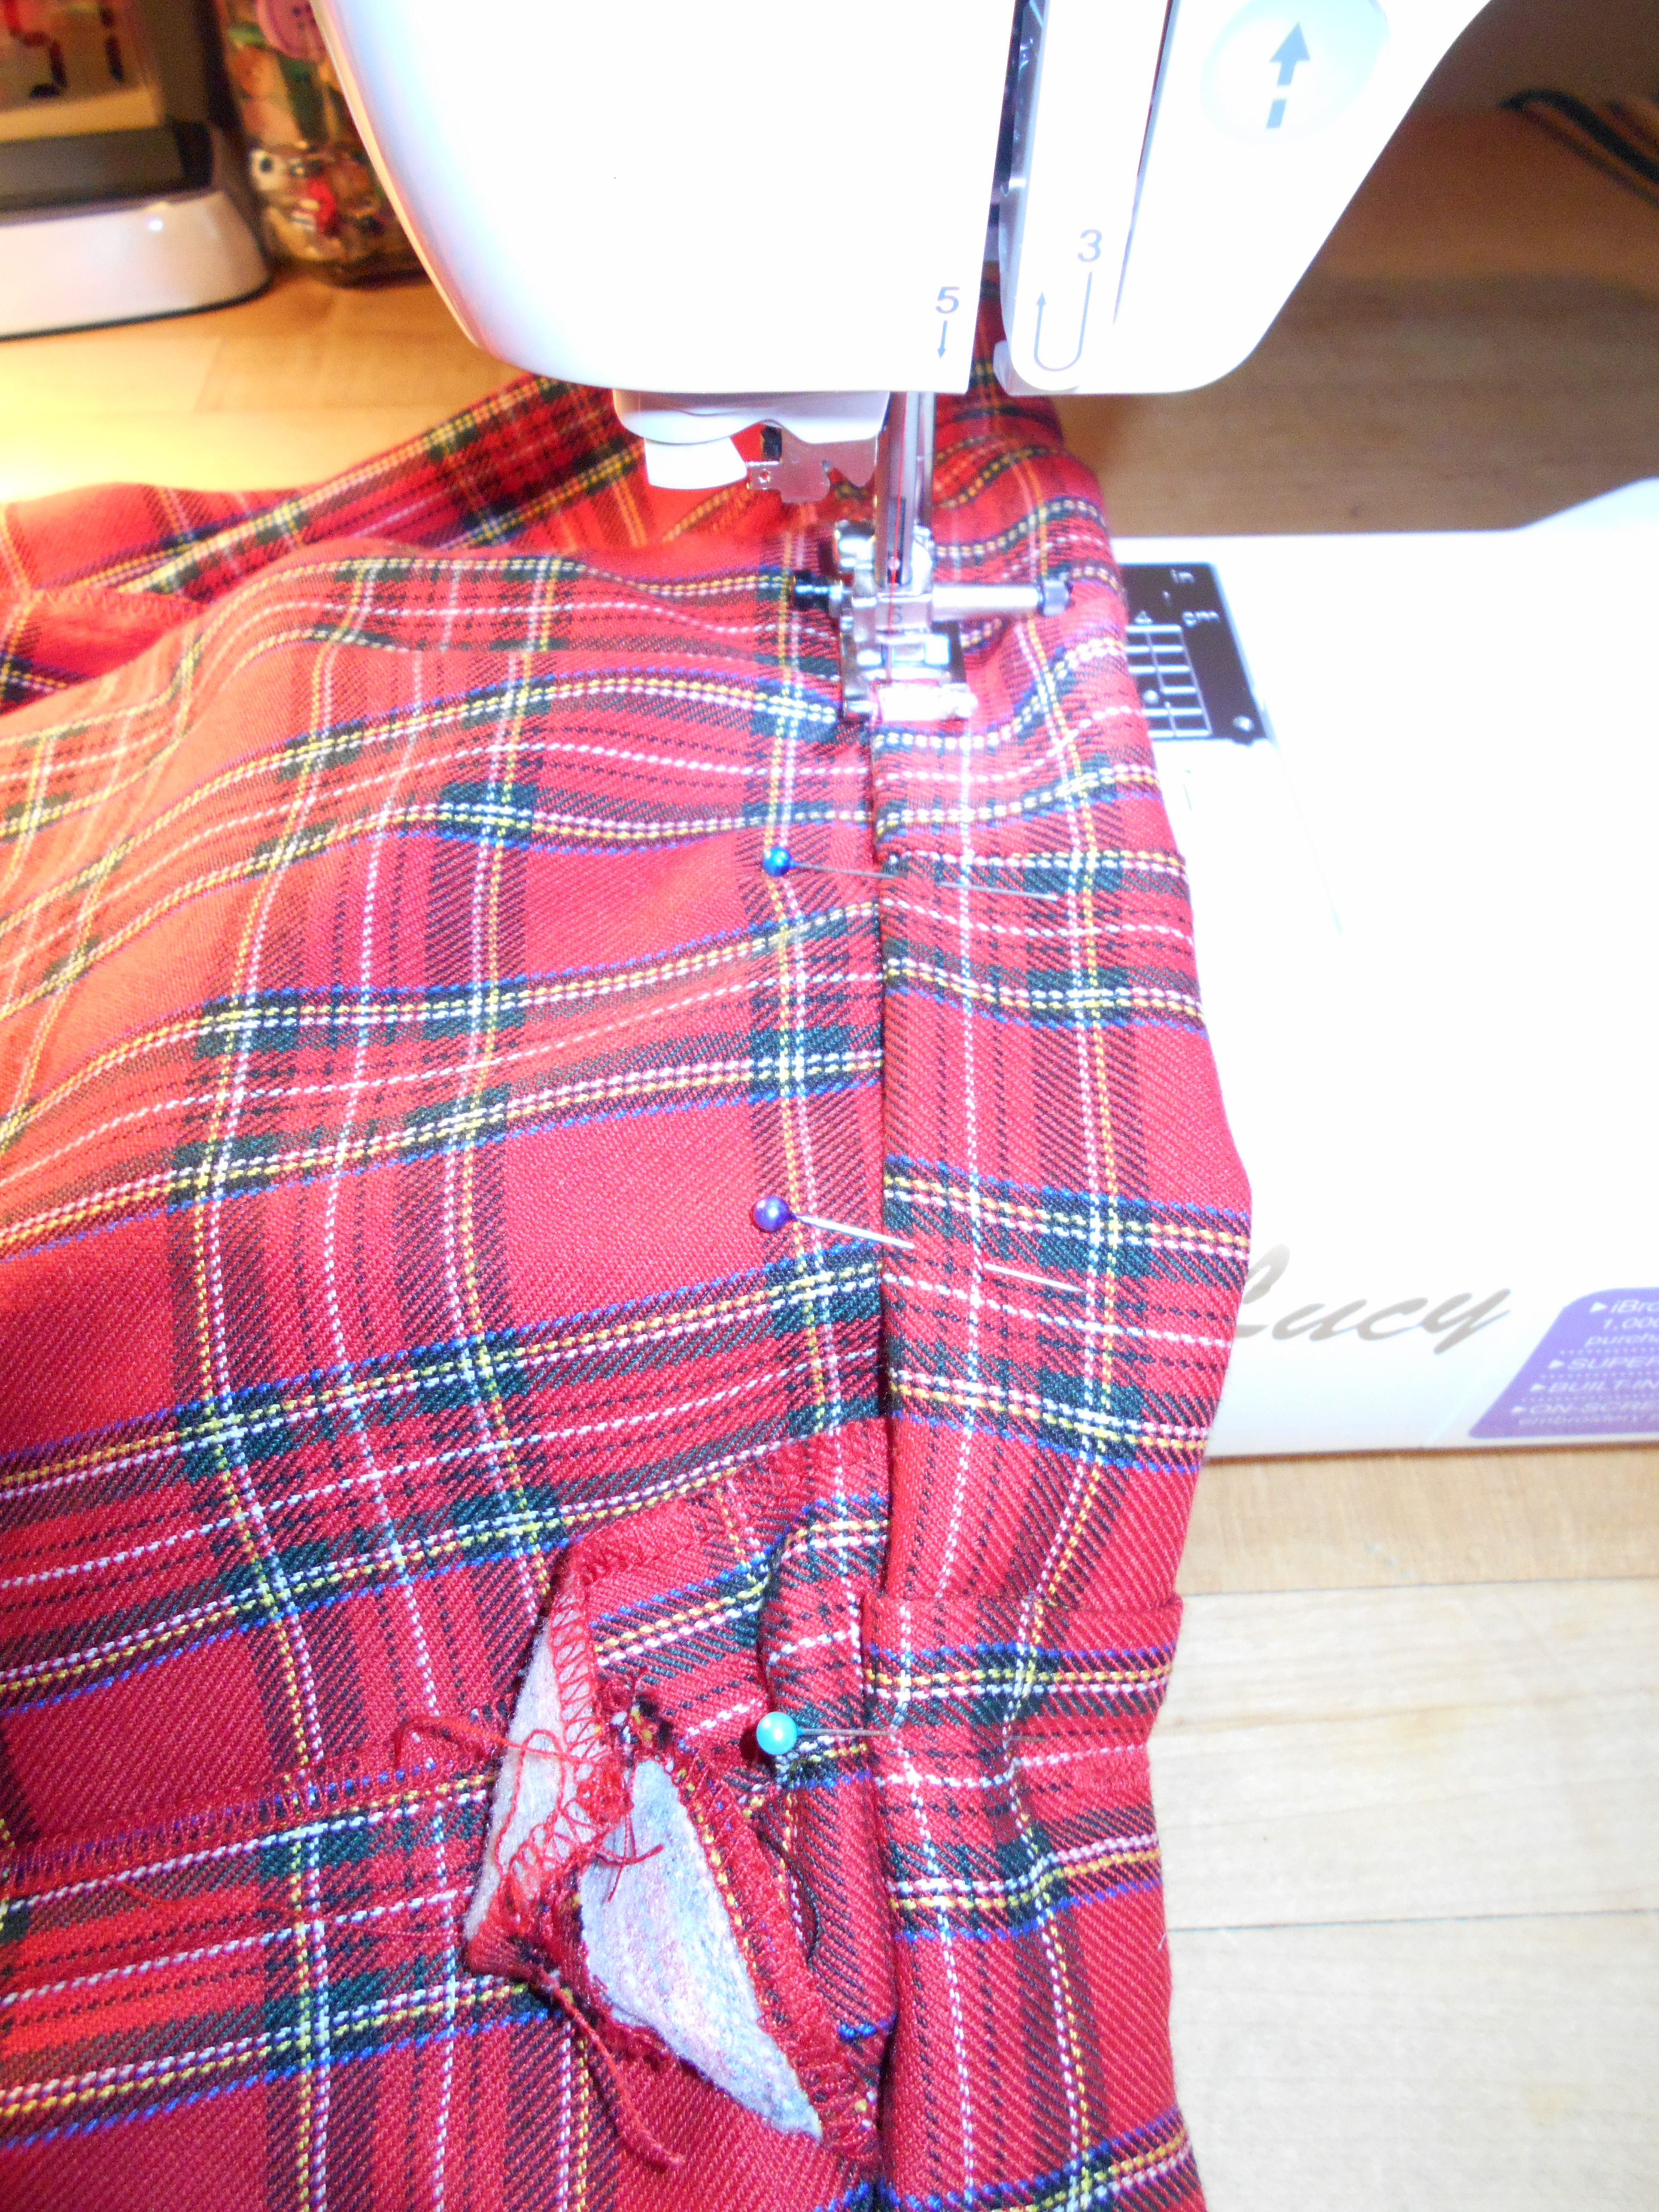
I sewed the casing on the top of the skirt leaving 2 inches open so that I could thread the elastic through.
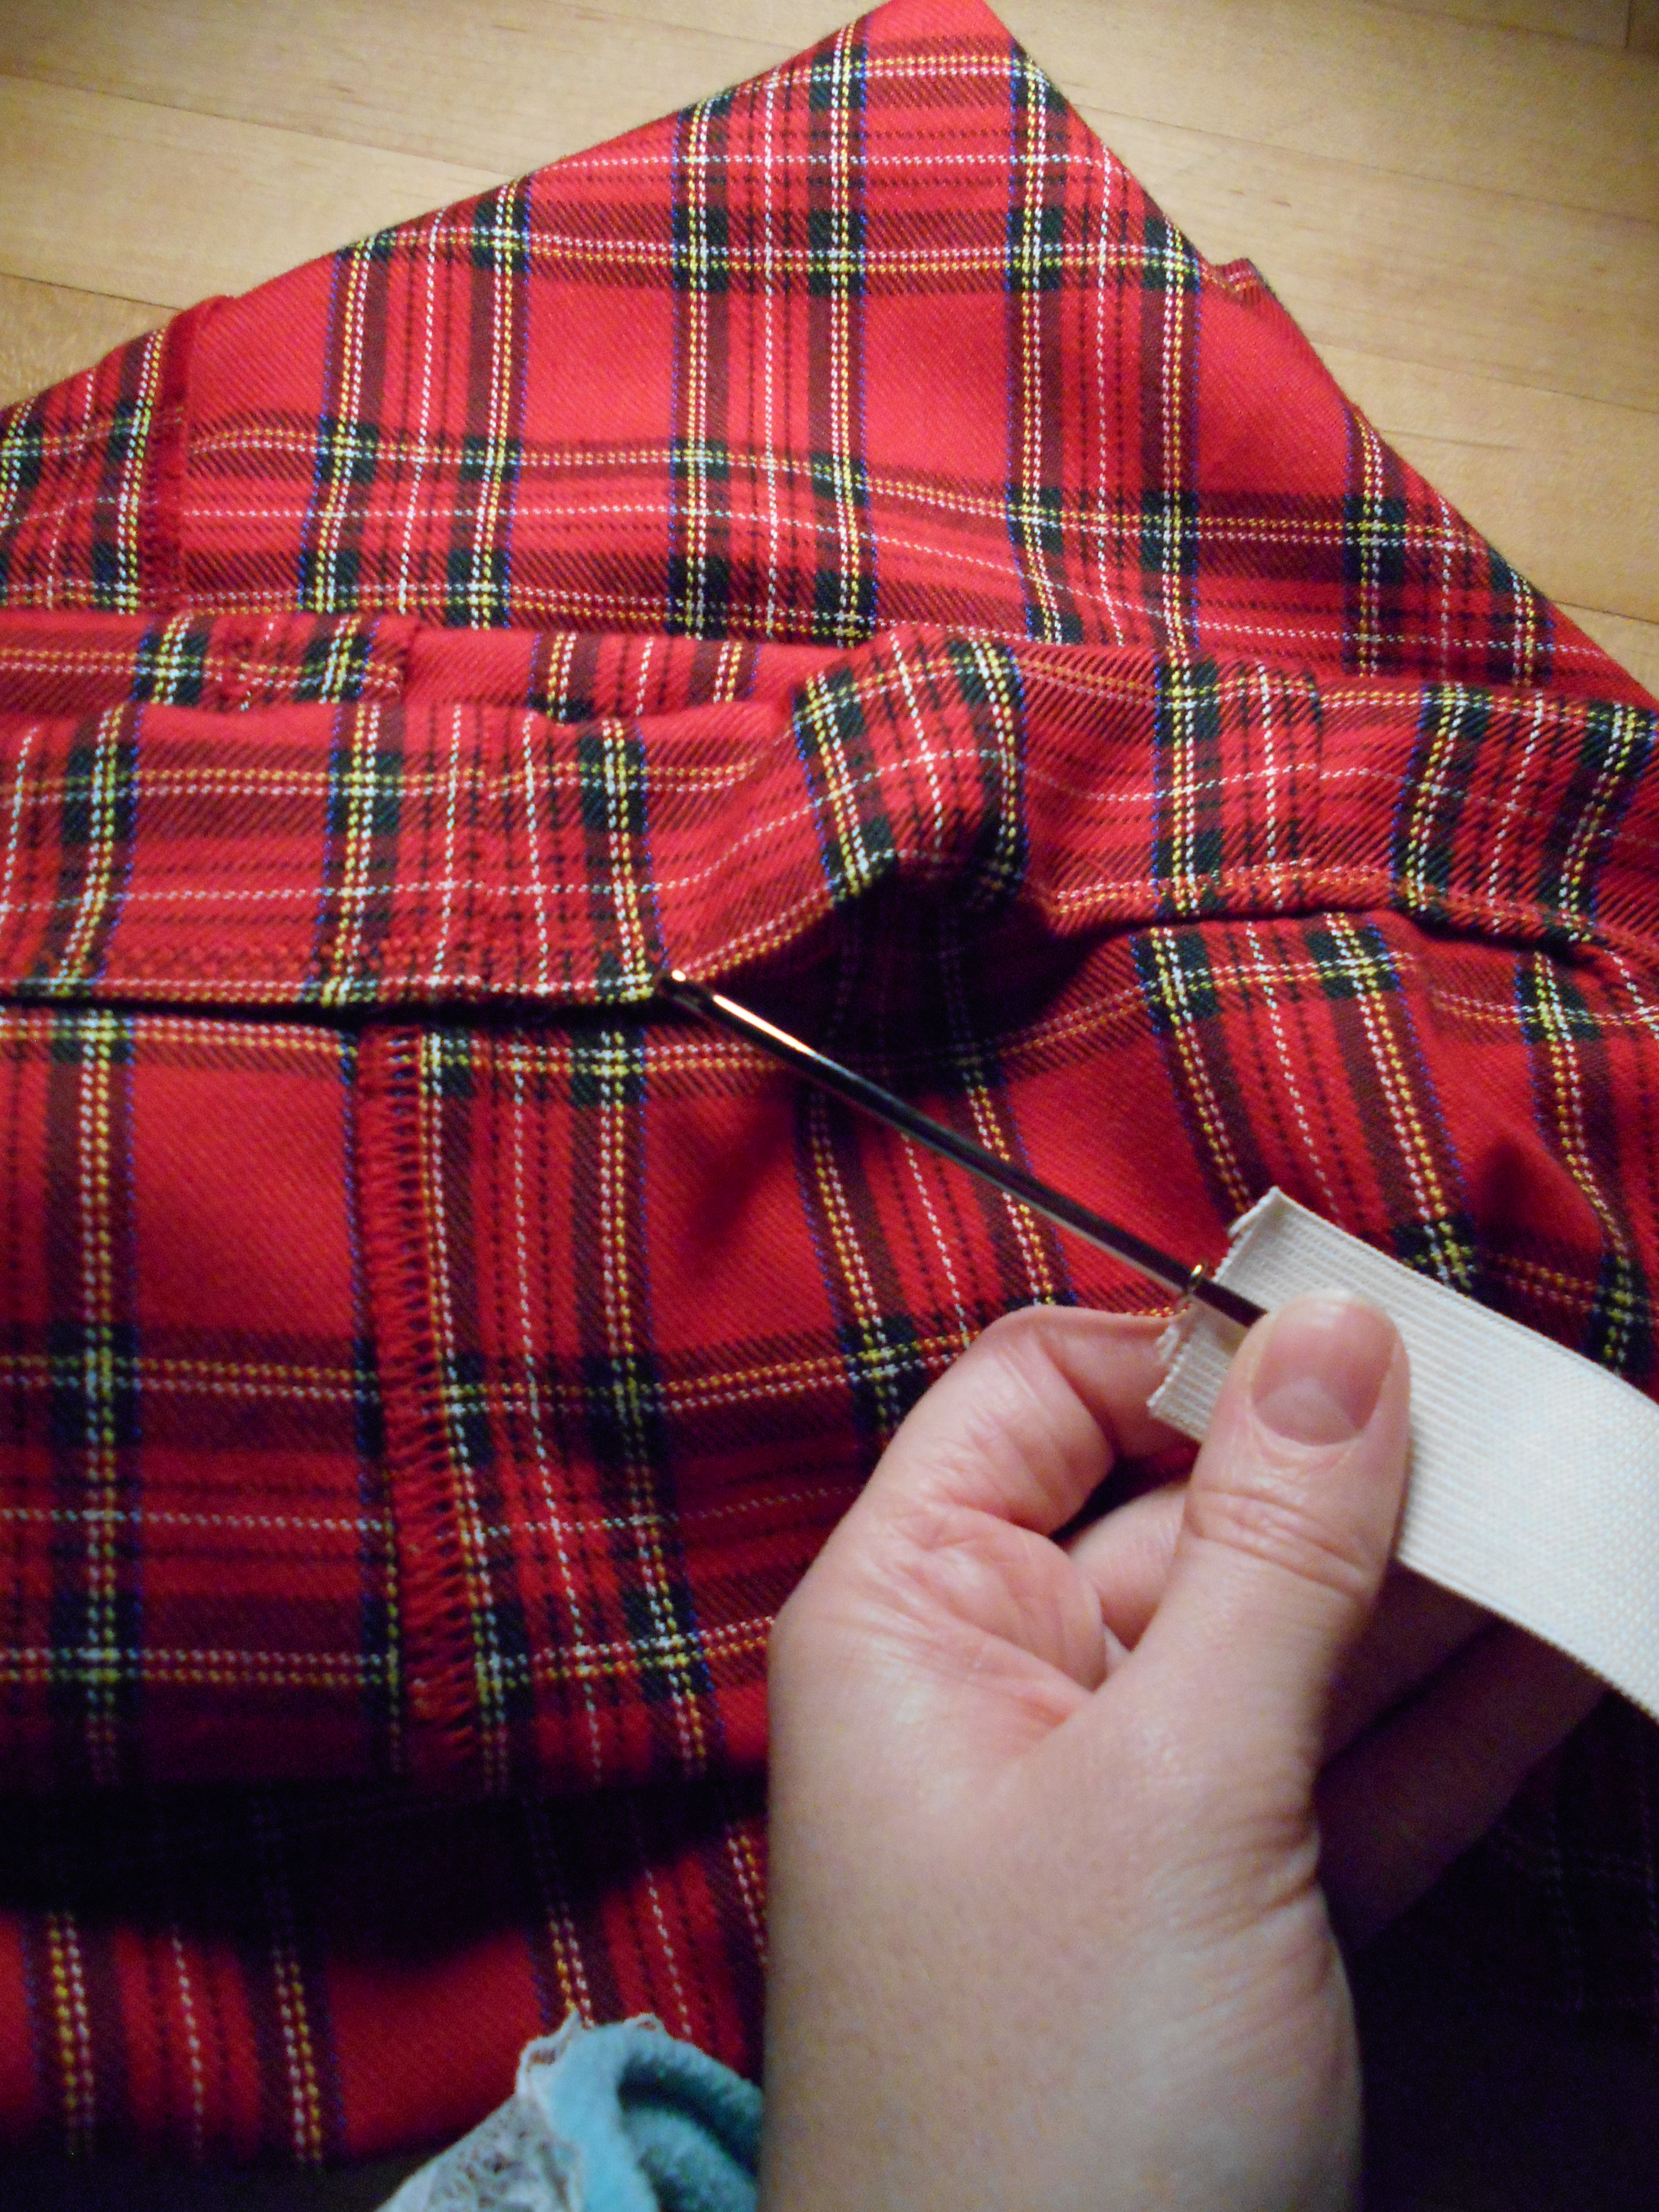
Using my Bodkin to thread the elastic through. (You could also use a safety pin)
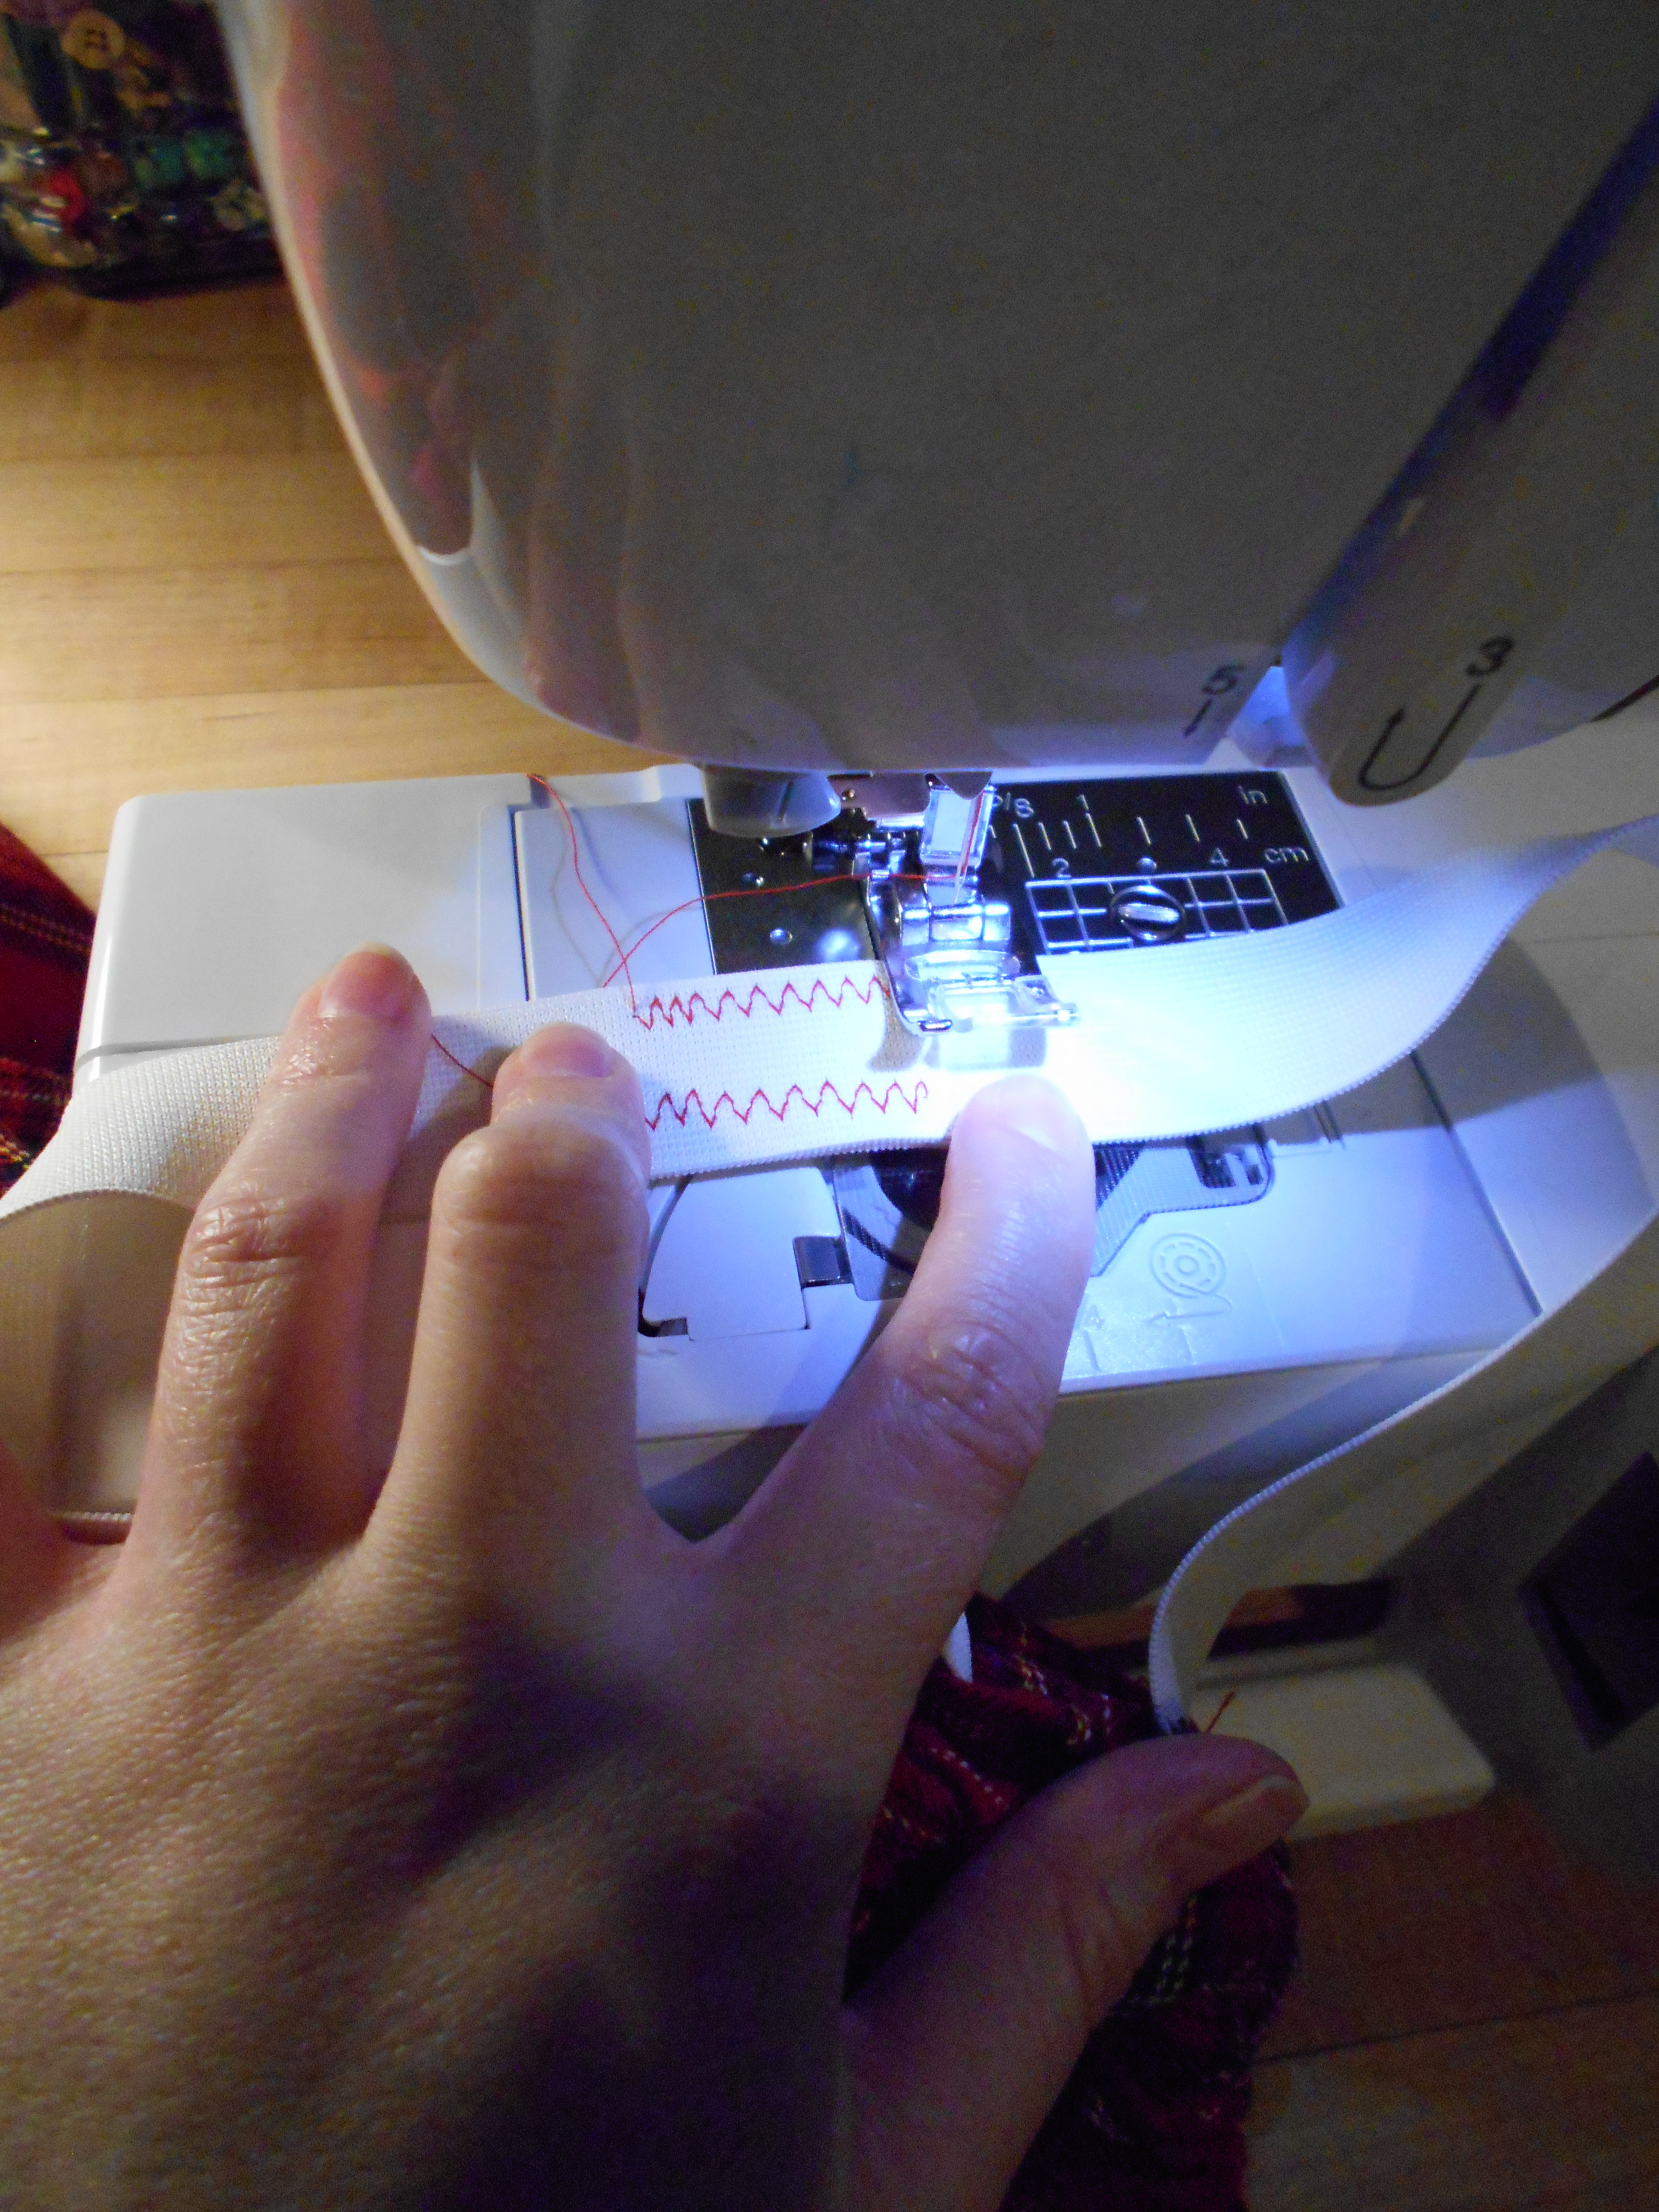
Once the elastic was all the way through, I secured the ends together. This is were the 1 1/2inch overlap came in.
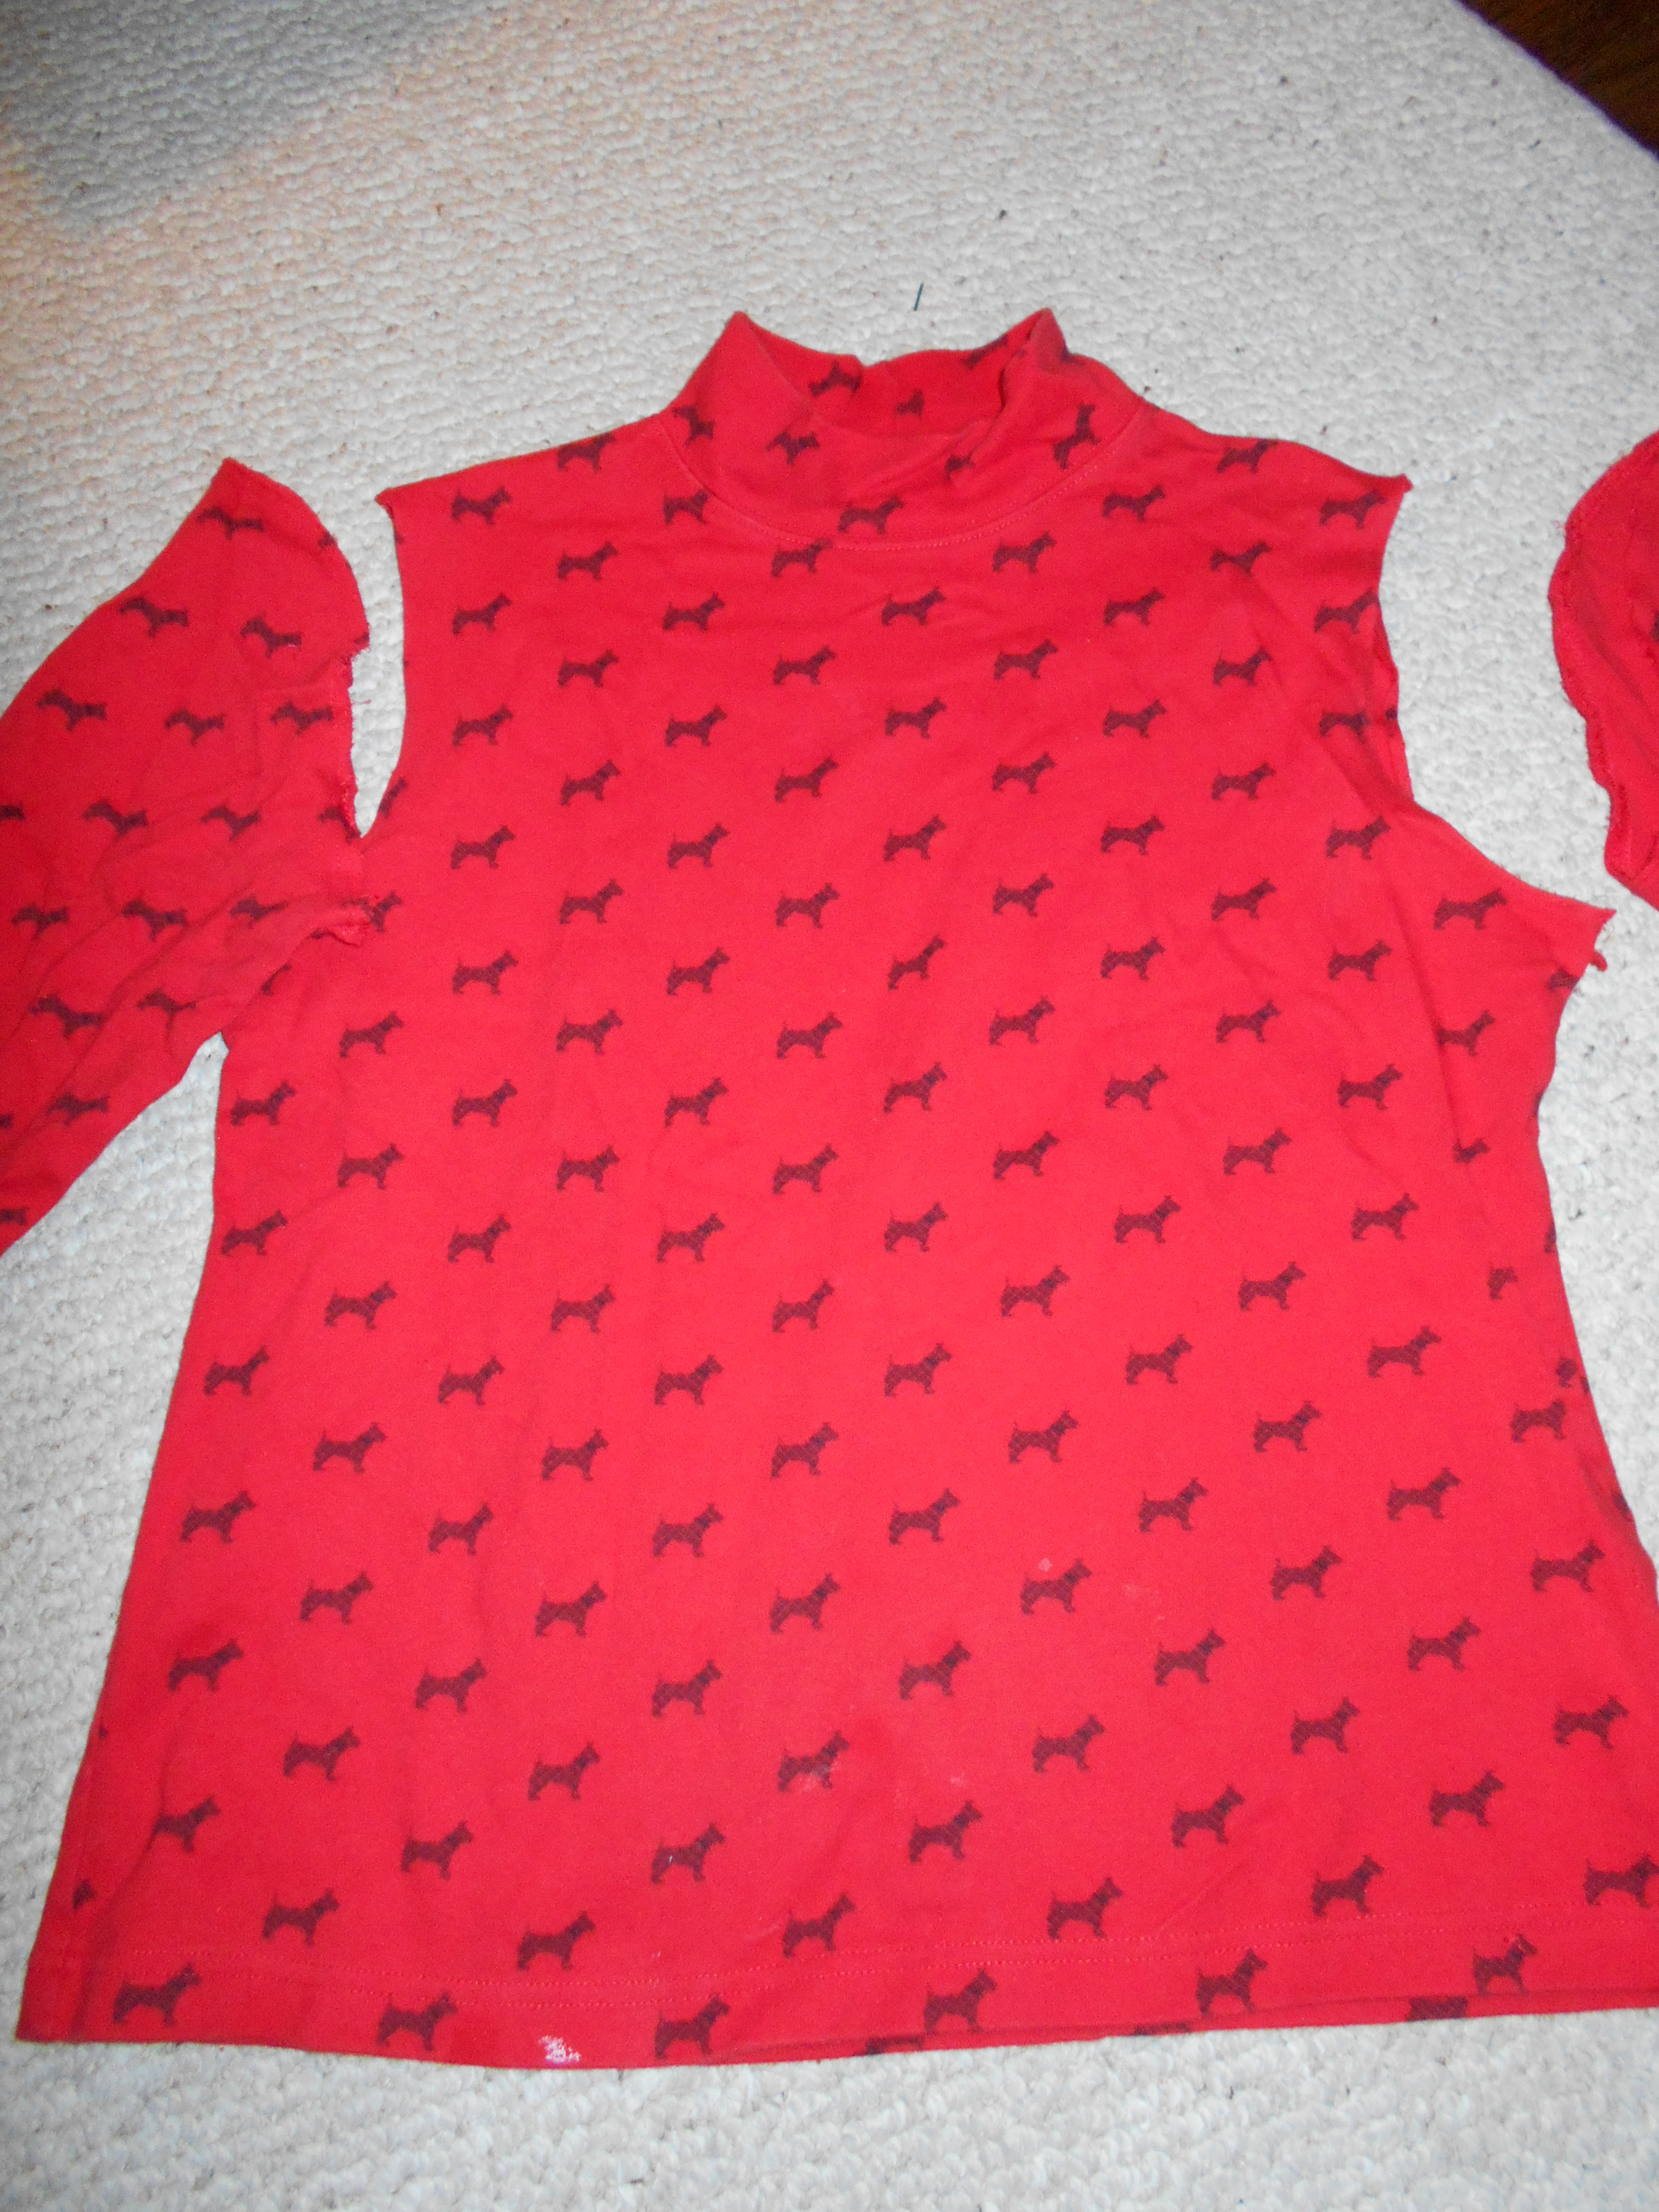
Now for the 3rd and final piece of my outfit!. I began by removing the sleeves. (This is classic Marisa, always removing the sleeves)
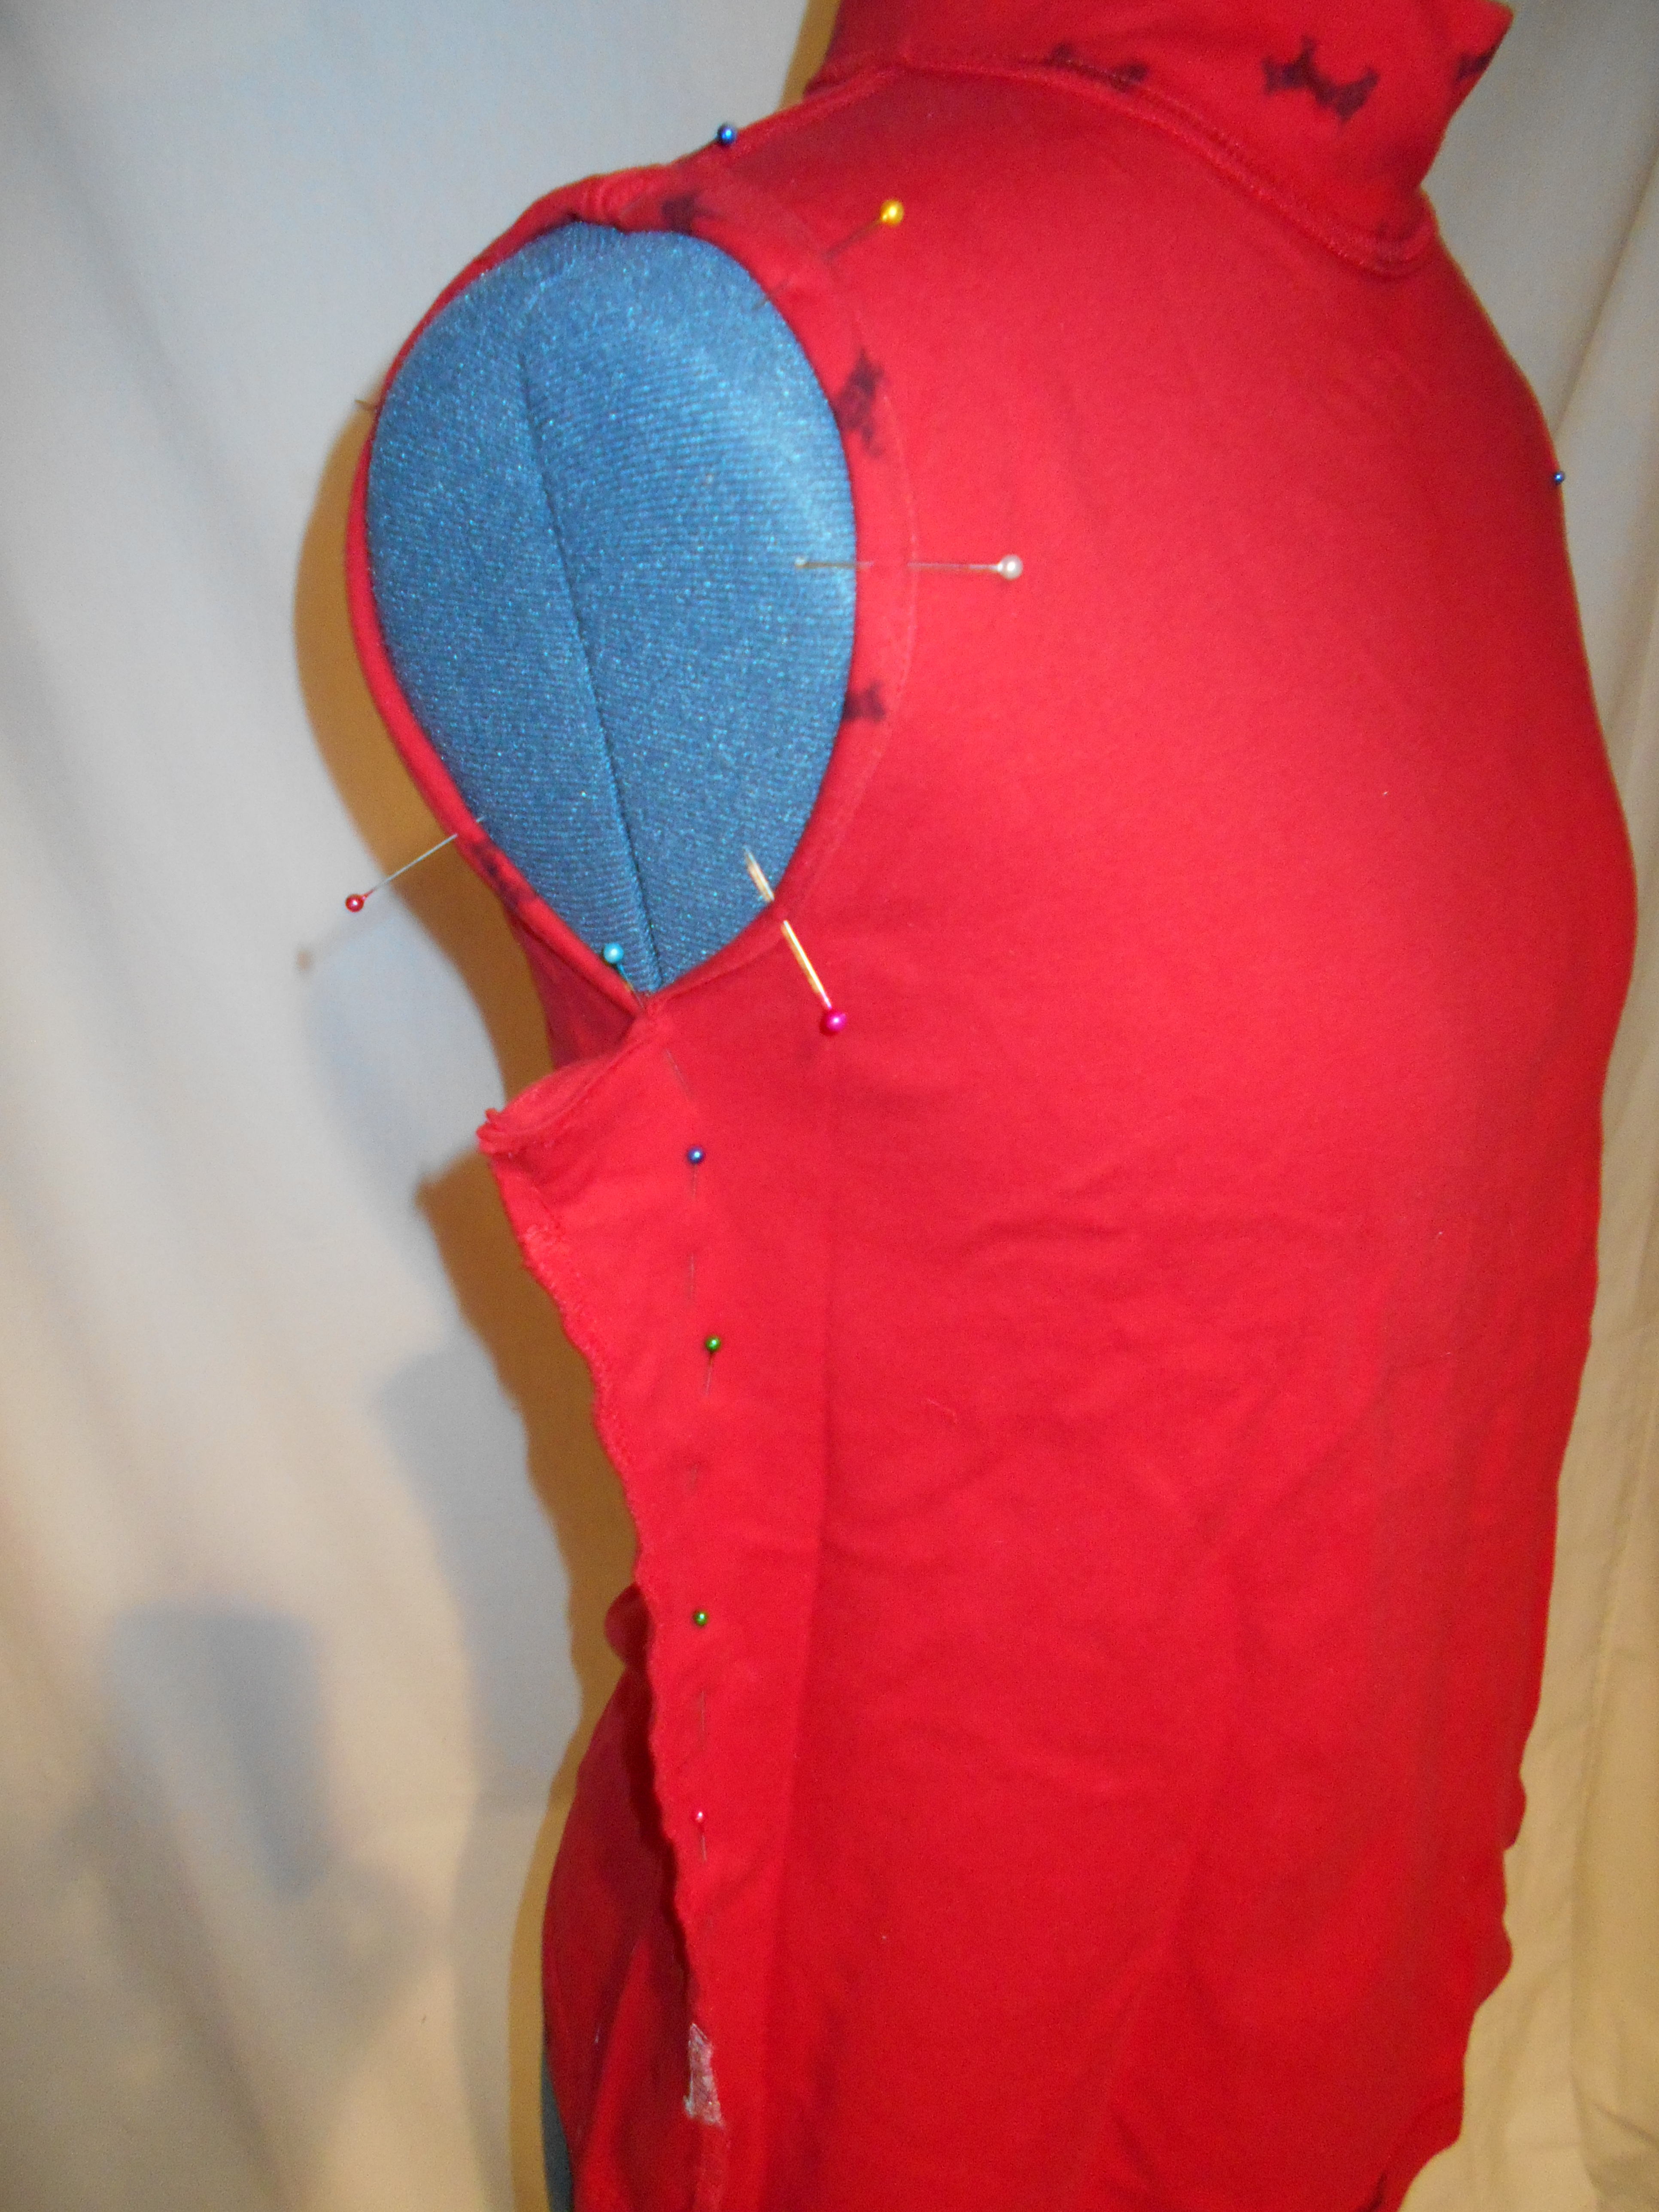
I sewed a new hem for the arm holes and then took the shirt in on each side. (No measuring here, just eyeballed it)
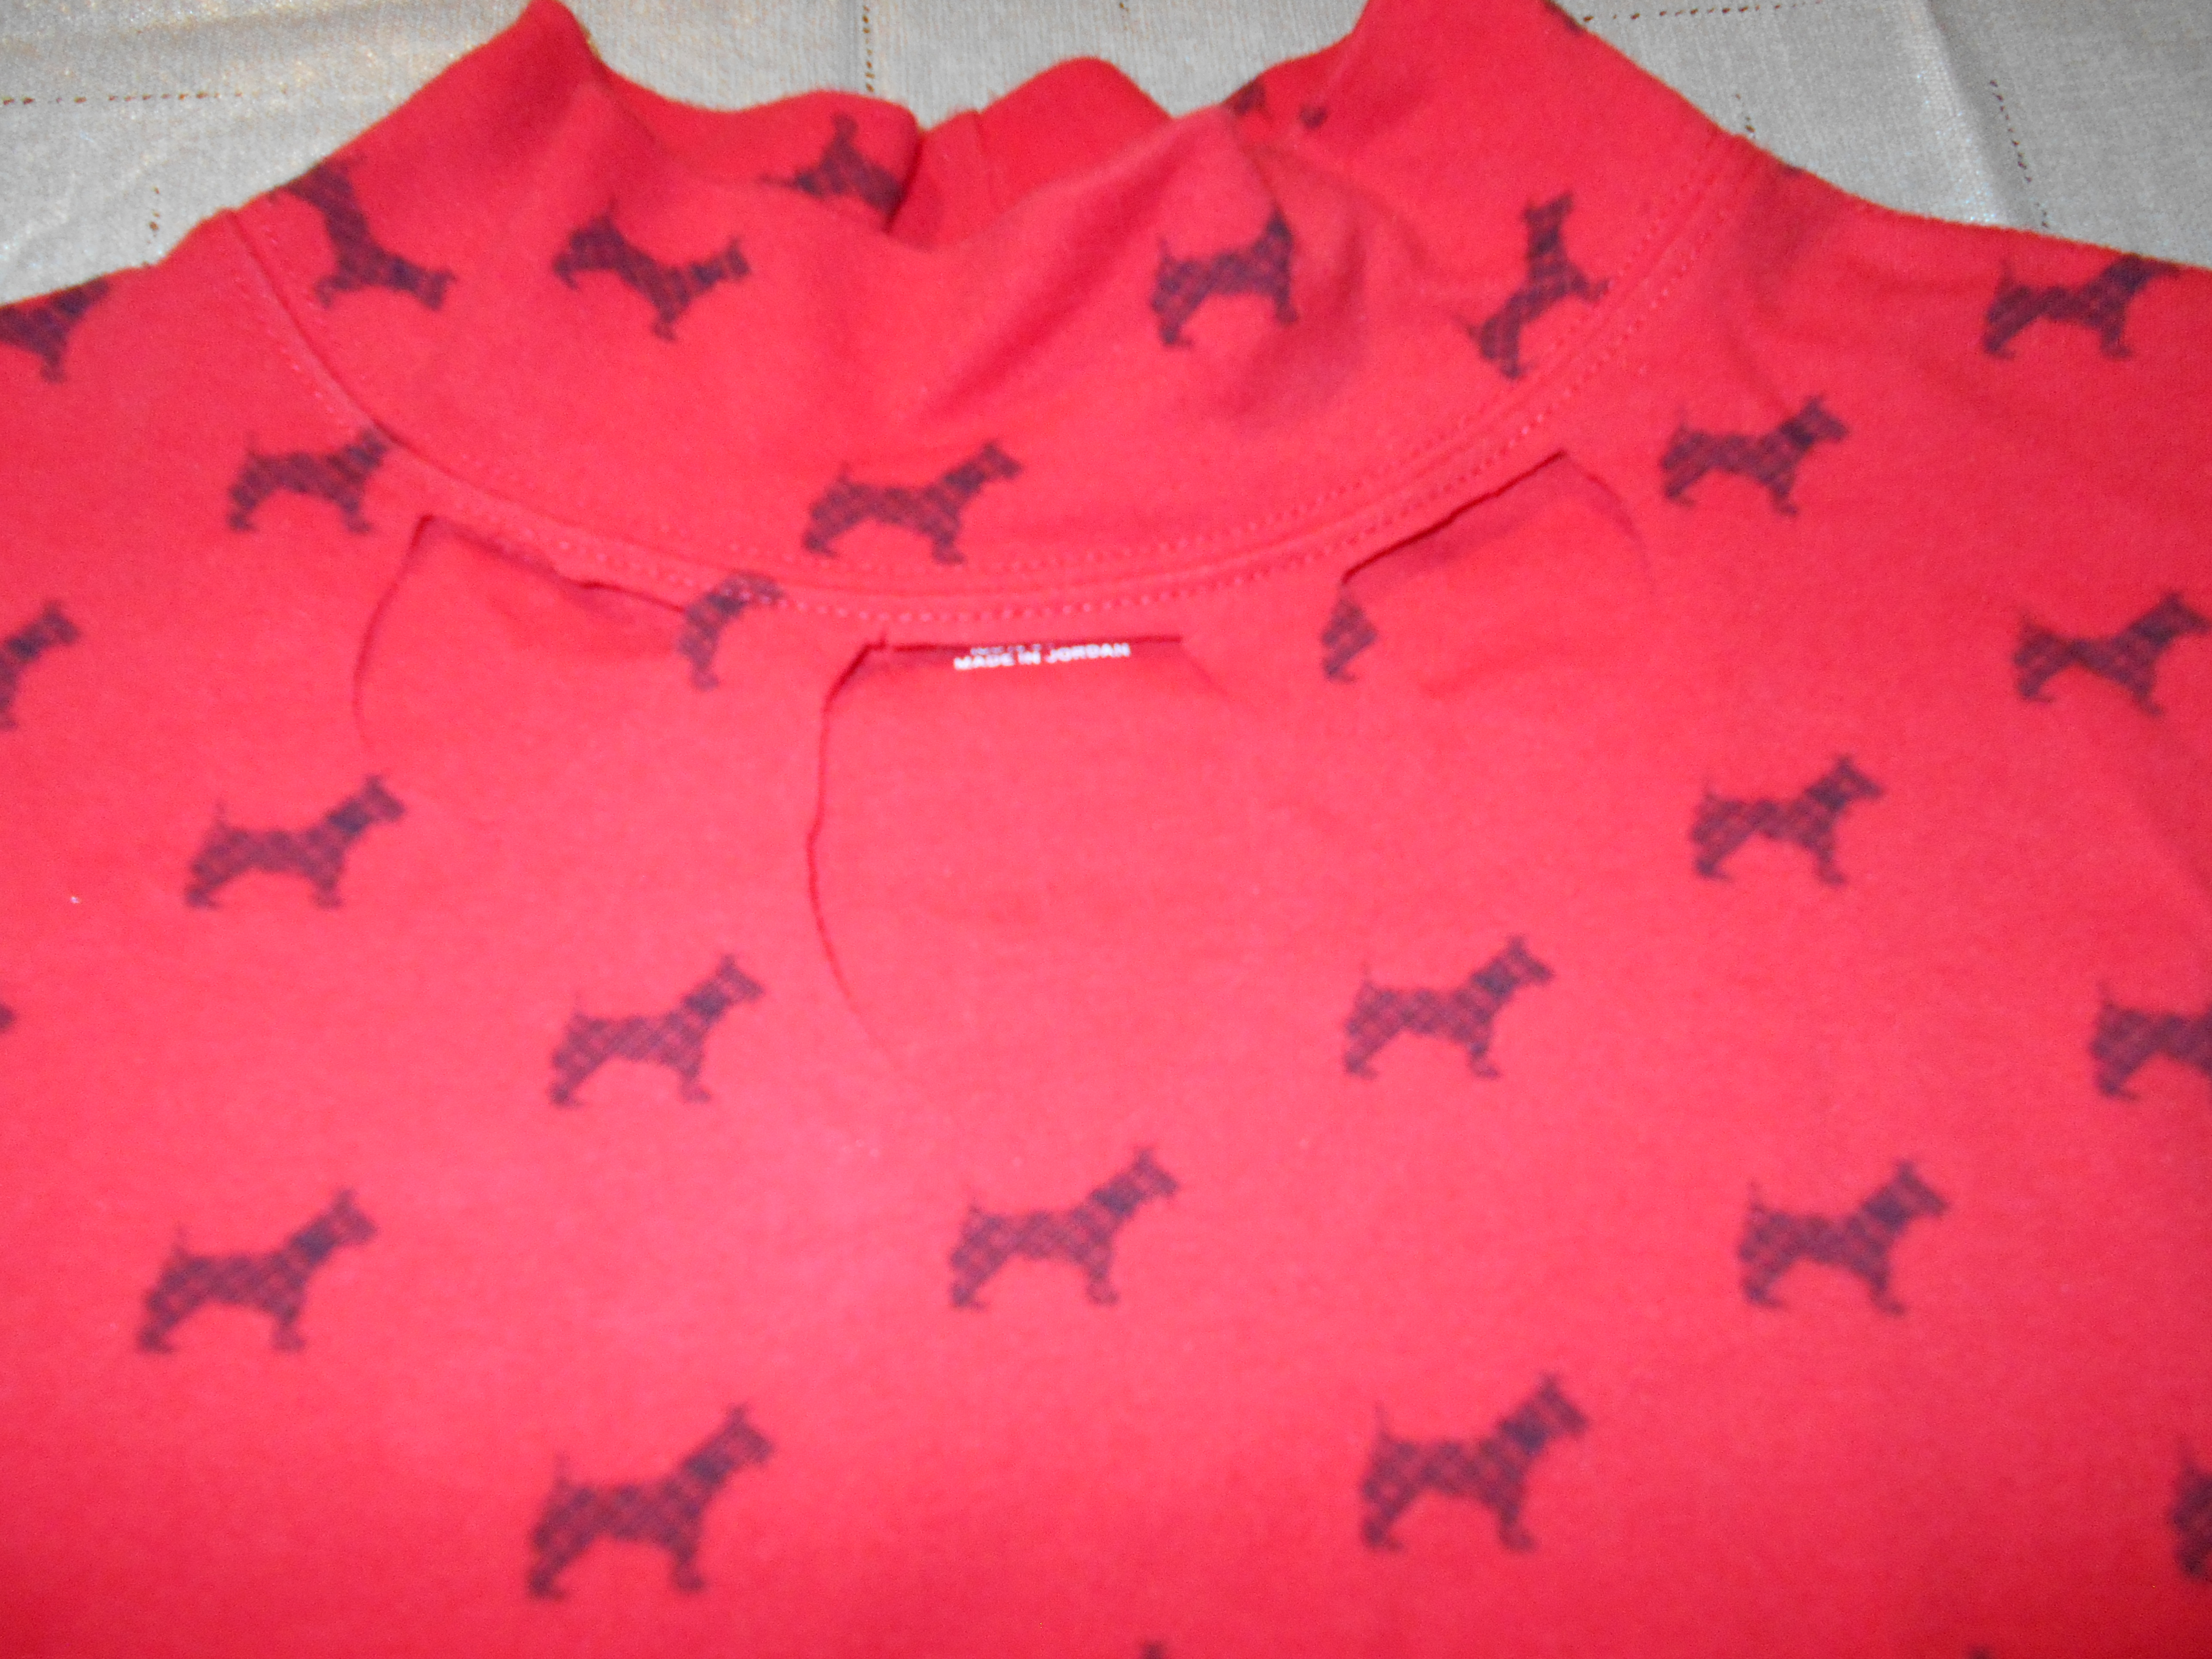
Lastly, I made 3 cutouts around the neckline to add a little more pizzaz! I did not stitch around the raw edges because it was a cotton fabric and I was not worried about it fraying in the wash.
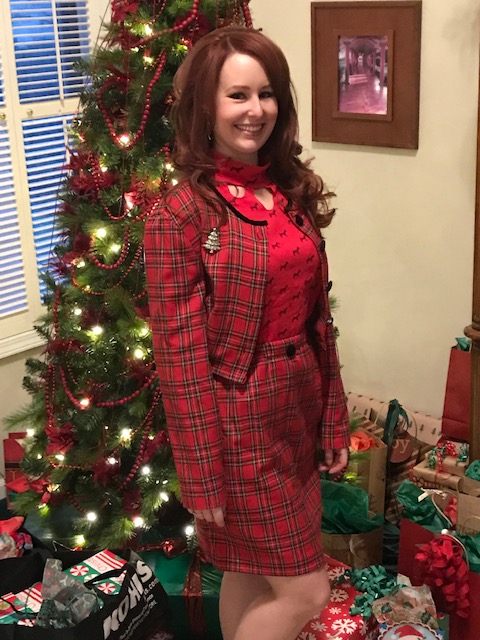
The complete outfit!

Modeling pose!
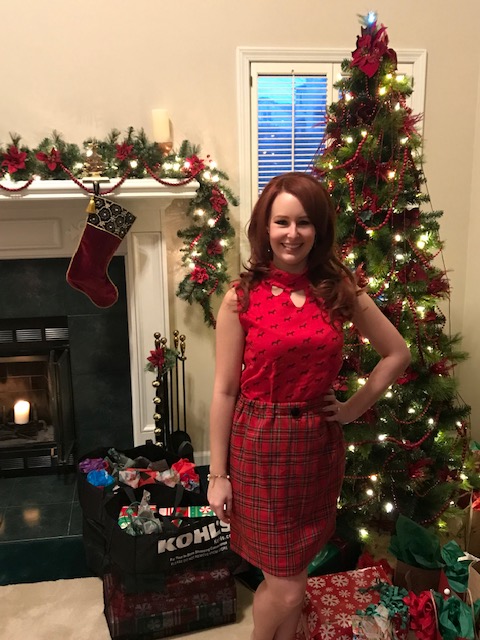
Without the jacket!

Happy Refashioning!!!!
Check out my stash of refashions on my blog!

3 comments:
Love it! So festive and cute!
I love the two fabrics together! You made such a cute outfit. And I feel you about the elastic. I am definitely getting old! :)
Chickie
awesome !, like from movie clueless <3
and it looks perfect on you :)
Post a Comment