Wednesday, February 07, 2018

Pajama Pants Refash Part:2

Hi Readers!

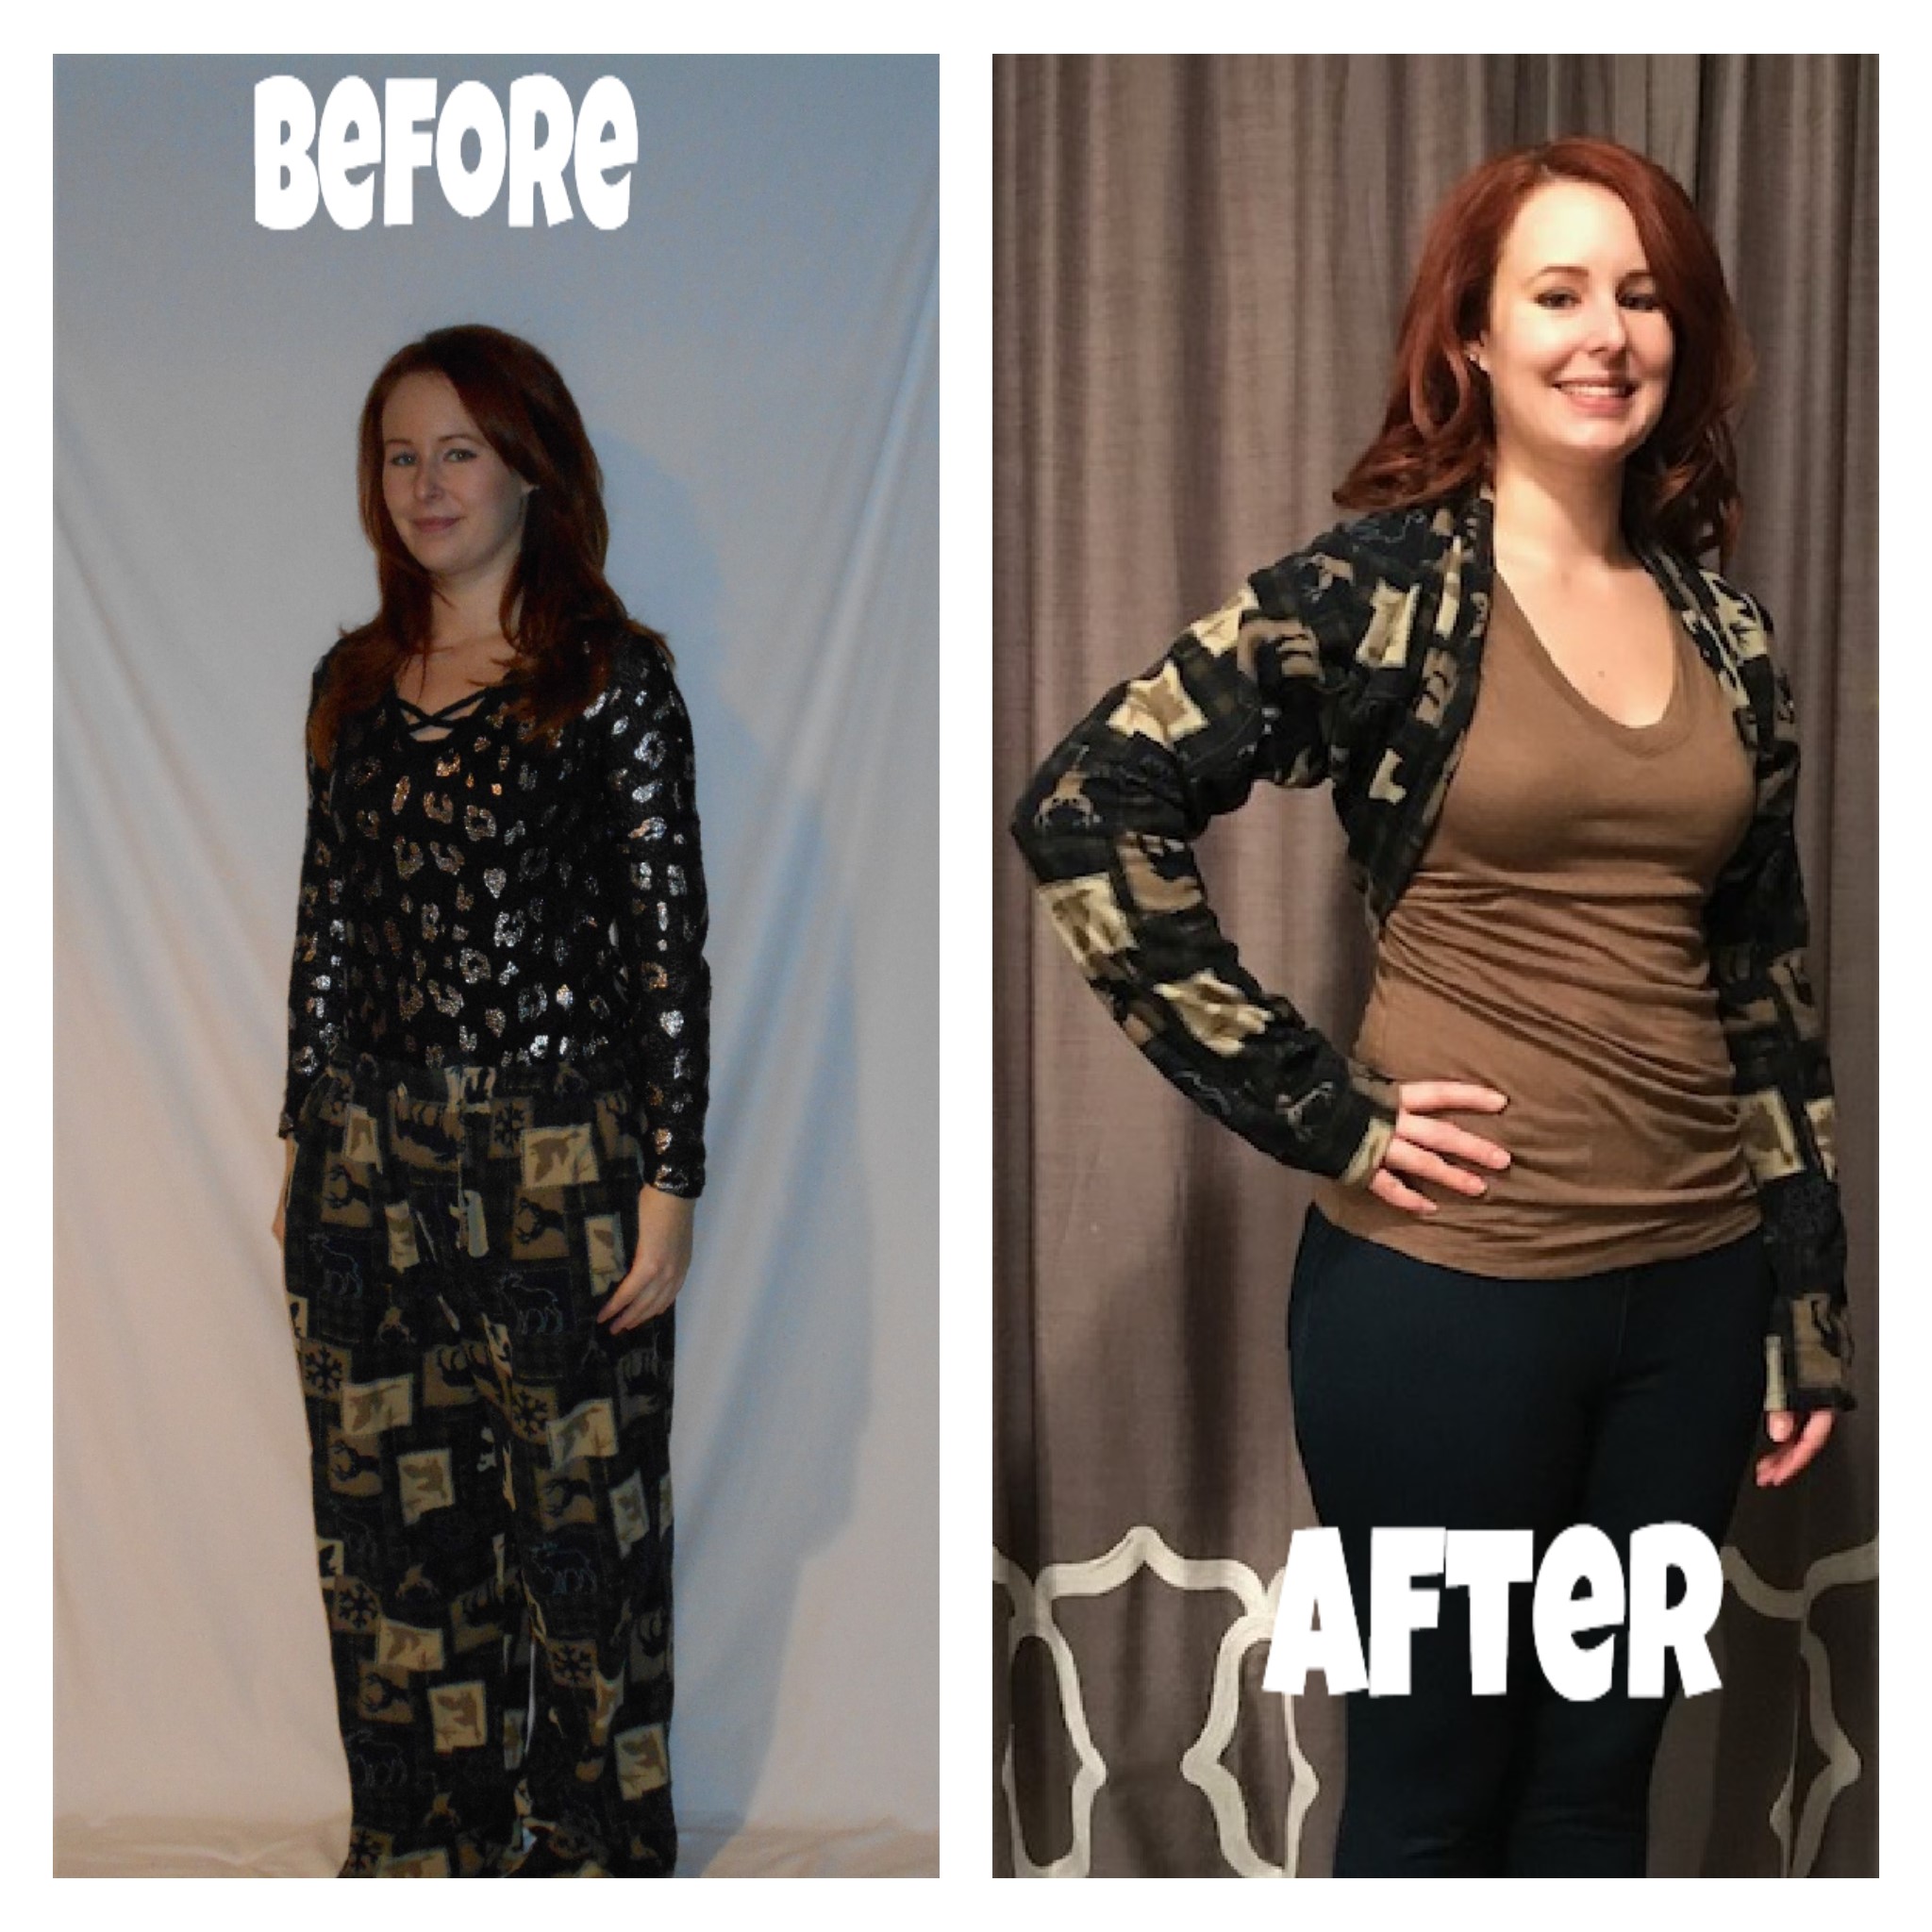
I know you have been in suspense since my last post! Since you have waited so patiently here is the 2nd part of the pajama pants refash :)
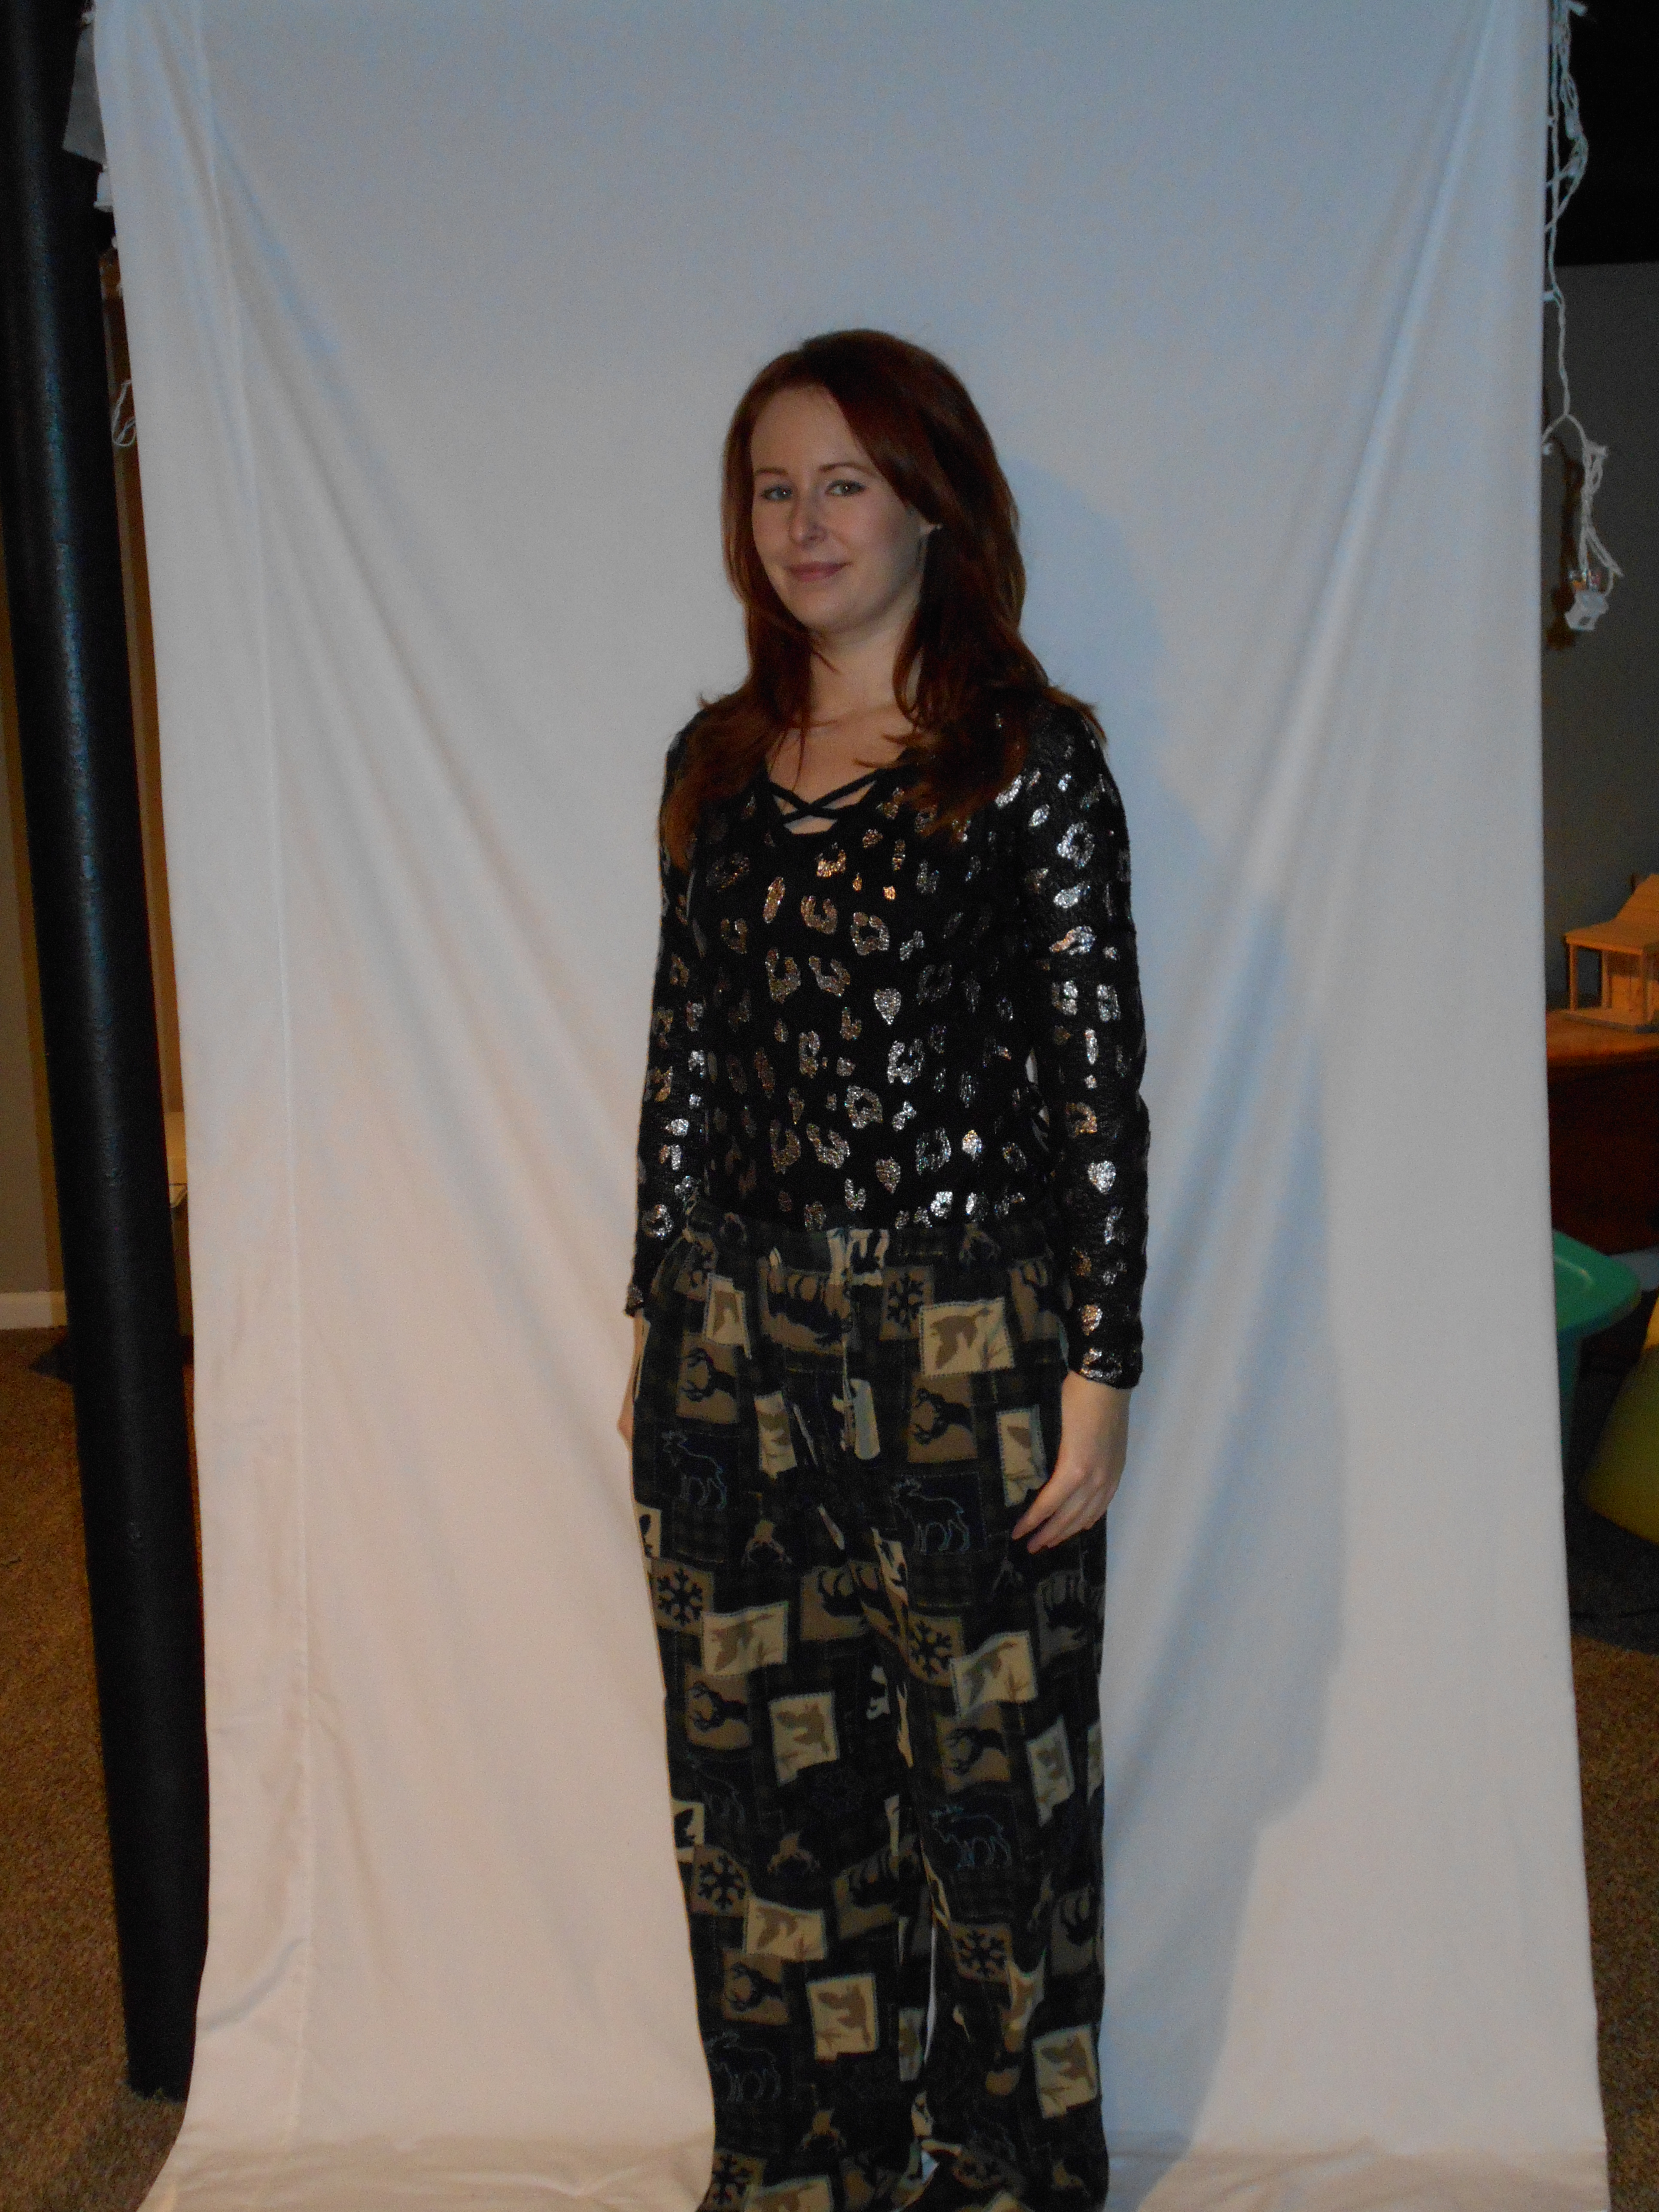
DSCN1457
It may be hard to see in this picture but these are wildlife themed jammies! They were so cute I just couldn't "bear" LOL to donate them!
My inspiration for this refash came from the 90's.
Does anyone remember the cropped shrug?

When I was a young fashionista I was in LOVE with these! And I guess I never fell out of love with them.
So here ya go, I'm reliving my younger days. I will have a new handmade cropped shrug!
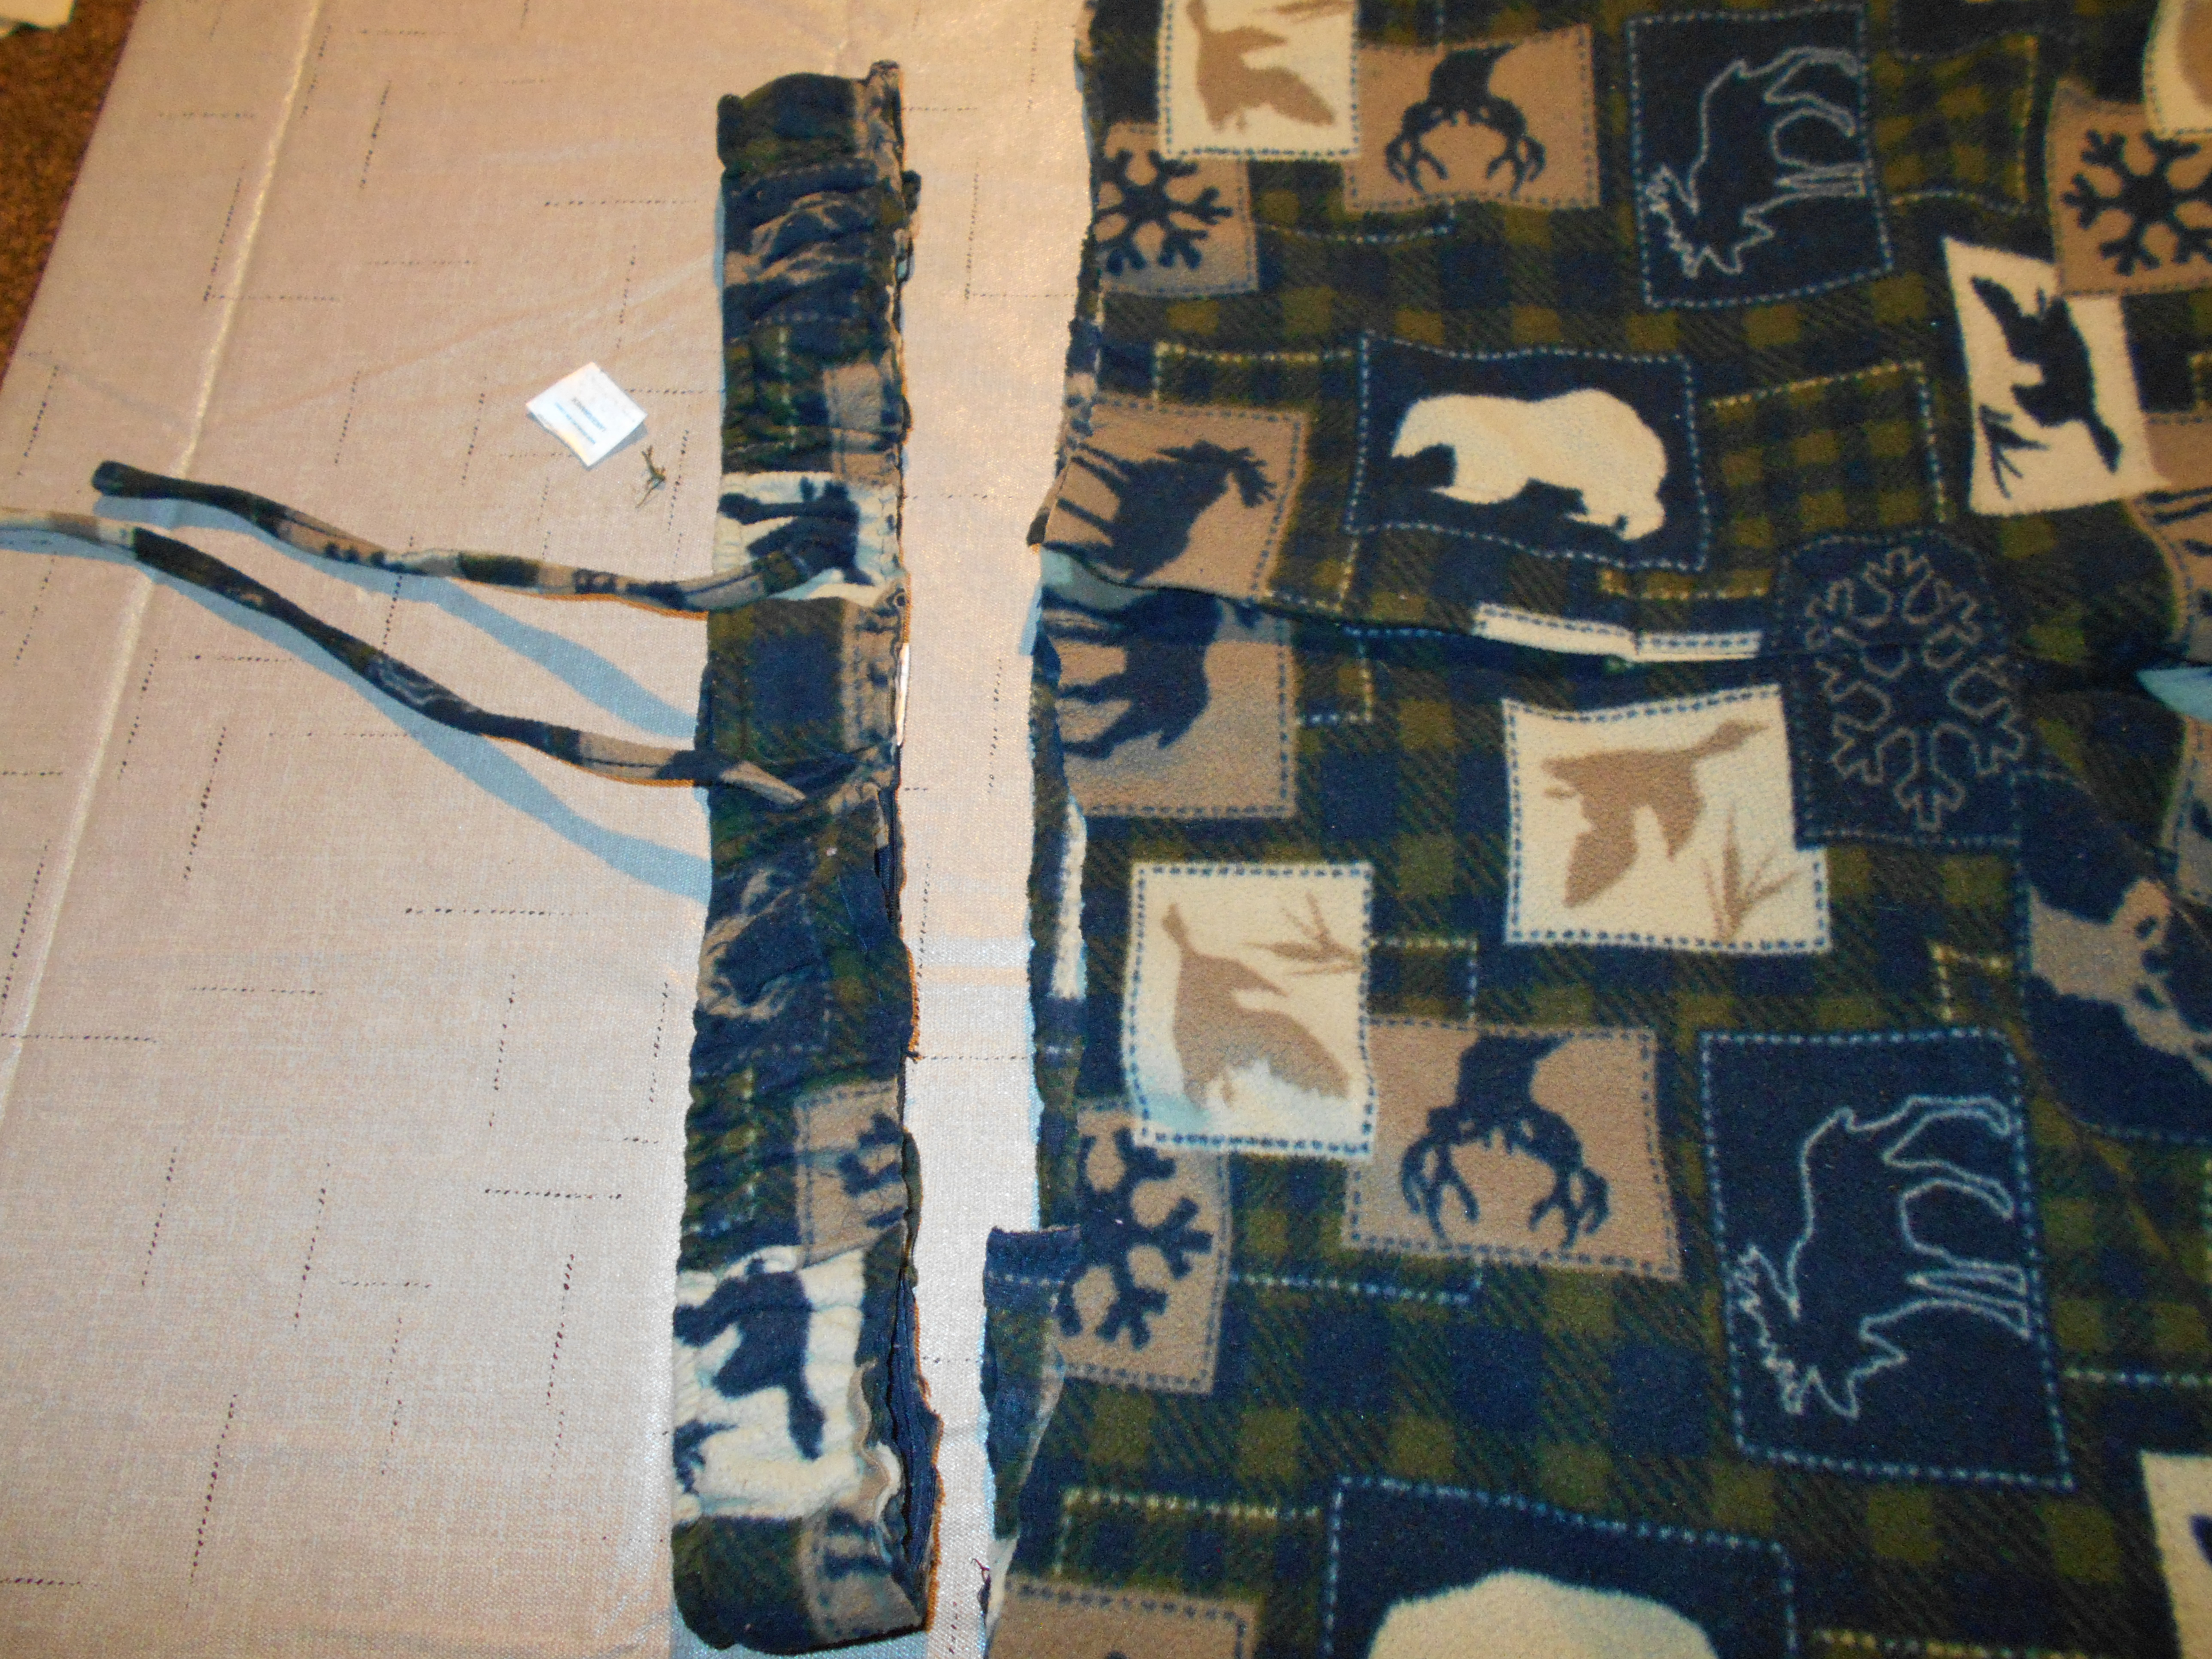
DSCN1466
I started by cutting off the waistband. I also took the fly button off and saved it. No sense in wasting a button!
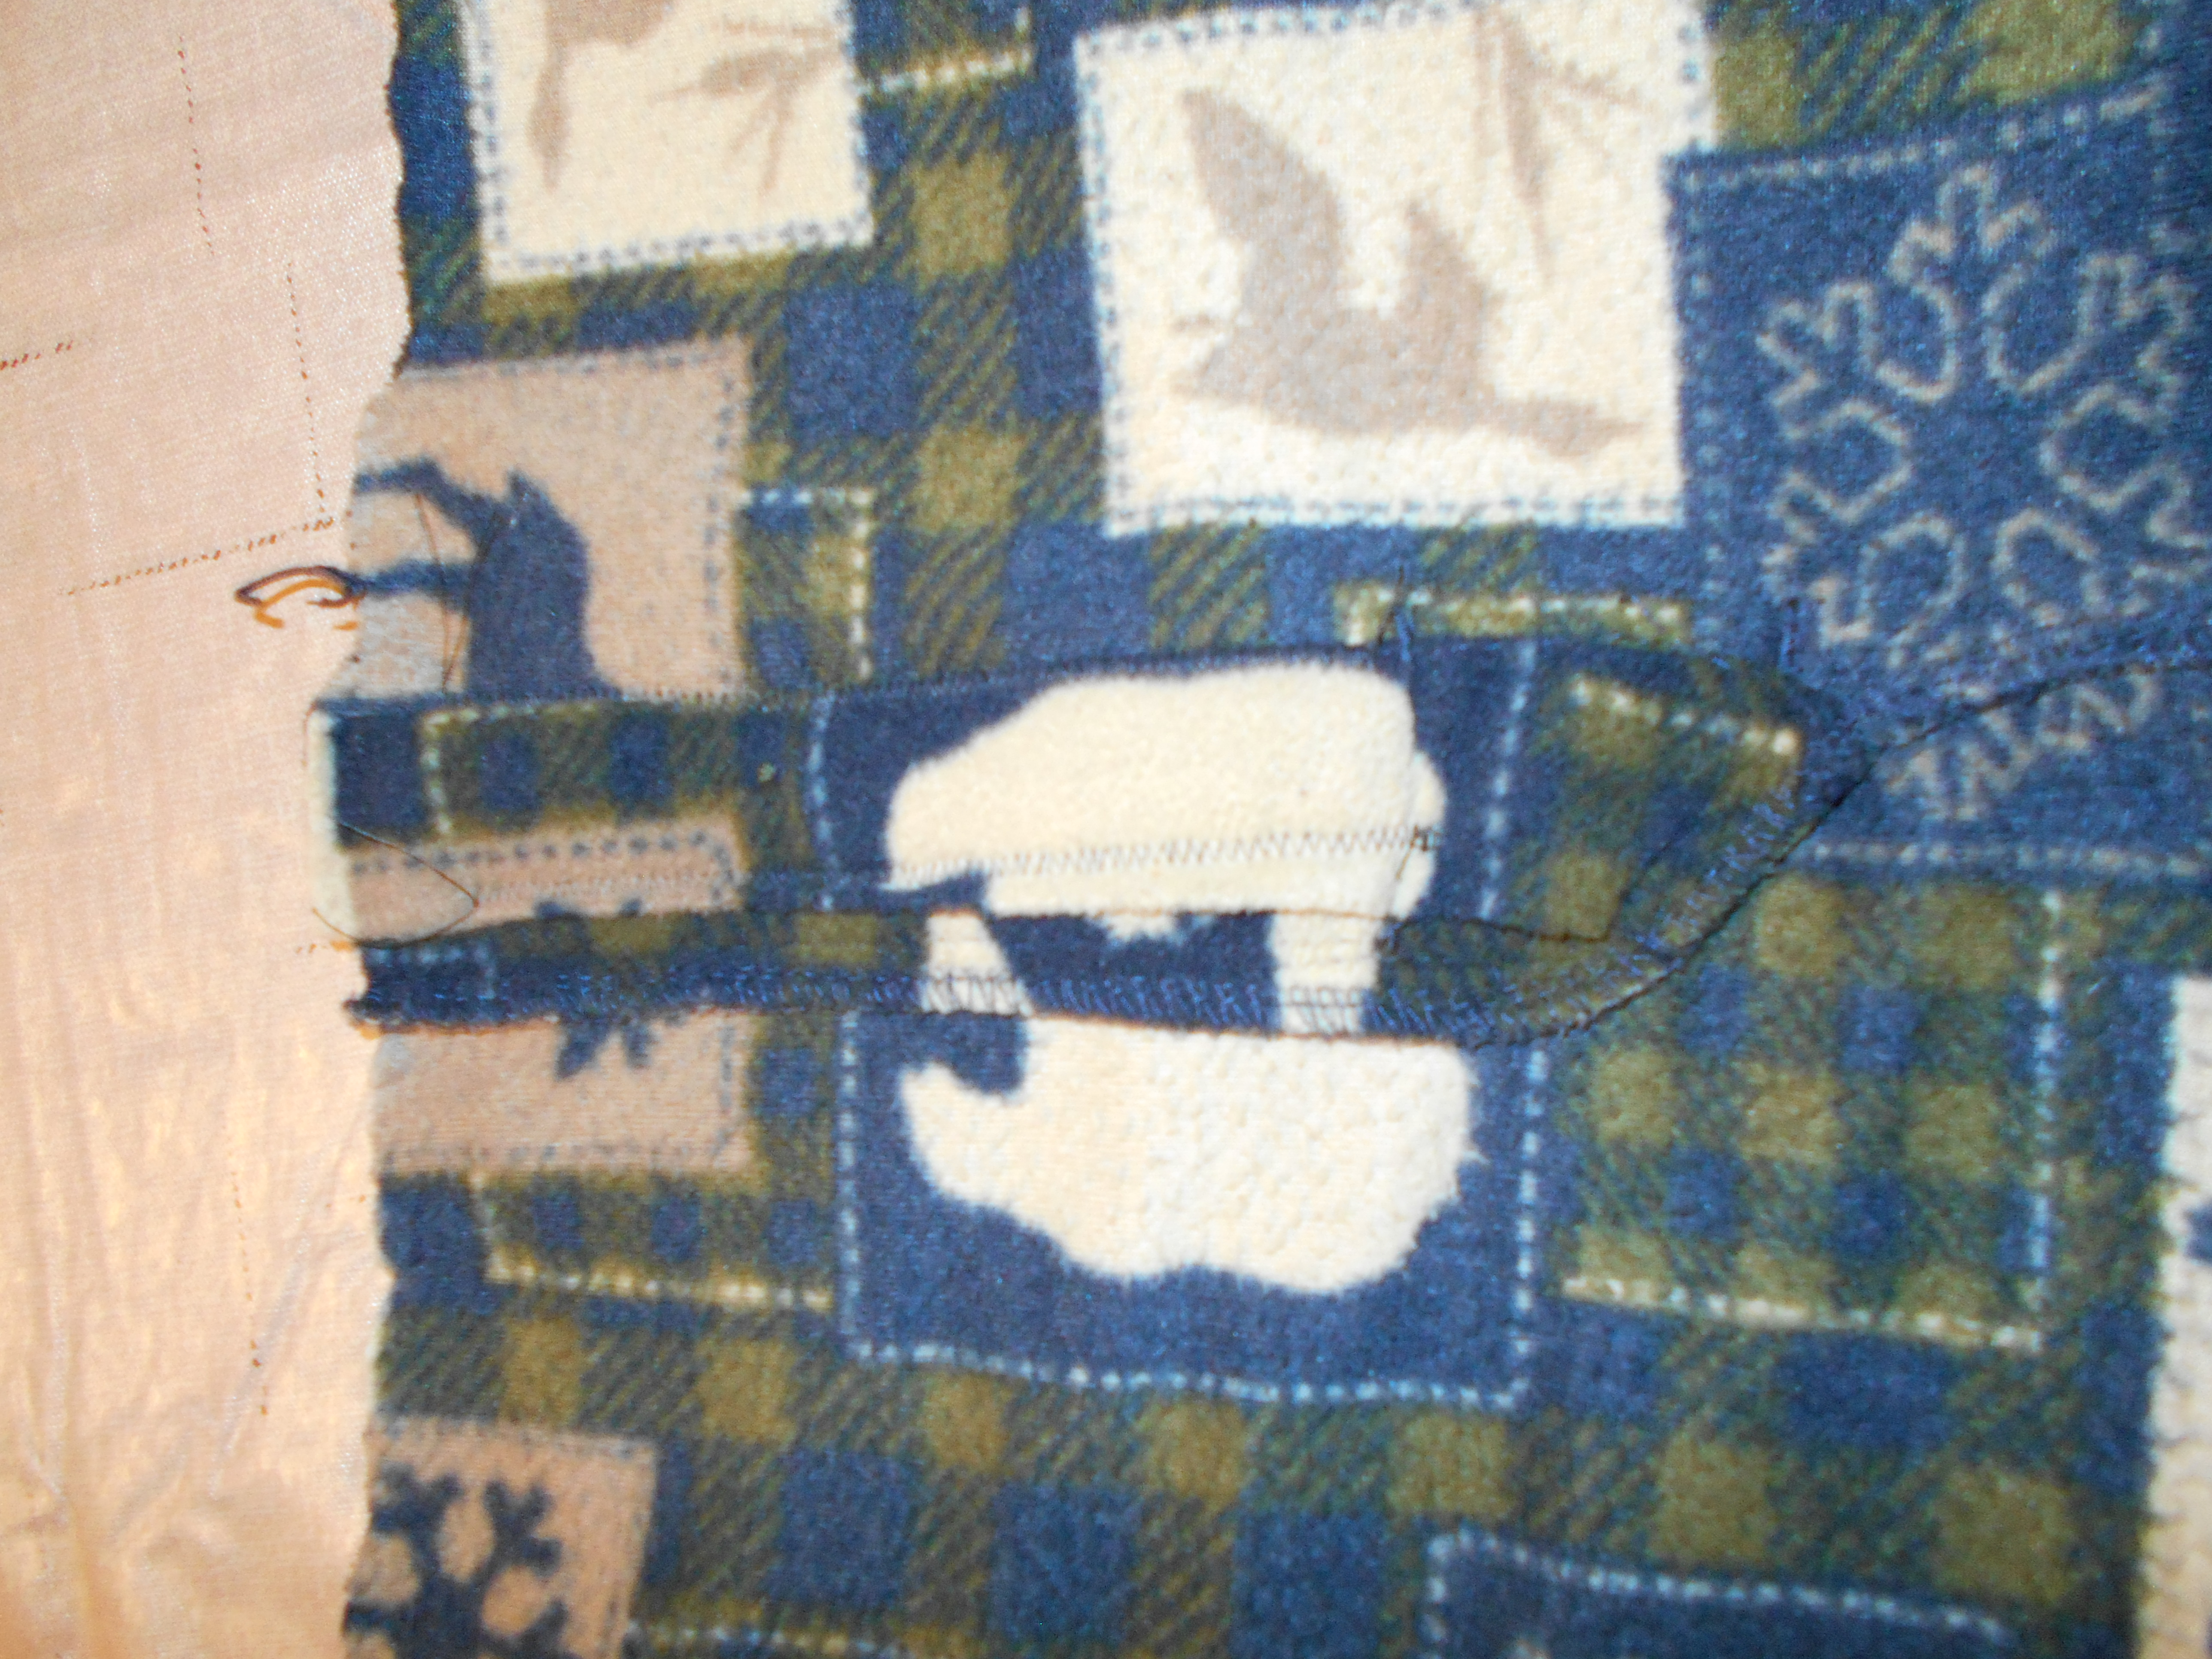
DSCN1467
First order of business, I sewed up the fly.
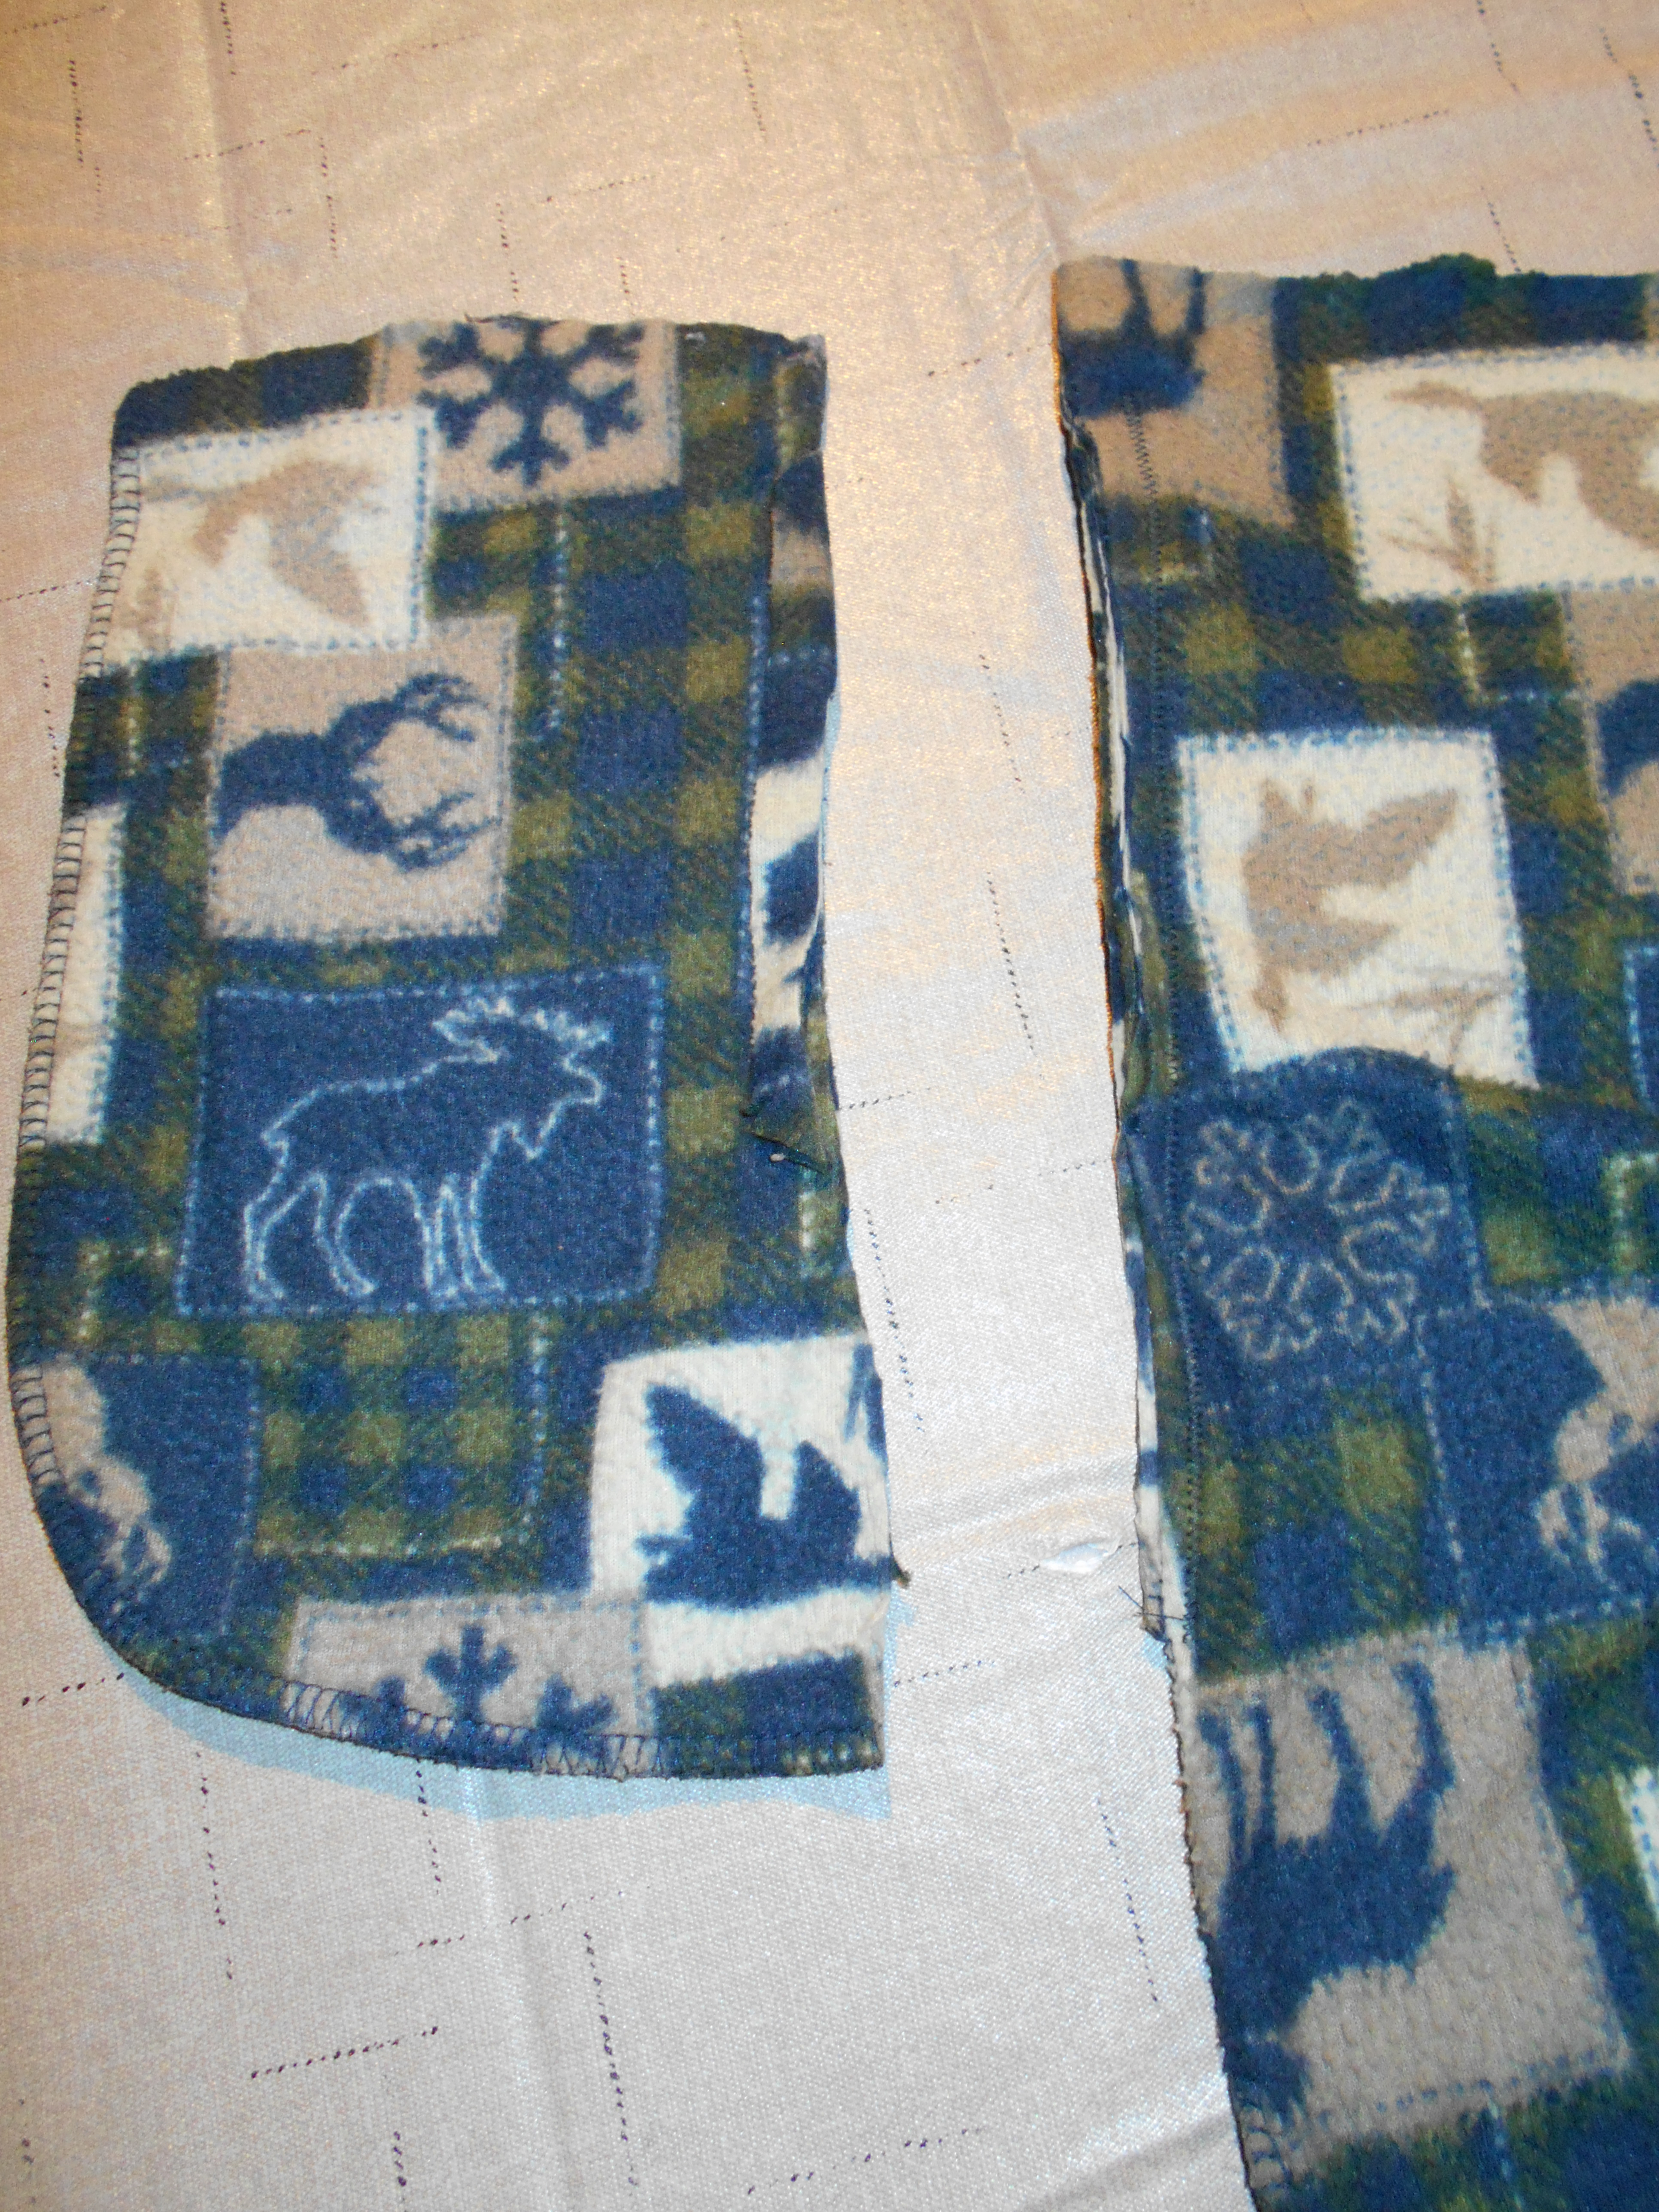
DSCN1468
I also sewed up the pocket holes and trimmed off the pocket material.
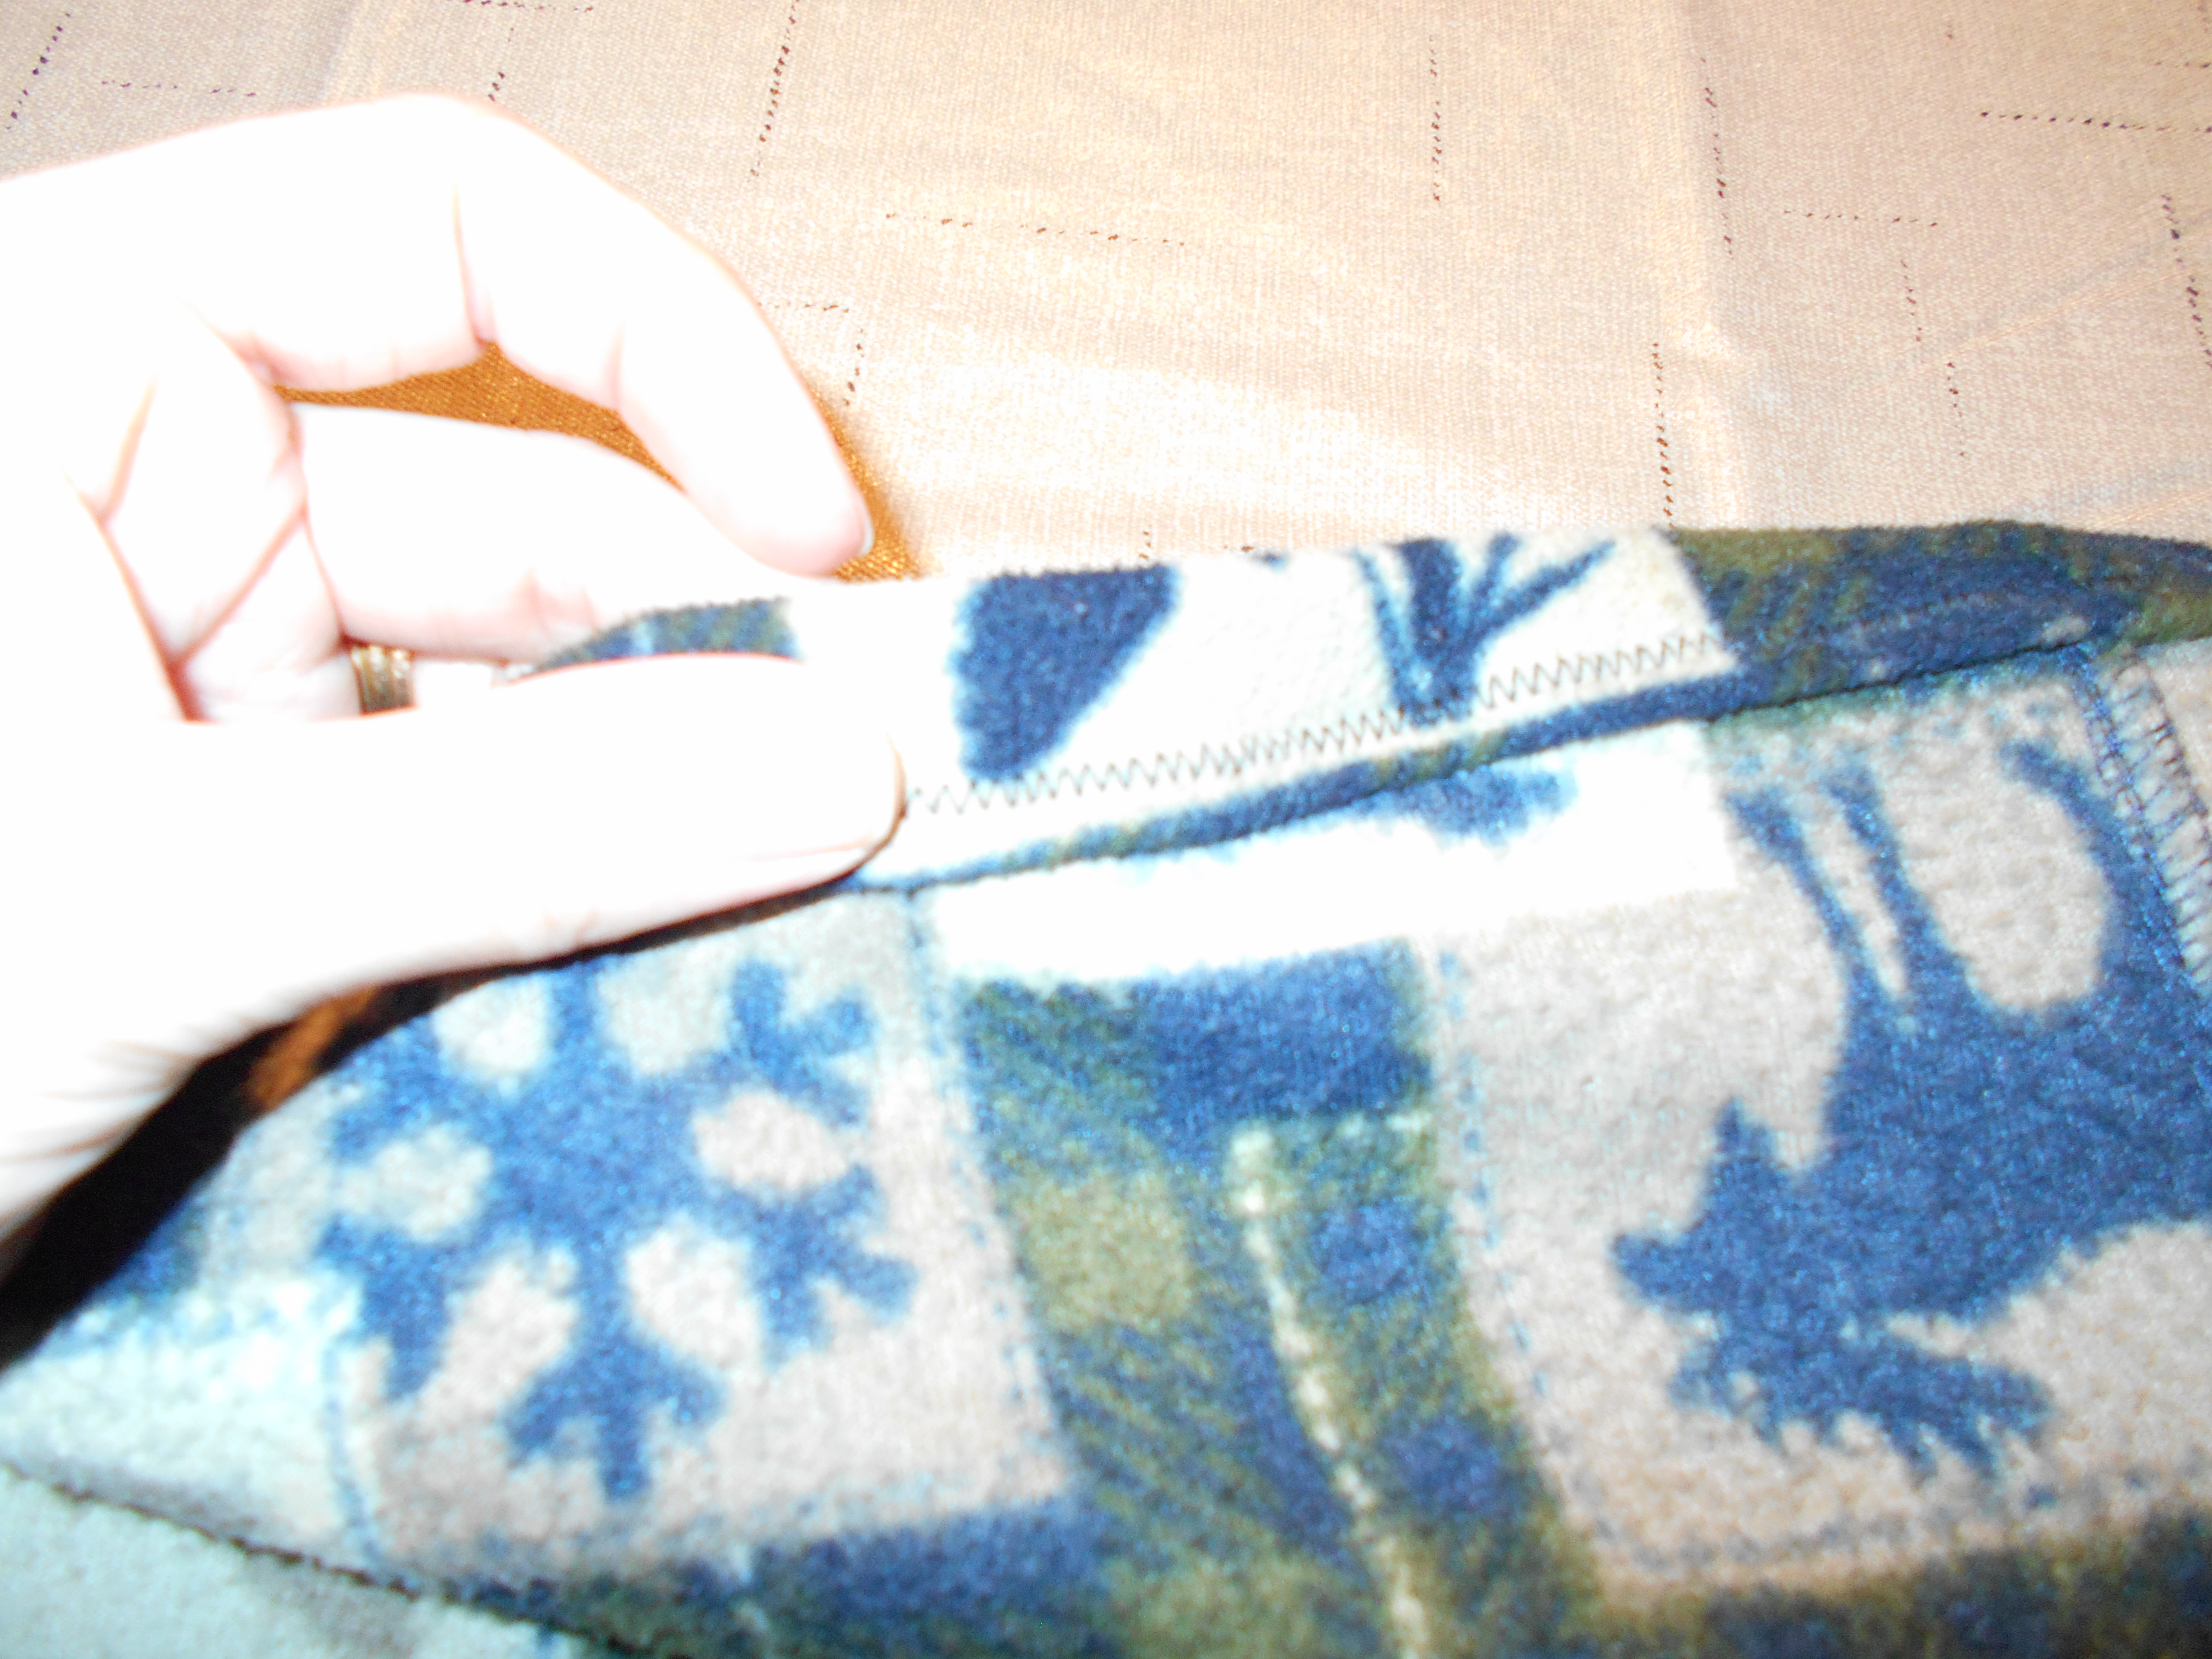
DSCN1469
I sewed a new hem around the top.

DSCN1470
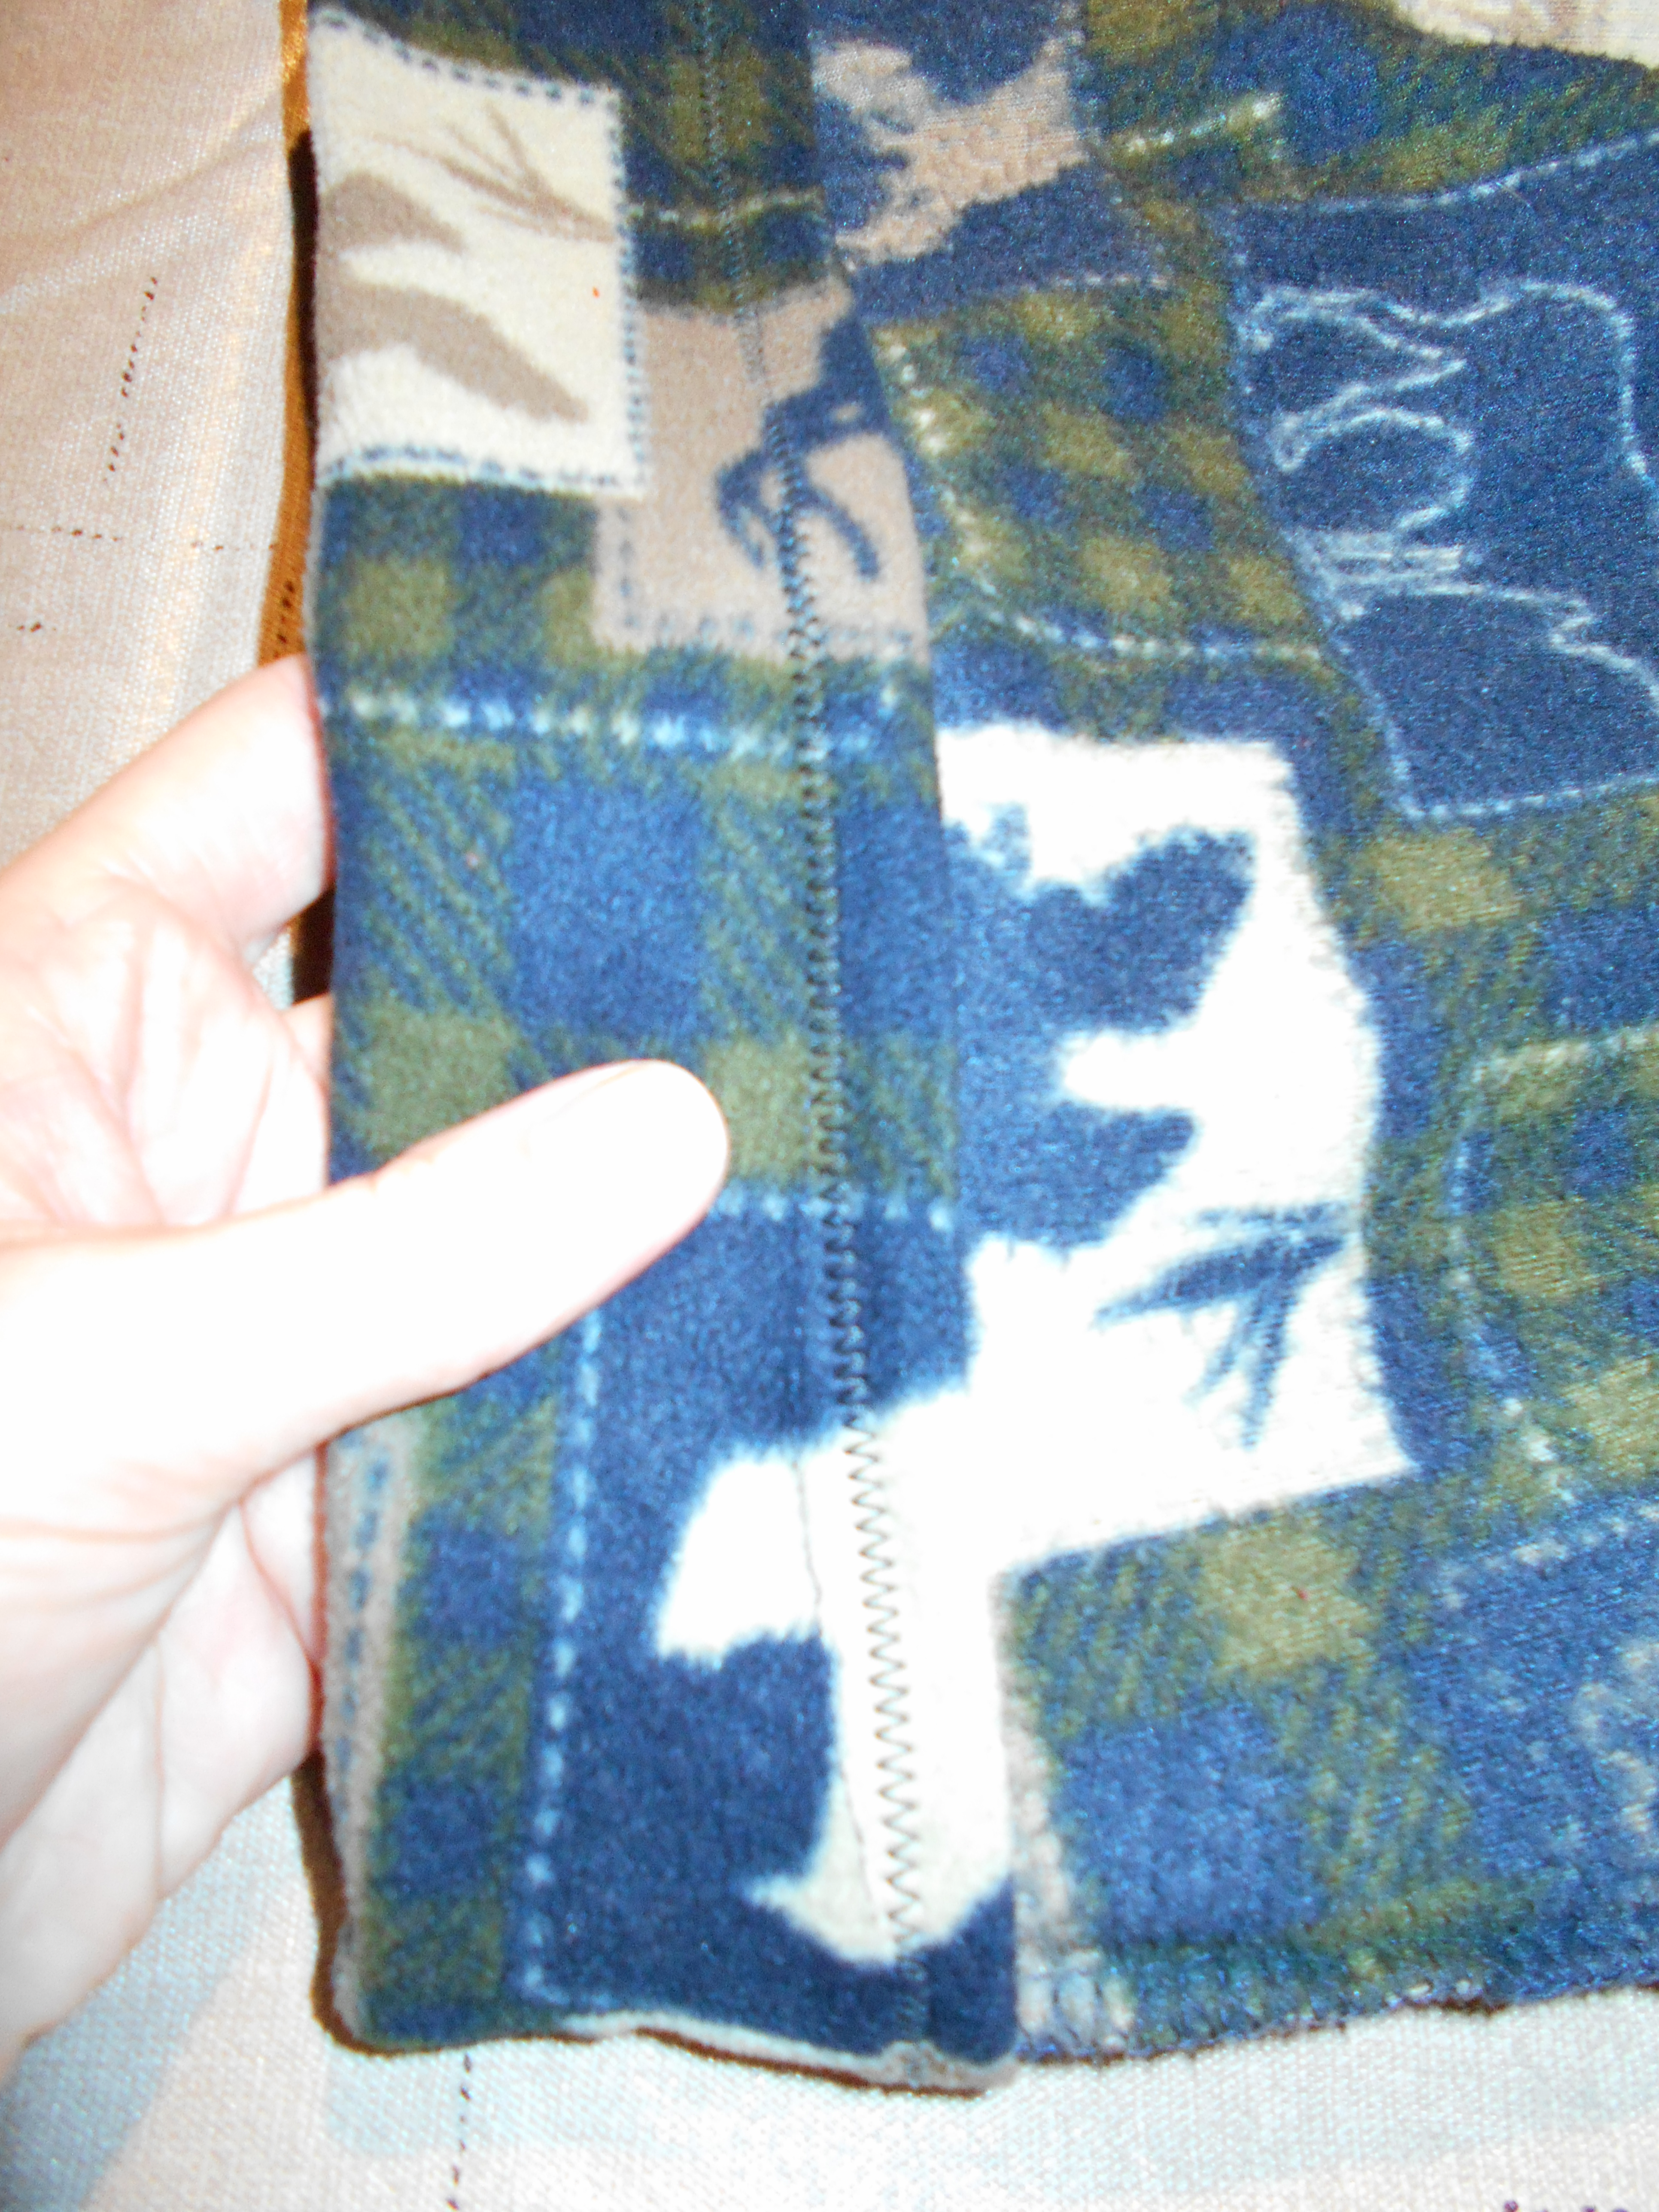
I folded over what, used to be the original bottom of the pant leg, to make a new 2 inch hem for my sleeves.
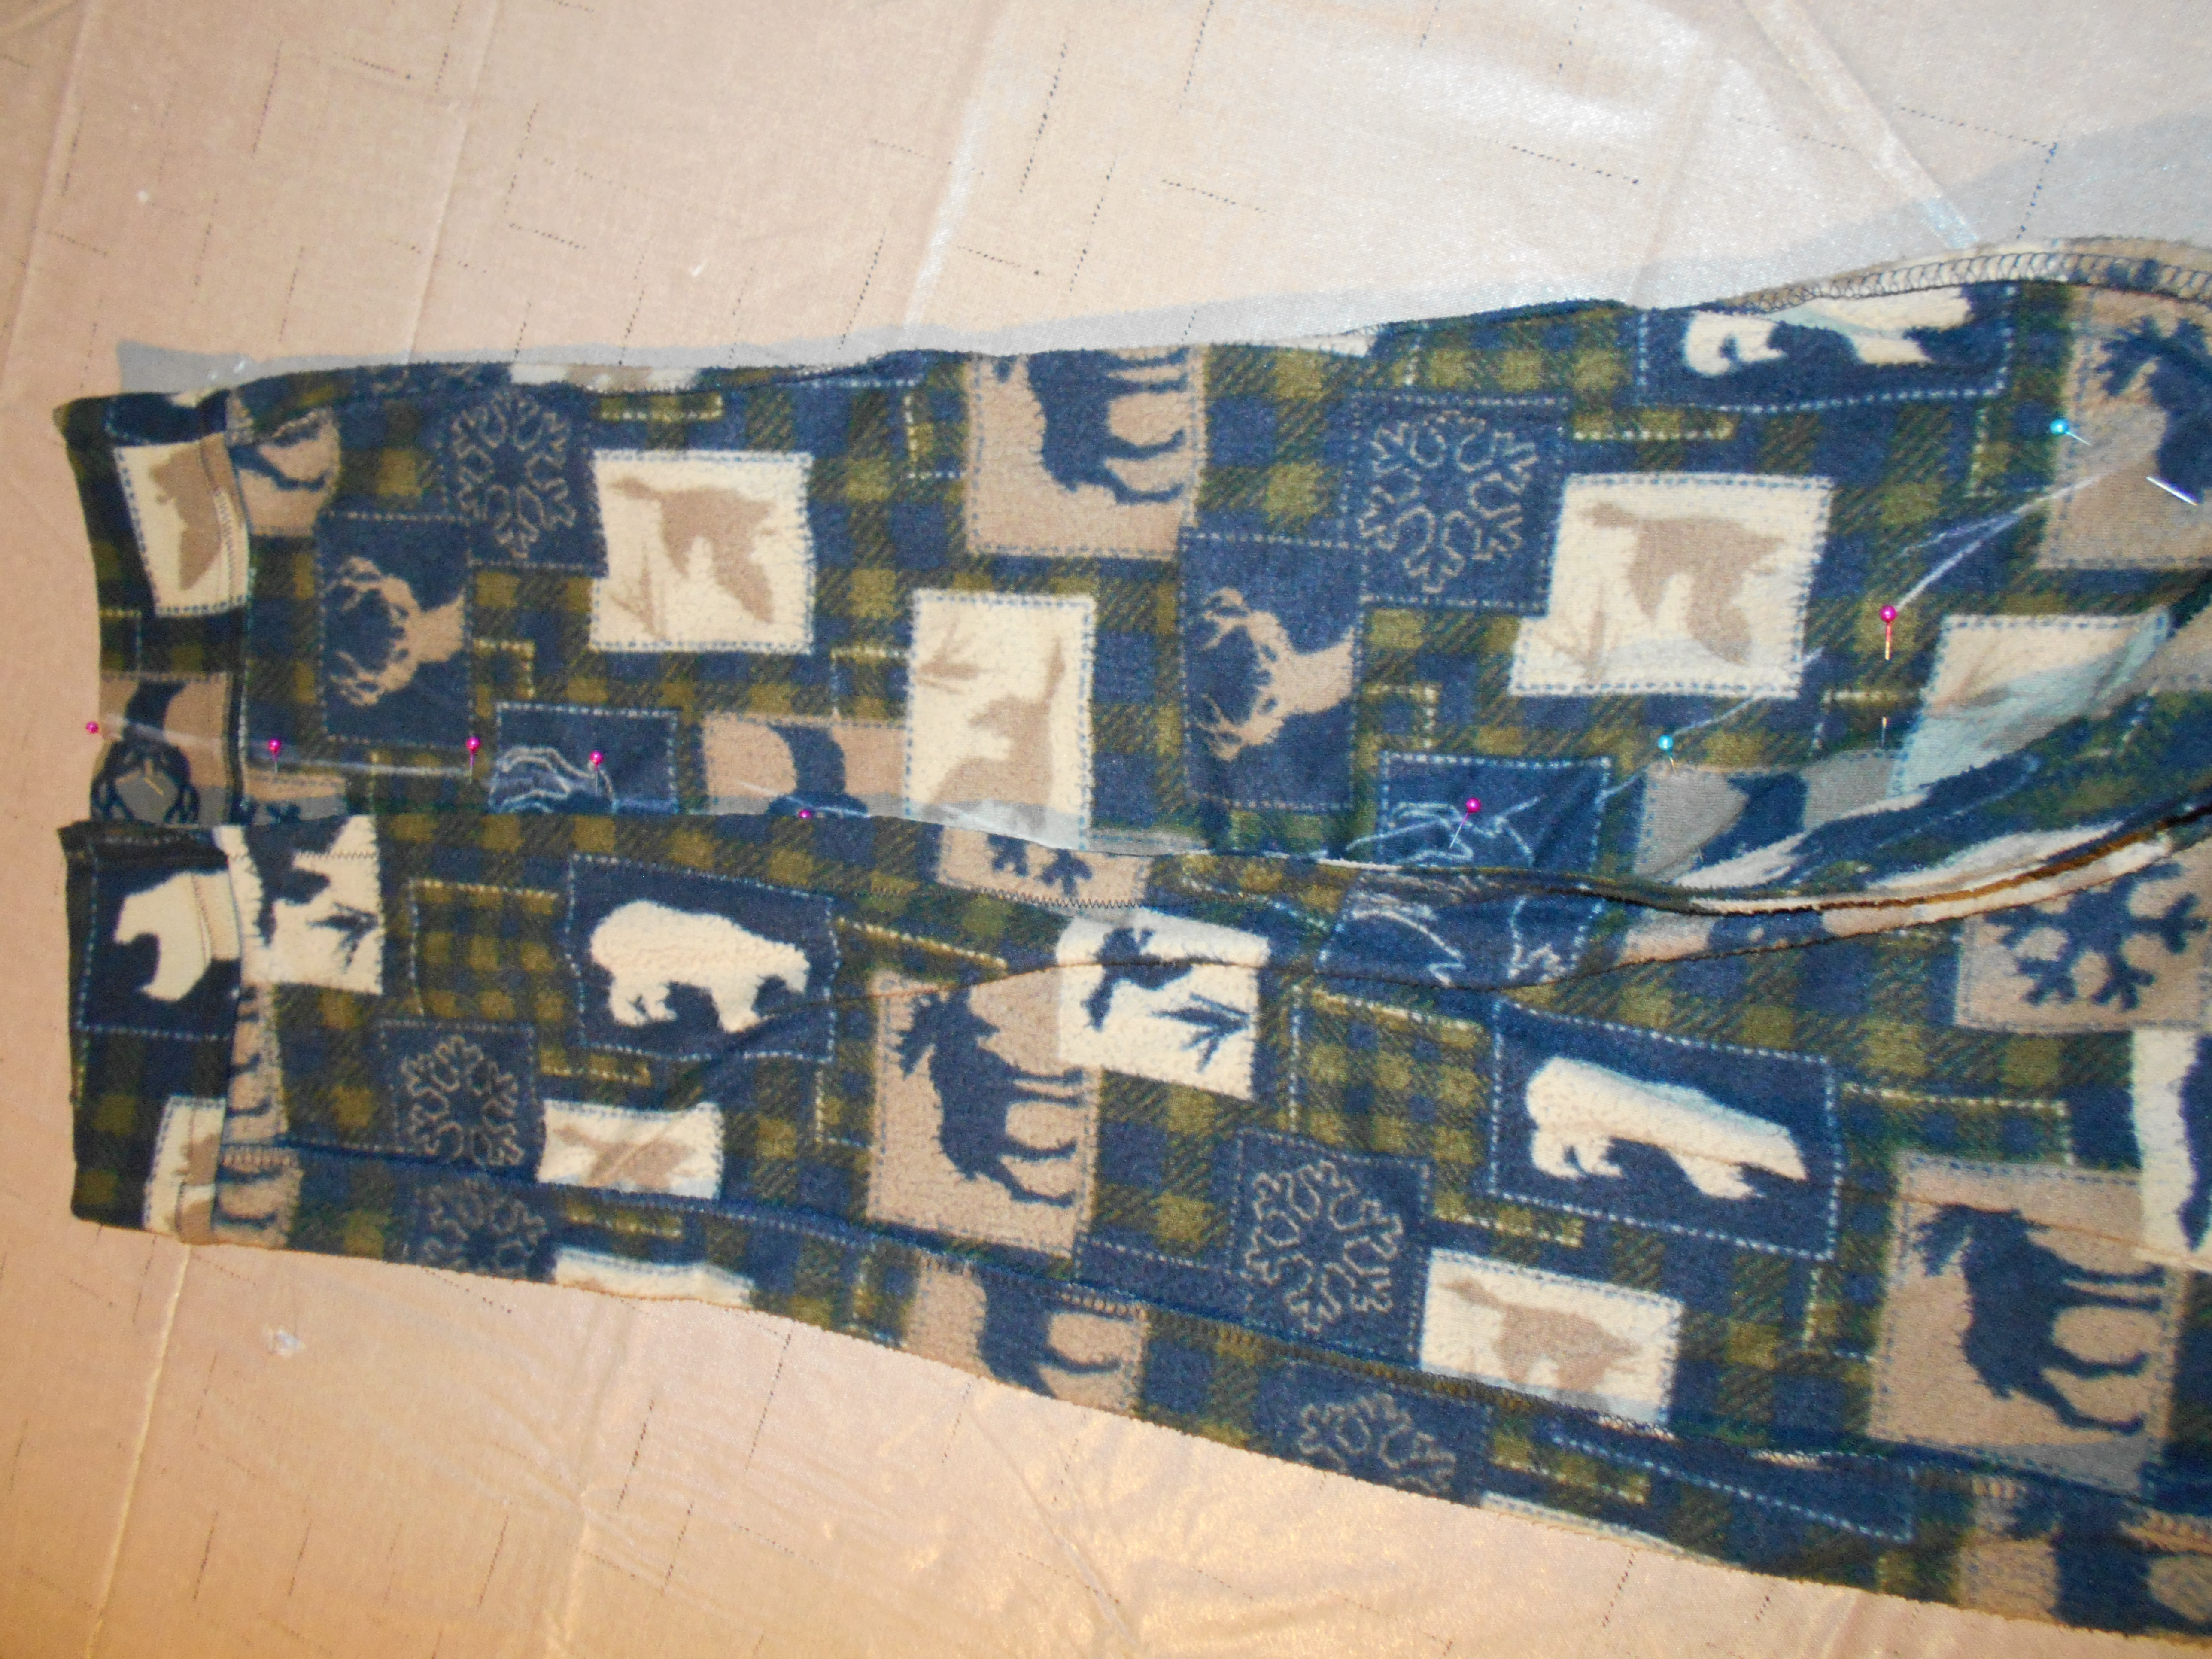
DSCN1471
After I finished the new hem for my sleeves I had to slim the pant legs down to make them fit more like sleeves! I kind of free handed one sleeve and placed it over the other sleeve to trace it as a pattern. With that done, I stitched it up!

IMG_0717[886]

2018-29-01-20-14-24
Happy Refashioning!!!

Check out my stash of refashions on my blog

Horizontal Stripes and Dye

Hello Refashion Co-op. My husband was getting rid of this striped shirt so I decided to see if I could make something for myself with it. It was soft and almost felt like flannel. And it matched these wine colored jeans nicely. The shirt is a little too big and the jeans were a little too faded, and big.
 
 
I didn't want to change the color but I wanted them to look a little fresher. I tossed them in the washer with some Rit dye.
 
 
I took the jeans in on the sides and hemmed them to make them shorter. Easy peasy, right?
 
 
I changed the shape and size of the shirt and made 3/4 length sleeves. I thought I was done.

 
I just wasn't happy. Do you ever look at what you just made and not really like how it turned out? The shirt just seemed too big and there were so many stripes. And the jeans felt too baggy in the calves. Back to work......
 
 
I made the shirt a bit smaller and shortened the sleeves too. It wasn't a huge change but I thought that they would fit better.

 
Now I was finished. It took longer than I thought it would but that's the way it is sometimes.

 
Thanks for reading this post, for more details and pictures go to I Can Work With That.


Tuesday, February 06, 2018

denim jacket 👀

przeróbka-kurtki-jak-zwęzić-kurtkę-jacket-refashion-blog-o-szyciu-i-przeróbkach-sewing-denim-jeans
Do you have plain jacket and no idea 👀 how to 
Let me give you few nice ideas 😉

DENIM JACKET BEFORE


  during work 👊 

Ready jacket 👍

Front of a denim jacket 

back of a denim jacket 

DENIM JACKET BEFORE AND AFTER REFASHION

I really like the new look of this jacket 😃

Saturday, February 03, 2018

Patch it up

Ironing on an embroidery patch is at the low end of the ingenuity spectrum, but it is still a way to  give new life to something damaged, or just something you're tired of wearing. So I guess it still counts as a refashion!

Here are two things I recently freshened up with some iron-on patches.

A pair of jeans which I didn't much care for became a lot more exciting once I ironed on a pretty blue spray of flowers. (Sorry, I didn't photograph this process, but I bet you can guess what they looked like before!)


My old combat boots were destined for the trash until I realized I could cover up some of the scuffs and make them trendy at the same time by adding some rose embroidery. I couldn't iron those patches on, so I used Tacky Glue. Tacky Glue is not waterproof, so I figure it will be easy to remove the patches and replace them with something else, if they get dirty or I get bored.
 

Before 

During

After


Here's a little blog post about how I decorated the boots.

Friday, February 02, 2018

The Jeans That Scared My Child

Hello Refashion Co-op. I recently did some mending for my little guy. I saw this idea on Pinterest when he was a baby. I had wanted to make these little monster jeans for a long time. I was waiting for him to get holes in his jeans. I was so excited to make these.
 You can tell from the title that it was not going to end well.
 
 
I got some scraps to fill in the knee holes from the inside. The red was going to be the mouth and the white would be teeth.

 
I made the mouths out of scrap fabric and the little monsters had overbites. I thought it was cute so I left them as they were. I used white and black buttons to make eyes. I was excited to give them to my 2 year old.

 
Have you met any 2 year olds? He picked up on my excitement and of course hated the jeans at first sight. He didn't want to wear these jeans and I could barely get him to try them on. He immediately took them off. Ugh, it got worse.
 
He saw them in his room later when he was supposed to be taking a nap and began to scream and cry about the faces. The faces were looking at him. I had to remove them and give him a lot of hugs to get him to go back to bed.
 
So, it seems that I made them for nothing. For more pictures and details go to I Can Work With That.