Showing posts with label lolo. Show all posts

Friday, December 16, 2016

Creating An Awesome Shirt!

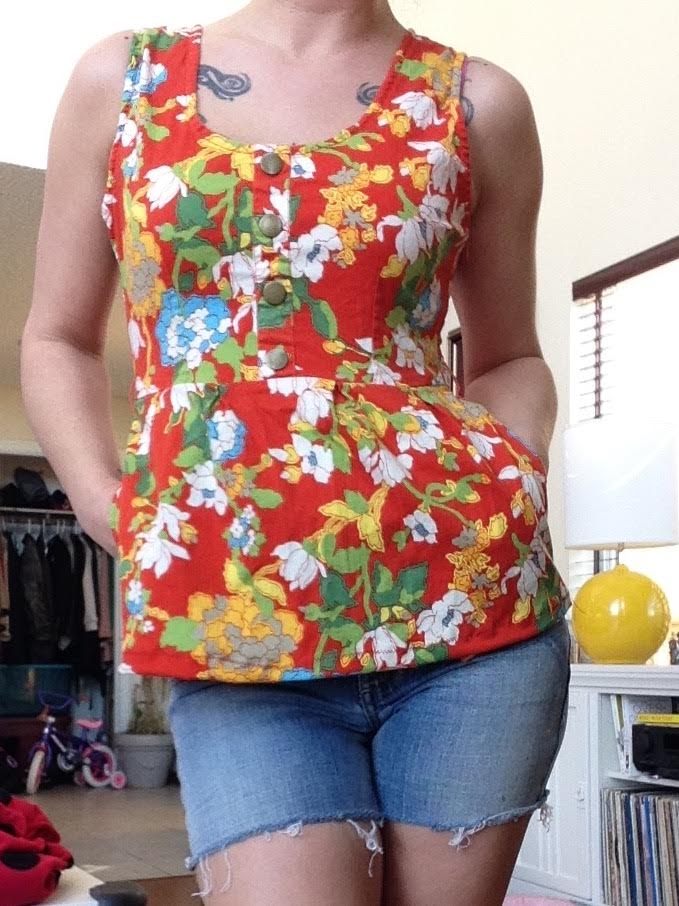
I fell in love with this dress at the thrift shop. The top has a cute ruffle and the print is amazing! Oh and pockets- it has pockets!!! What I didn't fall in love with is the skirt portion of the dress. Its very short and narrow. Narrow being the worst part about it. No room to move. And not very flattering. But that print just had to be had! So I bought it and decided to create a shirt out of it. No zippers to worry about, just a simple hem. This is an easy refashion. Here is the dress:


So I snipped off the length under the pockets, leaving room to create a new hem.


 I folded it over twice to prevent fraying, pinned it, and stitched away!


Here is my new shirt:

Please excuse my lack of a head- its a bad hair day because Im not leaving the house so I refuse to take it out of my sleeping bun!

Monday, October 31, 2016

Vintage Dress Needs a Fix

I have this really neat vintage dress that is really well made and pretty intricate. Unfortunately its too long for me and so all these years I have never worn it. With my moms help we went bout fixing it. The first thing I did was hand sew some spots where the beading had started to come loose. I made sure it was all nice and tight and then we got started on making a new hem. Here is the dress:

Its also missing a belt!

First we measured and then cut off the bottom with pinking shears.


Next we sewed a lace trim on the bottom.


Then my mom hand stitched the new hem so that you wouldn't be able to see it from the outside. She made tiny little stitches that I would never have had the patience for but Im so glad she showed me how to do it because had I sewn it the way I normally do with the machine it would not have looked as good.


After that we ironed the new hem down.

We also had to cut the lining and sew a new hem on that. The lining is sort of rough feeling because its old and my mom thought I should remove it but I opted to keep it because it adds some fullness to the skirt.

Hem the lining

Can you even see these tiny hand made stitches!?

Inside view. Tiny folds in the hem to keep things straight.

So here it is after- I still need to find a belt or sash that will work with the dress. I was too lazy to button it up all the way for the pic and find proper shoes. I need to wear it out and update with a new pic once I do!
And the results!


I made a blog post about it here!

Sunday, September 25, 2016

Dress To Skirt- A Fashion Save

I picked this dress up from the Goodwill a week ago. I love the orange silk top and the skirt is really cute with buttons and pockets. I LOVE pockets! I tried it on and there was one issue. As you can see in the image below one side bulges out. And you probably can't see this in the image but the other side pulls to the center slightly. I was about to give up and sadly place it back on the rack when I suddenly had an idea. I could turn this dress into a skirt! The skirt was really what made the dress anyway so I wouldn't miss the top too much despite the fact that I also LOVE silk.

Uneven sides are no bueno.


I love the way it turned out. SO much better! Maybe I will turn the silk top into a sash or something for another refashion.

To see pics and a description of the entire process please check out my blog about this project!

Sunday, September 04, 2016

Make Kids Clothes Last Longer

I have a couple new refashions to share but this last week I have been so busy refashioning the furniture in my house that I forgot to post about the clothes! So I will start with the easiest one I did. My 3 year old has one onsie left that almost fit. She JUST recently got too tall for it. So I made it into a t-shirt! Now it will fit for another year. Here it is:

Sorry for the dark pic- its getting dark out earlier now

First I folded it in half so when I cut it would be even on both sides:

SNIP
Then I pinned it:


I chose to sew it using a dark thread because it matched the printed picture. I also used a zig-zag stitch so it could stretch.


And here it is!


Sunday, July 31, 2016

A Racy Refashion

I found this dress at a thrift store and I liked it.... BUT its not a dress I would wear. Im more of a flowy A-line dress wearer than a tight dress wearer. I knew I could solve this dilemma with a quick refashion. So I have set out to reduce the raciness of this garment.

Here it is in all its tight and ruffly glory:


After some simple alterations which you can read about and see more of here in my blog, I ended up with this much more useful shirt:


Friday, July 01, 2016

This Is A First For Me- No Pattern!!!

My toddler has recently gotten a larger bed and now her old bed sheets don't fit. Well the top one still does but there is no hope for the fitted sheet... or is there? I have decided to take on a seriously challenging refashion for me. I want to turn this sheet into a dress! I have never made anything with or without a pattern though. Because this is challenging and a lot harder than I expected I have not finished this one yet. Im going to post it anyway though in hopes I can get some advice and suggestions from you lovelies. Once I finish it I will come back and either update this post or link to the next phase of this refashion. So it will be like part 1 and part 2!

Heres the sheet. Its a "Frozen" bed set.


First I cut off the elastic band:


Then I cut into the corners so it would lay flat:


Then I got out on of my toddlers dresses to determine the size of the neck and arms. Note: I am NOT going to make a copy of this dress- just using it for sizing. I plan to make more of a mumu style dress with no sleeves.


I got out my fabric pencil and started tracing.


Next I folded it in half with the intent of cutting so that both sides are the same. But I didn't cut yet! I stopped there because I thought I better seek advice before moving on. Just in case.

So- any helpful advice for someone who isn't a super great sewer and has never used a pattern?

Update coming soon!!!

Sunday, May 29, 2016

Fixing A New Dress

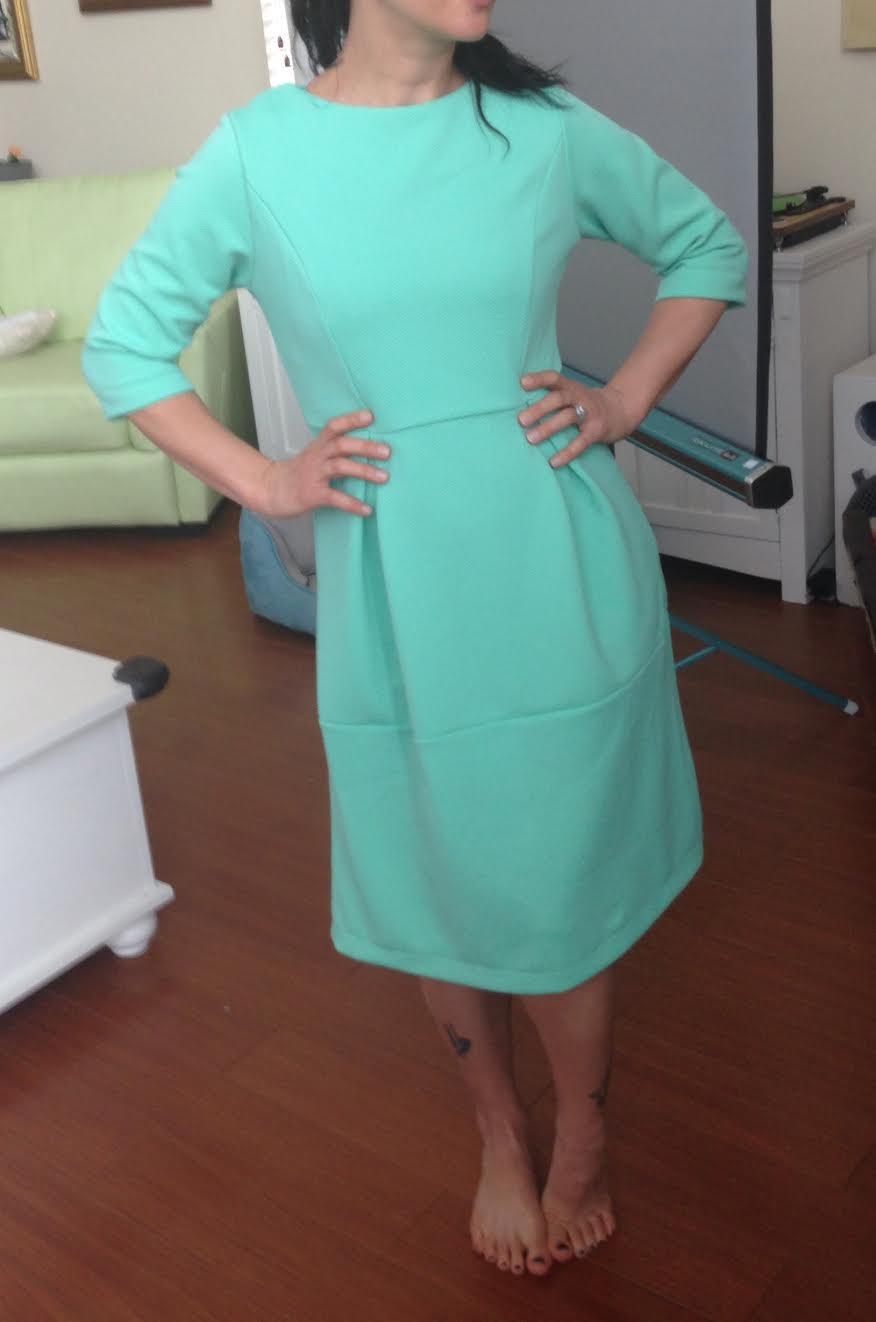
I bought this new dress from Shein.com. It looked super cute online. Of course the model is probably a lot taller than my 5'4" height. I knew it may be too long but it was more than too long. It was also too big in the sleeves and just wasn't fitting right. Let me show you a comparison:

Modeling wearing dress on Shein.com


Me in the same dress :(
I couldn't return it because shipping it back to NJ was going to cost as much as the dress! Next time I will know to order smaller.

So I got to measuring and then pinning. I put the dress on my dress form and pulled the hem up and pinned it. I planned to cut off the extra after sewing it, that way I could make sure it was the length I wanted it in case I needed to redo it. I would later regret this decision.

This will turn out to be a bad idea.
Then I hemmed it. I tried it on and its all good so I cut the excess length off.


So next up was the sleeves. Im not going to try to make them tighter but I did make them smaller. I thought about removing the cuffs and resewing them on but when I tried to pick out the thread it would snag the material so I abandoned that idea and just did a normal hem.


Not too difficult of a refashion. Actually this may be more of an alteration than a refashion. So its not exactly my dream dress but it is a lot better than before. Im still thinking about taking it in on the sides but I haven't decided yet. It IS still a bit too big in the waist and on top.


Check out my my blog post to see why I regretted the way I hemmed this dress! 

Sunday, May 01, 2016

Vintage Accessory Refashion Fix


I thrifted this amazing crinoline slip. Made in the UK. It fit but it was too long for any of the dresses I wear. So I needed a refashioning fix. Its not exactly like my other refashions because its more like a functional fix than a style fix.


I decided I would shorten it from the top so I chopped off the elastic waist and then I chopped off some more length.


Next I folded the top over and pinned it. I made a large fold because I needed space to fit the elastic back in.


Then I sewed that down but I left a two inch space open so I can put the elastic back inside the new waist band.


Next I got out a knitting needle, scotch tape and that elastic piece. I taped one end of the elastic to the tip of the knitting needle and pinned the other end to that opening in the waist band.


I stuck the knitting needle through the waist band until it came out the other side. Then I pinned together the two ends of the elastic and sewed them together.


Next I sewed that opening closed.


Now its short enough to wear under my dresses AND the length is adjustable- I wear it around my waist to keep it shorter and for longer dresses I can pull it down to sit on top of my hips.

Here it is without a dress

And here it is with a dress!
To see all the images of the process please check out my blog entry about this project!

Friday, April 01, 2016

Dress To Top

I have this dress that I don't wear. Its a pity it just sits in my closet because I love the print and its comfortable. Its cute. But it just doesn't do anything for me. Since I always need tops to pair with jeans I decided to turn this dress into a top. Now I will get some use out of it!

Here is what it looked like as a dress. Not a great pic but you get the idea:

Nothing wrong, just not amazin' me!
So the first thing I did was fold it in half length wise and cut half the skirt off. I folded it in half so that both sides would be even.


This dress has pockets so I had to fold them up from the bottom otherwise they would stick out. They were deep so they will still be useful even after hemming them up. I also pinned up the new hemline and sewed that too.

I folded them up instead of cutting them in case it didn't turn out right the first time. This worked out just fine though.


And thats about it! This was an easy refashion to do!


I may even use the extra skirt material to make a peplum layer- not sure yet!

My blog post about this can be seen here!

Monday, February 29, 2016

A Silky Solution!

I found this 100% silk dress at a thrift shop. Silk is challenging to work with for me but I love the fabric so much that it's worth it. It's far too big and too long but thats perfect- I need the extra material to not mess up this refashion! Here is the dress in all it's dowdiness:

A little 90's, a little err.... something!

This dress was a lot of work to refashion. I love the results though! I took it in and made it shorter. Then I used the extra fabric to create layers on top of the skirt, and a belt. There are a ton of pictures from the process on my blog post about this dress. Please stop by there to see all the images. I also go into complete detail on how I did everything too!

Here is my after picture of the completed dress:

Front! I tie the belt at the side.