I apologise for not posting more but it was a bad month for refashioning. I started out the month with a very ambitious refashion that has turned into a long-term refashion. The second I was going to refashion sounded a lot easier. It was so frustrating; I seemed to be doing everything wrong. So I decided to put that refashion on hold. But I still wanted to refashion something. Which is where this top come in
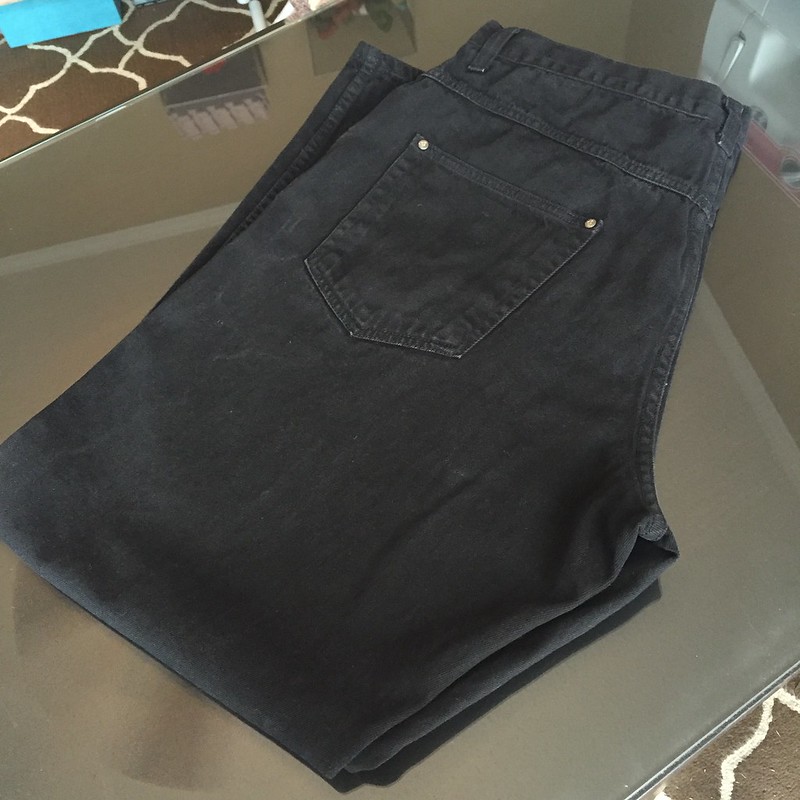
I was looking through my refashioning pile and found this great sweater dress. It is so soft and fuzzy the perfect thing for winter. The were a couple of things I disliked the length and the neckline. I started with trying to fix the neckline. Nothing work for me, so I decide to ignore that for now and work on the length instead. The length was easy to adjust all I did was take the ribbing around the bottom and sew it higher up.
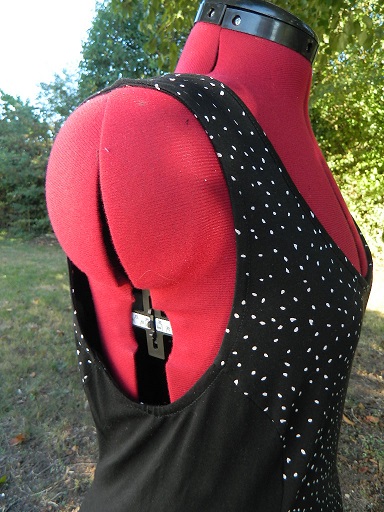
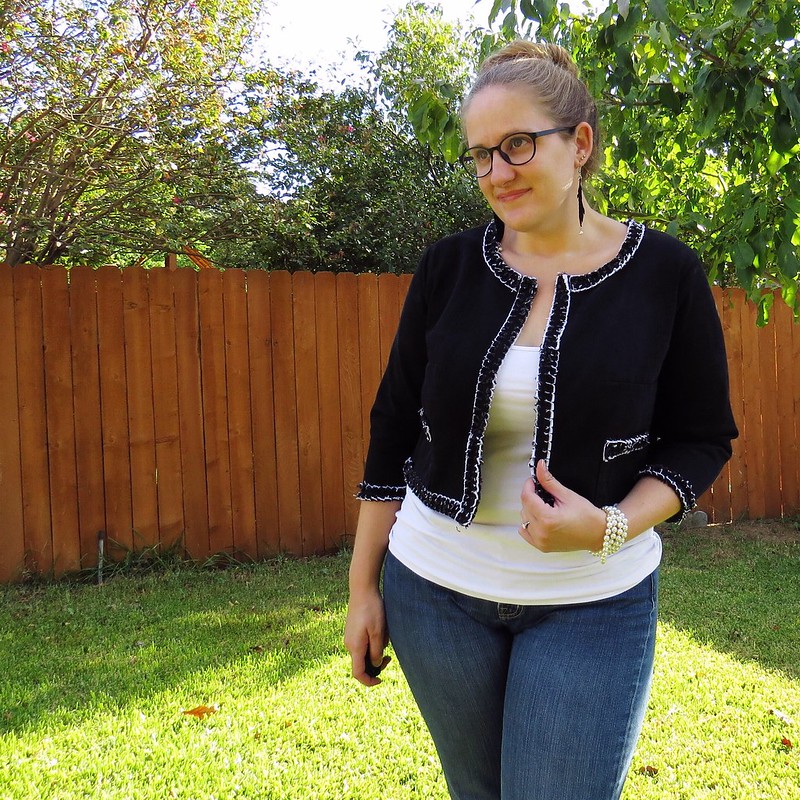
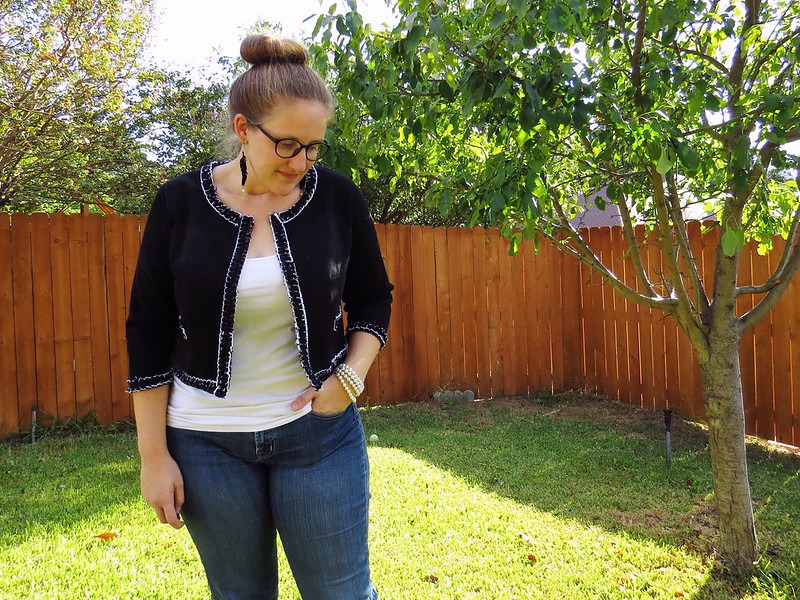
Once I had sewed the ribbing up higher, I tried it on again to make sure the length worked. While trying it on I put it on backwards. This fixed the neckline and I rather like the straight line across.
Now my back is low and while at first, I thought I should add a bow or something. I think I will wear it awhile and see how I like it. Want to hear more details go check it out on.
my blog


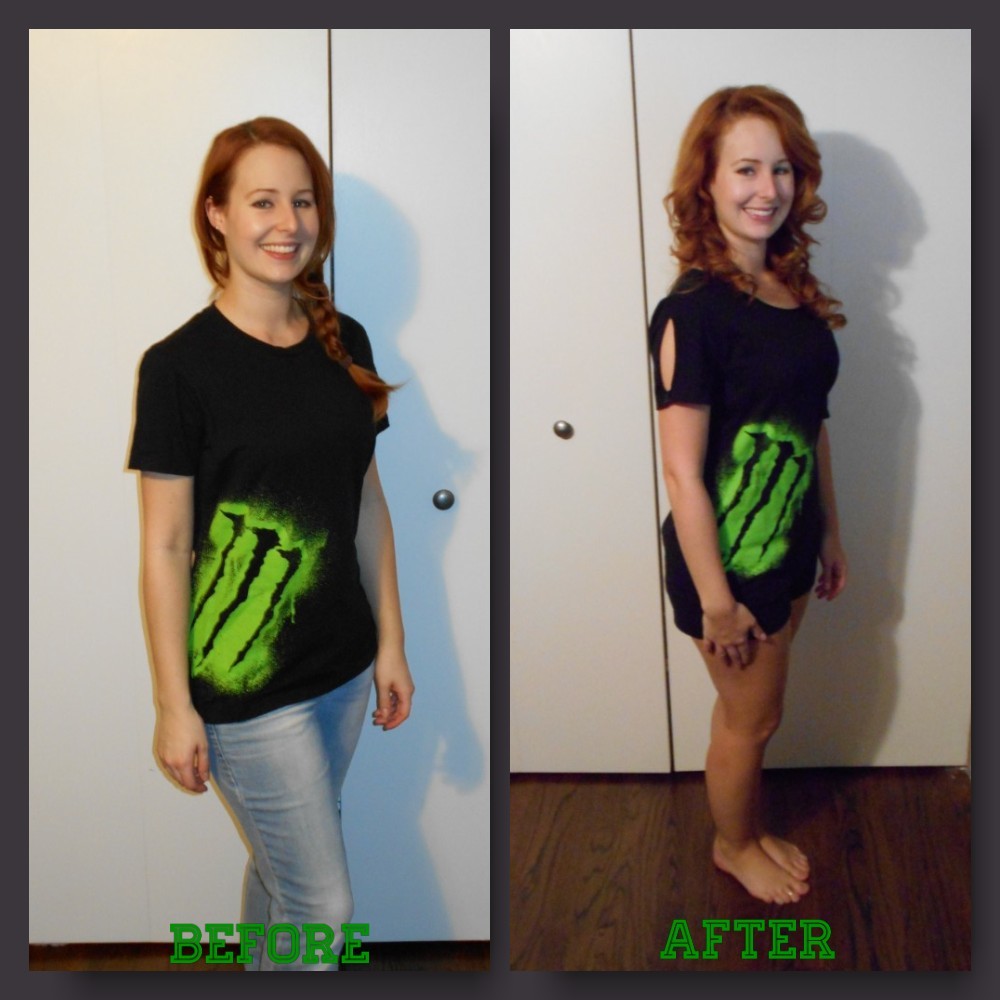
 I started with this awesome t-shirt that my roomie so kindly gave to me! I can't begin to tell you how bad I wanted a Monster shirt back in high school. I can't tell you how it took me 10 years to get one, but better late than never right?!
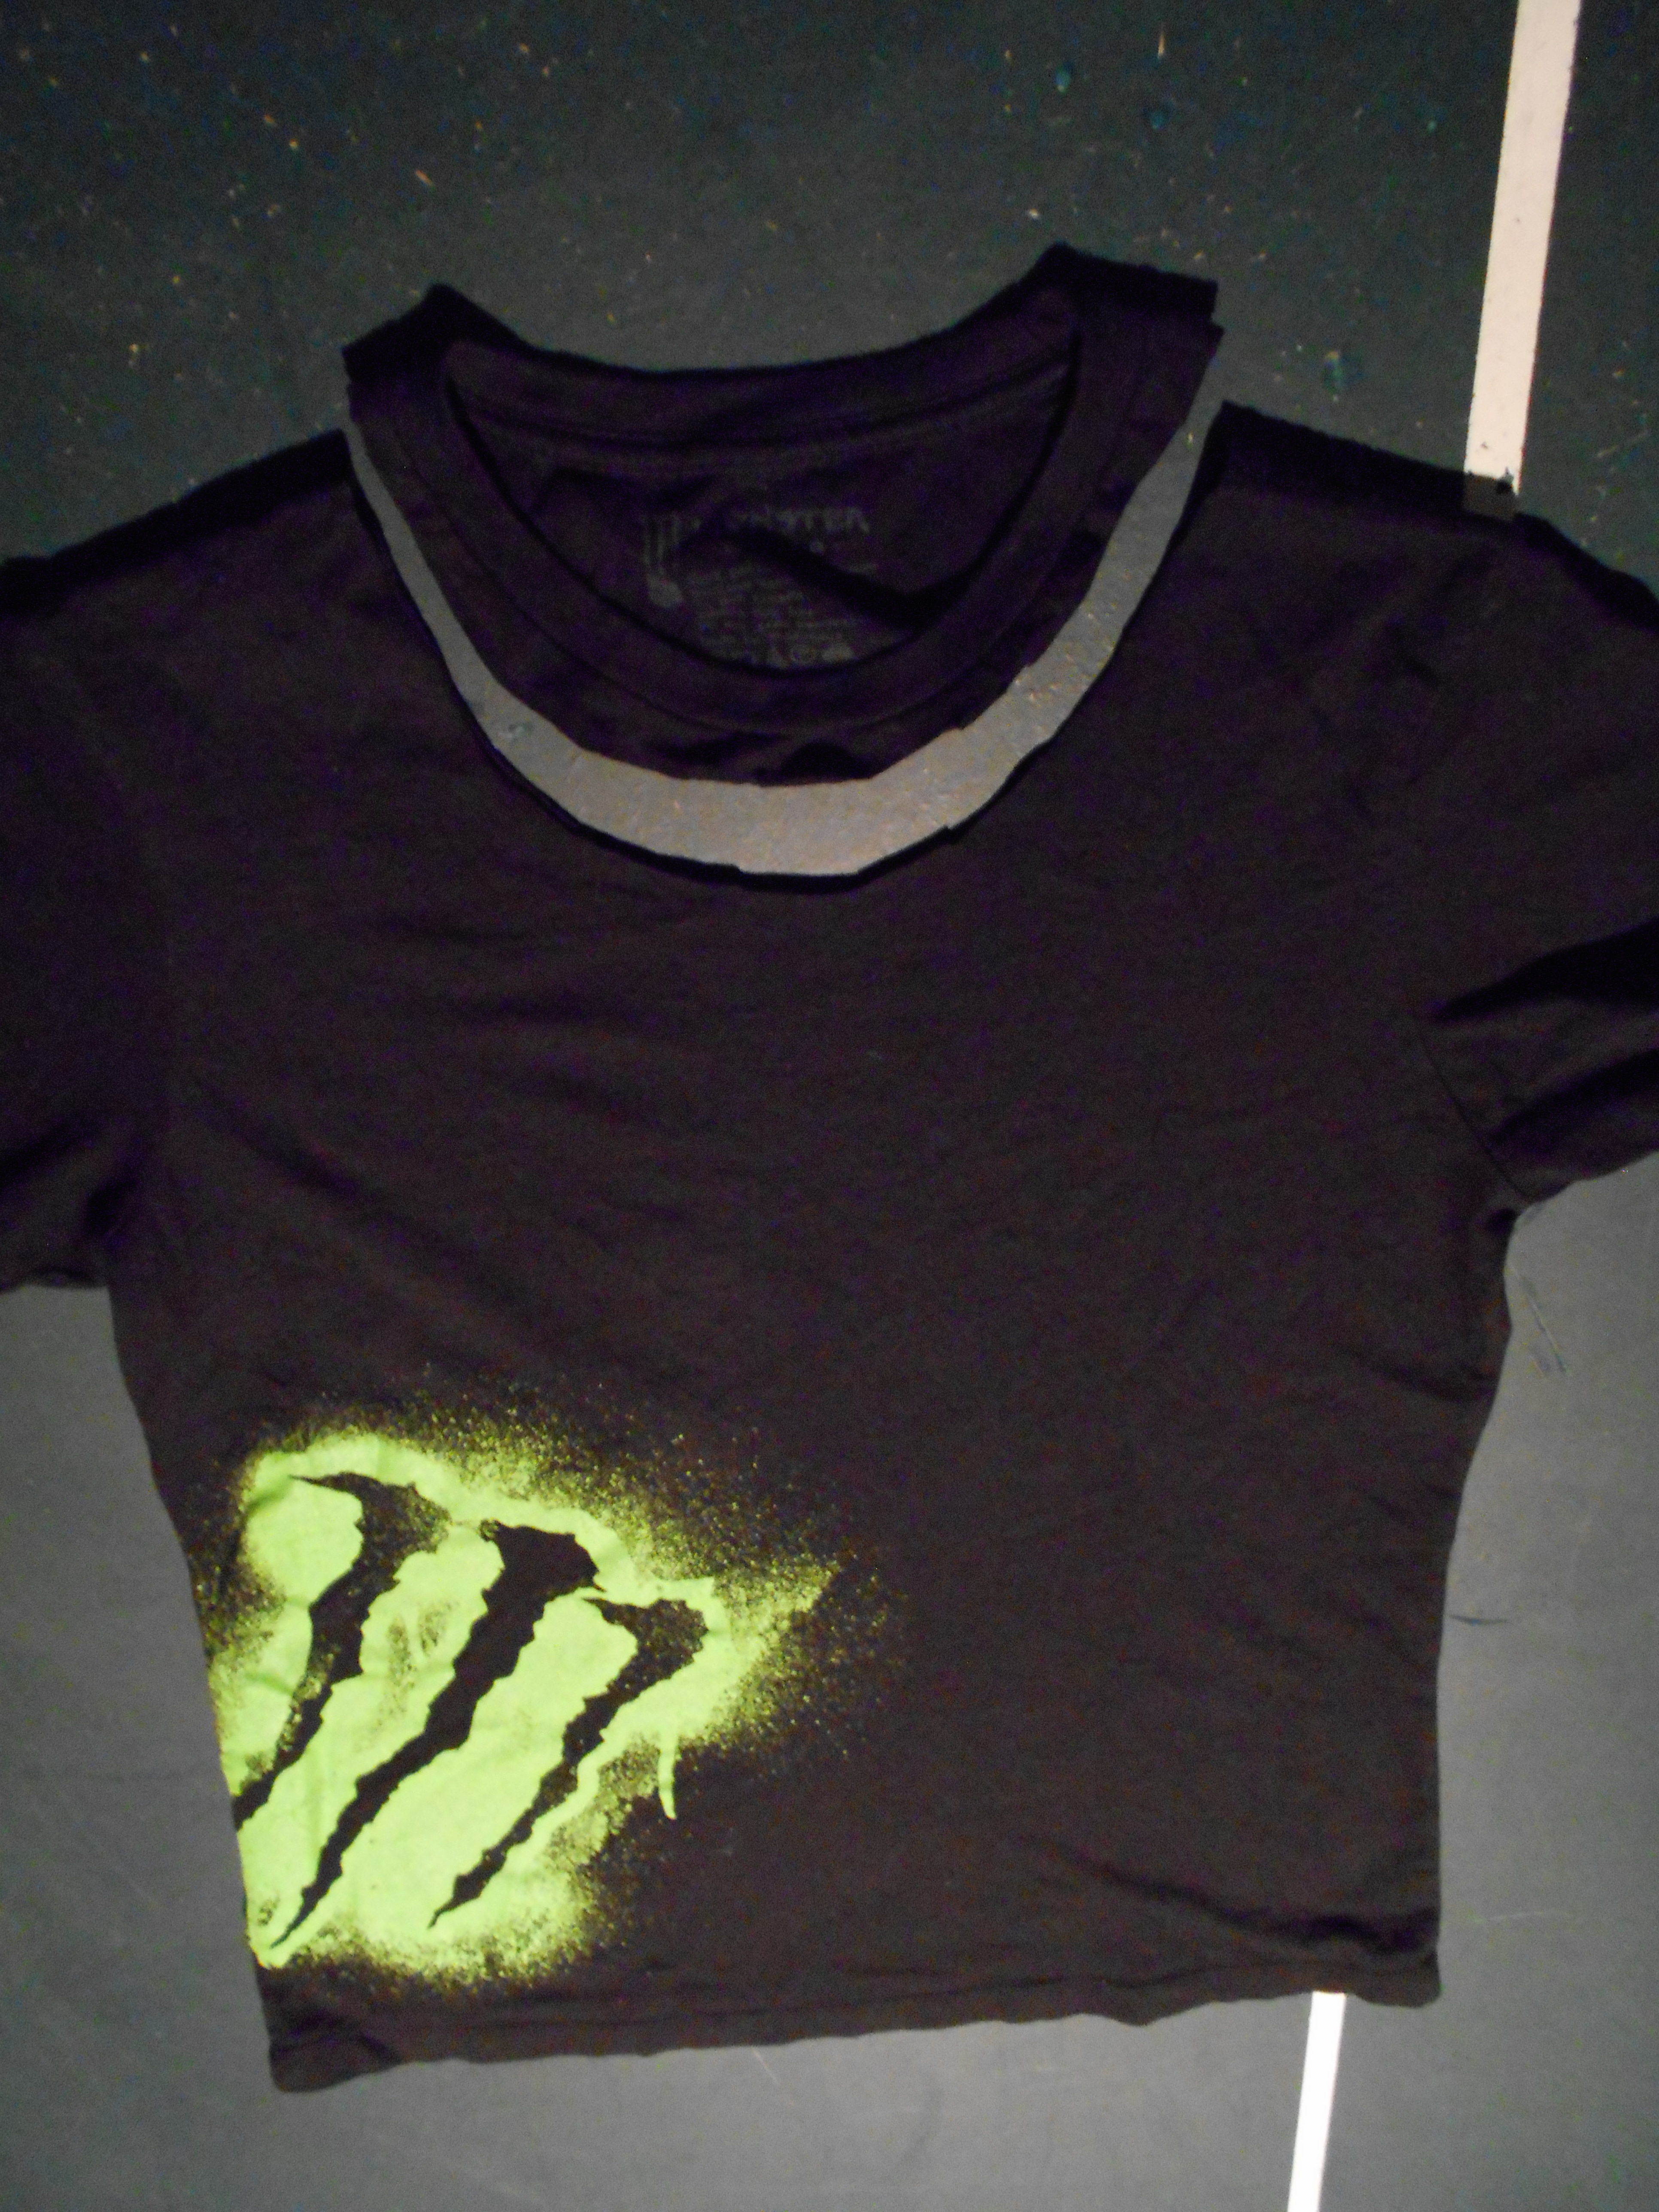 I cut out the neckline.
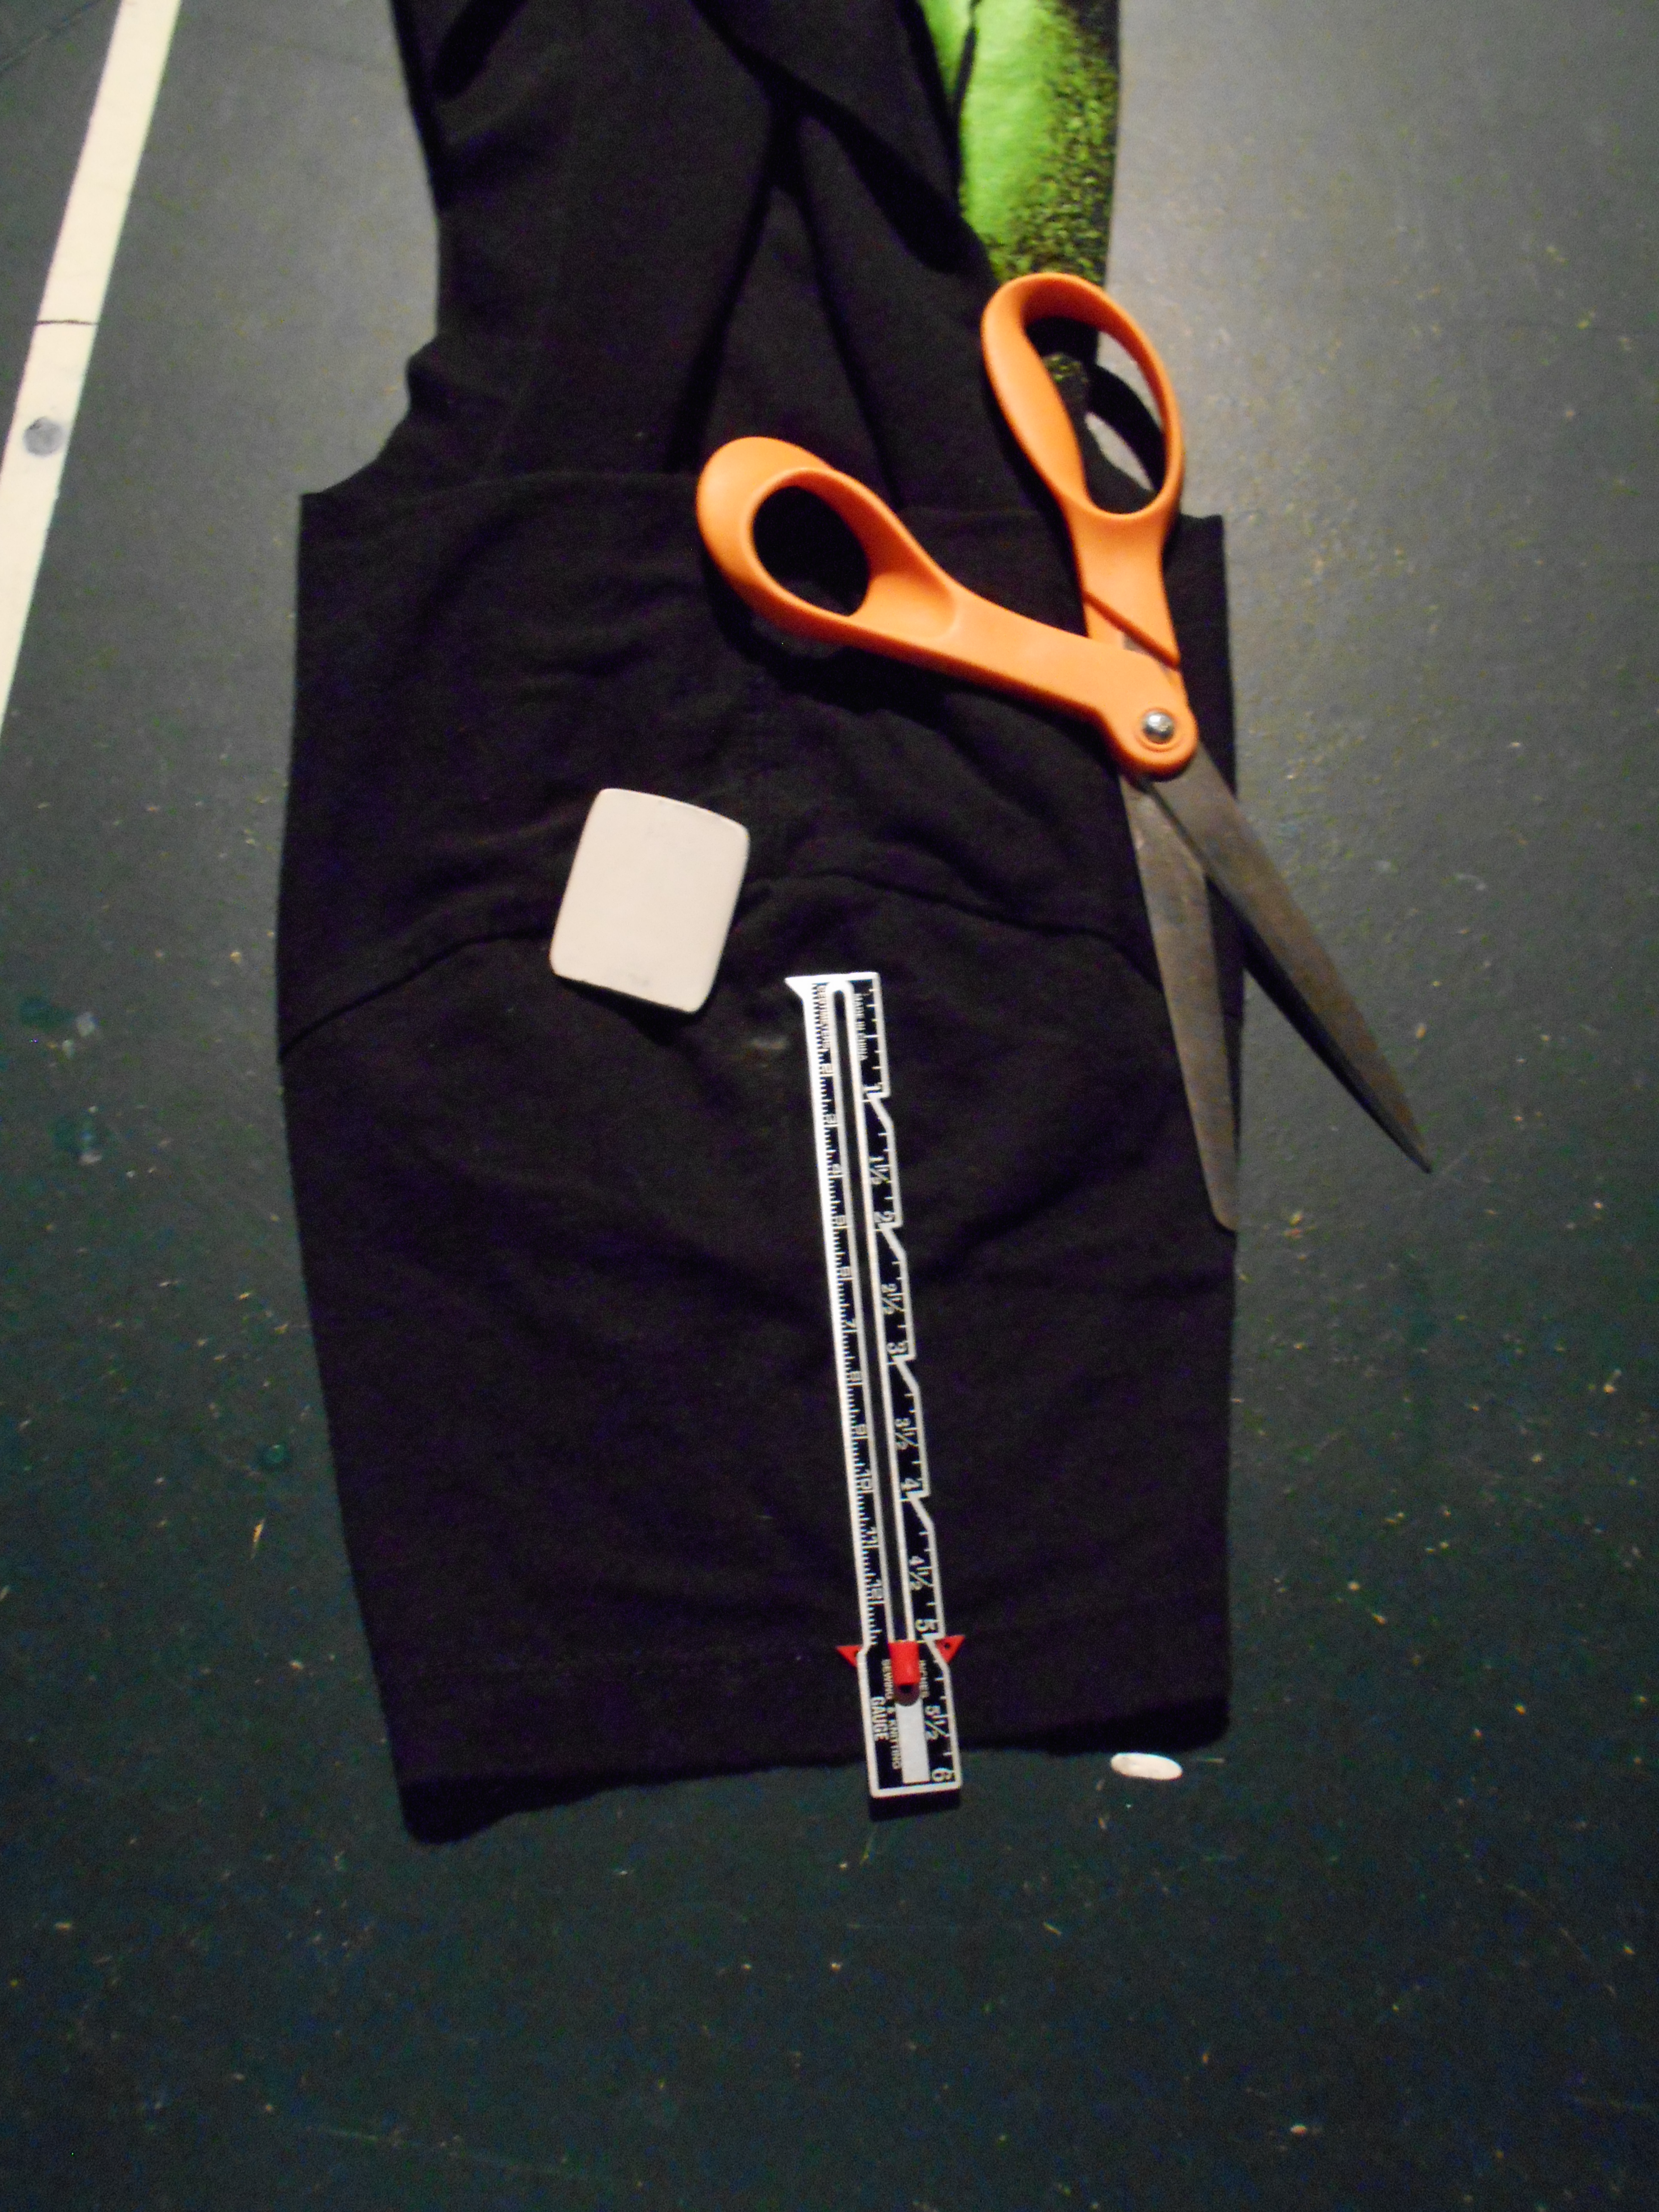 I cut a 5 inch slit in each sleeve.
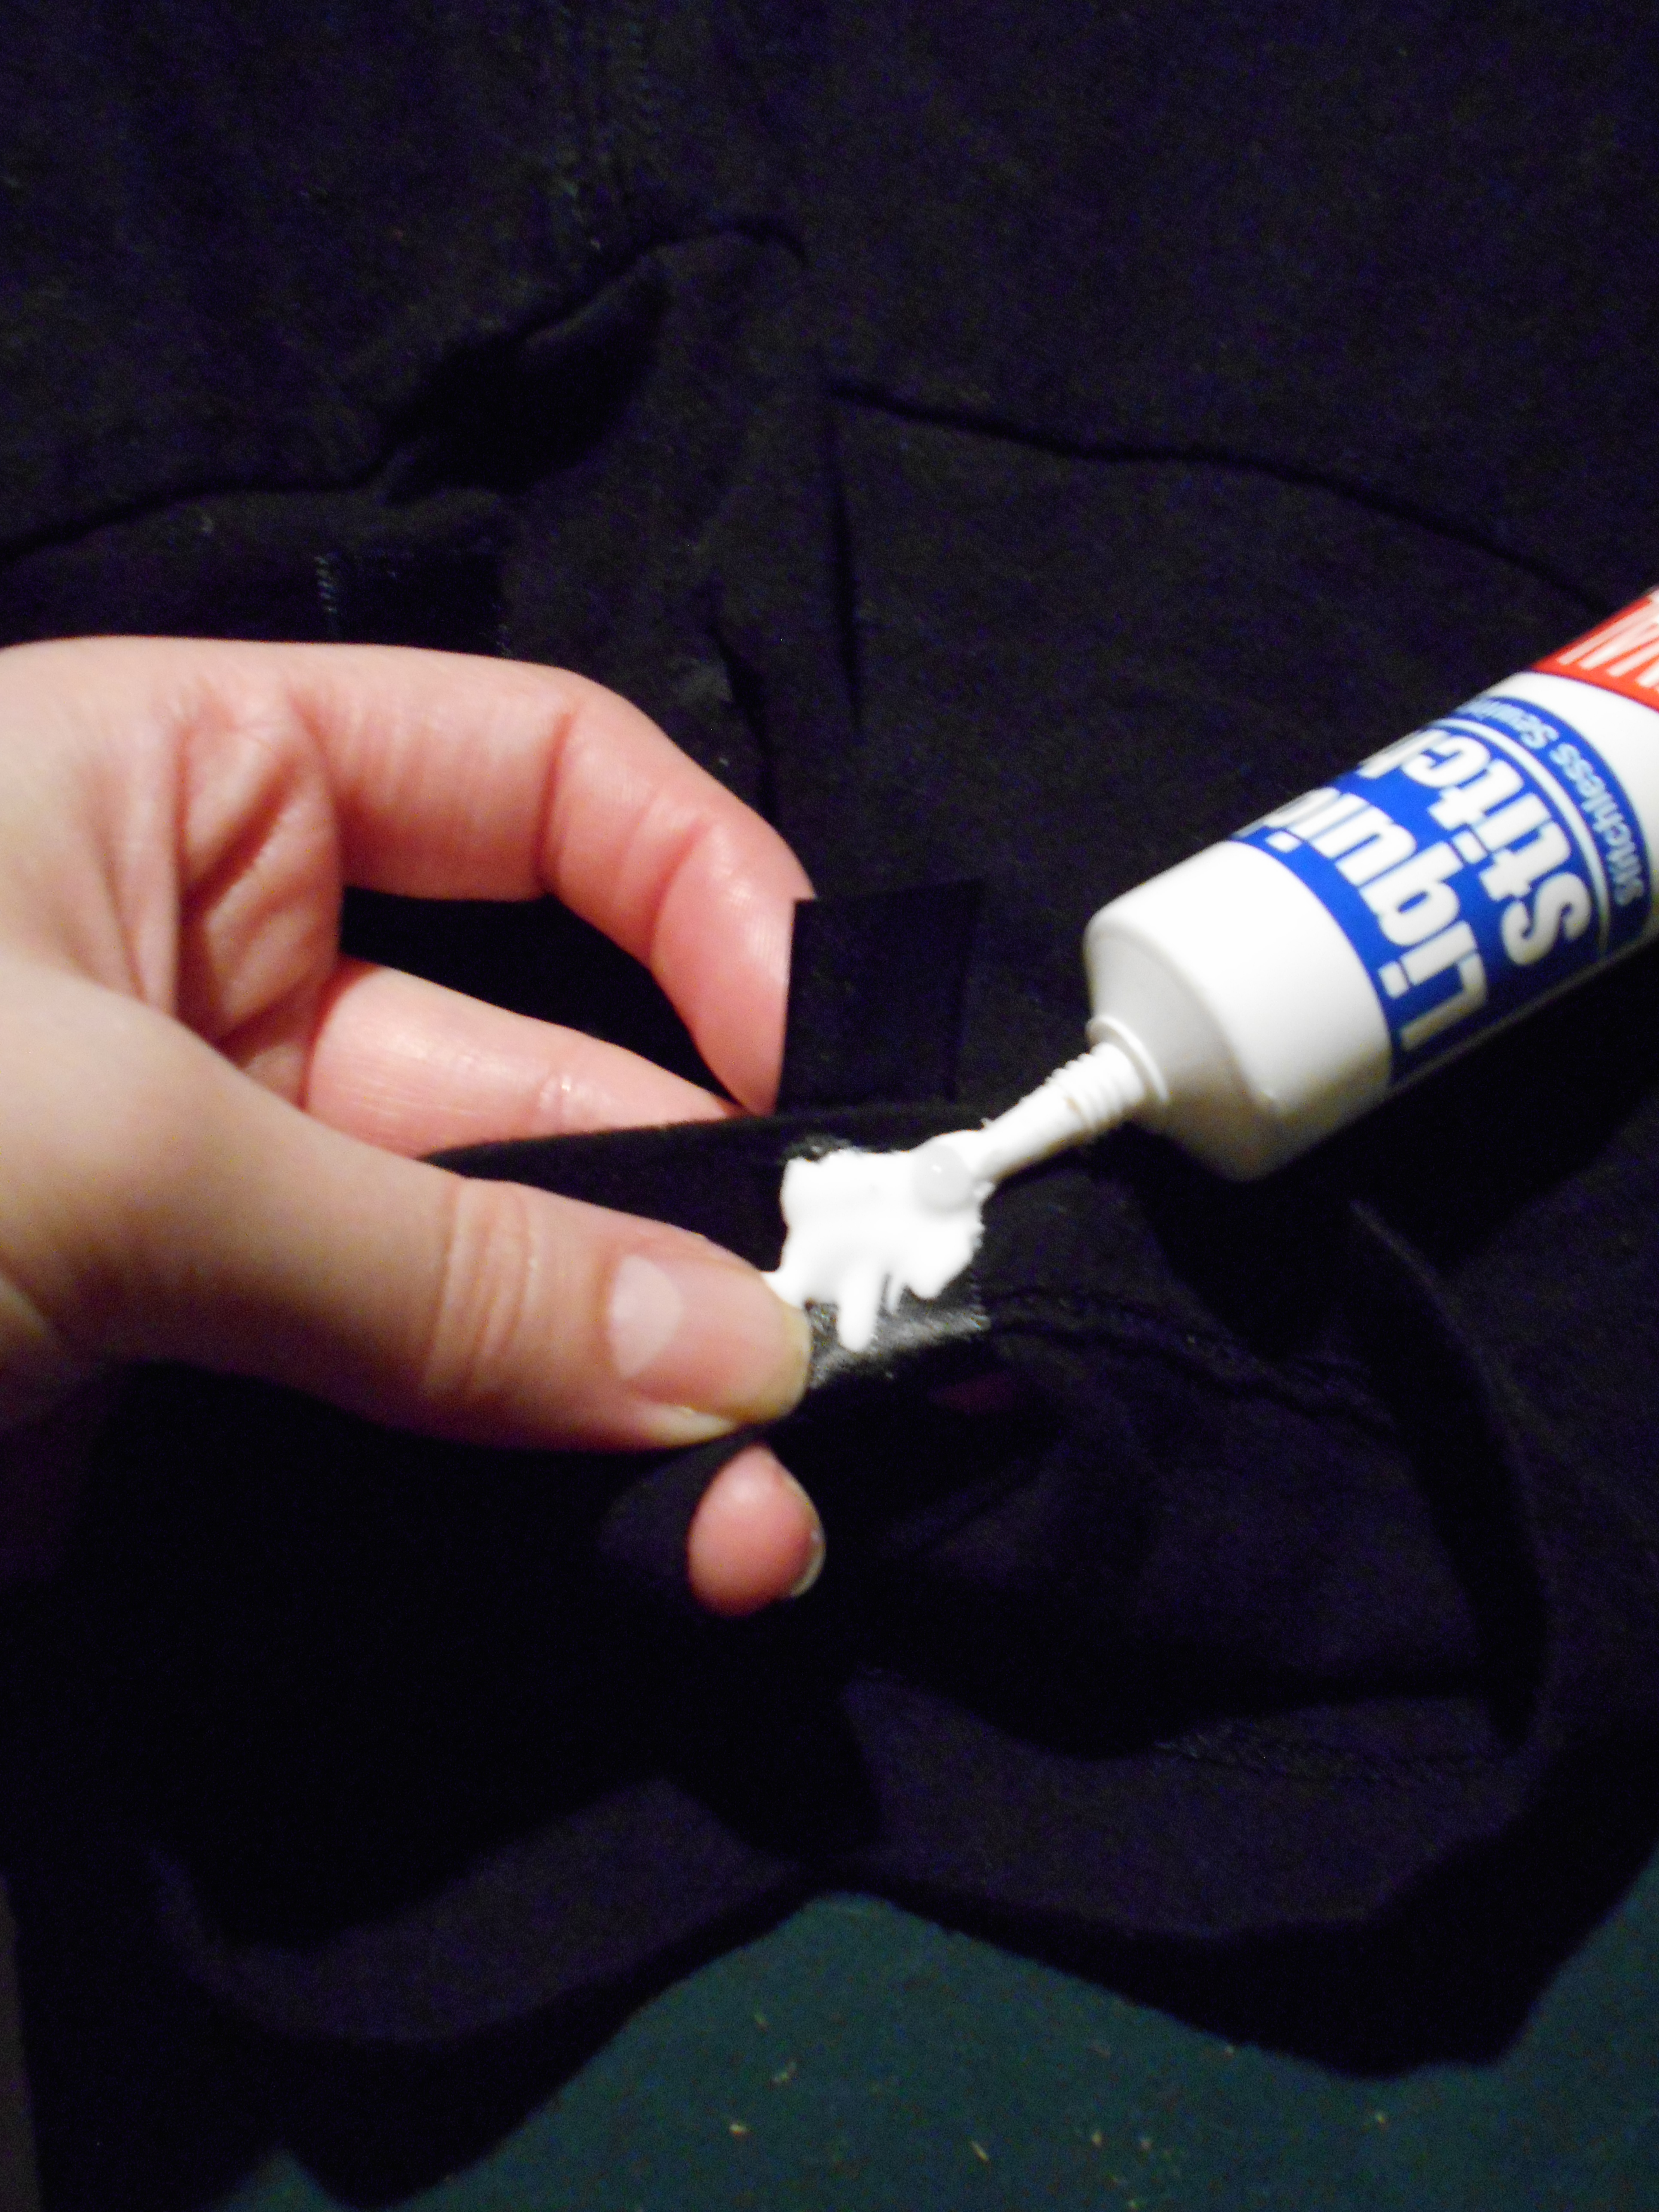
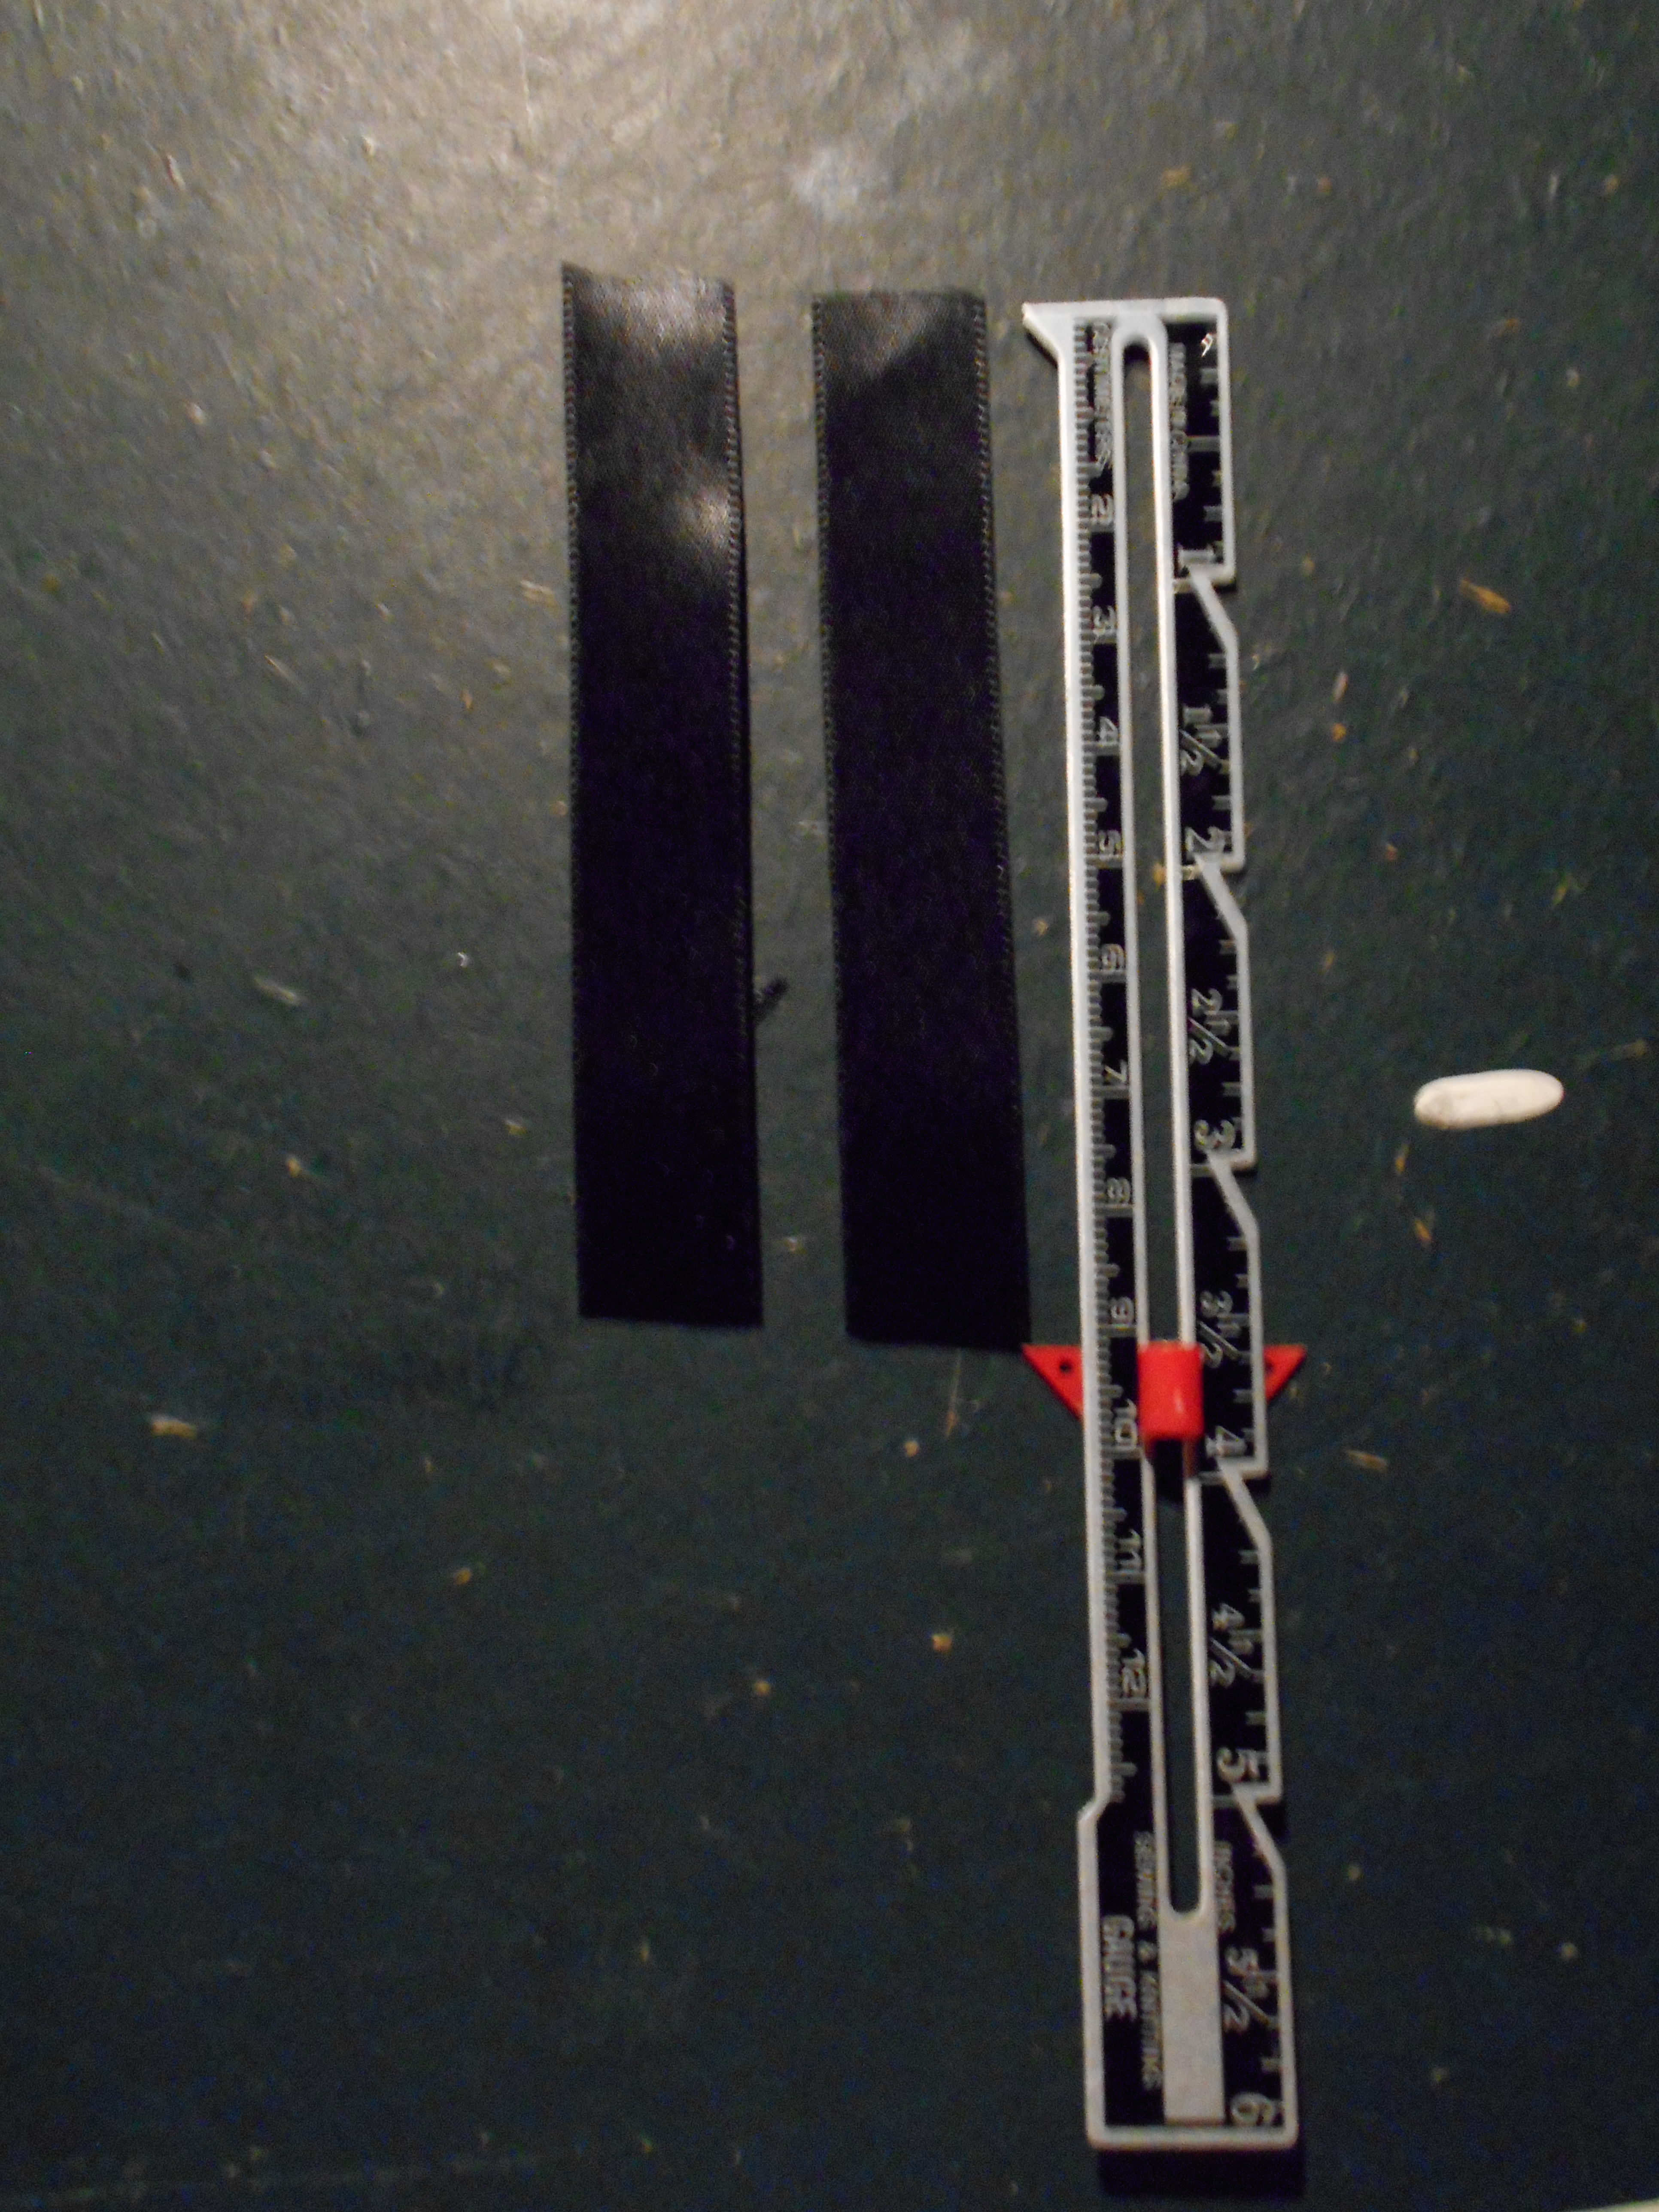 I cut 2 small pieces of black ribbon.