Thursday, September 30, 2021

Resizing Jeans

 Hello Refashion Co-op. I think jeans are the hardest item of clothing to fit. At least it seems that way to me. I wanted to show how I resized jeans that are too tight or too loose. 

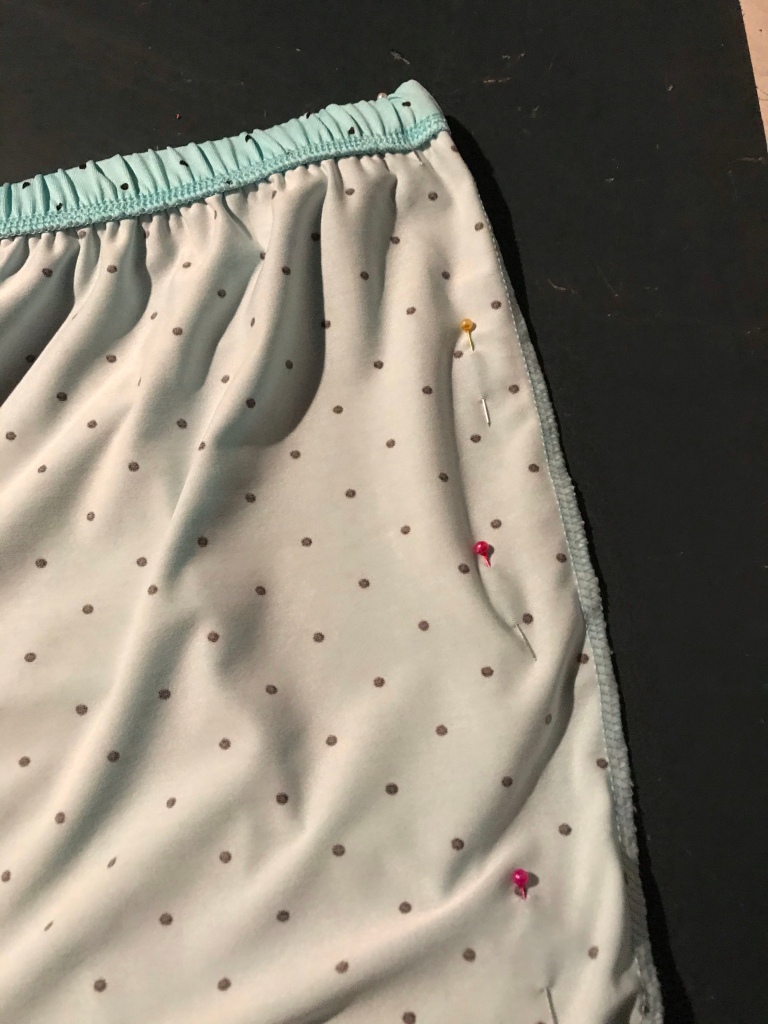
These baggy jeans were full of possibilities but they needed to fit better. I like to try them on inside out and mark where the new side seams should be. They helps me get a custom fit. Every body is different, we all need a specific shape.

You can see here how I removed the excess fabric from the sides of these jeans. I went back a few times to get the fit just right. 

I also hemmed them using the same kind of thick gold thread jeans usually have. 

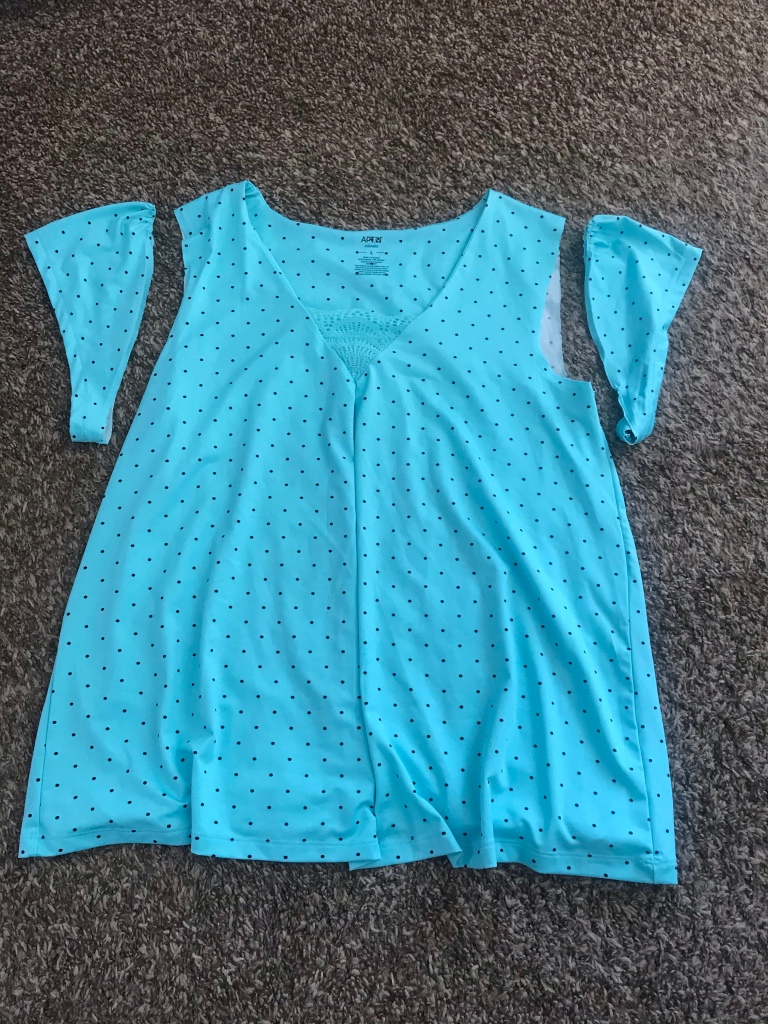
Now for the tight jeans. I always liked these jeans but they were just painfully tight. 


I needed to add to theses jeans to make them bigger. I chose this grosgrain ribbon. It was wide and already to go. 

I cut the jeans open on the sides. 

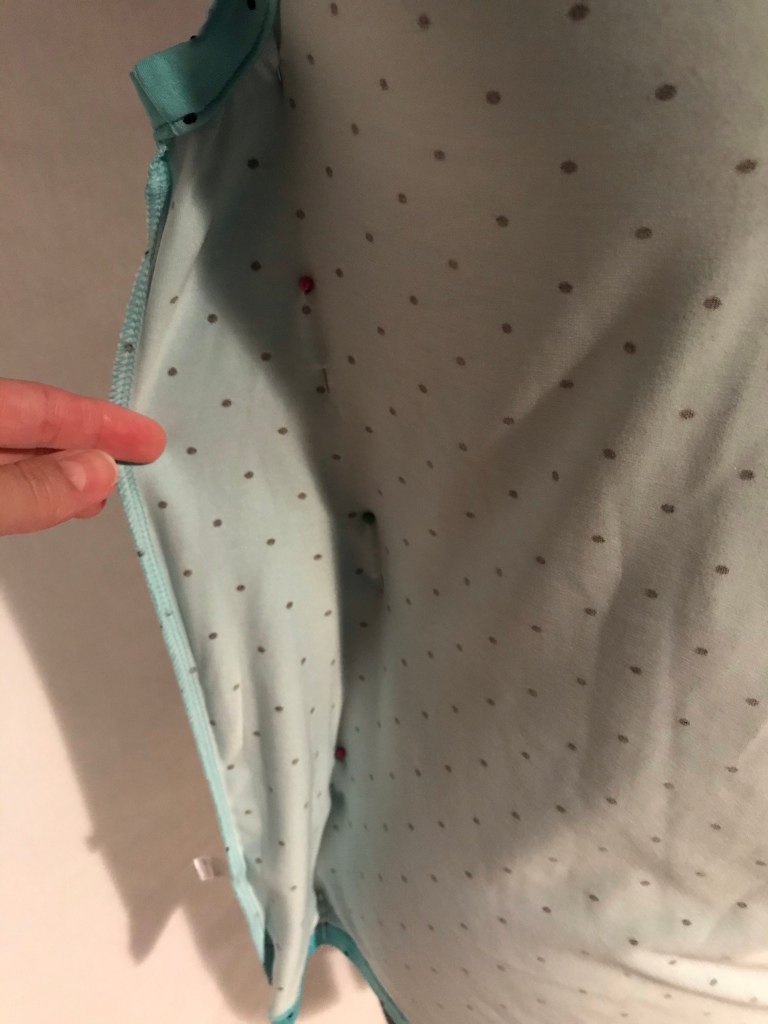
I stitched the ribbon in quite easily. I have done this kind of refashion before. I like to embellish jeans and this is a fun way.

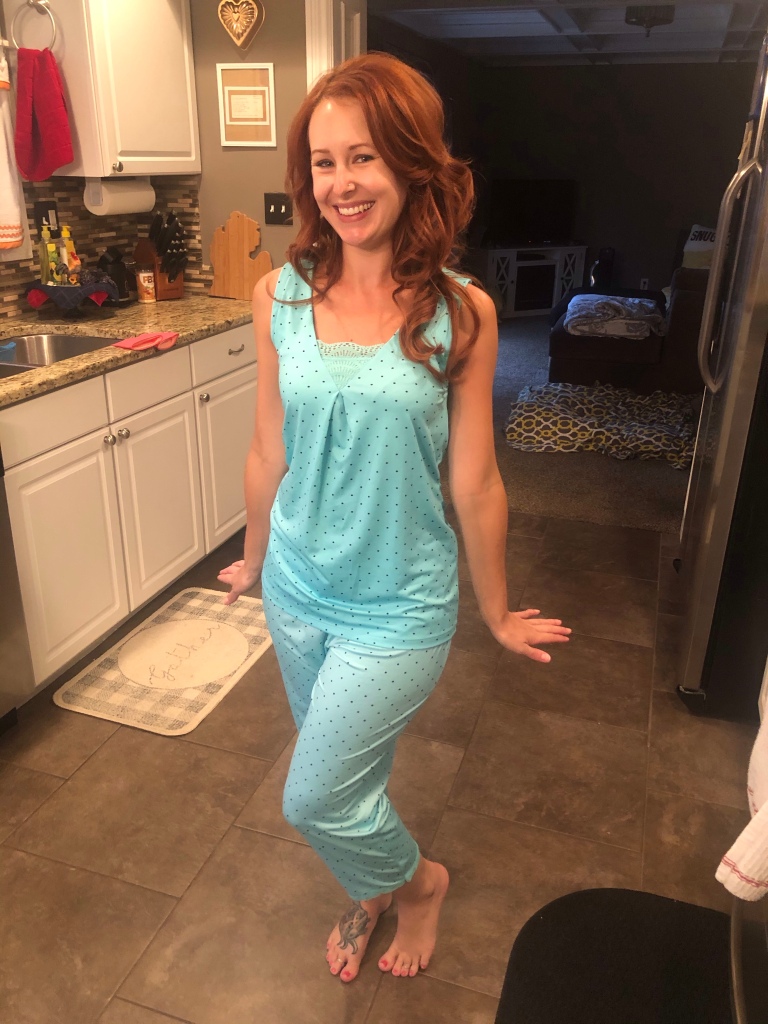
The ribbon added extra room in each leg and in the hips and waist. The wider the ribbon the bigger the jeans will get. 

Thanks for reading along, for more pictures and details go to I Can Work With That.

DIY Milkmaid Dress step by step sewing tutorial


 Hello๐Ÿ‘‹๐Ÿ˜€, in this thrift flip video I sew milkmaid dress. In my ealier video I show how to design perfect pattern for milkmaid dress using your own body measurements. Today I show you how to use this pattern and sew the best milkmaid dress for you .

Diy Sewing milkmaid dress CLICK !


  My blog

 and 

You Tube


Romper Refash

 I would like to go on record by saying I LOVE rompers Buuut my short legs and long torso, not so much!

I found this adorable tie dye romper at WalMart. It has a very lovely lace back as well. This whole romper was waaaaaay too short in the torso, but I have a fix for that!

I used my seam ripper to separate the romper into top and bottom pieces. I also had to ditch the belt and belt loops.

I found the bottom of a lace top in my scrap pile.

I planned on adding a few inches of the lace in the midsection to get more length out of the romper.

Here is the top sewn to the lace and ready to reattach the two pieces.

Ta da! My romper is fixed!

See how cute the back is?!?

Happy Refashioning, Crafting and Upscaling!!!

Check out my stash of refashions on my blog!

WalMart Refash Fail

 I bought this cute blue striped dress on clearance from WalMart in hopes of making it a super Refash transformation. However, I ended up with a dud. Luckily this refash has a happy ending!

My thought was to incorporate both the dress and top into one.

I started by cutting out a tear drop shape in the back of the dress.

I cut a small circle of fabric from the floral shirt and pinned it behind the cut out. I think I picked out a nice part of the print.

Once the keyhole part was finished I started on the bottom of the dress.

I cut the bottom of the dress, working around the pockets. Then cut below the sleeves of the shirt.

I pinned the two pieces together. Stitched those together and…..

No. No and NO! Oh what a mess! Could this be anymore unflattering?!? Maybe, but it is pretty bad!

With my quick thinking, I decided to ditch the dress idea. I still loved the keyhole detail in the back so I decided to cut the dress right above the pockets and make this a crop top!

Nice save, huh?

Ian wanted to show off his new sweater!

UPDATE: I wore this top a few days later with a white skirt I found at the thrift store!

Happy Refashioning, Crafting and Upscaling!!!

Check out my stash of refashions on my blog!

Sunday, September 19, 2021

Skirt turned into vest


Hi there, welcome to my first post here at Refashion Co-op! I blog about refashions, remakes and embellishments at vermaakster.blogspot.com and I am very pleased to share my creative projects here with you in the future! 

Thrifting in Holland
In Holland, we don't have the kind of big thrift stores you can for example find in the United States (there's only one here in Amsterdam, as far as I know). There are however a lot of 'kringloop-winkels' (goodwill cycle stores) all over the country. They resell the average second hand clothes. Unfortunately, vintage large maxi dresses with loads of fabric to work with, are hard to come by. 

About 'vermaakster'
In Dutch 'vermaakster' means someone who alters or repairs clothes, but it also means someone who entertains (so that you know... I'll do my best). Some of my projects are (radical) refashions but I'm also fond of projects with small changes or embellishments that make all the difference. Projects that hopefully inspire you as well to look at a garment from a new perspective. 

Enough with the talking for now, hope you enjoy my first post!


You're welcome to visit vermaakster.blogspot.com where I explained the steps. My blog is in English and Dutch, so it's also a good place to catch up on your Dutch:). 
I look forward to sharing more posts with you here at Refashion Co-op!


Diy turtleneck ! step by step tutorial and pattern


Hello๐Ÿ‘‹๐Ÿ˜€, in this DIY/ thrift flip video I sew Turtleneck. I show you step by step tutorial on how to sew with stretch fabrics and create boxy turtleneck. In my previous videos I created super easy lessons on how to deal with stretch fabrics ,as they can be very tricky and how to make basic block pattern for turtleneck based on your own measurements.


Turtleneck Video CLICK 


  My blog

 and 

You Tube


Tuesday, September 14, 2021

Useful if unspectacular alteration


Bear with me, this is very difficult to show in photos as it's not a massive change.


I like viscose t-shirts because they drape really well, and this one is in a favourite colour.  But over time the neckline stretches out until I spend all day faffing to cover my bra straps and keep it in place. 


You can see how stretched out it had become. I finally had enough and was thinking of completely replacing the neckband.  But I couldn't match the colour.  Then it occurred to me the existing neckband was stitched in such a way it was effectively a casing.  So I very carefully unpicked where the neckband was sewn together on one shoulder and threaded through 6mm elastic. 


I had to use a large eye needle for knitting, and sew the elastic down to itself in a loop after I put it through the eye.  The neckband is too narrow for a safety pin.  It has stretched the fabric a little, and I did need to arrange the gathers once I'd finished.  I sewed the neckband back together and good to go!

I hope you found this useful and happy sewing!

Mimi

Friday, September 10, 2021

Money Bag Purse

 Hello Refashion Co-op. My mother-in-law worked at a bank long ago and gave me this bag. I love the
color so much!


  It was a tall bag and I wanted a cross-body style. I decided to add a shoulder strap. I used this cutting tool to make holes.

I used the golds rings from this belt. 

You can see the rings poking through in the bag. I had my husband squeeze them shut in the bag.

I attached a strap I had in my stash and I was done.


Thanks for reading along, for more pictures and details go to I Can Work With That.


Friday, September 03, 2021

Scarf Refashion

 Hello Refashion Co-op. I have had this scarf for a while. It came from my sister-in-law. I love the zebra print. Scarves are difficult for me to wear at work. I had an idea to make this scarf into a loose jacket. 


There are more detailed step-by-step directions on my blog. I cut a boxy shape and used the extra scraps to make a small scarf. 

This was a great project, I liked the jacket.


Wednesday, September 01, 2021

Summertime Jammies Refash


I was lucky enough that neighbor Sandy gifted me these jammies! I love how cool the smooth fabric feels!

First order of business was to tackle the pants. I took in the waist by 1 inch in each side. Once the waistband was fitted I took in each pant leg.

Next was the top! Since it is summer and I kept the pants as pants I needed to make this top into a tank top.

Once the sleeves were gone I stitched up a new armhole seam.

Lastly, I took in the sides of the top but not by too much as I wanted to keep it more roomy.

Ta da! New to me jammies! Super cool and cozy!

Happy Refashioning, Crafting and Upscaling!!!

Check out my stash of refashions on my blog!