Showing posts with label Retro: Reinvented. Show all posts

Friday, May 11, 2012

Arty Bras Exhibition


Hi all!

As soon as I found out about a competition to "create or decorate a booby-licious bra," I immediately challenged myself to make something, even though I didn't have long left to do it!

I decided to make two bras, one that represented me and what I'm doing as Retro: Reinvented, and the other, the first fun idea that popped into my head when I started thinking about it!

Behold... "Retro Mosaic" and "LOOK!" (a.k.a. "the hooters", hehe).

Both bras started out with me picking out a bra to use as a base from my local op shop.

For the "Retro Mosaic", I have been compiling inspiration for a while (particularly through Pinterest) on combining fabrics in different ways, and the Anthropologie Inspired Tote posted recently on this blog by Two Butterflies gave me great ideas too.

The eyes were made using mostly hand stitching for the fabrics, so that the stitches didn't go through the other side (the bra cups were soft and a few mm thick), and I used a hot glue gun to place the feather eyelashes.

You can find out more detail about how I made them on my blog (one post for each bra): Retro Mosaic and LOOK!

The exhibition is tomorrow, so I'm looking forward to seeing what the feedback is like, and also seeing all the other entries! :)

Thursday, April 19, 2012

A skirt beyond repair...or is it?

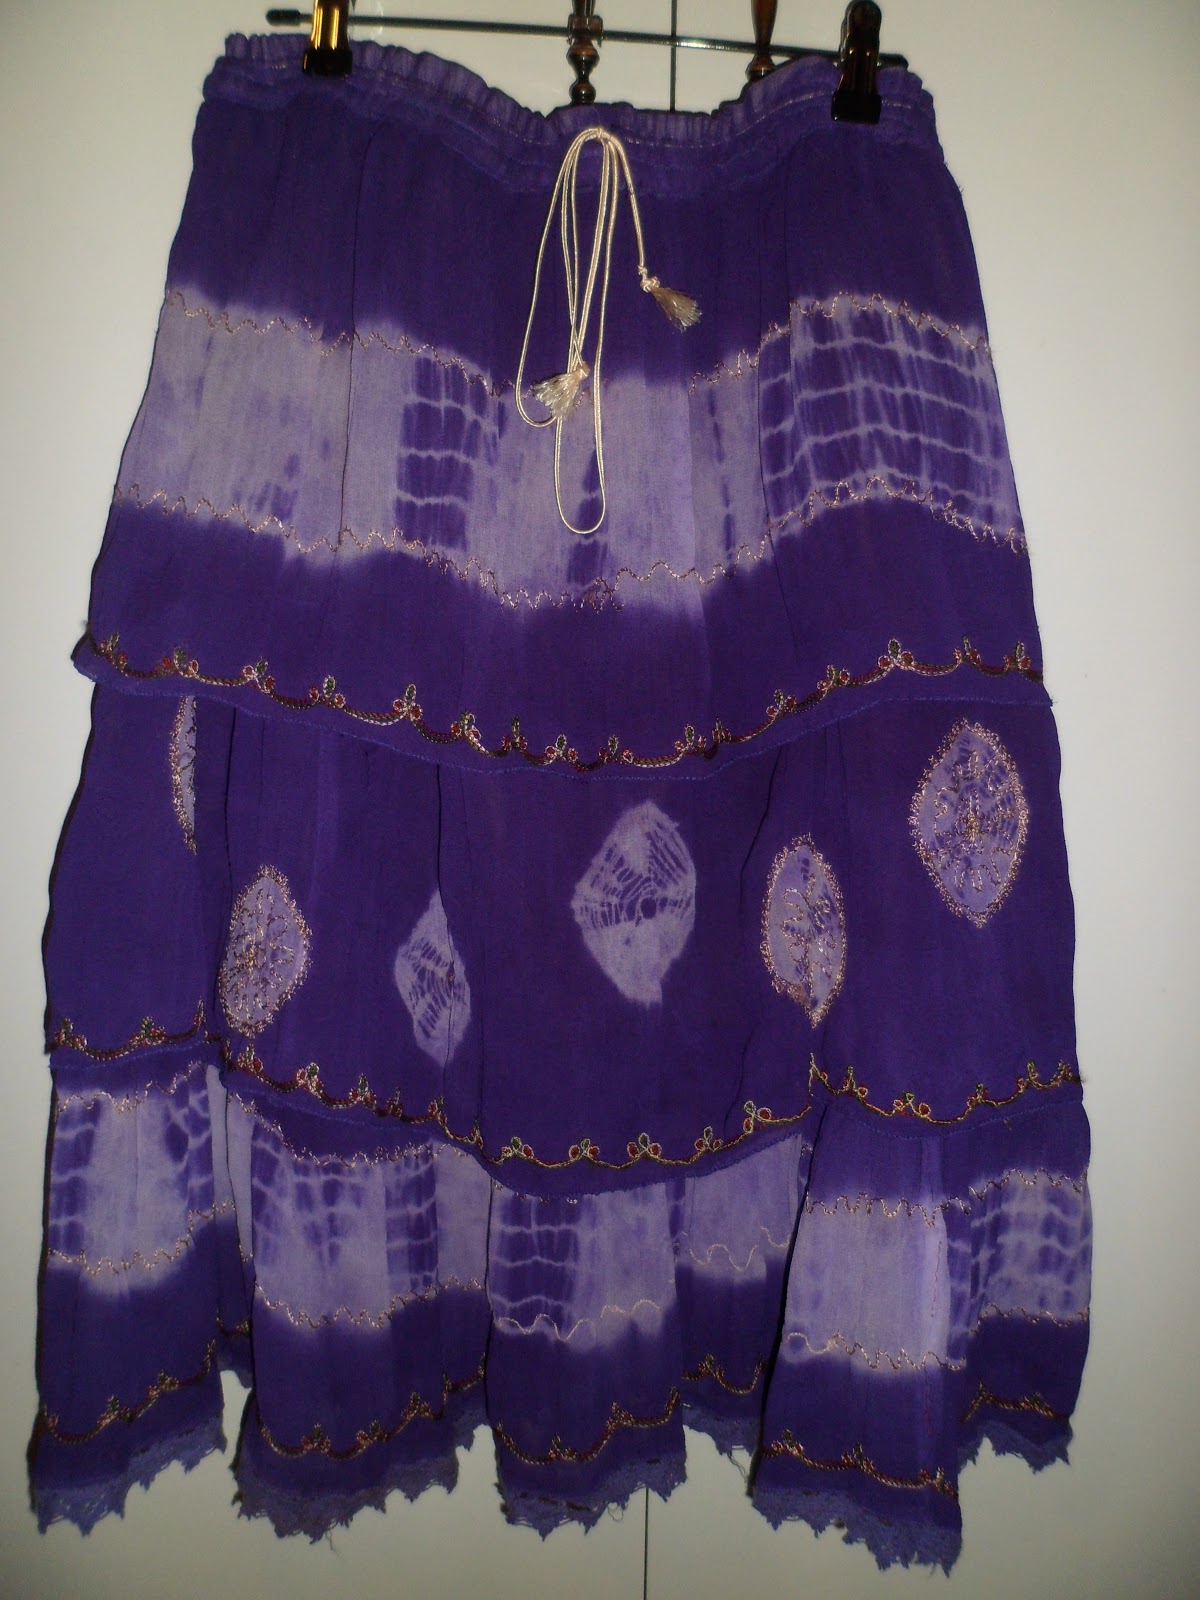
Well, actually, yes. This skirt was wearing thin, thread unravelling (I would trip on it when walking), and full of holes. But, I liked it.


I knew I couldn't turn this into something fit to sell at markets, or even give away to friends, but I decided to resurrect it into something I could wear (until it fell apart completely).

My method: in short, cut out all the bad bits and sew back together!

The crochet/knit bands were looking a little faded, so I decided to cut these away.


Whereever I found a hole, I gathered the section around the hole to form a vertical seam, effectively making the skirt smaller every time I did this.

Instead of sewing the pieces directly back together, I chose to sew them back into the lining to create a layering effect. I simply serged the bottom and top of each section to keep them from fraying.

The existing lining was extremely worn out and never going to allow for this, so I had to replace it...I used old pillowcases for this!


And finally, some of the gold/beige thread had come off the embroidered section of the middle piece, and it really looked out of place, so I had a go at sewing over it with the foot taken off my sewing machine. I didn't do a brilliant job, if you look closely, but it no longer looks out of place (in case you can't tell immediately, the top one is original, the bottom my effort).


I also changed the drawstring and added some elastic to the waistband.

And here it is!


I'm hoping that with it being shorter, it will be less likely to get damaged by me standing on it or dragging it along the ground.

Saturday, March 17, 2012

Restitched Elastic

Hi all,

I have just moved into a new place after months of house-hunting, so I'm very excited about finally having the chance to set up a dedicated sewing and craft area and to make heaps of new stuff :)

Until I do set this up, here is something I prepared a little earlier...


This cute strappy sleeveless tie-die top was a simple transformation from a baggier and boxier top with an elasticised neckline/off-the-shoulder and short puffy sleeves.

First, I cut away the elastic neckline, leaving an inch or so seam allowance, then I narrowed the sides into more of a trapezium shape, including cutting away the sleeves.


The little shoestring straps you can see in the finished product were attached to the elastic. You can't see them here, because in this pic I have already cut the elastic off.

I sewed the narrowed sides back together, and then eased the elastic back on to what used to be the neckline, but is now to cover over the bust / under the arms. The same length of elastic now covers a smaller circle, but it is easy enough to ease back on by just aligning at several points.


(P.S. this picture is of me attempting to sew the elastic back on the wrong way around / inside-out, but hopefully you can understand what I was trying to do here...before I got it right)!

And now I've gone from what I thought was boxy and frumpy to little, cute and strappy :)

Saturday, February 11, 2012

Adding colour with bias tape

Hi all!

I've been a little bit out of action at the moment, looking for a new place to live (stuff all over the place but nothing set up for sewing, unfortunately), so I'm going to share with you all something I prepared earlier.


This skirt is actually my very first attempt at refashioning a garment--a skirt in block green colour, brightened up a little using some bias tape I made from a retro print. I added a strip all the way around the bottom, a few centimetres up from the hem, and two strips at the front where little brass shanked buttons used to sit (needless to say, I kept the buttons in hope they will be useful later).

Here is the before and after (you can just make out the original buttons):


I will be putting this skirt up for sale very soon in my eBay store, and I'll report back here with details when I get it all up and going. In the mean time, please keep an eye out on the website I've been setting up: www.retro-reinvented.com.au :)

Monday, January 09, 2012

Curtain Trousers


While these trousers may not technically fit the definition of a refashion, being made using a Burda pattern (burda easy 8488), I did at least refashion in a sense by making them out of old curtains!


And I felt I had to share this project, as these are the trousers I promised to make in my first ever post in Refashion Co-Op: Reinvented Skirt, where I cut out pictures from this same curtain fabric and sewed them into a skirt :)

It seems I need a little more practice at understanding pattern sizes--I measured myself up to choose the correct burda size to make, but in the end I needed to turn the trousers in by around 3 or 4 inches to fit (I did this at the centre seam and also tucked in the two front lace-up seams), so I must have got it very wrong somewhere!

Tuesday, December 20, 2011

Groovy Bell-Bottom Jeans

Hi all! I took an old worn out pair of bell-bottoms I had (that were too long for me) and combined them with an old tablecloth to make these:


This is what I started with:


My first requirement was simply to shorten the jeans, but as I couldn't do this by retaining the original hems (as I had already ruined them), I decided to do something a little more interesting!

Read more about how I made them here in my blog :)

Wednesday, November 16, 2011

Denim B-Bag

Recently, I wanted to make a personalized gift for a friend, and not being sure of the correct clothing size for her, I decided to make her a denim bag with her first name initial on it: B


I made the bag using this denim dress and this little pink outfit that I don't think anyone was ever going to wear again!


I used the bottom part of the dress to make the bag (from where the pockets start). I used the front-bottom, folded in half, for the outside of the bag, and the back-bottom (also folded in half, of course) for the inside lining. Bizarrely, this left me with a bag that had pockets on the outside but not the inside, but I wanted the pockets to be a feature. However, because I used denim to line the inside, the bag actually turns out to be reversible.

Inspired by the reverse applique in Zom's introductory post, I cut a piece of the pink fabric and placed it on the wrong side of the denim. I then drew a "B" in chalk where I wanted it to be on the outside and sewed this in (I sewed in two lines of stitching for extra security).


I then cut away the denim from the right side with a stanley knife, in a rough manner but as carefully as possible not to cut the fabric underneath.


Once the "B" was done, I could sew in the lining. I turned the lining bag inside out, placed it inside the outer bag, and sewed them together where they both shared a seam at the top.


After sewing the bags together, I folded the top inch of denim in on itself from both sides (inside and outside) and pinned together, waiting for the strap to be placed in before finally sewing together.

Then to make the strap....


I used the elastic portion of the top and a piece of denim cut away from the dress.

This strap took me far, far longer than it should have, because, as you can probably see in the picture, I sewed the strap far too narrowly to be able to turn it back "the right way around" from inside-out easily. Especially when there were seams sewn into the piece of denim I used! I should have just done it another way, so there is a lesson for me....

And in case by now you've forgotten what the bag looked like, here it is again :)

Friday, October 21, 2011

Two Swimsuit Tops Become One

I'm heading out on a boat cruise this weekend, and when packing realised that I couldn't find my bathing costum anywhere! I didn't want to go out shopping for a new one, so I headed down to the local op-shop to see what I could find.

I picked up two bathing tops: a pink and red hibiscus flower crop-top, and a little red top with triangle bust. Because I'm a bit on the busty side, and the red top was too small for me anyway, I put the red top on over the pink top and sewed in the part of the pink top that fit between the triangles of the red top. I then cut the bottom from the pink top and sewed it onto the bottom of the red top to add length. And here is what I ended up with:


Here is a picture of me part-way through the process--before I have added the piece at the bottom and after I have added the piece to the bust:

The pink top was lined with hot pink, so when I added the bottom piece I slid this lining down about a centimetre and sewed over it to create a pink hem like the one at the top.

Now I just need to sort out some bathing shorts to go with it!

Thursday, October 06, 2011

Reinvented Skirt

Hello all! My name is Charity from Melbourne, Australia, and I am very honoured to be a new contributor to this blog :)

I will be sharing my refashions using the name Retro: Reinvented.

The first refashion I want to share with you is a fairly simple one: using up some left-over fabric. The fabric in question was left-over from an attempt to create a funky pair of trousers out of this vintage curtain material (it was originally my grandmother's):

Vintage Curtain

After cutting out the pattern pieces for my trousers, many of the remaining remnants were from sections of the curtain that had yellowed and faded slightly, so there was no way I could make something that used all of the fabric in block pieces. However, I realised that the yellowing was only visible on the white background and not on the floral print, so I cut out some of the flowers and zig-zagged over them with my sewing machine to keep them from fraying (I would have overlocked, but I'm not good enough at it to do it around those kinds of curves!).

Print Cutouts

I then used the cut-out pieces to turn a black skirt, that had a nice shape but nothing exciting in terms of colour, into this new skirt with funky flowers all the way around!
Embellished black skirtEmbellished black skirtEmbellished black skirt

I haven't made the trousers yet, but I will post about them when I do!

I look forward to sharing my next refashion very soon! :D