Showing posts with label bags. Show all posts

Friday, September 04, 2015

Un nouveau sac pour Bibi !

J'avais chiné chez Emmaus un petit haut sympa, sauf que le volant qui se trouvait au col me déplaisait. De la façon dont il était monté je pouvais coupé le volant au ras sans pour autant tout défaire.

Seulement voilà, une fois le volant coupé , le col gondolait (le tissu était extensible) et je n'avais pas envie de tout défaire alors comme l'imprimé était joli je l'ai transformé en sac seau !

En photos :


Et si vous souhaitez en voir plus c'est Ici 
Je vous souhaite une bonne journée, bisous, 
Elisa Elisa

Saturday, May 09, 2015

Deux chemises pour un sac !

J'ai décidé de recycler 2 chemises en sac .
Voici donc les articles de départ :


Une chemise en tissu genre suédine avec un bord découpé en bas ; et une chemise imprimée en viscose.
Et voici le résultat :


Je suis assez contente du résultat car j'en ai bavé un peu du fait que j'avais tout thermocoller ! mais bon j'en suis venu à bout . C'est le modèle SOLVEIG du livre  "Sacs et pochettes de la Petite Cabane de Mavada"

Et pour en voir plus c'est Ici 
A très bientôt, Elisa Elisa


Monday, August 13, 2012

T-shirt to bag with smaller holes! :-p

After many lovely ideas from great refashionistas, I decided to go with hulibug and Little Treasures' suggestion of partially sewing the holes together.  So, again, here's the before, after and "after the after".  I've put up some instructions at my blog. :-D


Before
After

After the after!


Sunday, August 12, 2012

It's Tunic Tune-Up Time

It started out something like this:
tunic top 'B' made in an Asian-esque print


Now it was too small - pretty much everywhere... I found a scrap of similar fabric with red dots and made side inserts that traveled up into and through the sleeves:

view of red dotted side inserts

But first I removed the sleeves because they were too narrow at the cap.  I then re-cut the cap portion to fit, thereby making the sleeves shorter, but fuller:

view of side insert and under sleeve

To see me wearing this version, check out my post, "In and Out of Focus" at Project Minima.
You'll also find a mini tutorial on making a magazine clutch while you're there...


Friday, August 10, 2012

Old pants = New shorts & bags 4 boys!

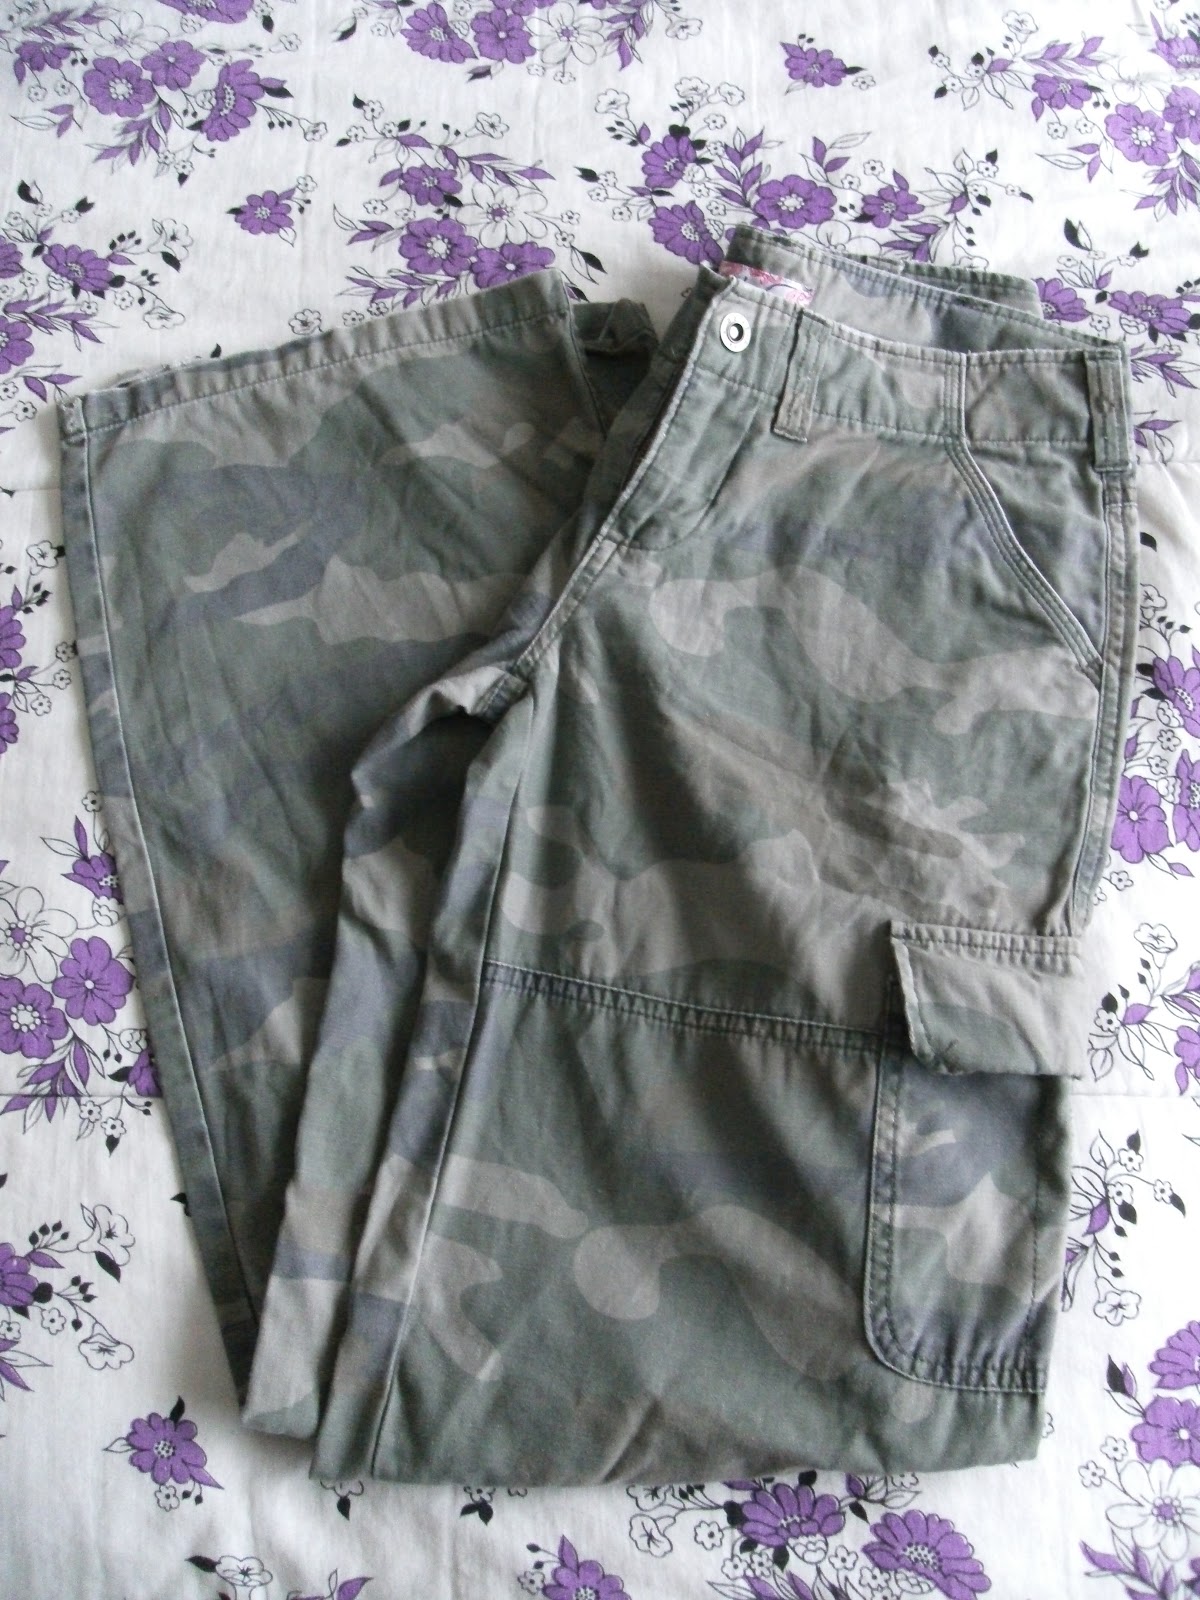
Hiya the title says it all really...my old tattered hem cargos got the chop & out of the leftover legs i made two bag for my boys (using alil denim from some cut off jeans) :)


Wednesday, August 01, 2012

Two skirts refashioned into a bag

You know that feeling when you find a scrummy piece of clothing in a charity shop and you just *know* that it will come in useful?

Well, I found not one but TWO skirts like that in the same shop on the same day! 

What are the chances, eh?


I didn't really have any plans but I knew that they would go together beautifully.

As I only wanted to use one half of the pink skirt I was limited as to what I could make.

But I do love to make a nice bag or two!

So I set about designing a bag to incorporate both skirts.

And this is how it turned out :


It's softly padded throughout.  I even figured out a way to make ultra-padded handles which have a nice feel about them.

The top of the bag on the inside was pink and I also utilised the skirt lining as the interior fabric.


I had so much fun with this project!!!

More details on this and other refashions and projects can be found on my blog:


Happy refashioning!

Sunday, July 22, 2012

T shirt bag


I had a long sleeved reversible t shirt that I hadn't worn much because the sleeves were a bit tight.
I cut off each sleeve like this


and cut out the centre of the front and back in a similar curve (forgot to take a photo).
I then sewed the side seams and neatened the top edges, and reverse appliqued a stem and leaves on the front so that the reverse of the t shirt showed through.  
When I sewed up the bottom, instead of sewing from side to side, I put the side seams together so that they were in the centre.  This brought the shoulder straps together rather than being at either end.
I made a yoyo to use as a flower and finished it off with a button in the middle.


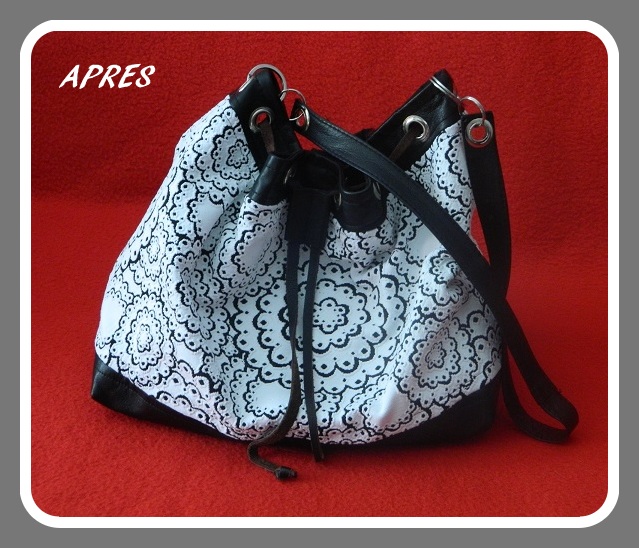
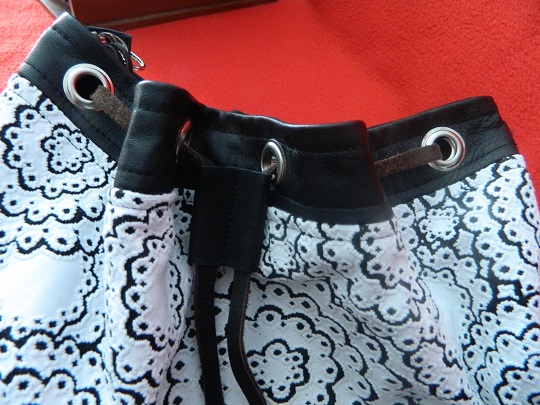
Neon Stencil on Leather Backpack


I am supposed to be packing for a conference in Toronto, but since packing is boring, I made this instead:


Part of the point of refashioning for me is being able to spice up stuff I've gotten bored of (rather than getting new stuff). Recently, Kasey posted this chevron leather cuff bracelet made from a salvaged leather jacket. 

Her post reminded me of a boring thrifted leather backpack I had never worn, and of all the neon+neutral and neon-y tribal/Native American references I've been seeing in magazines and around the interwebs lately:

 I used painter's tape to make a design and a random white primer from the basement as a base coat (so the neon will be bright!). I sponged on the paint:


Once the white dried completely, I sponged on some neon acrylic I bought on Amazon. The pro of letting the white dry is that it didn't dilute the neon-ness, the con was that the tape didn't pull off a perfectly clean line.


As soon as the neon paint went on I removed the tape.  Pretty cool already (this shows the color accurately).


After the first layer dried, I repeated the process (being very careful pulling the painters tape off the first layer). You can't see this great in the photo, but the central bottom panel has an "ombre" effect from orange on the outside to yellow at the center.


I also salvaged some large studs from an old belt, painted them neon yellow, and used them to cover the holes on the top of the toe of a pair of leather flats (previously the toe ornament had been so large and floppy walking more than 5 minutes in the shoes was annoying).



Saturday, July 07, 2012

Handbag Refashion

The 1970's are now quite often considered the era of bad taste. We had big hair, clashing colours, skin tight jeans and leather patchwork handbags. These handbags scream out iconic 1970's style and every woman seemed to have one. Too young for a handbag then, I finally managed to track one done in great condition(at a thrift store and at the bargain price of only $5.00) I had to have it.You have to remember this pre cellphone days(there is no compartment for your iphone or any electronic gagdget for that matter), so we just had to make do with our no compartment handbags.

It is a simple transformation, but there are many steps involved. So here is the before.

And here is the after.


For full story please visit(and step by step pics) please visit "Rosie's Romantic Rose" Handbag


Thursday, July 05, 2012

White Pants to Shorts


In my pile of clothes, I re-found these ] white khakis. I've never worn white pants, or white shorts; the main: because of my wonderful creative messes I make in all aspects of life (my hubby laughs at such an understatement).  

Saturday, June 30, 2012

Make a Handbag from a Fancy Shopping Bag


I've really been wanting to make a handbag from one of these fancy Kitten D'Amour shopping bags ever since I first saw them. I decided to use the last of one of my precious owl fabrics to make an inner for my bag.


I drew up this little diagram to help me figure out what my inside bag pieces should look like.


Here's how it turned out in the end! I think it makes a pretty cute handbag & gives me a memento from one of my favourite stores that I can't often afford to shop at. If you're interested in me trying to explain how I made this I wrote a bit of a tutorial here.

Denim Tote Bag


I made a tote bag from a pair of old jeans a while back (original post here), but I felt it was missing a little something something.
 I finally got around to added that little something.  I used some flowers from an old ripped dress of my daughters and a few buttons from my stash.  I think I will use the dress to line another one of these bags in the future. 


 This became a gift for my daughter's friend.  I added a journal and writing utensils and off it went. 

Wednesday, June 27, 2012

Fixing an Uncomfortable Sandal


I have two pairs of sandals (one in black and one in brown) that I picked up inexpensively and of course I was so happy to add them to my “collection” that I didn’t walk around in them much before deciding to buy them. The first time that I wore them I found that the beautiful beading rubbed against the top of my foot and made them into “10 minute shoes”. Not what I had in mind when I purchased these.
It took me quite awhile to figure out how to fix them but once I had the idea it was pretty easy to implement. Check out How To Fix Your Sandals for the details.

Monday, June 25, 2012

T-Shirt Grocery Bags

Hi everyone!  Hope summer has been treating you all well...(or winter, for those of you in the Southern Hemisphere.)

Just wanted to share a quick refashion I did a little bit ago, starting with some old t-shirts I no longer wore or had been given by others to refashion. 


I didn't really need more shirts, but I realized something that these t-shirts could be good for.  They went from unused t-shirts to brand new reusable grocery bags!  I followed this Instructable and got to start getting used to my new serger...


As always, more refashions on my blog.

Sunday, June 24, 2012

DIY T Shirt Dress

A Summer of No Pants.......
I love this new movement, but I'm not sure I could pull it off.
But here is a T Shirt Dress I refashioned in honor of all those talented people sewing up a storm to have
A Summer of No Pants.


I had already taken in this thrift store t shirt once before I photographed it, but believe me it started out huge.

There is a full photo tutorial of the dress here


Tee Shirt Refashion

This tee shirt was a bargain at only $2.50 from my local thrift store. It had some really good basic features such as dark blue stripes and dark blue satin neckline. What I disliked about it was the crumpled up blue fabric flowers. They looked tired, they sat wrong and made the tee look matronly. 


So here is the before. 

Close up of the sad limp flowers.

Completed transformation.

Foe further pics and full refashion please drop by my blog.

a lil’ refashionista magic

Hurra! Hurra! Come one, come all & watch how I transform an anythingbutsexy xxxxl nightie into a beautious boho blouse…abrakadabra zingzangzooie…let the show begin!

dresses 2,3 and 4

Update to my 27 dresses series!  We have for you two hits, one miss :(

A top for me:


Birthday gift for sis:


And another top for me that doesn't fit properly.  I love the style of it, so I'm going to try fixing it, just, you know, not right now...


You can follow my attempt at sewing one dress per week on my blog.  Wish me luck!