Showing posts with label swimwear. Show all posts

Friday, July 13, 2012

Swimsuit Refashion

Today I have a whole new respect for the swimsuit industry.  I'll admit that there have been more than a few times that I have bad-mouthed them; perhaps even used expletives. 

It just seemed like they could never get it right.  I mean, if the intimate apparel industry can get it right, why can't the swimwear folks get it?  We women are not all the same size and shape.  And, for goodness sake, can't a mom have a cute swimsuit that is actually flattering? 


I give you exhibit A:

This swimsuit looked adorable on the internet model.  And, it looked adorable when I opened it up. When I put it on... well... it was OK.  However, I felt the need to wear a well-fitting bikini top underneath it.

I wore it to the pool.  I was excited.  I got in the water.  I looked like I had a giant wet blanket draped over me.  I was unhappy.

I still really, really wanted to love this swimsuit.  So, I took it in on the sides.  It looked pretty good after that.  Unfortunately, it was NOT comfortable.

The culprit?  These cute little white straps beside the (shall we say) chest area.  They start on the sides and are supposed to tie behind the neck.  The problem?  It really hurts to have a wide slab of spandex supporting your chest when starts below your armpit, goes around your shoulder and ties in the back.

That's when I knew I would have to do something drastic.  I certainly did not want to waste this super cute bathing suit, but I was not willing to be in pain.  And finally it hit me... A BIKINI!!

Yes, I was nervous.  I have no serger or fancy sewing equipment.  And, let's face it, the last place you want to have a major wardrobe malfunction in at the neighborhood pool.  But at this point, what did I have to lose?

You can learn all about my swimsuit overhaul here. I like to think that I saved this swimsuit.  Tonight I am in love with it.  Fingers crossed for no wardrobe malfunctions tomorrow...

Sunday, November 27, 2011

Bikini time!

Hey today I picked a dress from my wardrobe that I had bought for $3 at an opshop last summer. I wore it a few times but kinda thought the style/print looked alil young so I decided to make it into a bikini with boy short bottoms. Heres the before:
And here's the after:
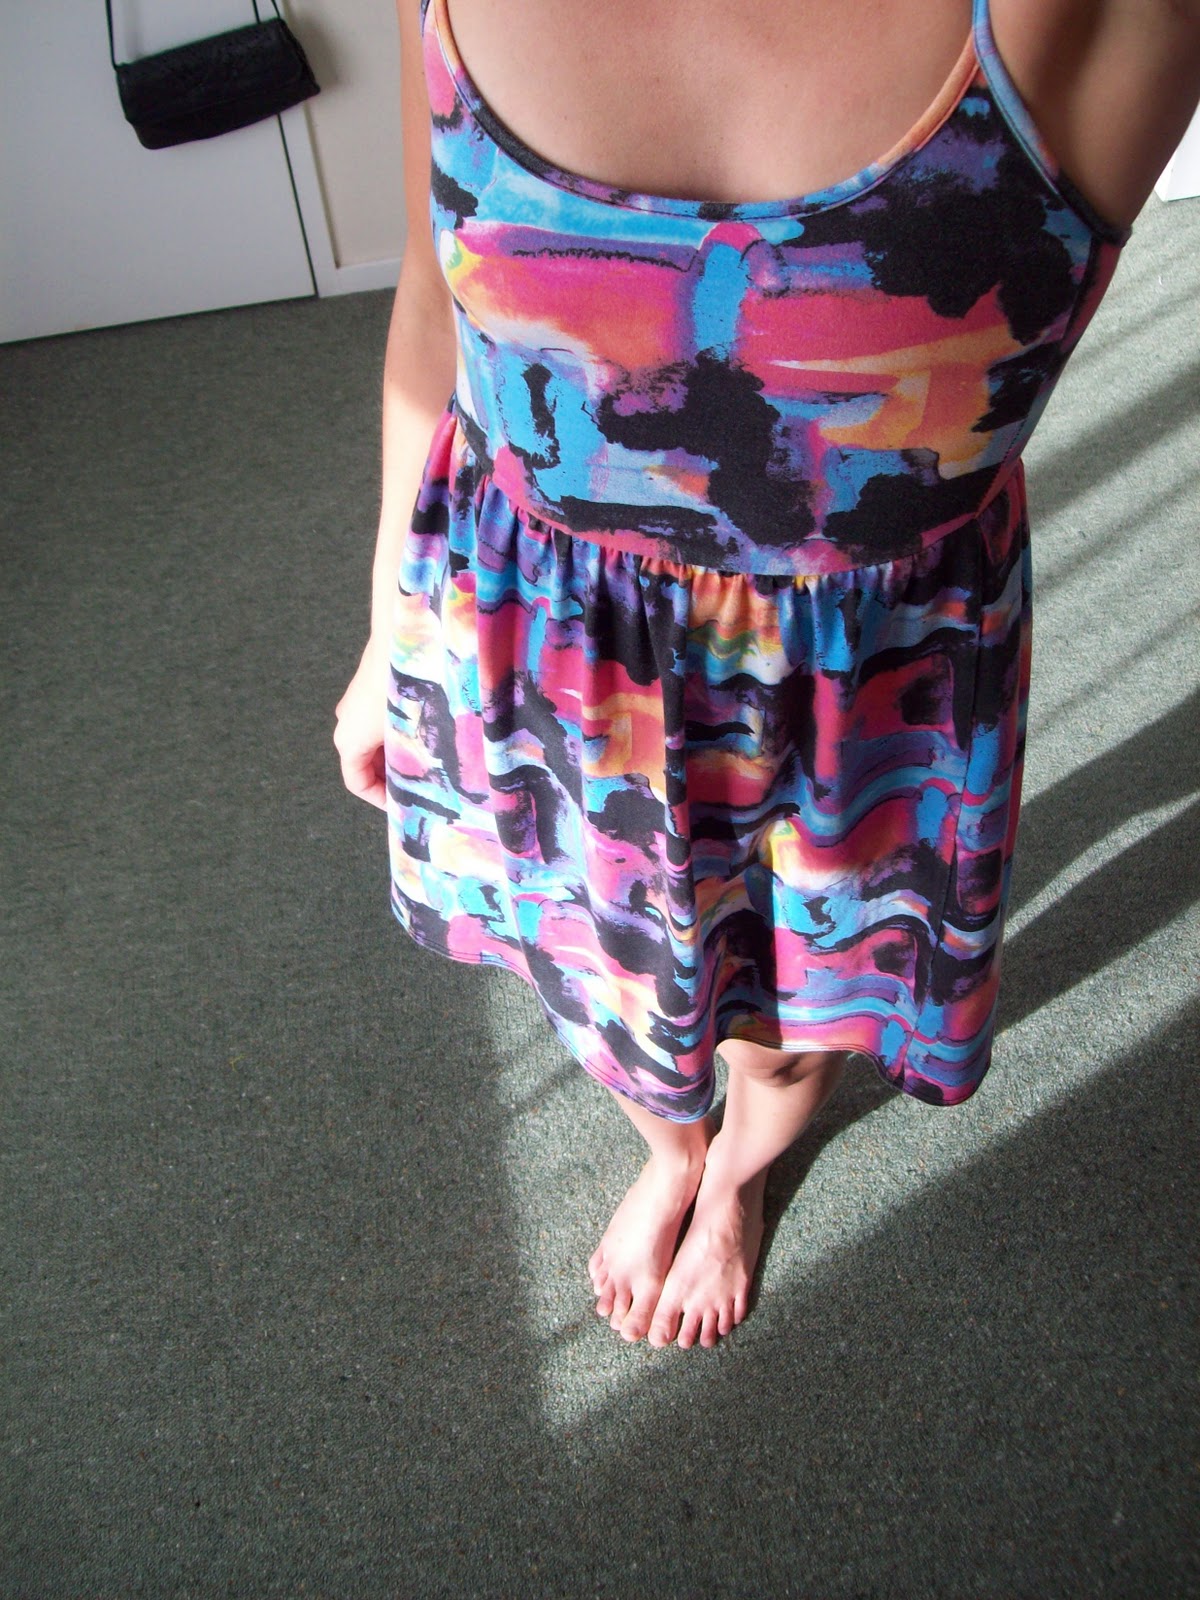
And here it is on:
It still reminds me of something I would have worn when I was 13 but I really like the cut of the bottoms for those days when you're not feeling like wearing something tooo skimpy! And I could even get away with wearing the bottoms to roller derby training so at least they will get good use one way or another!


Friday, October 21, 2011

Two Swimsuit Tops Become One

I'm heading out on a boat cruise this weekend, and when packing realised that I couldn't find my bathing costum anywhere! I didn't want to go out shopping for a new one, so I headed down to the local op-shop to see what I could find.

I picked up two bathing tops: a pink and red hibiscus flower crop-top, and a little red top with triangle bust. Because I'm a bit on the busty side, and the red top was too small for me anyway, I put the red top on over the pink top and sewed in the part of the pink top that fit between the triangles of the red top. I then cut the bottom from the pink top and sewed it onto the bottom of the red top to add length. And here is what I ended up with:


Here is a picture of me part-way through the process--before I have added the piece at the bottom and after I have added the piece to the bust:

The pink top was lined with hot pink, so when I added the bottom piece I slid this lining down about a centimetre and sewed over it to create a pink hem like the one at the top.

Now I just need to sort out some bathing shorts to go with it!

Tuesday, July 19, 2011

Swimsuit Coverups With Tutorial

I made the kids bathing suit coverups out of a bath towel and pool bags out of a shower curtain. They love them. They look so cute in them. They can carry their own swim goggles and pool toys in their own little bags. I was carrying everyone's things in one big bag which would get pretty heavy. They also like being in charge of their own things. It makes them feel a little more independent. The terry cloth coverups are so perfect for several reasons. I don't have to worry about their towels falling off or dragging on the ground and getting dirty. And it keeps them nice and warm and covered. It's perfect for pool parties at a friend's house. When they are they taking a break from swimming or are done swimming, they just slip these on and don't have to change immediately. The coverups fits nicely in their bags. We just roll them up tightly.

These coverups and pool bags are so simple to make and so quick and easy that it is a perfect project for a beginner.

Today I'll show you how to make the swimsuit coverups, and next time I'll show you how to make the pool bags.

You can visit me at Sewing With Trudy.

CONSTRUCTION DETAILS FOR BATHING SUIT COVERUP:

First I picked out a pretty bath towel. If you would like for the coverup to be longer, choose a super long bath towel or a long beach or pool towel. Mine were not extra large bath towels.

It was a bit too wide; so I trimmed off two or three inches off of each side, depending on which child I was making it for.

If you are making this for someone who is larger, then you don't have to trim the sides. Also, if you buy a pool or beach towel, keep in mind that they are usually more narrow than a bath towel; and, therefore, may not need trimming.

I then folded the towel in half and cut a semi circle in the center to make a hole so the coverup could slip over the head. I caution you to be very careful here and only cut a small semicircle at first, open it up and see if it's enough. Then if need be, cut a little more. Only cut an eensy weensy bit at a time. It's amazing how huge a little half circle is when you open it up. I actually made the head holes too big, especially on my son's. Looking at the picture, it looks to me what I did wrong is I cut the semicircles too deep versus too wide.

Then with right sides together I serged up the sides. I stopped at a predetermined point in order to leave an opening for the arms. You could also zig zag the sides together with your sewing machine.

Then I pinned extra wide store bought bias tape over the raw edges of the arm holes and head hole. It's important to use the double wide because the terry cloth is so thick. Be sure to pin the shorter side of the bias tape to the right side of the fabric so when you are sewing on the edge on the right side, it catches on the wrong side. Hope that makes sense. If not, just trust me. I didn't do this on my son's; and you can see, the bias tape is curled up and not as neat.

You don't even have to do the bias tape trim on the arm holes and head hole. You could just zig zag or serge the edges to keep it from fraying. But it isn't hard to do the bias tape trim, and it looks so much nicer. It gives it that professional, store bought look versus the homemade look.

Then I sewed the bias tape in place on the right side of the fabric. That way you can sew right on the edge of the bias tape. On my son's I sewed on the wrong side of the fabric and therefore was not aware of how the right side was turning out. So his is not as neat. I guess you could say that his coverup was the trial one because I made all of the mistakes on his, but it still turned out all right.


Wednesday, July 06, 2011

1 piece swimsuit to faux tankini suit

The teal swimsuit refashioning project is finally completed. Thanks very much to hubby who single-handedly put 2 kids to sleep. I was able to have some sewing/refashioning fun for an hour (it has been really really difficult to steal an hour for myself when having a raging toddler and a 2 month old baby!).

I had been doing a lot of planning and thinking before I took out the scissors for this project. It was a bit of trial and error: cutting some, sewing some, trying the suit on, cut some more, sew some more, etc. That's why I didn't take any 'during' pictures because I didn't know how I was going to do it and how it would turn out.

So a too-long one piece swimsuit:
Became a faux tankini suit!


The new suit feels more snug which I hope will not droop after being in the water. Now I just have to go swimming to see if it will perform as I wish!

See my blog for the steps for this refashion project: http://lovenicky-froufrou.blogspot.com/

Monday, June 20, 2011

Garage Sale Refashions


Hiya! So last weekend I helped out at a garage sale and even though I told myself I was just there to help sell I couldn't resist filling a bag of clothes for $3:

The 1st thing I picked to refashion was the polkadot bube tube:
 Ahhh soo cute but way too big! I cut off the top and made a bikini top from the mini polka dot fabric and used old white t-shirt scraps to make the braided straps. The bottom part I made into a mini skirt:
I also refashioned the green trousers & black tee...come check them out here :)

PS: Hi to all the new refashioners here! So many awesome new posts I'm lovin it!


Monday, May 02, 2011

Yellow Skirt Morphs into a Batwing Tunic

I picked up this lovely yellow flowered skirt at a garage sale. Tried it on and it was not flattering at all, but I loved the fabric and was determined to make it into something I could wear. So sorry, but in my excitement to transform this skirt I forgot to take a before pic. For those of you who just gotta have that before pic here’s a skirt that is similar to the skirt I refashioned.

Just imagine this as a yellow flowered skirt & you have my before pic.

In the process of trying it on I ended up with one arm in and one arm out and Viola! I’d found the inner diva in this skirt! It still needed a lot of work to make it fit my vision but we were on the way. Here’s the finished product, perfect for a beach coverup or over a cami on a cool day.

Can you tell I wasn't into having my pic taken today?
For detailed instructions with pics head on over to my blog - Irish Attic.

Thursday, February 24, 2011

Playing dress-ups with two scraps of fabric!

Hey! I got round to uploading some pics so you can check out how I wear this as a bikini top:
                                                                            here!

Wednesday, February 09, 2011

Welcome to the Refashion Co-op

Welcome to the Refashion Co-op!
We are going to launch the site on the 14th February (Valentines day) and you are all invited to come along and sign up as contributors or follow us as readers. In the days following there will be posts where you get to meet the editors and see their favorite refashions and the contributors will join in with their first refashions. We can't wait to see you all!

A bit more about us:
We came together around a shared love for refashioning, or making over old garments into new garments and accessories, to create a space dedicated to refashioning. When Wardrobe Refashion closed down, we were all sad to see the iconic blog end it's run, and this project was set up to keep the online refashion community alive.

This is a collaborative blog, a space for contributors worldwide to showcase their finished projects and share techniques. We also envision it as a place to gain inspiration, and further the dialogue around sustainable fashion, consumerism, personal style, and frugal fashion. Most importantly, we hope this will be a space to connect with like-minded folks by fostering a sense of community among contributors and readers alike.

Our contributors are our most important asset, as it is your ideas and your creativity that drive this site! As Editors we primarily provide logistical support to ensure the site runs as smoothly as possible.

Together, we can take this movement to a new level! Let’s spread the refashion love to more people, encourage one another to take creative risks, and celebrate in our successes along the way.

Welcome to our new space. We hope that you will join us on this journey.

Your Editors,

Bryony
Debbie
Eddie
Erica
Jenni
Jessica
Jillian