Showing posts with label denim. Show all posts

Tuesday, January 27, 2015

Ooh those denim skirts!

What could be more fun or comfortable for Spring (I'm in TX so spring comes early), than worn in denim combined with a breezy skirt. I see so many cute skirts in the thrift stores & my closet that just don't work by themselves anymore because they are either too small in the waist, or too short. What I have found is that some old denim jeans on top fix those skirts right up! Now they're the perfect size & length for cowboy or moccasin fringe boots!

Pick our your jeans and pick out a skirt & let's begin. I found a beautiful linen Ralph Lauren printed paisley skirt at a thrift store. I think I paid about $4. I knew it would be perfect for this project.

Marking

Start by making all your markings. You need to try on your jeans & mark where you want to cut them. Then measure around your hips at that mark so you can determine the diameter across the jeans & skirt pieces you need to make cutting lines. Ok - now take your pants off & get to work :-)! To get an even cutting line, you need to measure from the waistline down to your cut mark - then use that to create cutting marks around the circumference of your jeans (you'll use the same technique on the skirt)

To mark your skirt - use the diameter of your hip measurement and add 1 " for ease. The diameter is 1/2 of the total hip measurement, so if you have 44" hips, your diameter is 22", plus 1" for ease = 23". figure out where you can get a 23" diameter on your skirt & make a small mark/tick at the side seams. Use the same measure down technique to mark the cutting line all the way around the skirt.

Cutting

Cut your jeans (image #2) without cutting any of the pockets. Pull the front pockets inside out & pin them up & out of your way. Then pick the back pockets with a seam ripper & fold them up out of the way to cut. PS - use some really good sharp shears here - large sewing shears are best. Your hand muscles will thank you!

Sewing

FIRST... put a new, sharp, heavy duty sewing needle in your machine -- I promise you will not regret this step. I stitched mine with regular weight, good quality thread (avoid the $.50 cheapo spools for this project). I also bought heavy weight denim thread to do my top stitching.

Decide if you want a rough denim edge, or a clean stitch line. Line up and pin your skirt to your jeans matching the side seams, center front & center back. I use a 1/2" seam allowance.  Be sure to pin your pockets out of the way for sewing (safety pins work best for this). Straight stitch all around. I like to flip my garment right side out & top-stitch the seam allowance down for added seam strength.

Cuteness

Dress this skirt up with some super cute tops, jewelry & boots. Don't forget to accessorize with belts or scarfs too!


I've made 3 of these so far & each one has it's own personality & lessons learned. The fancy green one decorated with doilies is my last creation. I LOVE that one!


Happy sewing! -- Jill

Saturday, June 15, 2013

My Dandy Denim Dress

Week two of Refashion Runway has come! Be sure to head over to The Renegade Seamstress's blog to vote for your favorite denim refashion! Next week the contestants will be recreating looks found in and on catalogs, magazines, and celebrities, and you are all welcome to sew along. But now it's time for some denim.

I found this denim dress for $1 at my favorite local thrift store. It reminded me of the dresses my elementary school teachers used to wear, with its bright embroidered flowers and floor-length hem. The early '90s, it seems, were not the heyday of teacher fashion.

I think my mom had a dress like this one back in the day.

Since I had so much fabric to work with, I skipped over the seam ripper and went straight to the scissors, hacking away at the dress. After separating the different layers of denim, I started fitting the top of the dress to my dress form.

Fitting the top.

Then I cut  about 27 inches of denim to make the skirt. (For those interested, I've saved the embroidered bits, and may use them at some point in the future.)

Goodbye flowers!

Next I cut strips of denim to make the waistband and add run along each side of the zipper. I bleached these strips, so they would contrast with the rest of the dress. I also dipped the edges of the skirt into the bleach, allowing the bleach to soak up the fabric.

No cats were harmed in the making of this dress.

Unfortunately, I was not as careful with the bleach as I should have been, and I was left with a 2 inch bleach spot on the skirt. To help cover the yellowy bleach mark, I mixed up a little navy dye and touched up my mistake.

Out damned spot!

Then I finished the detailing along either side of the zipper, attached the skirt, and finished the edges around the neck and arms.

Bleached denim details.

 I was in the home stretch, and I was pretty pleased with my dress. That is, until I tried it on and made a horrifying (at least horrifying at 10:30pm on the day before the dress had to be finished) discovery. It was almost identical in style to last week's dress. Dun-dun-dunnnn...

Look familiar?

Obviously, that just wouldn't do. Something had to change. At the urging of a friend, I tried something I'd never done before - an asymmetrical neckline. I was a little hesitant at first, but after some late night chopping and stitching, I was finally ready to dye.

I tossed the dress in a bucket of warm water with some aqua, teal, and navy dyes. After swishing it around for about 15-20 minutes, I tossed in the the washer to rinse out the extra dye, and then dried and pressed it.

At around 3:00am Friday morning, I was finally done!

Refashion Runway week 2: denim

Next week's challenge is to recreate something we've seen in a catalog, magazine, or celebrity. Won't you sew along?


 - Elizabeth
   aka The Hungry Octopus

Sunday, August 05, 2012

"Iris In Bloom" Denim Jacket

I love denim jacket refashions and they are so easy to do.I first became interested in this style of refashion when I discovered Anthropologie's Kunstenaar denim jacket. I was blown away by how amazing it was and the key to it is creating a stunning visual focal point.
So my project begins..... 
The hardest part is searching for the perfect panel which is going to be the centre piece of your jacket. Denim jackets are cheap and abundant in thrift stores. This denim jacket refashion cost a total of $5.00. On Saturday, I had spent my morning at a workshop run by Erica Louise which was inspirational.Following that I trotted off for my usual thrift shop escapades which resulted in success. I had finally found the perfect panel for my denim jacket refashion.


So I started with this $3.00 thrift store denim jacket.

Added my Saturday purchase of a $1.00 Irish linen tea-towel.
And here is "Iris in Bloom" Pretty good for a $5.00 outlay and cheaper than a bunch of flowers.

To see how easy this refashion is visit me @ my blog


Tuesday, July 31, 2012

Top refashion and shorts preview

Yay, I finally did it, after being off for so long!
I worked a bit on a senseless top and possibly turned it in a wearable and cute one:


Please check out my entry to read more and tell me what you think of it, ok?
And I took care of a pair of jeans too, still working on these though:
Have a nice week everyone!!

Friday, June 22, 2012

Denim Refashion


"Little Dude Double Denims".


Okay, so I know the fashion rule...you can't wear double denims! But, I love double denim. Double denim rocks, especially on 12 month old babies.


So here is the before
    

And here is the after


Full story @ 'Little Dude Double Denims"

Wednesday, June 20, 2012

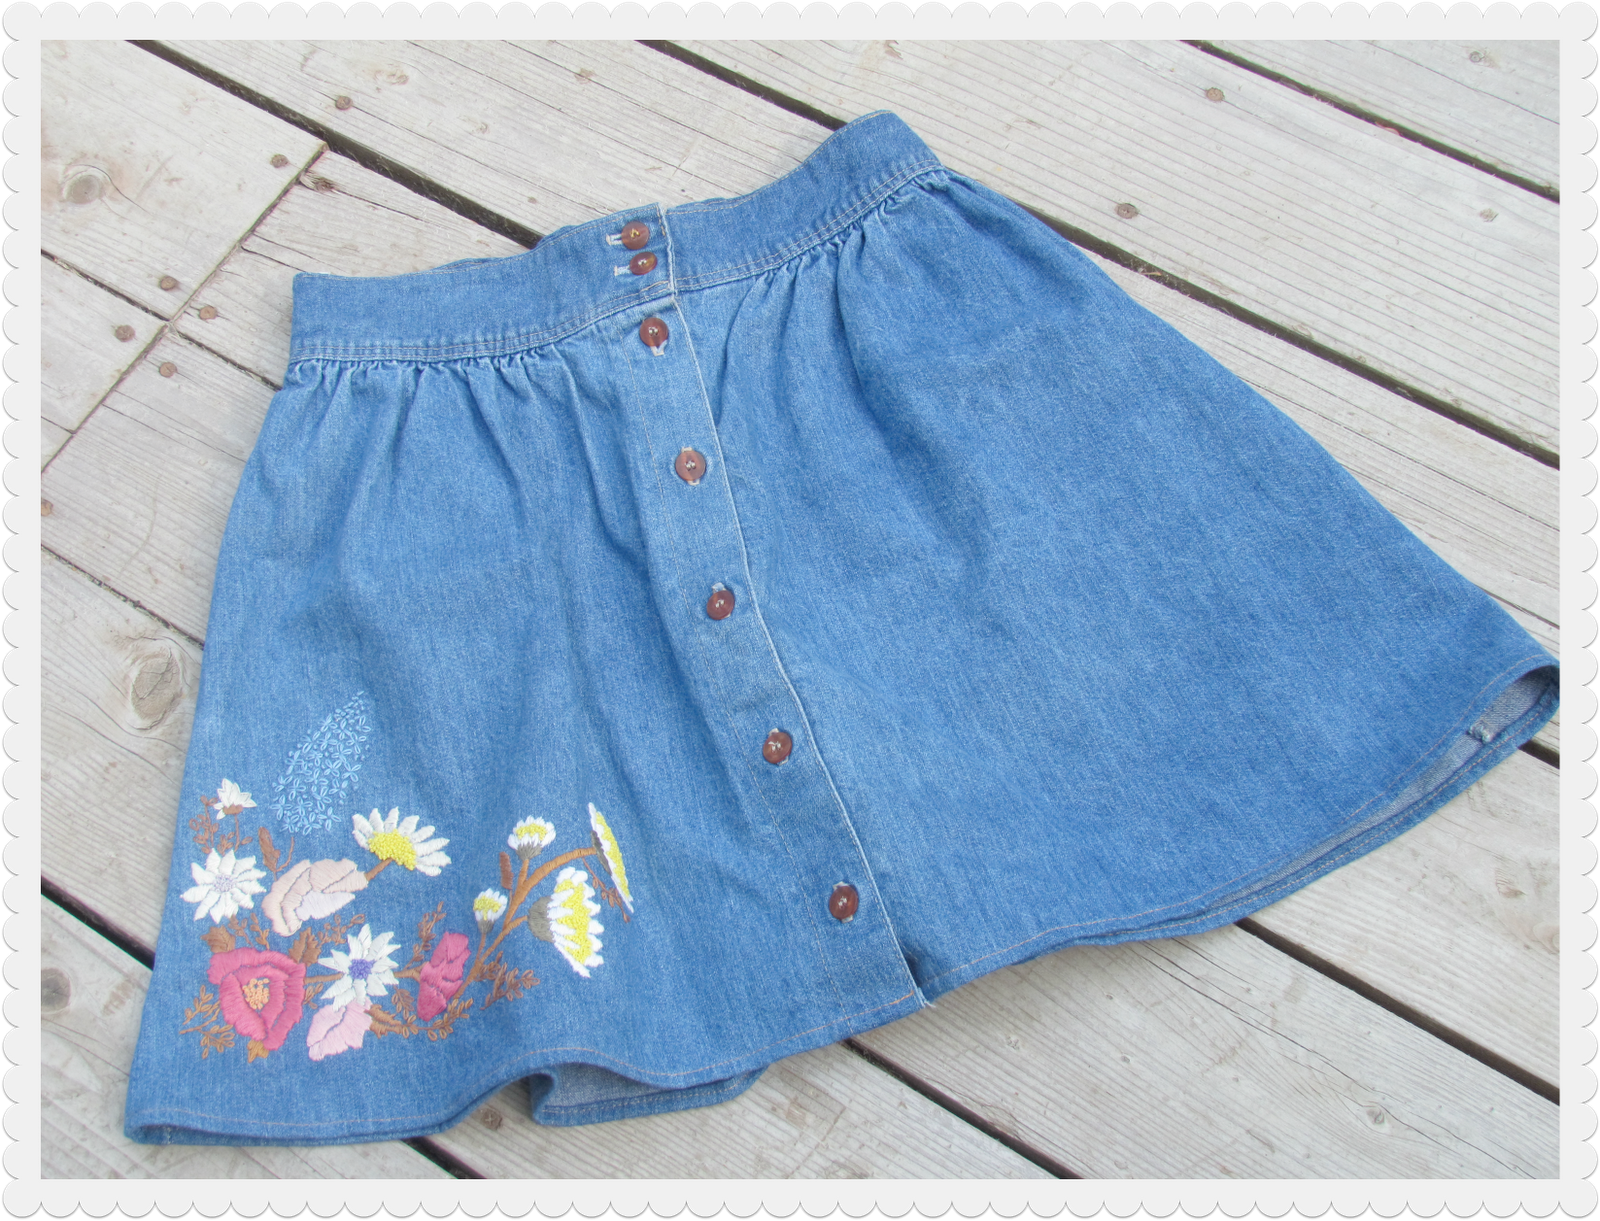
Embroidered Skirt


Embroidered denim skirt made from 1 thrifted long denim skirt, hemmed to above the knee, then hand embroidered.
Inspired by these Anthropologie shorts (no longer available):

 seen on Keiko Lynn

Sunday, June 10, 2012

Another Anthropologie Inspired Denim Jacket

I love denim jacket refashions so I have created the "Little Dame Denim Jacket". You can turn something that is plain and sturdy into an amazing statement piece. This jacket started it's refashion life in a thrift store. It is a H & M jacket that is sized euro 98 which is a regular size 3 kids. It is in fantastic condition so I wanted to turn it from plain to designer. Although it is a child's jacket, this concept can easily be applied to an adult jacket. My first denim jacket refashion was based on an Anthropologie denim jacket. See my Well Travelled Rock Chick Jacket to see a similar refashion on an adult scale.


So start with your plain denim jacket


I don't like wasting any of my vintage fabrics. This beautiful 1960's-1970's linen tea towel was originally used in my Anthropologie Inspired Tote refashion.I had some left over fabric so I cut a piece fabric and ensured that the rose was central. The back of the jacket had three panels. I cut the fabric with pinking shears to sit in neatly in the central panel. This I then sewed into place.


Okay I will admit that these fabric roses are new, but they are just divine. I pinned these over the central rose panel to cover the edges and to create a cute border.


So this is the back of the jacket as modelled by Penelope Hanger who has now started up her own refashion Facebook Group. 


Love the red roses border. I think that it really lifts the jacket.


This is a close up of the back of the jacket. Very individual and unique.

Monday, May 14, 2012

Denim Jacket

A while ago I bought a 2nd hand, thigh length, light weight denim jacket.  It was a great weight for spring & autumn here in Brissie, and a good colour, just a bit boring & shapeless.
So I jazzed it up a little with Suffolk Puffs (yo-yos) made from quilting scraps and changed the line with a 'fake' belt.


The result is a much more stylish (I think) jacket that can still be worn with a lot of outfits.
Ravs
www.ravsrecreations.blogspot.comhttp://ravscreations.blogspot.co.uk/ & www.ravscreations.blogspot.com

Wednesday, May 09, 2012

"Well Travelled Rock Chick" Jacket

My version of Anthropologie's Kunstenaar denim jacket.


Plain thrift store denim jacket


Concept book...Apologies for lack of drawing ability.


After.