I took some inspiration from
a fellow editor's refashion plan for her tropical adventures end of last year/start of this and refashioned a few things for Himself's and my upcoming Hawai'ian adventures.
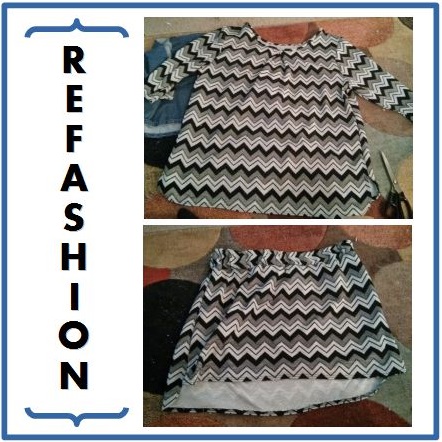
First, a refashion of
a previous refashion --
The material of this top is quite thin so I always wore something over it here in my decidedly chilly and damp part of the world. Might as well turn it into a summer top, right? Plus it had to go in another half inch at the sides. Yippee!
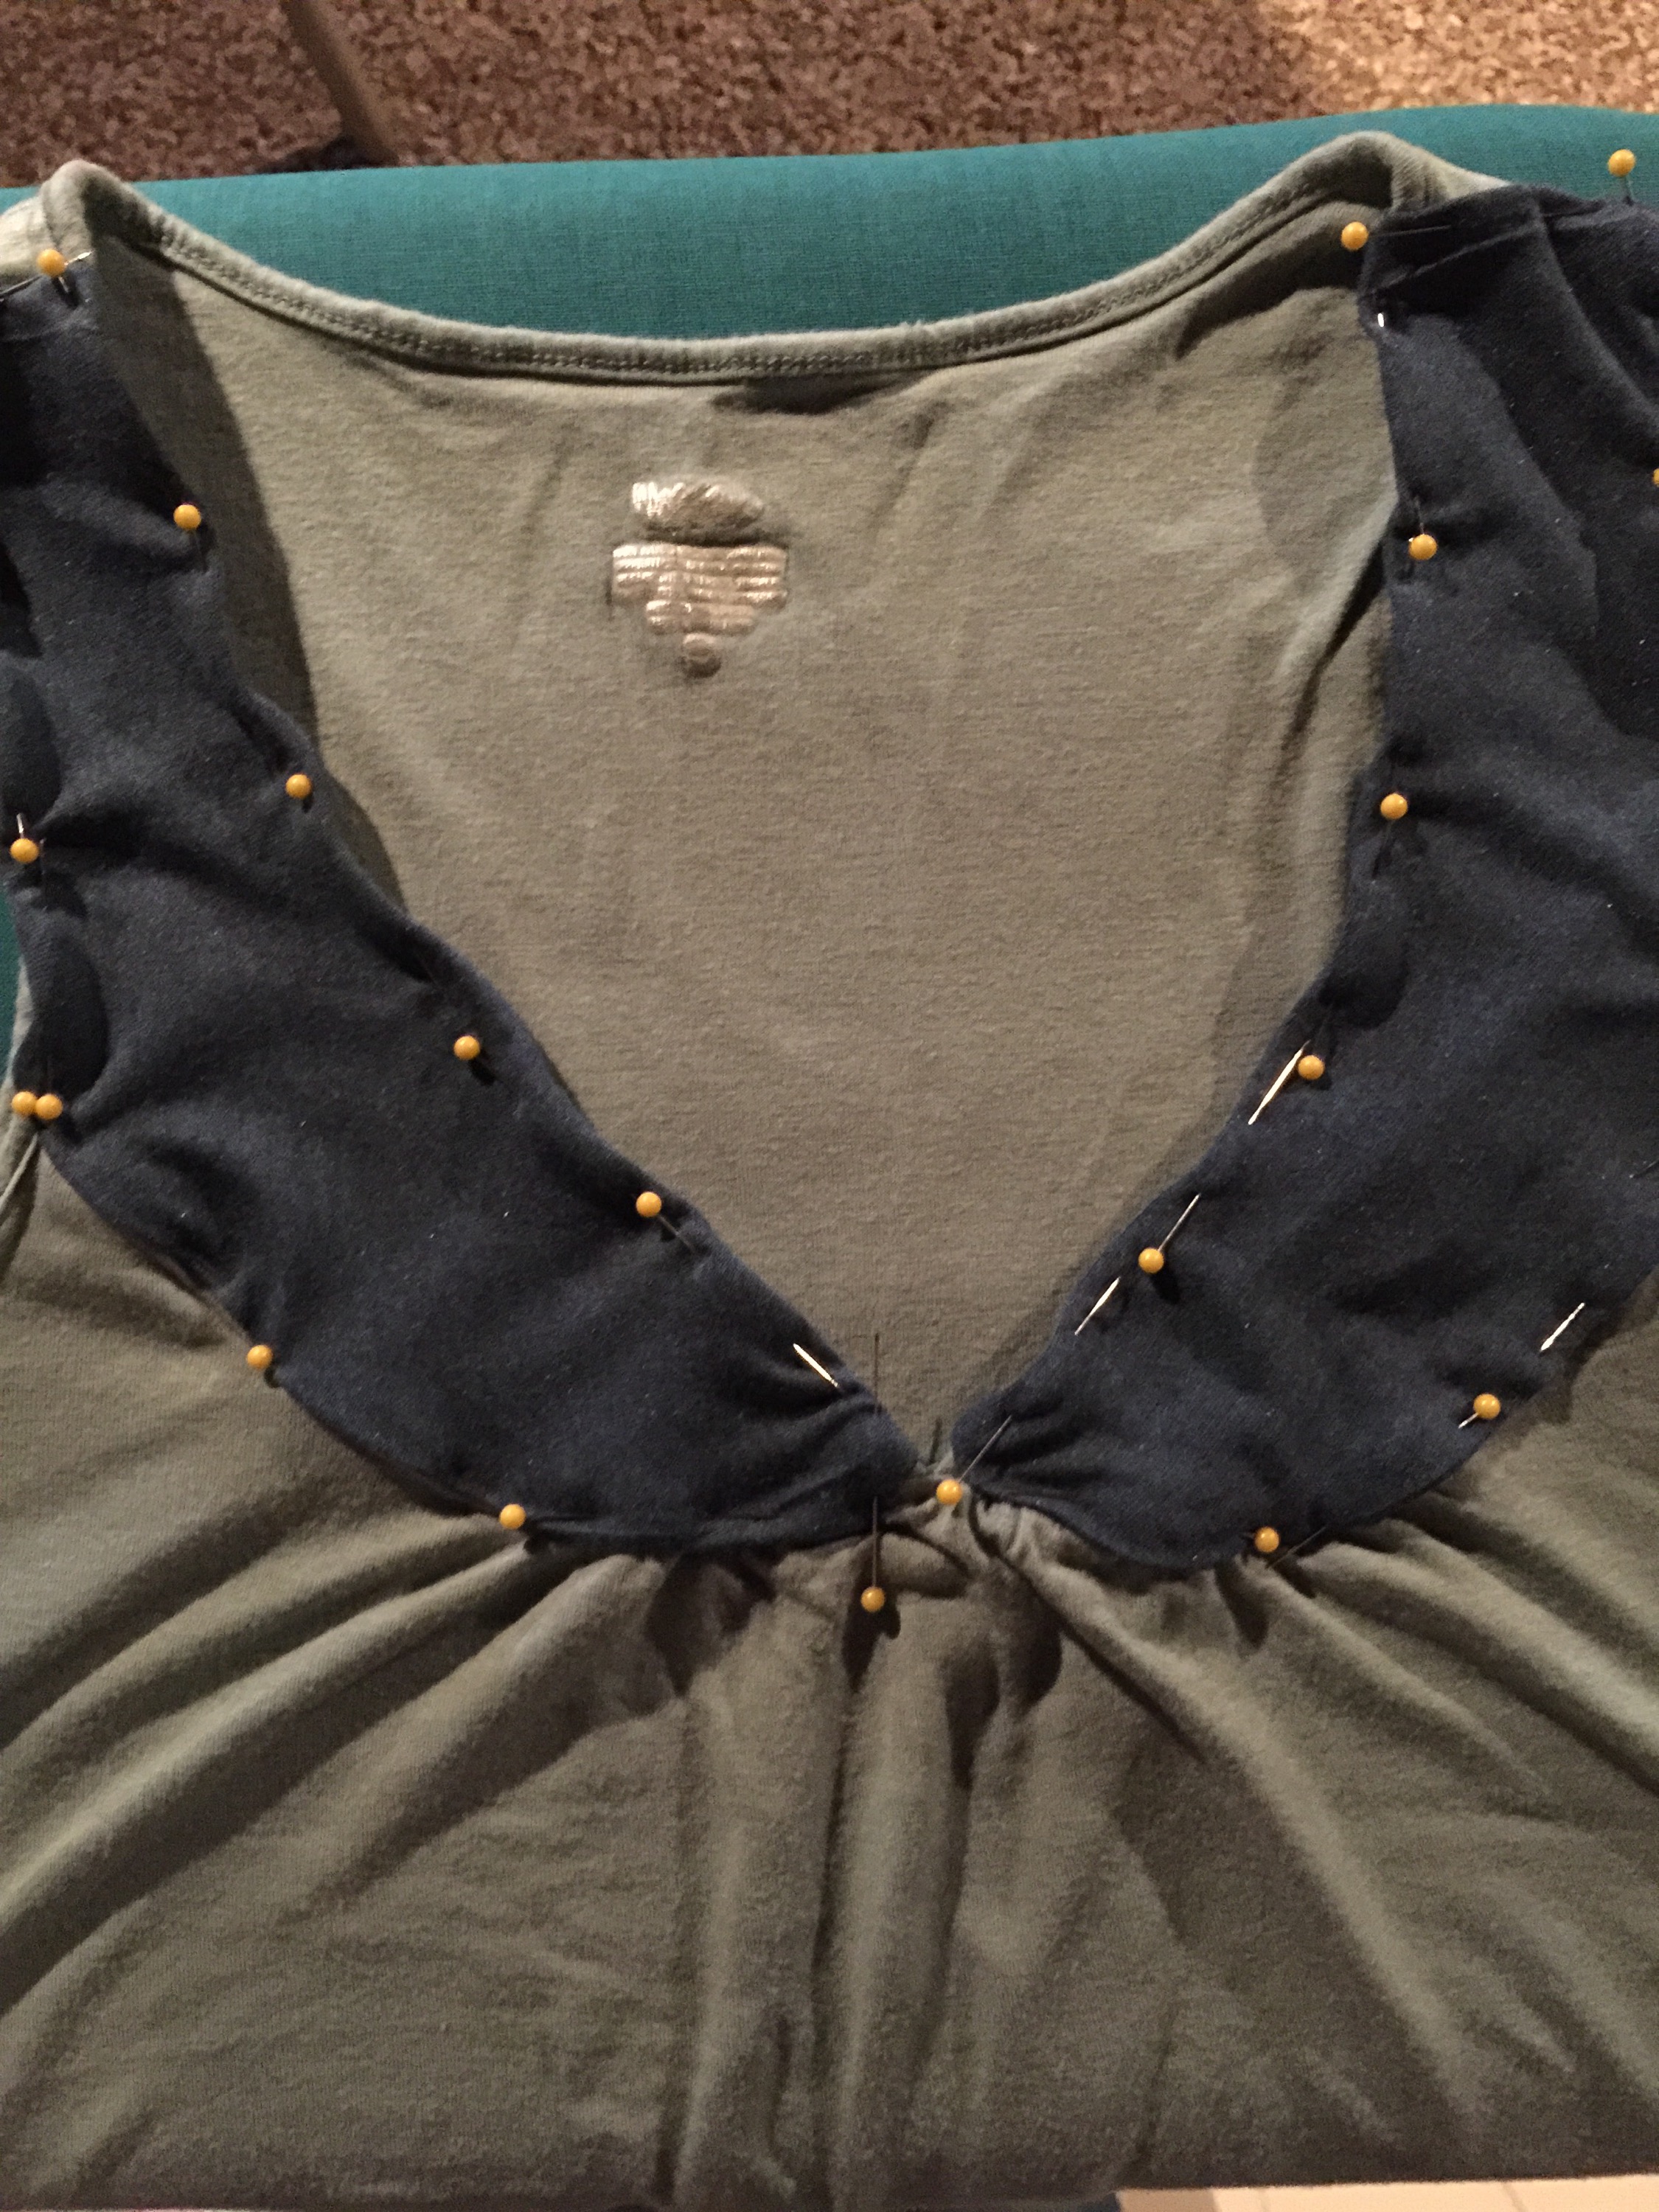
Next, a too-tight-in-the-arms-now summer top
(pay no attention to that elliptical behind the screen):
The elastic at the cuff was the very thing to replace the drawstrings on my pocketbook glasses. Darn things caught on everything in my bag and you had to tie them together to keep the little bag closed.
Since this pair lives in whatever pocketbook I'm carrying, I always sort of forget to do something about it. Today was that day.
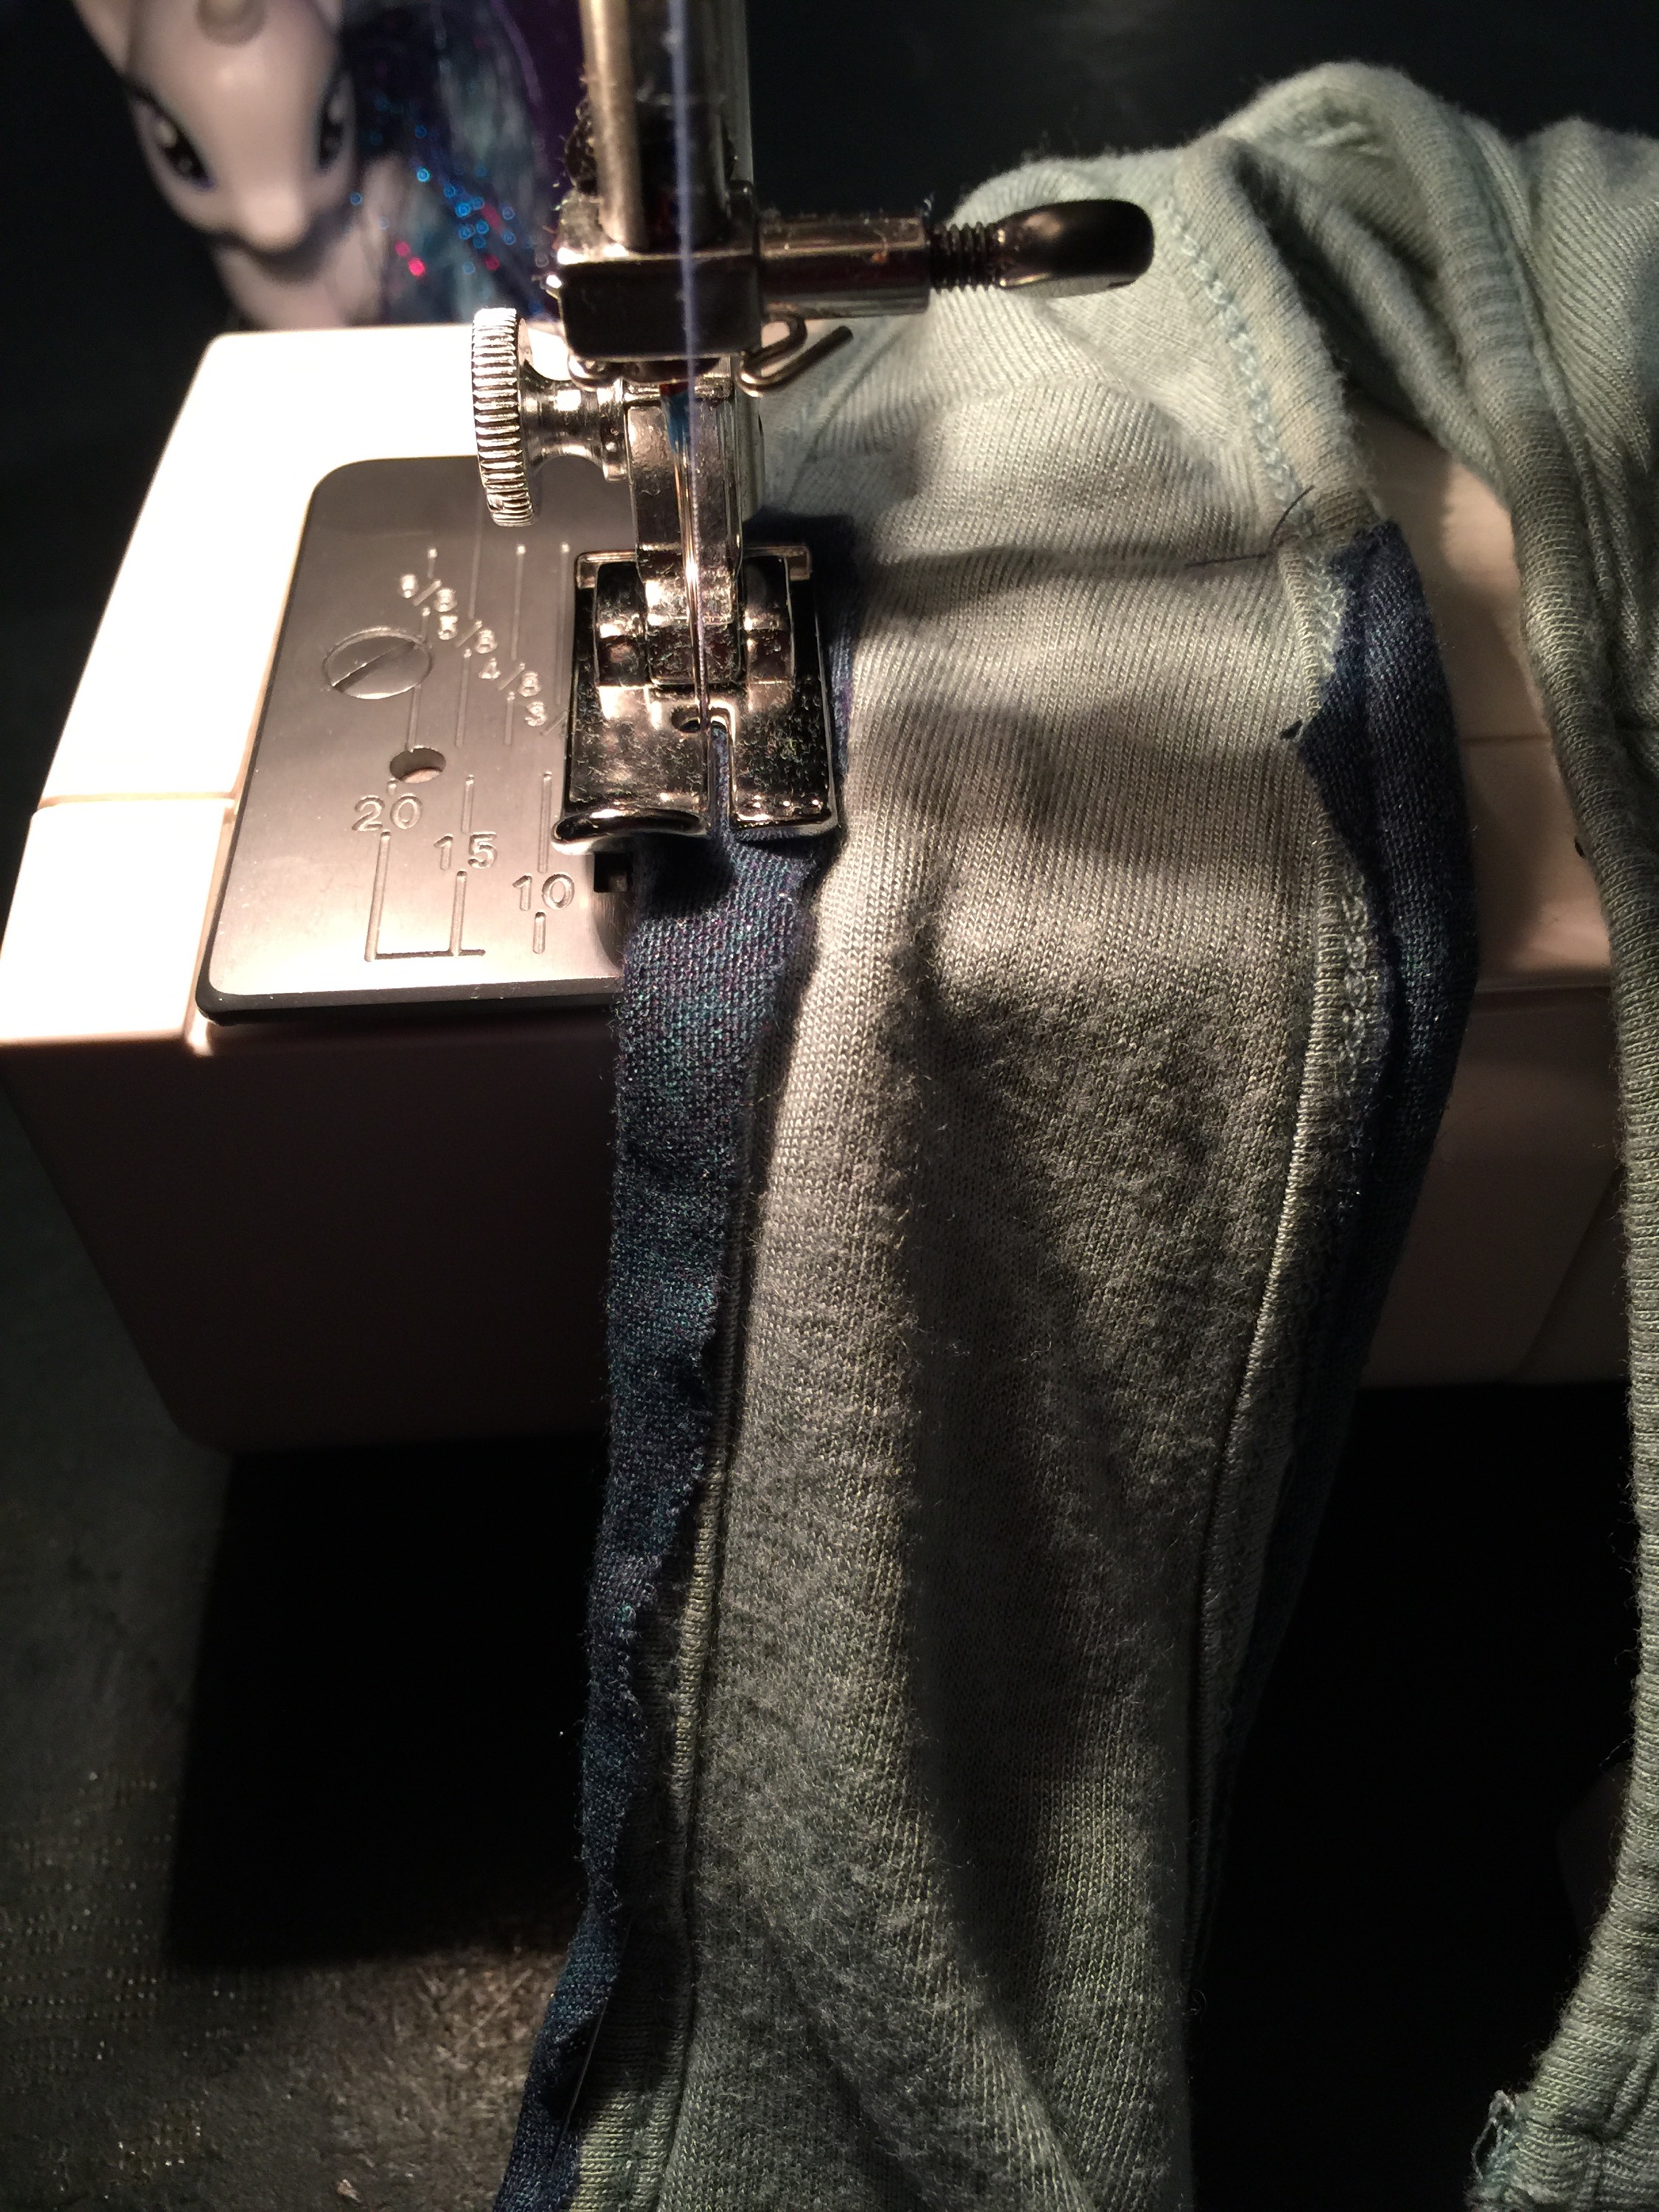
This long sleeve white shirt is perfect for wearing over sleeveless tops when the sun is enough to melt the tar on the road, but the pleats, oh the pleats. Ugh. Who wants to spend so much time ironing whilst on vacation?
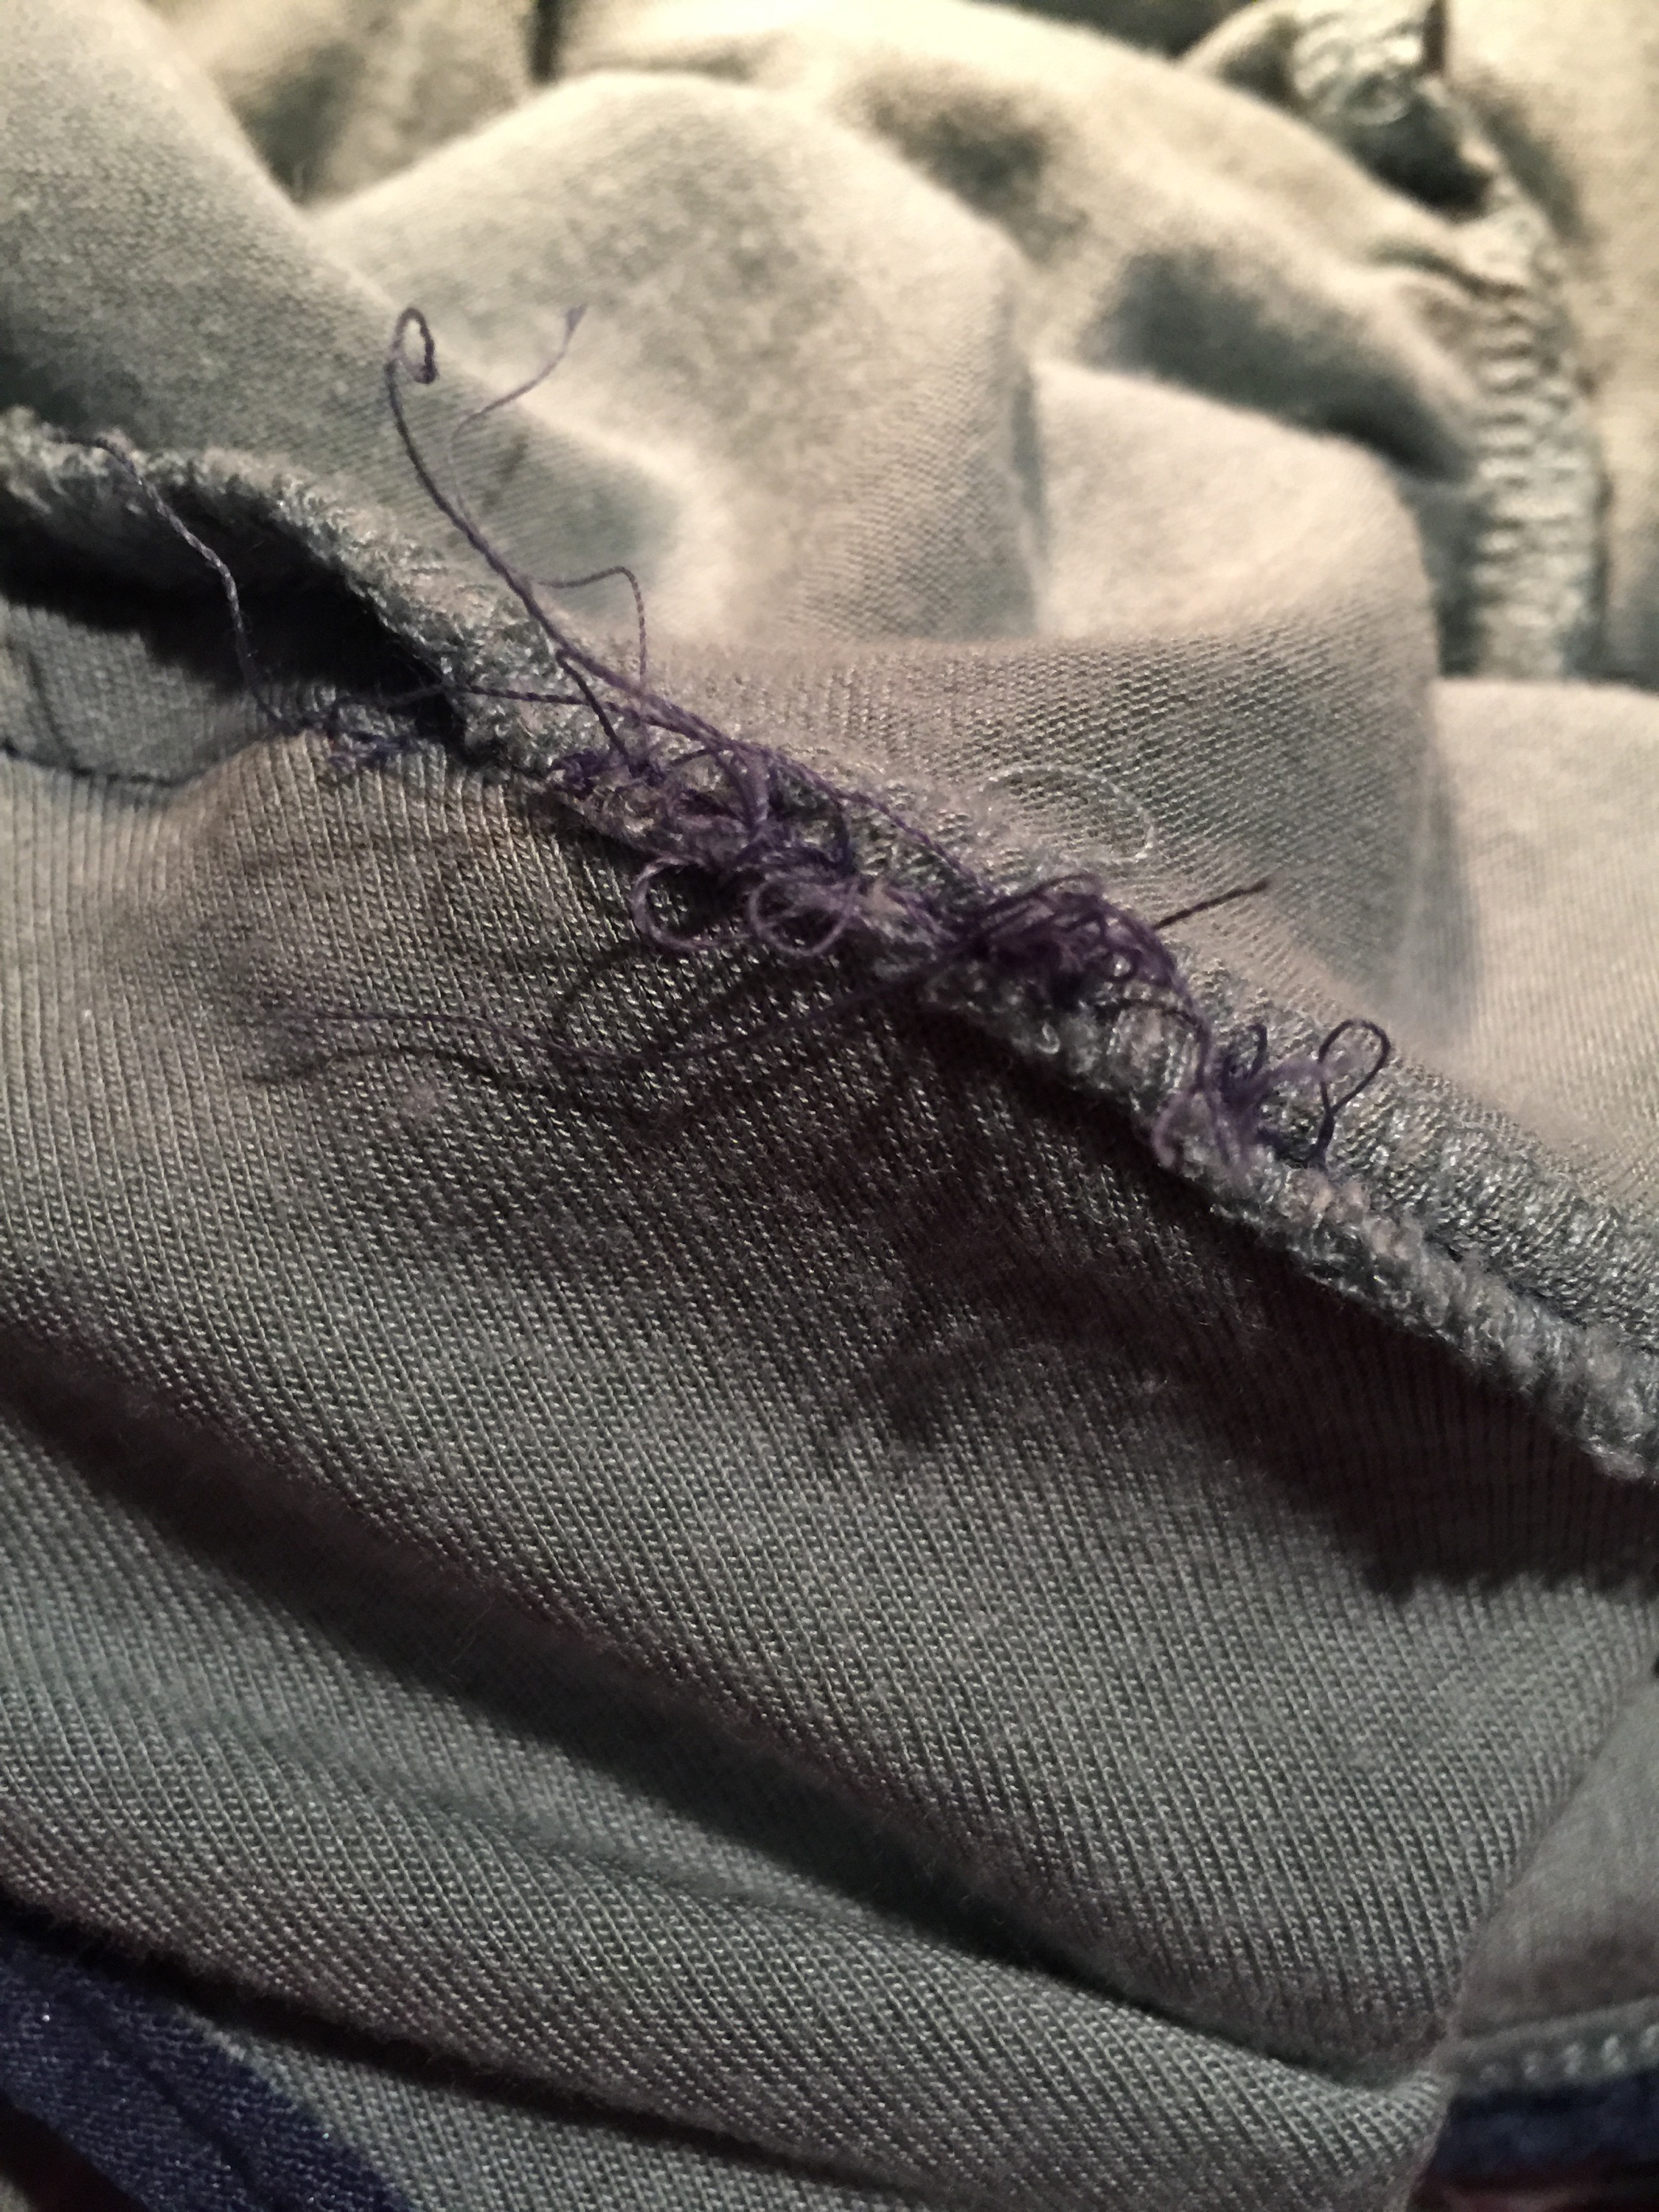
I pressed them for what is hopefully the last time then stitched 'em down.
And that's how I picked out my navy, grey and white color scheme for packing, which I should probably get back to as we're outta here in 36 hours.
IWOM


.jpg)
.jpg)
.jpg)


.JPG)


.jpg)
.jpg)


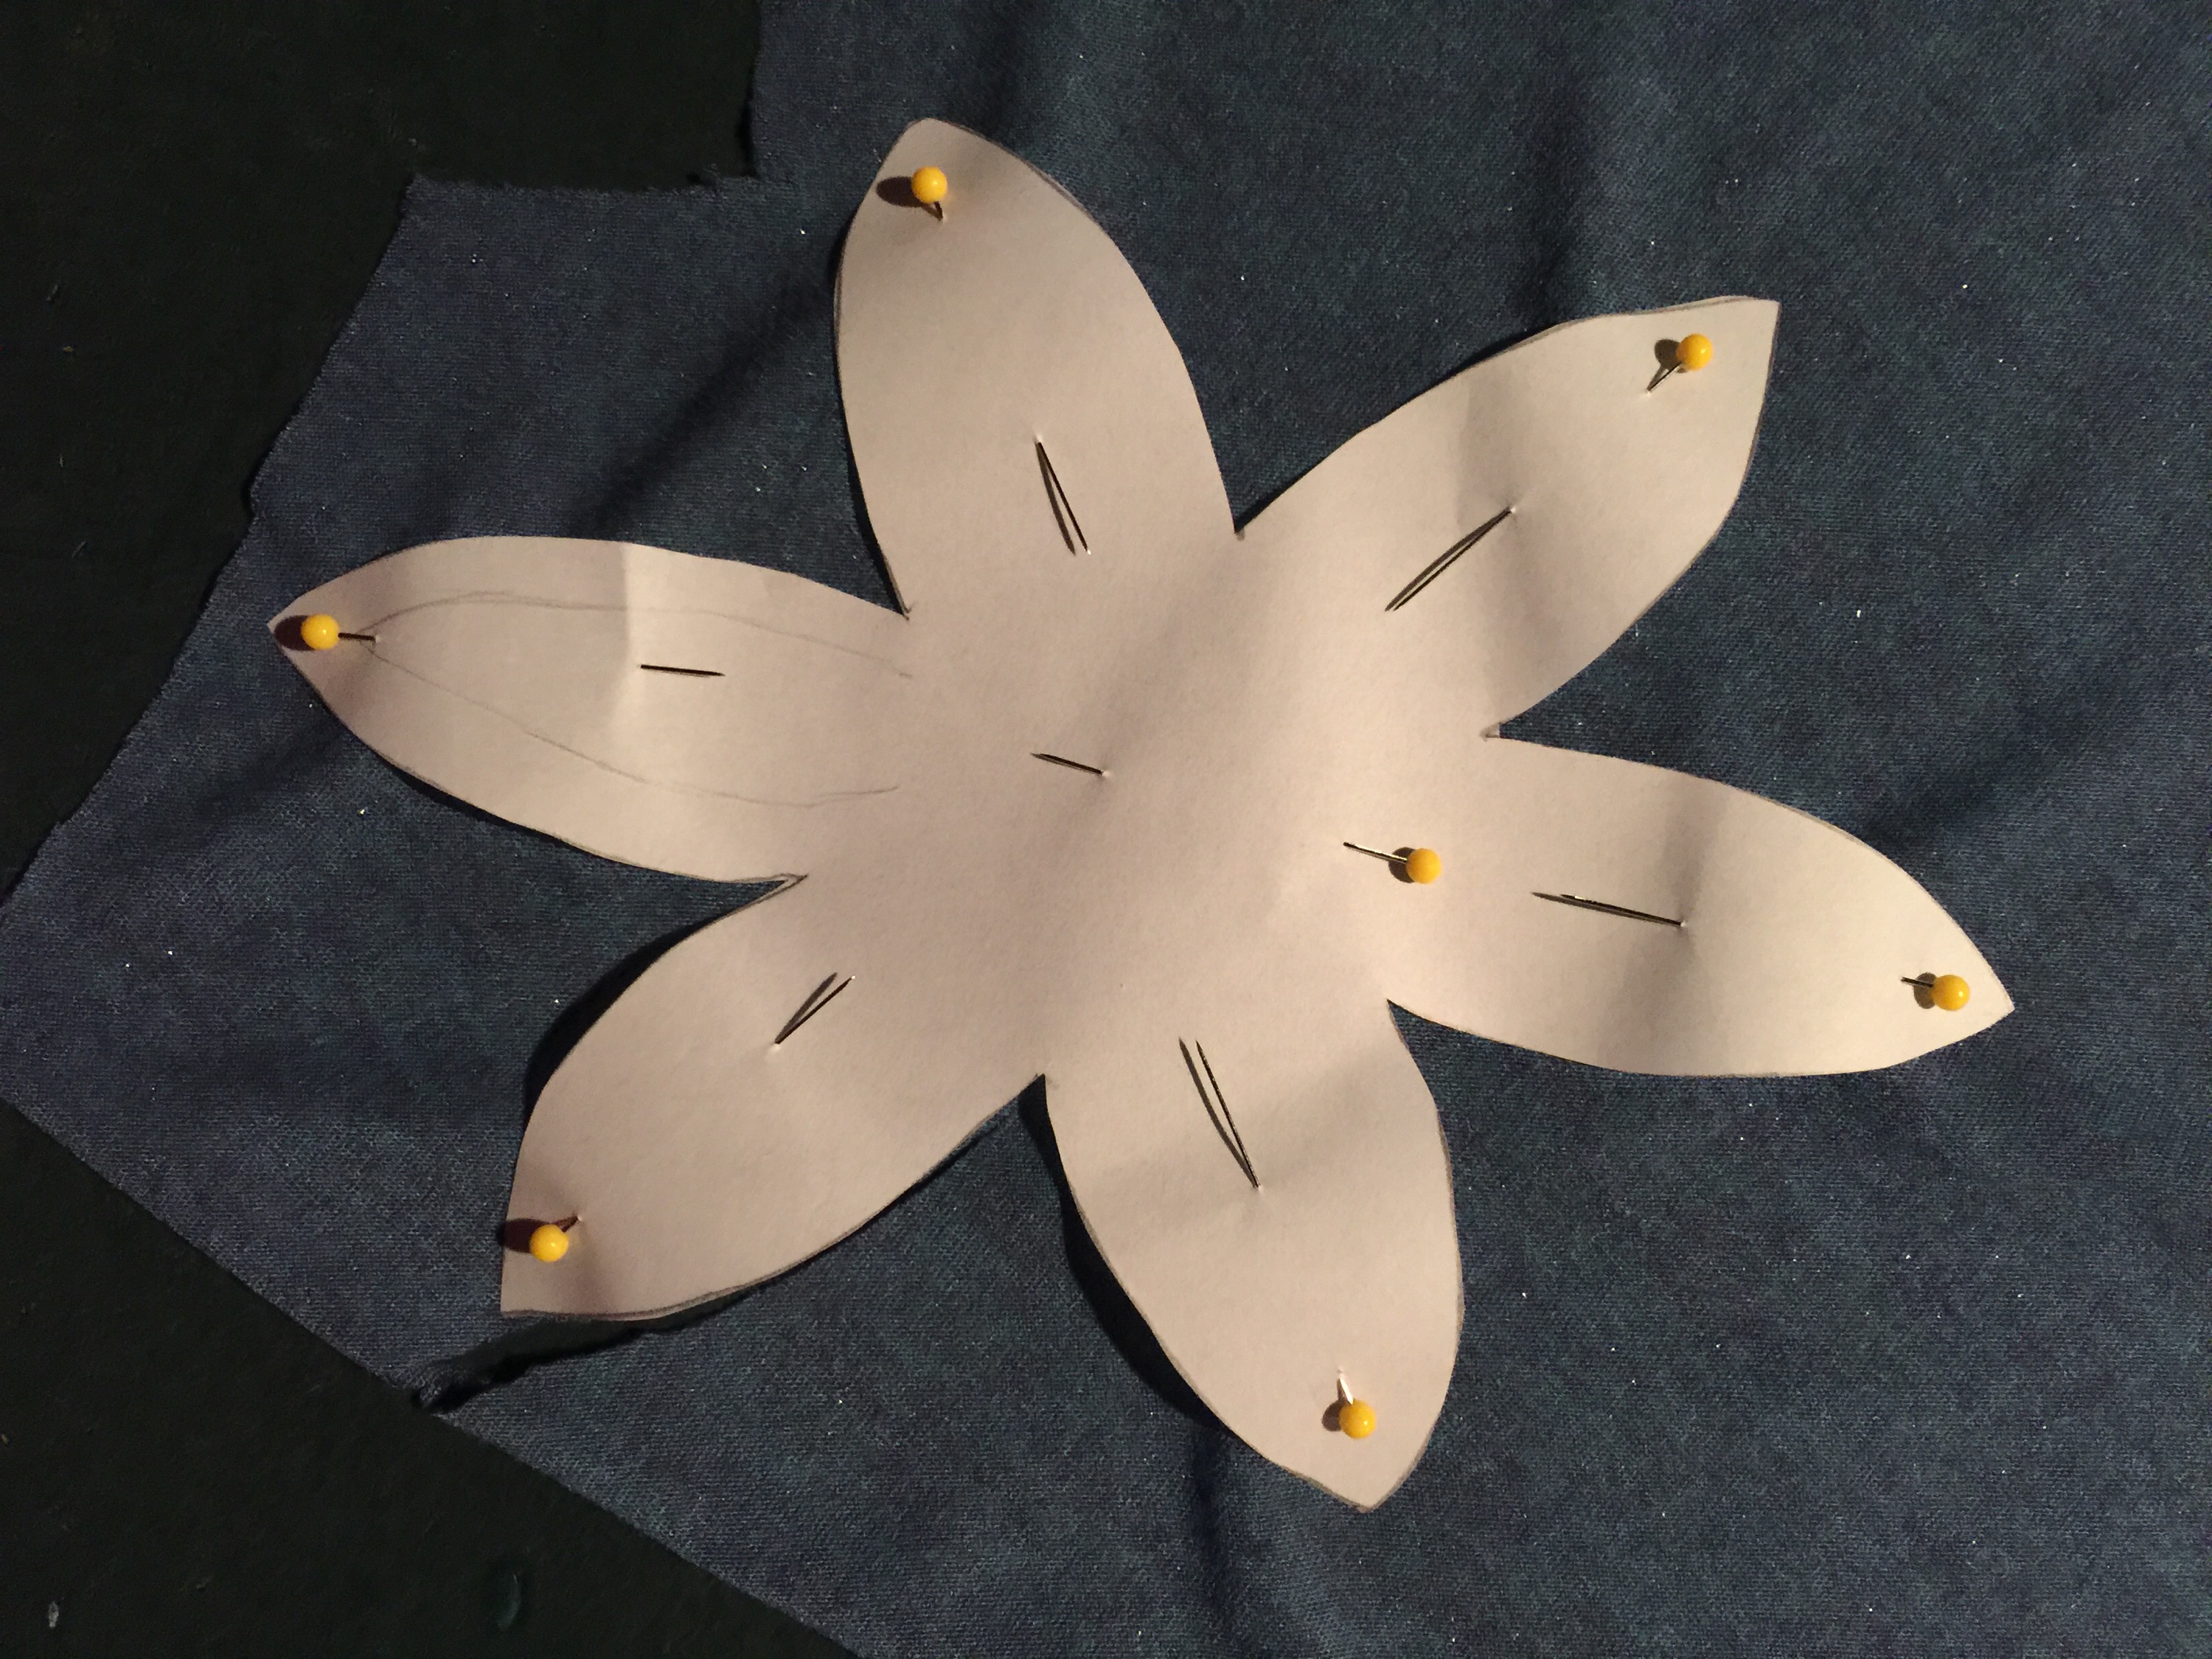
 Then I stitched the top flower on with some embroidery thread that matched the shirt color for some extra pizzaz! But I wasn't done there! Oh no!

 I am so super excited about how this turned out! My face doesn't really reflect how excited I am but trust me, I can't wait to wear this on a hot summer day!
 Happy Refashioning!