Monday, April 30, 2018

patch skirt - and a pattern

Feels like I have not posted in an age, and I am sure it has been
I started working full time as we have started to upcycle our house and now covered in dust!
I did manage to do some refashioning for fashion revolution week.


I donated my sample makes to the local charity shop to sell during fashion revolution week, and to show what could be made from charity shop buys.
The Cope Charity Shop Galway gave me some denim that was not selling and I made some skirts
The skirt pattern can be downloaded for free from Craftsy

more on blog, www.upsew.ie

From Thrift Store Dress to Embroidered Tee


This embroidered tee started as a thrifted, oversized dress.  I couldn't resist the beautiful embroidery and scalloped edge.


I remade the dress with Grainline Studio's Scout Tee pattern, and it was easy to sew with only 4 pieces.  Plus, there's no bust darts, zippers or buttons to get in your way.


The husband said this woven t-shirt looks like a tablecloth.  What do you think?


Friday, April 27, 2018

A Too Bright Dress; Part 2


Hello Refashion Co-op.  I like to use up sewing scraps and leftovers when ever I can. Don't we all?


I had the skirt leftover from this red dress. I wanted to use this skirt piece. It still had the finished hem so that would save me time and effort.


I noticed this purple shirt had bright red stripes just like the red of the dress. It was a little too small so I never wore it. So, I found a way to put them together. I cut the body off and flipped it upside down. It was going to be the top of my dress. Turning it upside down let me use the finished edge at the top. The cut edge got attached to the red skirt piece. That saved time too.


I used the sleeves to make straps. I don't trust strapless dresses. They never stay up, not really. You think they will, but they start slipping down eventually.


I liked the dress with all it's bright colors. It was warm the day I made it but it got cold again and I had to put it away until more warm weather comes for good.


Thanks for reading this post, for more details and pictures go to I Can Work With That.

Wednesday, April 25, 2018

The Too Bright Dress

 Hello Refashion Co-op. I had a bright red dress. Did I say it was bright? It was super-bright. No photos showed how bright it was in real life.  I love red but this dress was just red-red-red. There was nothing else to break it up or tone it down. 
It was a little overwhelming. And a little big.
 

My solution was simple. Like really simple.  I cut some of the skirt part off and left about 5 inches as a peplum. If the dress had fit a little better I could have left it at that. 
I made the sleeves and the body of my new shirt a little more narrow by taking in the side seams.


I liked the red as a top better than I did as a dress. I think there was less red so it wasn't so overwhelming anymore.  I left the hem as a raw cut edge because that is what they did when they made the sleeves. If the maker can do that, I can too. 
I also didn't want to make the shirt any shorter.


Thanks for reading this post, for more pictures and details go to I Can Work With That.

Friday, April 20, 2018

The School Marm Dress

 Hello Refashion Co-op. I found this jumper dress at a clothes swap and loved the material. It was such a soft wool blend. I didn't like the style or the fit. It looked like a school uniform and an  old granny all at the same time.


There was a side zipper so I couldn't alter the dress on the sides without removing and replacing the zipper. I didn't want to do that so I had to alter the back of the dress. I used my dress form to pin the dress and see how the shape was changing.  


I cut a lot of material out of the back. I also made the dress a little shorter.


I was happy with the new look, it is more a lot more fun but not too tight.


Thanks for reading this post, for more details and pictures go to I Can Work With That.

Tuesday, April 17, 2018

Downsizing with flair

I picked up a pair of embroidered jeans on the clearance rack of a discount store. It was the only pair and they were nearly 2 sizes too big.

They are stretch jeans and were full length with a skinny leg. I couldn't take the waist in at the sides because of the embroidery, so I had to add darts on the back.
They still looked weird - super skinny ankles but colourful flowers bringing attention to my hips.
I chopped a few inches off the length and used some of the scraps to make flared inserts to widen the legs. I left the darker seam allowance on the outside. Then frayed a strip of dark denim from my stash to make hem trim. I like this proportion a lot more!

Bleach T-shirt designs - Beyond the basics


Hi all,

Last week I made a simple bleach t-shirt design. It was a fun project so I decided to see how far I could tack the technique. In this video I share some more tips and several more projects.


Happy Re-fashioning,


Monday, April 16, 2018

Simple Chambray Snip

I found this chambray shirt on sale in a charity shop. Mine!
But the sleeves were much too wide and - as always - too long for me.


And it was missing a button.

I narrowed the sleeves, and shortened them.
And I took the button from the washing instructions, and sewed it on where a button was missing.
And that was it, ready for use.

And yes, it is wrinkly. I did on purpose not iron it, as I like a casual boho look of non-ironed chambray.


Sunday, April 15, 2018

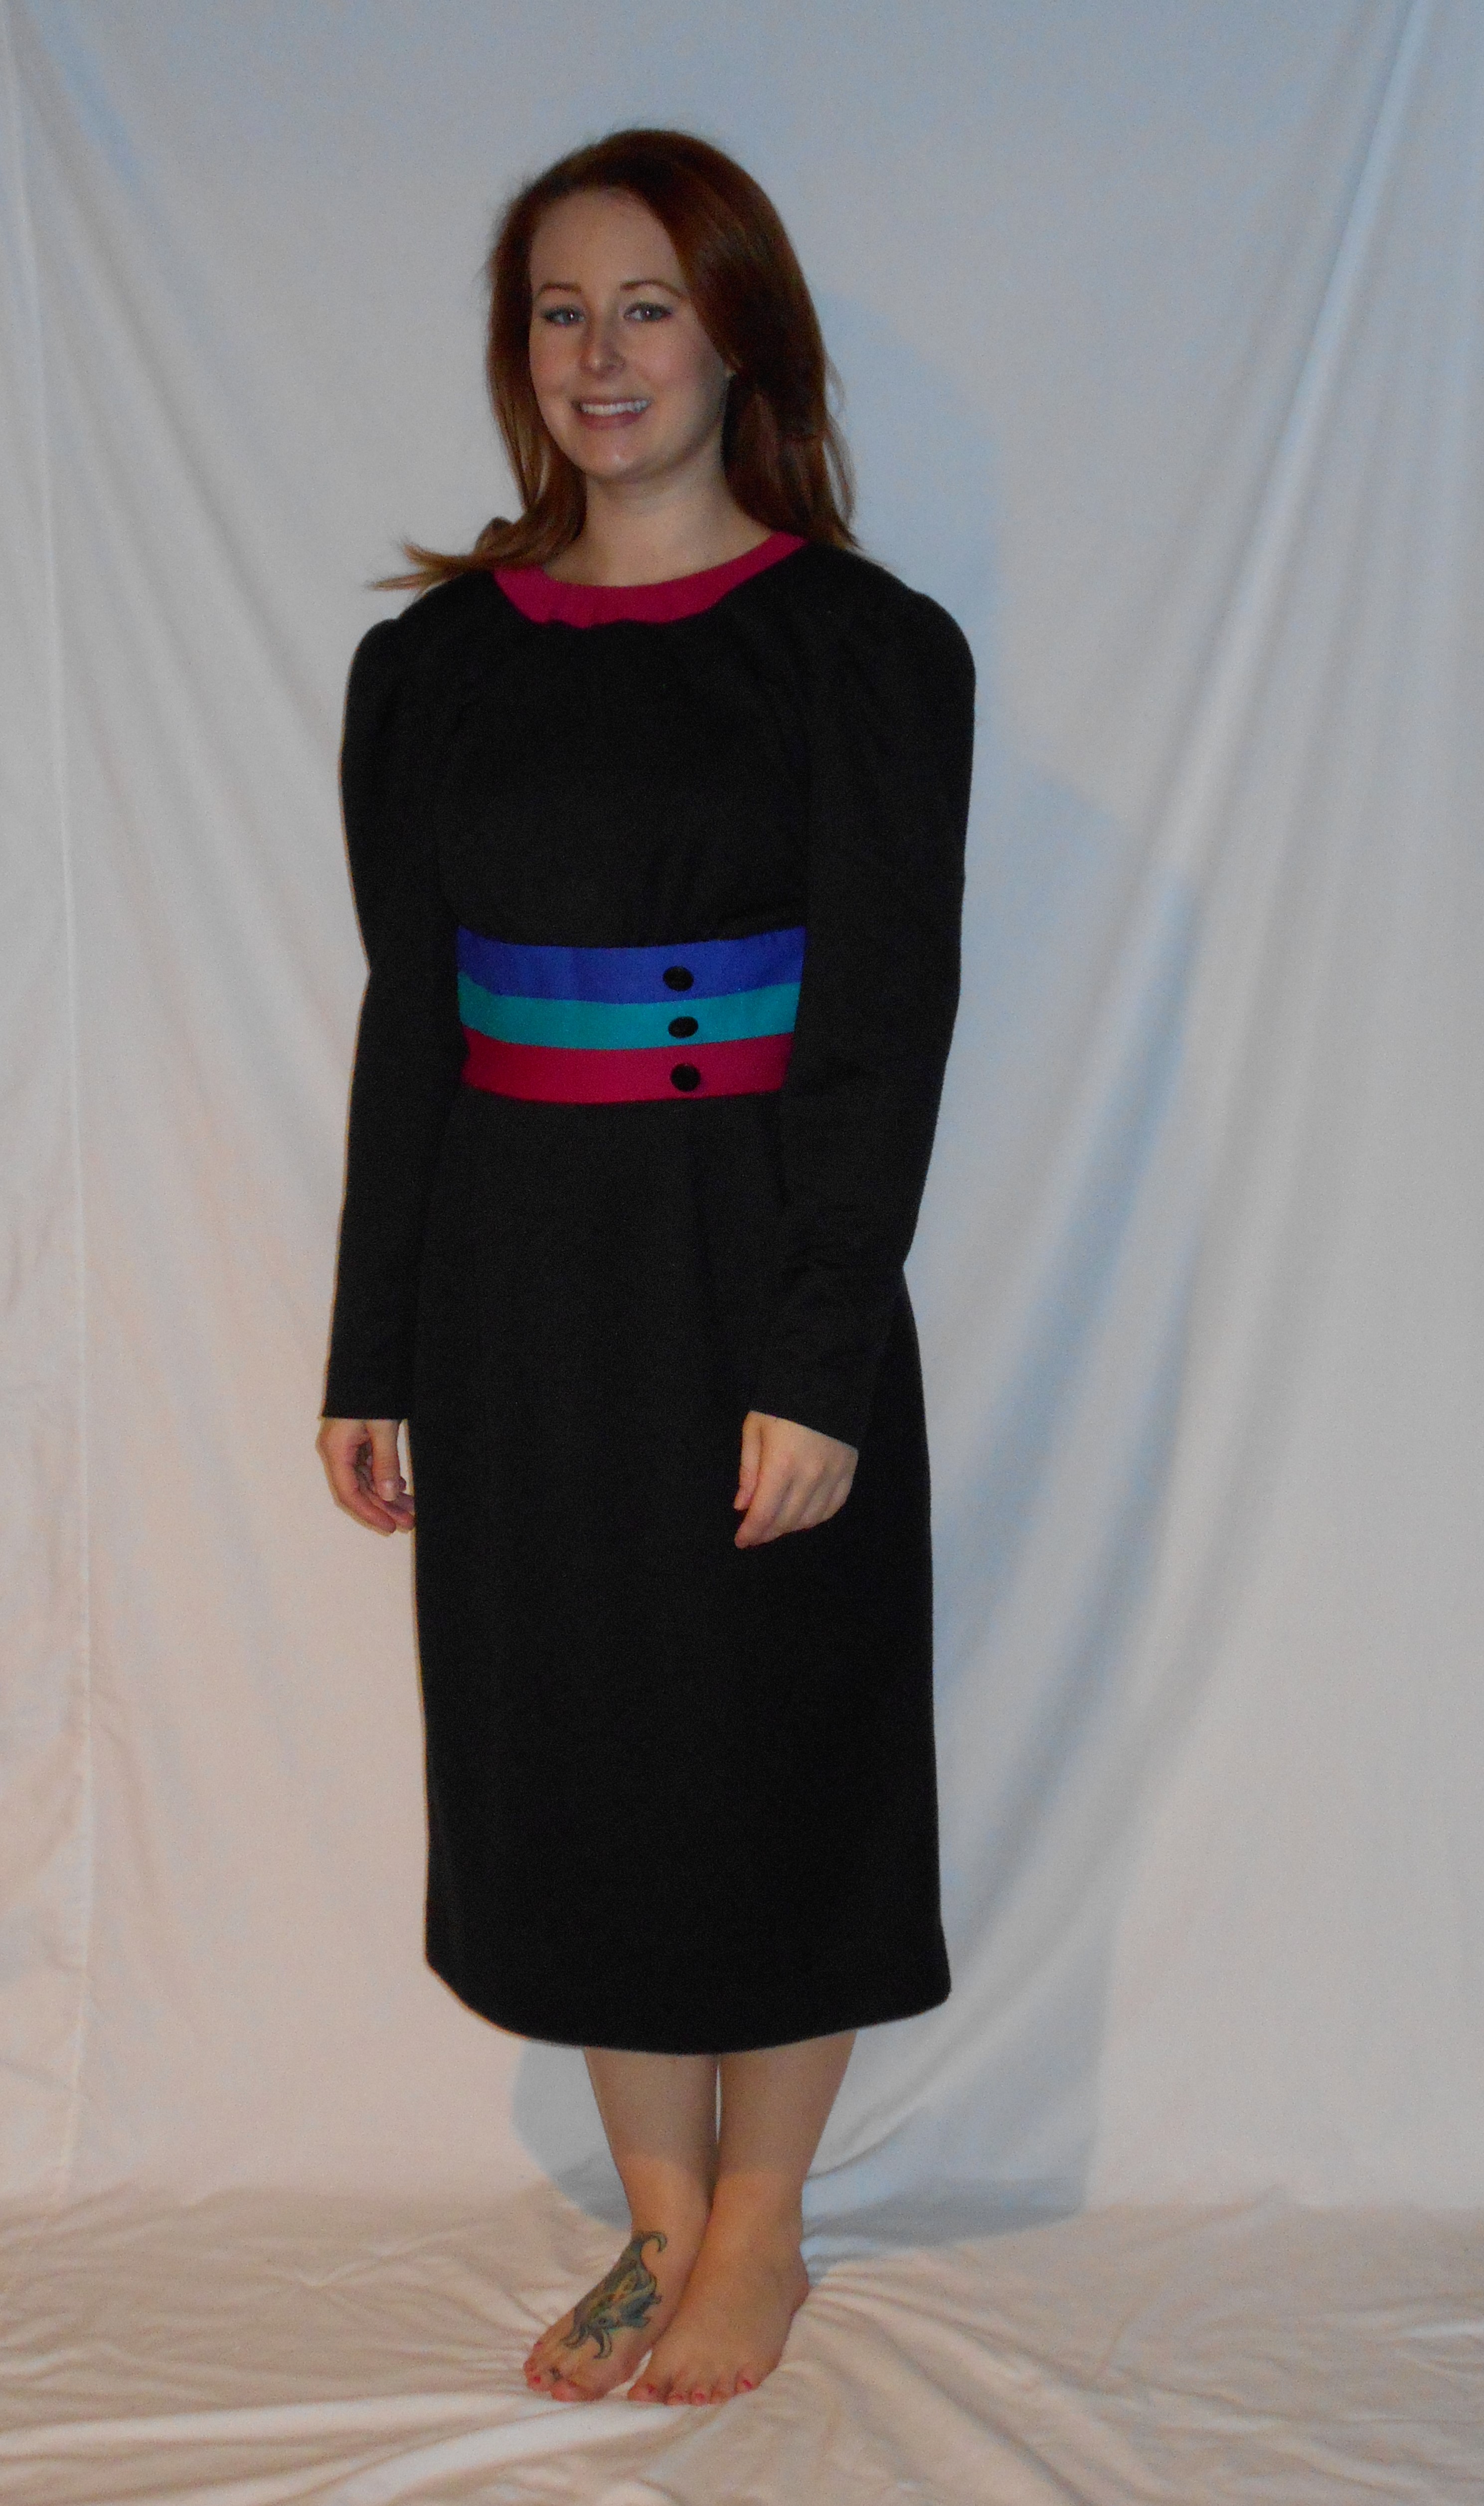
Toooh-Tally Tubular 80s Refash

Hey there readers! Today we are going back in time to the toooh-tally tubular 80s!
This dress is totally ugly to the max! This poor dress is in dire need of some updating!
DSCN1490

DSCN1516
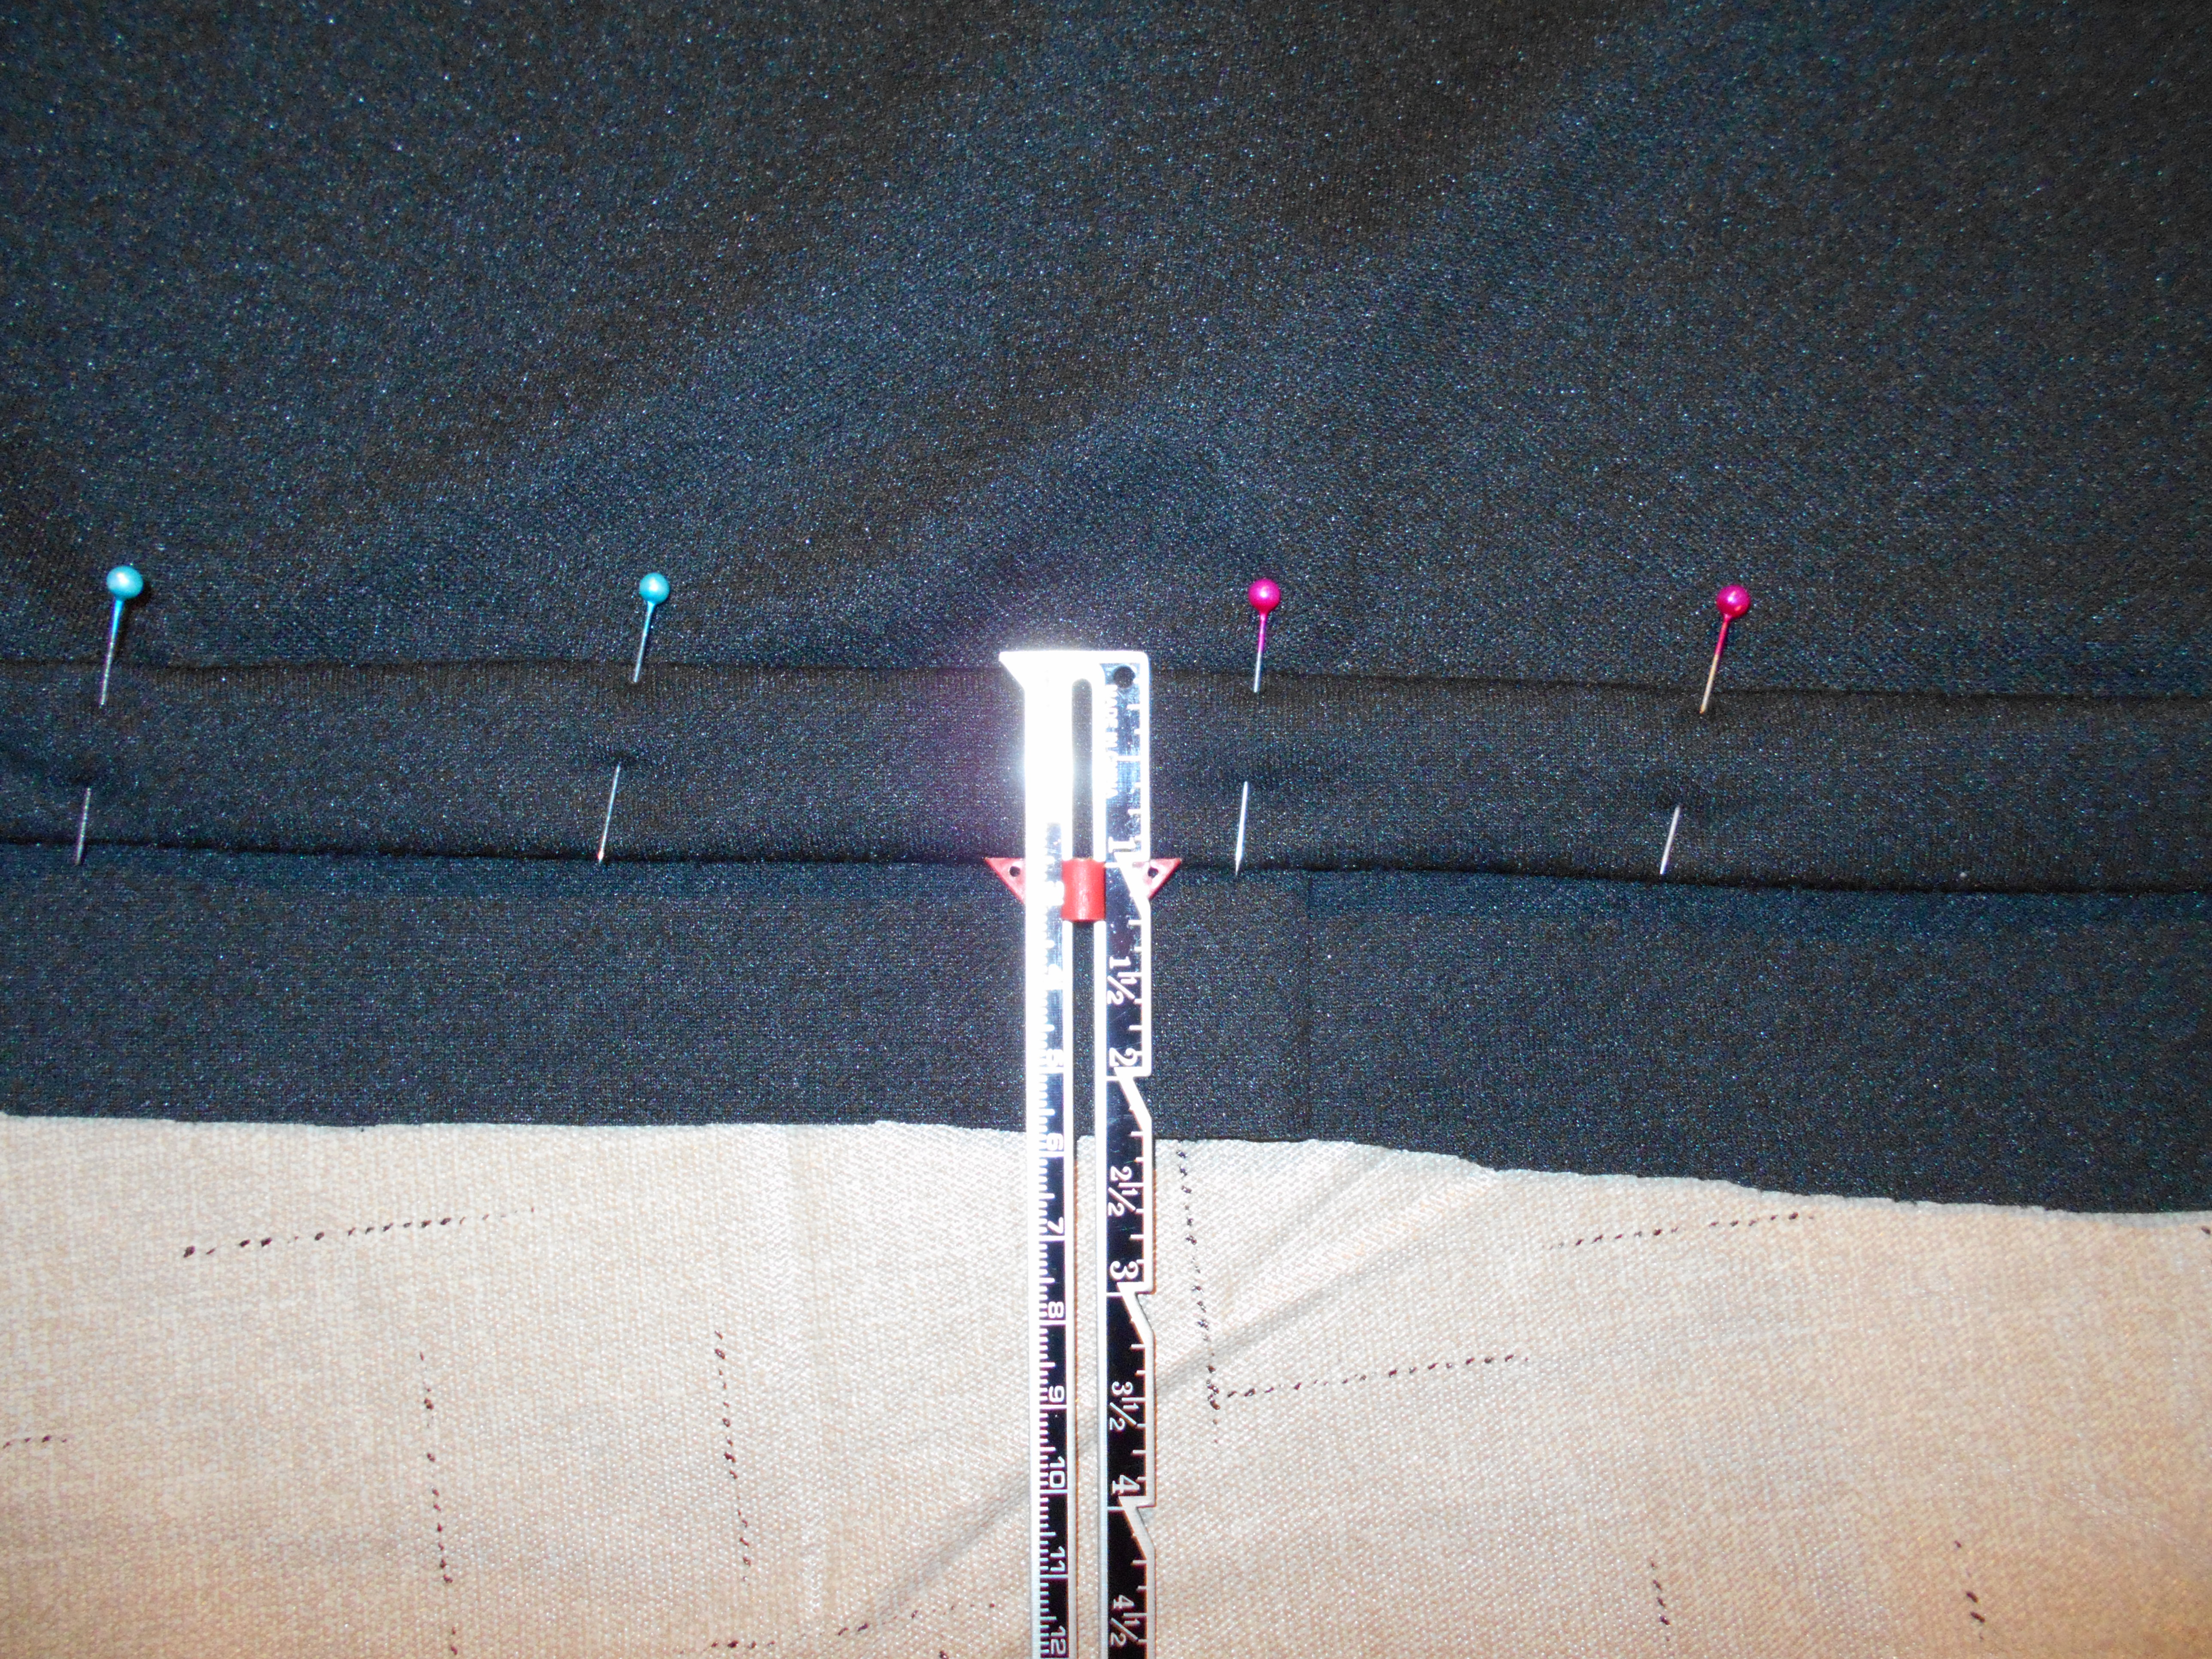
I used a dress that I really liked the length to use as a guide on where to hem my new dress.

DSCN1523
I hemmed my new dress with a 1 inch hem.

DSCN1517
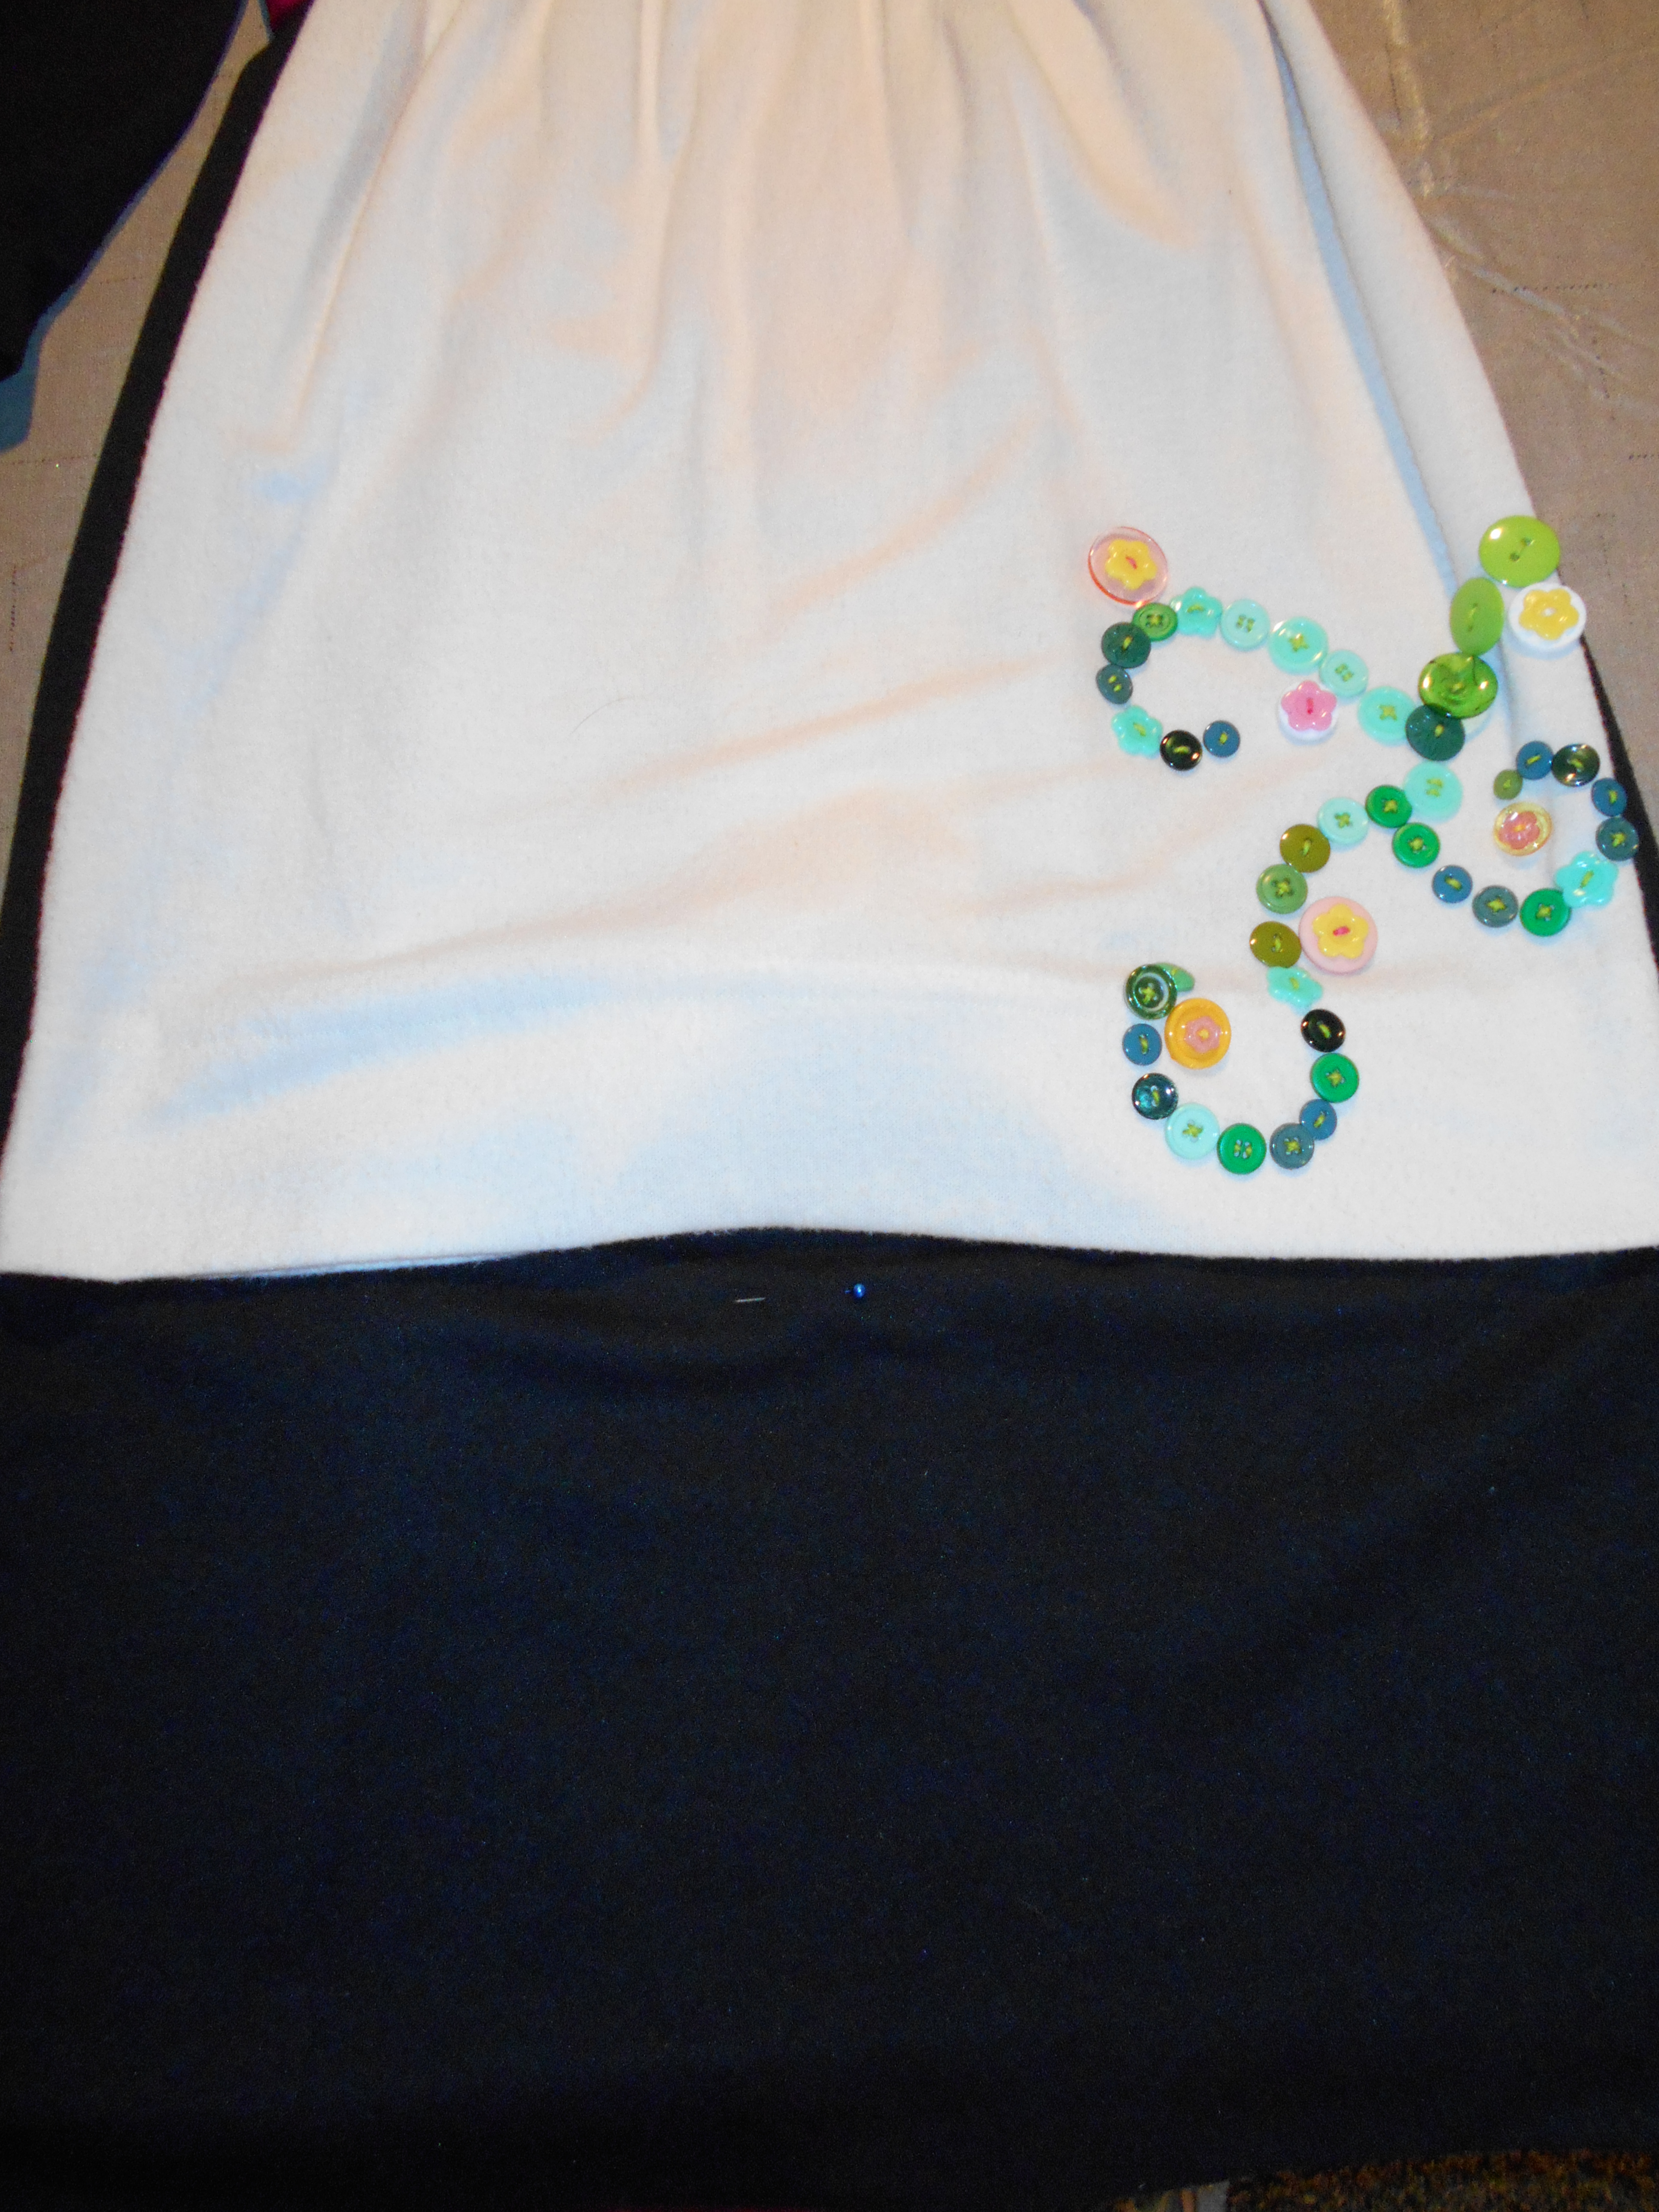
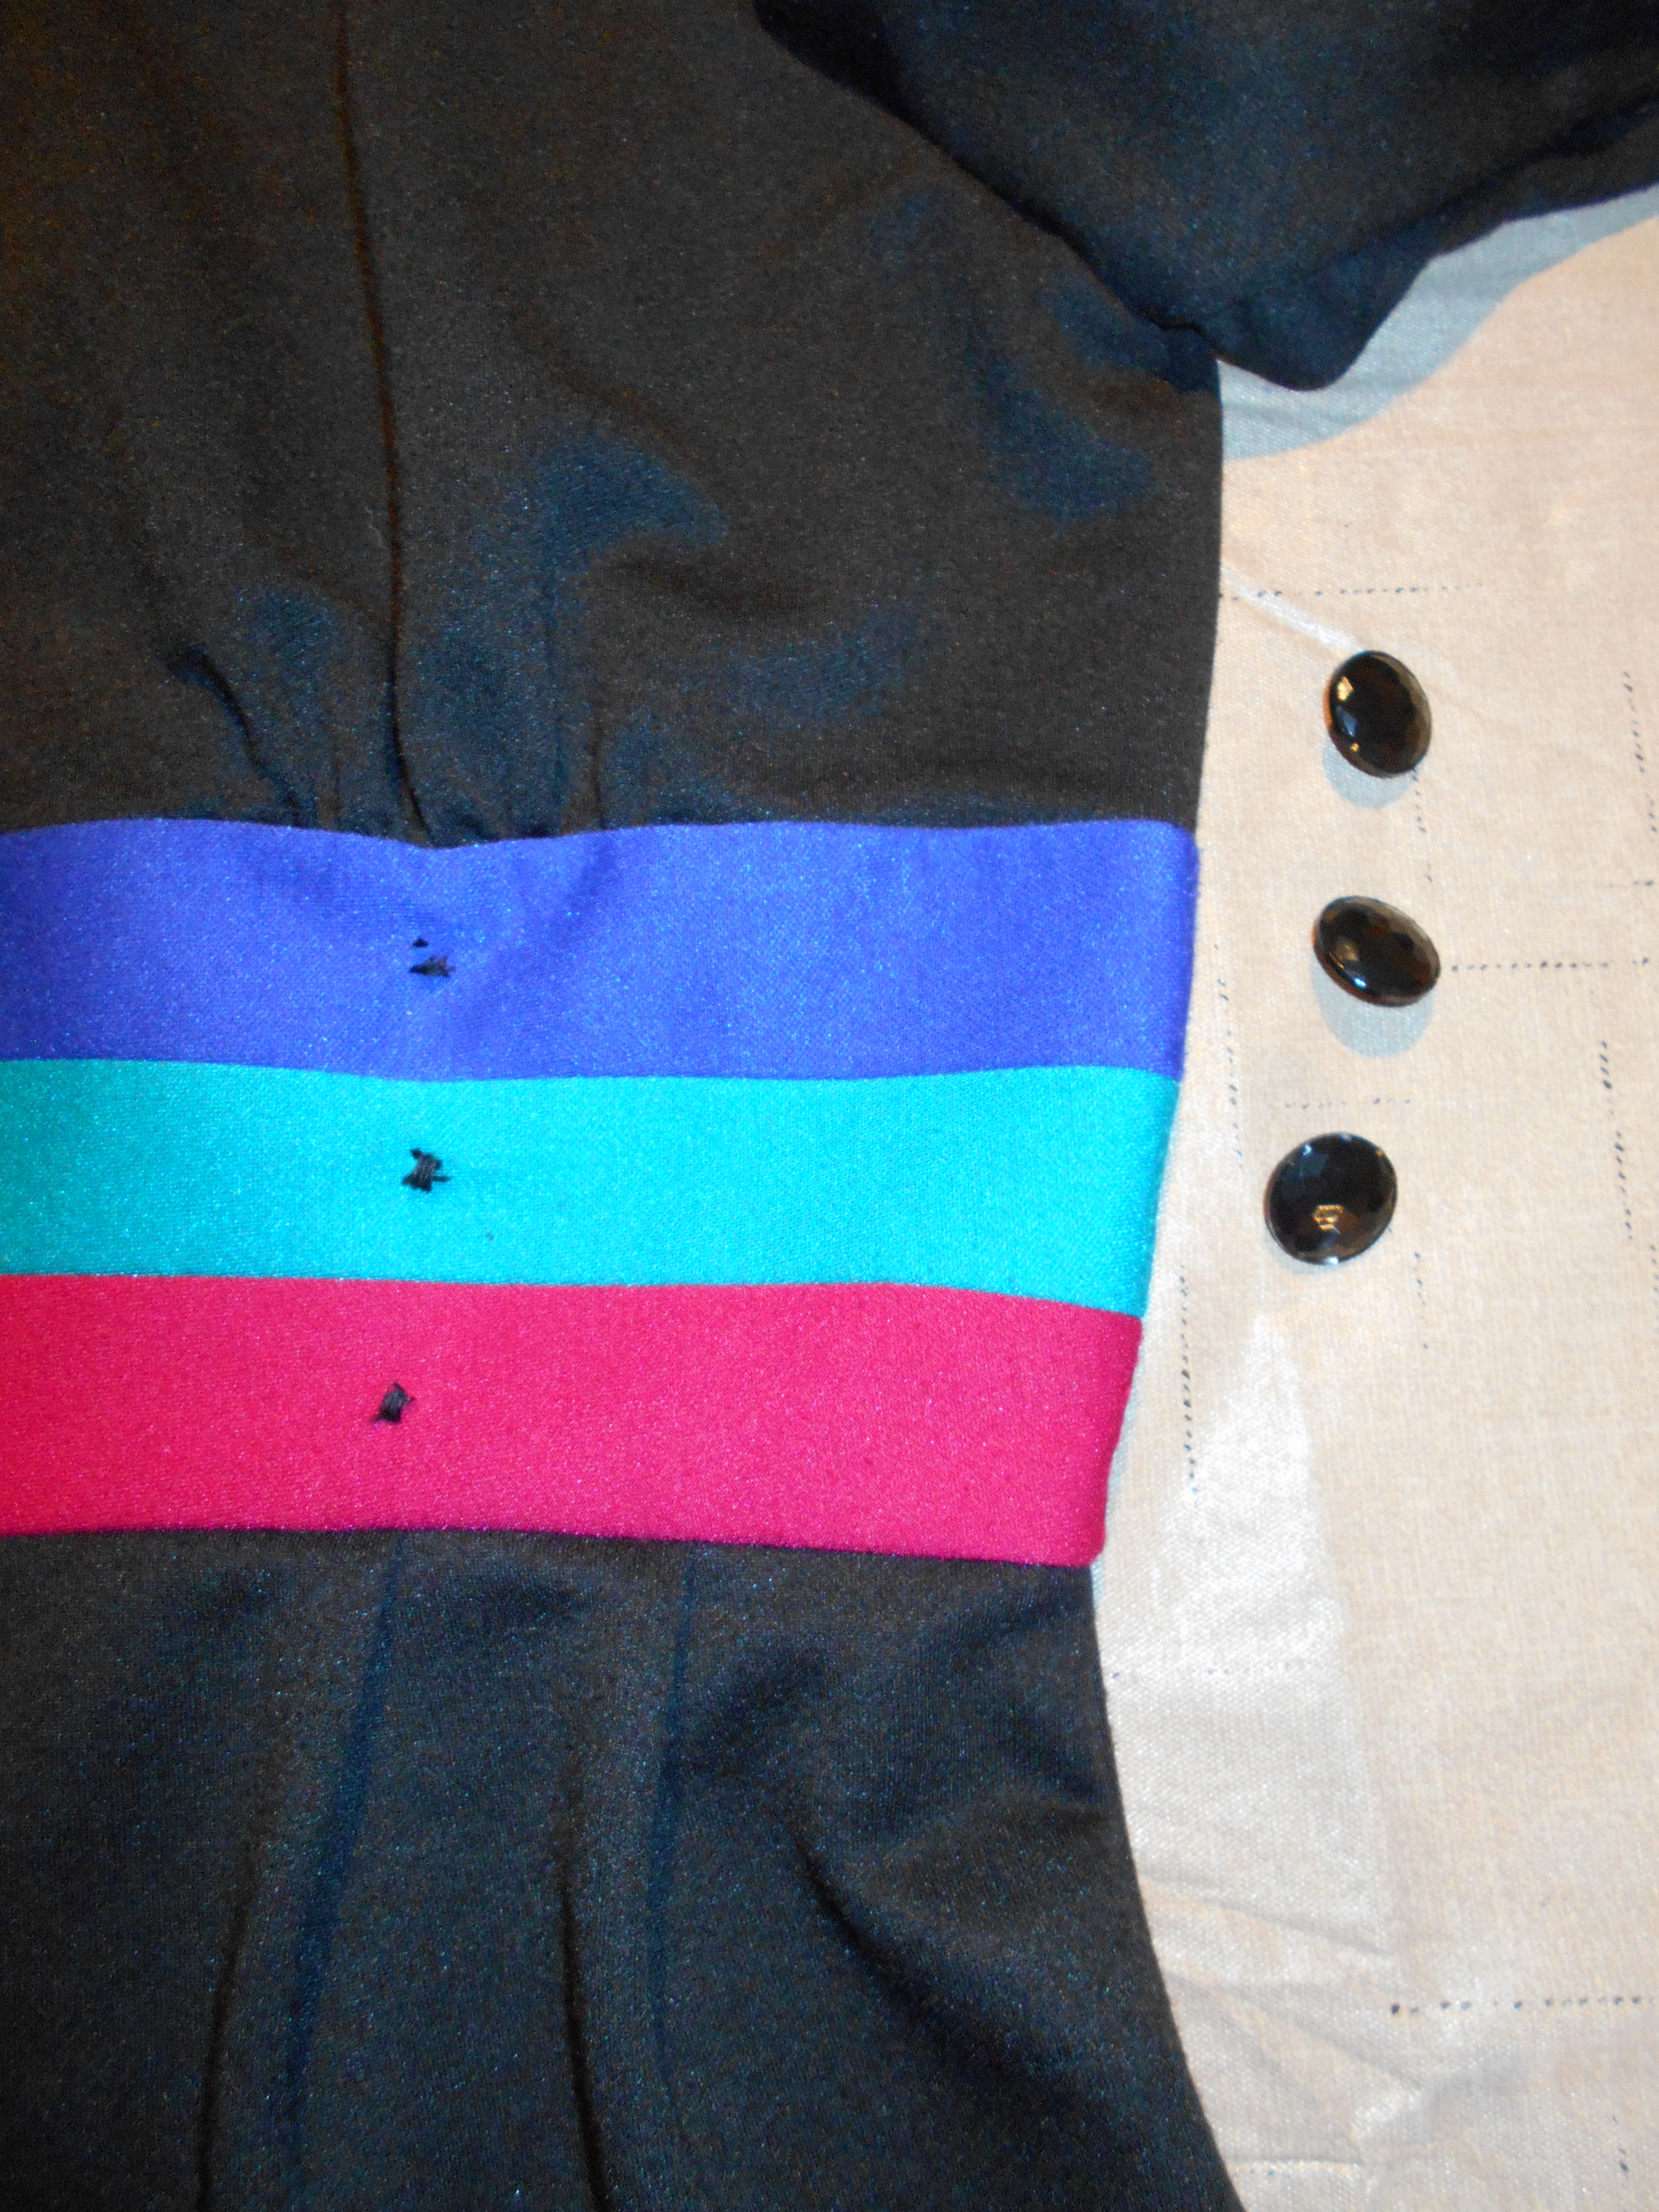
I removed the 3 buttons from the waist. I did actually like the buttons where they were but I came up with a better idea!
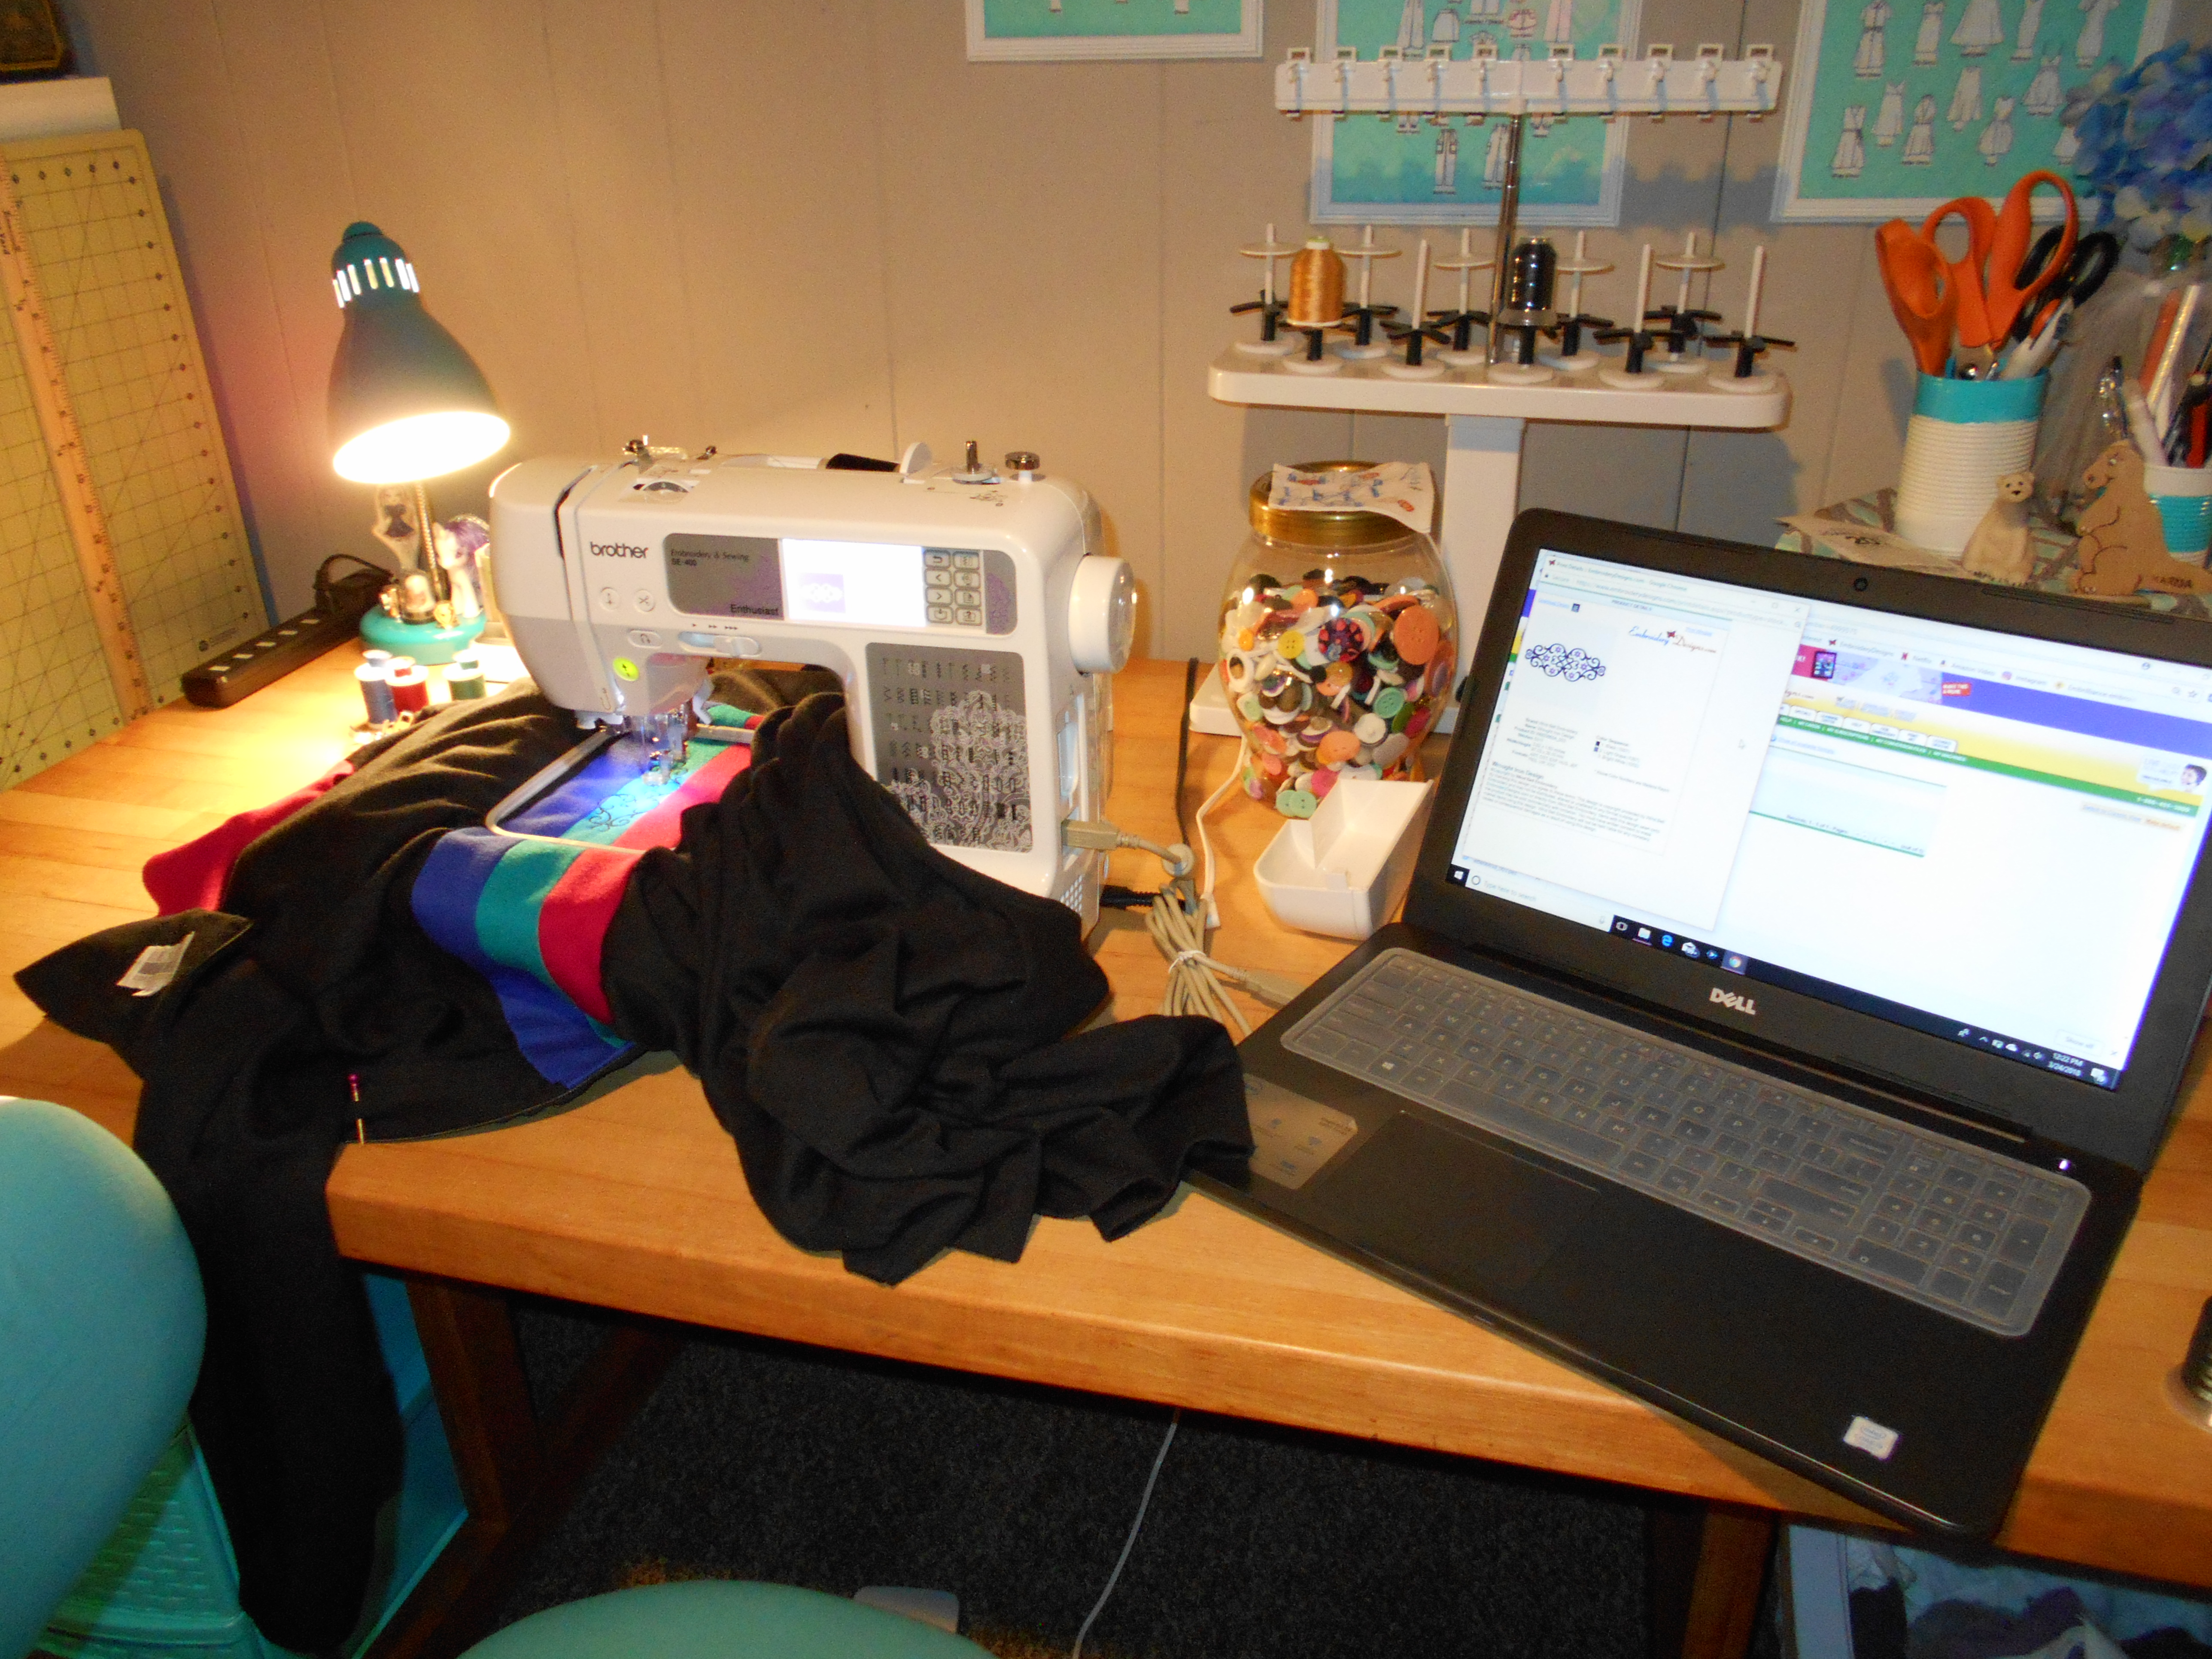
Que the embroidery machine!

DSCN1518
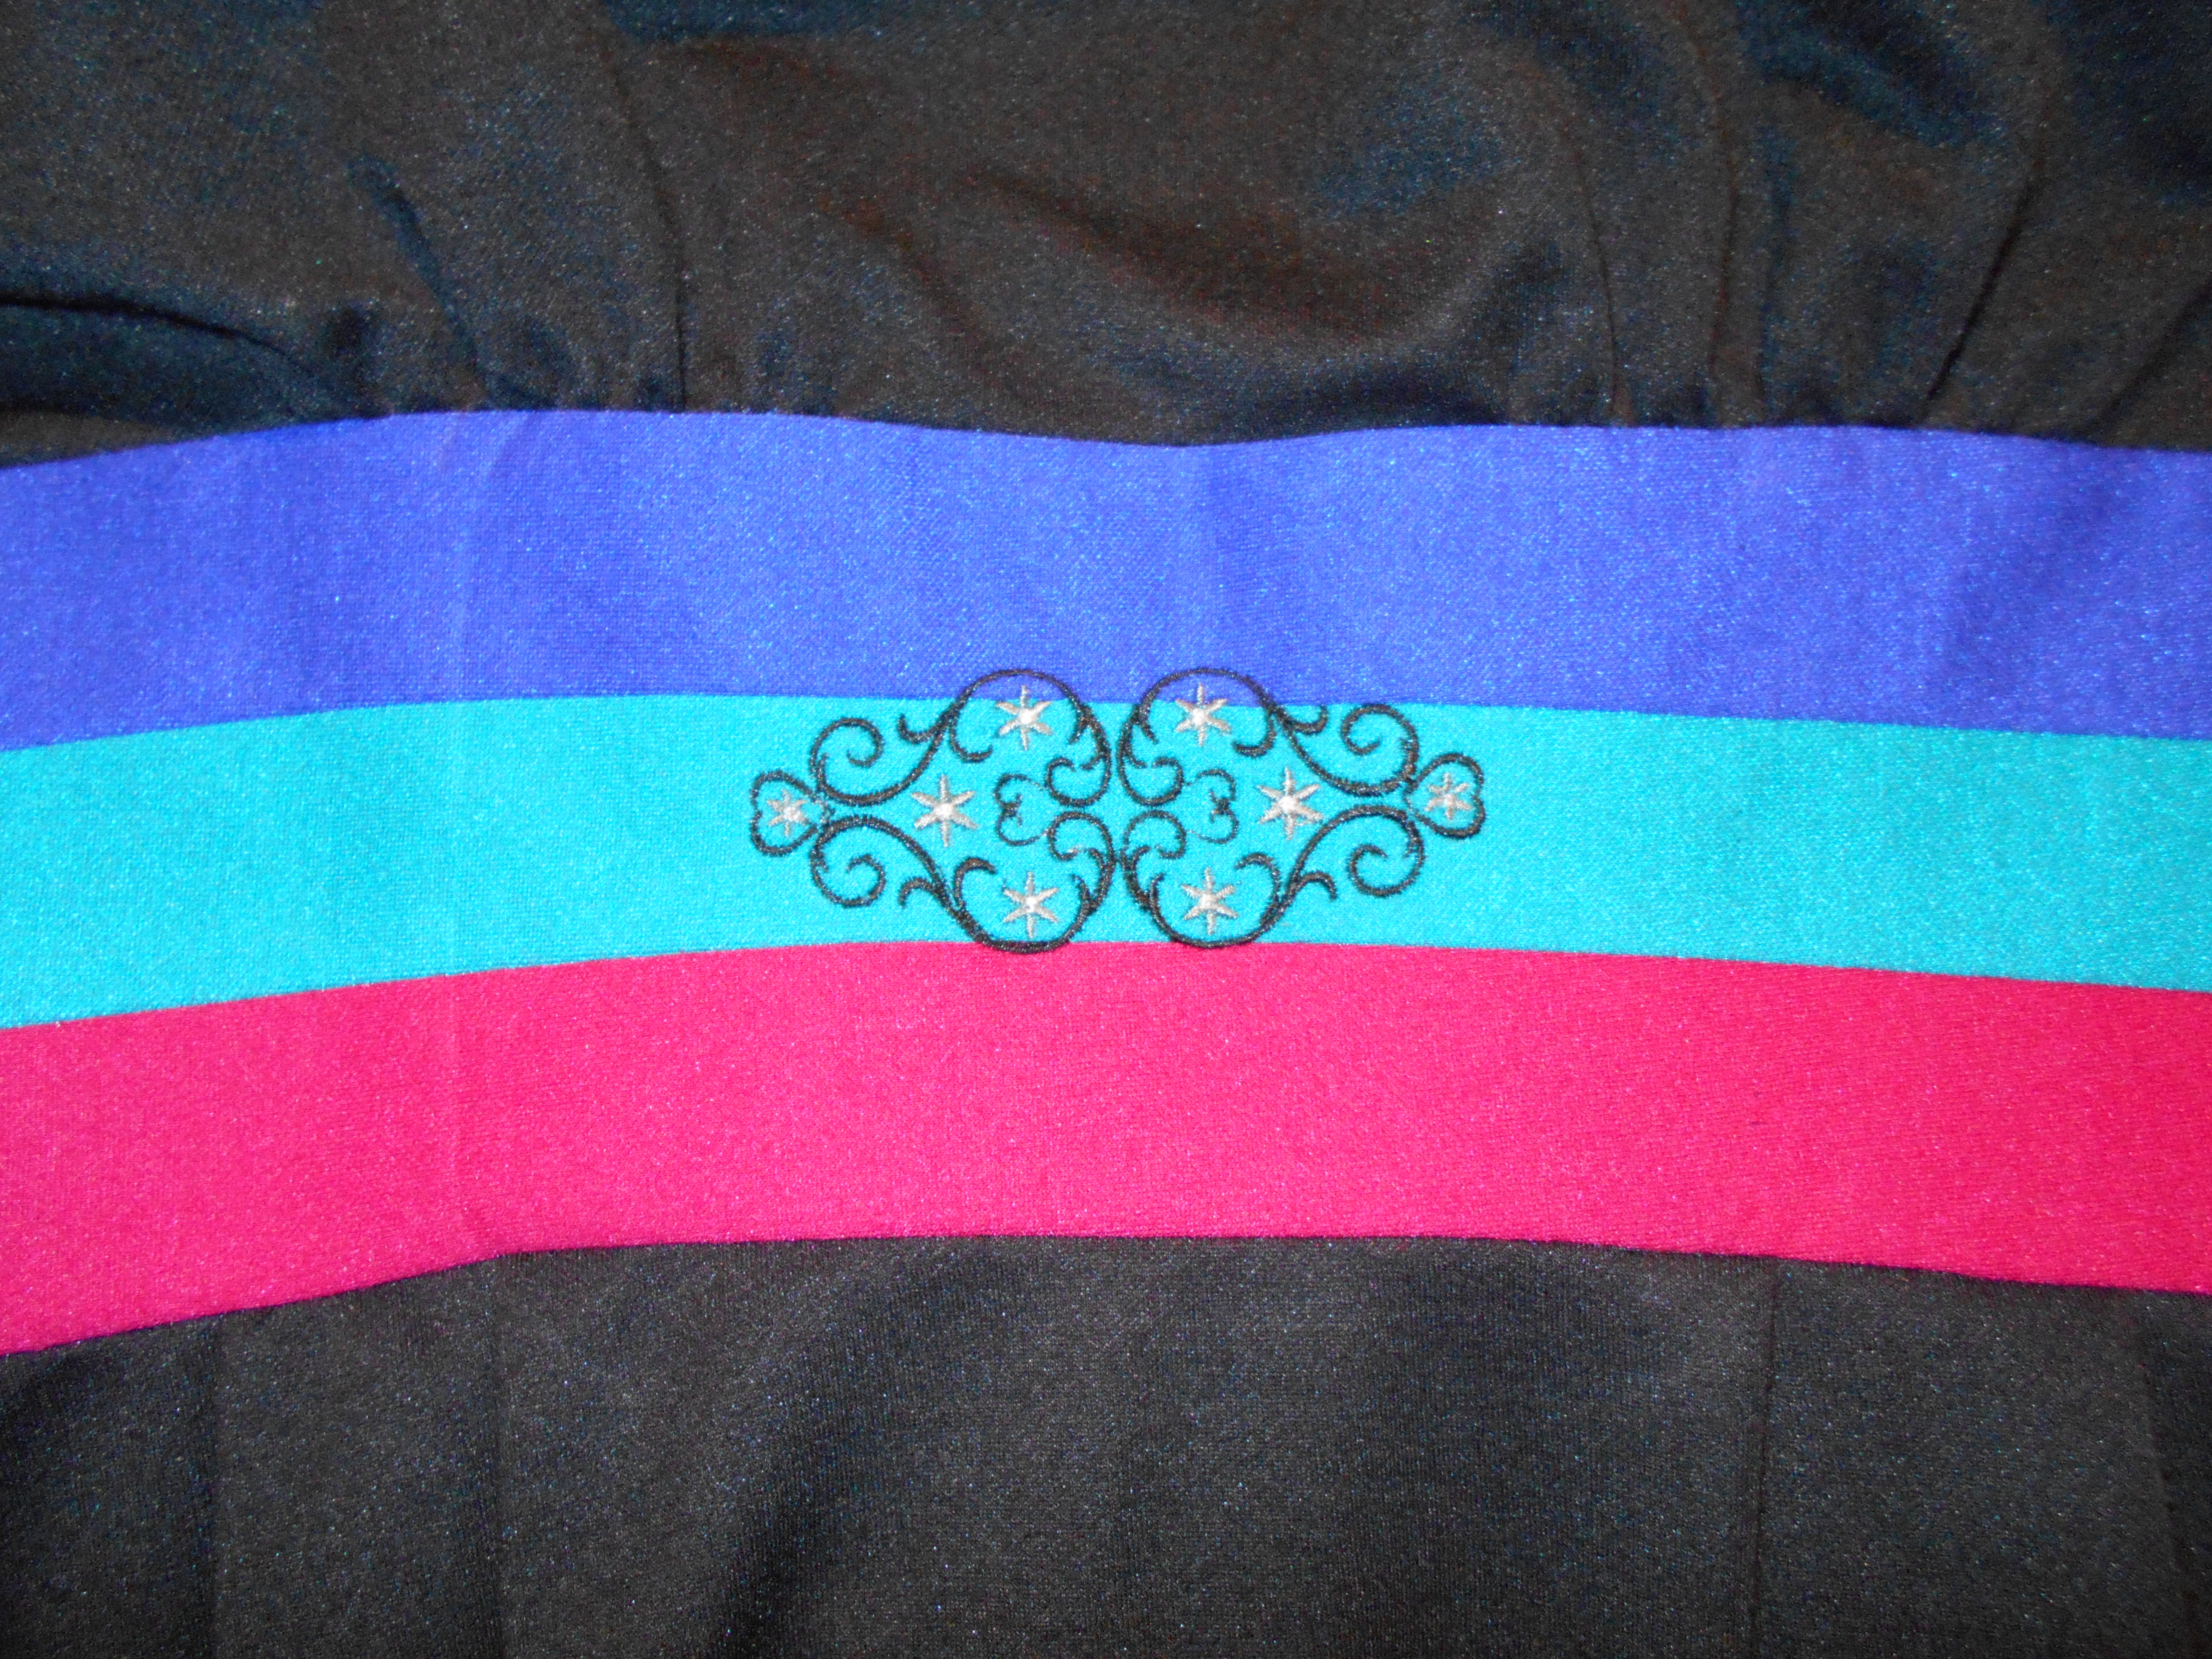
I found a very pretty embroidery pattern from Embroidery Designs.

DSCN1519
I altered the original thread colors to black, silver and medium gray.

DSCN1520
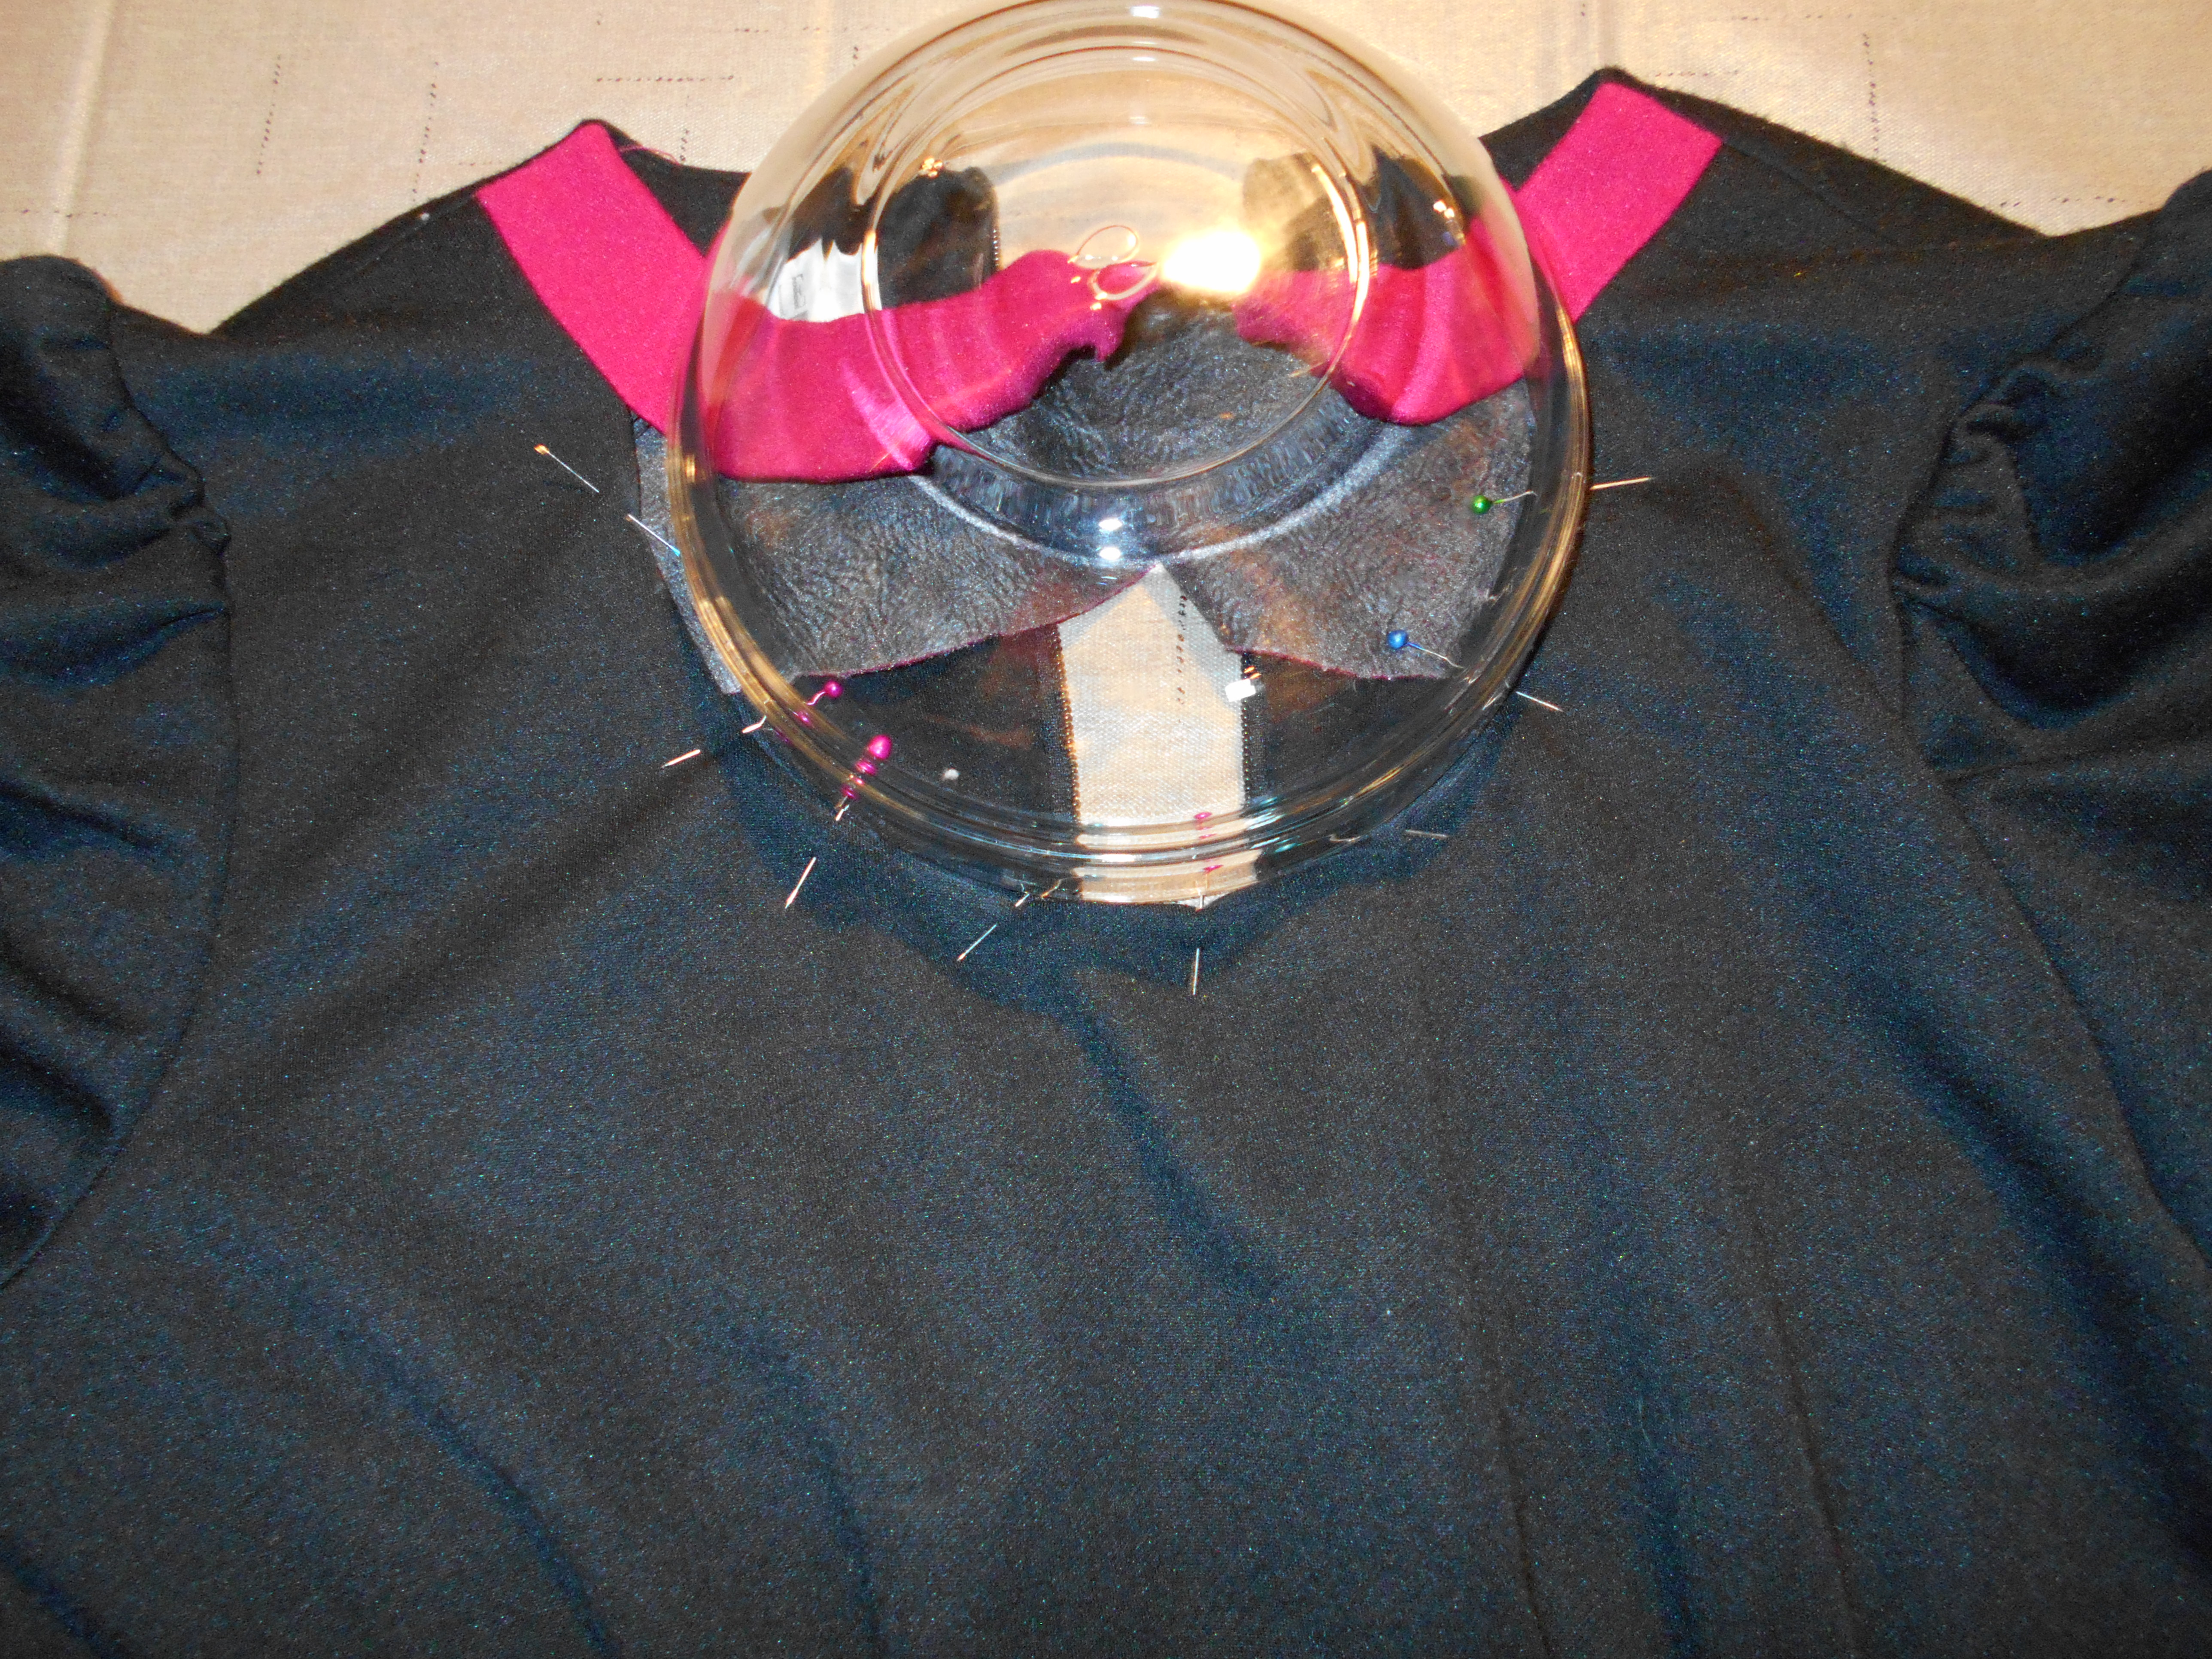
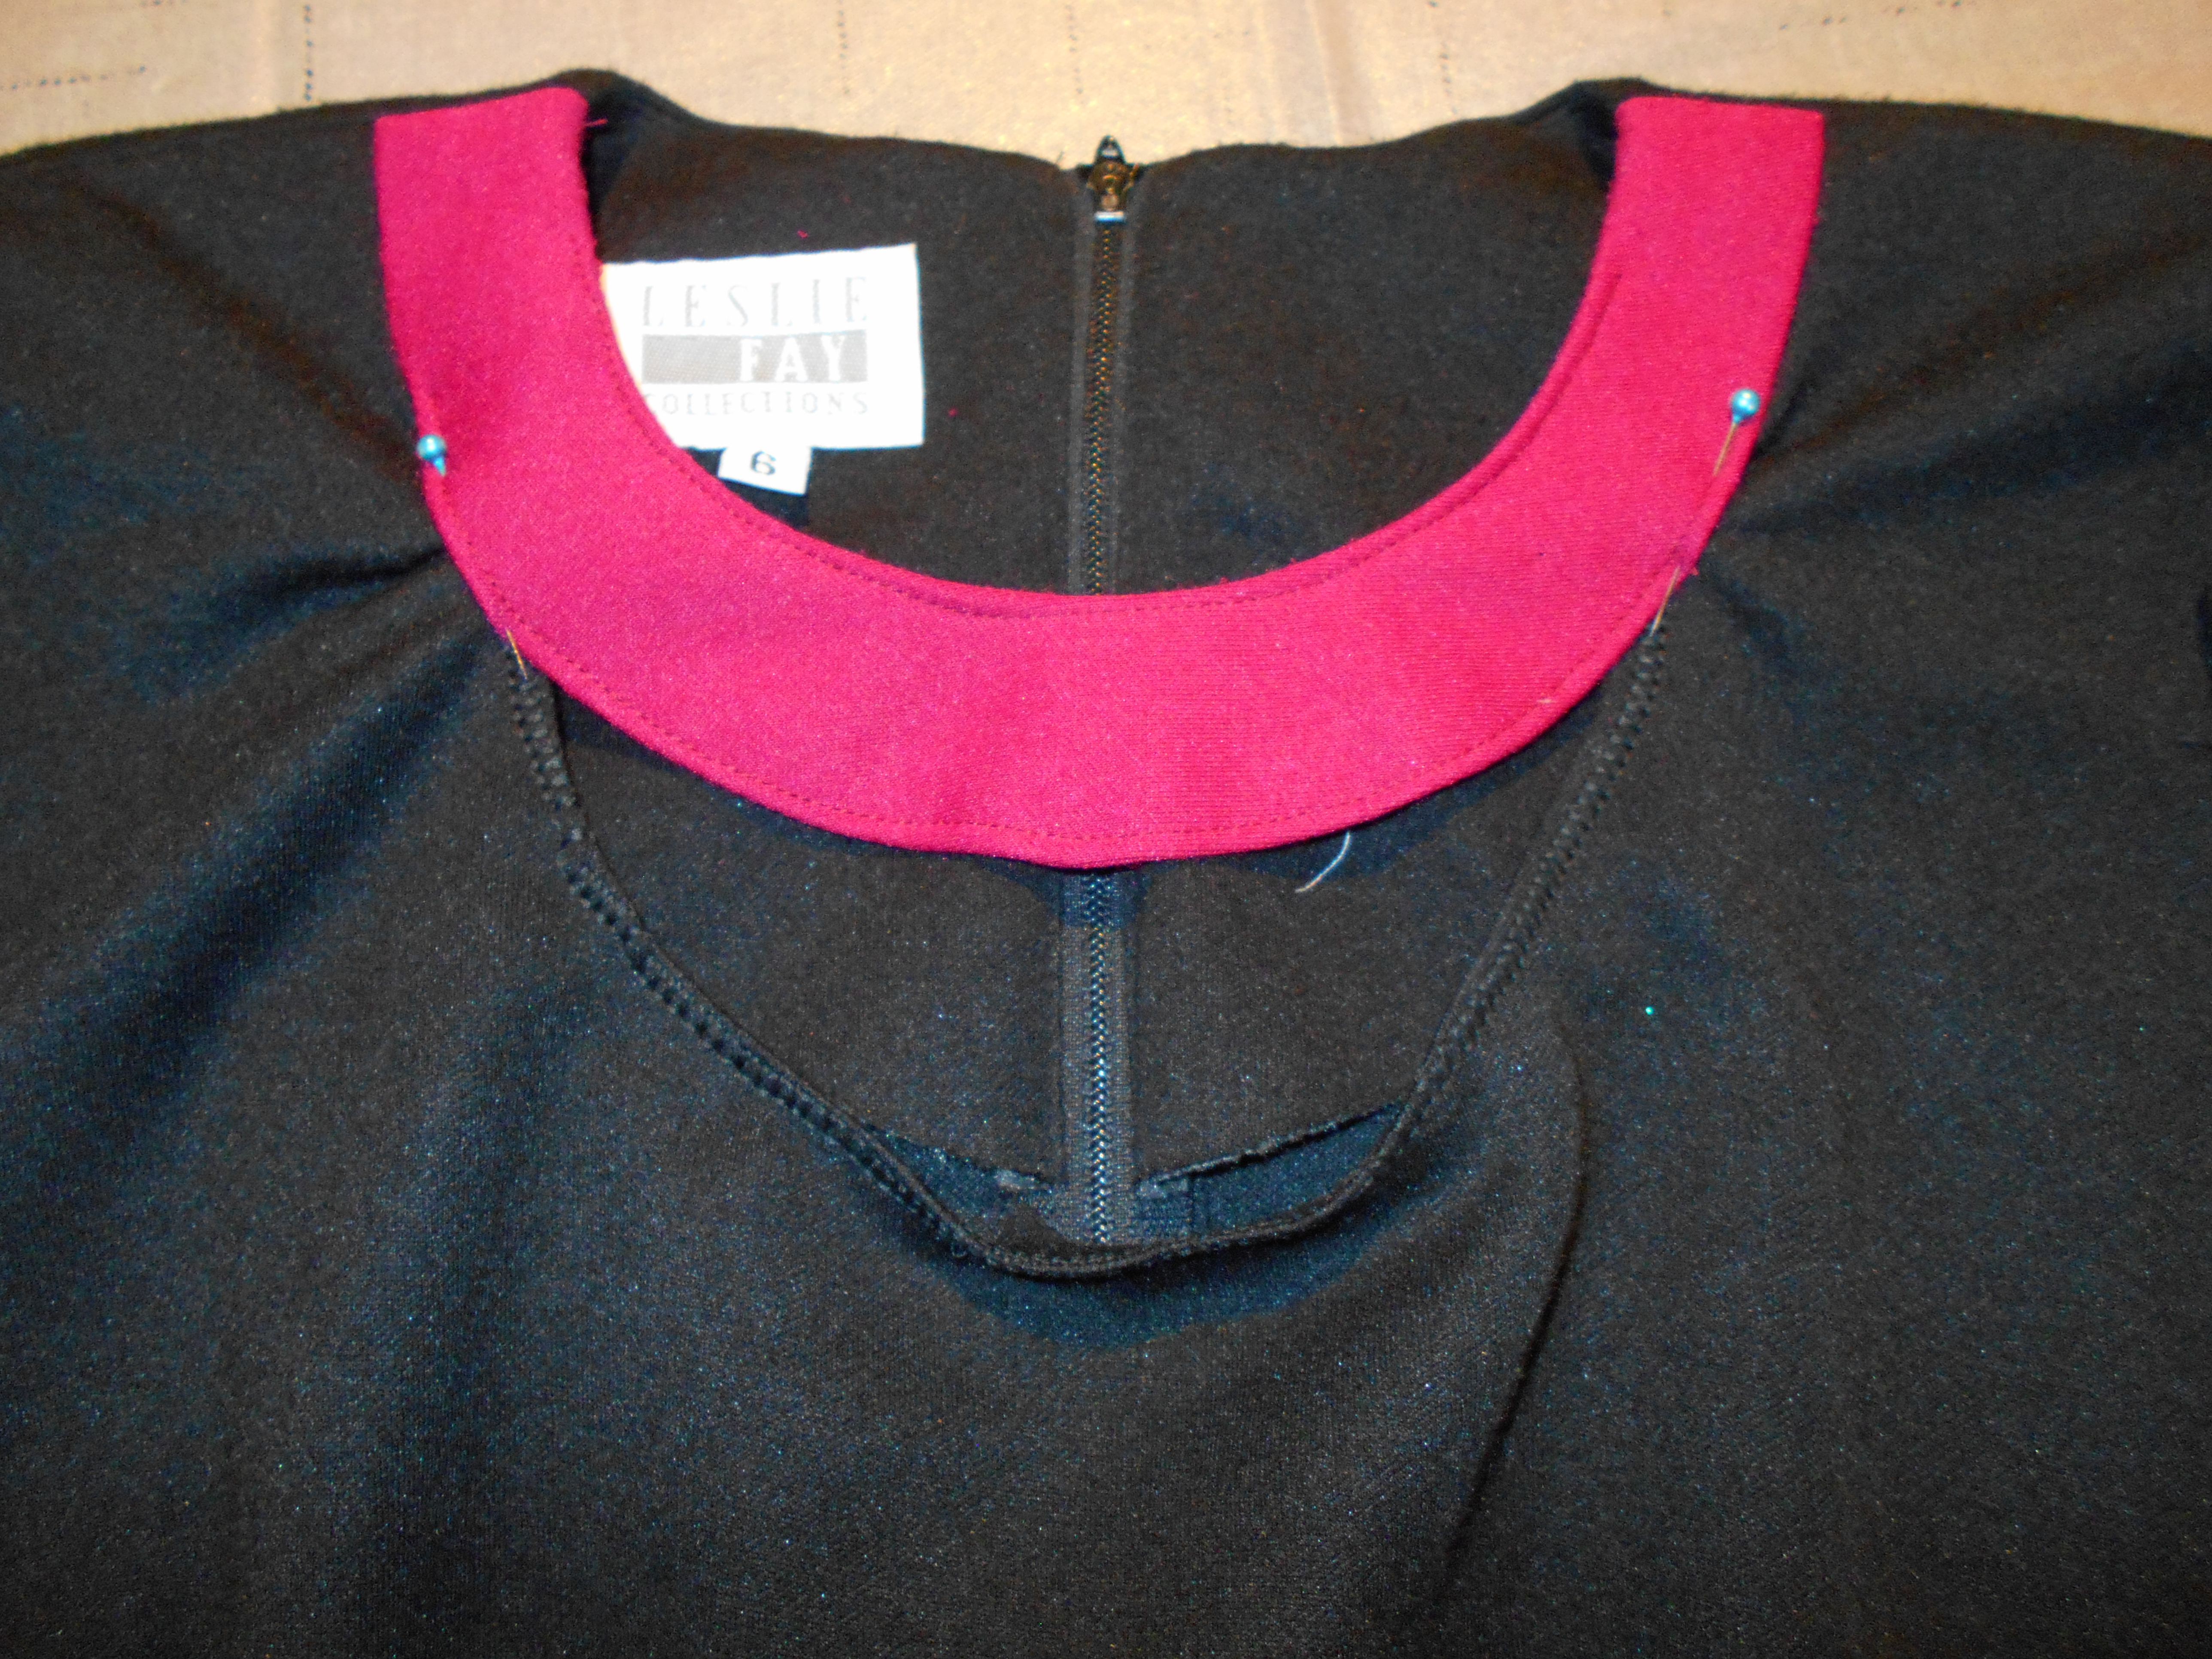
I wanted to make a statement neckline for this dress. I opted for a key hole neckline. I used a glass bowl for a template.

DSCN1521
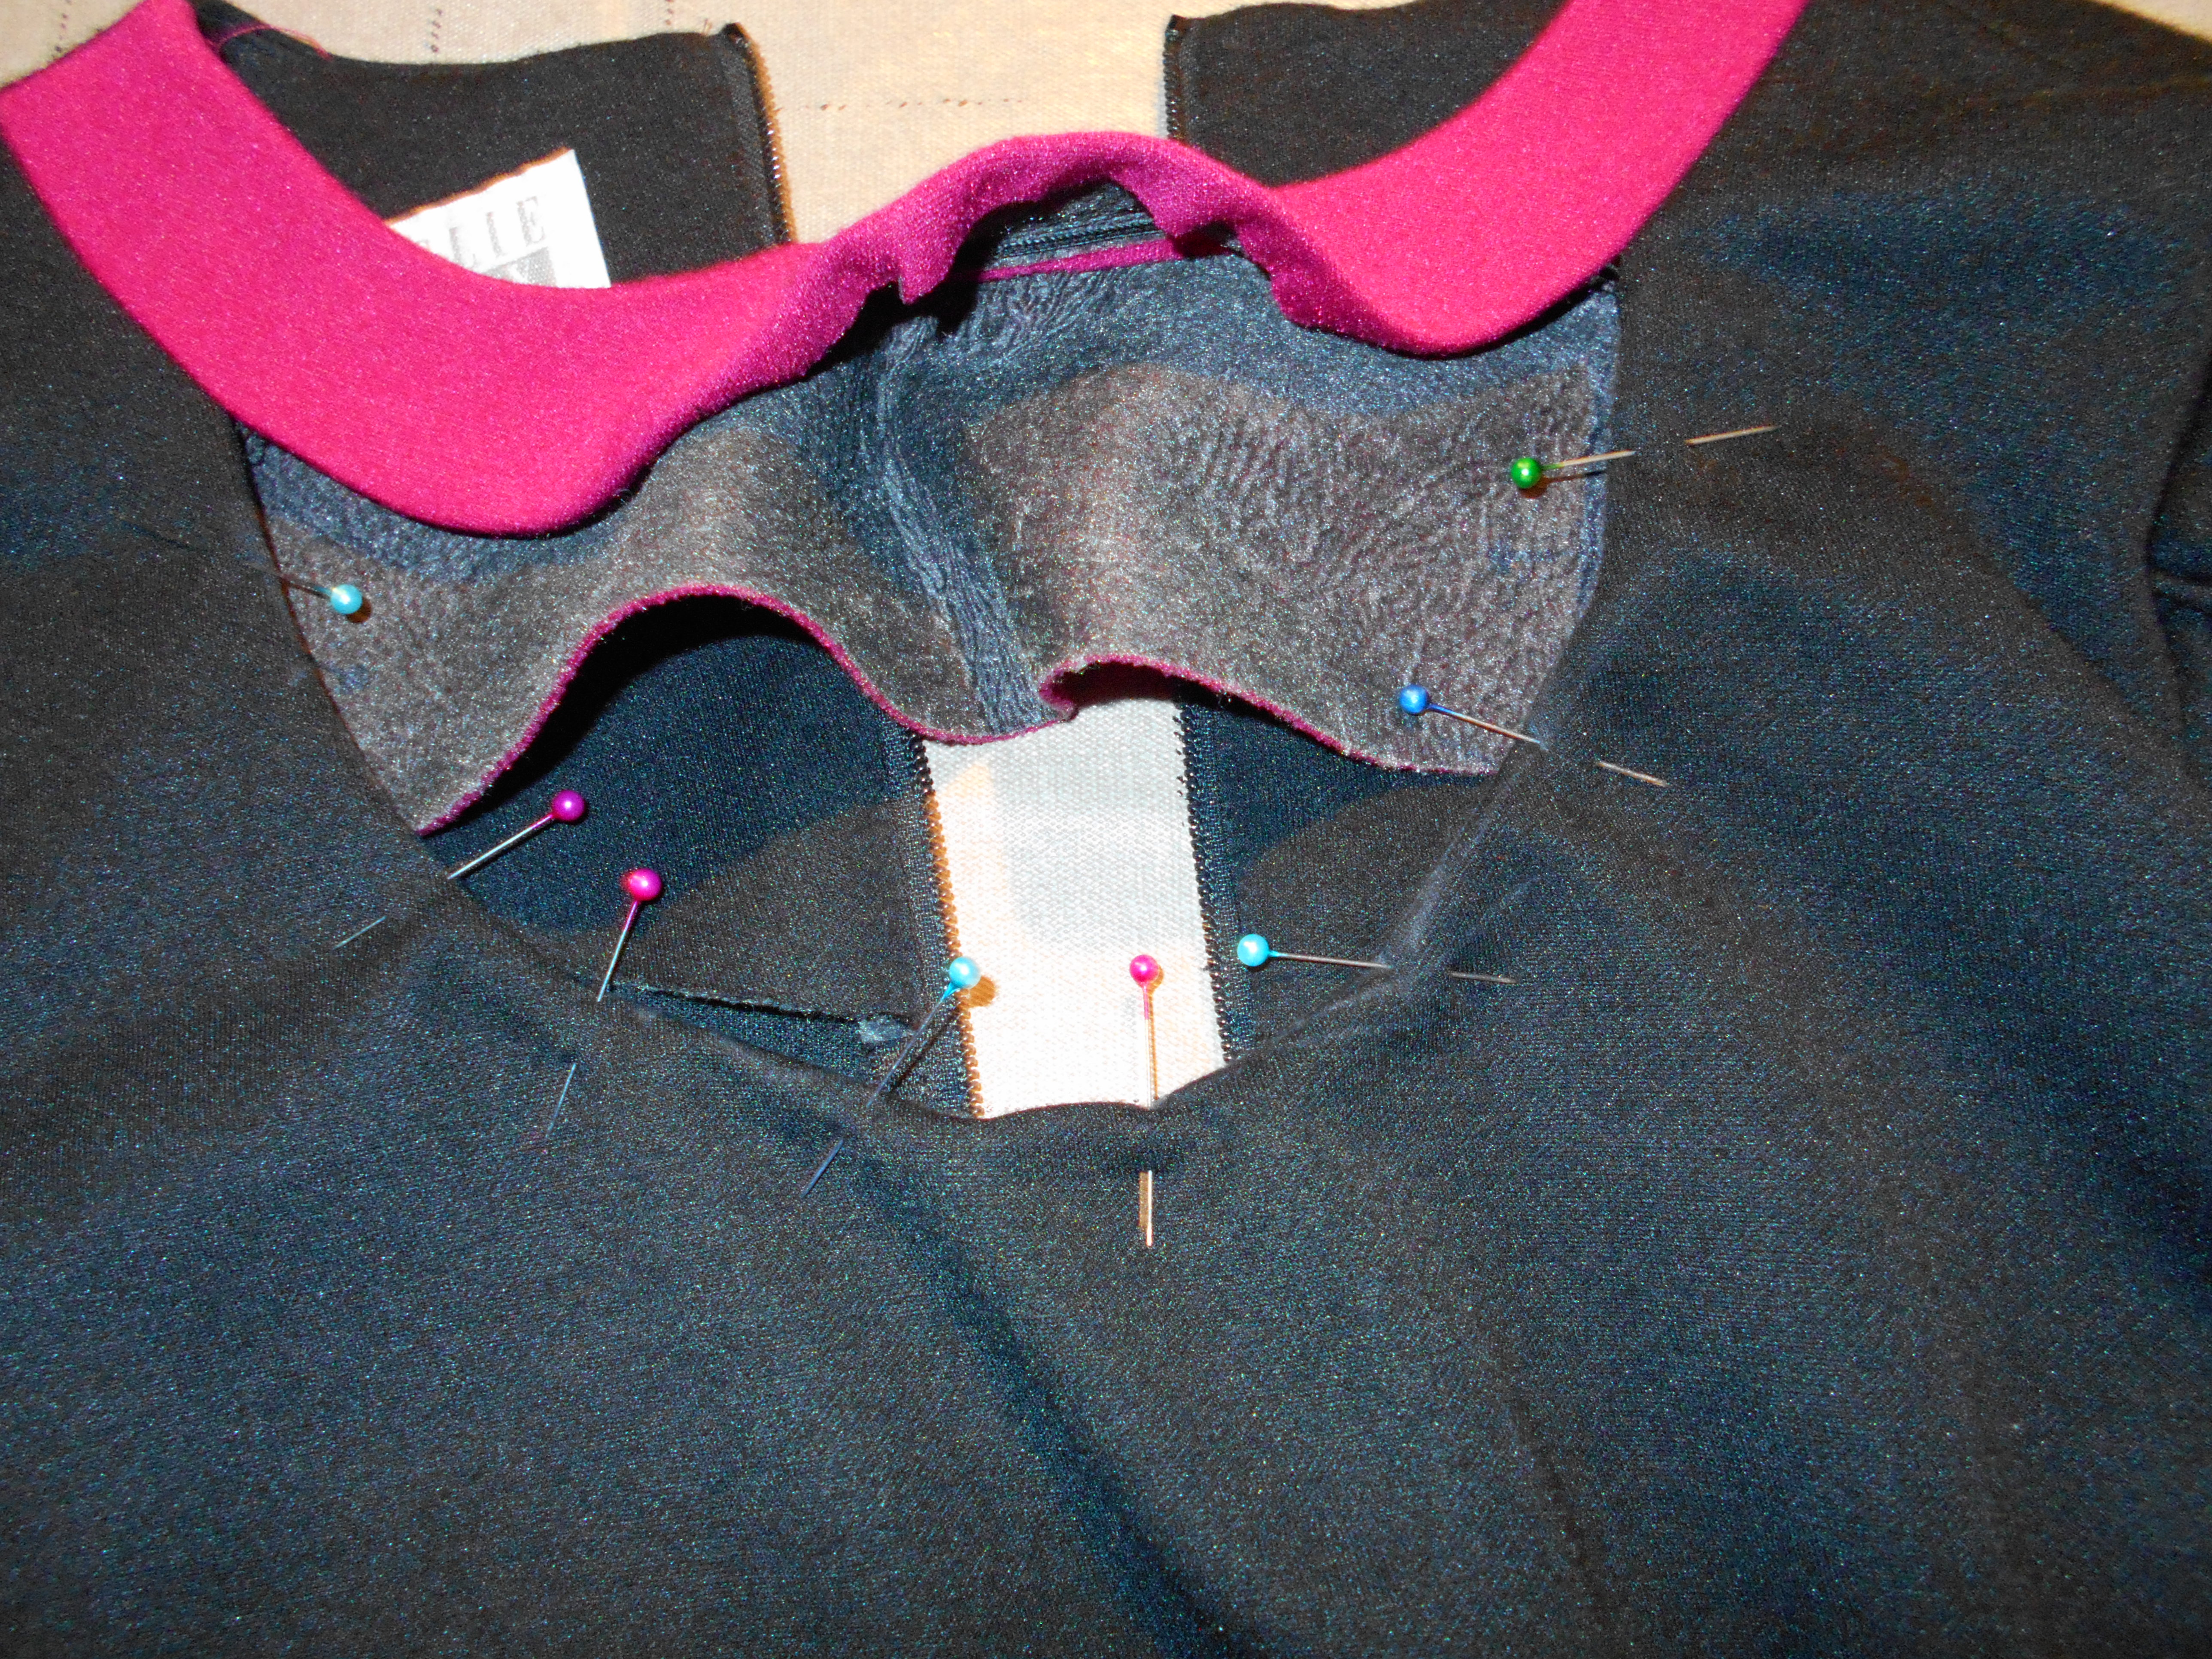
I sewed up the neckline on the maroon neckline and the black part of the dress.

DSCN1524
I used a very pretty decorative stitch to sew the black portion of the neckline, which made it loose it's shape. I then had to fix this problem stitching it closer up the neckline to the maroon part.

DSCN1525
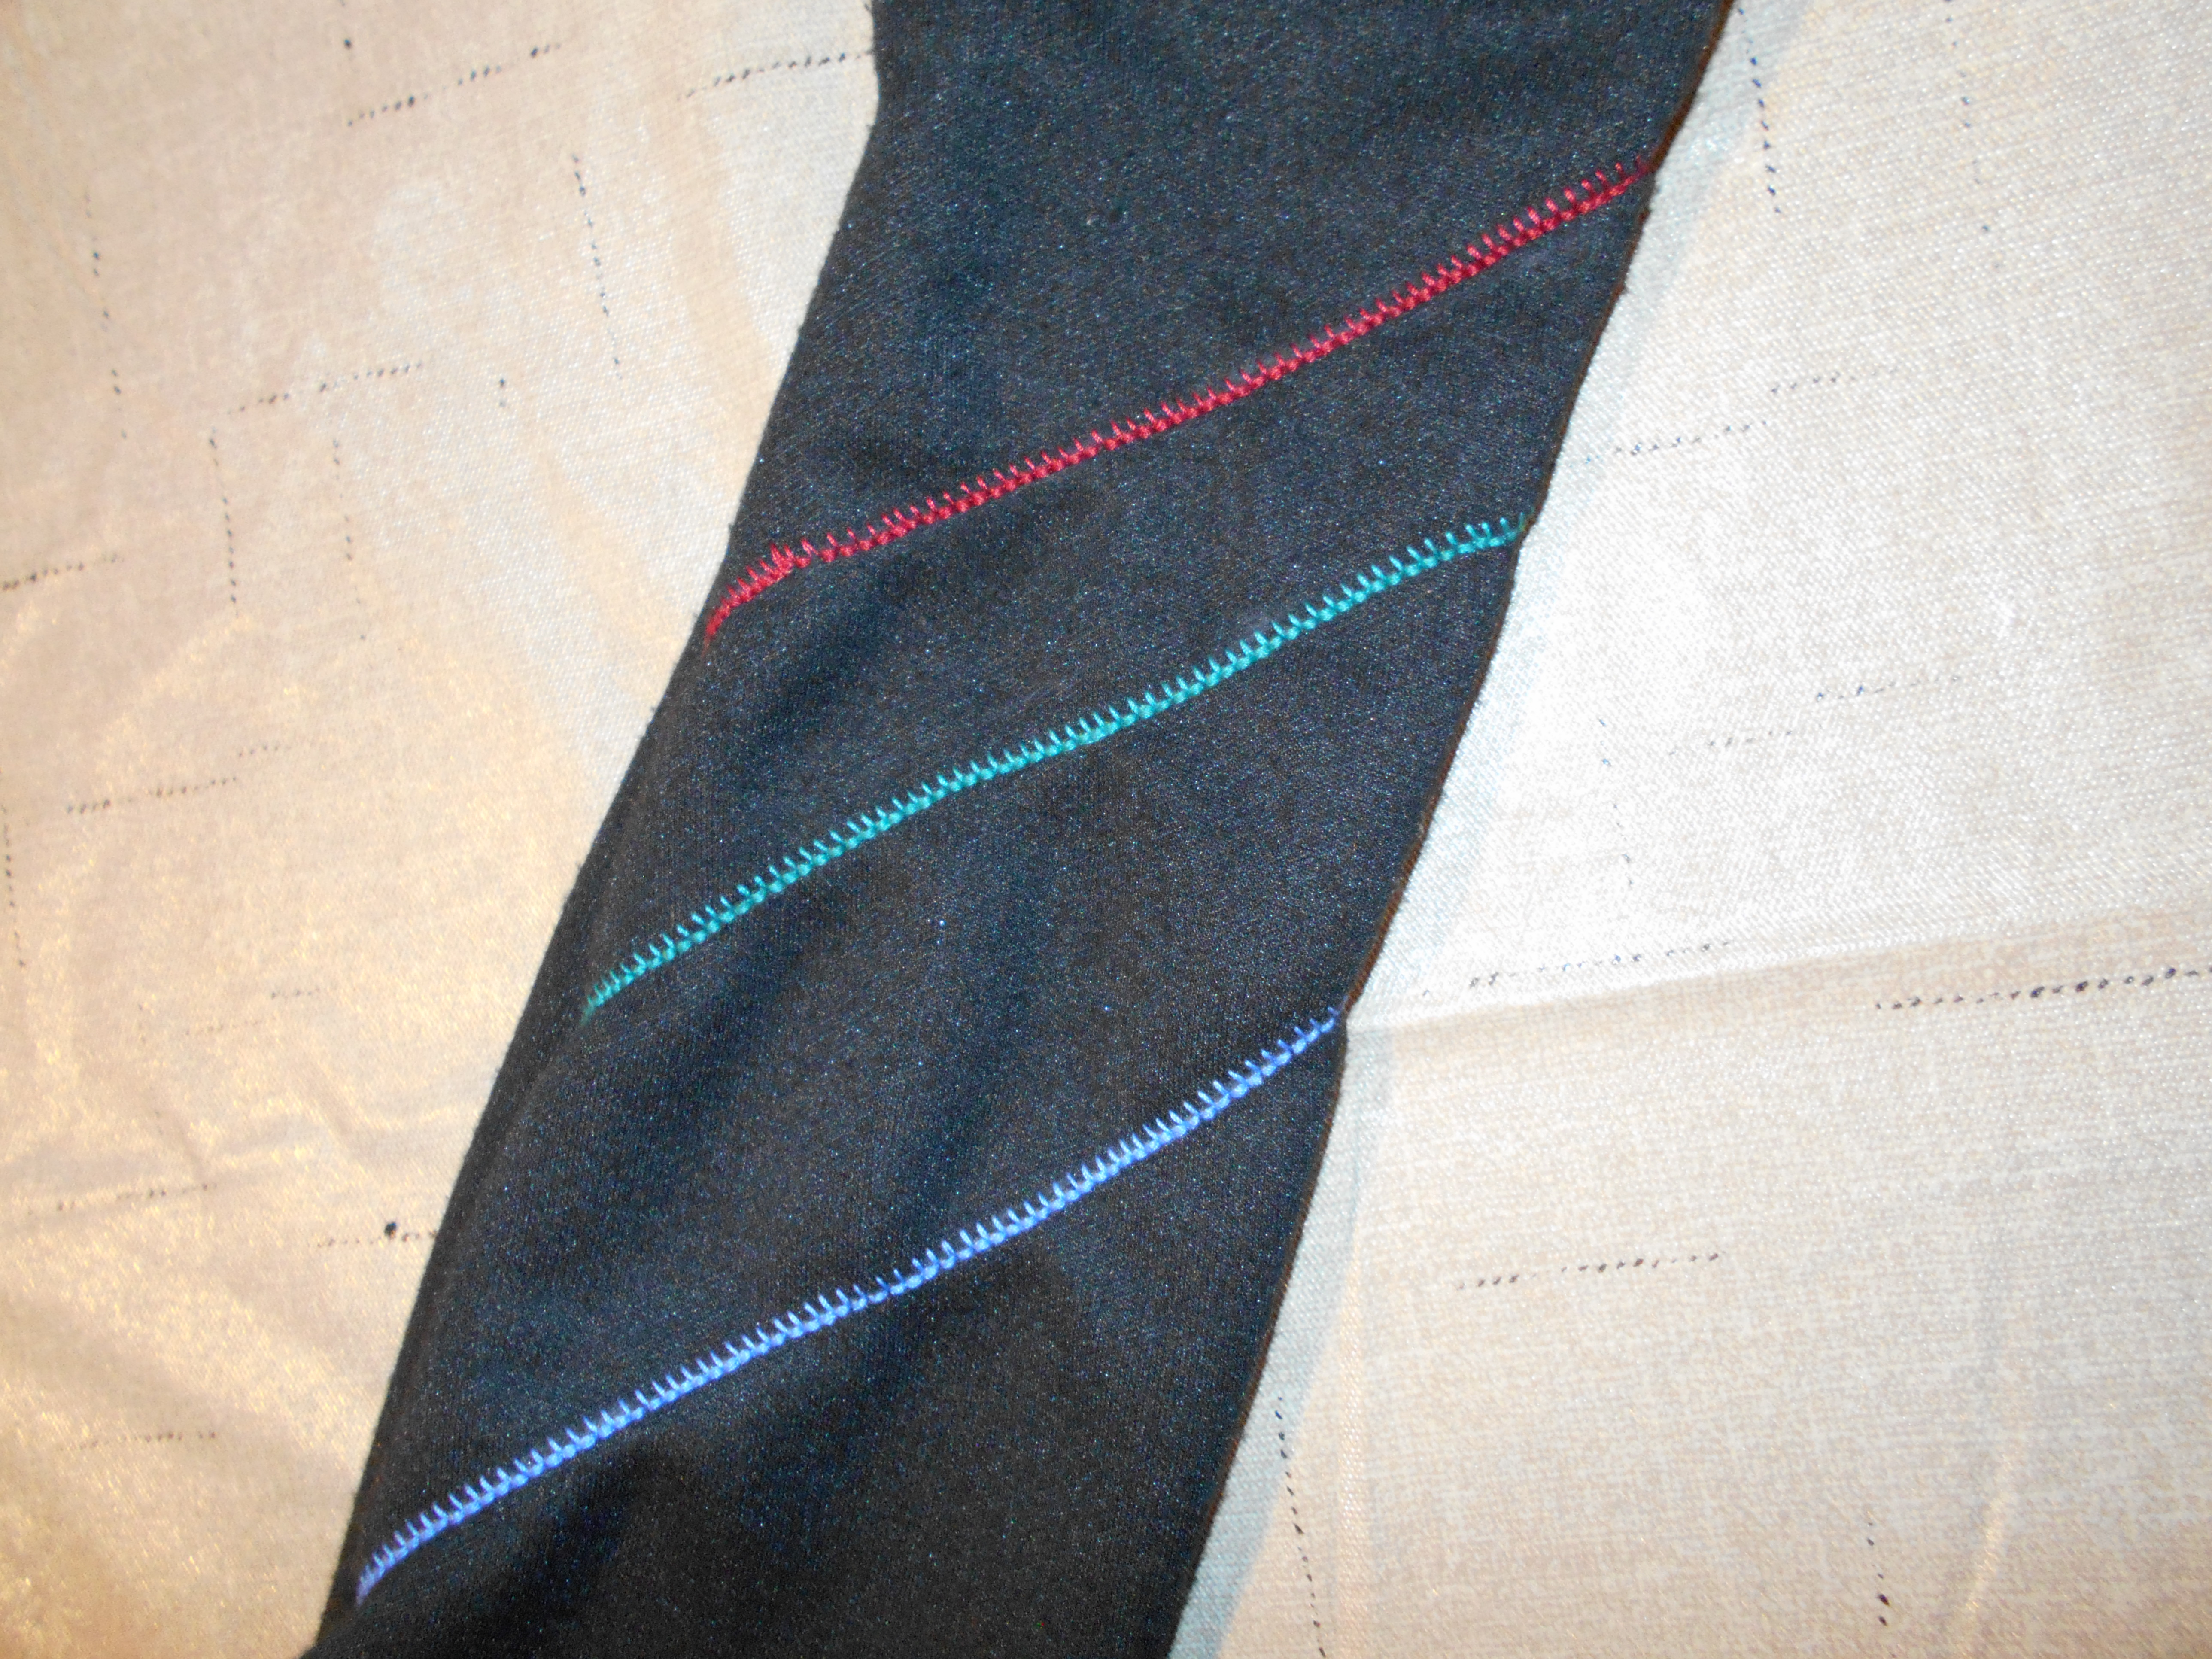
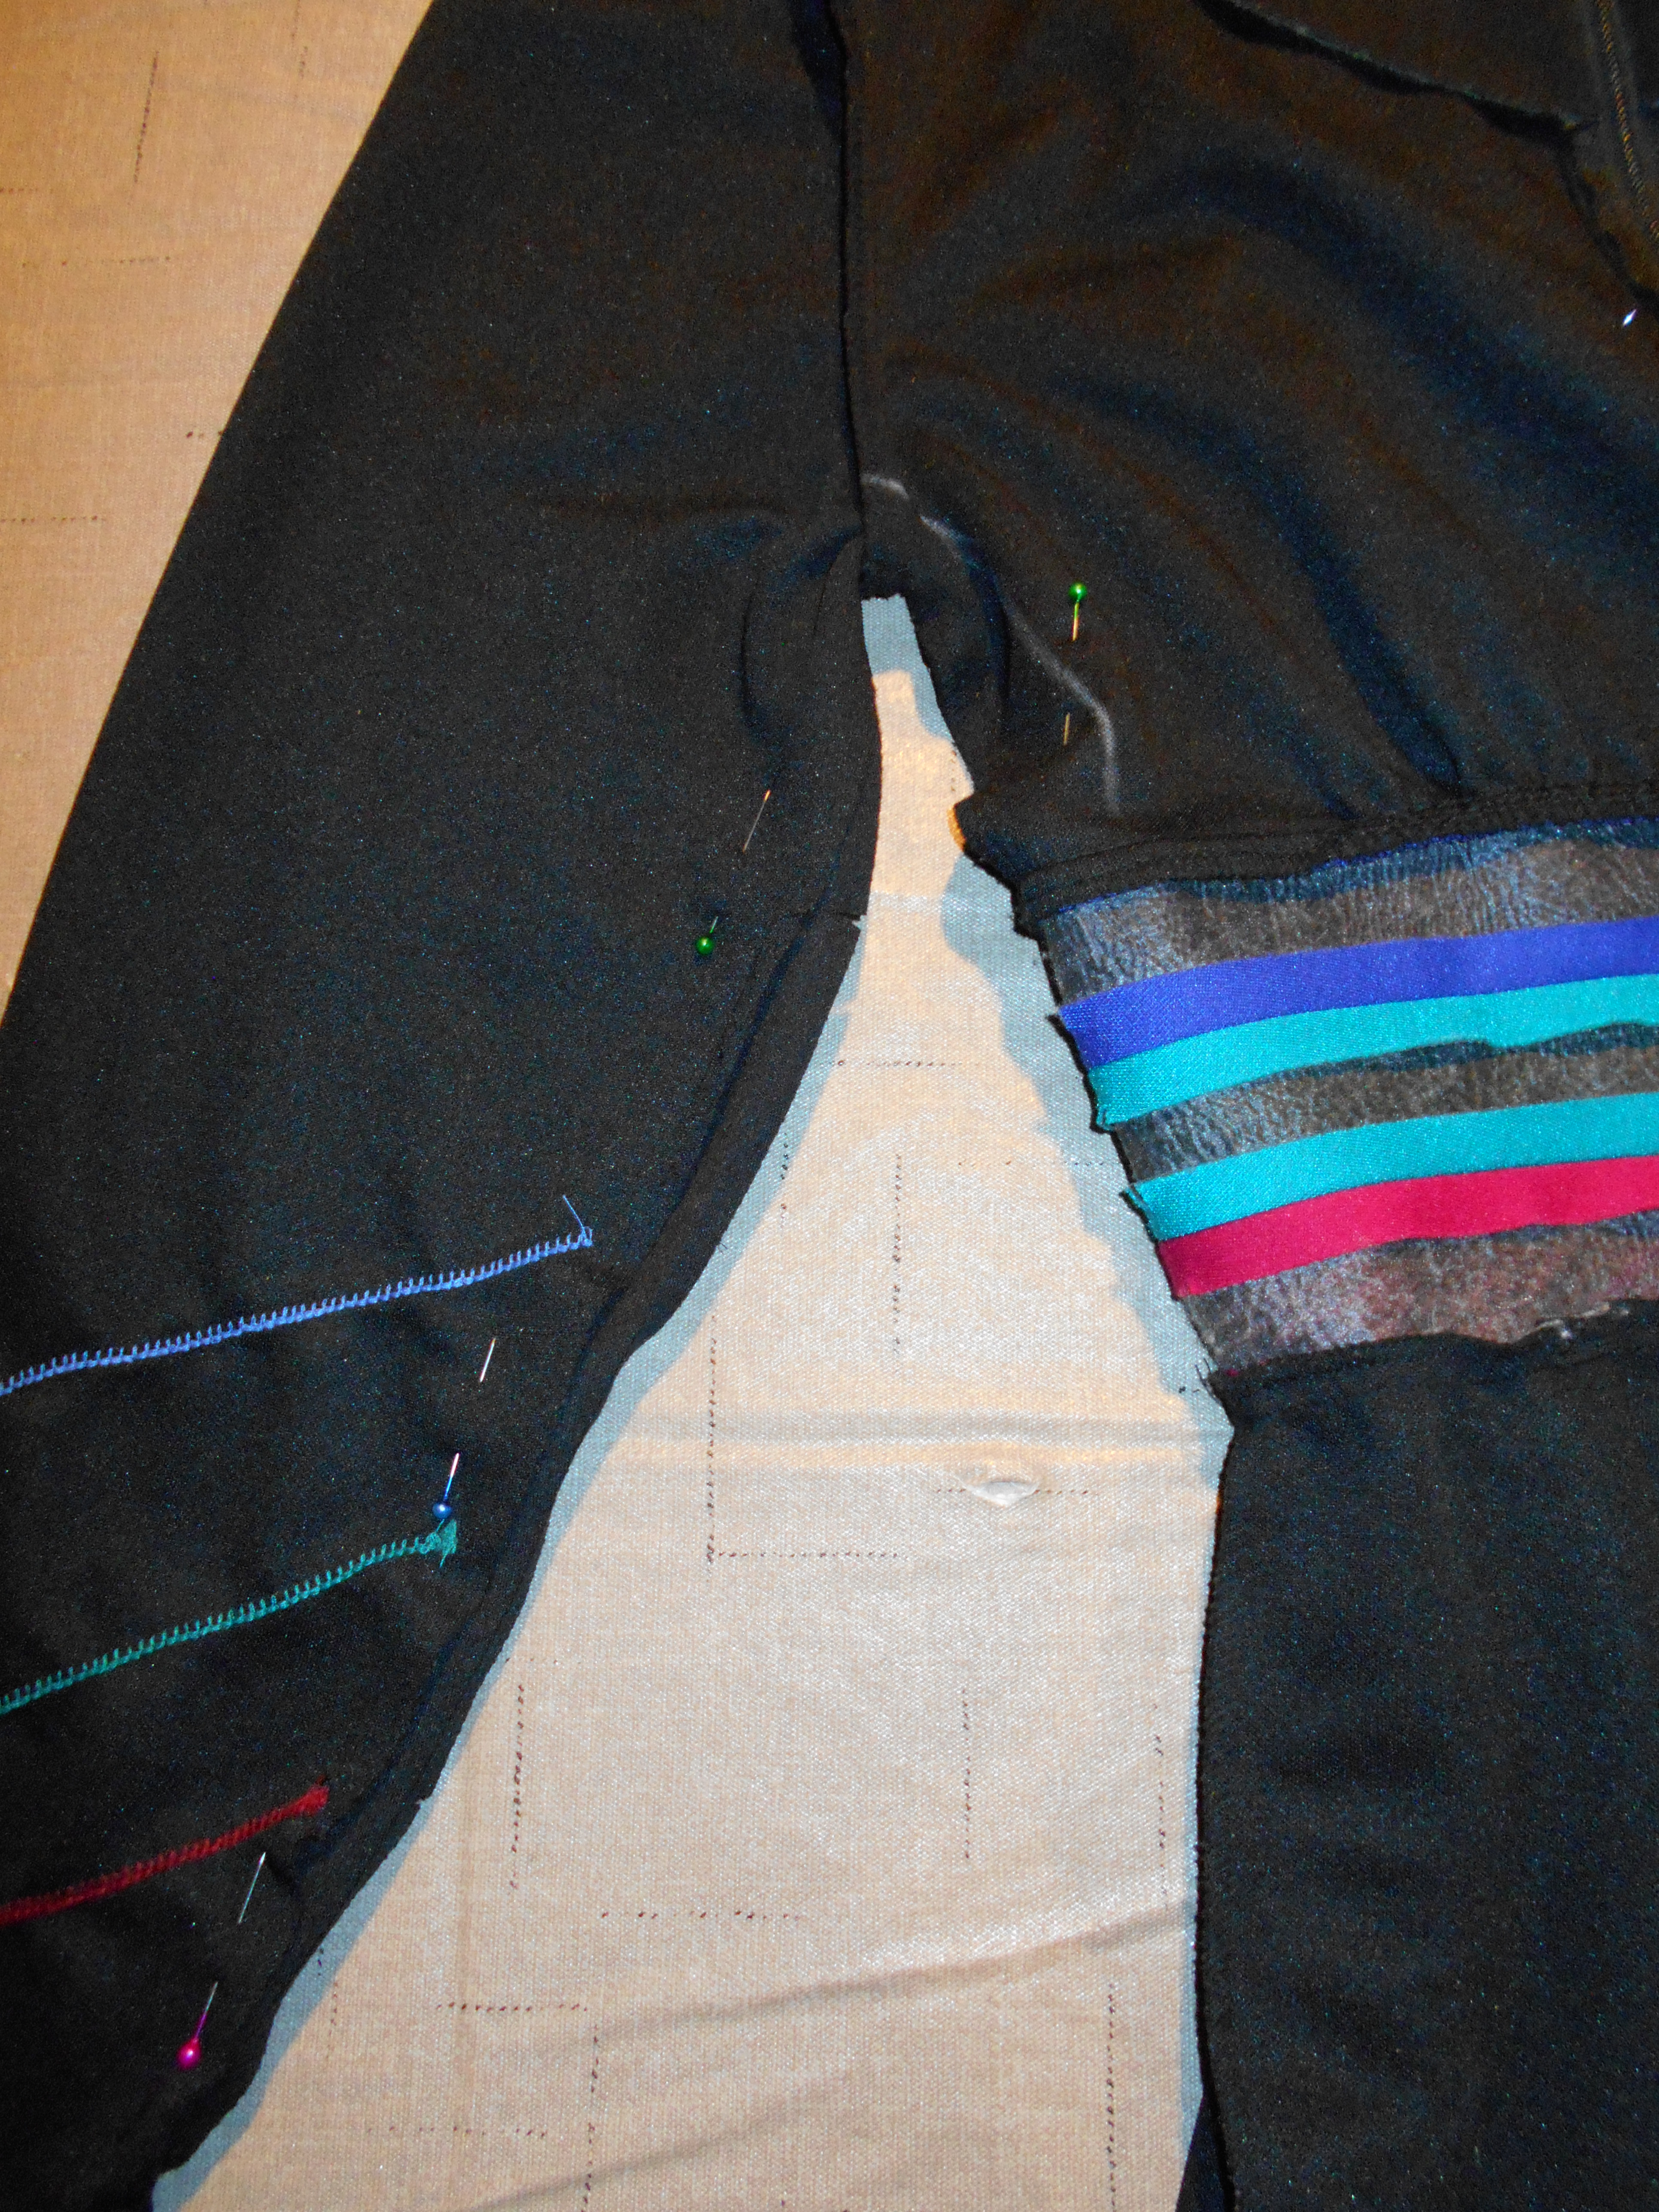
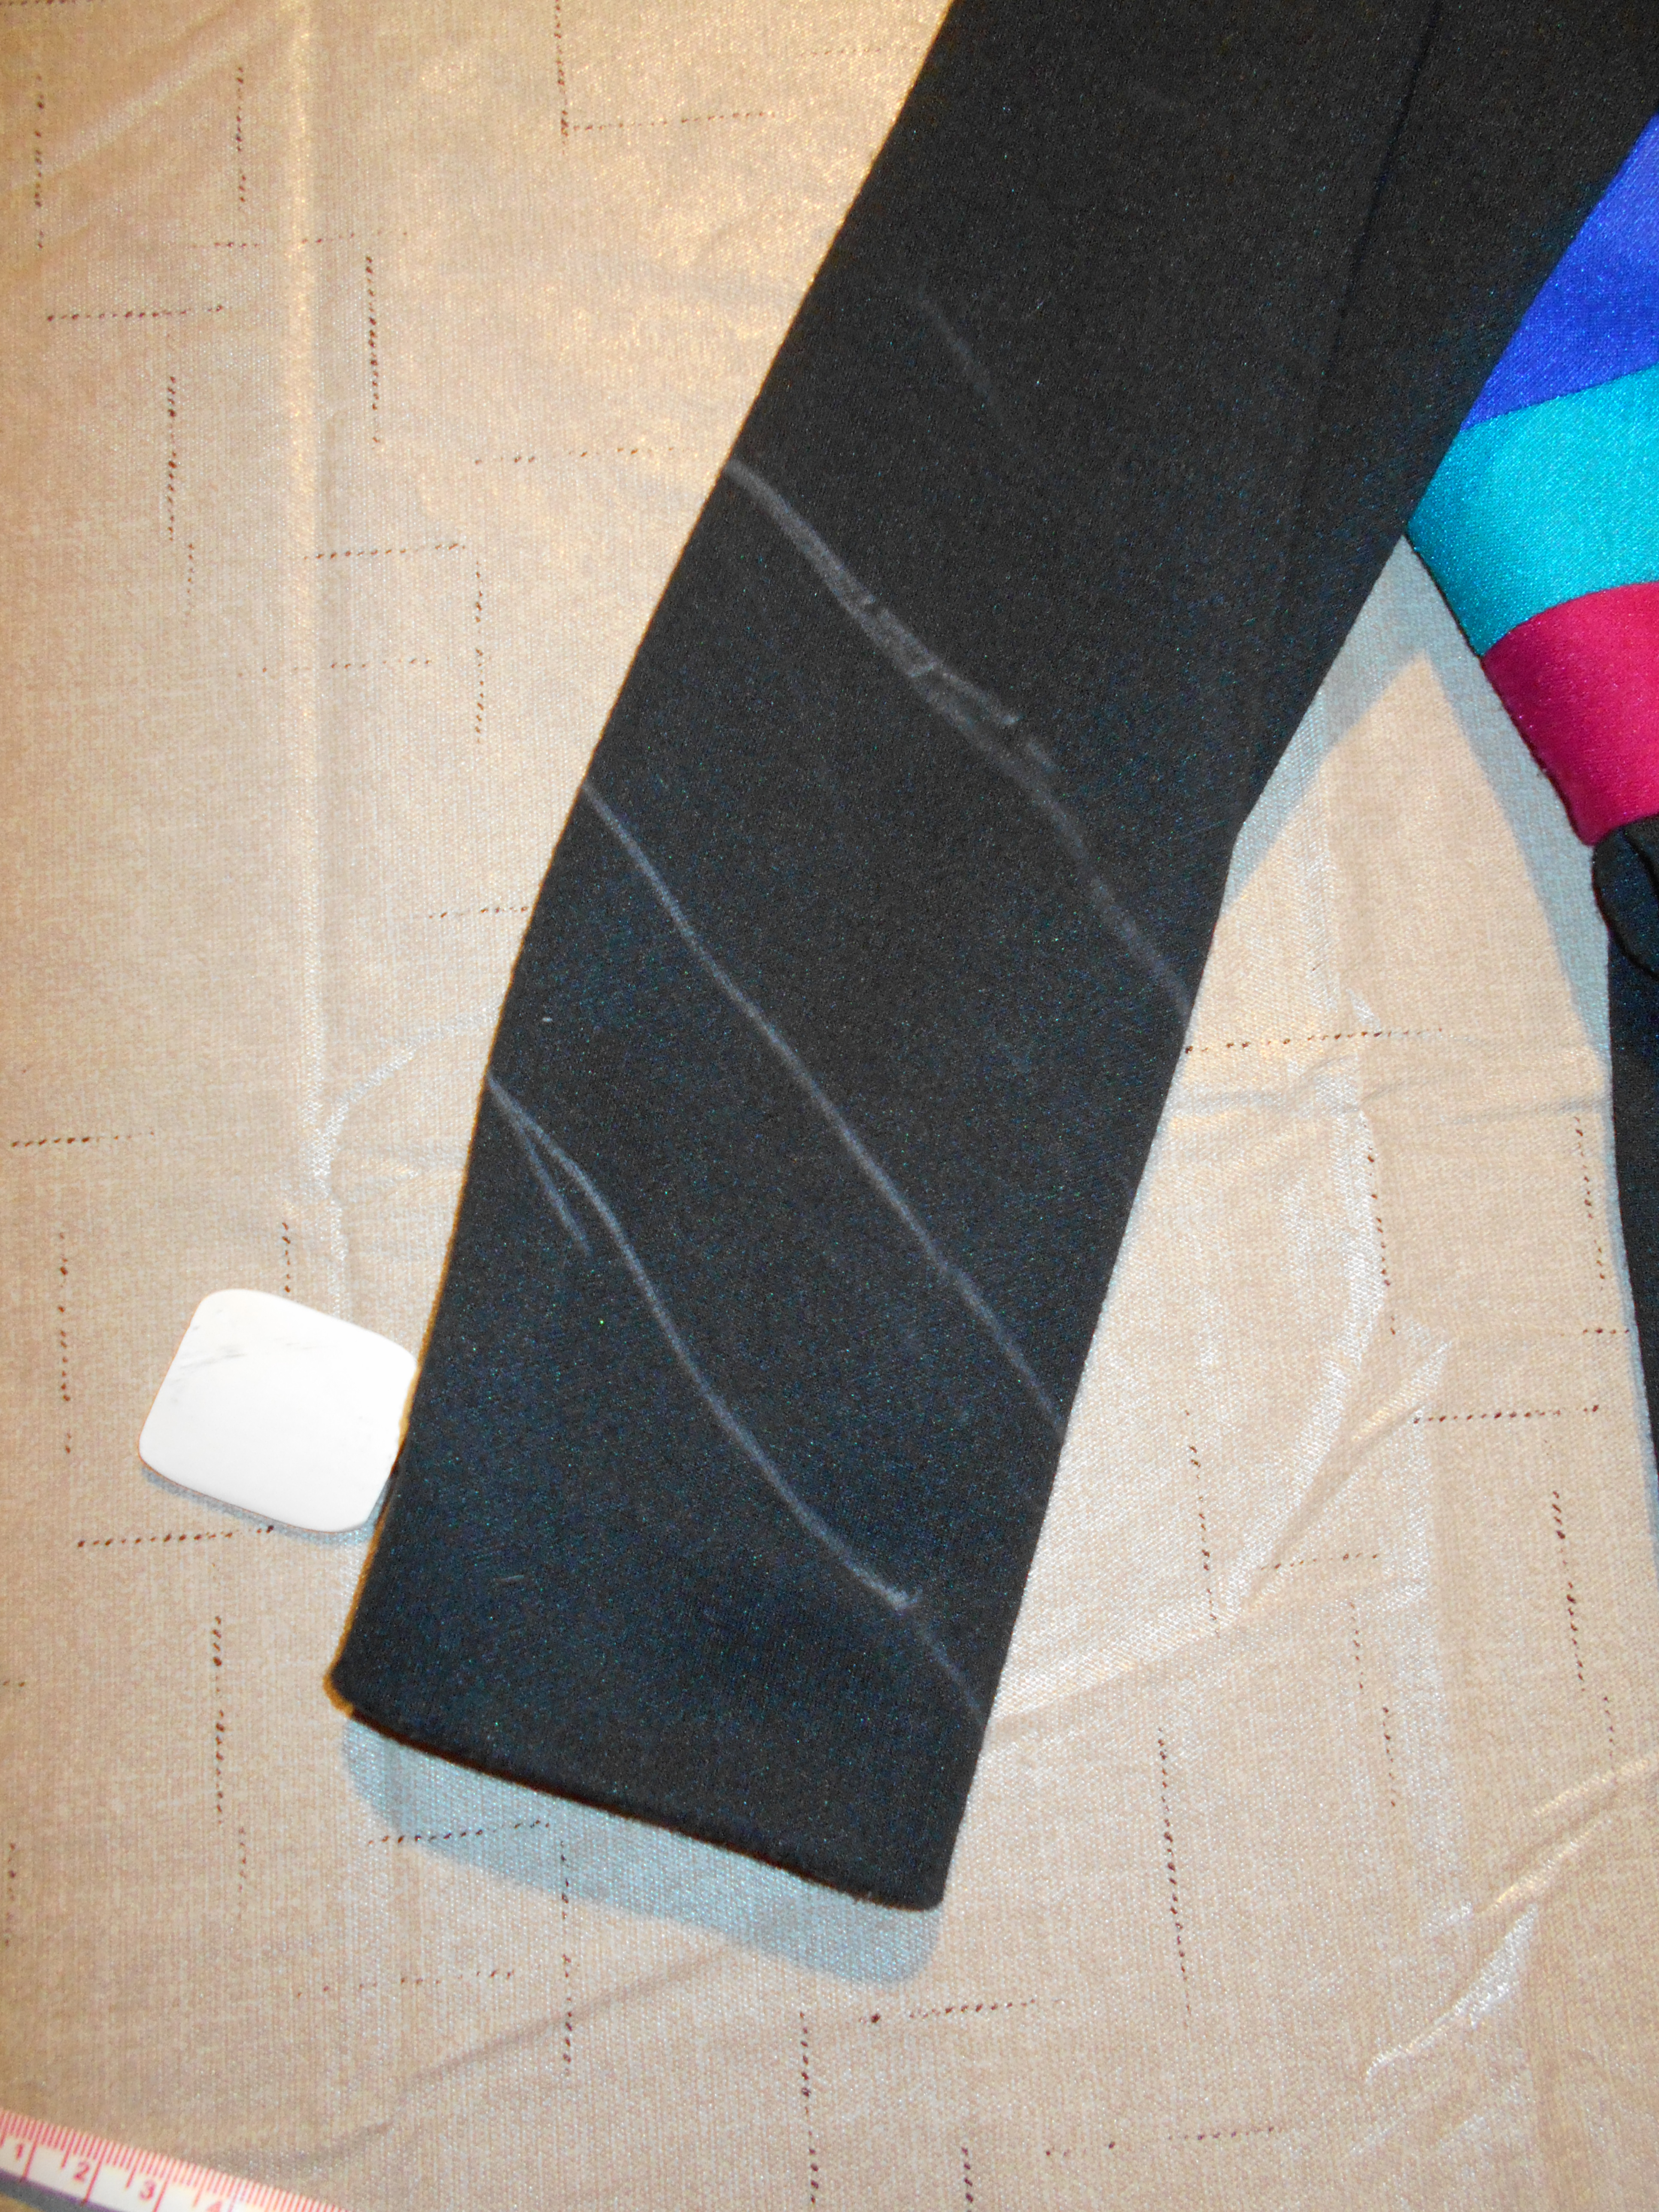
Lastly, I wanted to use another decorative stitch for some detail on the sleeves. I had to use my seam ripper to open up the sleeves to make sewing on the sleeves possible. This actually worked out GREAT because I had to take in the sleeves by 1/2 in. to 1 in.
I drew the path of the stitch with tailor's chalk.

DSCN1526
I mimicked the colors that were in the waistband for the detail on the sleeves. Which I think this really ties the dress together!

DSCN1527
I took in the sleeves and part of the waist to make this a little more snug!

IMG_0856[1051]
For my Birthday present my very talented friends made me these beautiful wooden signs! You could own some of their work too! Check out Blue Water Woodcraft on Etsy!
Happy Refashioning!!!

Check out my stash of refashions on my blog!

The more spots the better


I've had this shirt for ages, and wore it a lot for a while.  It's what my friend calls a 'home jobbie' - someone (other than me) made this shirt quite carefully and used a good quality polyester (?) fabric.  Only she was shorter and wider than me, and it never felt quite right. 


So I put it aside for years waiting on a solution.  The trouble with navy is that it's quite hard to match - this one has quite a lot of black, and then, there's the polka dots.  And then one day at a sewing class someone brought in fabric to swap and there it was!  I like the fact the dots are a different size, I think it looks more intentional.  Finally, I could add the extra length!  First I took it in at the princess seams front and back, because it was wide and boxy - I went a little too far though, and ended up reverting the back seams to their original position.  A little boxy can be a good thing - the shoulders looked weird when it was too tailored.


But it still wasn't quite right.  It looked unbalanced - and so the sleeves got a band of dots as well.  Then I changed the buttons as I added an extra buttonhole right at the bottom.  Seeing I didn't have a matching button I removed them all and made them all different - so that looks intentional too.  Plus, I love odd buttons.

 
Happy sewing!


Friday, April 13, 2018

Return of the Free T-shirts

 Hello Refashion Co-op. I used a couple freebie t-shirts to make a shirt recently. The free shirts had writing on them, like free shirts usually do. I didn't really like the writing though.


Here is a look at the shirts. I cut them in half and saved the back of the shirts. The back of the shirts was nice and plain, with no writing, slogans or advertising. 


I connected the shirts to make one complete shirt. Unfortunately the white shirt had writing on the sleeve too. Ugh! I didn't like that.


I cut a small pocket shape from the front of the red shirt. 


I attached it to the sleeve to cover the writing. It turned out really cute. There is no official front and back to this shirt since it's made from 2 backs. It could be worn either way.


Thanks for reading, for more pictures and details go to I Can Work With That.