Friday, March 31, 2017

skirt 👉 to lace up top refashion

Have you seen Hanna's ( from Pretty little liar ) lace up top ? Pretty , don't you think  ðŸ˜ƒ.
I must admit that almost all my creations lately were connected with lace ups. 
It's because lace ups are very feminine ðŸ‘¯ and  now really fashionable. I hope you will like this top as well esspecialy it's super easy to sew.  

Skirt Before refashion and ironing:
as you can see on photos ðŸ“· skirt is super big ðŸ”› but I really like these warm colors  
and good quality fabric 

 during work ðŸ‘Š

here you can see how it looks on me, it was freezing  outside 
so I had to worn sweater ðŸ’‹


Skirt before and cami top after ðŸ‘¯


Un nouveau sweat

Un recyclage-sauvetage d'une cousette plutôt loupée....Lol

Voici les éléments utilisés : un top imprimé (raté) ; une robe et une petite blouse que je ne portais plus...


Et après quelques heures et à l'aide du patron Indigo de la Maison Victor, voici le résultat :


Et pour en savoir plus n'hésitez pas à venir Ici 
A très bientôt, Elisa Elisa 


Thursday, March 30, 2017

Dress made from trousers and other things


I am now six months into a self imposed 'no new clothes for a year' project, but  made this dress from a mixture of ingredients I already had.

Take 2 parts of fabric to one part each of 2 pairs of trousers, with a sprinkling of pillowcase.


I might be giving up buying clothes but I am not giving up sewing.


There are more details and photos here

It might seem odd to make a dress out of trousers but one of my top charity shopping tips would be to look for the fabric you want in an unsuitable item of clothing.  For example, you have an idea to customise a plain white top, but as plain white tops are easy to wear all the ones in the charity shops are well worn with crusty armpits. White skirts on the other hand, are not so easy to wear and are donated in good condition, so look to the skirts for your plain white top fabric.

The Warm Shoulder Top

Hello Refashion Co-op. I did a project for a friend recently. She wanted to close the open shoulders of this cold-shoulder top. Could we connect the two sides of the opening smoothly?


I pinned the opening closed and it seemed to fit together well. The thick edge of the opening helped stabilize the fabric because it was a little delicate.


Here is the closed shoulder, it fit great and looks like it was made that way. It fit well too.


You can see the cute, fluttery sleeve this top now has. Erin has a comfortable and feminine top.


Thanks for reading, for more pictures and details go to  I Can Work With That

Wooly sheep sweater


It used to be a simple white sweater. It was boring. So boring! I wanted to get rid of it...but I'd also been wanting a graphic sweater. Suddenly everything clicked. I'd get rid of my boring white sweater AND get a new graphic sweater, all in one stroke, with a little creativity and a certain skein of multicolored knitting yarn that I've had for absolutely ever.

I used a latch hook to craft the fluffy body with the yellow, pink, and white portions of the yarn. (If you've ever made a hooked rug before, doing it on a sweater is quite an interesting new experience!)  Then I embroidered the face and legs with the blue portions of the same yarn and a tapestry needle.

It was hours of tedious labor, but I'm glad that I was able to repurpose one of my many depressingly plain sweaters into something fun and unique!

Here's what it looked like before ...


And if you're interested, check out the full tutorial on my blog!

--The Unfashionista

Wednesday, March 29, 2017

Transformation de jupe

A l'occasion d'un petit duo recyclage j'ai transformé une jupe que je ne mettais plus depuis un certain temps...........


Et voici la jupe ....après !


Et me voici avec une petite jupe pour le printemps. 
N'hésitez pas à venir en voir plus Ici 

A très bientôt, Elisa Elisa 

Tuesday, March 28, 2017

The Costume Archives #1 - Victorian Peplum Jackets

Linen peplum jacket refashioned by karenvallerius.co.uk
Spring is in the air ... my stash busting continues ... my photo archives edit has begun!

About 18 months ago I refashioned a series of costume inspired garments, some of them with a steampunk vibe, including several Victorian inspired peplum jackets.

Denim peplum jacket refashioned by karenvallerius.co.uk

I found that the best method of adding a peplum to a jacket was to cut the jacket around the waistline, then construct the peplum by adding panels of contrast fabric, and then stitching back on the the original jacket.

More jackets on my blog here.

Happy stitching everyone x

Too Big For My Britches (Leggings)

Hello Refashion Co-op. This post is about leggings. Leggings that fit all over except the waist. They're supposed to be super comfy but these just didn't have enough tummy room for me.
 I didn't know United Airlines was going to have a huge leggings incident this past weekend, but it made my refashion more timely.


They were a bit long so I used the extra length to add some room to the waistband. I cut a few inches off the bottom of the legs and re-hemmed them.  I added a triangle shape from the cut off pieces to each side of the pants.


I did this with a couple pairs of leggings. They are perfect for home, exercise, pajamas.... but they were just a little too tight around the waist. (More exercise could probably help this problem too.)


I cut off the extra length from the legs. I could have used any knit material, if I didn't have this extra to play with.


I cut out two small triangles from the ends. The size of the triangle would depend on how much tummy room you needed.


I matched up the triangles to the cuts I made in each side of the pants. I sewed them in. They didn't fray so they didn't need to be finished on the edges, but that would look neater.


I did a lounge test while my toddler destroyed the house and the leggings performed very well.


Thanks for reading, for more pictures and details go to I Can Work With That.

Monday, March 27, 2017

Un petit recyclage ....

Voilà un petit moment que je n'ai pas publier ici, alors voici un petit recyclage tout simple :


Un petit tee-shirt dont j'aimais beaucoup le tissu. 
Et voici ma réalisation : 


Et si vous voulez en voir plus, c'est Ici 
A très bientôt,
Elisa Elisa

Sunday, March 26, 2017

Funky Shirt Refash

This refash pushed me out of my comfort zone. I took a shirt with a very funky bold print. I've got to tell you, I really liked the final result!
dscn1217
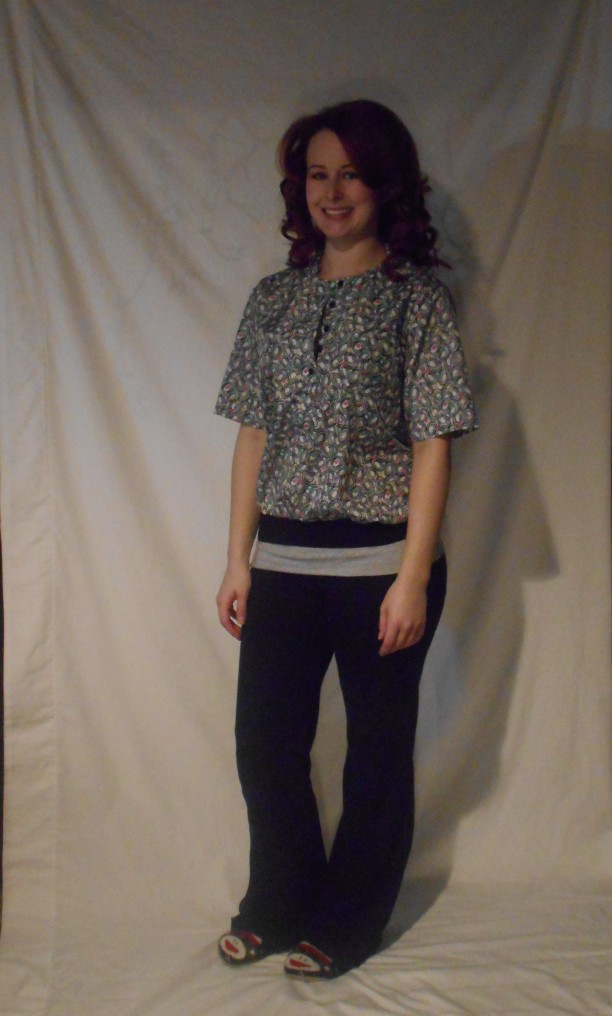
It's hard to see but the bottom of the shirt has a band of black elastic. Makes it a bubble shirt!
dscn1220
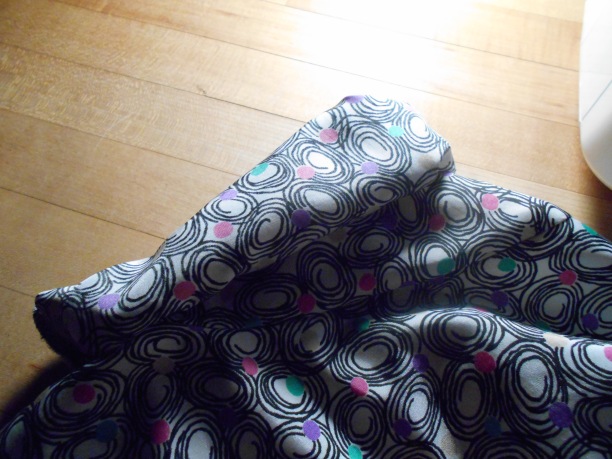
I did not care much for the length of thr sleeves. My original idea was to cut the length off the sleeves ans make a new hem. But I was fooling with the new length of the sleeves I rolled the sleeves and decided I liked the rolled up look instead.
dscn1221
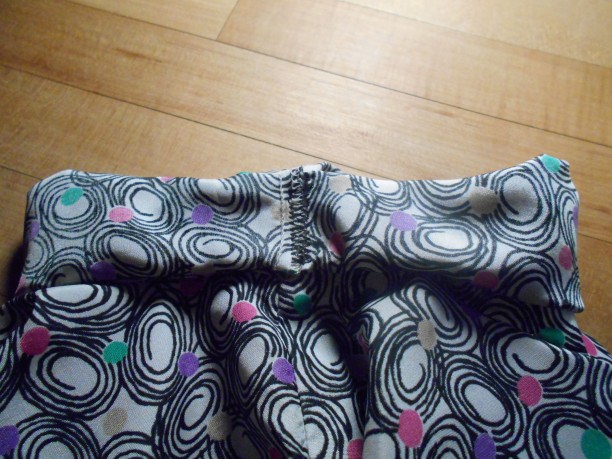
I rolled the sleeves 3 times and sewed to secure underneath.
dscn1222
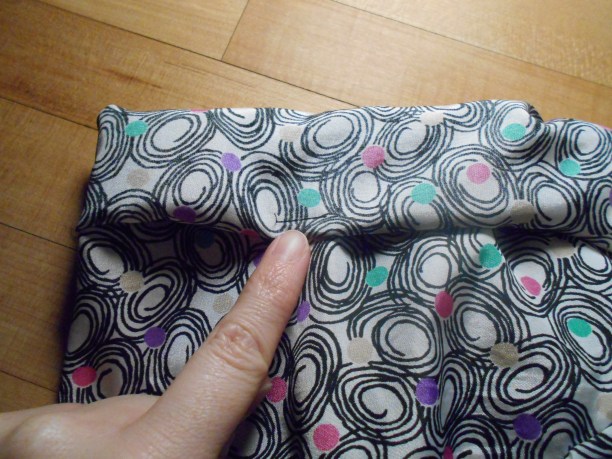
Then a small stitch to secure the top.
dscn1223
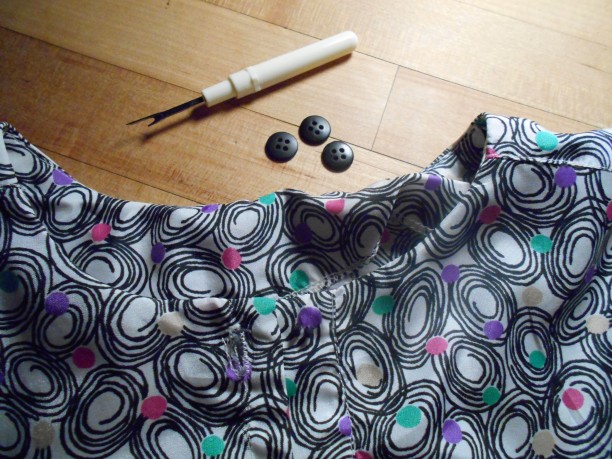
I removed the top 3 buttons.
dscn1224
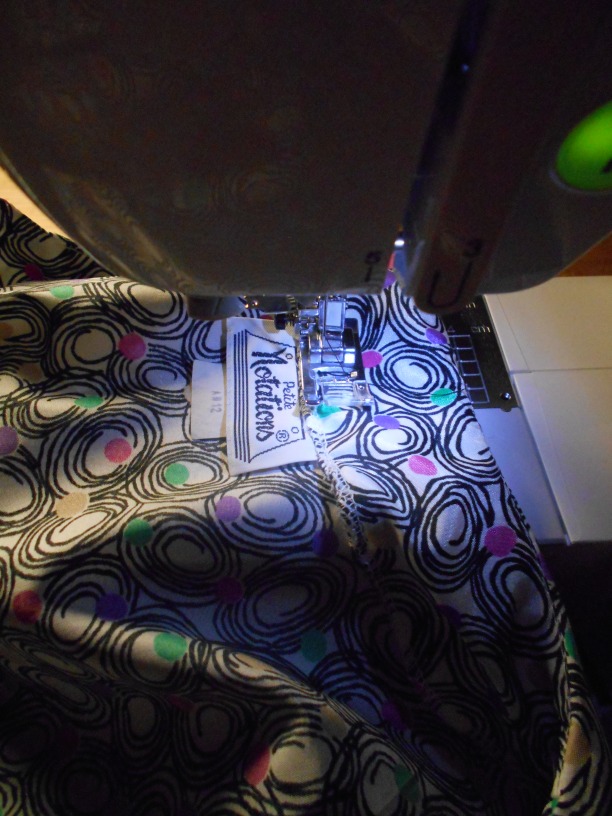
I put a small stitch to secure the inside flap around the neck. I wanted to tack it down because it kept popping up and itching my neck.
dscn1225
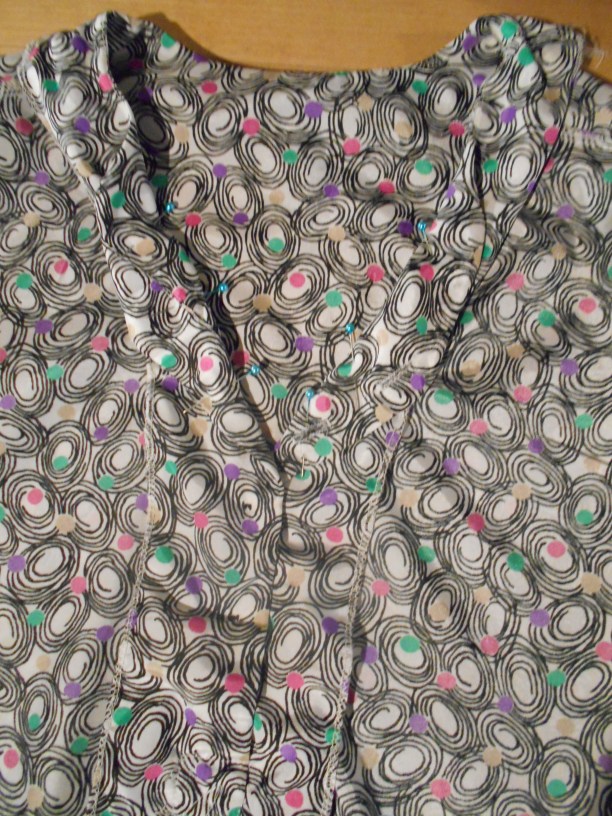
After I removed the top buttons I folded down the front to make a v-neck. Sewed that down.
Pretty snazzy, right!?
We went out for dinner and drinks to celebrate our roomies acceptance into the social work PhD program! She's such a hard worker and we are so proud!
2017-26-3--14-29-40
Happy Refashioning!!!

Check out my stash of refashions on my blog: http://therefashstash.wordpress.com

Saturday, March 25, 2017

Dress to tunic refashion

Before viscose dress with bell sleeves

I was given this dress last year but didn't really have a plan for it.

I don't like bell sleeves, they get in the way so I started by getting rid of them and using one as a neckline enhancement.

In progress neckline

I unpicked the neckline binding and re-attached it incorporating the bell sleeve as a sort of frill, which also made the neck a bit smaller.

There have been a few posts about tunics lately so I decided this dress would become one, by chopping an appropriate amount off the length, adding some side tab openings and making the sleeves elbow length.

There are more photos and details here

Finished tunic

It made good holiday wear.


#59 Back to School Wardrobe: Laura Ashley Jacket to Spring Best Vest

REFLECTIONS:  I love to thrift!!!
  • My goal is not buy any thrifted or new clothes for this school year.
  • Ya'll are posting great inspirations tempting me to thrift. 
  • Spring and change of season are tempting me to thrift.
  • Eight months down. I can do this !!! Back to the stash!!!
BEFORE: Thrifted Laura Ashley jacket, a pricey label I like.
  • In the Re-fashion Stash
  • Brocade fabric, lining, and workmanship are higher end than I like to pay for new.
STEPS:
  • I serged seams when first opened. This step stabilized fabrics while reassembling. And helped keep slippery lining fabric from crawling away.
  • Remove sleeves. Cut side insert to enlarge vest and lining.
  • This was a tiny petite, so not much trimming in armcycle for my narrow shoulders.  
  • Drop arm seam 1/2” to make room for layering. And to make it less like a jacket with no sleeve, but more vest-like.
  • Cut facing from t-shirt scraps.
AFTER: Best Vest for Spring Special Occasions.
  • Reserved for wear for graduations, Easter, etc.
  • Can dress up or down. 
AFTER: Best Vest for Spring

Light Weight Brocade
Dress up or Down

Large on small dress form

AFTER: With side insert


Light Weight t-shirt facing


Serge in the beginng to stabilize

Serge to stabilize slippery lining
Quality, light weight brocade
Love quality in this this Brand

BEFORE: Thrifted. Small petite.