Tuesday, July 31, 2012

T-shirt Refashion: Part 1


Here is a T-shirt, that I freecycled last week:

Please note that I have nothing to do with the church, I do view it as one of the main Minneapolis landmarks, and it’s definitely nice living in the neighborhood around it! I do support their ministry through Steeple People though, it is one of my favorite thrift stores in the area after all!
Now this shirt has a lot going on: stains, holes, etc. So I took my scissors and some supplies:


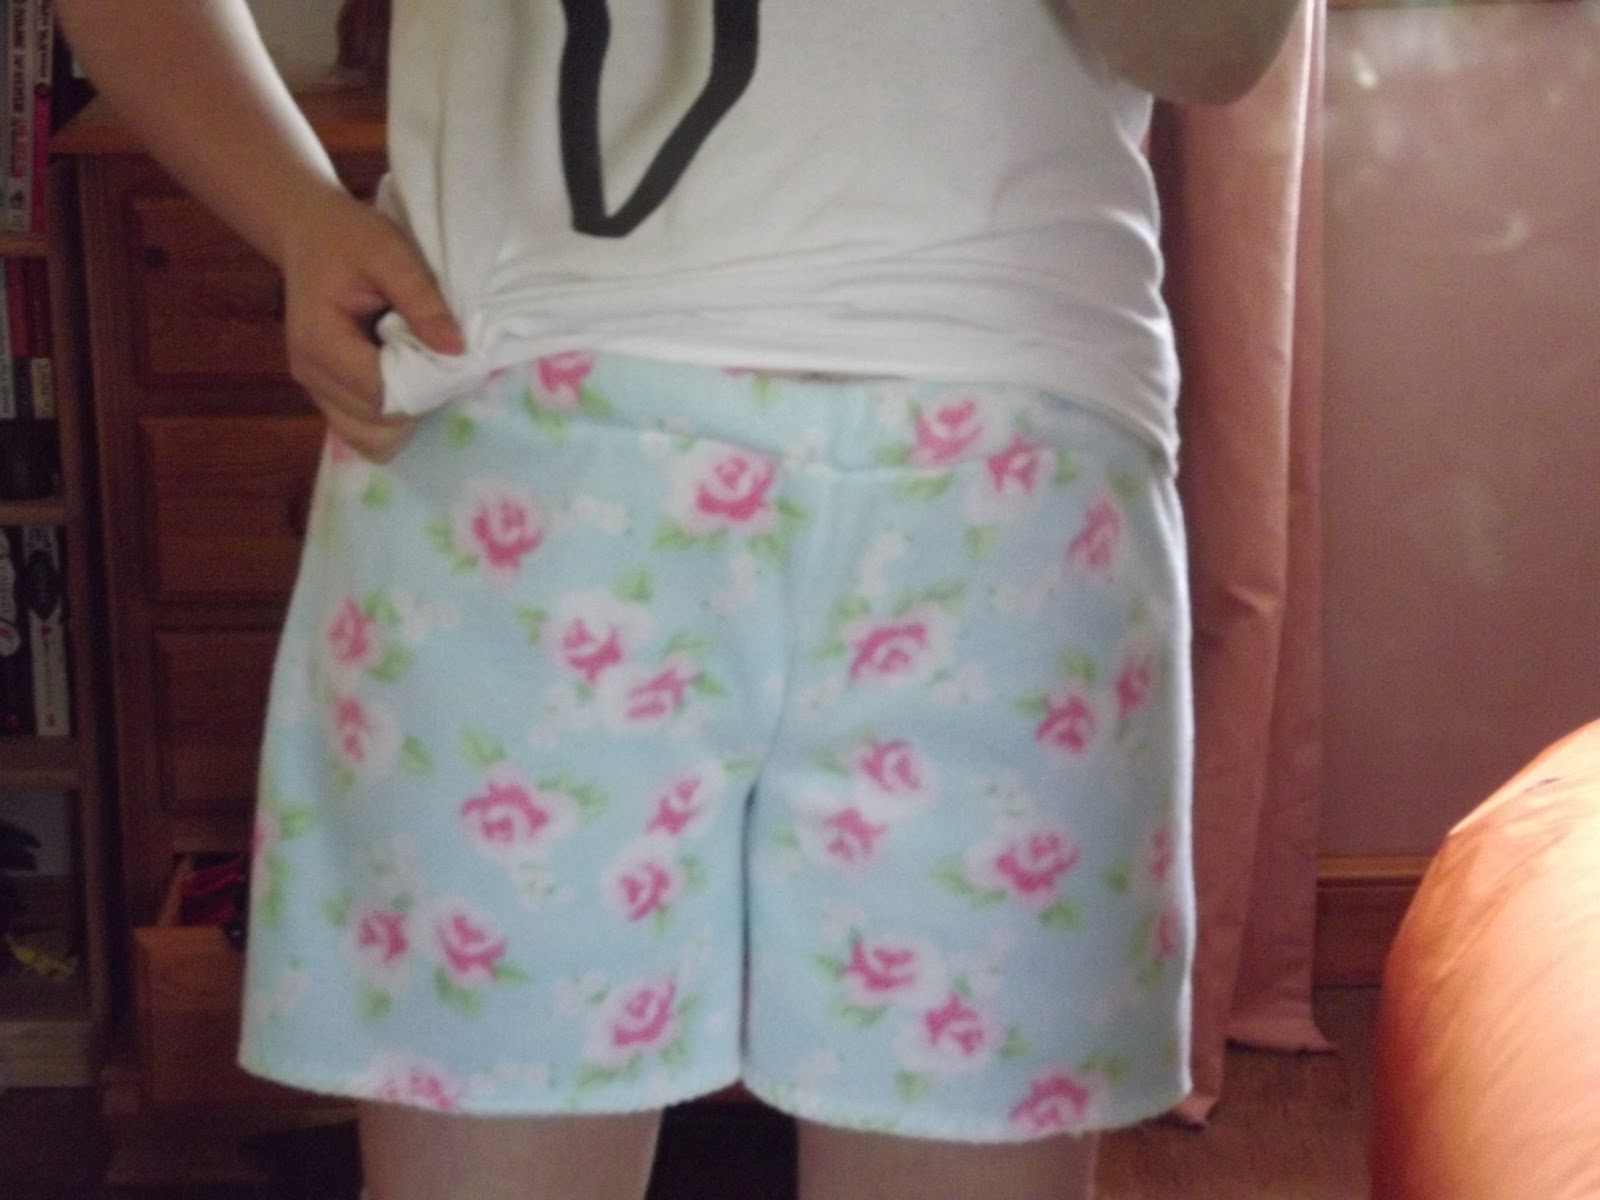
… and ended up with this :)
Now let me explain why I am making this a 2 parter, it’s already past midnight, I’ve been working on this for the past two hours, so I am kind of tired, and also missing some ingredients to finish this refashion. Please stay tuned for Part 2, it’s coming up tomorrow :)
xo,
Z
Also, there is a GIVEAWAY on my blog right now, would love for you all to stop by and check it out :)

Contrast Cuff Shirt Refashion

I'd been wanting to do this refashion for a while, and finally found the perfect shirt to use! A little sheer, a little flowy, it beamed at me in all it's off-white glory from the racks.

I then used some scrap leather, a needle, and thread to create a "contrast cuff" look. I love it and it was so easy to do! Took less than an hour!

You can see more detailed instructions on how I did this (and how you could do it) on the blog by clicking here.

You can also see how I styled it to wear for a date night by clicking here!

Best wishes, 
and happy refashioning!!


Jamma shorties of sorry-ness


I am the least organised person in the world. ever. There are probably a ton of emails waiting for me saying "where are your posts Roisin?!" and I can't even acess them to plead for  forgivness as the computer ( the old one with email, this is the new one) has died. I'm sorry. I propose to post every last sunday of each month from now on. The good news is I have a bunch of stuff to show so I'll spread it out over the month. After all that here is my refashiom. My aunt bought me this cute blanket ages ago ( I'm a sucker for throws, blankets, throw cushions ect.) but I've never used it so it is now pyjamas. Happy days :) Everyone loves jammies. There's still a ton of fabric left over so I may make a top to match. I was thinking of experimenting with the colette pattern so who knows? Colette jammies! Stay tuned :P

Top refashion and shorts preview

Yay, I finally did it, after being off for so long!
I worked a bit on a senseless top and possibly turned it in a wearable and cute one:


Please check out my entry to read more and tell me what you think of it, ok?
And I took care of a pair of jeans too, still working on these though:
Have a nice week everyone!!

Monday, July 30, 2012

Punkish pants from trashed pants.

     So been rather busy with summer cleaning and moving things around but I now have a workable space and so to my husbands happiness was finally able to repair his favorite jeans using a pair of pajama bottoms and some zippers I picked up at the thrift store. They were selling zippers a quarter a piece so I just bought 3 dollars worth to use on other projects :).


Before
After

     I used the zippers to help patch up the holes in the back though you cant really see them and added the the pajama material to patch the holes in the front inside and added some behind the zippers so that their functional, then added the cuff from the bottom of the pajama bottoms to the back pockets to try and fix as well as hide the deterioration of the top of the pockets. I did what I could considering how far gone they were, but hes happy with them and says there still comfortable. More importantly there now wearable. I wound up doing the fabric behind the holes in full panels though just in case of future ripping. well ttyl :) --QueenOfNothing

Sunday, July 29, 2012

Let's Shift Again

I originally made this shift as a mini long, long ago (needless to say, it no longer fit):
my old mini shift...

For this time around, I opened up the side seams and removed the sleeves to recut them to fit.  I added side inserts of an electric blue fabric scrap I had on hand:
with blue side inserts and...

I also added some length to the sleeve hem and dress hem with that electric blue fabric, using it all in the process:
sleeve and hem extensions...
But I still wanted pockets.  I spied - on top of my blue scrap pile - this perfect Hawaiian print!  (yes, I have my small scraps of fabric in bins by color):
...plus big ole patch pockets!

I had just enough for two big patch pockets.  It made the dress and I very happy! 

To see me wearing it, check out Project Minima at Let's Shift Again.


Tracing Your Favourite Clothes

I made myself a cute tunic top this week by tracing one of my favourite oversize t-shirts onto this gorgeous yellow thrifted fabric. I added some little belt loops, and recycled a piece of yellow brocade cord into a belt. I'm so happy with how it turned out!


My materials.


Getting started on the tracing.


The finished product!

If you're interested in the tutorial I wrote for tracing your t-shirts, you can find it here.

"So Far So Good" Shoes

Refashion Warning. This refashion is bright, bold, colourful and over the top. It has no volume control so if these words send a shiver up your spine....it is time to leave this refashion now.


Sigh of relief. Okay, so if you are still here it means that you are into quirky and fun.It is at this point that I have a confession to make. This refashion wasn't meant to be totally out there, but I made a fundamental error which necessitated thinking outside the square to come up with a fix.


So I started with this....and then had a bit of a disaster along the way.

So I ended up with this

And this

To see the full shoe refashion and the disaster plus fix....see visit me at my Blog for all the embarrassing detail.

Money for Old Rubber, Part 2


Monet for old rubber part 2 (followed on form part 1)

Recycled, inner tube rubber.

Part 2 of my "Money for old rubber" collection.

Shown above is my favourite necklace to date. In fact this is 2 necklaces one on top of the other. The top one is strips strung up in such a way to create interesting curly shapes. The necklace underneath is slim strips of different lengths placed and strung with clasp fastening (still perfecting this). 
I am lucky enough to have a partner whos family in Cleator Moor near Whitehaven, who own a bicycle repair shop Ainfield Cycles. They have kindly been keeping and posting all the way to Aberdeen the inner tubes for me to reuse and I would like to take this opportunity to thank them. I have many more inner tubes to get through and am excited about what I will come up with next.
This image shows more of an interior take on reusing the inner tube. Holes were punched using hole punch and hammer, then wrapped around a UV light. I am yet to discover a way of securing the tube to the light in a professional way.   
Ok that's my update for today. Next I will be showing you what I did with a fork lift truck inner tube which is much bigger and thicker. Until next time, thank you for taking the time to read my blog.

Where are the Roses??

The "Where Are The Roses???" Ensemble  
The Facts Fabric | A thrifted, seems like rayon, skirt.  
Patterns | None, refashioned on the fly.
Year | Current.  
Notions | Thread and elastic.  
Time to complete | About a half hour hour.
First worn | To take silly, late night indoor pics.  
Wear again? | I think so. I'm always so gun shy about strapless tops. I mean, it's not like I go to the roller derby or...engage in on-the-fly wrestling matches. What exactly am I so worried about?
Total price | $5 for the skirt, the elastic was free and my new sewing machine was $149 ;o) My finally-found-one-big-enough-for-my-noggin Fedora was $8. I kinda love it!
The "Where Are The Roses???" Ensemble
 I had such high hopes for this week. It was to be my triumphant return to the land of working sewing machines where challenges are turned in on time(ish). I was going to make something fabulous and flirty and fitted and...and....Let's just say, I had BIG plans. Alas, thanks to the absolute idiots working at my local FedEx depot, the machine that I expected to be delivered last Saturday didn't arrive then.  Every time I talk about it, I get vexed all over again. The nitty & gritty (including a screenshot of a deleted rage filled tweet) has been documented on my blog, if you care to read about it.


The "Where Are The Roses???" Ensemble
More pics and the resolution to the sewing machine saga of 2012 can be found here !

Saturday, July 28, 2012

Refashion Month: 3rd week

For the third week of my self challenge of making at least one refashion  month, I kept it very simple.
Don't know if you have seen it, but I've been making some sort of walking around the house/pajama pants for my little girl out of her daddy's shirts. So, I made one out of my own too, and had started another one, I just cut it and then left it around the pile of thing to sort out.
Since I didn't really make anything gorgeous, I thought at least I would make it to the 3rd week with a little thing, and it was the pants.
Here they are:

Click HERE to go to my page and read more.

The Transformer Purse and Tote

I have a confession: I love ModCloth. I obsess over their items, and then I refuse to buy anything because they're all pretty expensive. Recently, I found the Design museum bag. It's a shoulder bag! It's a tote! I had some great fabric scraps lying around, so I ended up with this:
Puppy photobomb


It's a simple design I hadn't seen before: Just a tote bag with handles at the top, and a long purse strap attached halfway down the side seams so that it folds over when you wear it over your shoulder. I added a zippered pocket for my wallet and cell phone, so it's now the perfect grocery shopping bag. I can fit other totes inside when it's all folded up...


And then it folds out to fit loads of groceries! After a trial run, I had to stiffen the handles with zip ties so that they didn't get all floppy and stretched with the extra weight.
So many groceries! And it's pretty inside, too. The best part is that this was all just things I had around, including an old too-small belt and a zipper and leather from an old purse.

Hope everyone is having a happy weekend!

Julia

Aeropostale Sweatshirt Refashion

What do you do with a sweatshirt that's not your style? Refashion, of course!


Step One: Cut off sleeves to correct length

Step Two: Cut off pocket

Step Three: Realize that you cut the sleeves too short, so you have to improvise to make the sleeves long enough to fit.

Step Four: sew fabric to the front of the sweatshirt.

Step Five: Reattach front pocket.

Pretty easy, right? Go refashion a sweatshirt today! Here are additional pictures.

Winter Coat Refashion

So here's an old coat. This cost me about $12, at Vinnies,  back in the mid-90's, when I was at uni.


Here's the new version.

I reshaped the collar, cut a new hemline, and used the offcuts to make epaulettes, button flaps and big piratical cuffs. The buttons were in my stash, also an op-shop find from ages ago.


I managed to use most of the original coat, the only bits left are the original tie belt and about a 30cm square piece of material. Maybe I'll make a matching cap.


The little patches cover an original buttonhole and a couple of mothy/worn spots, as does the little strip around the collar.
For more detail on my process, have a look at the blog: http://makebakesisters.wordpress.com/2012/07/28/the-epic-coat-refashion/

Cheers, have a good weekend!

Recycled Paint Roll

I've been painting my bedroom and, as it happens, I ran out of painters tape.  I was about the throw the roll away and it struck me!  AHA!  Bracelet!

This project didn't cost a thing because I used materials I had lying around the house.


As my hot glue was heating up, I ironed the material and cut a piece large enough to wrap around the tape roll.


I wrapped the material around the roll and folded the excess material inside the roll.  I secured the material by hot-gluing the material to the inside of the roll.


I wasn't very concerned with how neat the bottom layer material looked because I planned on wrapping a layer of lace around the roll next.

I angled the lace so that it wrapped around the roll easier and it looked cleaner.  All together, this project took a total of ten minutes to complete.


I had a really hard time taking a picture of my arm.


And there you have it!  A ten minute project that cost nothing!

Visit my blog for more projects!