Sunday, September 30, 2018

Just Ducky Refashion

I have been very productive this past month. I have been finishing at lot of unfinished projects and let me tell you, it feels great!
DSCN0612
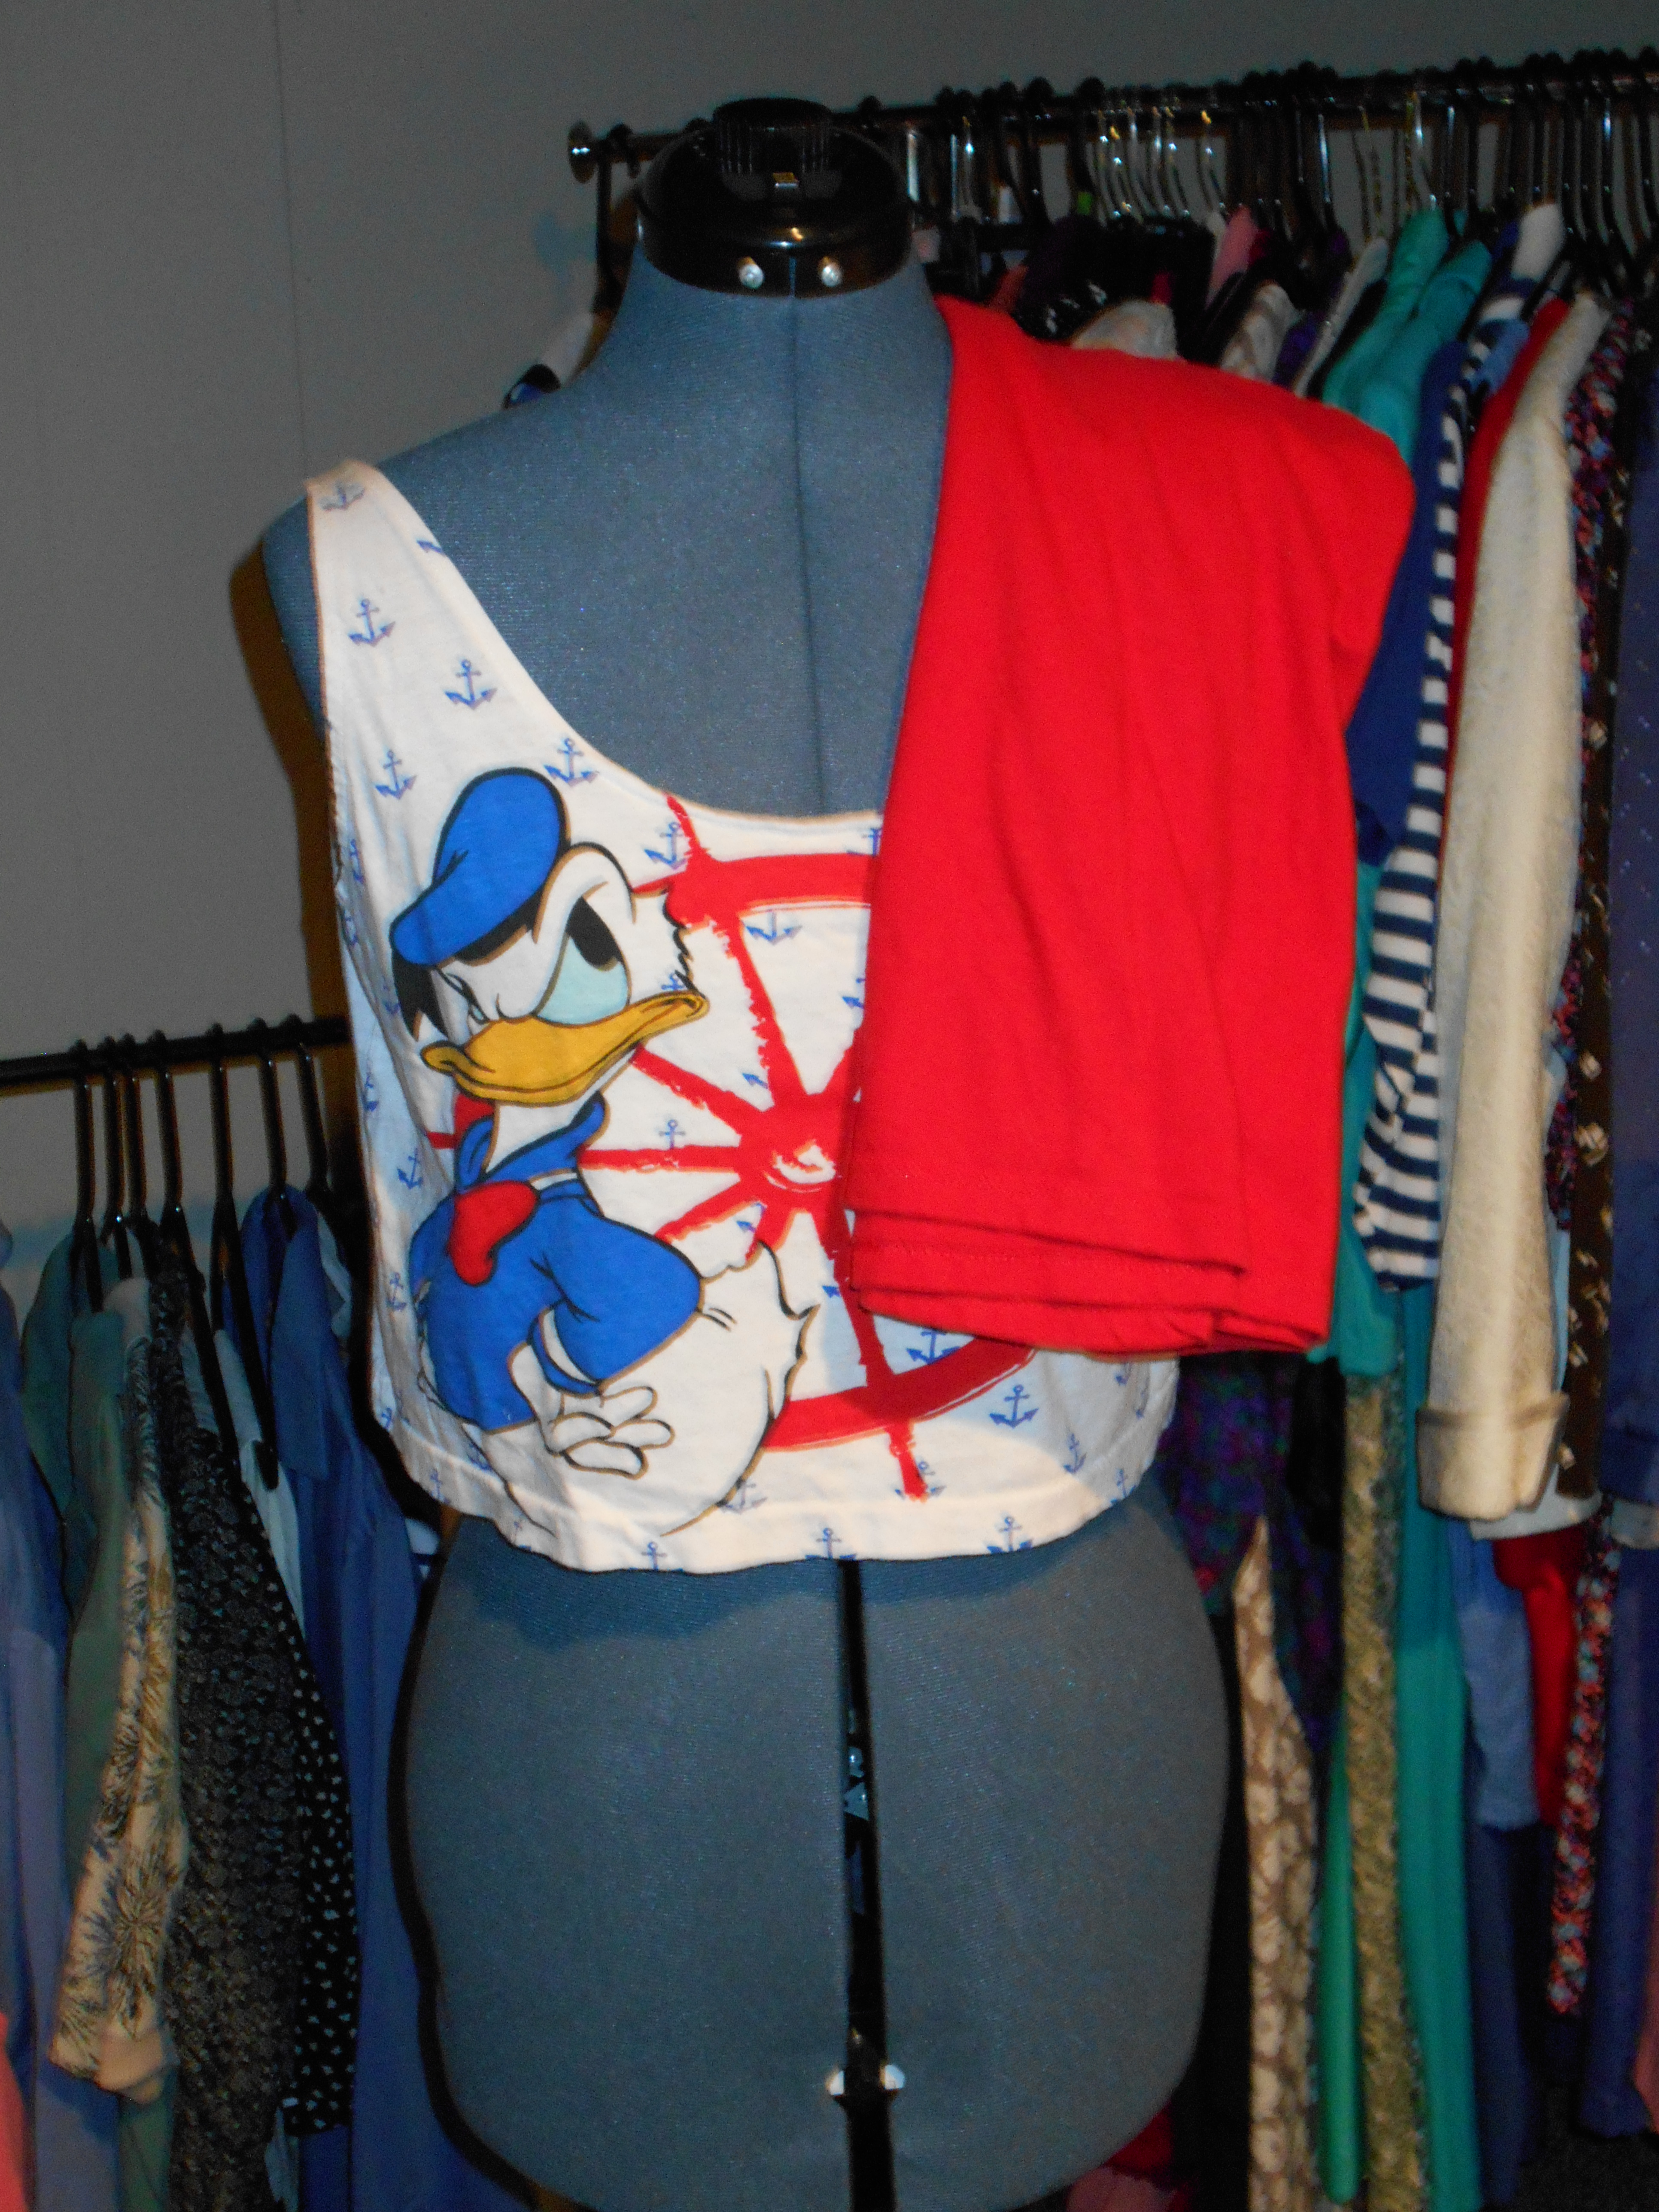
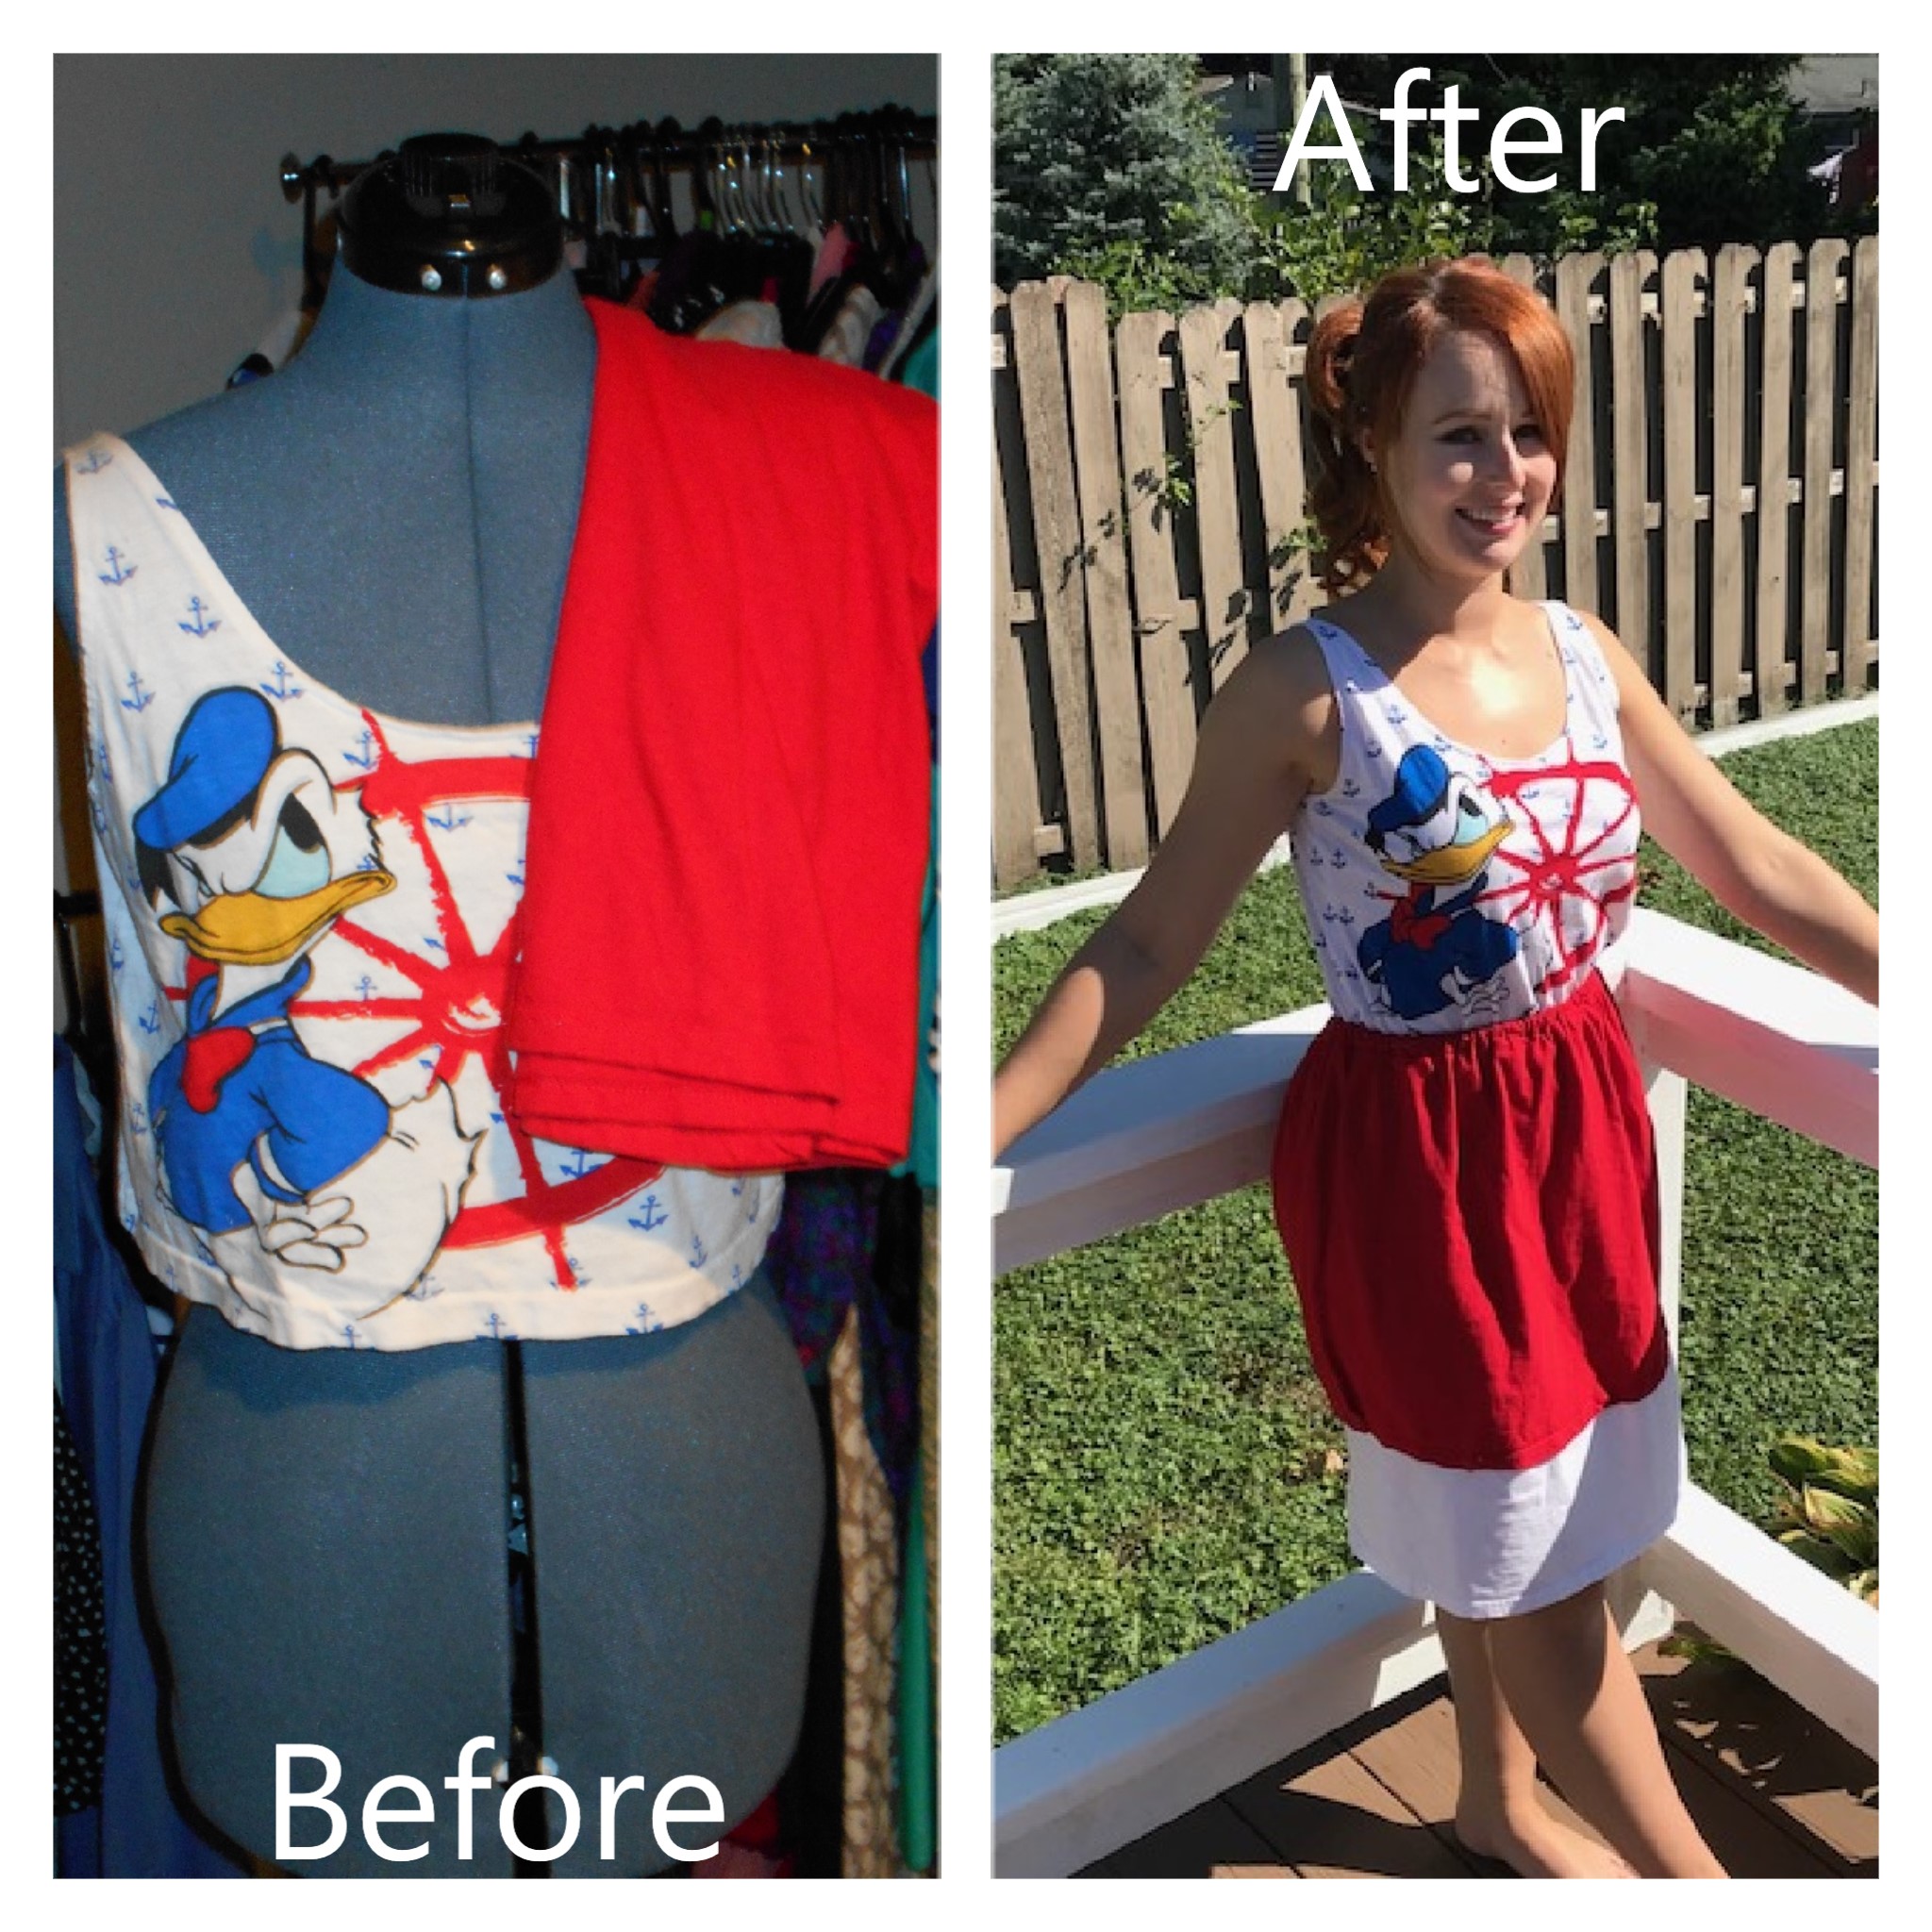
I acquired this Donald Duck crop top a few years ago and was really looking forward to making this into a dress but every time I sat down to finish this the weather turned cold.

DSCN0615
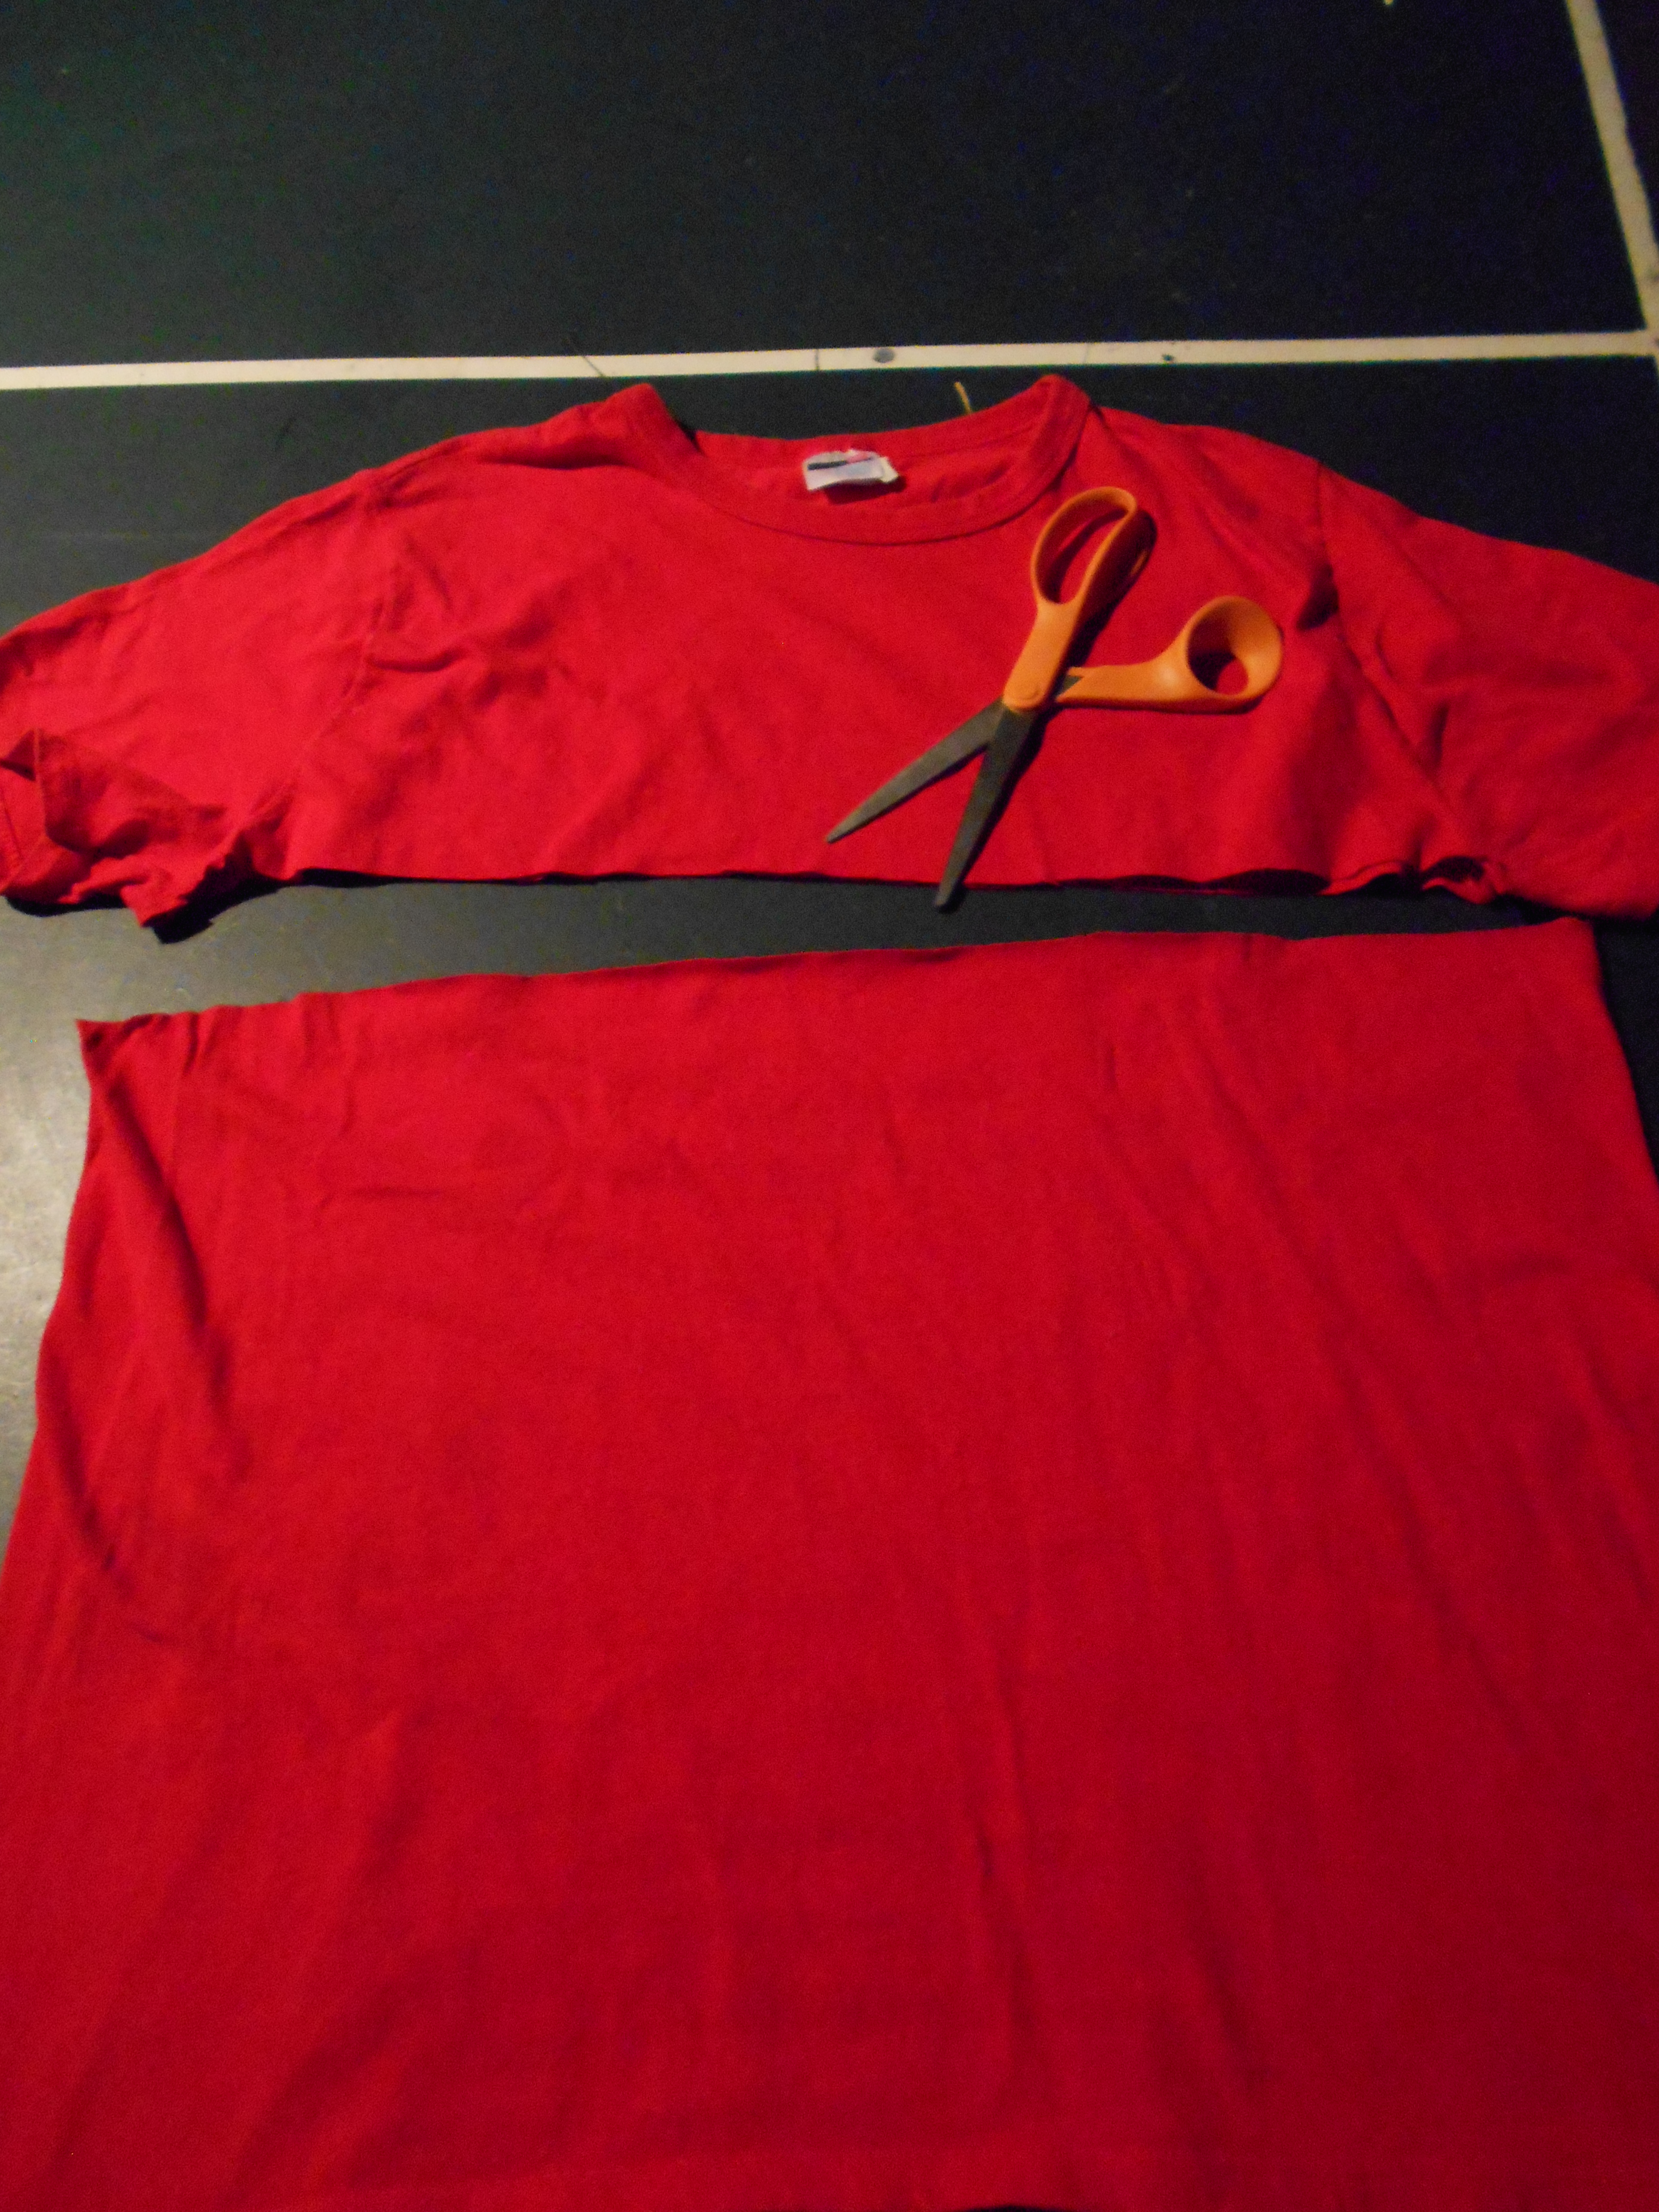
I began by making a skirt using this XL men's t-shirt. I cut just below the sleeves.

DSCN0617
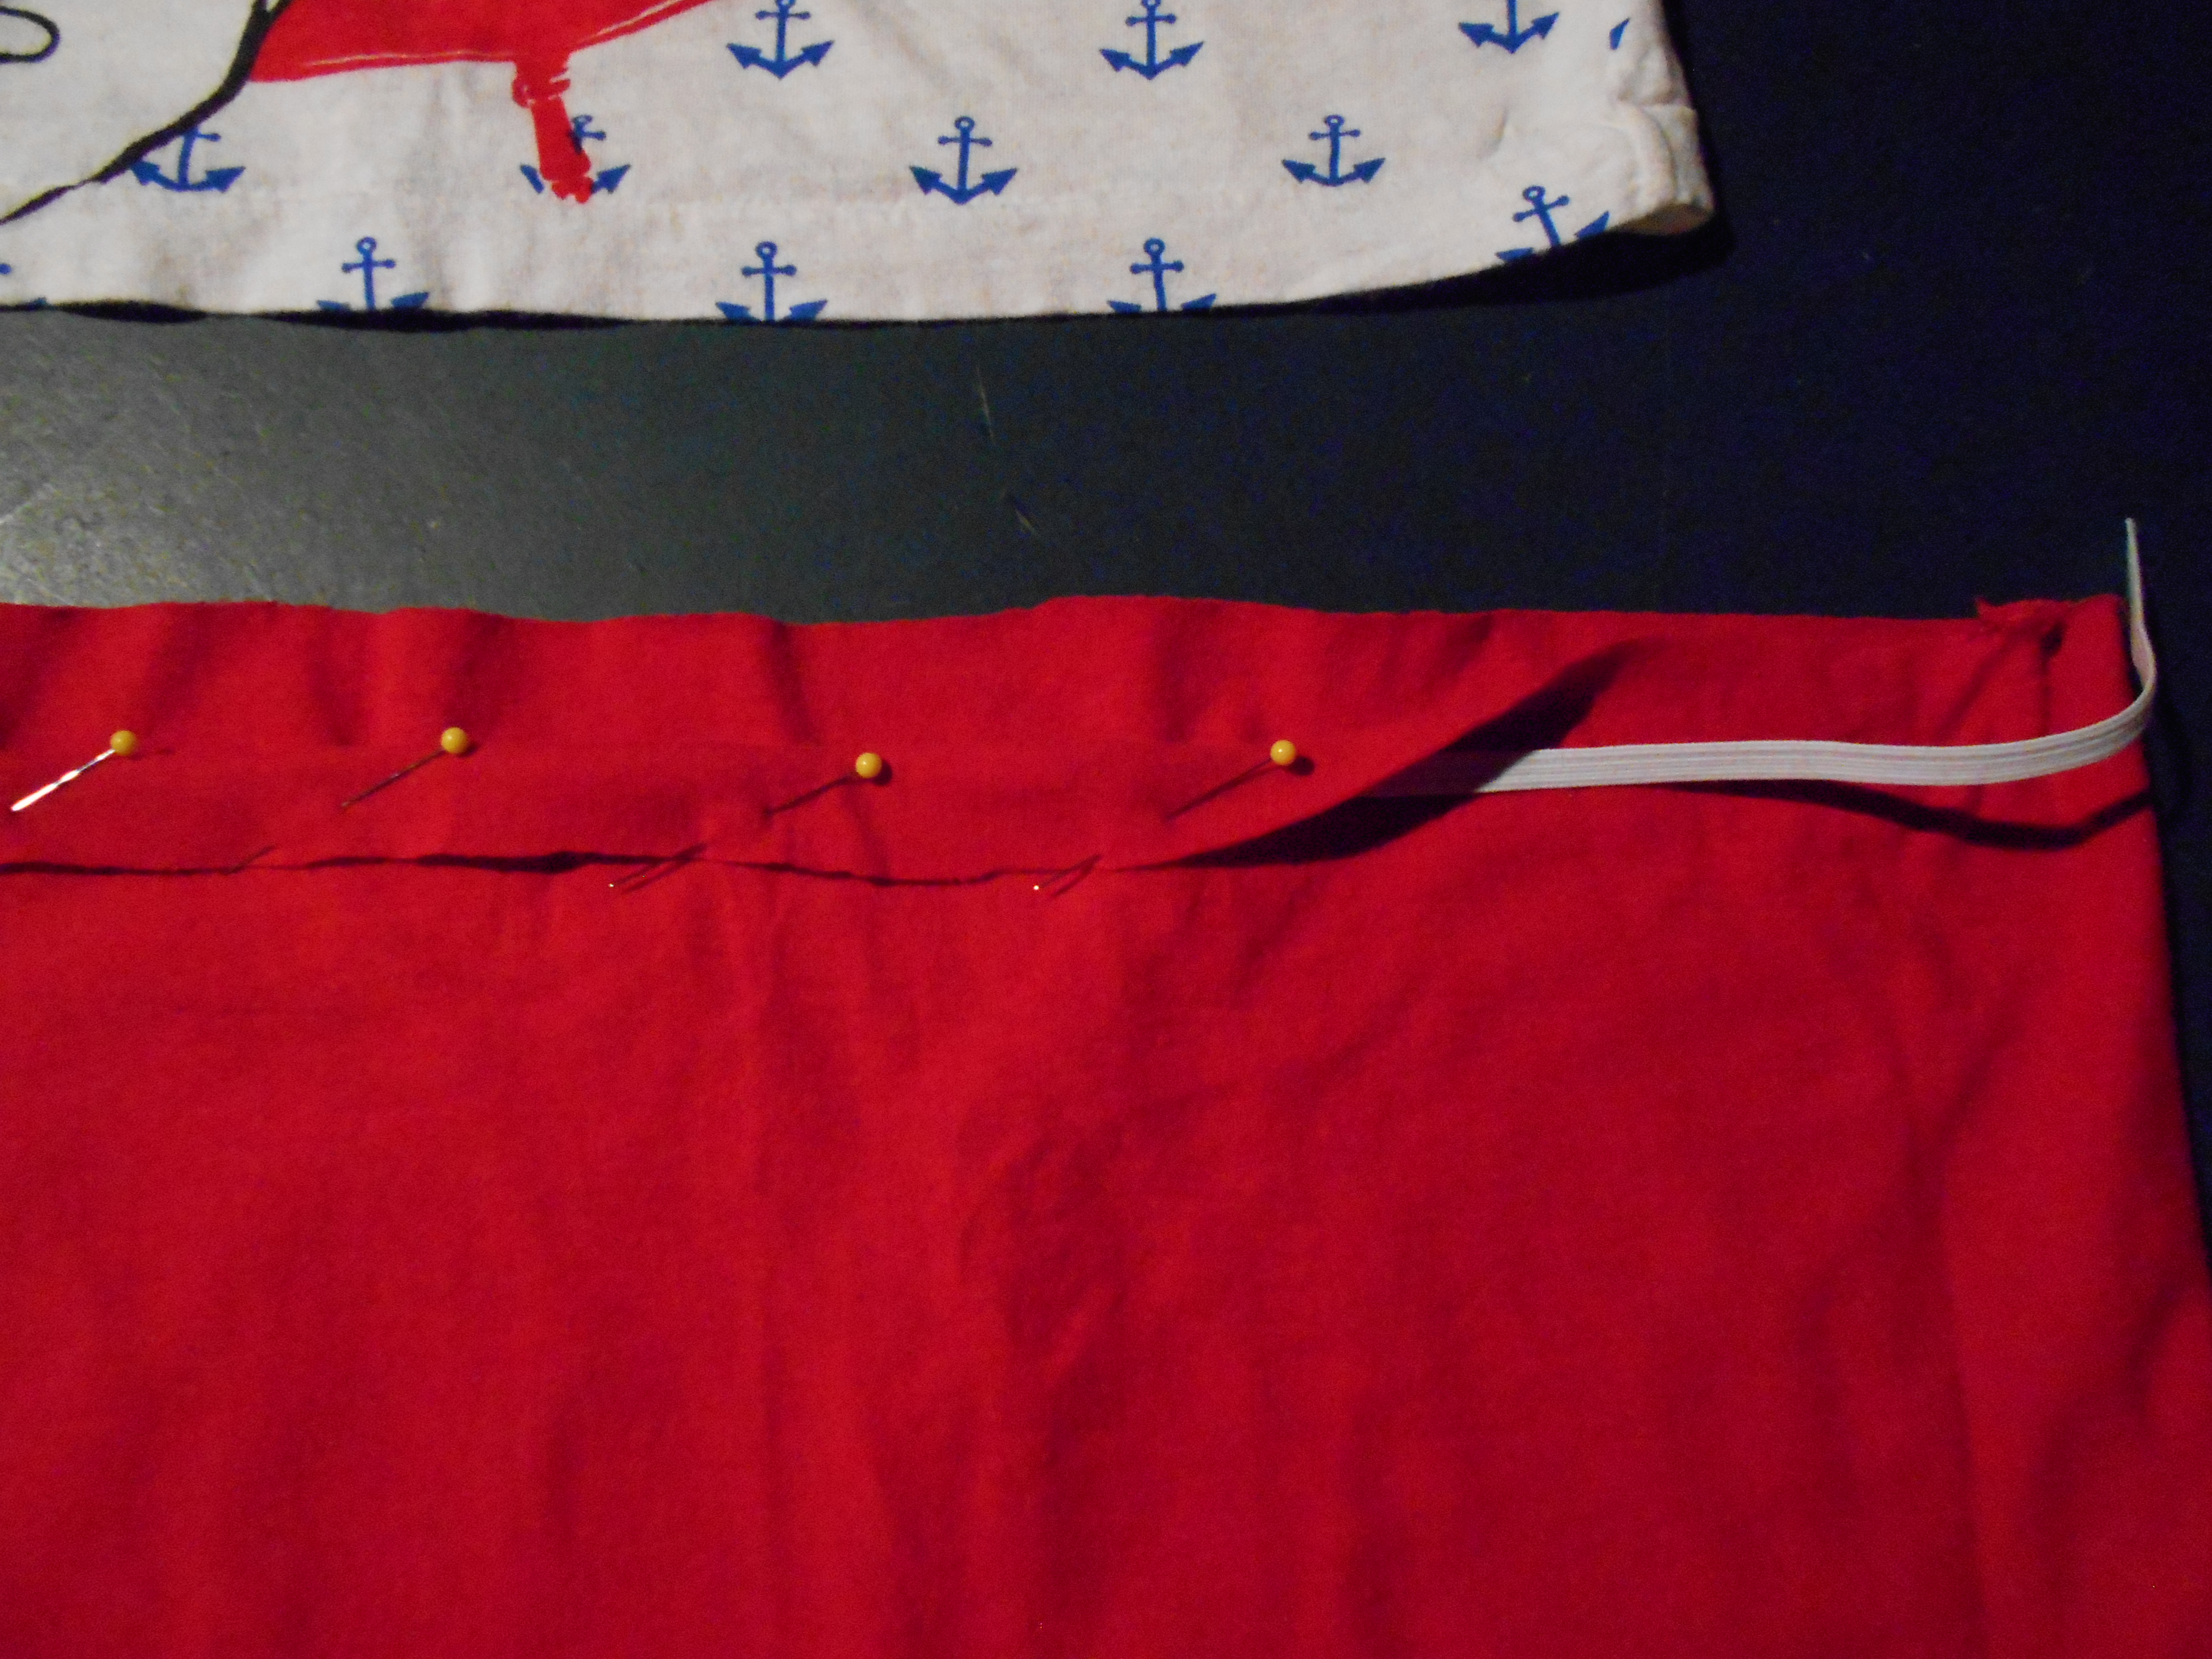
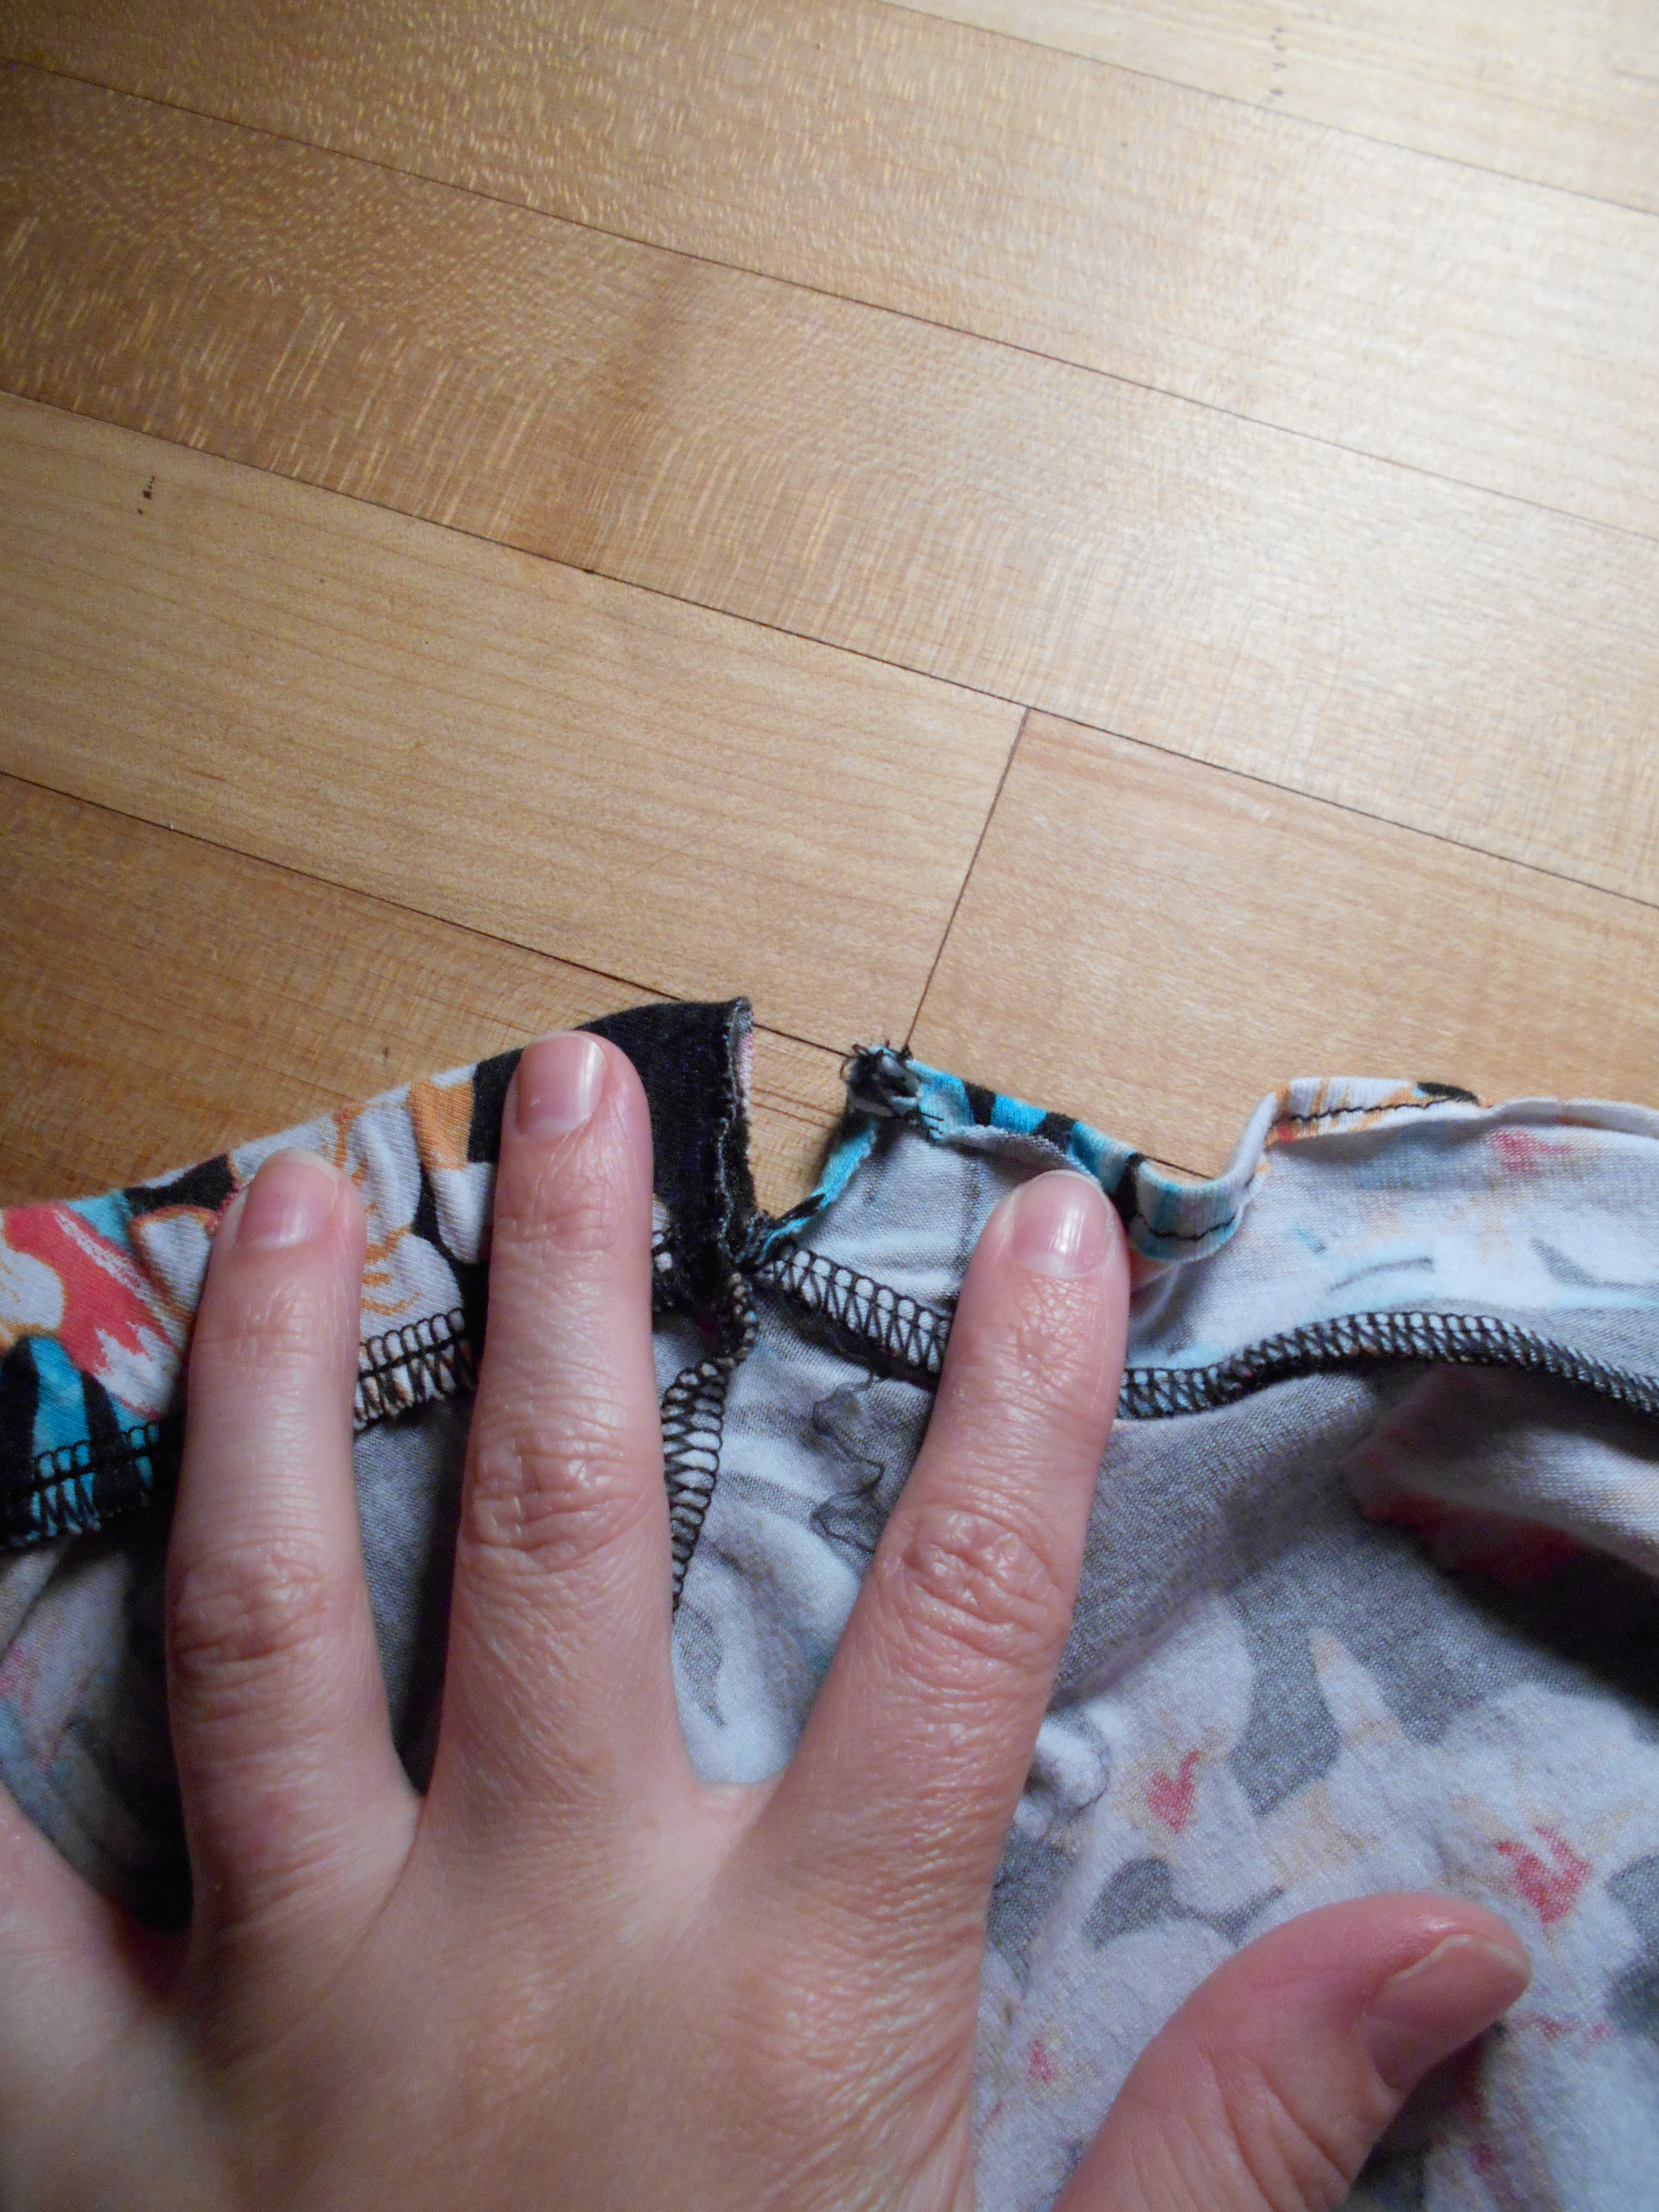
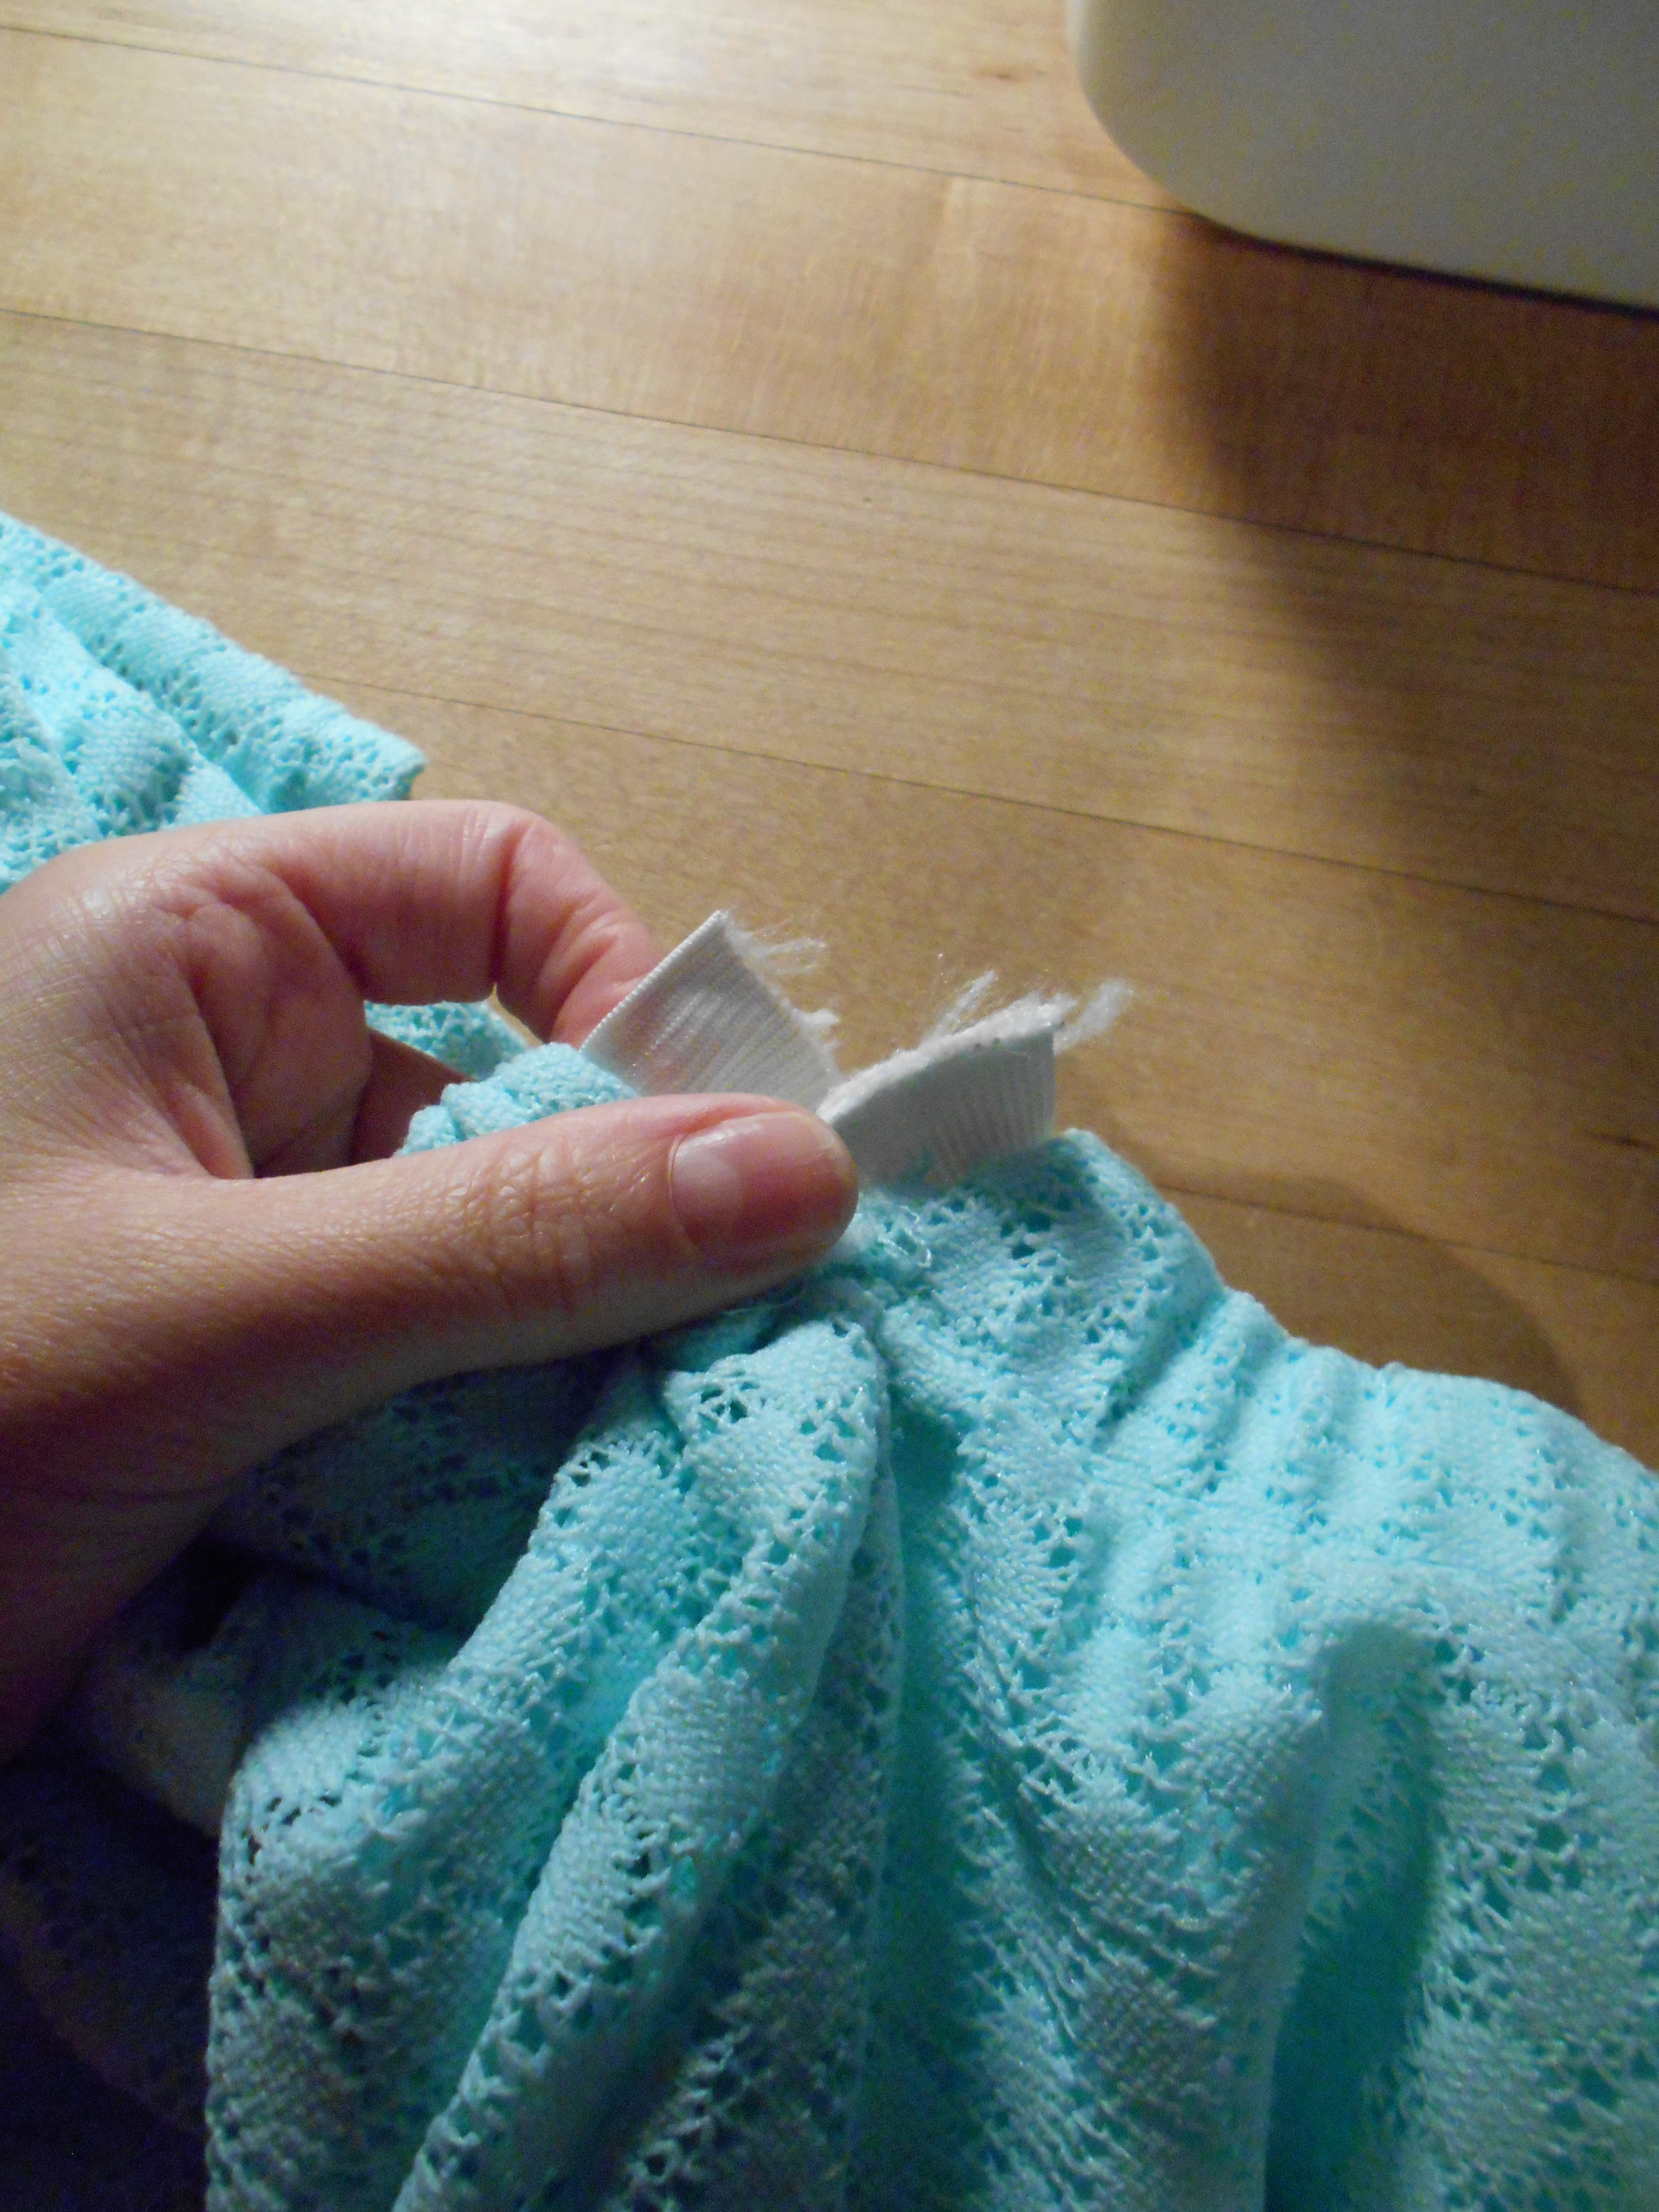
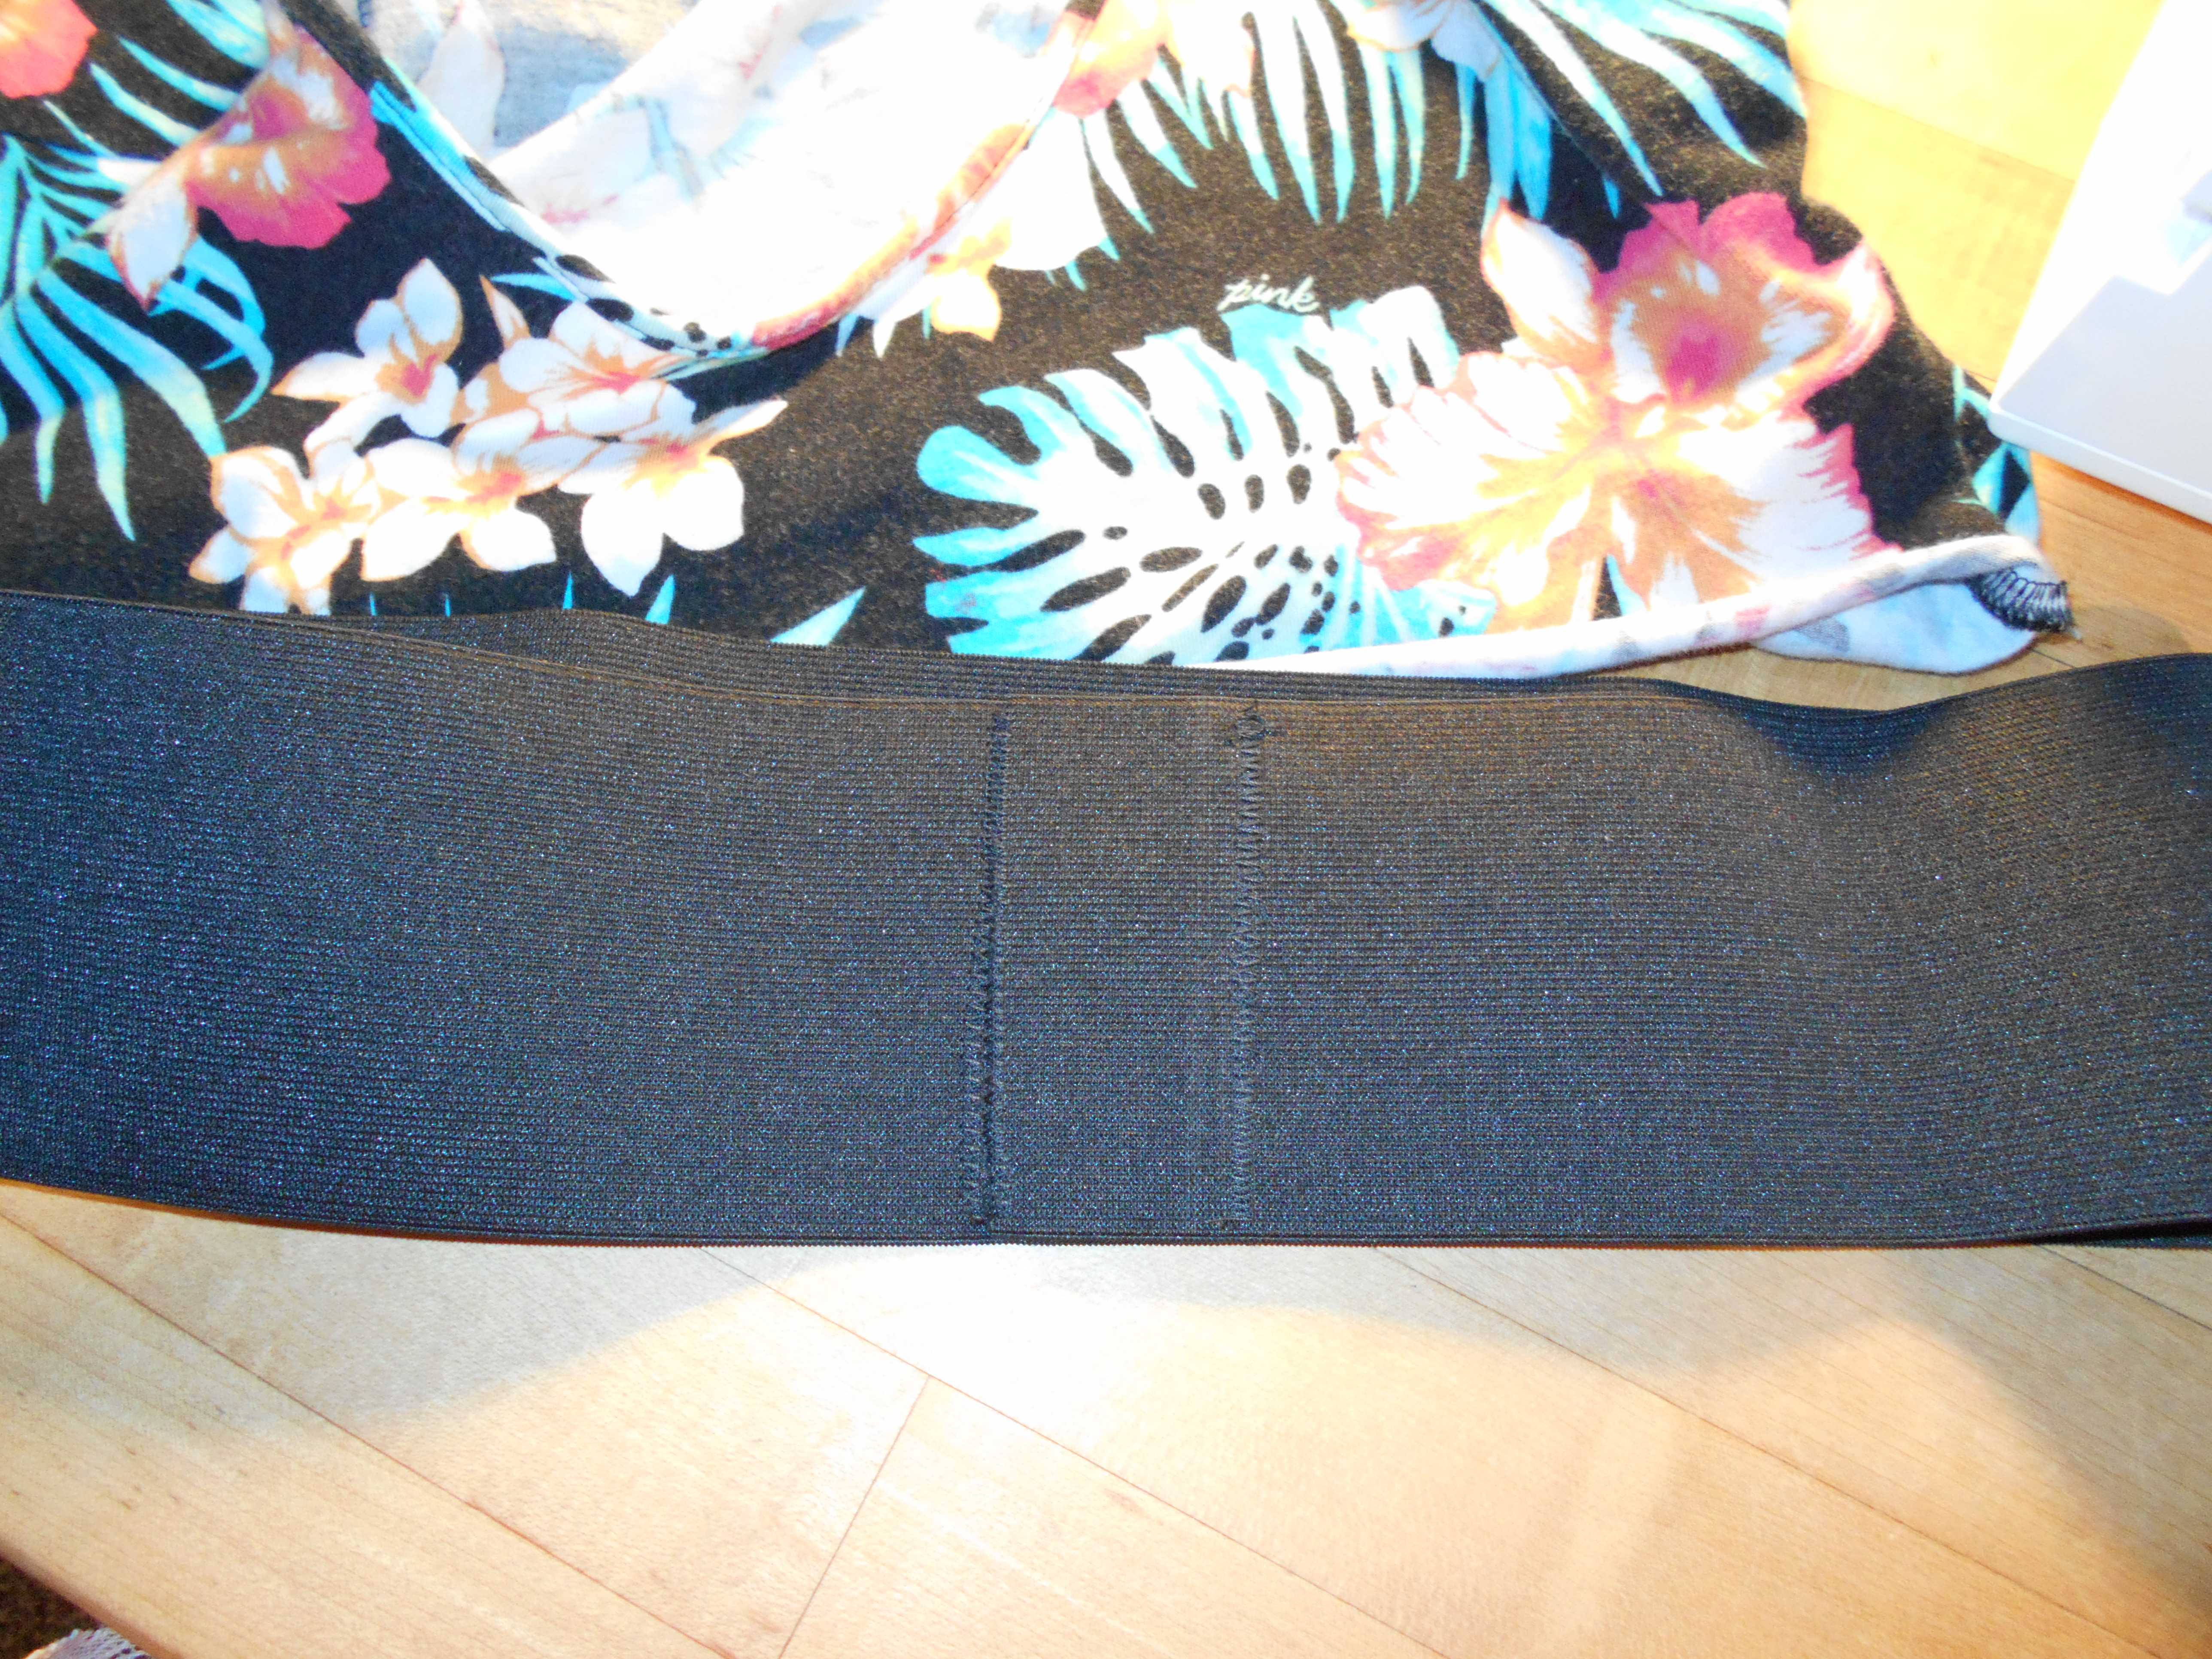
I folded over the top just enough to make a casing for 1/4 inch elastic.

DSCN0619
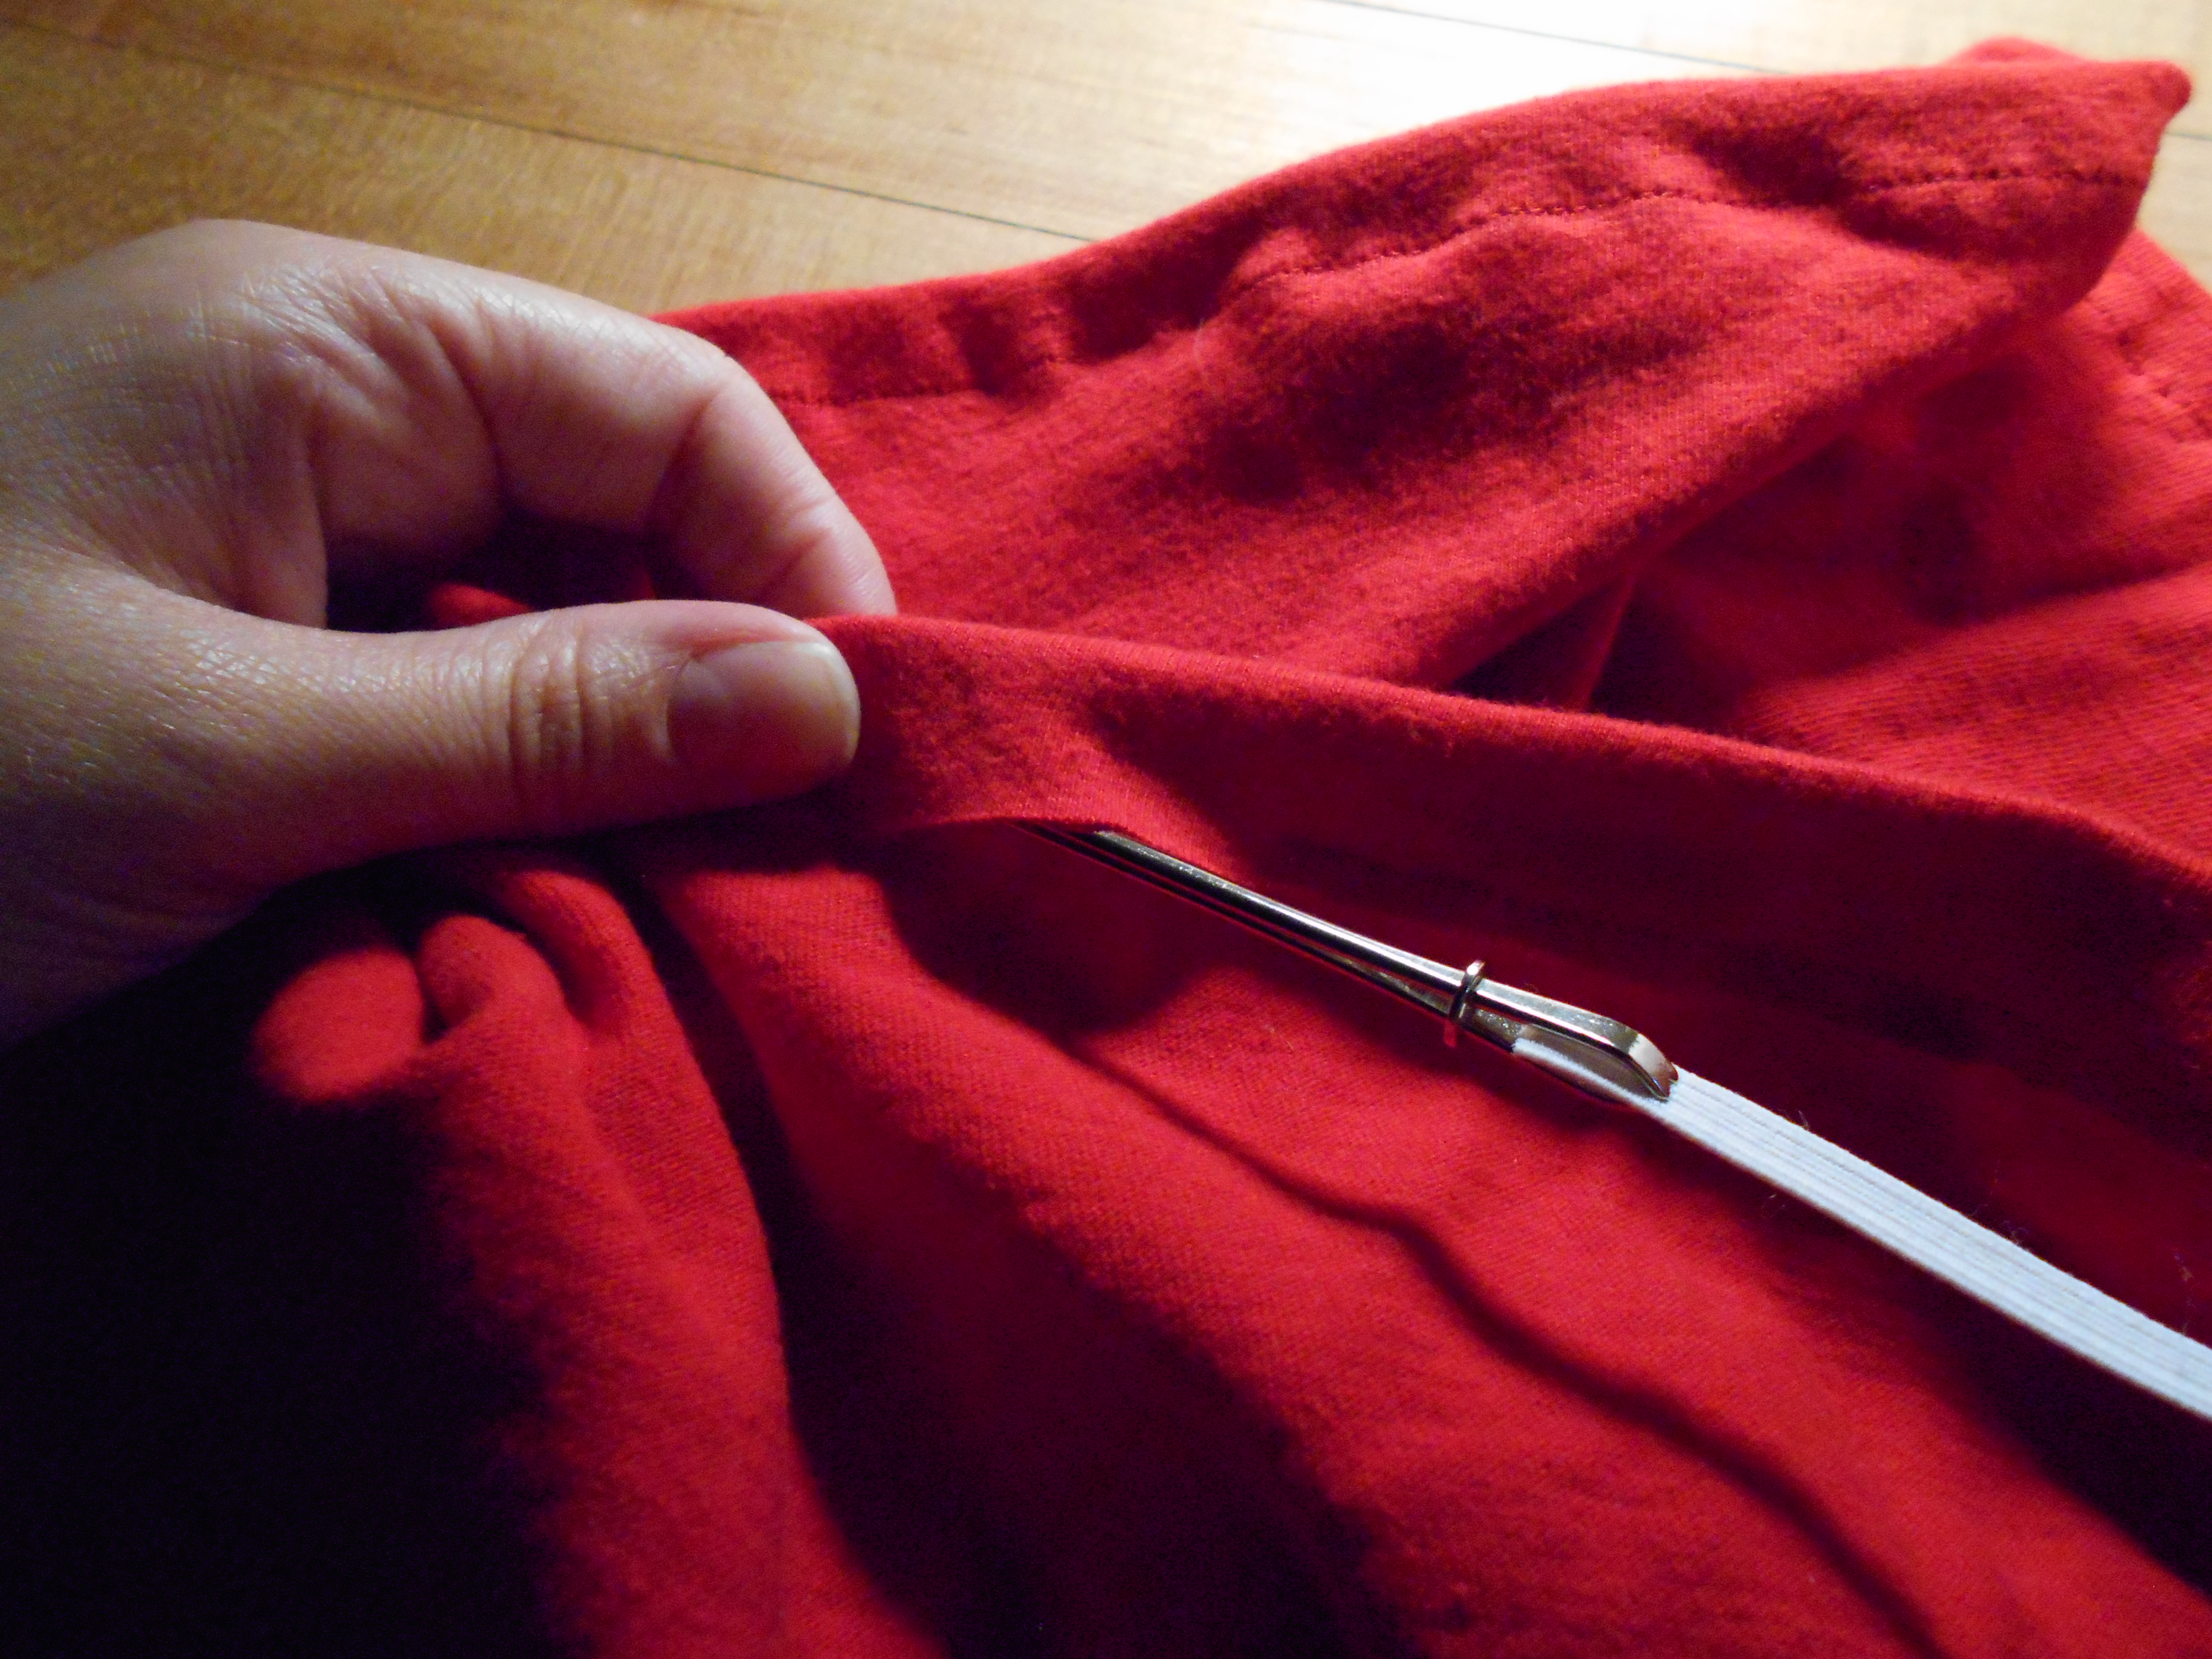
Threaded the elastic through with my bodkin.

DSCN0620
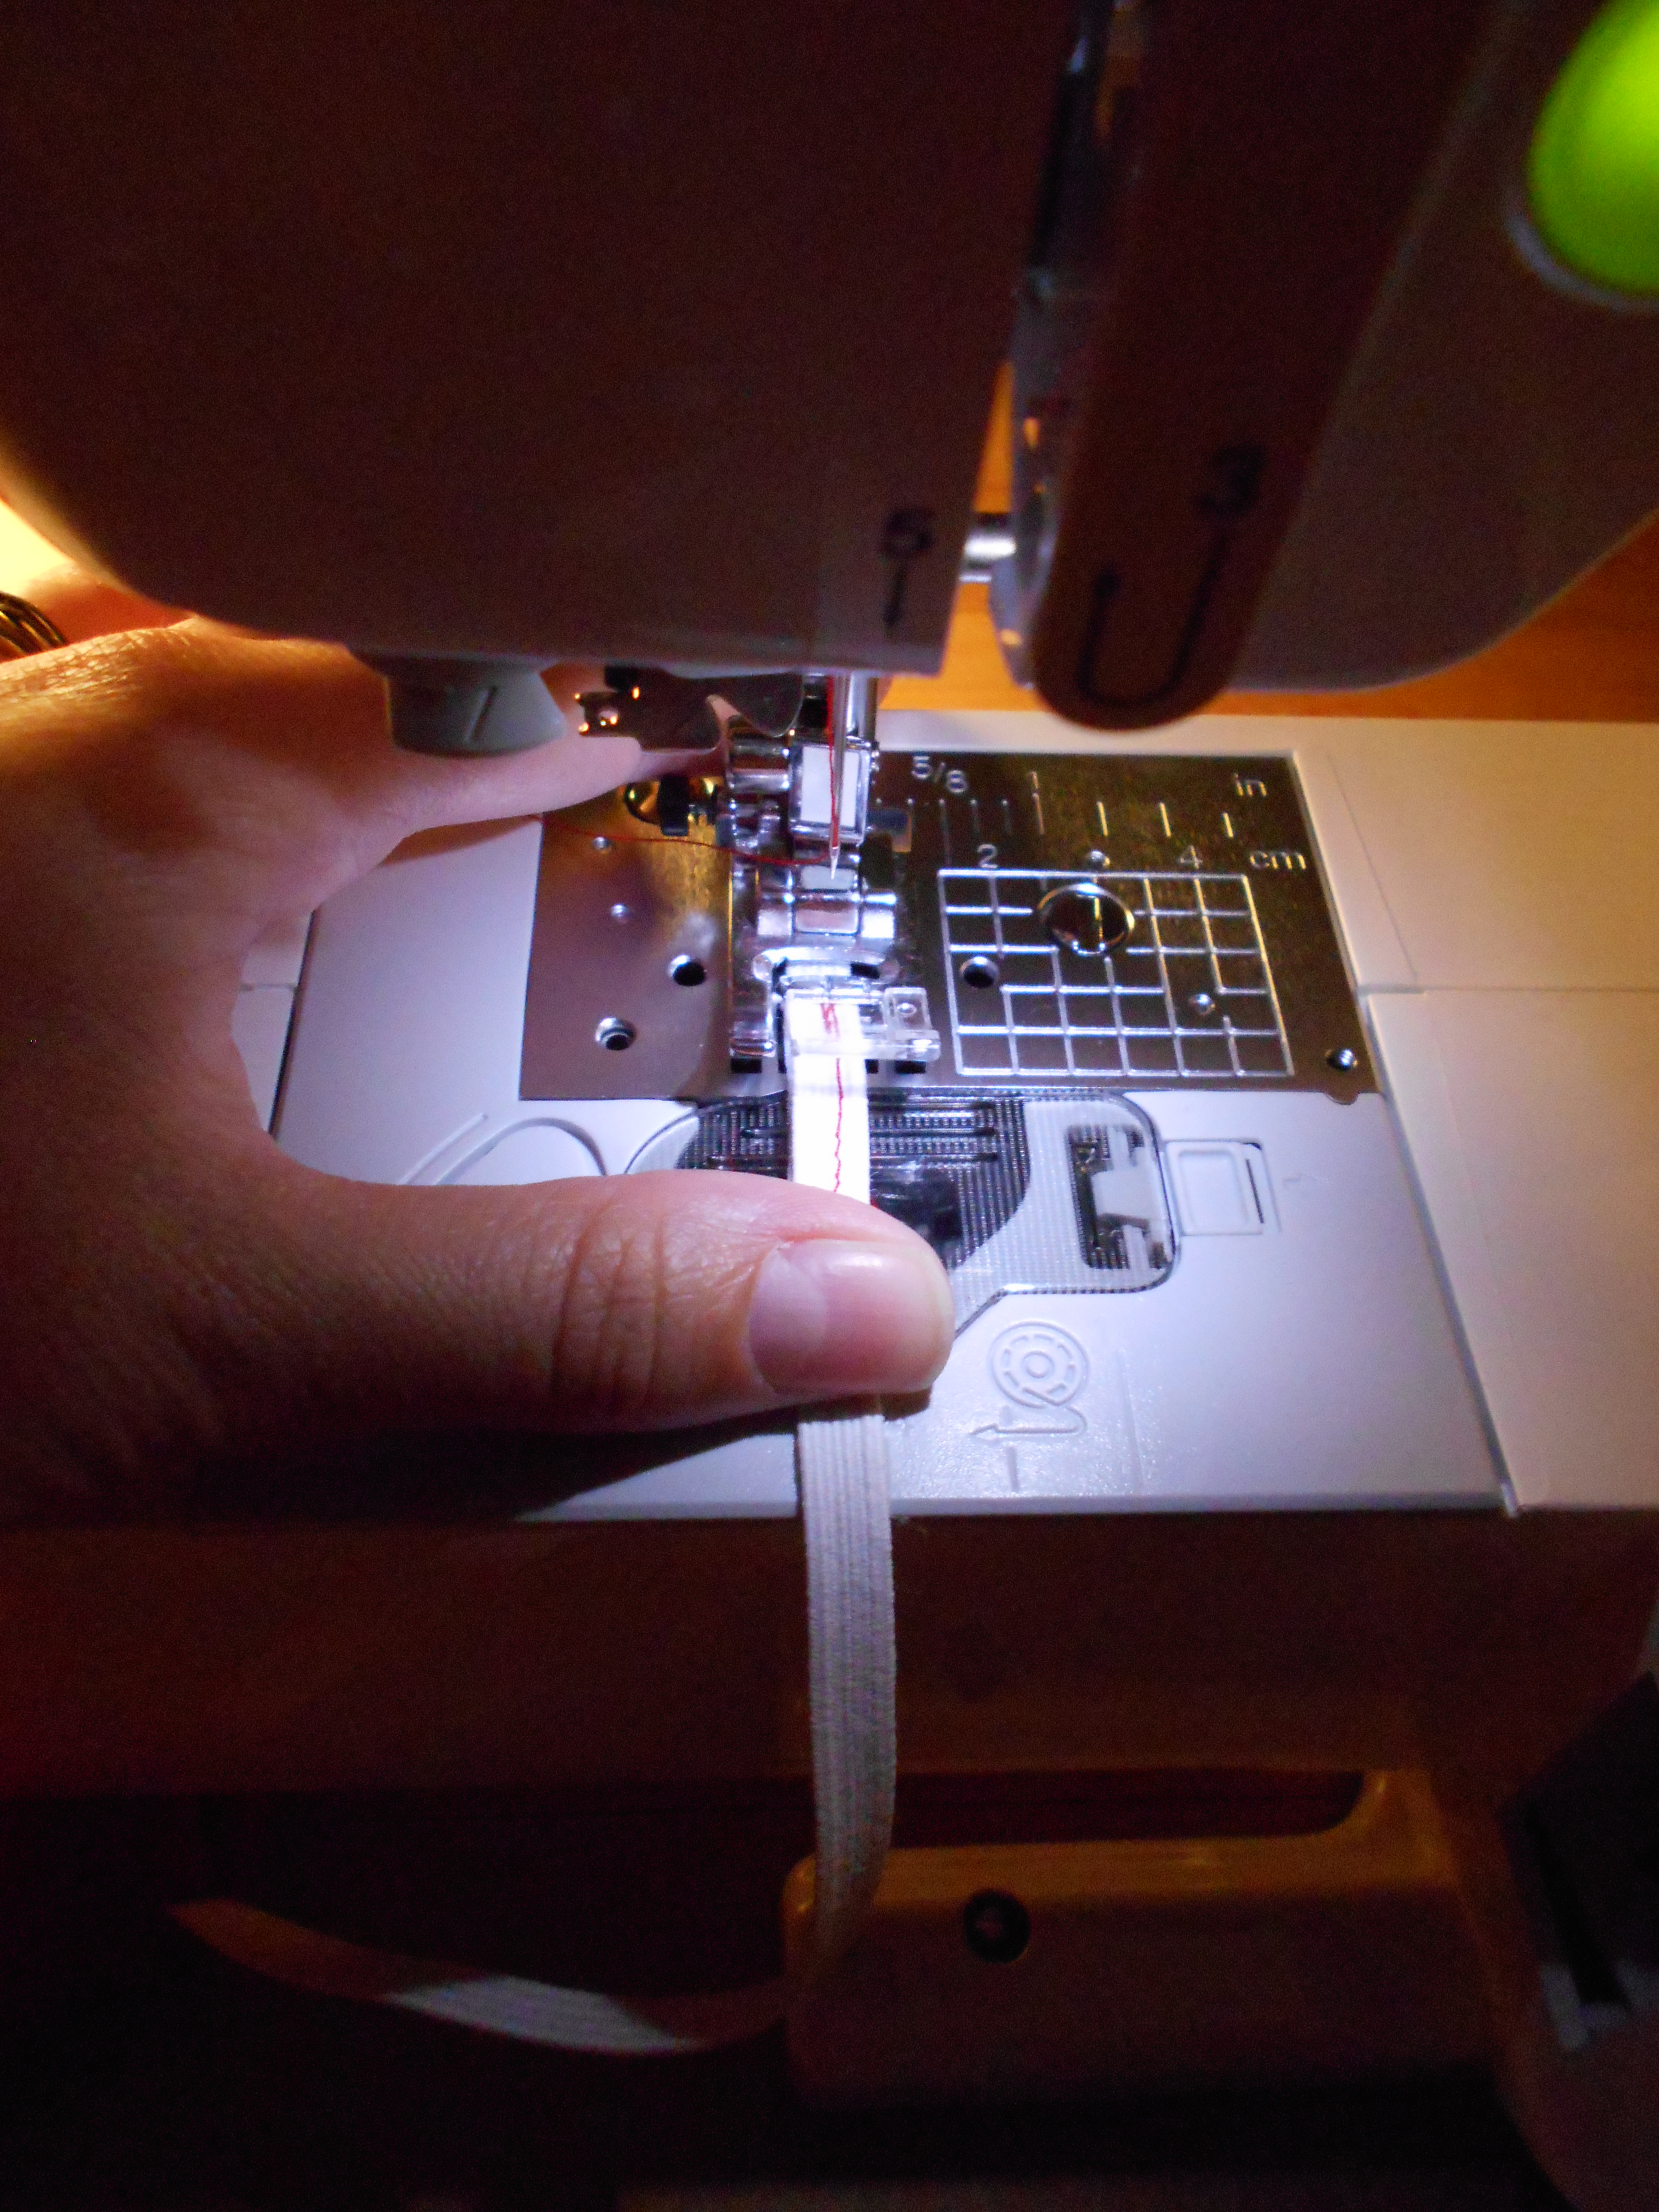
Once the elastic waistband was through the casing I stitched the elastic ends together.

DSCN1669
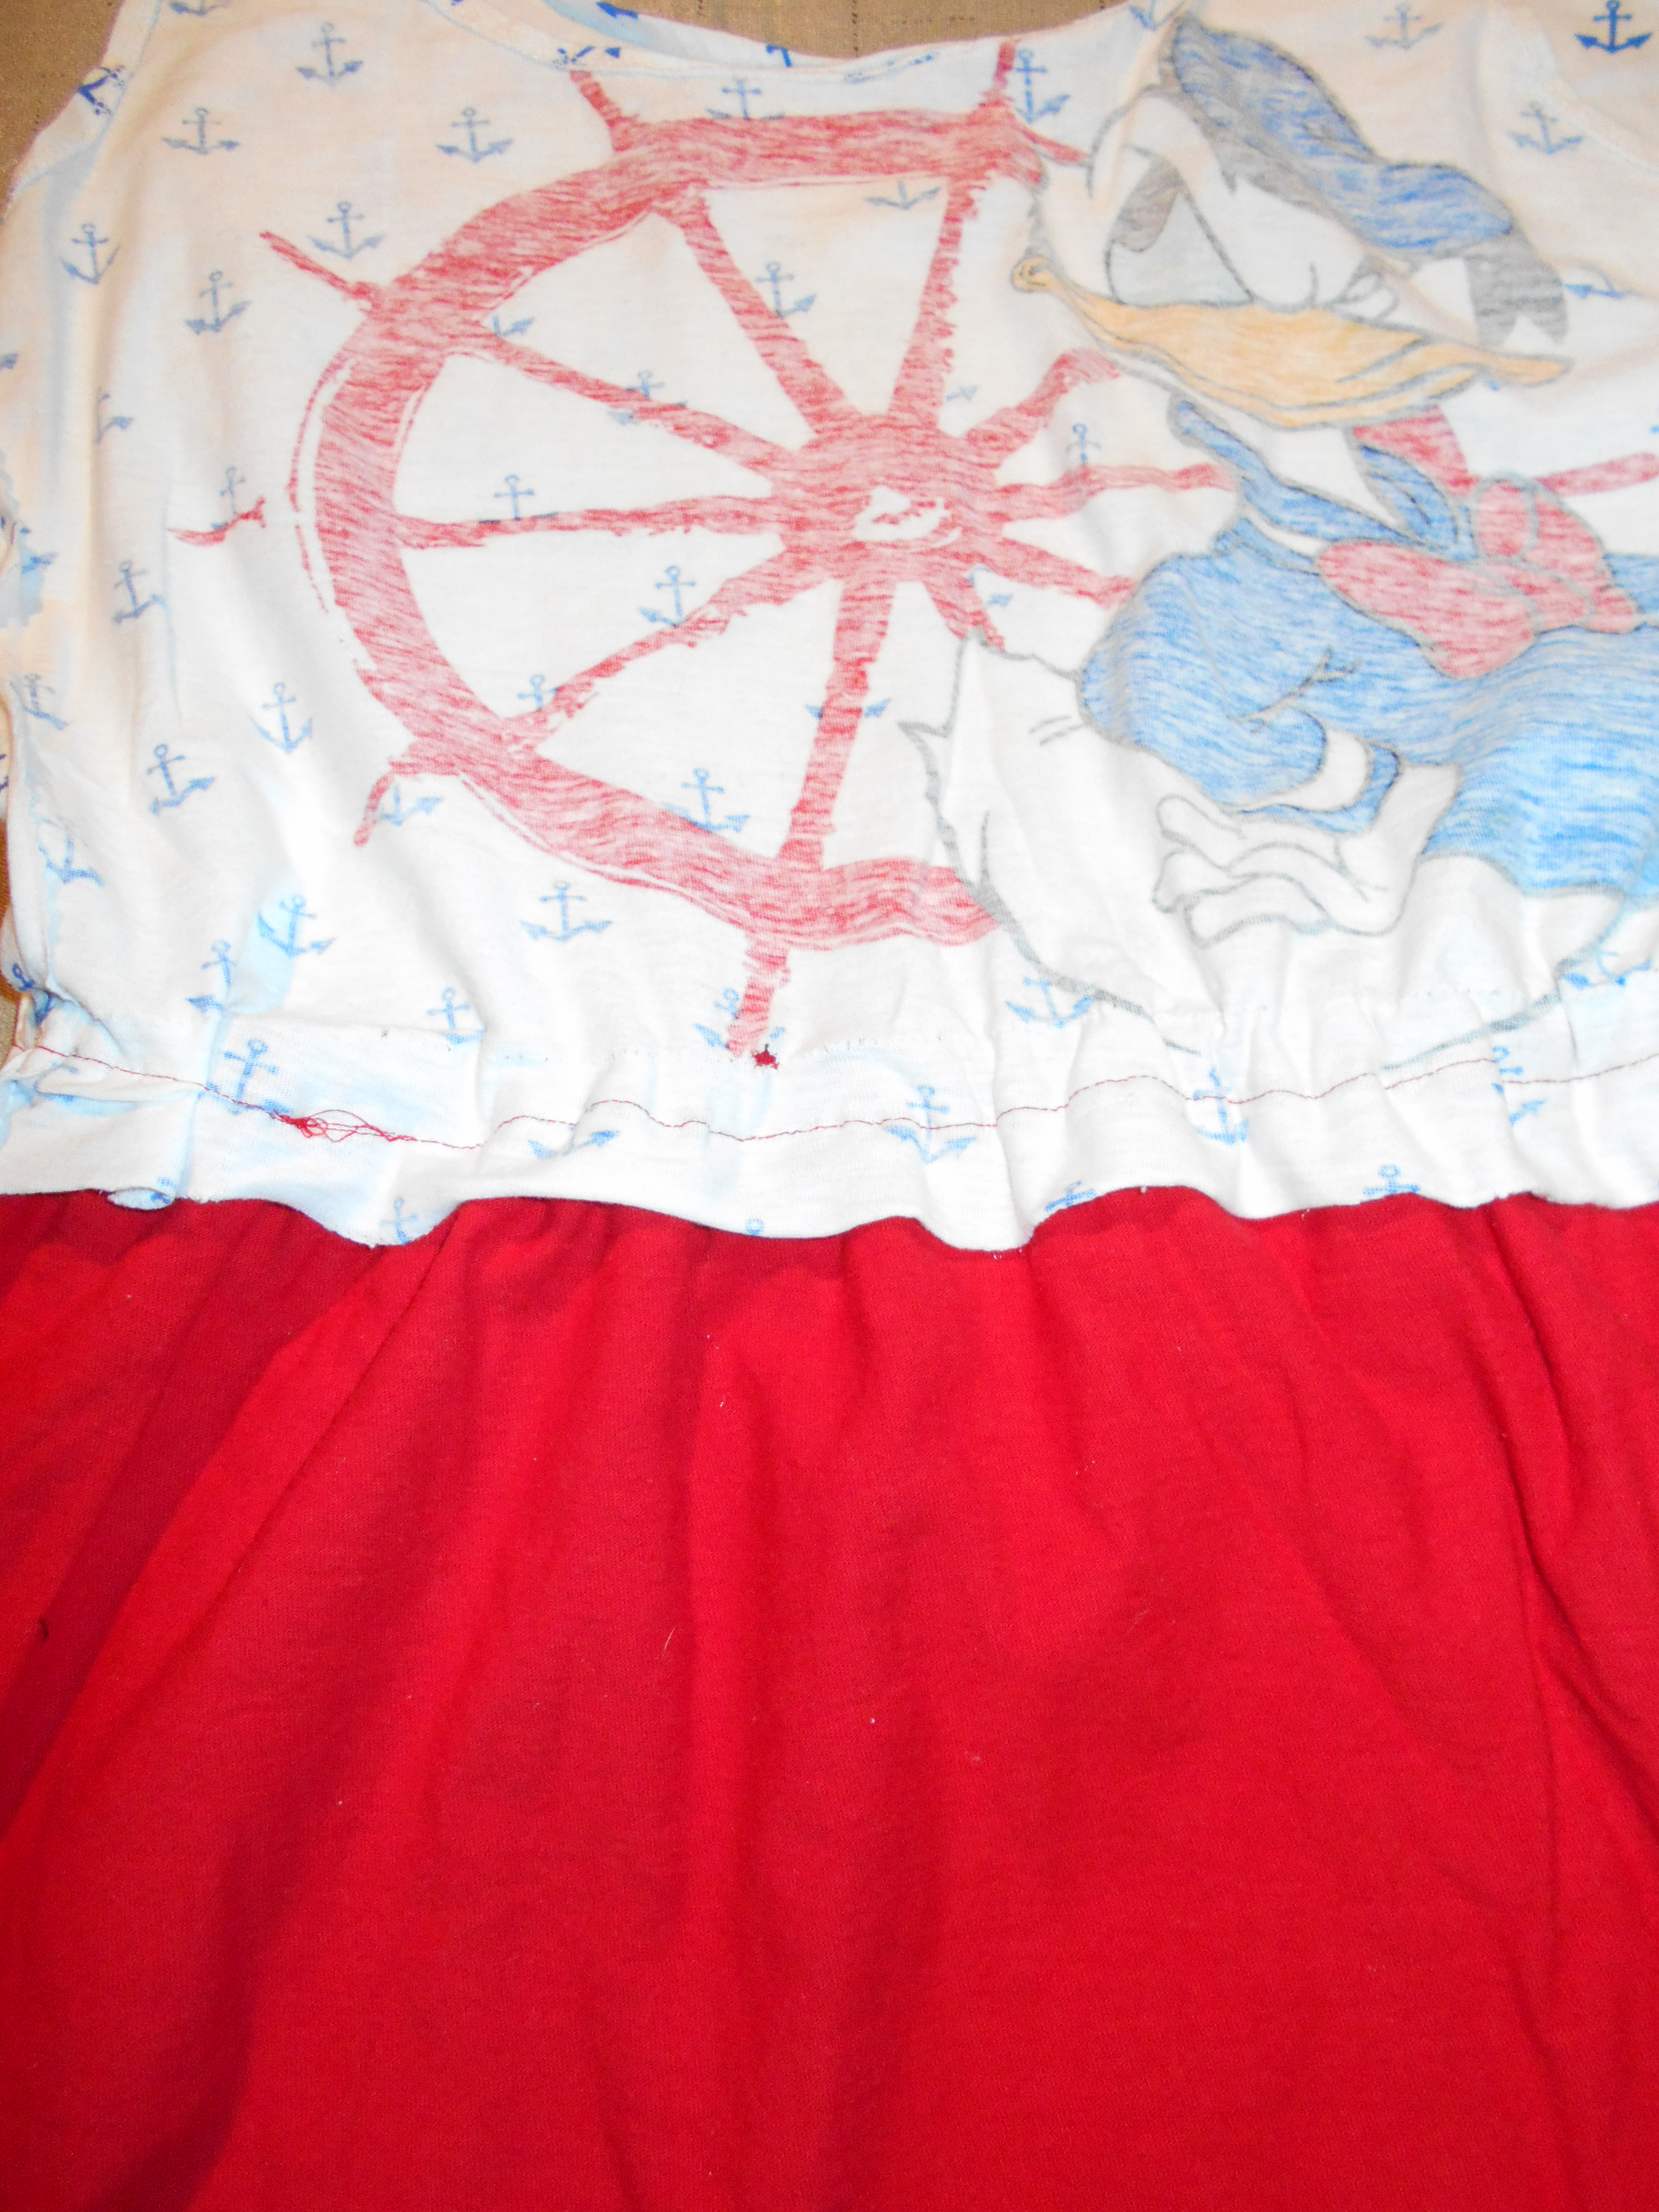
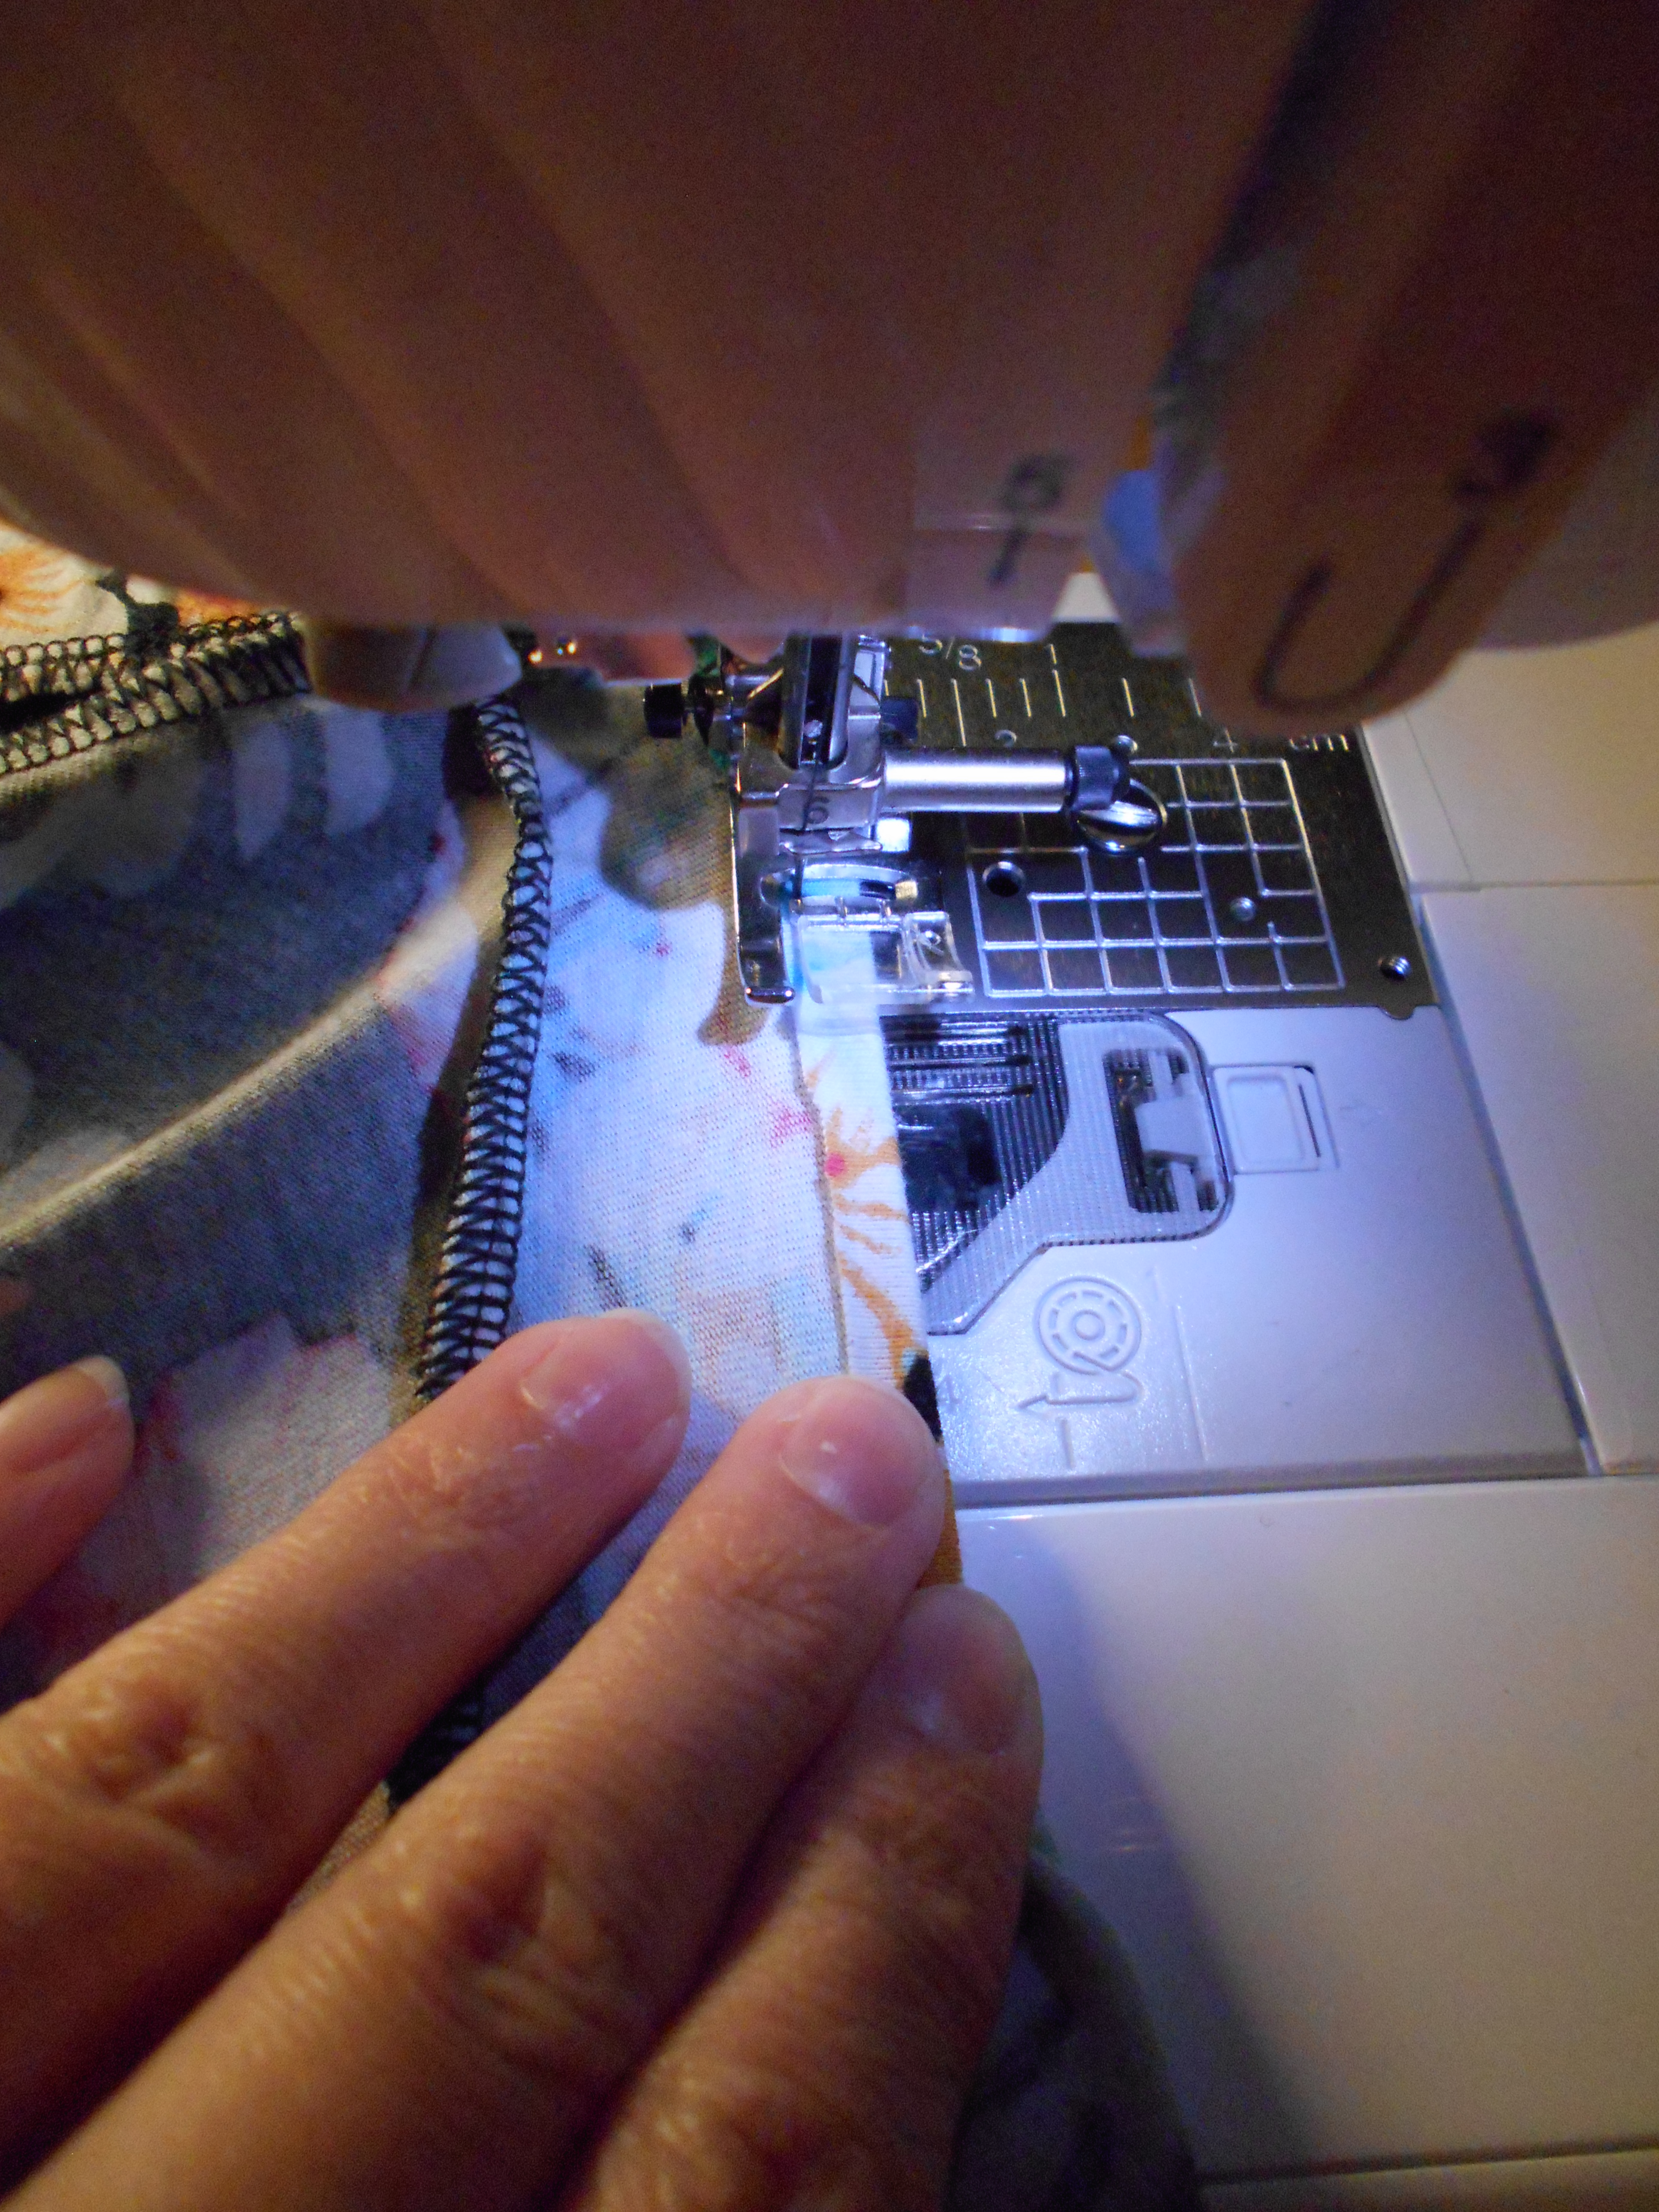
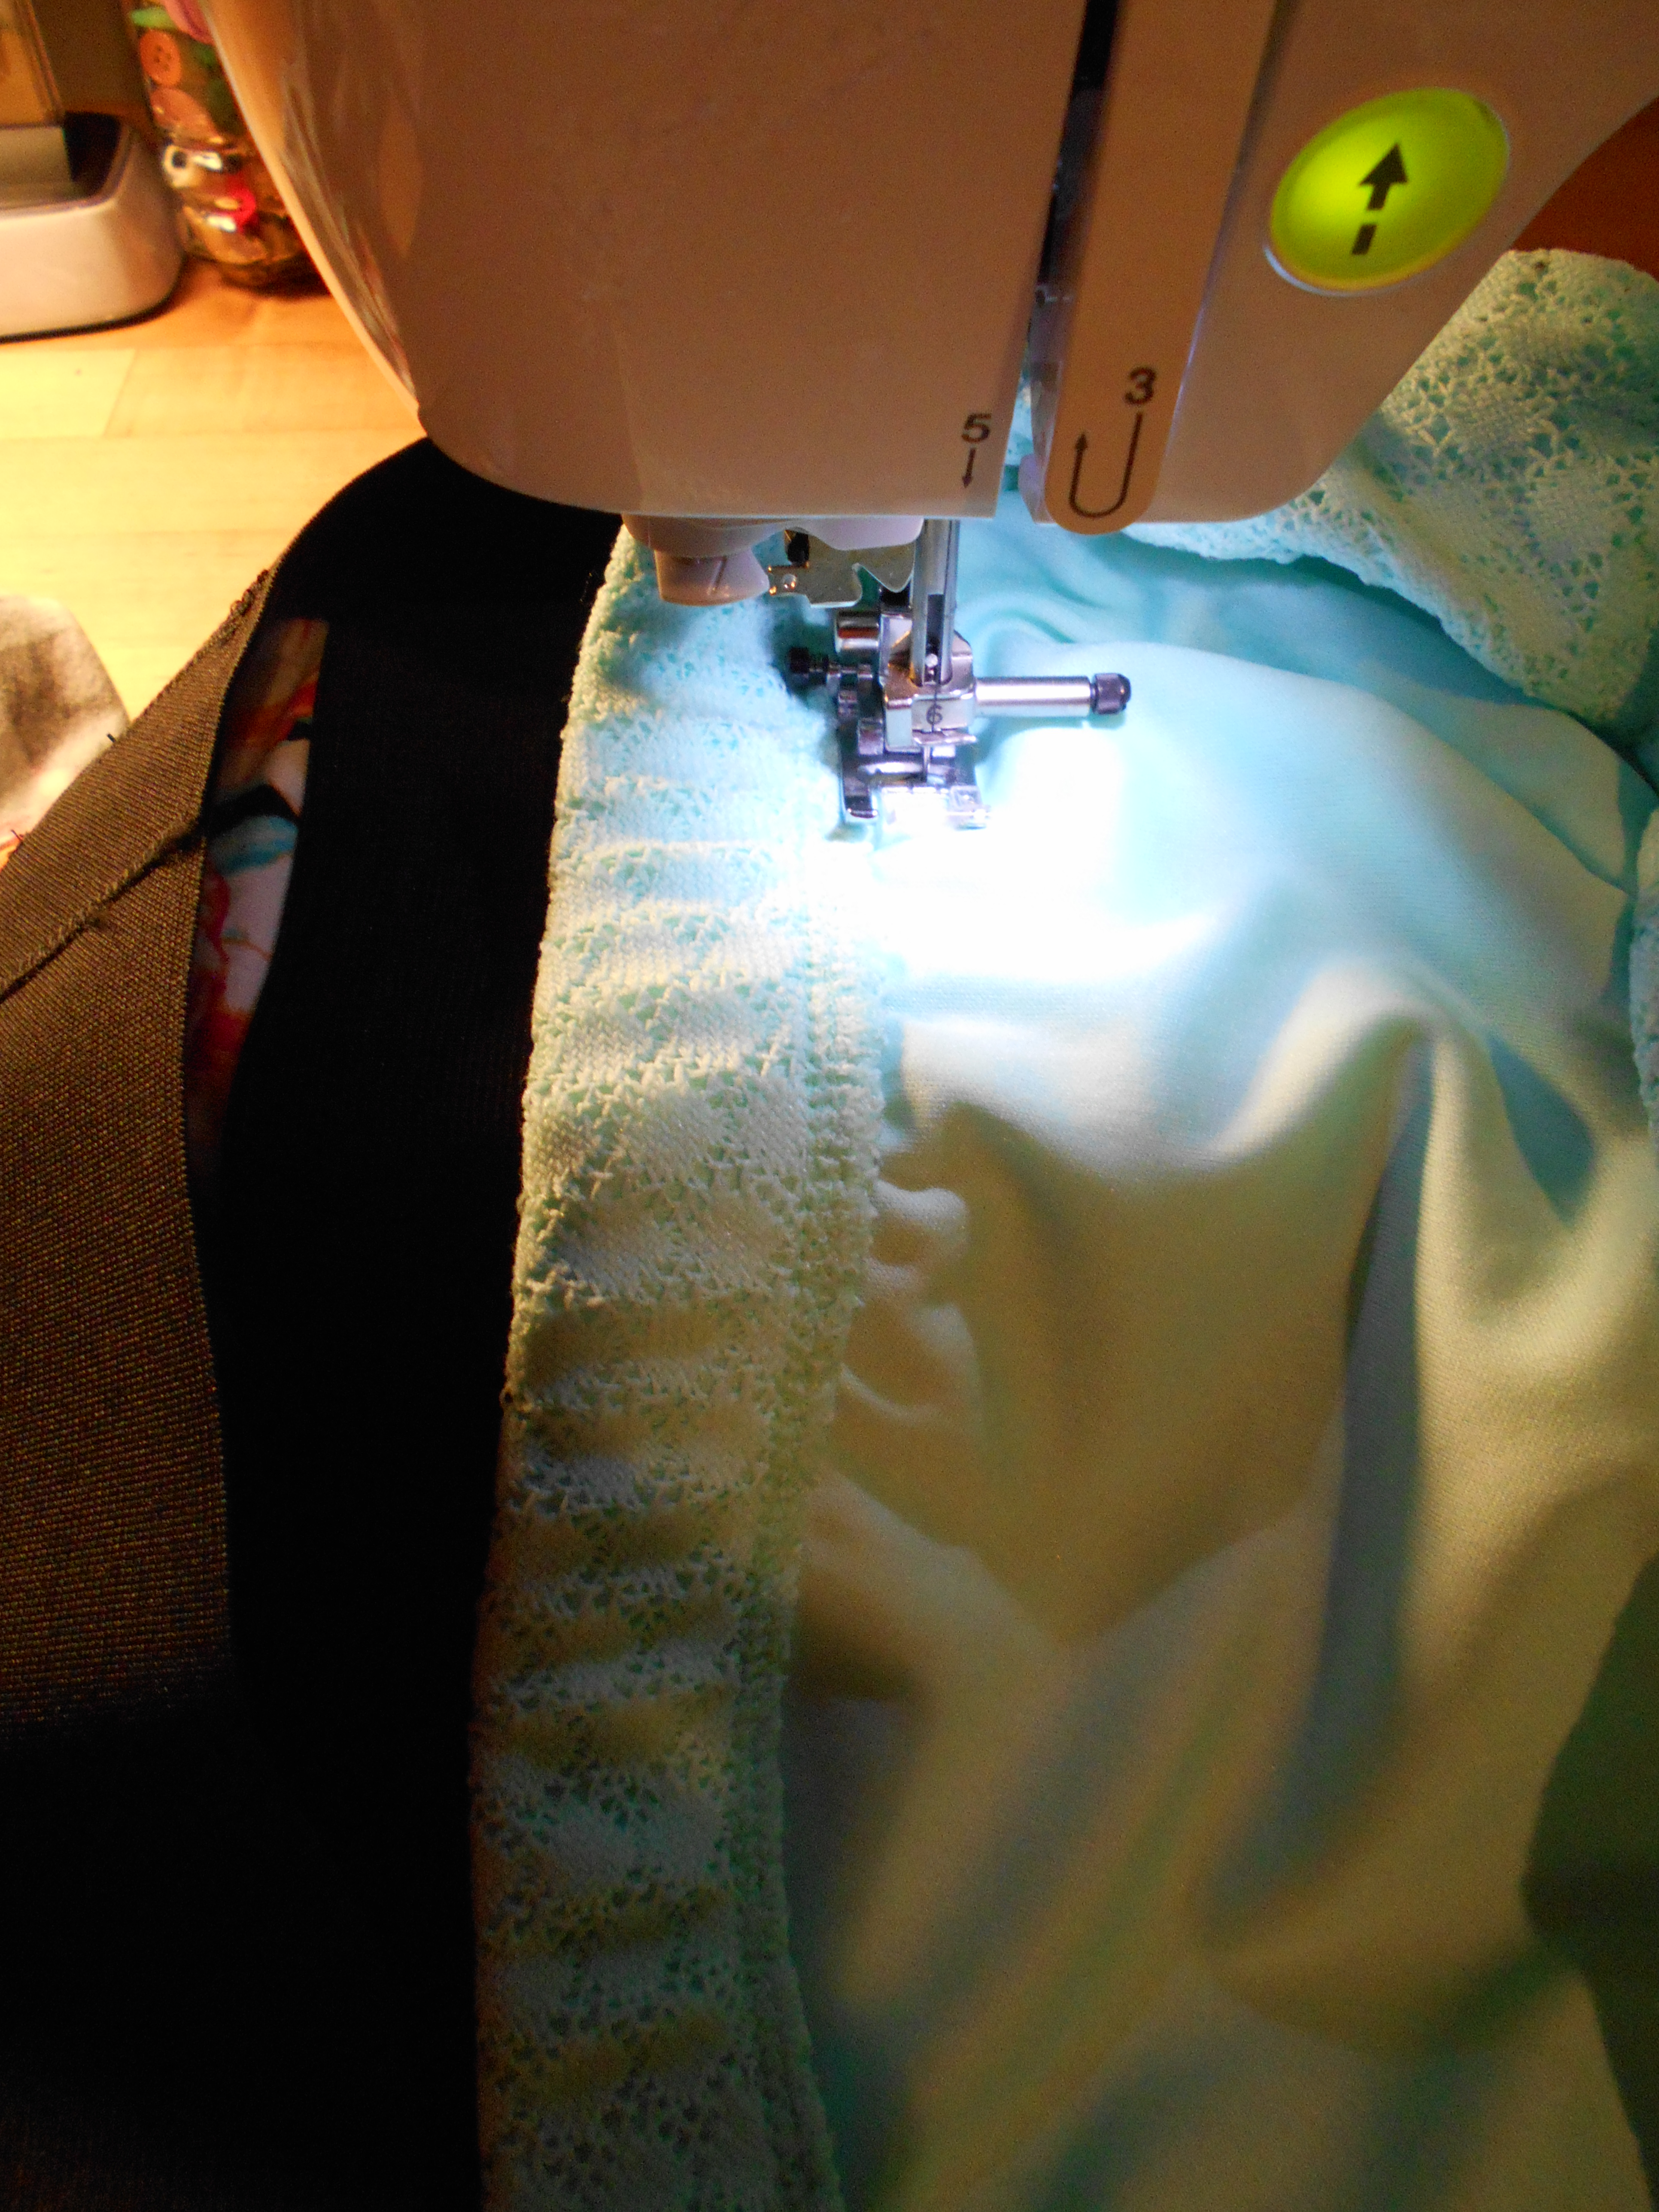
Then I stitched the crop top to the skirt I just made.

DSCN1670
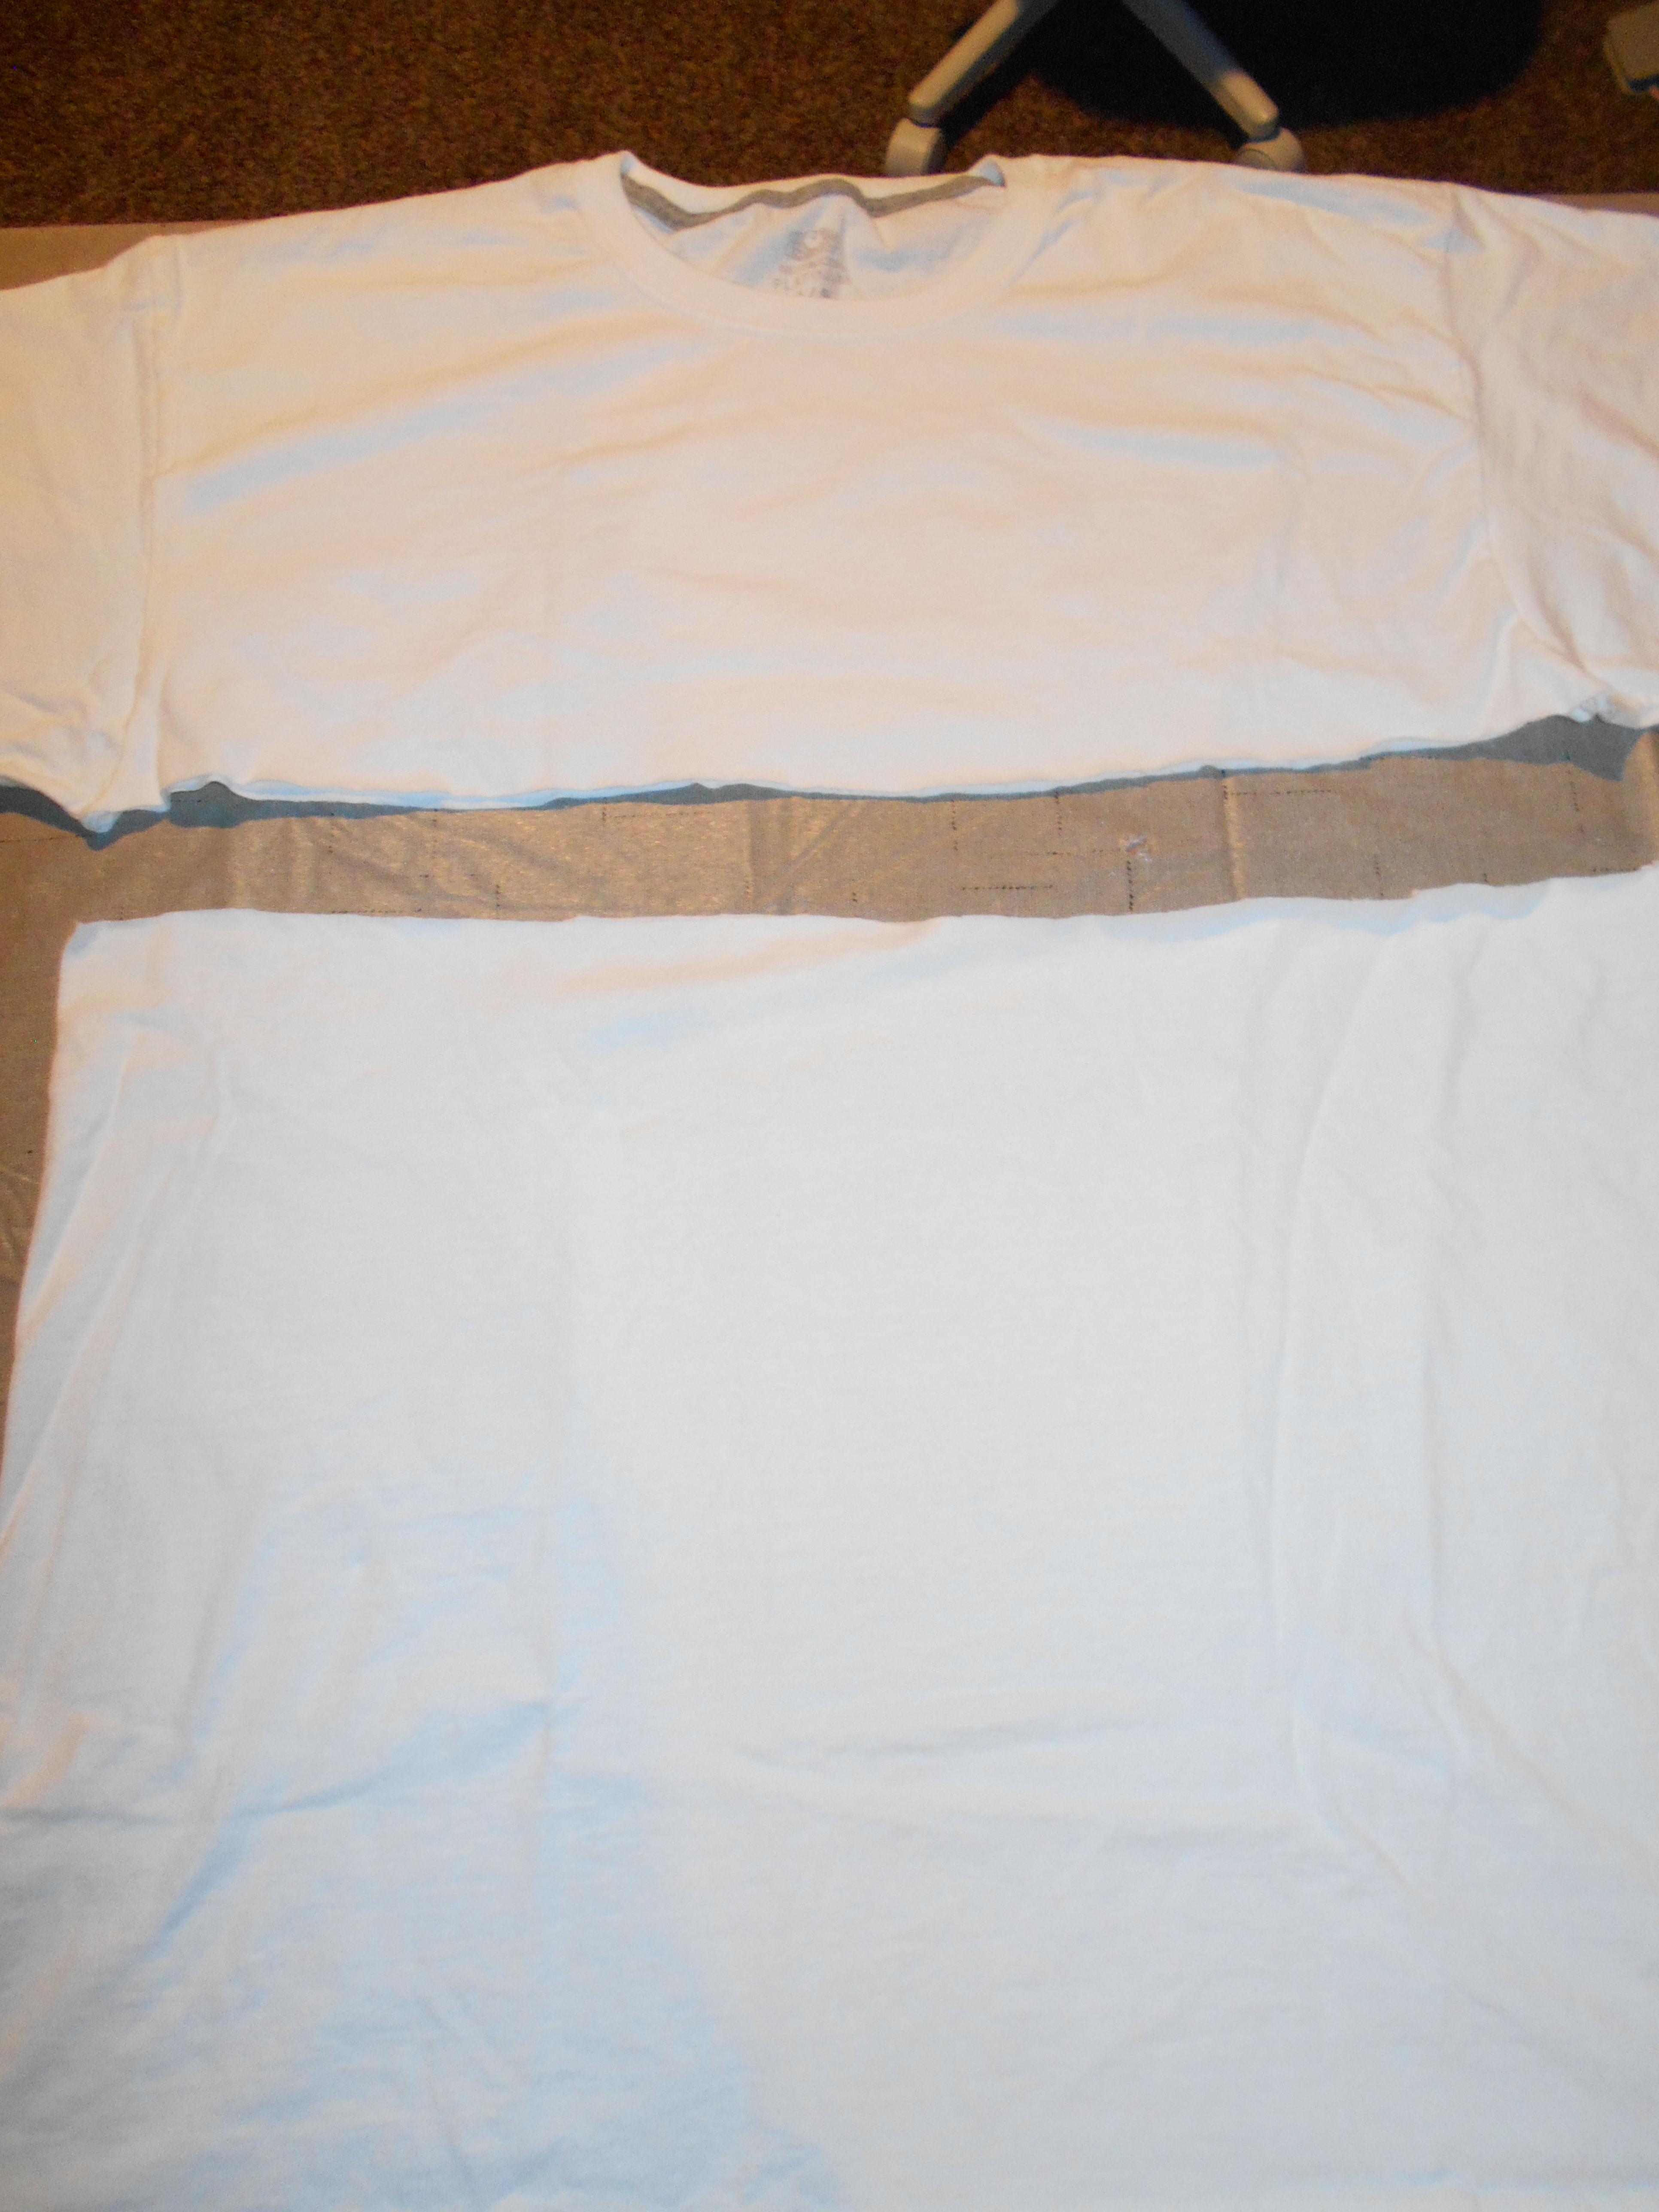
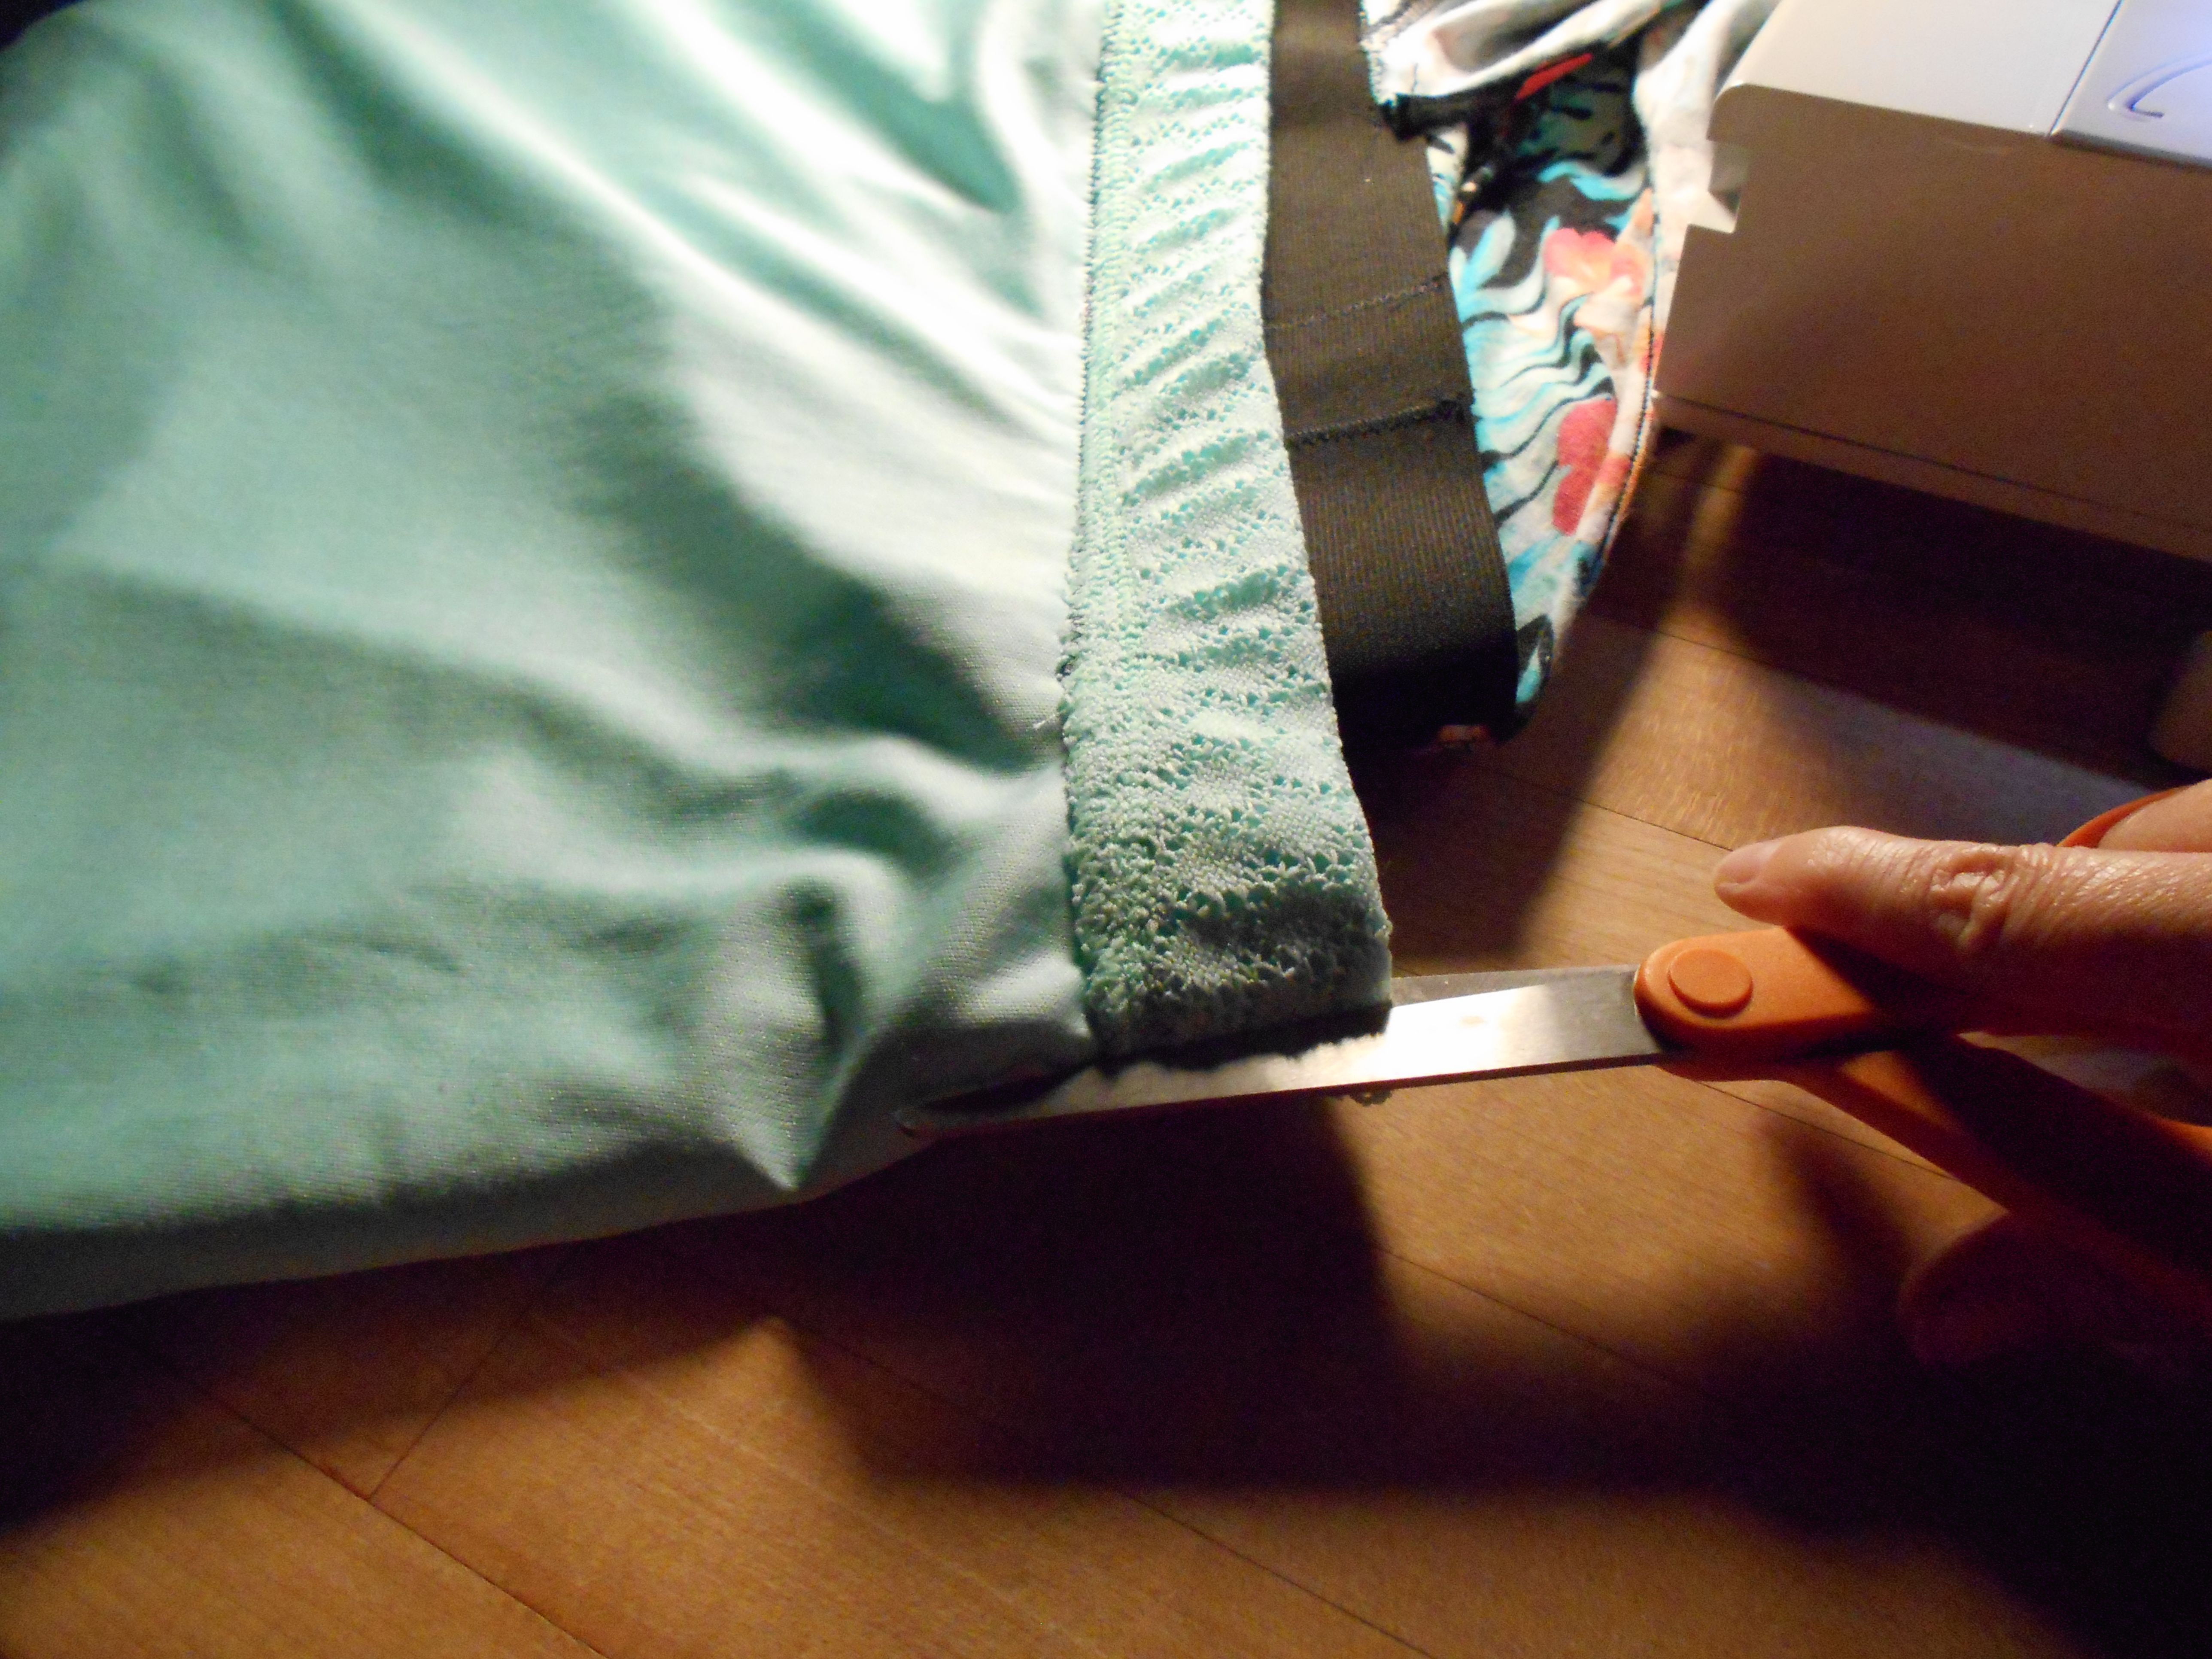
Once both pieces were stitched together I noticed that it became a very short dress. I fixed this by adding some material from a white men's t-shirt. I cut just below the sleeves.

DSCN1671
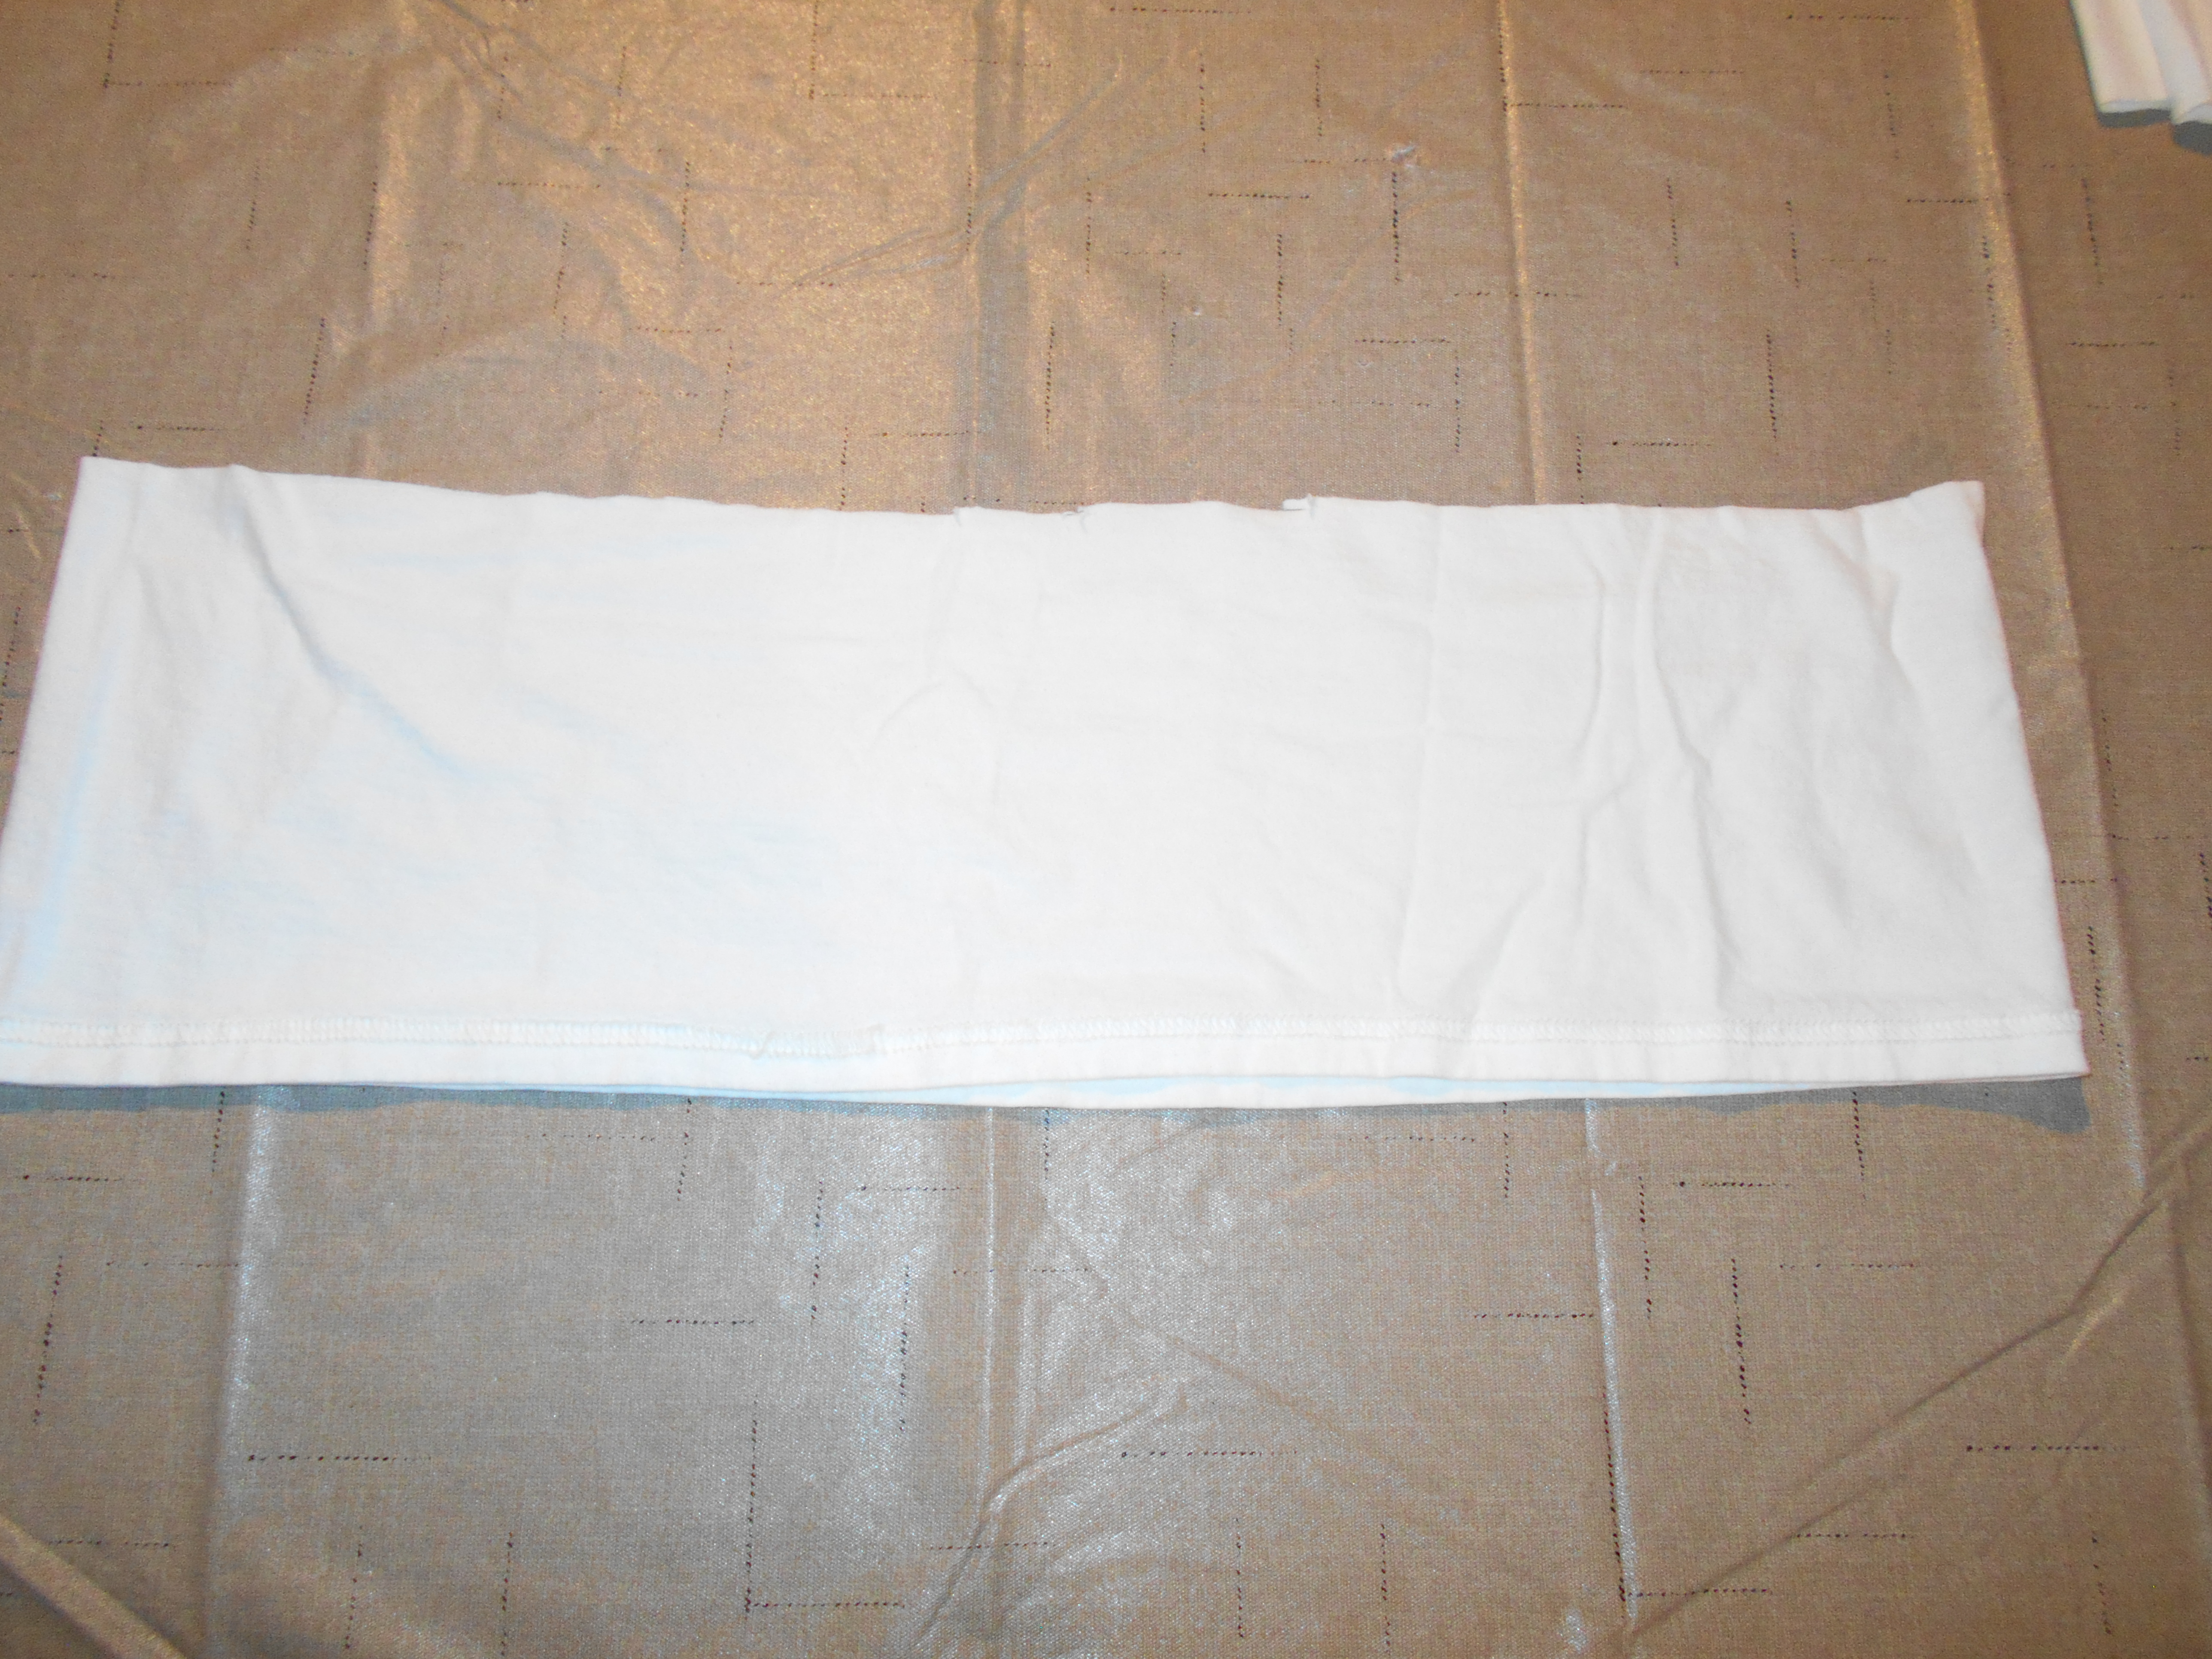
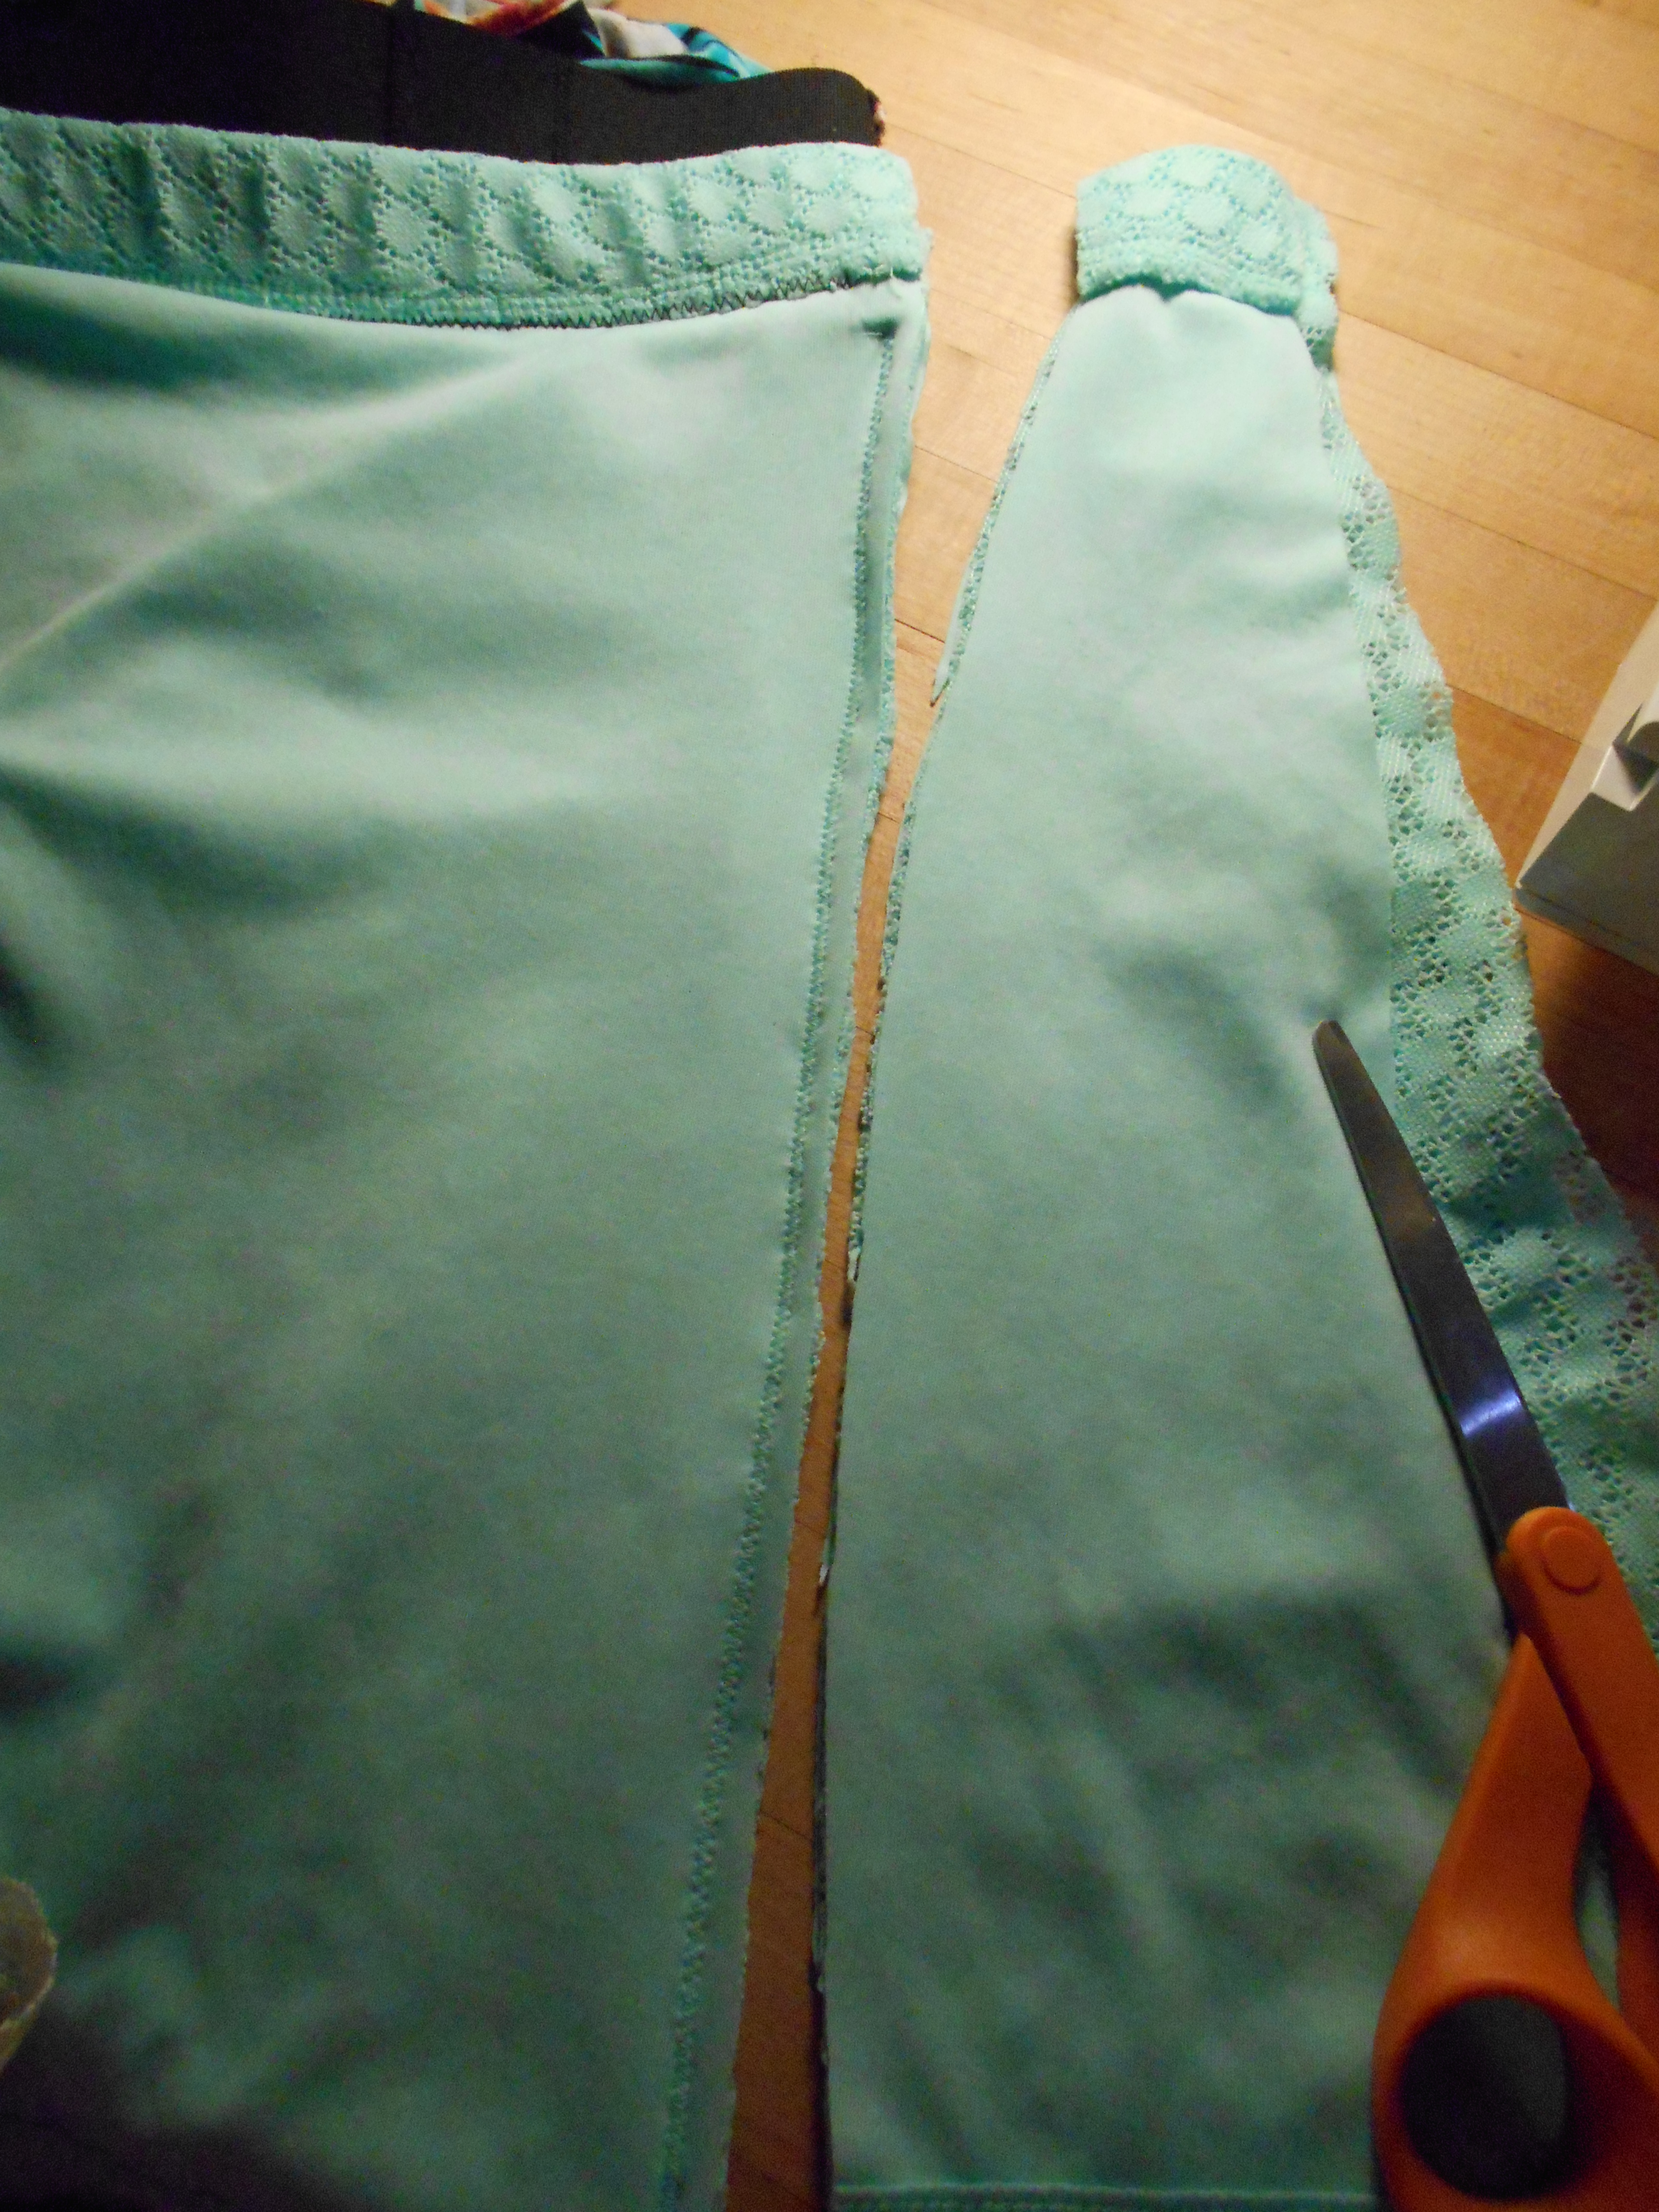
I trimmed that piece down to 5 inches and kept the original t-shirt hem. Which worked well because I would not have to hem it again!

DSCN1672
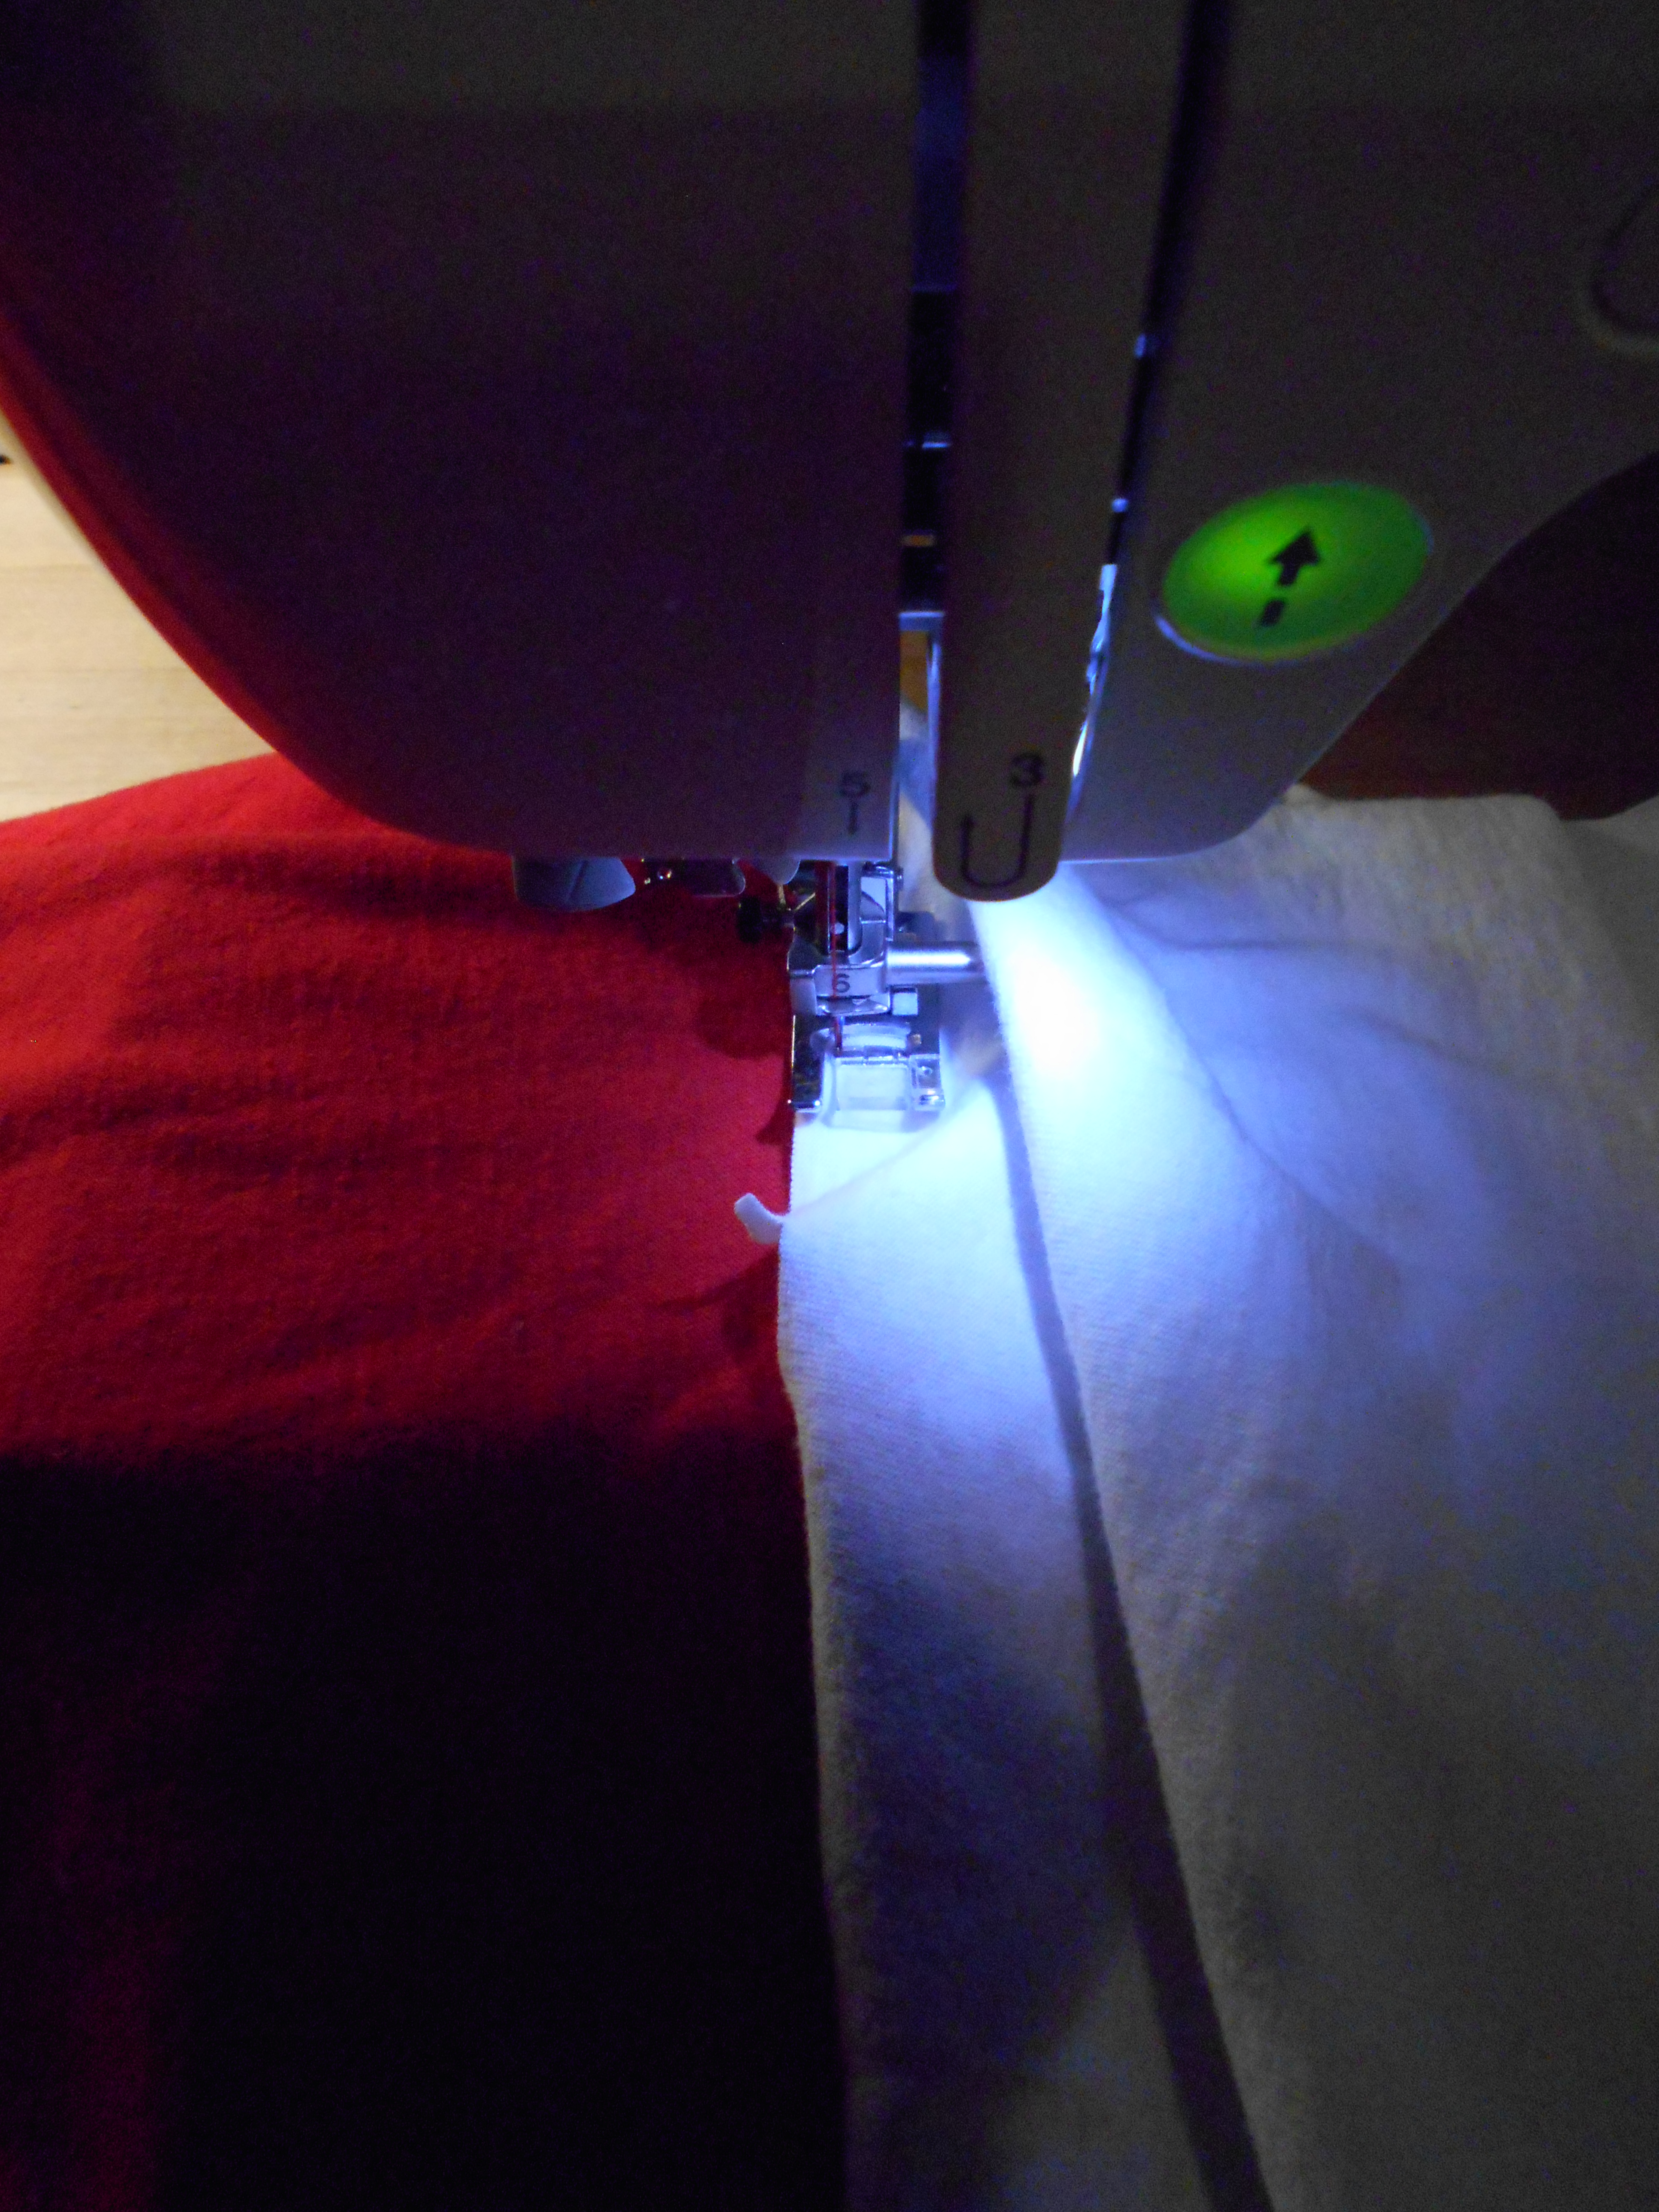
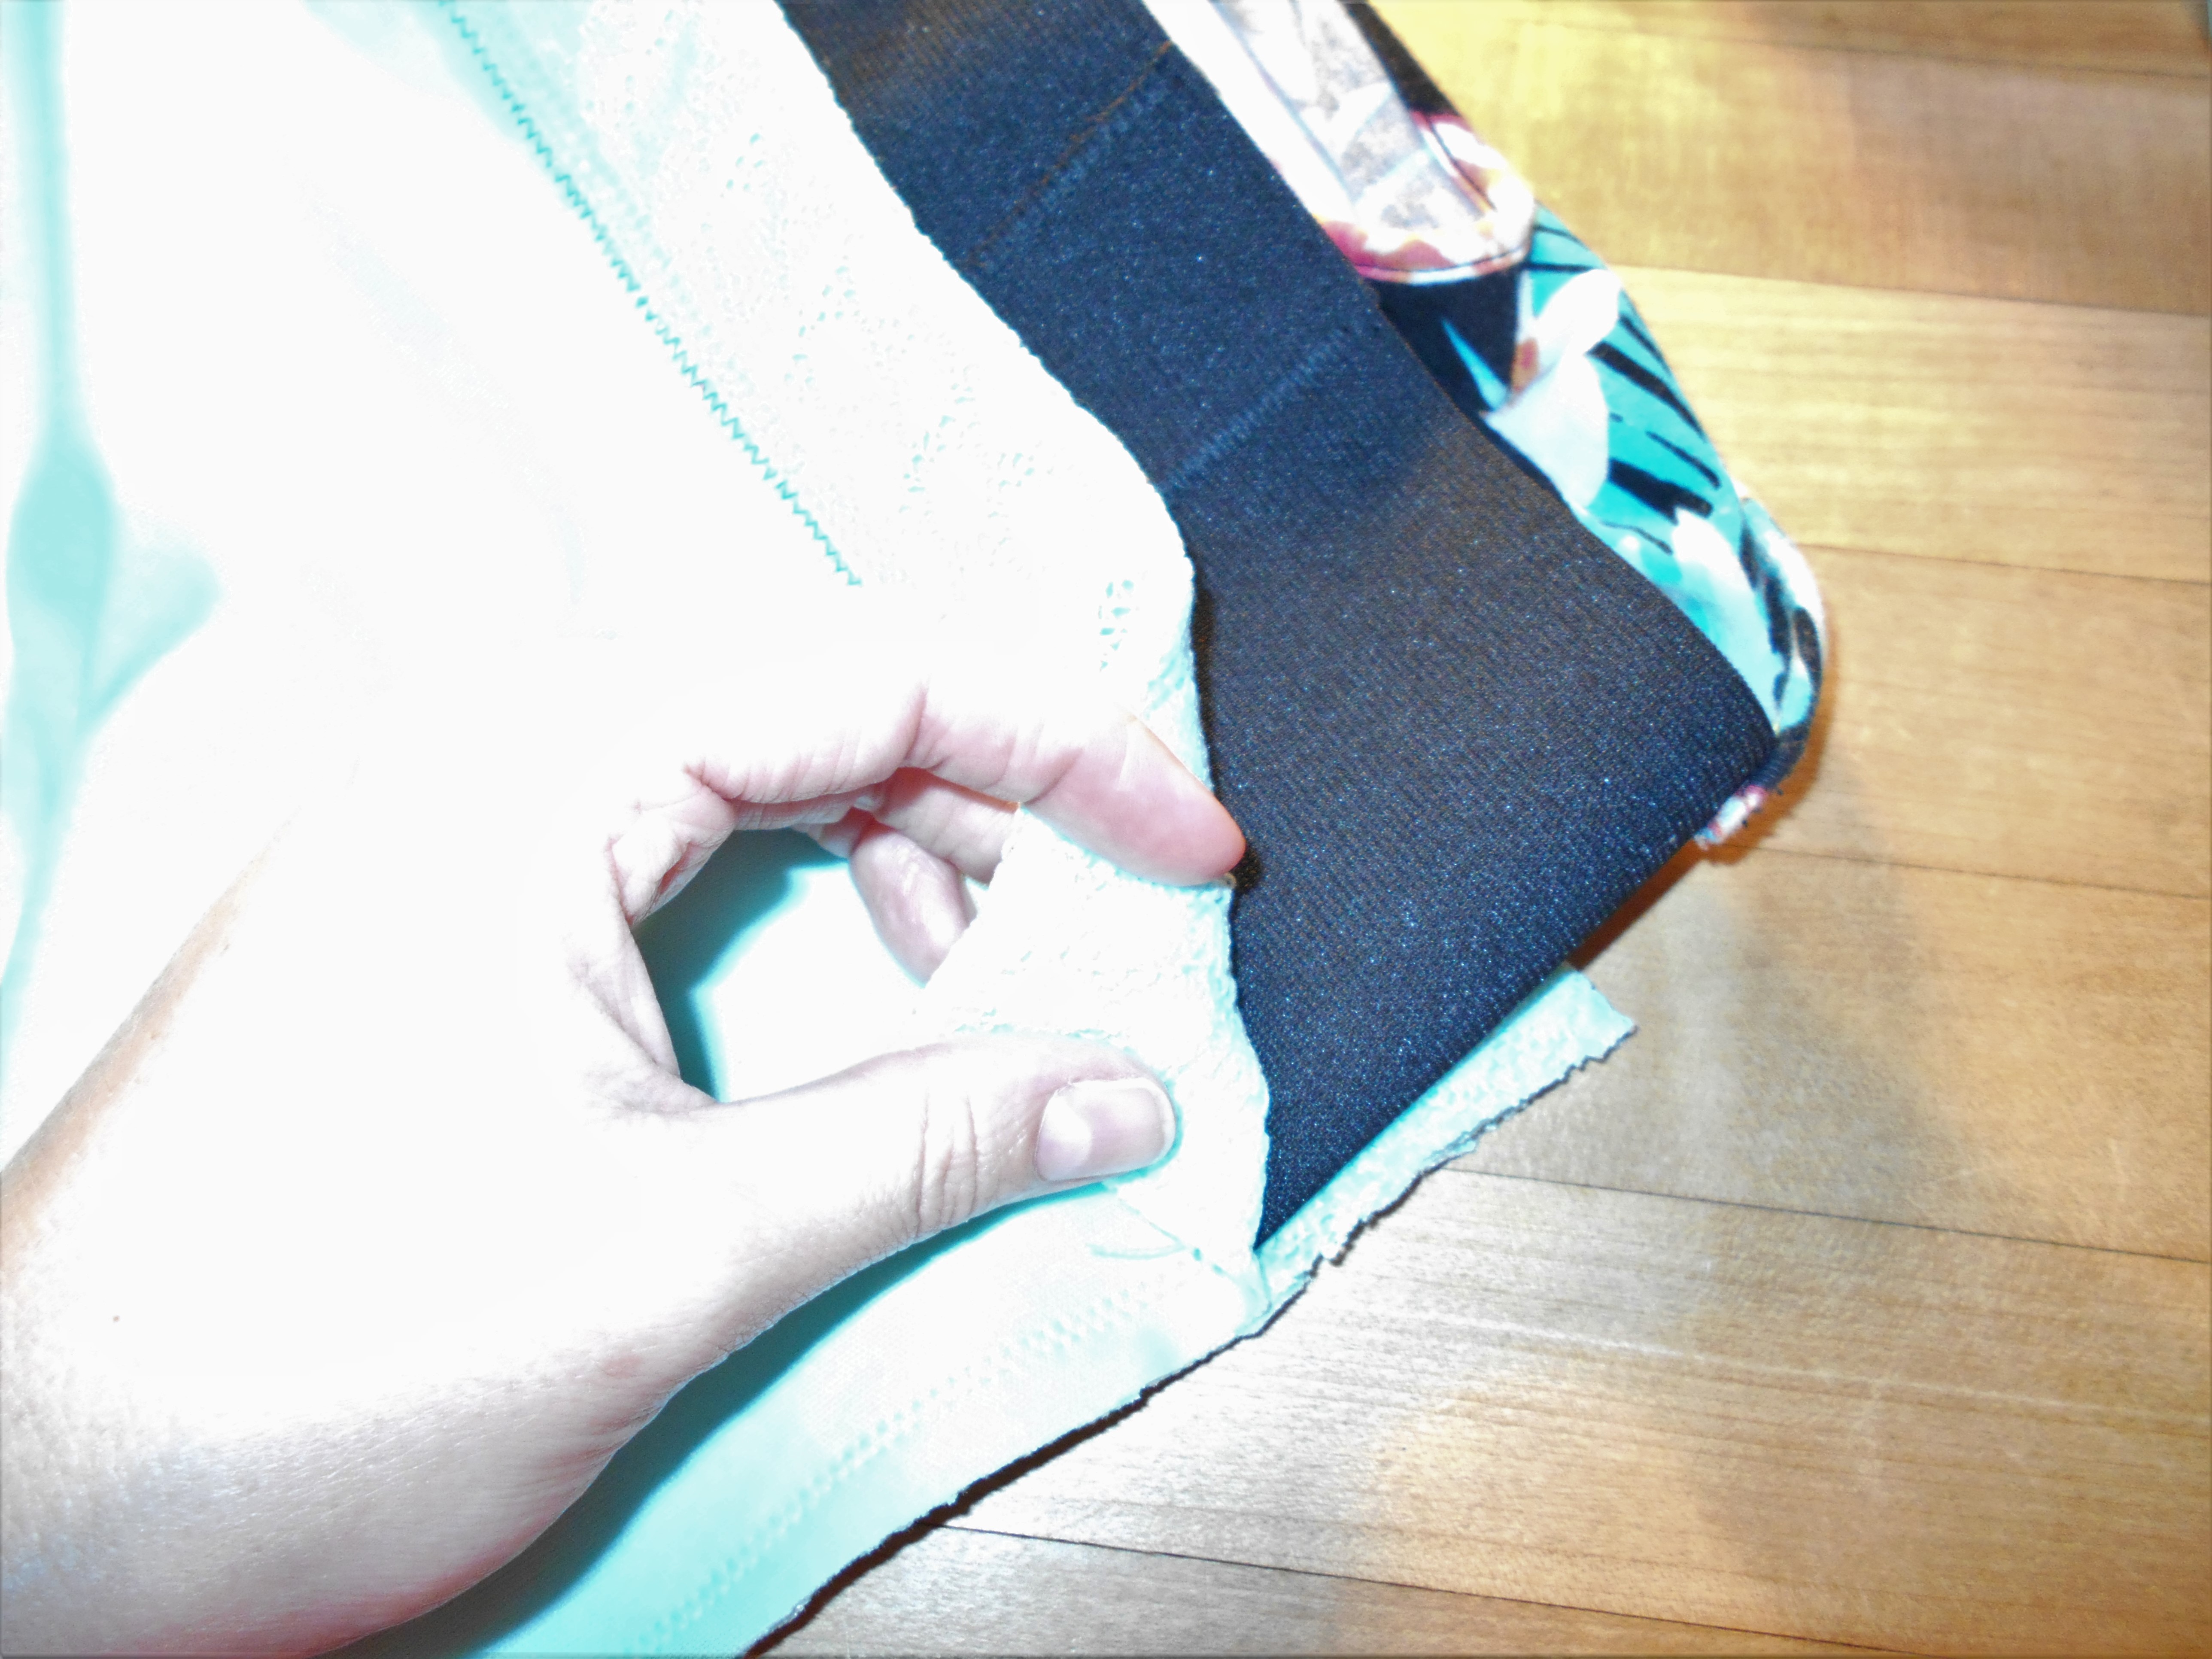
I stitched the new white piece to the bottom of the dress.

IMG_1594[1533]
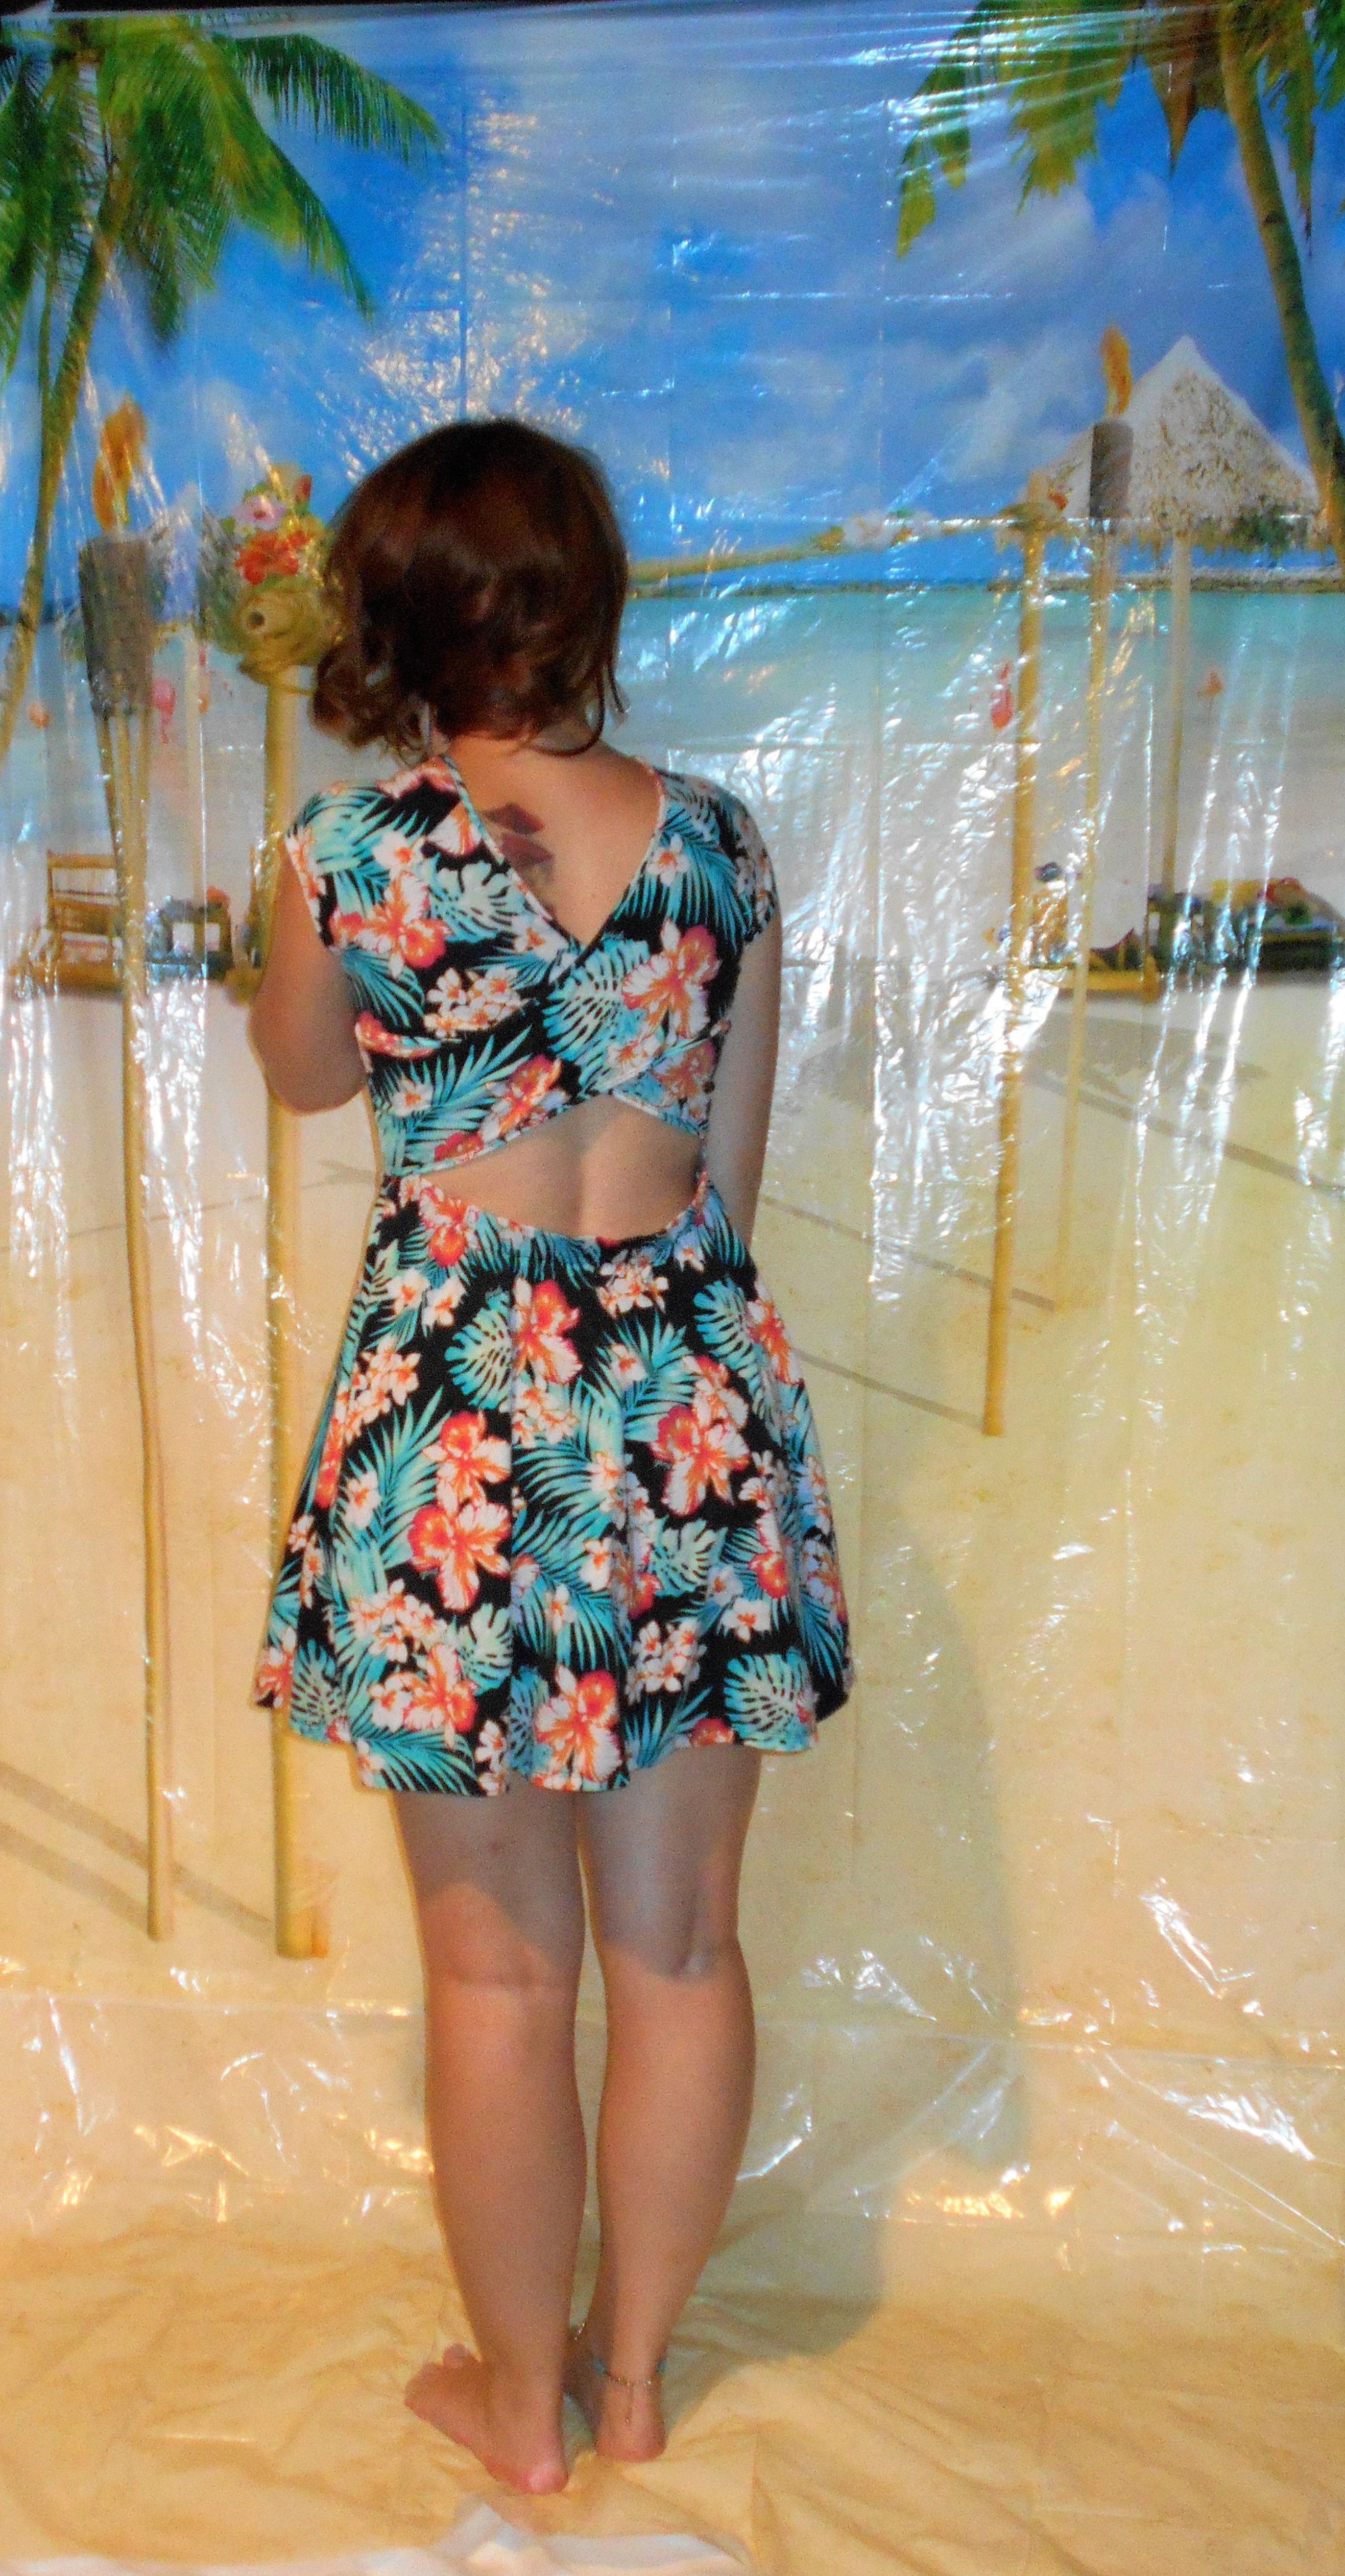
I am so happy with this new summer dress and it was definitely worth the wait!

2018-23-09-15-54-56
Happy Refashioning!!!

Check out my stash of refashions on my blog!

Saturday, September 29, 2018

Dress to Choker Cut-Out Top Refashion


I snagged this baggy dress at a clothes swap because I can't turn down a cute polka dot pattern.  Plus, I knew there would be enough fabric to remake it into a choker cut-out top with Simplicity 8425.


The cut-out shows just enough skin without giving too much away.  The collar was a little tricky to sew, but I nailed it on the first try.

Check out my blog Pivot Point Patterns for more upcycling tips and projects.

Friday, September 28, 2018

Going Gray On Purpose

Hello Refashion Co-op. I thought this white shirt needed a total re-do so I decided to use some gray dye.


This white cotton shirt was a little old, a little yellowed, and a little blah.


I wanted to use the dye I had on hand. It was for synthetic fabric but I hoped it might work for cotton too. Even if it only worked a little, it would really help cover the yellow color tone of this shirt.


 It worked great! The color was much better, the fabric looked fresh and crisp. I made the shirt more narrow so it would fit a little better.


I connected those scraps into a long tube that I wanted to use as a belt.


I liked the shirt with the waist cinched in, it was a great tunic length.


Thanks for reading, for more pictures and details I Can Work With That.

Wednesday, September 26, 2018

Pants for wide hips and a narrow waist

I hardly ever buy new clothes, only second hand clothes (to refashion). But these pants were so cool, and cheap too, that I had to make an exception.
But they also show why I usually never wear pants, only skirts and dresses, and why I sew my own clothes: To get a size that fit my hips and bottom, I had to chose size L, and they were far to big at the waist.

I needed to take the pants in by 10 cm (4"). 
It was too much to be able to use the elastic-in-the-waistband  trick. So I decided to make darts. Only one dart each side (5 cm (2")) each would have pulled at the fabric too much. So i made to darts each side (to bigger ones with 3,5 cm each and two smaller ones with 1,5 cm each).
The darts go to 5 cm below the waistband to fit my body shape.


More refashions at my blog: http://sagaifarver.dk

Pretty, Pink, and Looking Pregnant

Hello Refashion Co-op. I was given a hand-me-down that was all wrong for me, but I loved it anyway. Does that ever happen to you?


The beautiful pinky coral color won my heart. And all the embroidery and  eyelet lace edging was great too. The problem was the round full baby-doll style and shape. I look pregnant in the photo above. But I didn't want to let go of the shirt without trying to make it work.


Here was my quickie solution. I took some fabric out of the back of the shirt. I couldn't alter the sides because the shirt had a high-low hem. The side seams would never match up. I just made a new seam down the back. I didn't remove much from the top of the shirt, I just wanted to calm that ruffle down a little bit.


The new seam looked good. It looked like it was supposed to be there. And when I was done, the fit was better and I looked less pregnant. (See the after picture at the top.)


Thanks for reading this post, for more pictures and details go to I Can Work With That.

Thursday, September 20, 2018

Scarf to Tunic Refashion


I found a beautiful ikat scarf at Goodwill and mixed it with a button-down shirt to make a tunic using Simplicity 1461.  Here's a look at the before:


Everything was sewing up beautifully until I decided to hack the back and add a matching scarf panel.  I guess I got overconfident with my pattern drafting and didn't do a reality check because the princess seams don't line up at the shoulders.


Argh!!!  It's not like I'm a smidge off -  I'm 1" off on both sides.  I don't have enough fabric for a do-over.  That's the bummer with refashioning.  You can't run out to the store and get more fabric.


At least the front and the sleeves are cute.

To learn more about my scarf to tunic refashion, check out my blog Trevor Loves Mommy


The Split Overskirt

I wasn't sure whether there's an official name for this skirt I refashioned, but I have decided to call it a "split overskirt!" I based it on several dress-over-pants looks I've seen on the red carpet recaps over the past several months.

It started out as a semi-sheer skirt I didn't much care for.


I tried a couple of things with it, including putting a black liner underneath for a little more interest...


...but that wasn't enough interest for me either.

For my next trick, I decided to slit it up the front and wear it over pants! I opened up the back seam, finished the raw edges with a rolled hem, removed the entire skirt from the waistband, and reattached it so that the front 1/4 of the waistband was left open.

Here's how it looked when finished.


I don't know if it will ever be my favorite skirt (I like to think I might enjoy it more over shorts), but in any case, it was a little something different to add flair to my work khakis!

More pics, more process over at my blog post!

--The Unfashionista

Monday, September 17, 2018

1 Dress 2 Refashions Part 2

YAY we have made it to Part 2 of this refashion! I am so excited for you to see what I have done with the bottom half of this dress!
Let me refresh your memory,
The original dress:
DSCN1624
Part 1:
IMG_1275[1321]
Now onto part 2!
DSCN1629
With the elastic in the back it was a little tricky to make this into a snug skirt. First, I had to sew the front the skirt to the back on each side.
DSCN1628
Then I folded over the front material of the skirt and stitched that together.
Once my skirt was done I slipped on a black tank to and the hubby and I were off the Sea Life Aquarium and then dinner!
IMG_0201[1337].jpg
Not too bad for Part 2!
IMG_1443[1316]
2018-22-07-13-36-32.jpeg
Happy Refashioning!!!
Check out my stash of refashions on my blog!

Saturday, September 15, 2018

1 Dress 2 Refashions Part 1

Welcome to Part 1 of this refash!
The dress I chose to use was too cute to not utilize every part of it.
DSCN1623
How is this not the cutest back ever!?

DSCN1624Love this pattern!!!
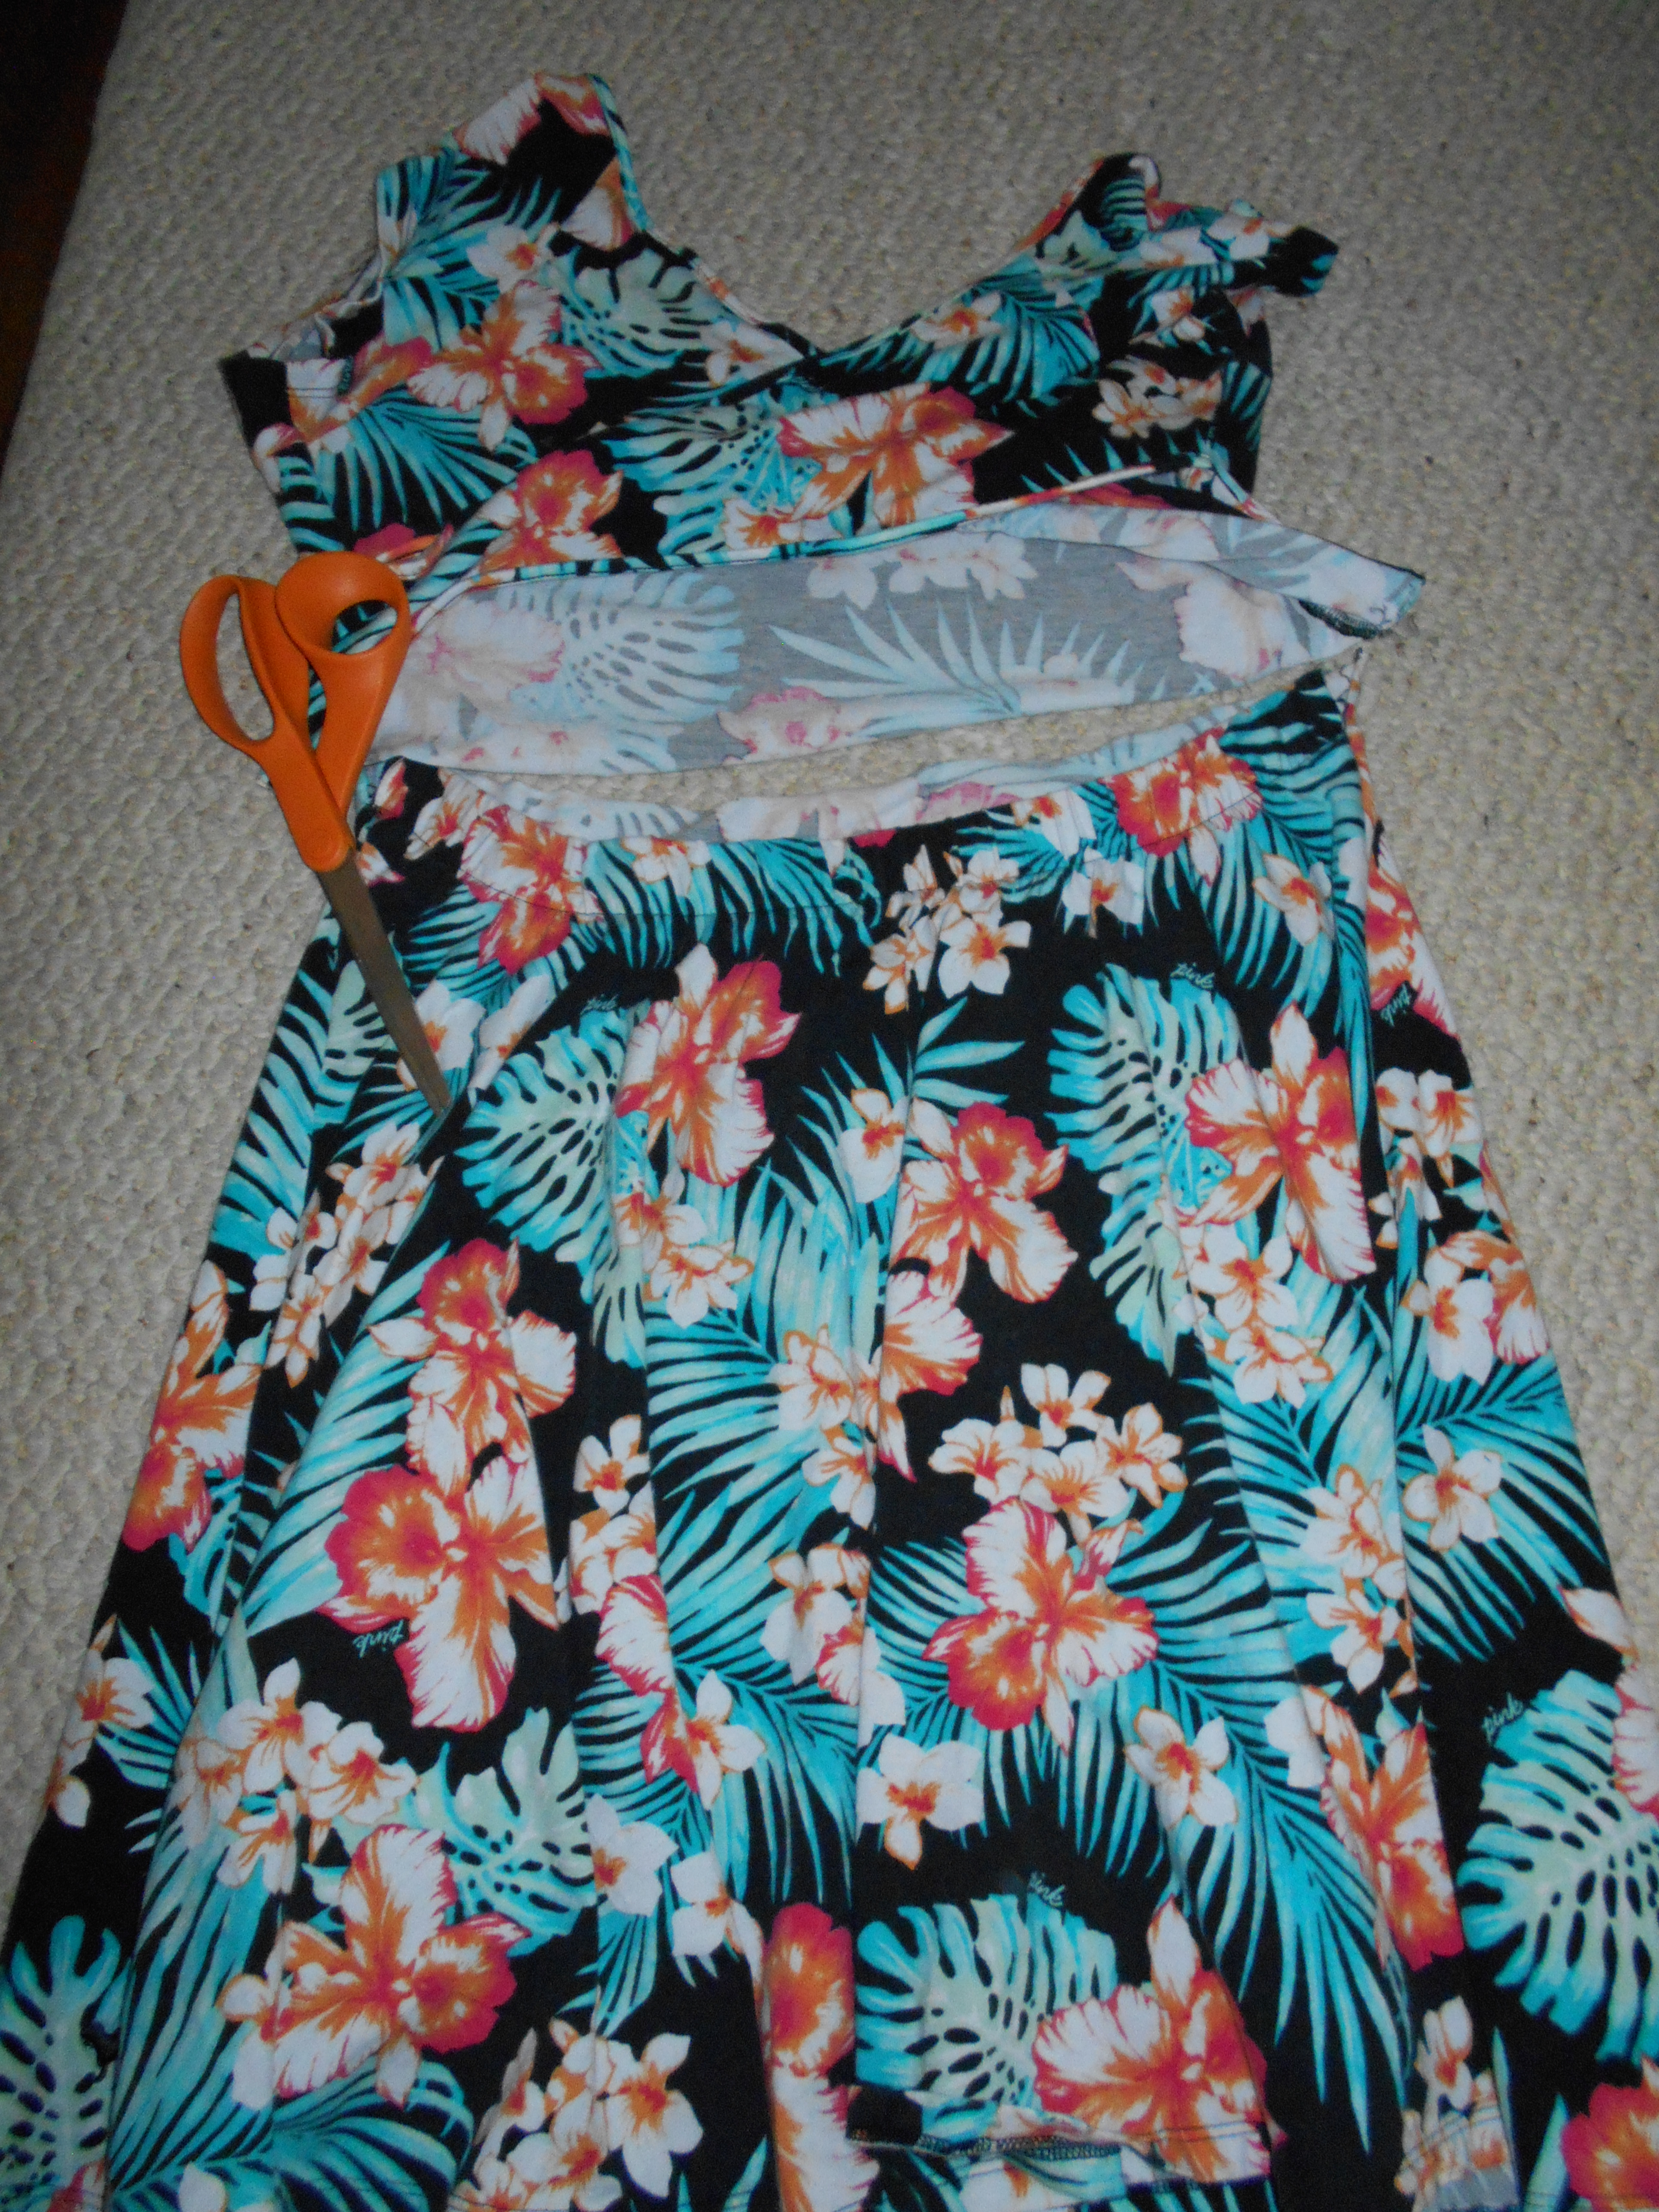
Okay, so I said this was Part 1 of 2 for this refashion. So here it goes!
DSCN1627
I cut the dress right at the waistline. This dress had elastic on the back but not the front.
I found this skirt in the to be refashed pile and it matched the color of the palms on the dress, what luck!

DSCN1630
I wanted to use this skirt as the bottom of  my dress and used the top of the palm dress. I used my seam ripper to open the seam of the skirt and separate the elastic waist. This gave me more room to work with the skirt since the elastic wasn't bunching up every time I moved it.
I was actually not going to use this elastic as part of the dress but I did need it to keep the skirt together for this next part.

DSCN1631
The top that I cut off of the palm dress was SUPER short, like shorter than an acceptable crop top, just sewing that top to the skirt would make the new dress itself way too short. I decided to add this 3 inch elastic waistband! That would give me more length to the entire dress.

DSCN1632
Once I sewed the elastic to the top I then sewed the skirt to the bottom of the elastic using the original elastic of the skirt as a guide.

DSCN1633
Once the skirt was almost sewn to the top I realized that the skirt was too large. So I had to improvise.

DSCN1635
I made a cut down the entire length of the skirt.

DSCN1636
Then I sewed the 2 pieces together and cut off the excess.

DSCN1637
Then I was able to finish sewing the skirt to the elastic.
I was so fortunate that my hubby took me to see The Beach Boys in concert!!! This has been something that was on my bucket list! I just adore The Beach Boys but my husband does not, but he was a trooper taking me and sitting through the music. I think he actually had as good a time as I did!

IMG_1271[1313]
The Beach Boys!!!

IMG_1267[1334].jpg

IMG_1275[1321]
The front!
IMG_1279[1333]
The back!

2018-22-07-13-30-24.jpeg
Happy Refashioning!!!
Check out my stash of refashions on my blog!