Monday, October 30, 2017

Une tunique : deux nouvelles pièces

Je cherchais un imprimé pour ma nouvelle jupe que je n'avais pas envie de faire toute noire ....et j'ai choisi cette tunique pour son imprimé aux couleurs de l'automne :


Et maintenant j'ai une nouvelle jupe ainsi qu'un petit pull sympa pour ma garde robe d'automne : 


La photo du bas est le pull sur l'envers pour montrer la doublure.......

Alors vous en pensez quoi de mon nouvel ensemble ? 
Si vous souhaitez en voir plus c'est Ici 
A bientôt, bisous
Elisa Elisa 


Sunday, October 29, 2017

Poodle Skirt

During the summer the hubby and I attended the Woodward Dream Cruise. This is an awesome event where everyone in the Detroit area cruises their classic cars up and down Woodward Ave. over the span of a few cities! It's a cool event and we have family friends that always host a dinner as well!
The Woodward Dreams Cruise always had a 50’s theme, to me at least.
That is what inspired my refash.

About 9 years ago I had made my own poodle skirt to wear to different classic car shows as well has city fairs. Alas my original poodle skirt has shrunk and no longer fits :( Time to make a new and improved model!
I was particularly impressed at myself on my original poodle skirt because I had made my poodle out of a white terry cloth towel...creative huh?!

DSCN1314
First I needed a shirt for my outfit. I picked out this lovely white button down.

DSCN1315
Isn’t that lace collar just darling!?

DSCN1316
Since this was a summer event the sleeves had to go!

DSCN1317
After I removed the sleeves I folded the arm holes back to create a sort of halter look.

DSCN1318
After fixing the arm holes I then took the sides in about 1/2 an inch (which turned out to be a bit too much in the bust, surprisingly).

DSCN1308
It was time to start on the skirt once my shirt was altered.
I printed out a silhouette of a poodle and made it a stencil. I traced the poodle on the backing of some self-sticking felt (coolest $2.99 ever spent)!

DSCN1310
After tracing the poodle I cut it out of the felt and stuck it onto a plain black skirt I was lucky enough to have thrifted!

DSCN1319
After applying my poodle to my skirt I added a dot of fabric paint for the eye, an adorable tiny bow (because she’s a girl poodle) and red sequined ribbon for a collar and leash! I used fabric fusion for the sequin collar and leash.

IMG_0193

IMG_0195

IMG_0198
Oh see my saddle shoes? Yep I made those out of plain white tennis shoes and black fabric paint!

2017-17-09-19-01-27
Happy Refashioning!!!

Check out my stash of refashions on my blog at: therefashstash.com

Friday, October 27, 2017

Beach Bag Fix

My uncle sewed a beach bag as Christmas presents for my mom about 30 years ago.  This yellow and gray bag went with us everywhere.  It is the bag of my childhood, made of yellow canvas and jeans, I think. When my mom showed me how the handles were falling apart and some holes had appeared on one panel, I offered to make some repairs.  I used some pretty vintage fabric that I had on hand. (bedsheets!) I folded the fabric over several times to get a decent thickness, and then sewed OVER the grey strips, completely encasing the sad, worn out handles.


I made a fabric "flower" out of an old white tee shirt to cover up the holes.  It is just pinned on there and can be easily taken off to throw in the wash.

The best part of making a repair for your mom?  Knowing that someday I'll get it back and it will be MY family's summer tote bag.  The bag of my kid's childhood. The bag I rescued, reinforced and put back into use for another 30 years.

Love,
Amy Jo at The Little Moments

Higher waist trousers

I have looked very much forward to show you this refashion. This exact type of refashion is a first for me.
I have been looking for trousers for at loooong time, which fit me (wide hips, narrow waist, long seat). When I found these, that fit me really good, I bought four pairs.


But then I wore them for a whole day. And when I moved around, they fell down to the widest part of my tummy, and squeezed my hips. It might not look too bad in the picture, but it didn't look good. Also they were very uncomfortable across my tummy. Nothing worked, except pulling them up constantly.


But I don't give up like that. Here come me and my sewing machine. It is easier to remove something when refashioning, making something smaller, shorter, lower. To add something is more of a challenge. And I like a challenge.


I removed the waist band and with it the belt loops.

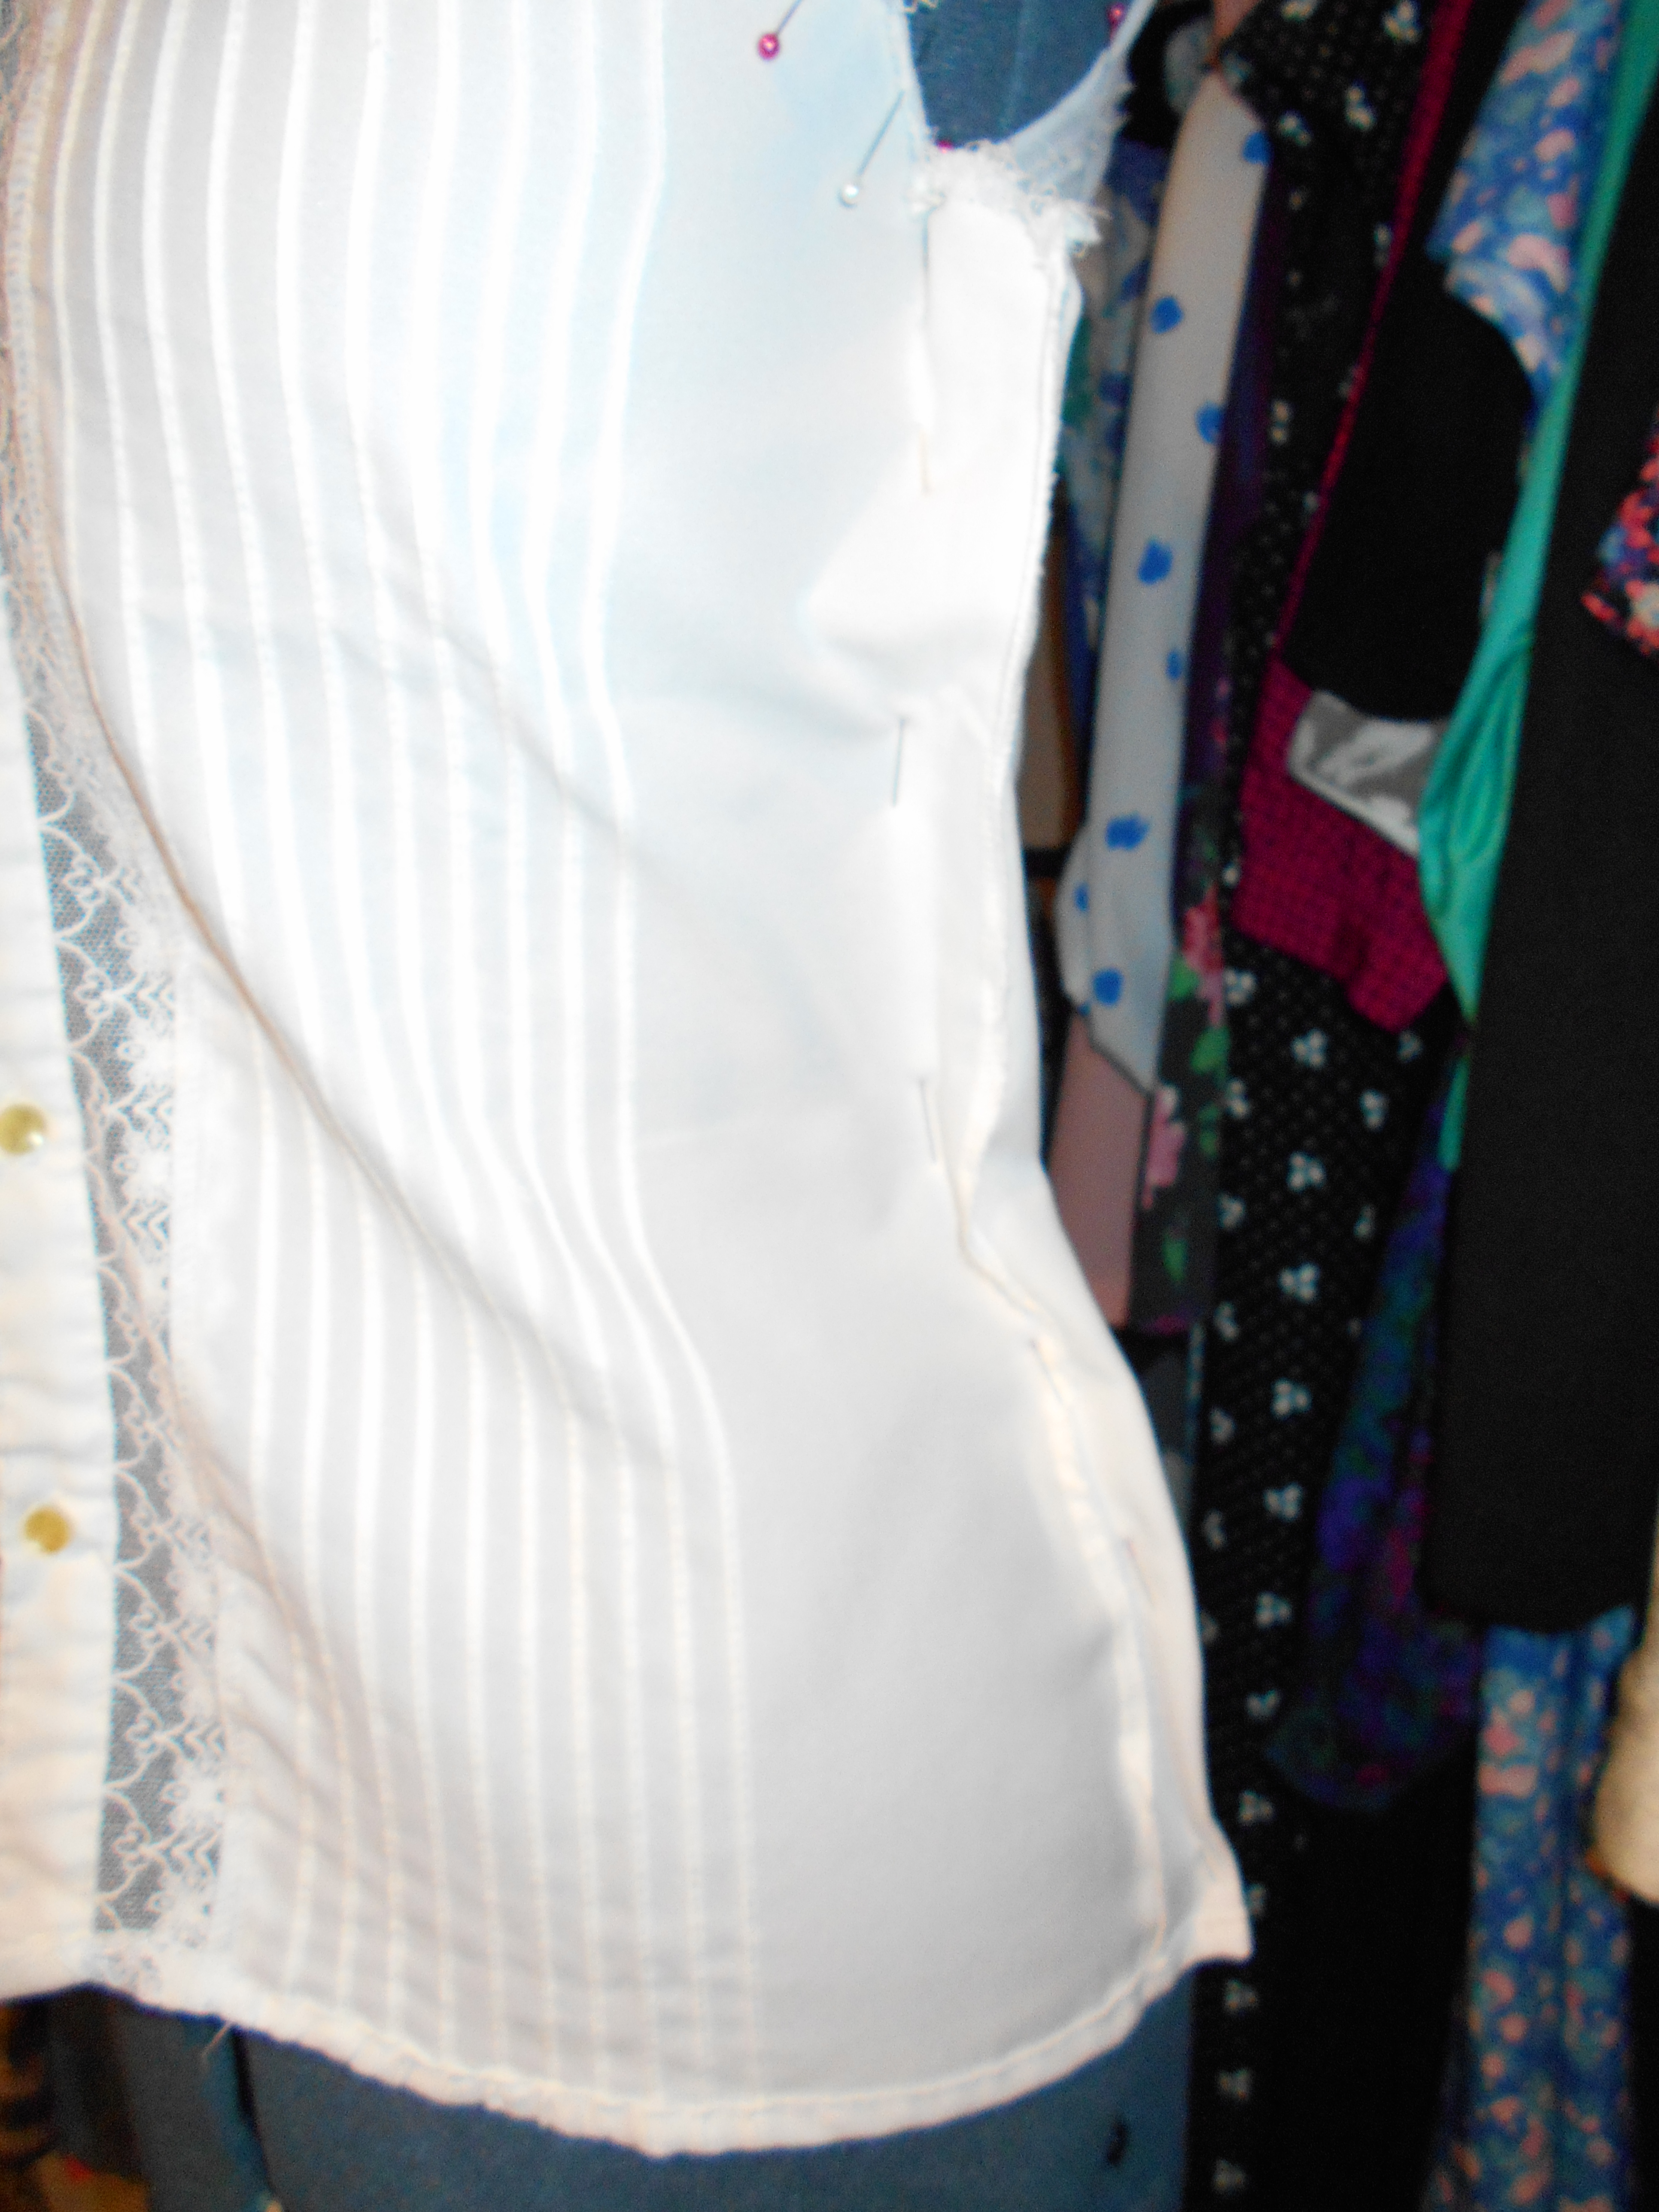
The added piece would be visible anyway, so I decided to make it stand out by choosing a shiny sateen for the strip of fabric.
- I measured how much extra height I needed, it was 5 cm.
- I cut the strip 7 cm wide (5 cm + 1 cm seam allowance at each side). The length was the circumference of the trousers + 8 cm.
- I folded the short ends of the strip back, 4 cm each, so they matched the area by the zipper, and stitched them.
- I stitched the strip onto the waistband.
- I stitched this combined piece to the trousers.
- I stitched the bottom of the belt loops to the sateen strip. and with it the belt loops.
- I had the challenge that the sateen strip didn't have closure. I bought a pack of jeans buttons for this purpose.
- I removed the original button from the waistband.
- I put one button where the original button had been, and one on the sateen strip. Since the buttons are identical, the whole thing looks more like it has always been like this.

I like these so much, I am very pleased with the result. But there are room for improvement: The fabric puckers a bit, particularly in the front. I think I will add three buttons instead of two to the next pair of trousers. And the sateen fabric is slightly less stretchy than the trouser fabric. Although this gives a nice shape-up effect, I will try to find a fabric that matches the stretch of the trousers even closer for the next trousers.


Now all I need is to do the same with the remaining three pairs of trousers....


Loads more refashions at my blog: http://www.sagaifarver.dk Check archive for overview.

The Black Sparkly Mini Dress

Hello Refashion Co-op. I found this little black knit dress and I liked the sparkle it had. It was too short on me. That was surprising, nothing is ever short on me. I didn't think I would ever really wear this as a dress. I just don't go out anywhere that would suit this dress. It might sound boring, I might be boring, I am OK with that.
 I thought this dress would make a nice dressy top instead.
 
 
The first thing I did was measure using an actual ruler. I got my chalk out and marked where I needed to cut. I got my scissors and cut the bottom of the dress off. I hemmed it up and I had the dressy top I wanted.

 
Here is my finished top. I thought pairing it with jeans would make it more casual. I added a sweater and I was done. This is as dressy as I get normally. I live in a small town and it is pretty casual here.

 
Thanks for reading, for more details and pictures go to I Can Work With That.

Thursday, October 26, 2017

embroidered coat, embroidered bag, and five minute frock

I have not posted in a while...I had been making an Irish dance dress, and then changing jobs but I did finish a few things

the first is I embroidered this coat - which I am very pleased with and timed it perfectly for winter here


The second was a bag I embroidered - its a vintage vinyl box clasp bag and the lining was shredded so I relined and embroidered


and the third was a five minute sew - it was a long a-line skirt, so I cut some armholes, hemmed them, and have worn it a lot since - it drapes well, and the waistband makes a rather angular boatneck.


The coat I detailed in my blog www.upsew.ie, I will post info on the other two in the next while.....


Wednesday, October 25, 2017

The Cozy Sweatshirt Dress

Hello Refashion Co-op. This cozy sweatshirt dress was handed down to me and I thought it would be great for cooler days. But it was too big and baggy.


I used my dress form to pin the sides and make it more fitted in the arms and shoulders. I was going for more of an A-line shape with 3/4 length sleeves.


I cut off the excess. I lost the pockets in the process. I was sorry to see them go but they weren't large enough to hold much anyway. I left the bottom part of the dress as full as possible.


I like this dress a lot. It is casual and comfortable but I could dress it up too.


Thanks for reading, for more details and pictures go to I Can Work With That.

Monday, October 23, 2017

Grenadine

I took this over sized maternity shirt and flipped it upside down for all fall skirt.


Come check it out on my blog!


Friday, October 20, 2017

Refashioning a Refashion

Hello Refashion Co-op. How are all of you today? I don't know why but some clothes hang in my closet and I don't know why. 


I made this gray top from a big men's T-shirt. You can see how I did it here. I loved it when I made it but I just didn't wear it. I can't explain why but I just didn't.
I also had a great skirt that I did like a lot. I decided to put them together.


I cut the ruffle off the bottom of the shirt and I attached it to the inside of the skirts hem. It made the outfit a lot more fun. 


Thanks for reading, for more pictures and details go to I Can Work With That.
Chickie

Thursday, October 19, 2017

diy peplum shirt ❤

blog-o-szyciu-i-przeróbkach-ubrań-how-to-refashion-men's-shirt-handmade-bluzka-koszula

If you love  leggings just like me you will love peplum shirt as well , because they create  perfect combination 💑
To sew this peplum you'll need just one  men's shirt which you can buy  or steal from your men's wardrobe 🙊🙉🙈

Men's shirt Before
beautiful orange color and 100 % viscose

  during work 👊

and here 👇 ready peplum shirt on me 💋 ,I love it  it's super comfortable and looks''hot'' 💣 , I think I will make at least  2 more

MEN'S SHIRT BEFORE AND PEPLUM SHIRT AFTER