Thursday, June 30, 2016

TBT: Consignment Shop Copy

I saw the most beautiful green silky blouse at my favorite consignment shop a few years ago... and I passed it up because $14 (at that time) was just too much from our petty cash fund leftover after bills... That's sad, I know, but it truly was...

I found this at a thrift shop for .99 cents instead.

I really loved that Emerald Green blouse I saw on consignment and I wanted to copy it in some way, of course. It wasn't until I turned this thrifted dress inside out that I figured out how to do it!

Reversible!

I swear I didn't notice the reversible-ness of this when I bought it. This Emerald Green color was the exact same as my consignment shop beauty!

So, I took it in a little bit at the sides and then (using a pattern actually), I made sleeves from the bottom scraps of fabric.


Then, right sides together, I sewed the new sleeves into the arm holes of the main shirt.

Don't sew over your pins! :)

I used a rolled hem to finish the new bottom edge and and voila!


All you can do is take my word for it, but this is nearly identical to the consignment shop shirt I loved so much!

Being silly


Happy Throw Back Thursday, Y'all. If you want to see my original post for this, click here :)
~Laura


Black Pants 2.0

Hello Refashion Co-op. First, these pants are not really black are they. In the bright light they are obviously navy blue. They looked black at first.


They pants were great but didn't fit at all.


I took the sides in a little here and a little there, so they would fit. I had to remove the belt loops because they were in the way of my new seam. They were easy to reattach.


They fit so much better now and I love the stretch they have. I was hoping they would turn out a little dressy and a lot comfortable. Plain, simple and classic.


Thanks for reading, now go make something fun for yourself.


Transformation de robes (1)

J'ai dans mon armoire plusieurs robes achetées il y a plusieurs années et je n'arrivais pas à m'en séparer alors j'ai décidé de les transformer ....

Voici, la première robe à être transformée :


Une petite robe sympa mais devenue trop juste.............


Pour cette transformation j'ai utilisé le patron Burda n°6851 et je suis assez contente du résultat.


Alors qu'en pensez-vous ?
Pour en savoir plus c'est ici
A bientôt, Elisa Elisa

The Long and Bike Sorts of it

With summer in full swing I needed a few more pairs of shorts to go under my skirts and dresses that I wear almost every day. I previously bought a pair of bike shorts and wanted something similar in style, but was unwilling to pay retail for. I had the idea to use yoga pants and chop them off to my desired length.
I really like how they turned out and I will defiantly be making a few more pairs. Who knows maybe they will convert me into a shorts girl! For more information about this refashion visit my blog post. As always until next time stay creative!

Wednesday, June 29, 2016

Re-Love That Old Jean Jacket!!!

Hello there!  Do you have an old jean jacket that is just blah?  It hangs in your closet, year after year?  Maybe you bring it out occasionally?  Well, I did!  I kept packing it away every Winter, and taking it out every Spring... But never wearing it... It finally ended up in my donate box... Now, I am a Re-Fashioner, an UPcycler, a RePurposer -- why would I even HAVE a donate box for clothes?!  I'm not sure.... I guess there are the occasional items that I look at and can't even see myself using for one of my designs... This jacket fell into that category. 
  
Well, today I looked at it and thought... hmmmmm... I had an idea... would it work?  Would it look dopey?  I figured - what the heck?  I don't like it or wear it any way!
 
So, here's what I did:
I sewed an awesome handmade doily that I'd picked up at a yard sale to the back of the jacket...  Double seams - one straight and one zigzag for strength.  Then I just cut out the material that was under it from the back side.  Now, it's unique, it lets air through for the summer, AND whatever color shirt I wear shows through the doily!!!  Cool!


I was really happy with how this looked, but when I thought about wearing it I realized one thing:  NO pockets!!  This is on the front - a phony!!  it's just a flap!  Grrrrr!!  


I am funny about pockets - I need to have at least one.   Soooo, I used the piece of fabric I cut out of the back of the jacket and made a pocket :)   Then I just sewed in onto the inside, behind the "impostor" :)  and slightly behind the front placket -- more secure there  :)   


And here's how it looks from the front:  Not really noticeable, which is great, but even if you can see the stitching, it's OK because it looks like it's a pocket! (which it is! hehe)   --- By the way, that dark spot on the bottom corner is a stain from ages ago; I don't even know what it was from... This is a pretty old jacket... ;)


That's all Folks!  Have a fabulous day!

One Chop!

Recently I have been on a refashioning streak, but only finally getting the time to create a good post! I will give you a hint to the reason why!

I found her for $12 at Goodwill! Came complete with all its accessories and just needed a little oil to get her singing again! She is WAY more portable than my other one, but considering my other one was created in the 50's it may have been as portable as they came at the time. I am going to start with a simple refashion that I have already worn and loved!
This is the simplest refashion that I have done in a while, but I think it had great results. I simply chopped off 10 inches from the bottom, got rid of the ties, sewed everything up, and gave it a new hem! Adding a few accessorizes made it a great light on the go dress that I think will be perfect for transitioning to fall. For more details on this refashion check out my blog post! Until next time stay creative! 

Ahoy Pencil Skirt

I don't typically do refashions for my "bottom" half... But I kind of wanted a new pencil skirt.

Quite Nautical

I thought this would do nicely since it already fit me pretty well. And since I didn't care for the top half, I merely cut it off.


It had a side zipper that I did have to shorten to fit in to my new skirt but that was actually a cinch! I cleaned up the raw edge left behind at the waist line, of course. Boom. Done.


For $1 I guess I can't complain... especially since I'm 2 sizes larger on the bottom and can rarely buy new to fit it! This garment seemed to be a perfect storm of luck...


For the full tutorial with more pics on the zipper alteration, click here :)

Happy Refashioning!
~Laura


Tablecloth skirt

Hello, HoffiCoffi here!


I purchased this tablecloth a while ago in the hope that it was damaged enough for me to make into a skirt!  If it was in perfect condition it would have been too nice for me to cut up. :)


Look at those little birds on the border!

Luckily, on inspecting it at home I discovered a stain that made it less usable as a tablecloth - but luckily it was in just the right place for me to hide in the side seam of a skirt.


I calculated my waist radius to cut out of the centre of the skirt....


... and cut from this circle, through the stain and down to the hem to make a side seam.

Although it may not surprise some of you that I managed to make this less straightforward than it should have been, I managed to make another of my much loved cutting errors and ended up with a waistline too big!  Anyway, once I had sorted that I inserted a side lapped zip with a placket and drafted a waistband in which I inserted a length of grosgrain ribbon to give it more structure.  


All's well that ends well.  If you want further details of my stupidity in making this it's on my blog.

Stained to Dyed

Whew! The last month has been crazy! I've sewn, I've refashioned, but found very little time to take pictures so I could blog my projects. Then I went on a mission trip for a couple weeks, so no sewing happened. Now, I'm back and I'm finding crazy busy to be the new normal so I squeeze in sewing where I can (read: late at night, one day the lack of sleep may catch up with me) Finally though, I have both completed a refashion and gotten pictures of it! So, without farther ado, this shirt.


It was pretty. It fit well. I picked it up on clearance at a local boot store. I rather liked it. It was white (well actually cream, but. . .).  Me and white clothes, that's a bad combination. One should not wear a white shirt if one will be drinking coffee while driving. Yeah, the shirt was a little stained and I had been planning on dying it for a while. I'd bought some blue dye for it, but I never got around to actually dying the shirt. One evening I had some left over green dye from another project, so I figured why not? I like green just as much as blue, so into the pot of dye the shirt went.


And this is how it came out;


The shirt is actually a shade darker than it appears in this picture. Still a light color but all the stains are hidden now so the shirt is wearable again! I'll call that a success!


Check out this refashion on my blog, along with my refashion of a curtain to a hammock, the project the green dye was actually meant for. Until next time,


Tuesday, June 28, 2016

Black Pants 1.0

Hello Refashion Co-op. I have a few pairs of black pants that need to be worked on. This is the first pair. They fit SO well except for the length. 


My daughter passed these on to me. They were the right length for her but not for me. I could have hemmed them but it's hot out and I need shorts. I finished sewing and used a flat iron to press the new seams. It worked like a charm.


I'm all done and ready to go somewhere.


Thanks for reading, now go make something fun for yourself.

BoHo Dress + Bonus: Flower Crown

This past weekend the hubby took me to see Florence + the Machine in concert! I was super excited because I love their music! In the spirit of the concert I would be needing a boho look!
DSCN0587
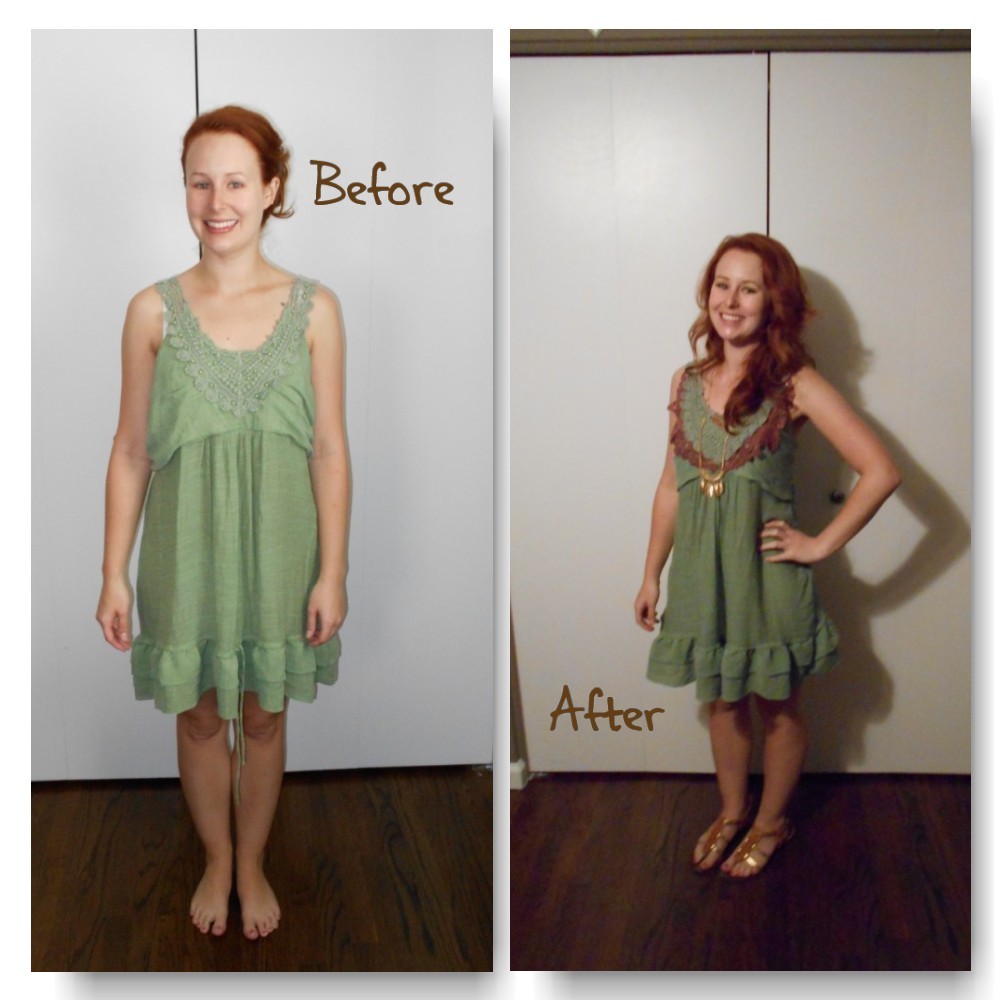
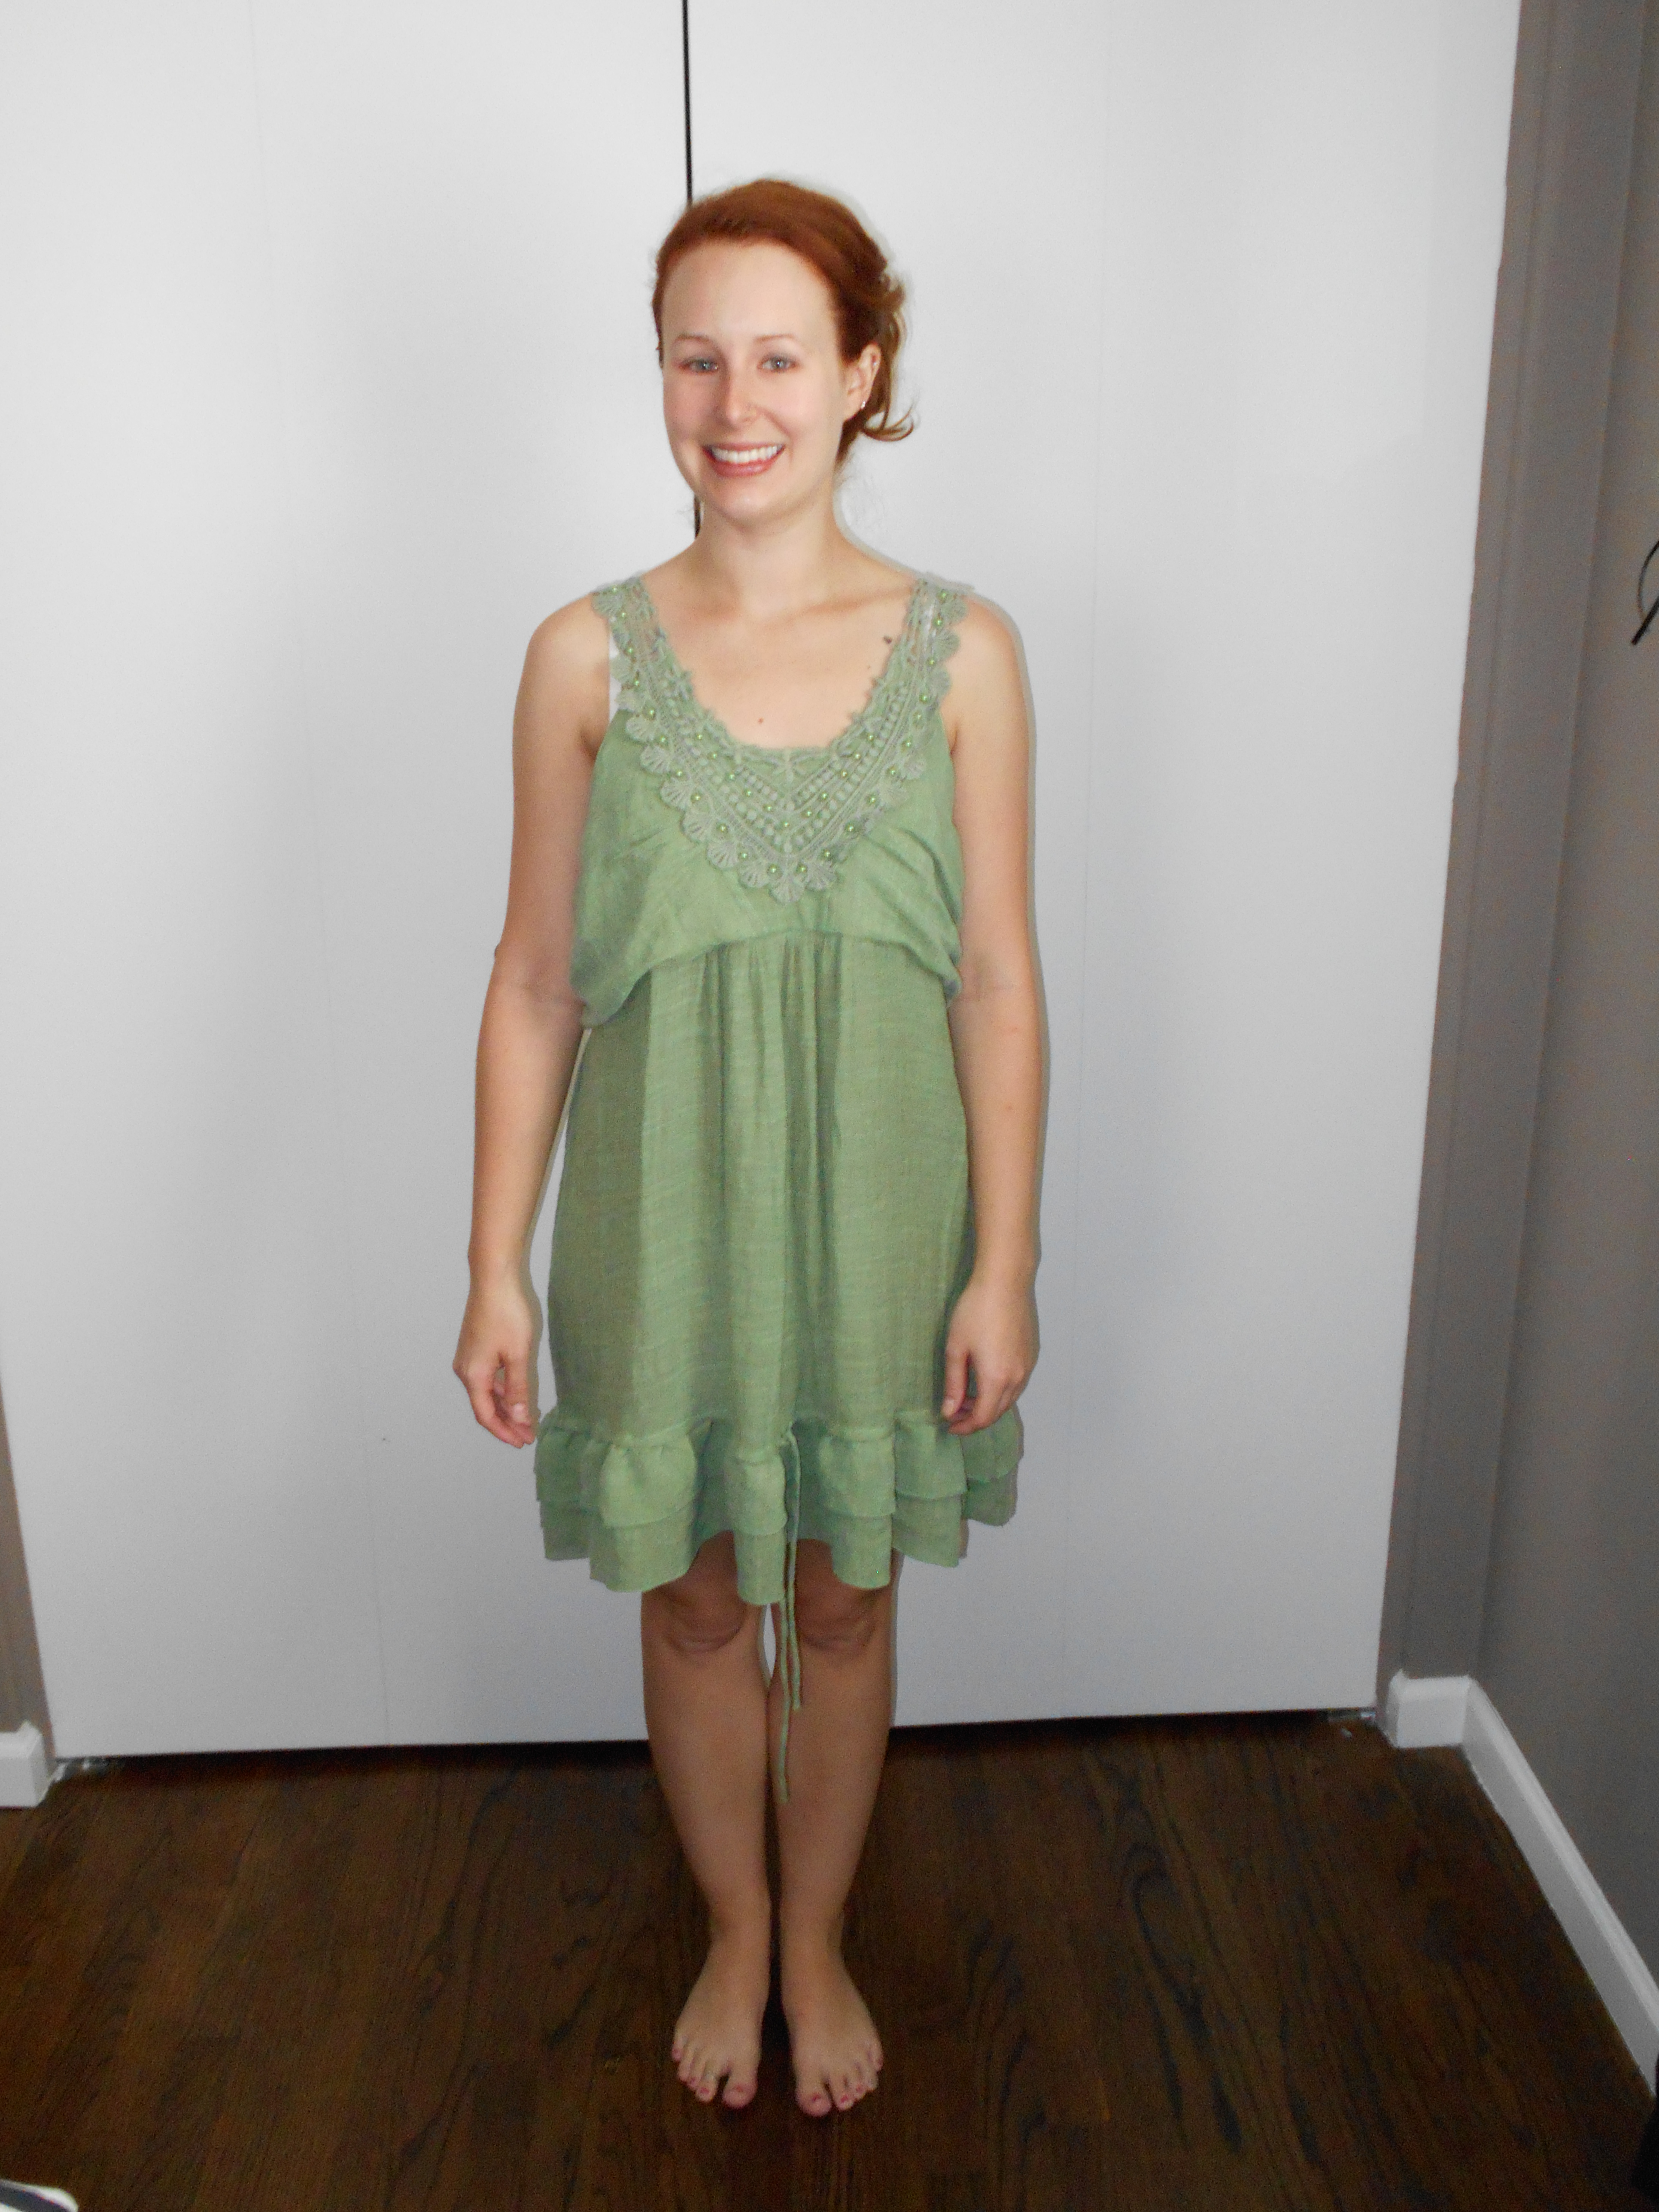
I started with this dress, which is out of my comfort zone because I really don't like green. But I'll give it a try!
DSCN0597
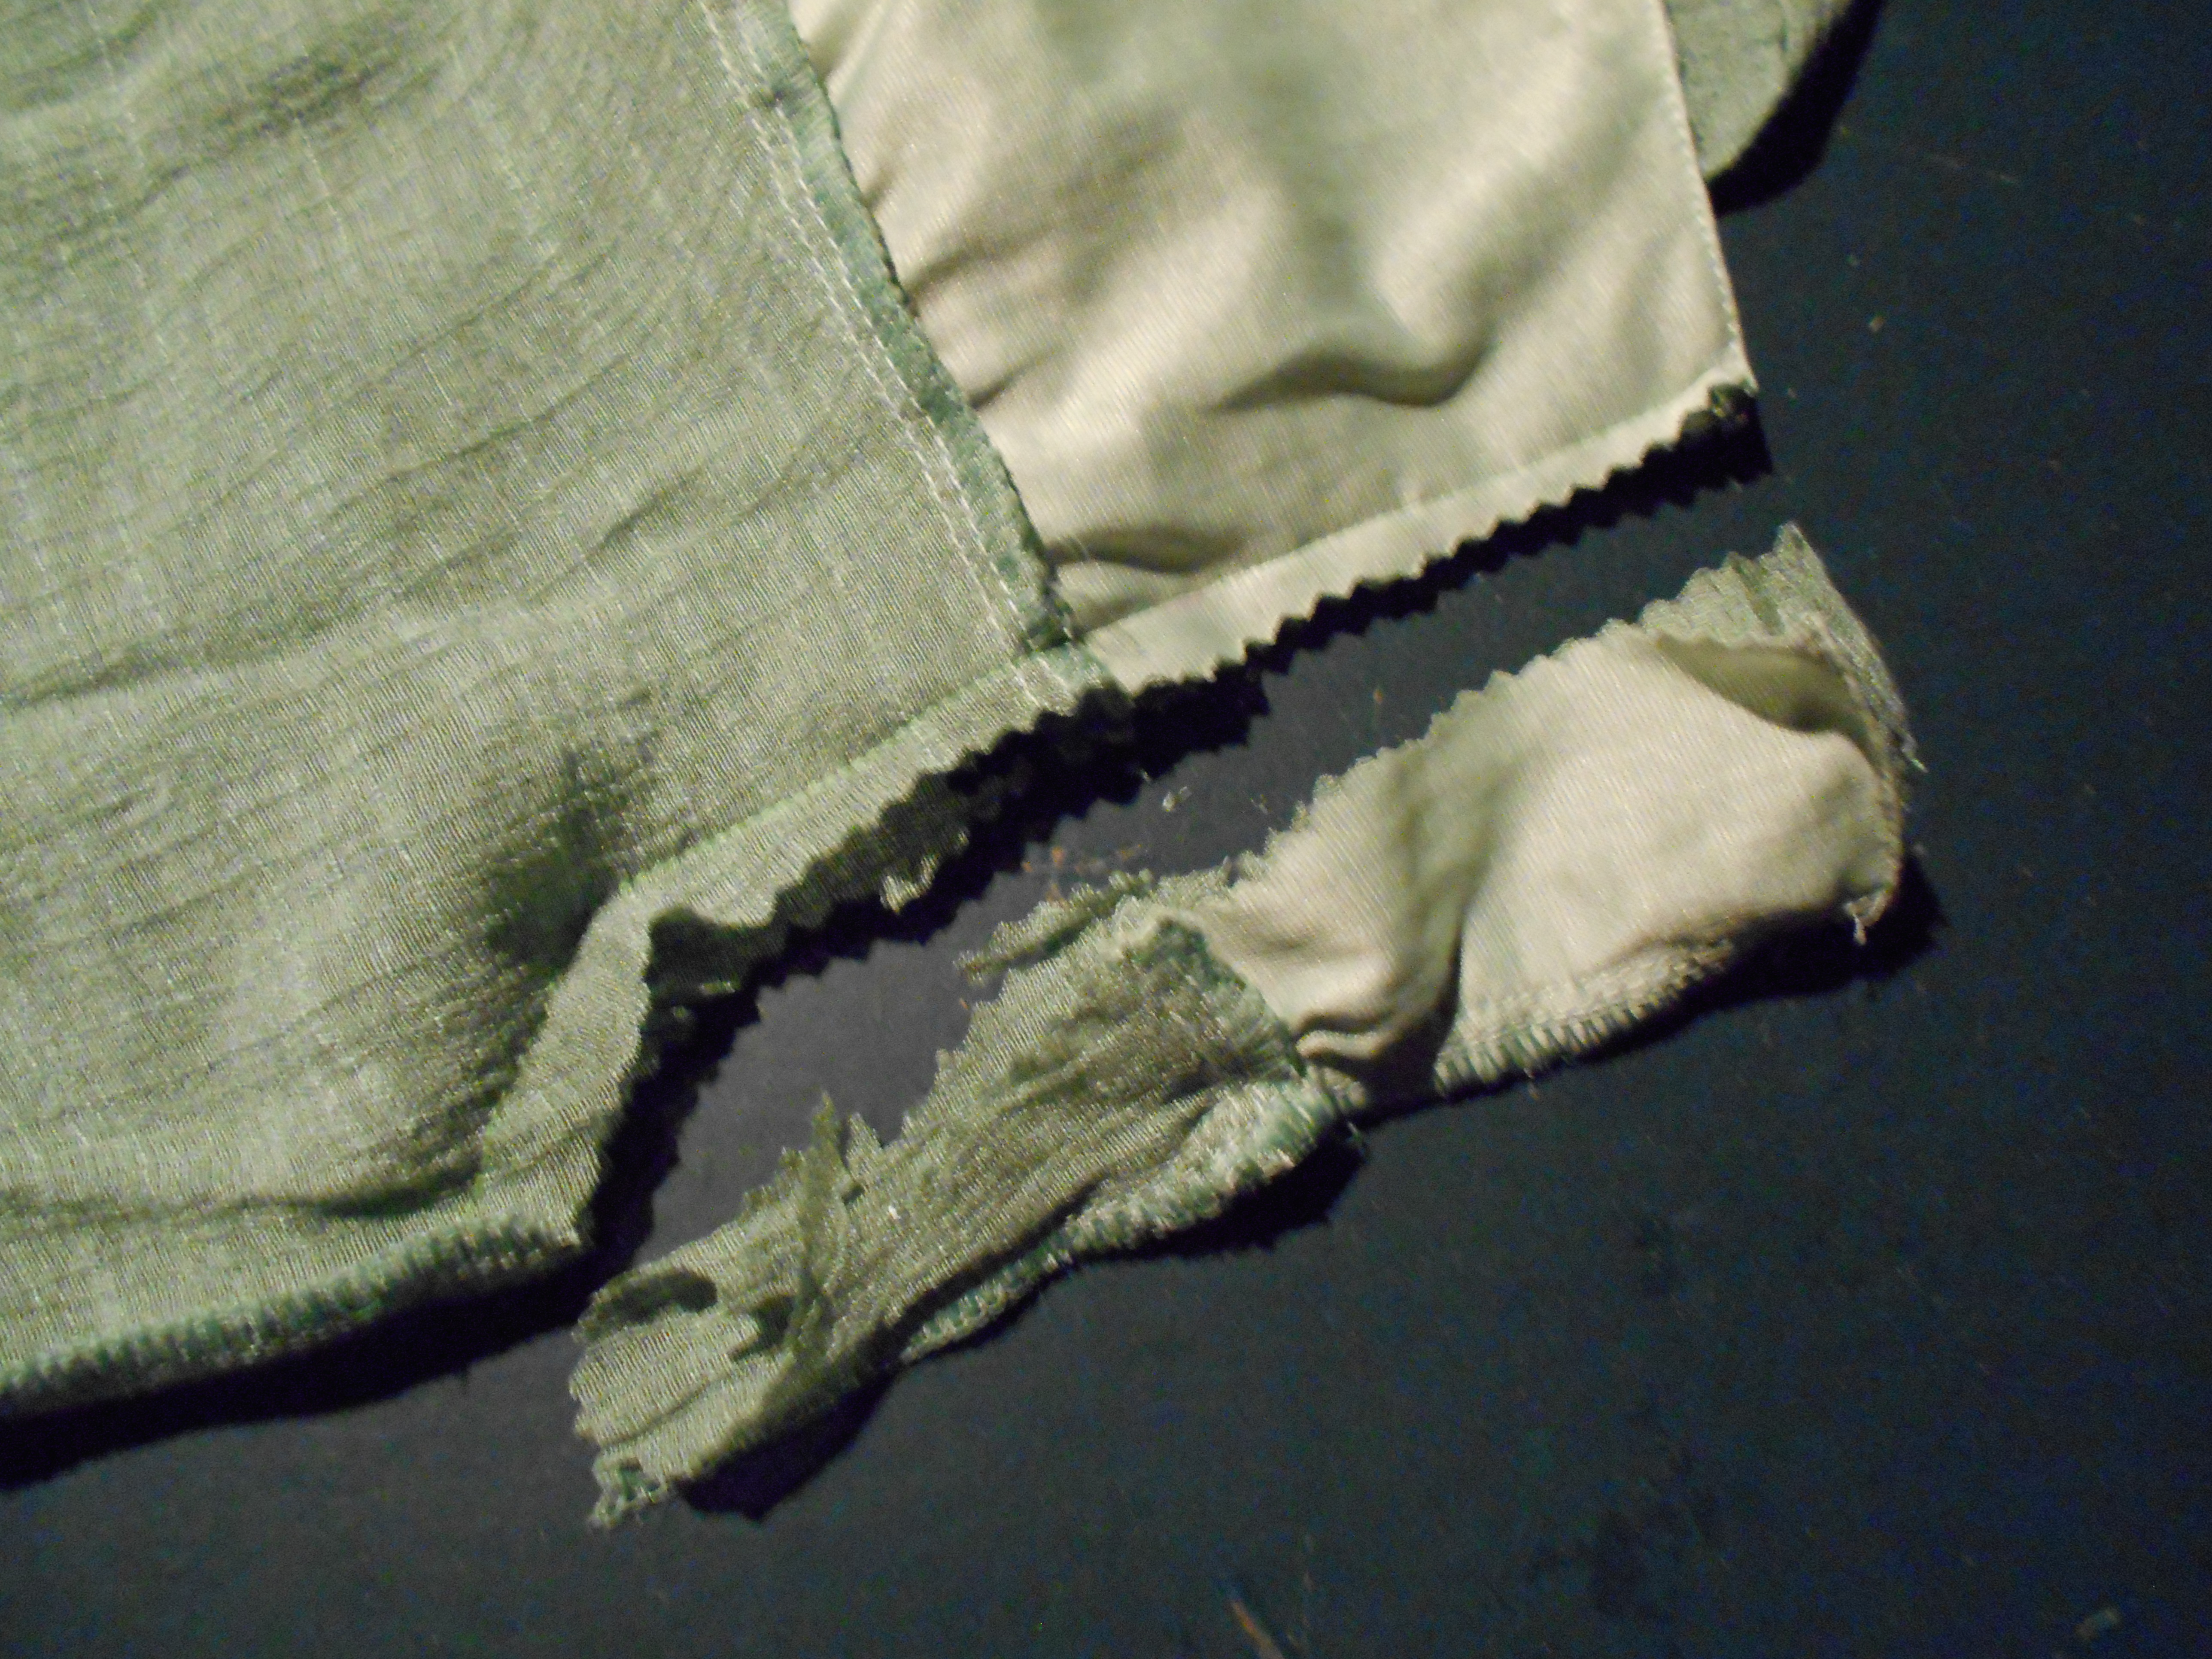
I began by taking in the bodice by 2 1/2 inches.
DSCN0591
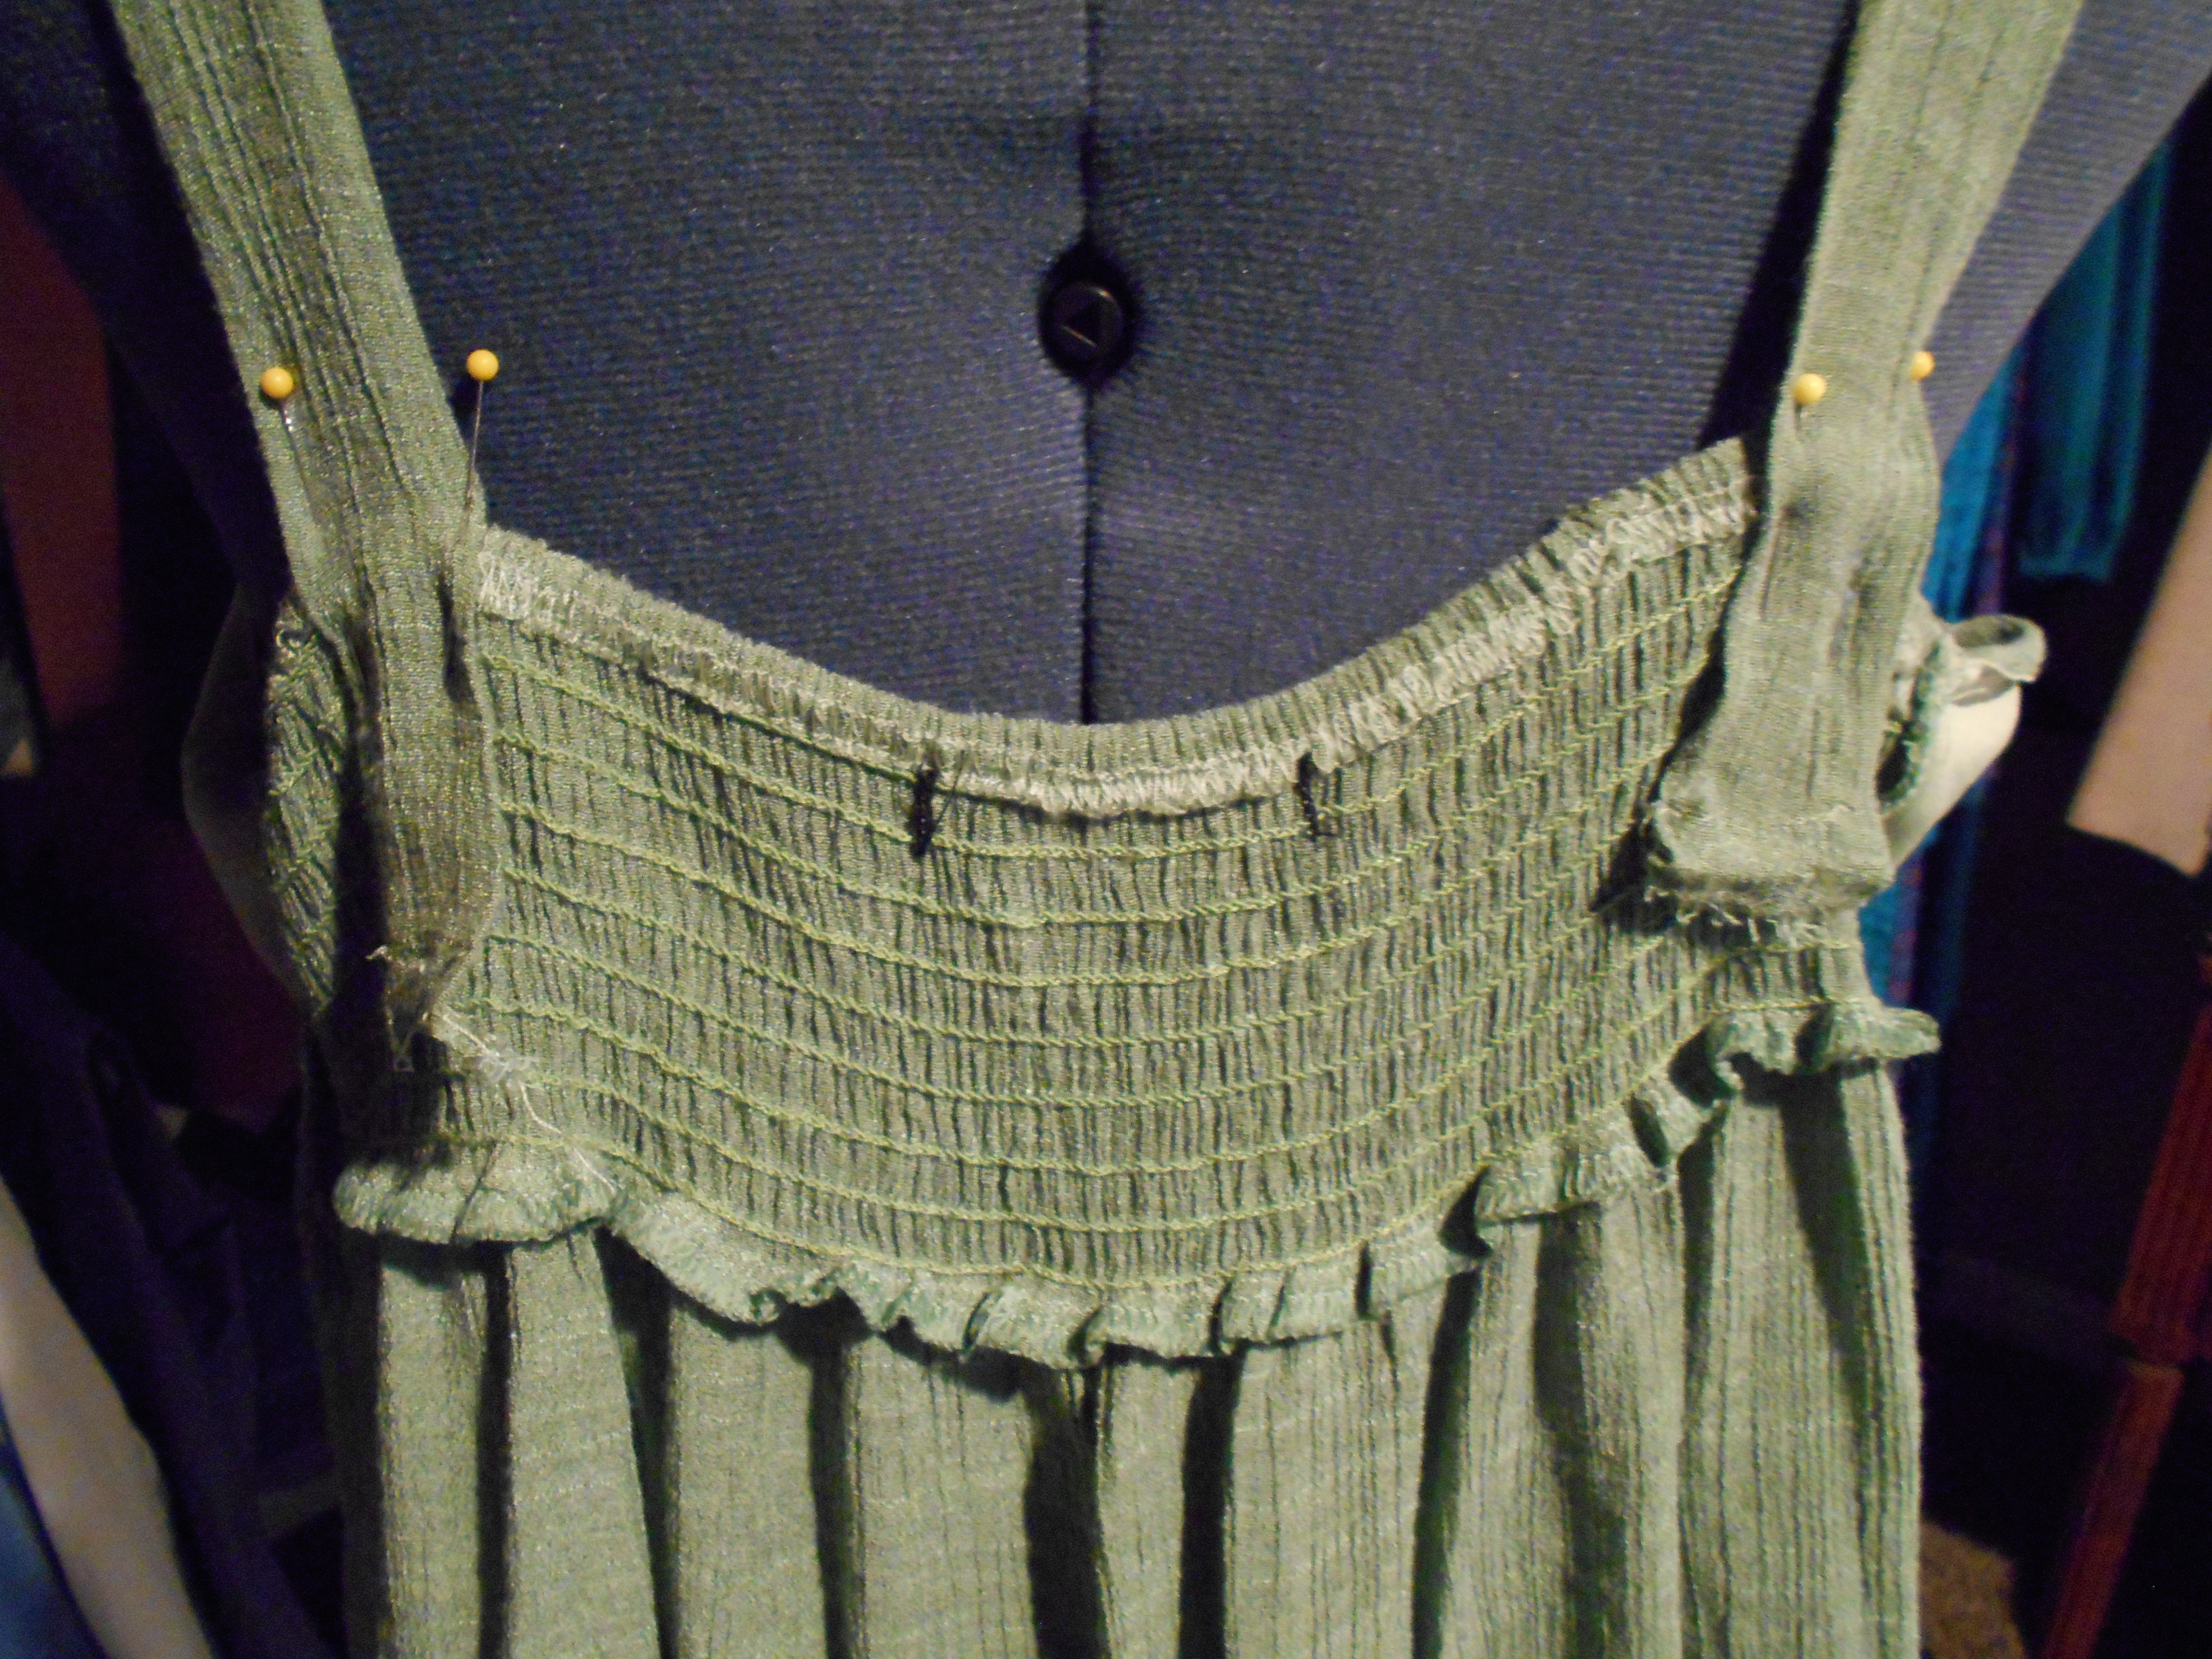
Then I shortened the straps.
DSCN0579
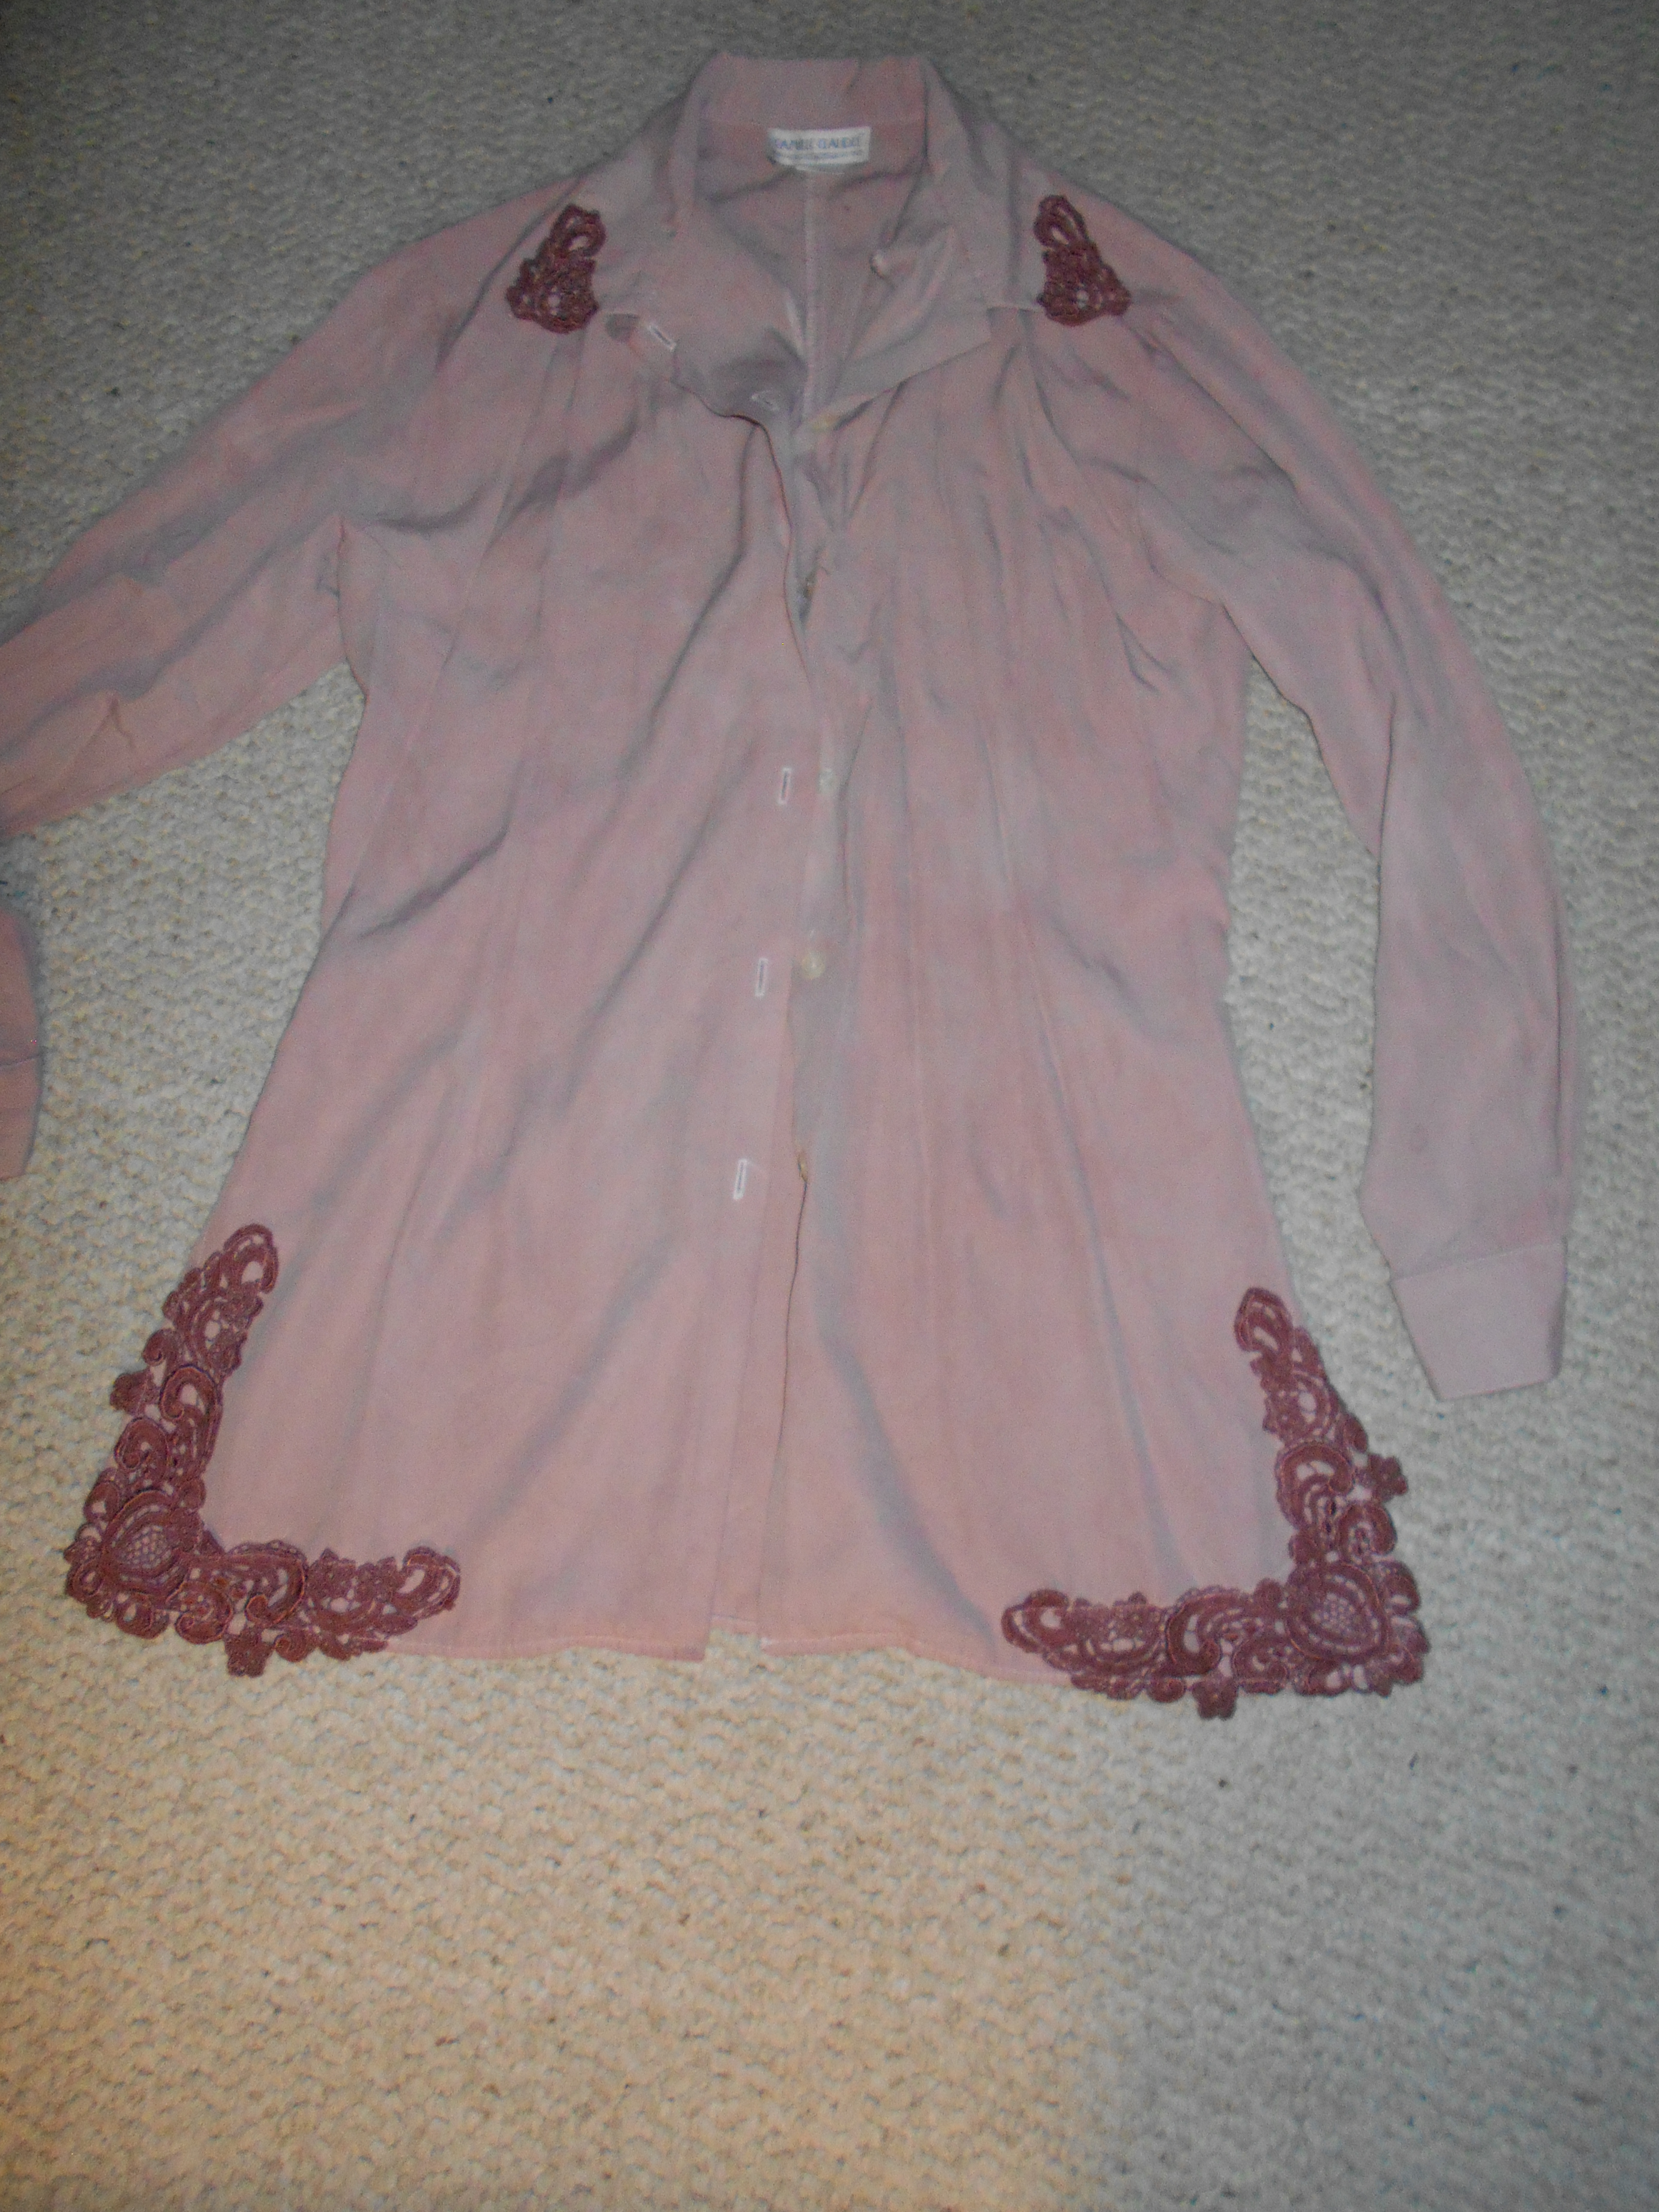
Awhile back I dyed this shirt, which used to be white. I was very surprised at how the lace had taken in the dye and very unimpressed by how the shirt did not. As a whole the shirt looked nice but it wasn't what I wanted.
DSCN0581
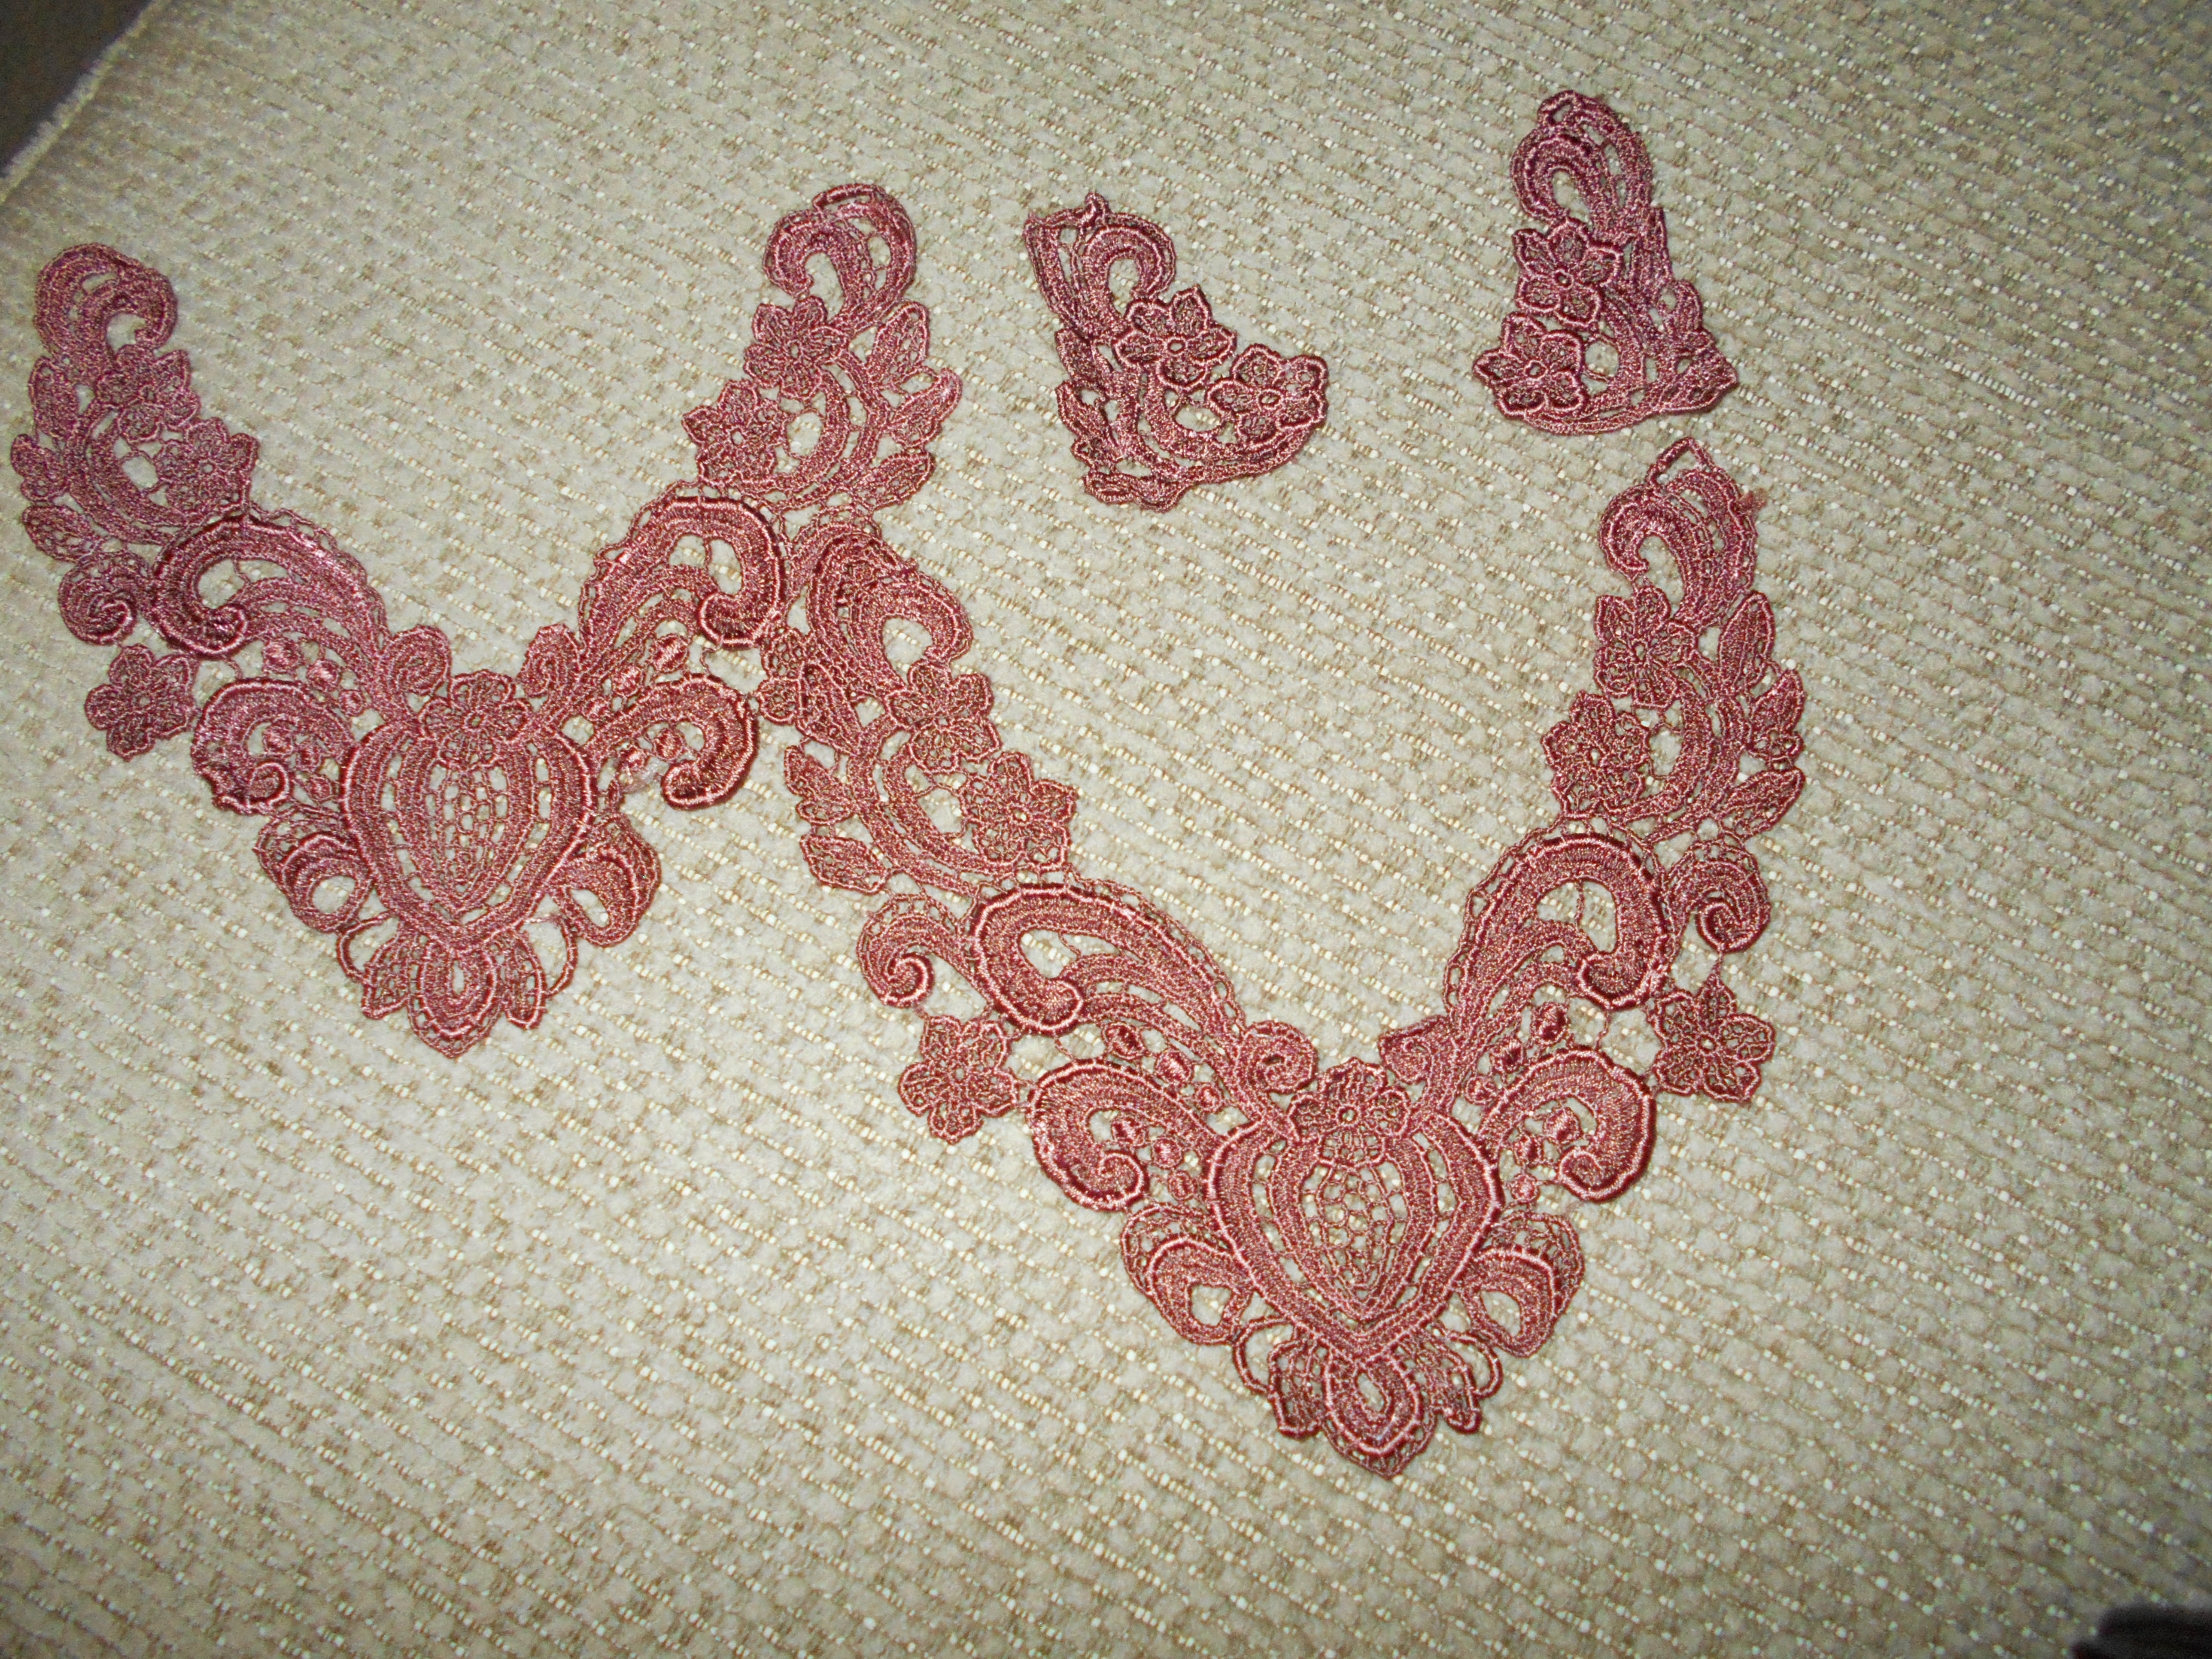
I harvested the lace from that shirt for my new dress.
DSCN0599
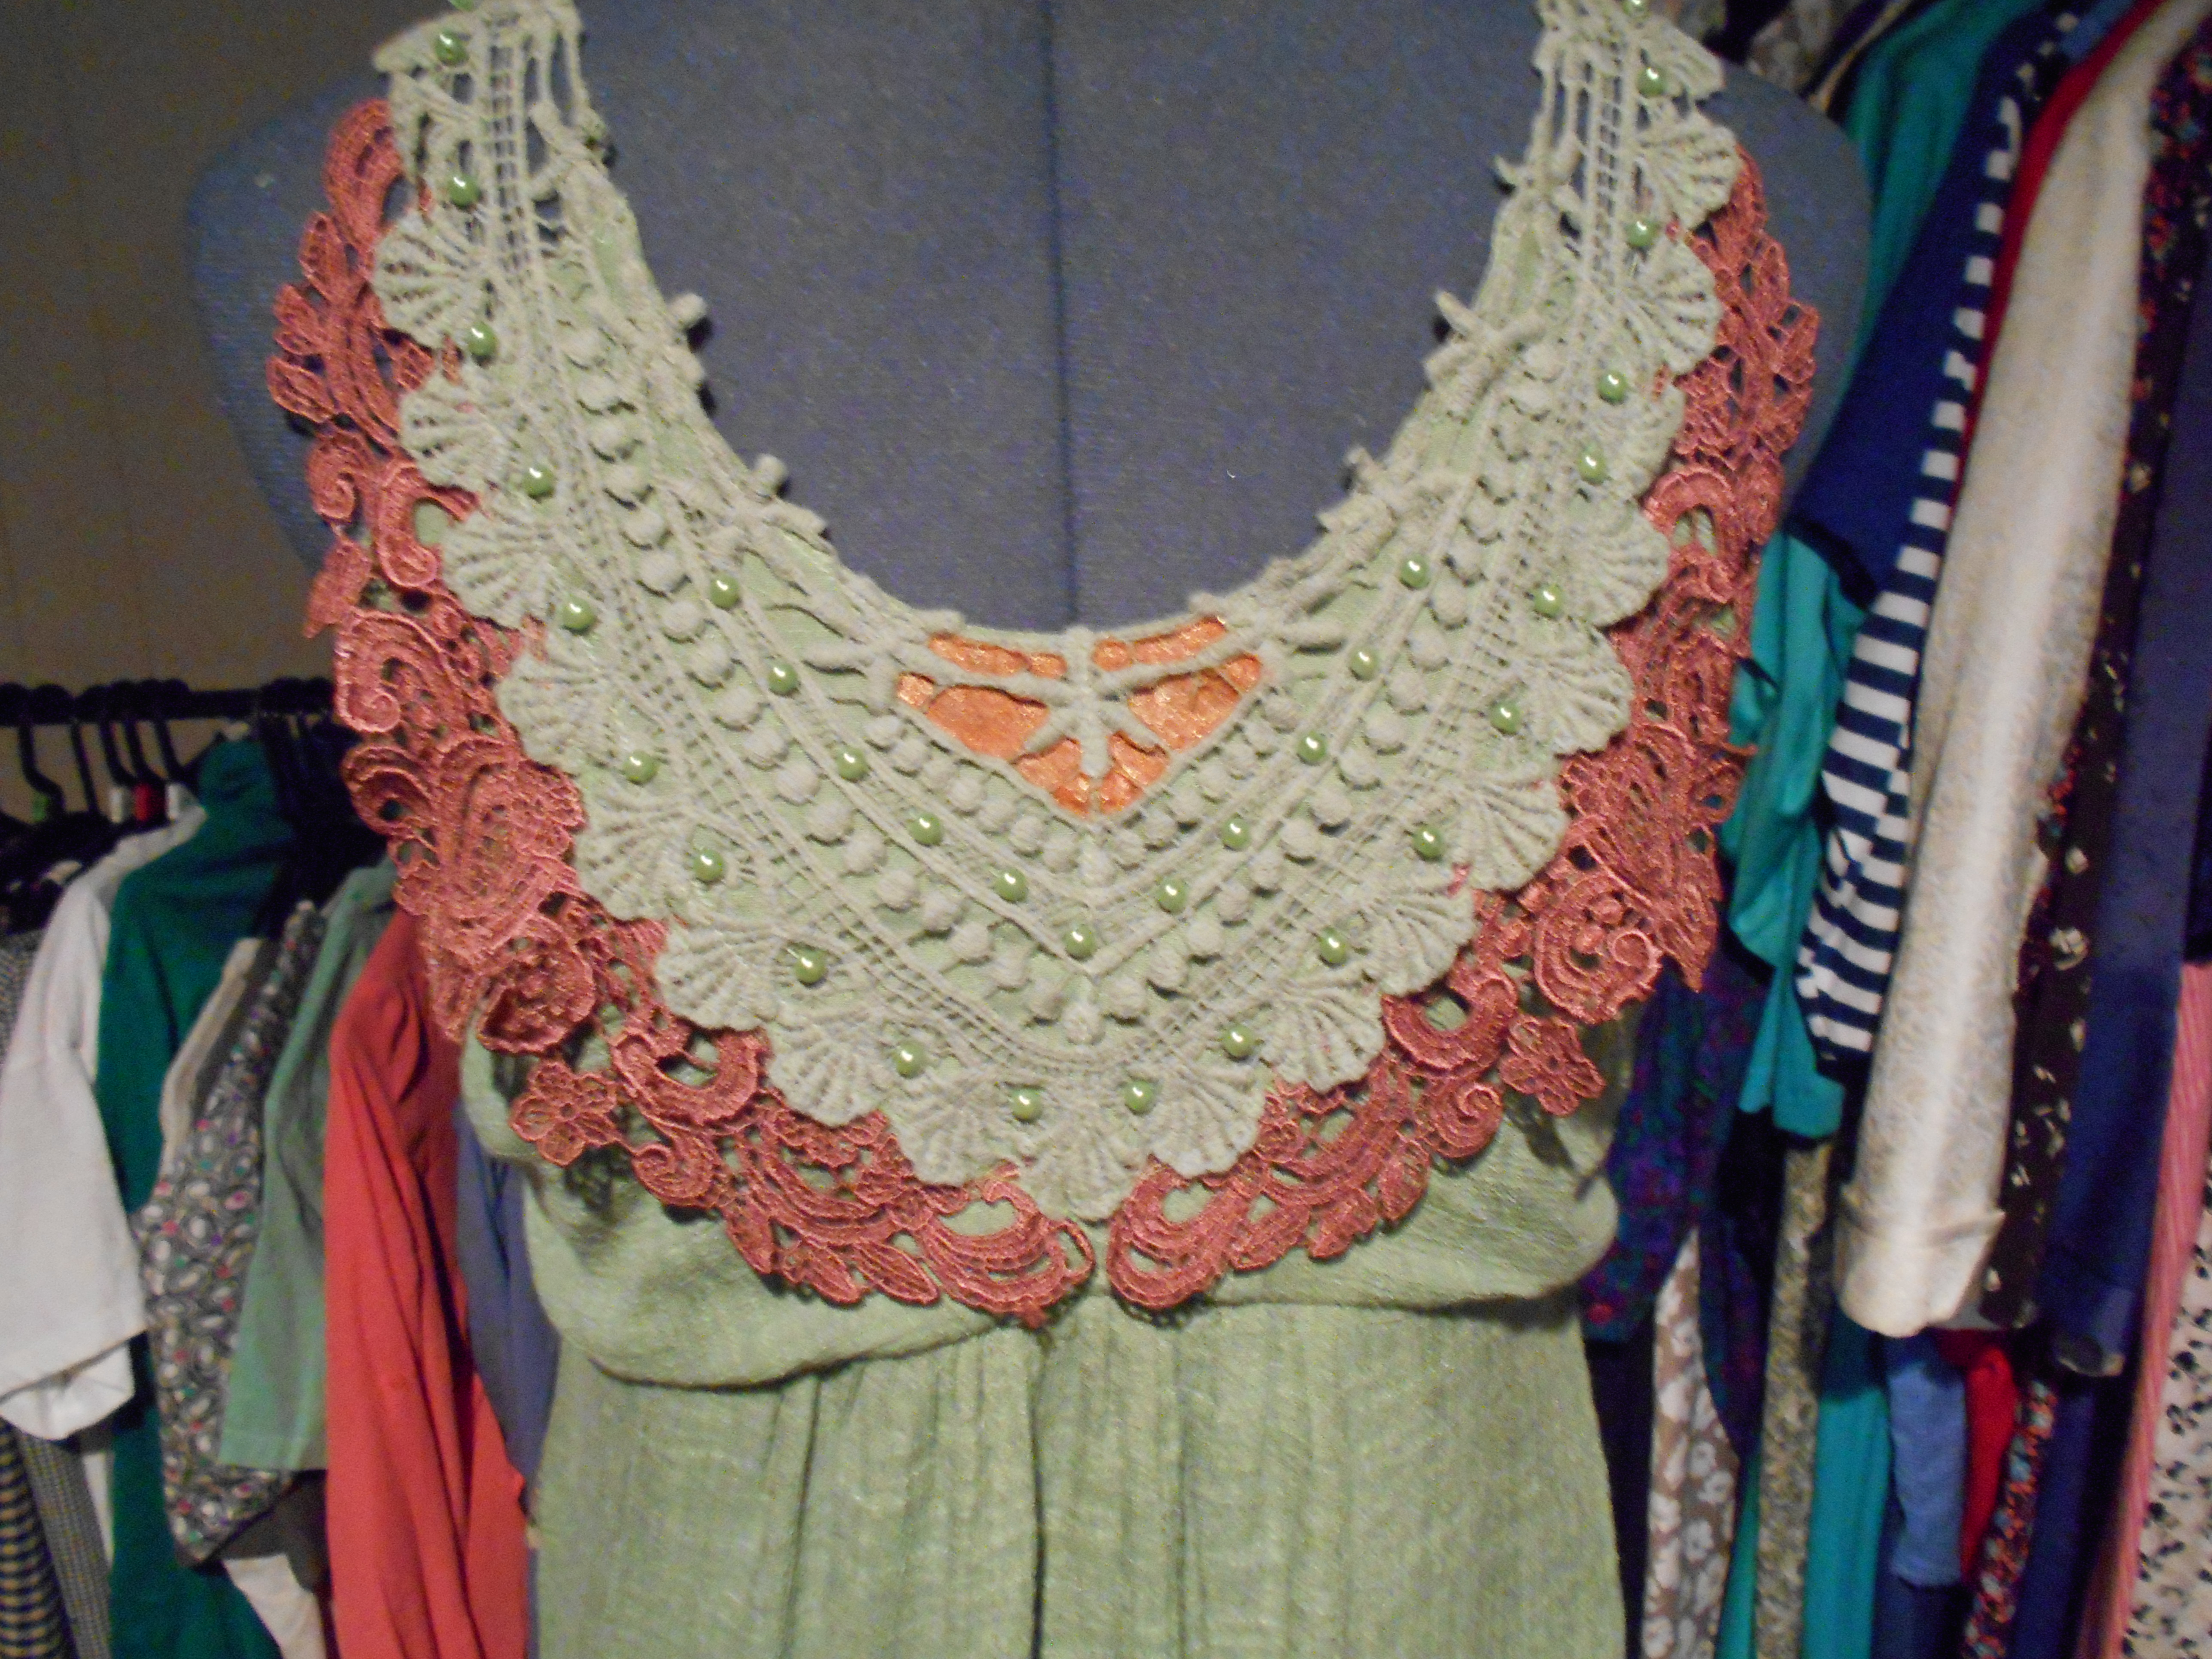
I sewed the larger lace to the front.
DSCN0593
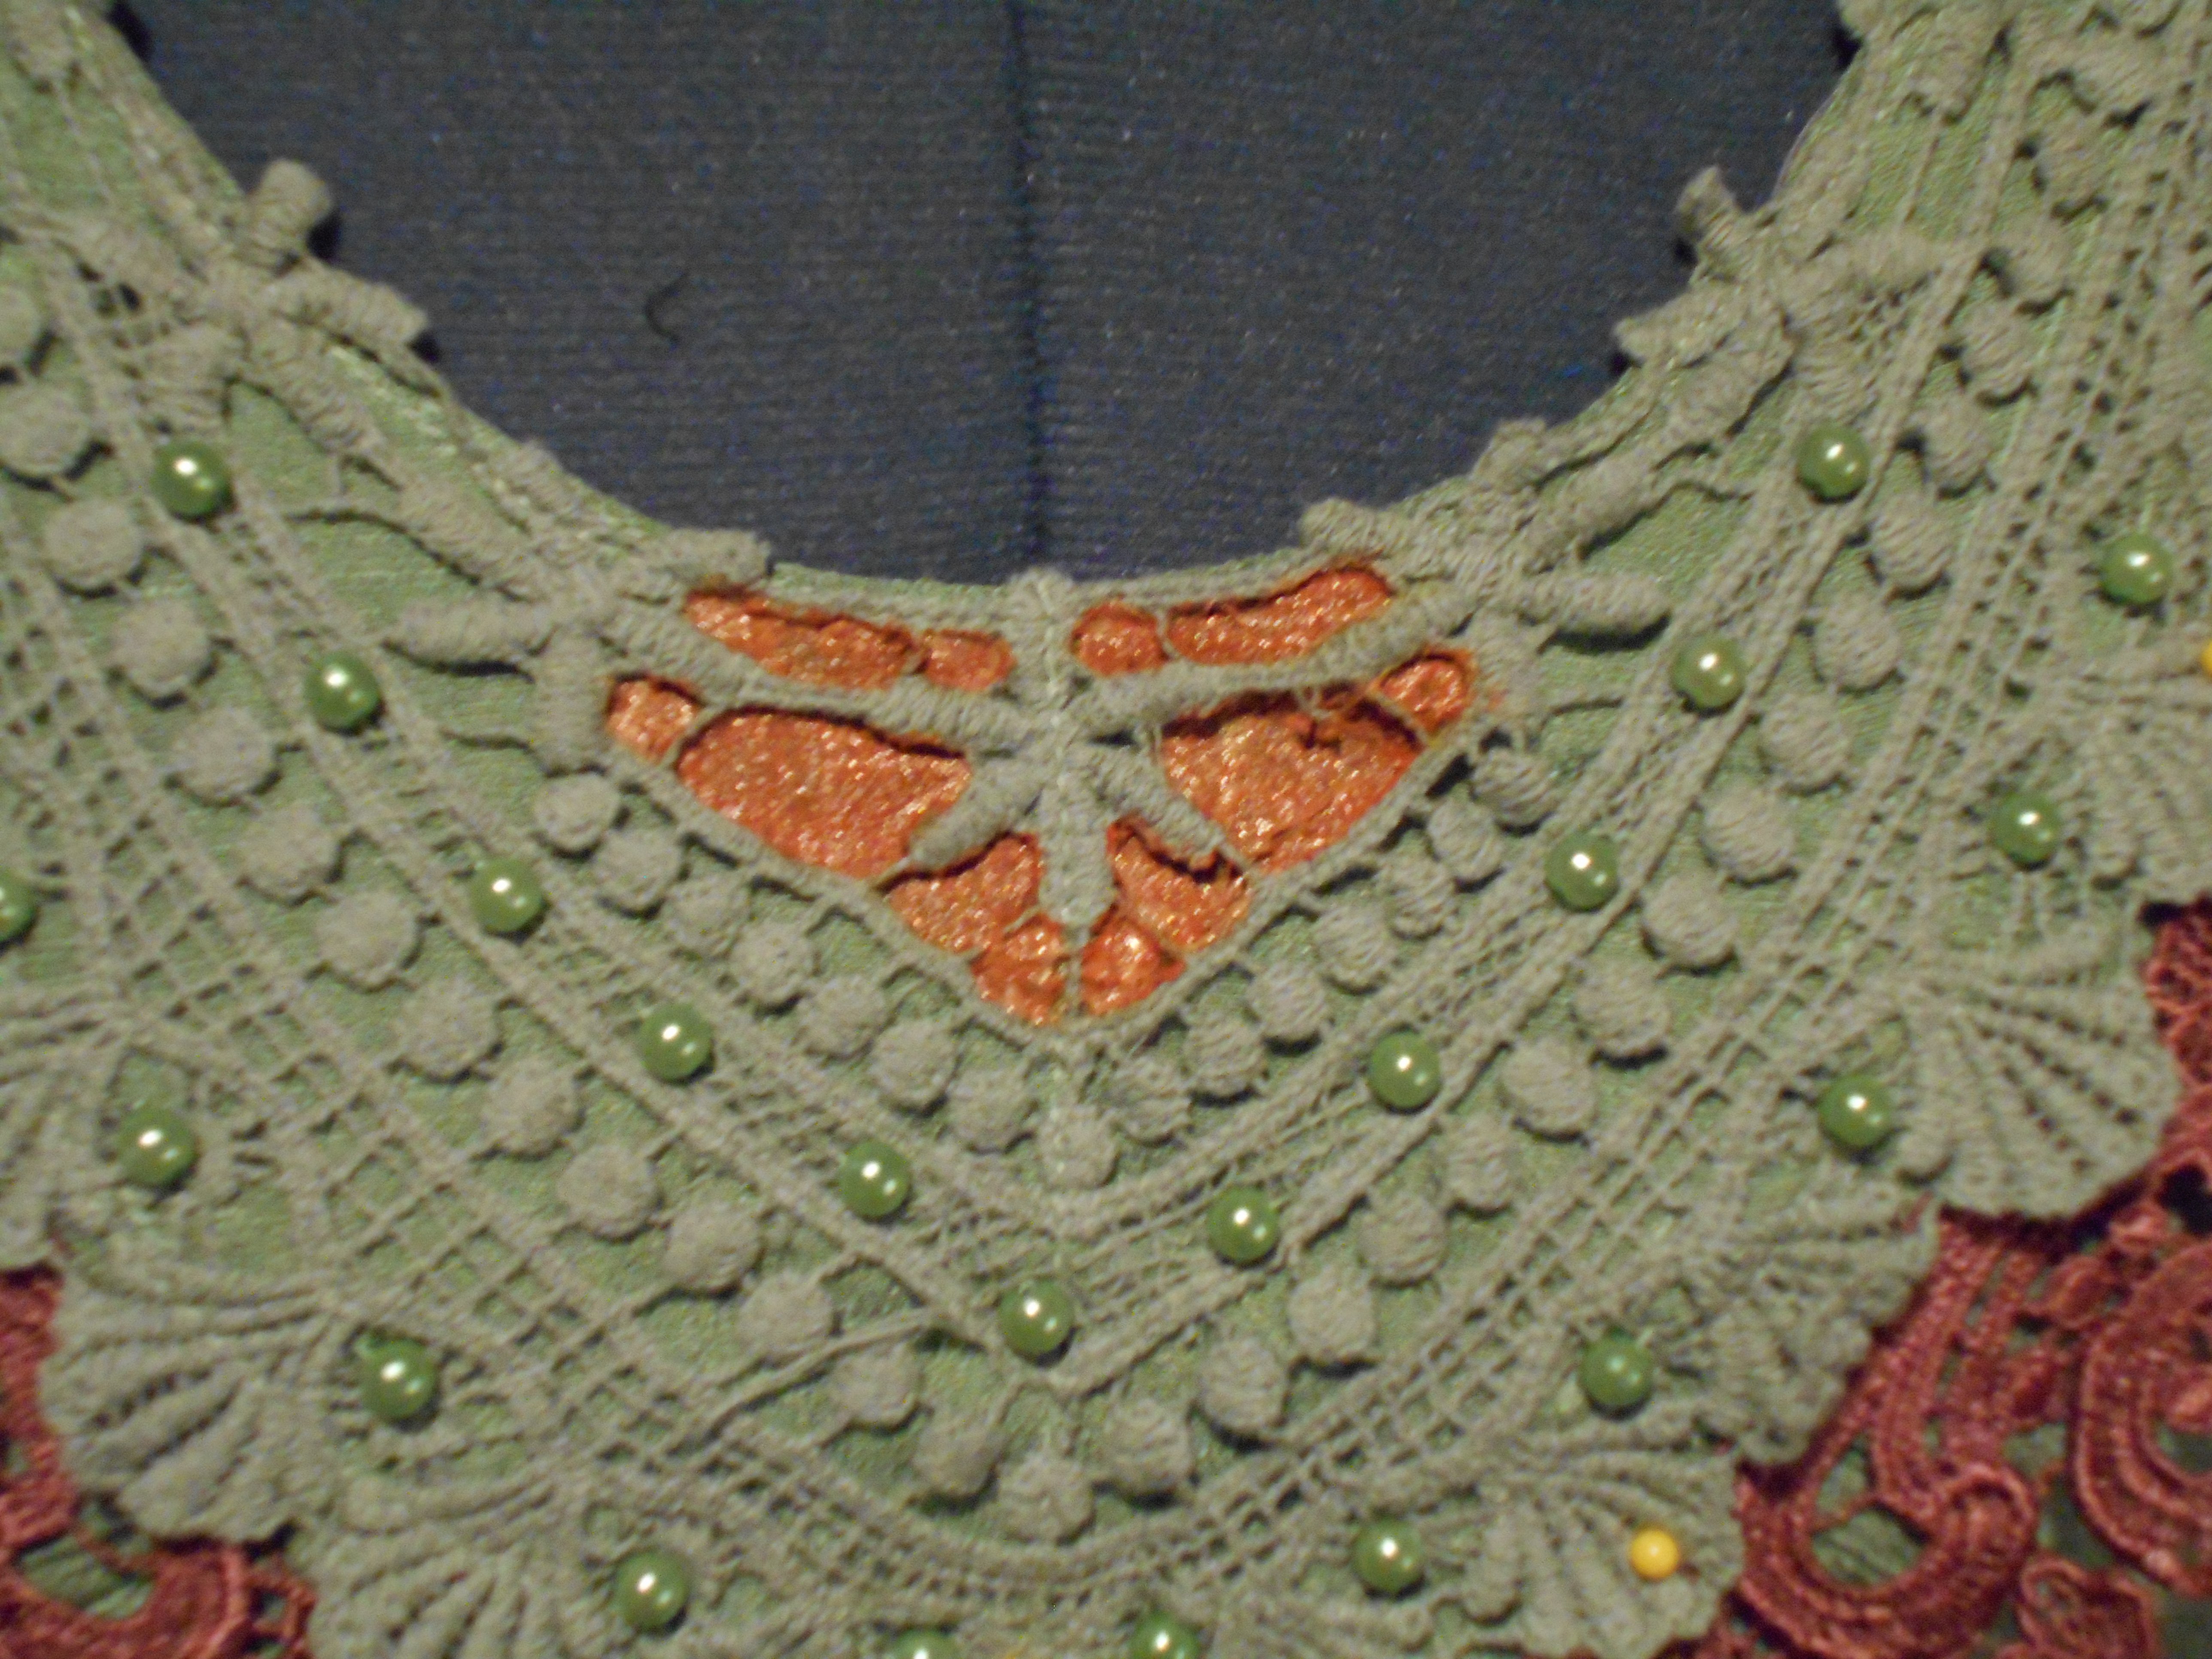
I also used fabric paint to add a little color to the existing dress...not too pleased on how the color turned out.
DSCN0598
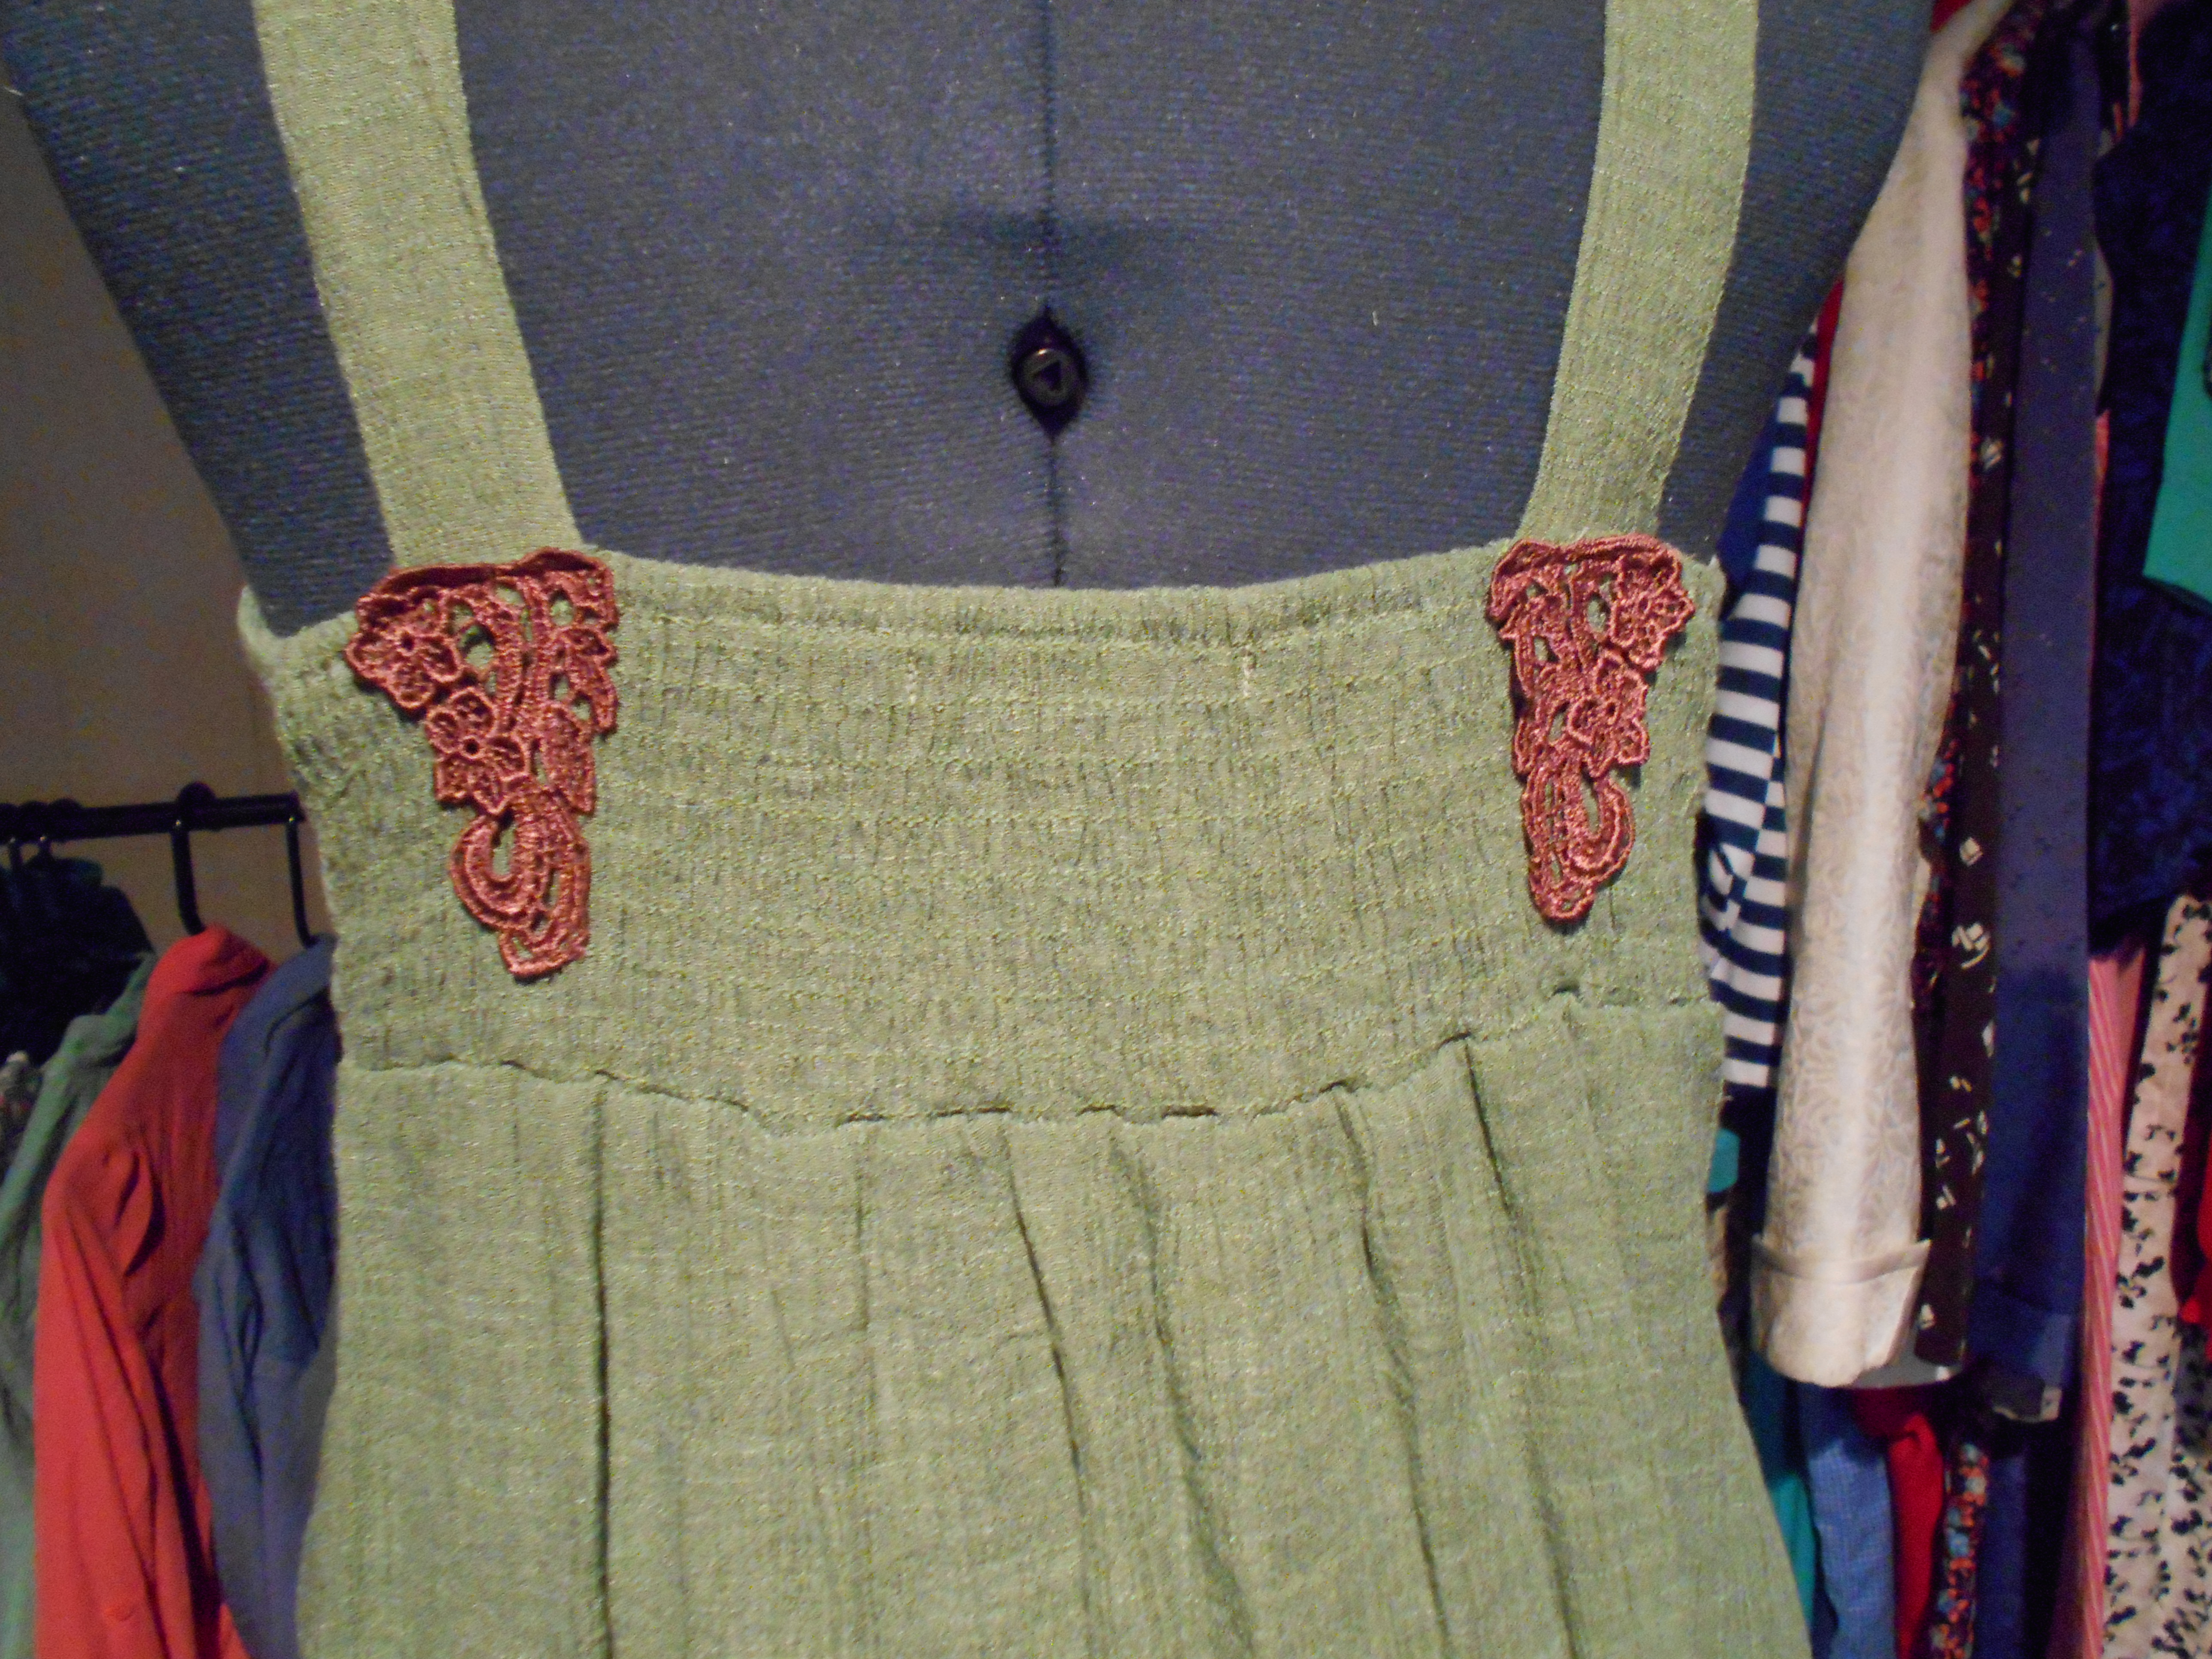
I sewed the smaller lace pieces to the back where the straps ended.
DSCN0596
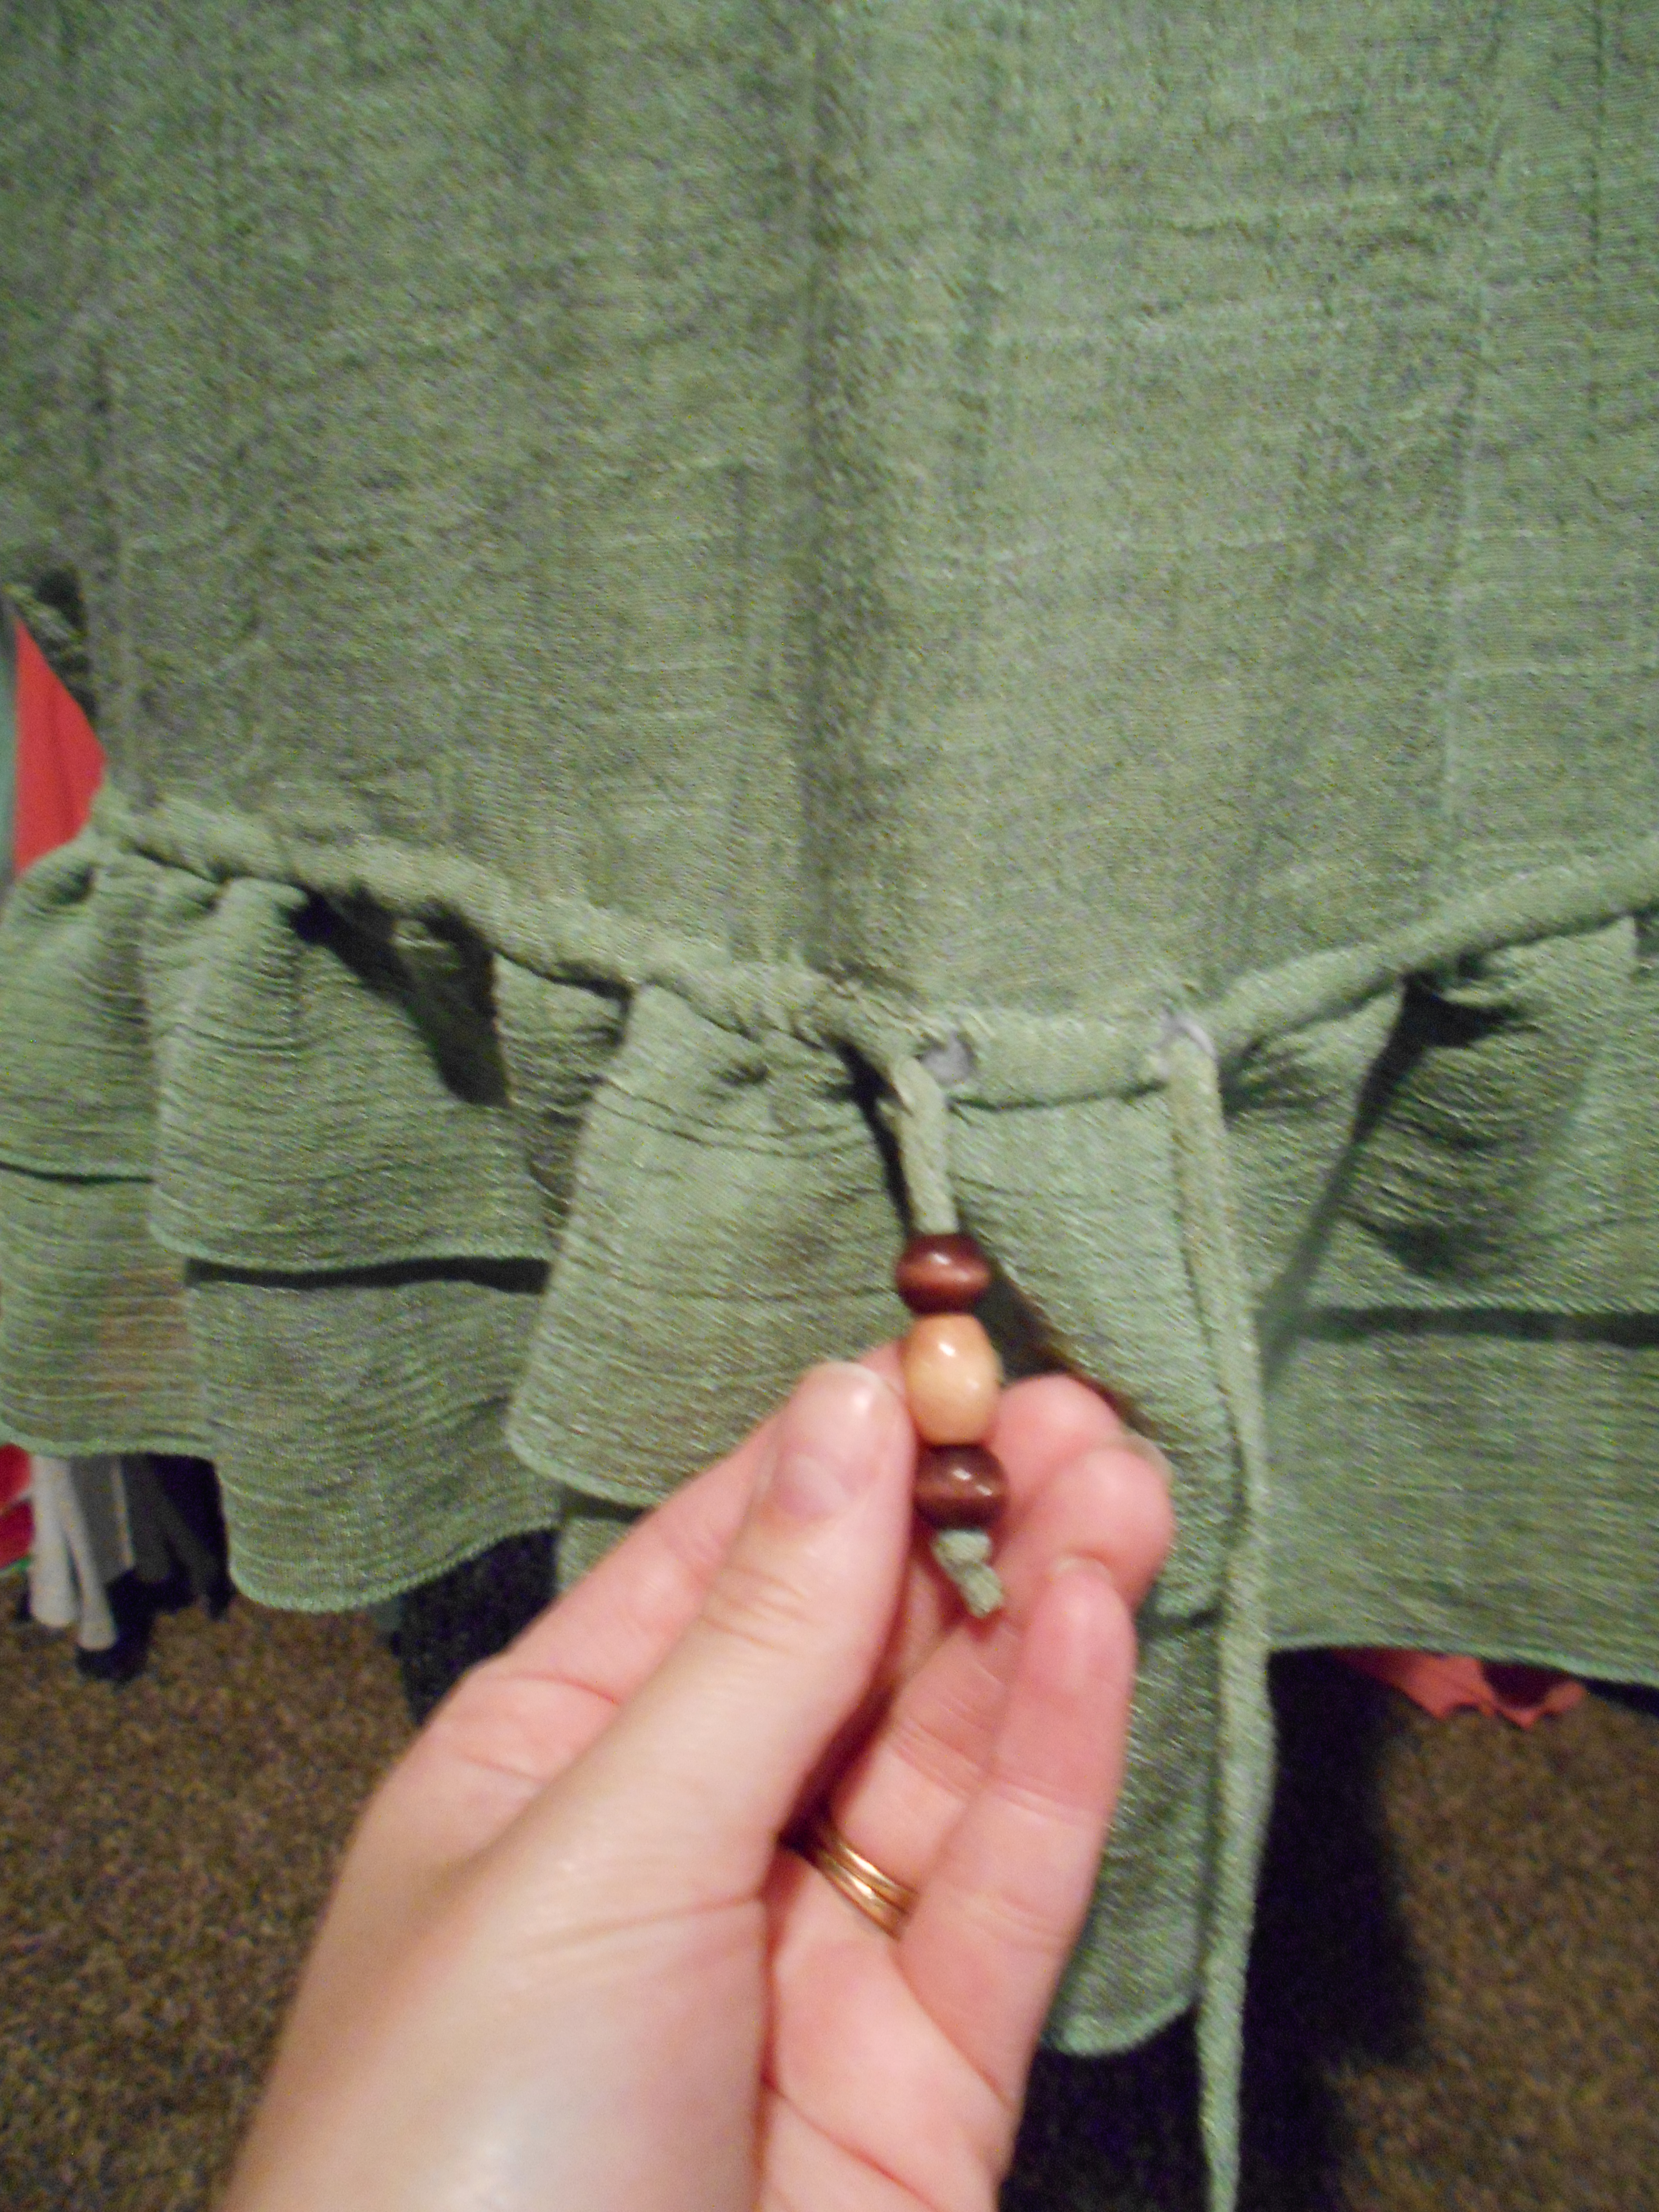
The bottom of the dress had this drawstring. I added wooden beads for decoration then decided I wanted to remove the drawstring all together.
Now for the flower crown:
DSCN0602
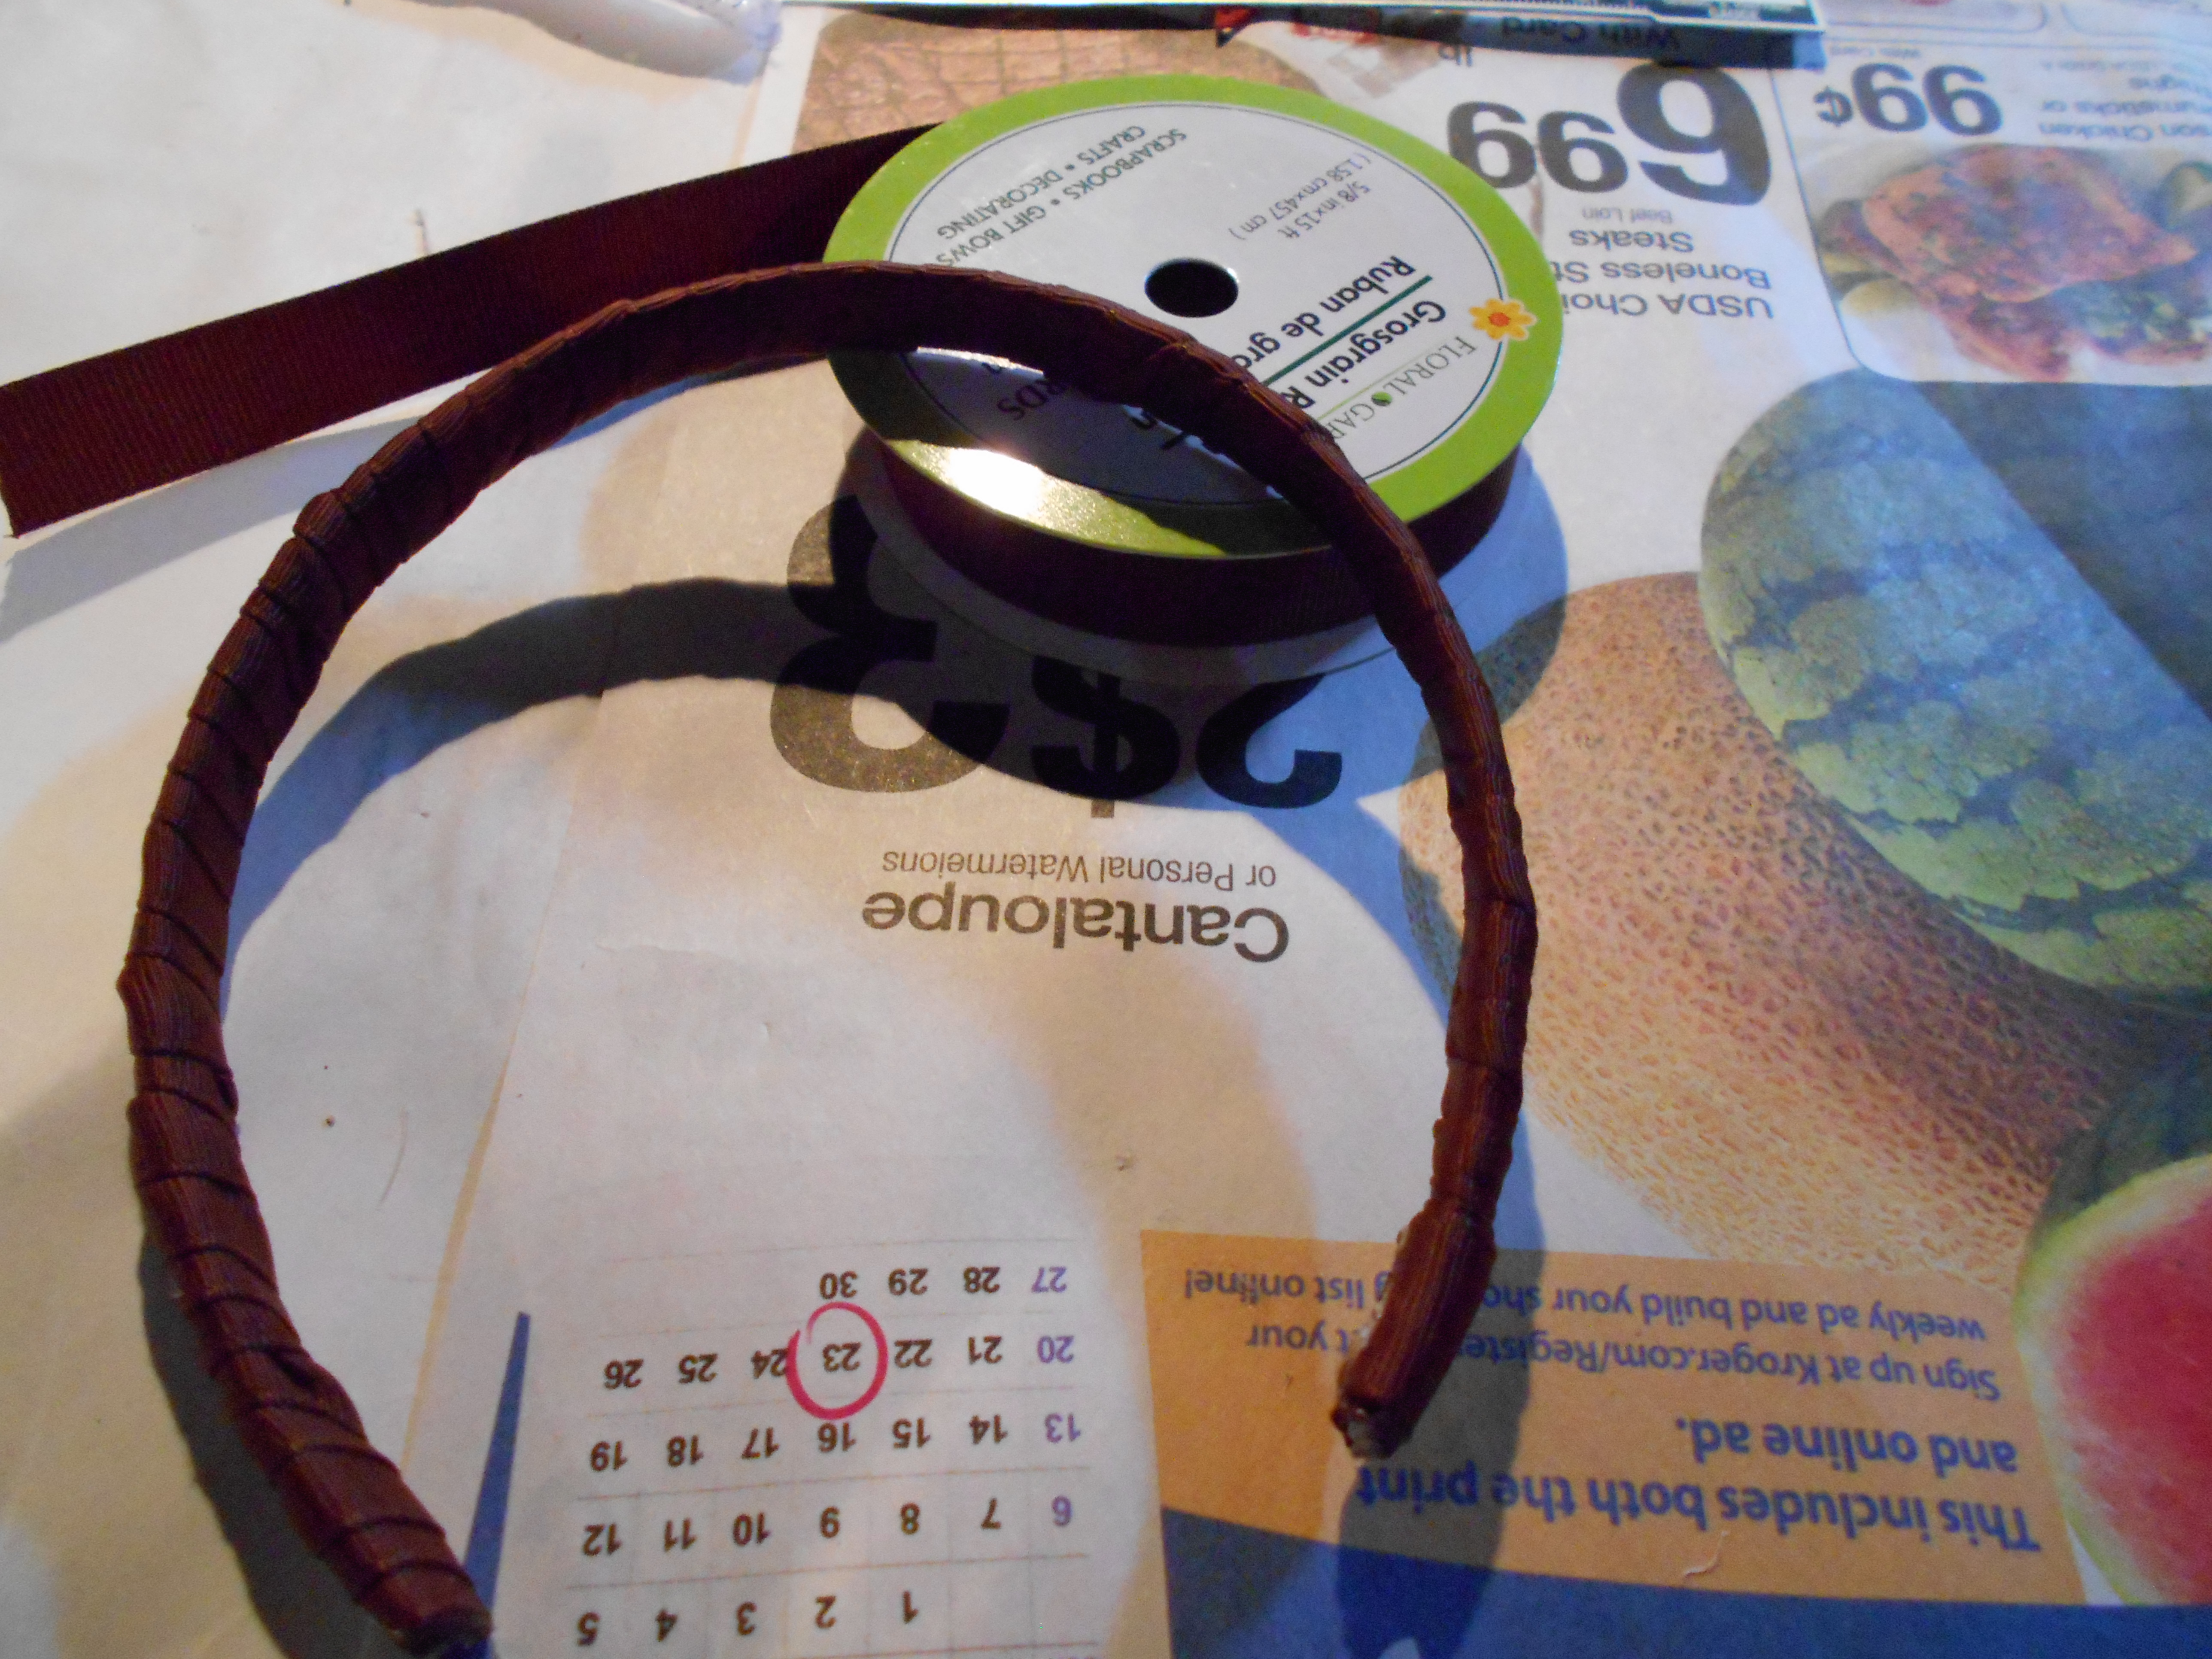
I wrapped an old headband in brown ribbon.
DSCN0588Hot glued fabric flowers onto the headband.
DSCN0604
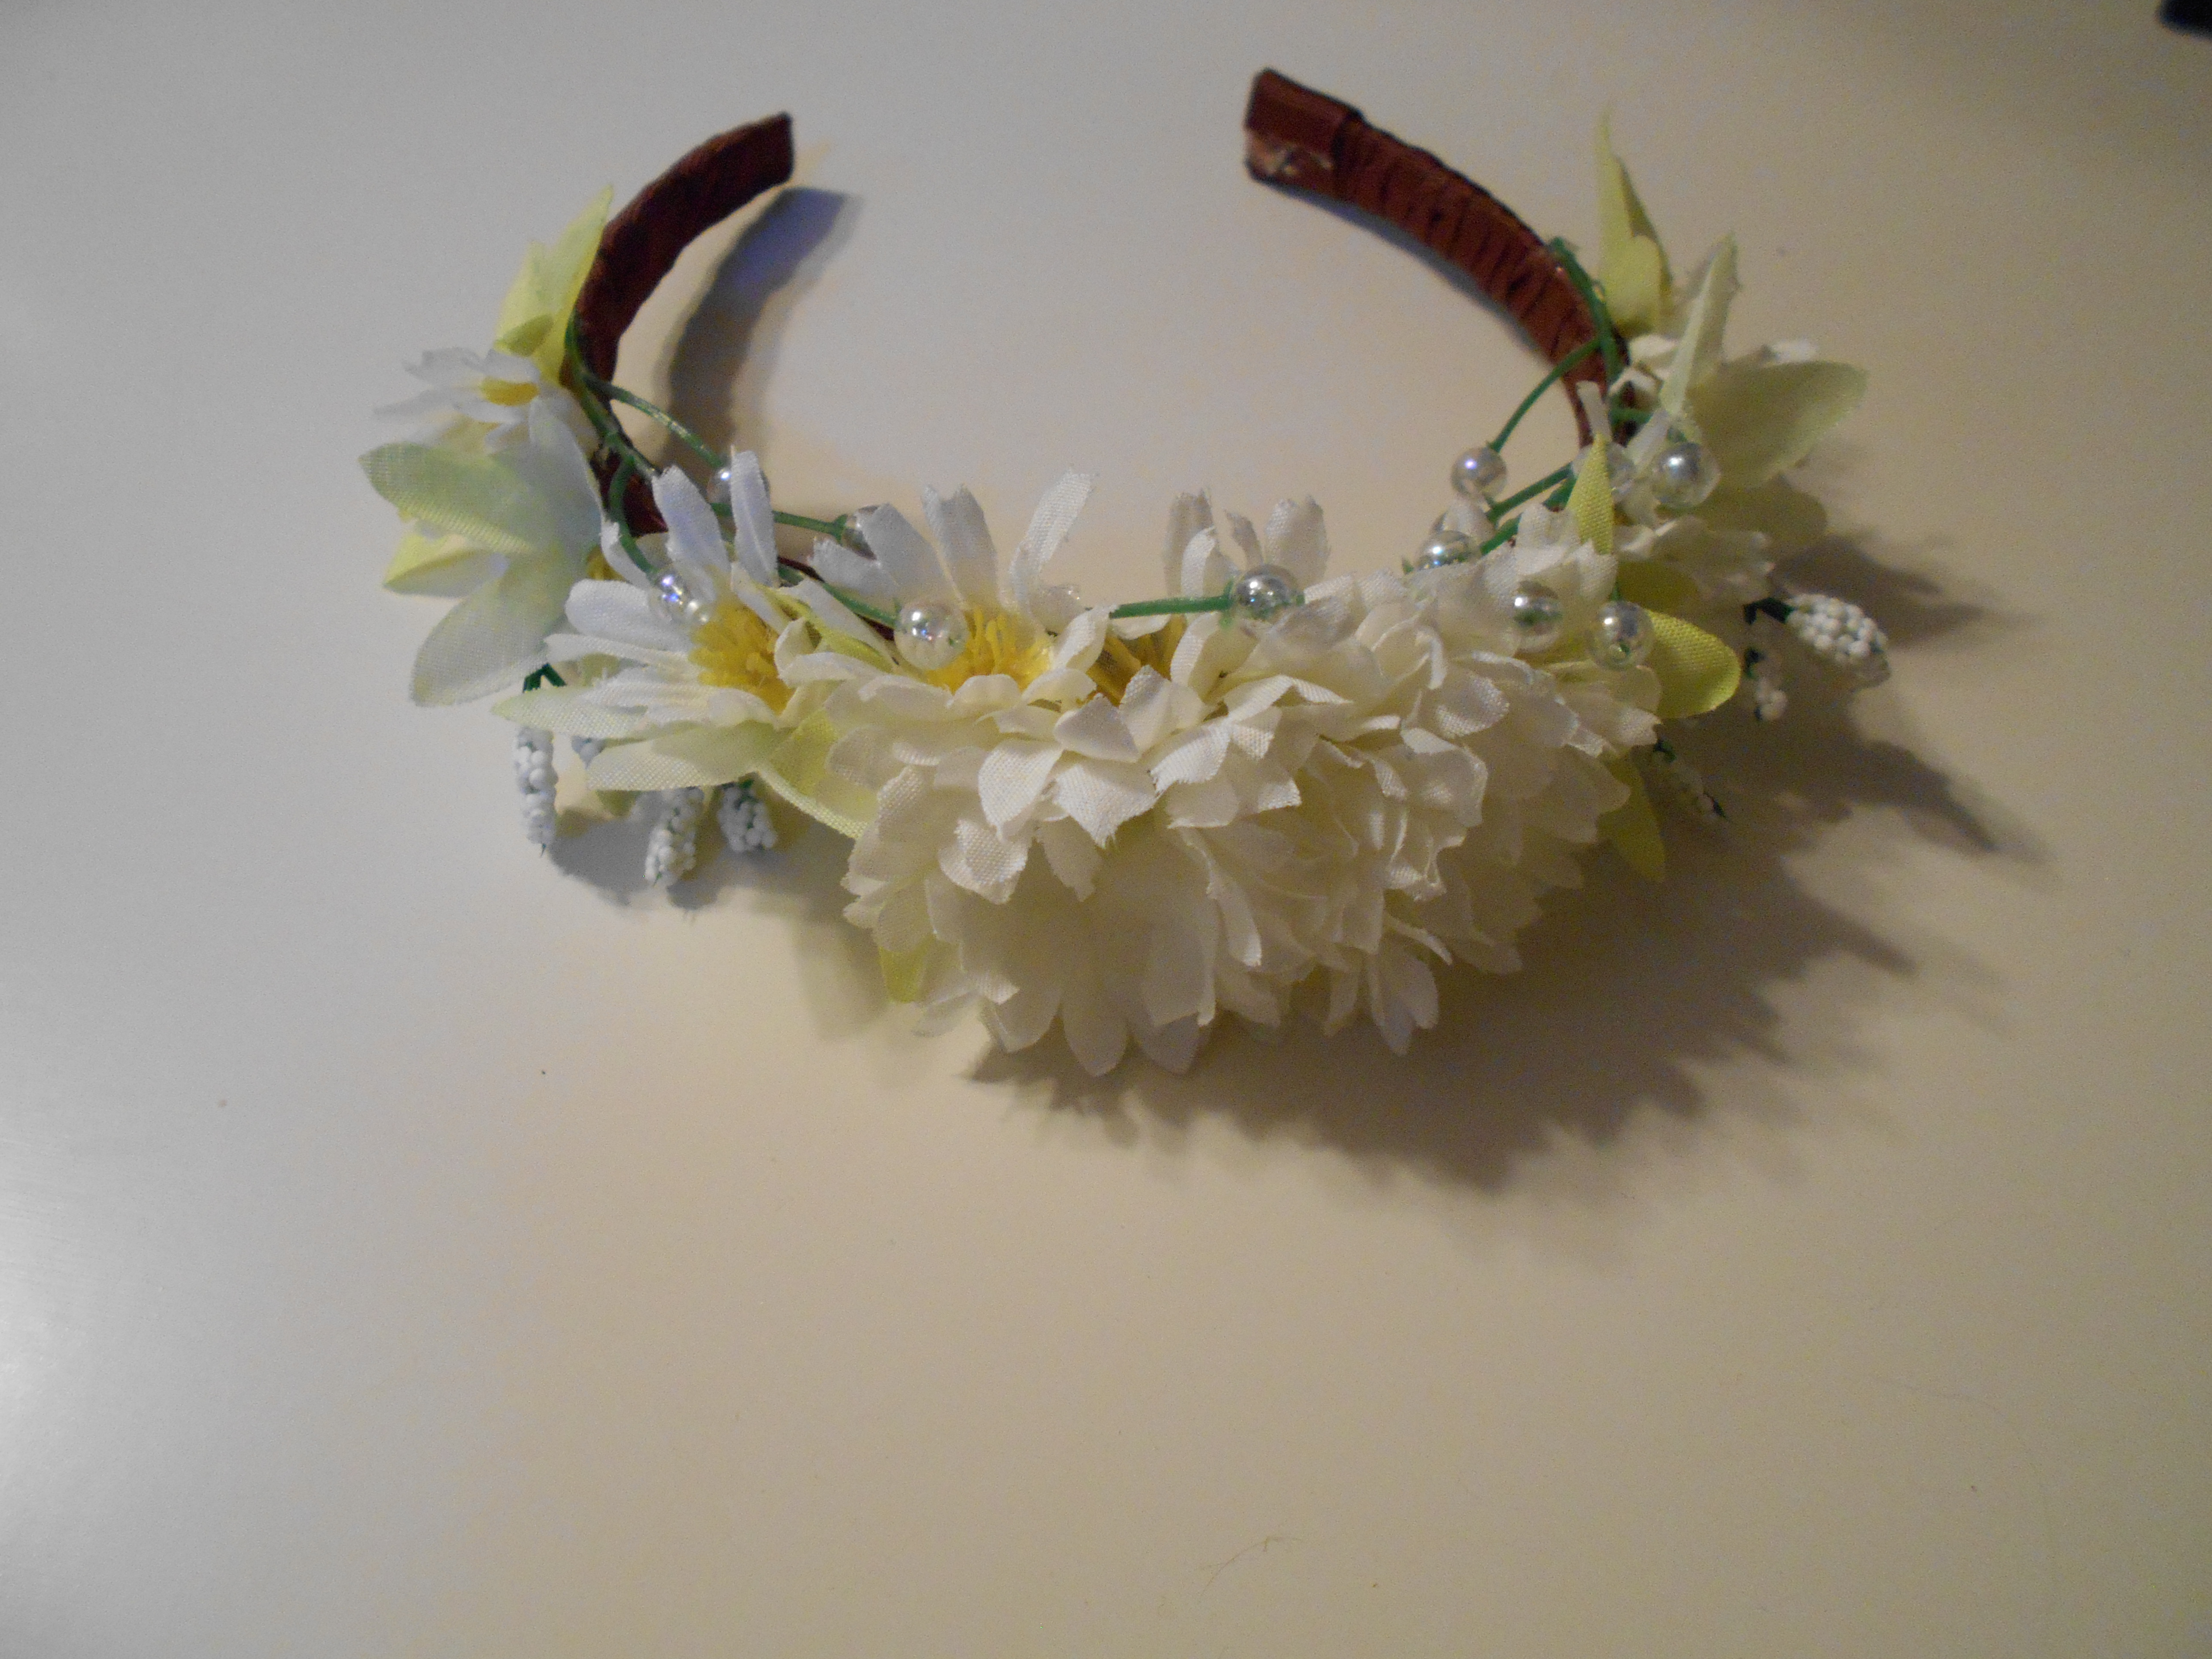
This is what I ended up with!
DSCN0605
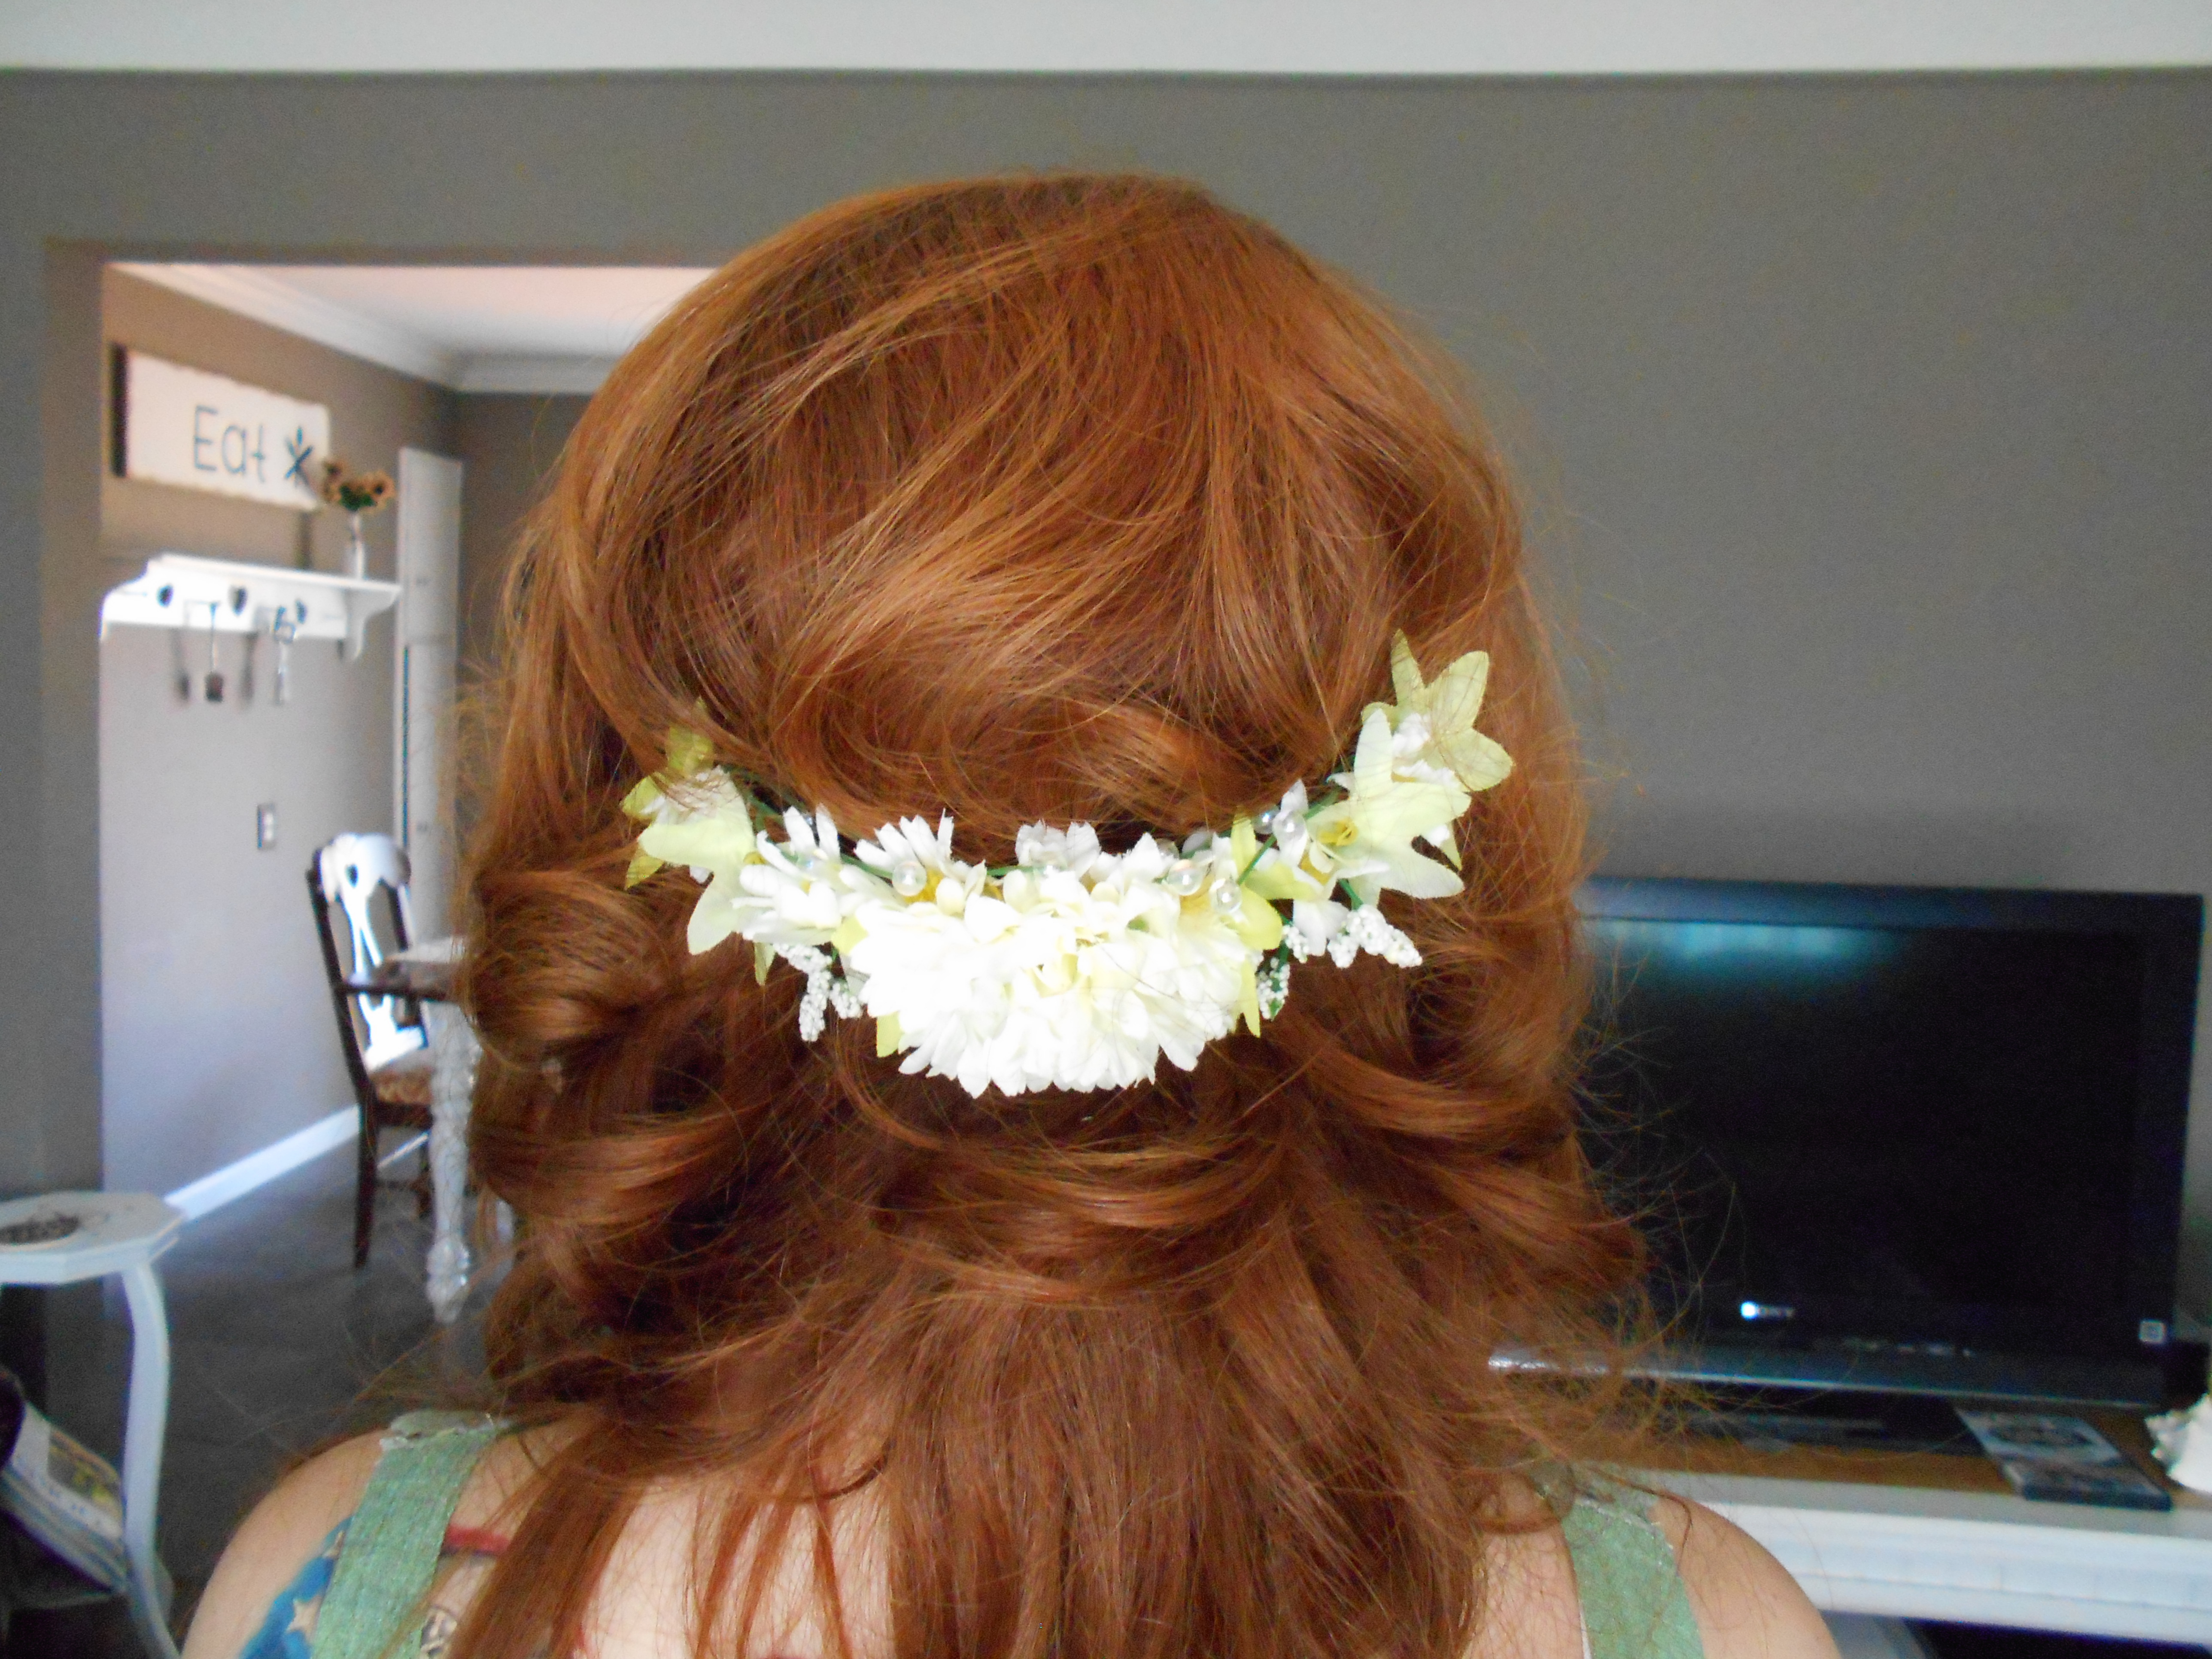
I think it turned out really nice!
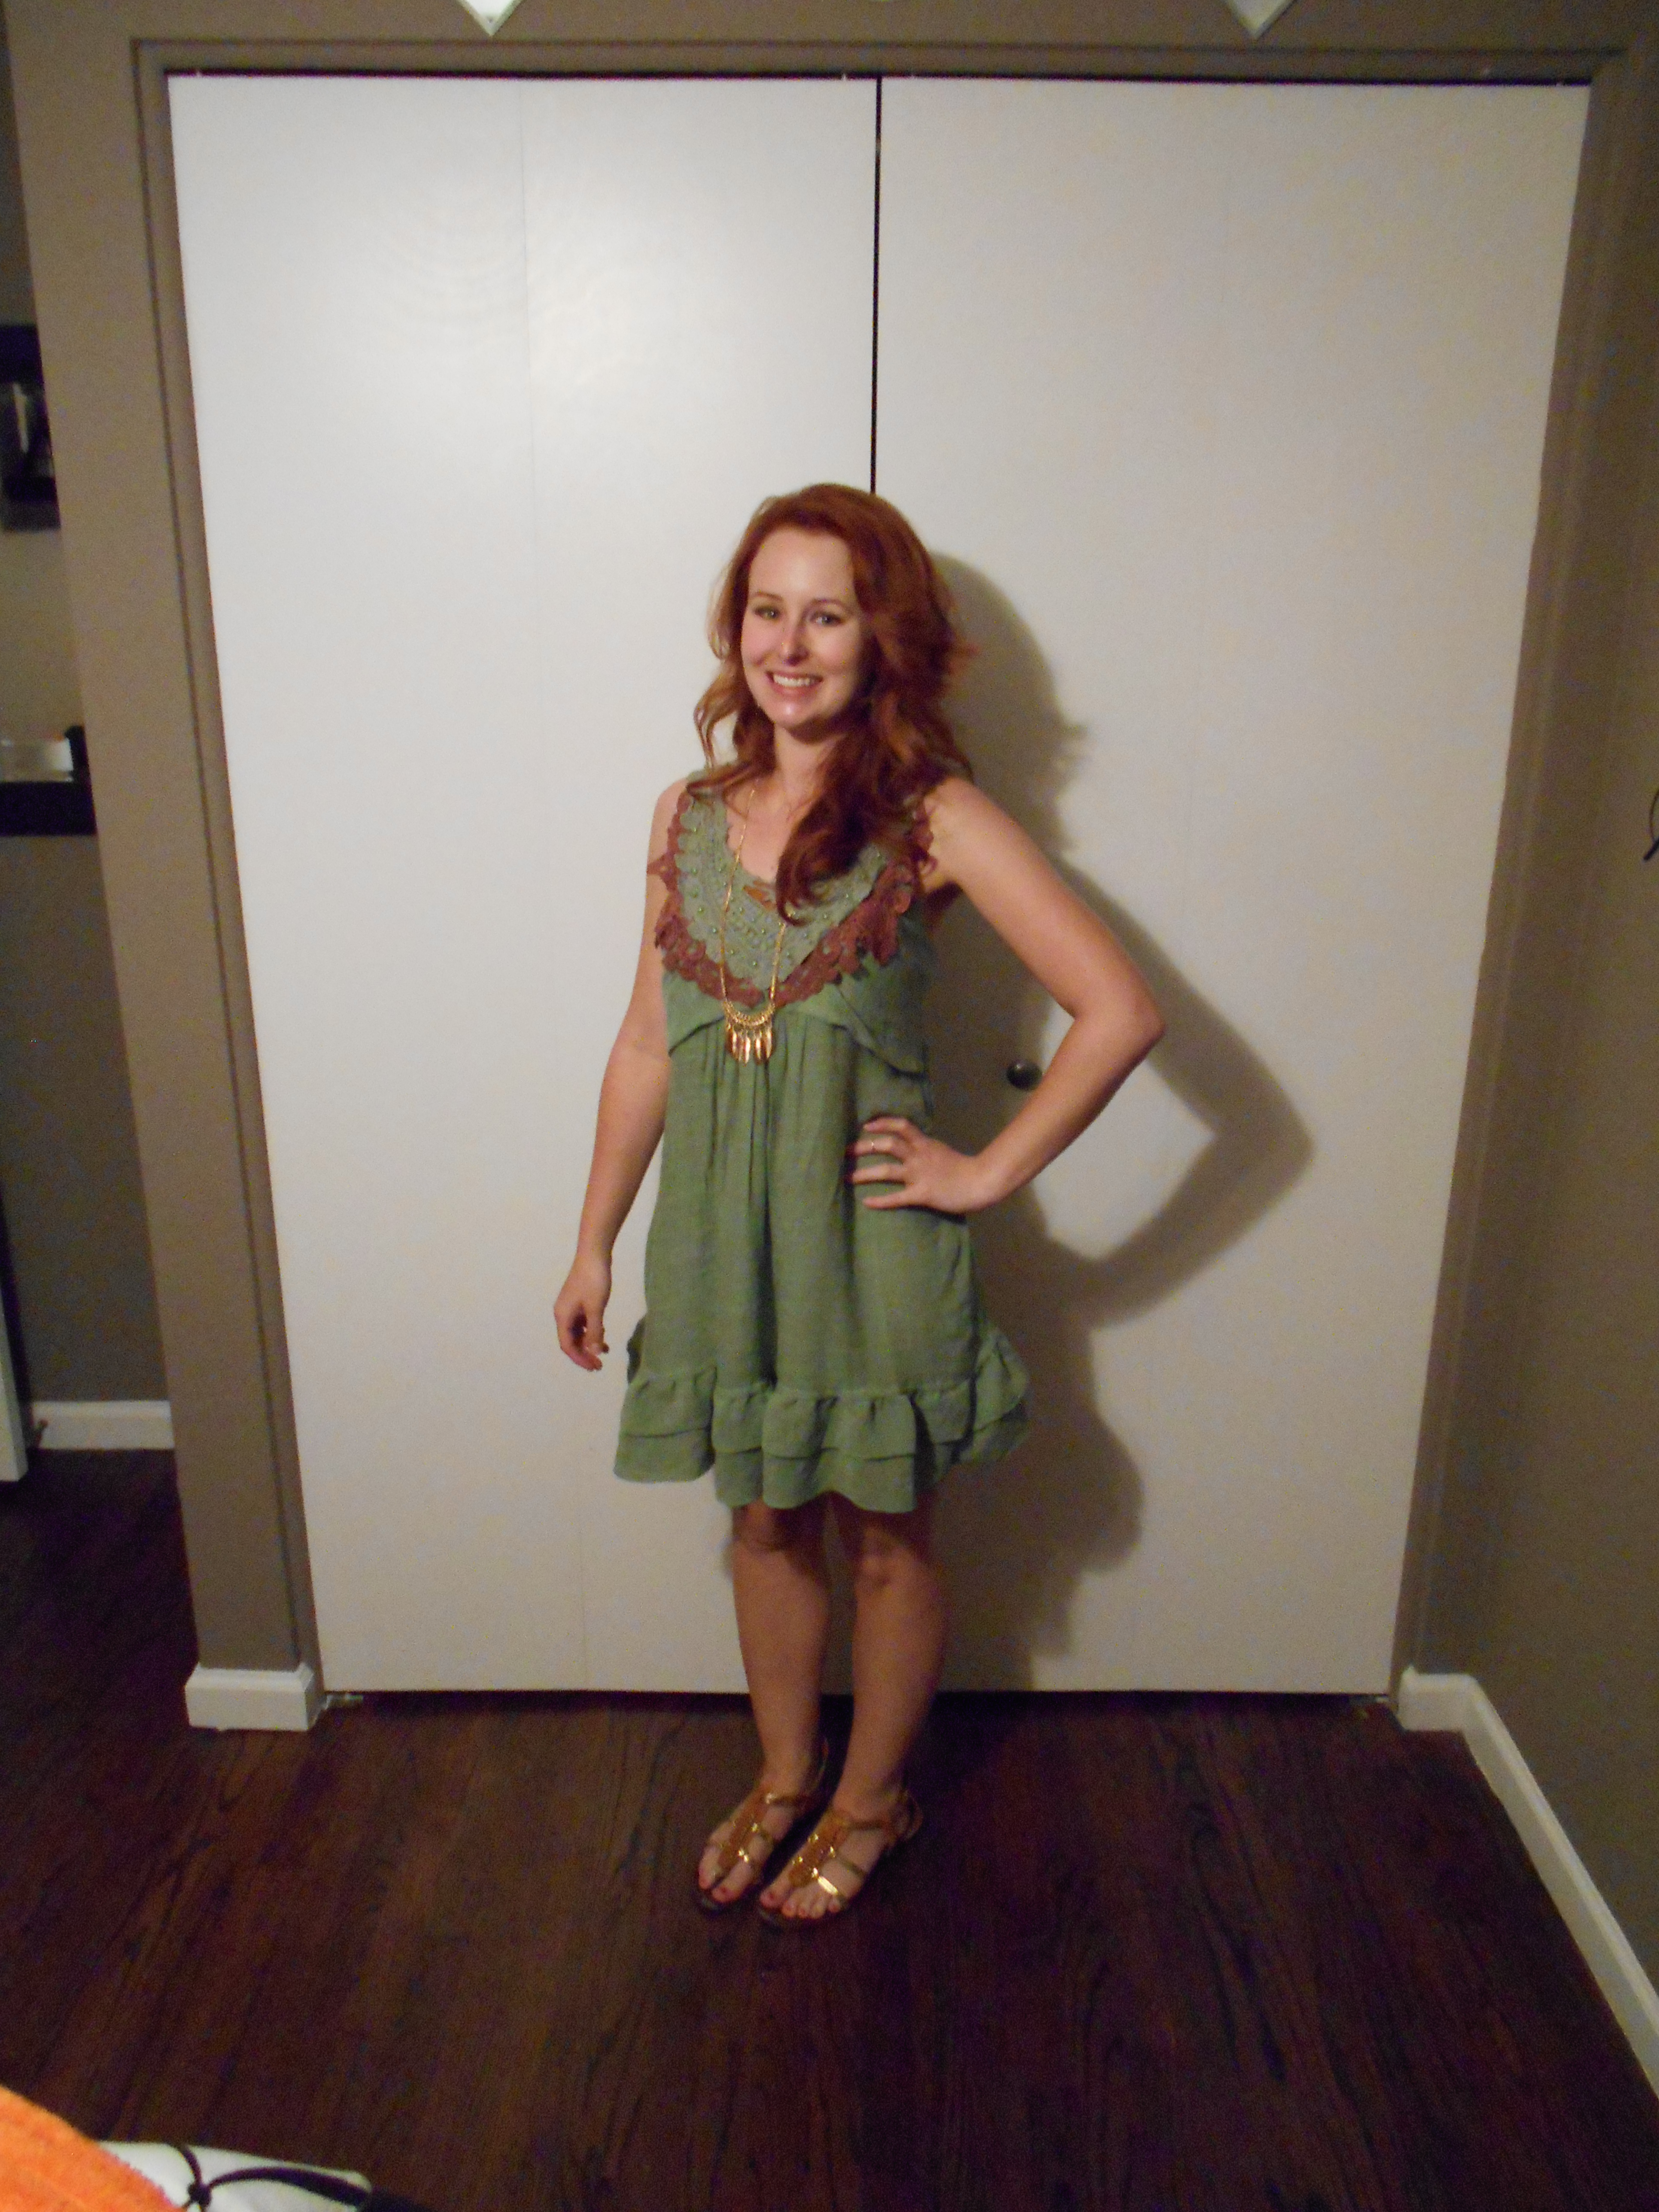
DSCN0608   
  
 Concert selfie!
 Amazing!!!
 Phototastic-2016-06-13-21-20-51
Happy Refashioning!!!
Check out my stash of refashions on my blog: http://therefashstash.wordpress.com