Friday, January 31, 2020

Polka Dots & Button Downs

Hello Refashion Co-op. I read on the internet somewhere that polka dots and button down shirts will be in style for spring. I don't know if that's true but I love both of them so I got to work.

I made this blue button down shirt more narrow in the sleeves and the body. I tried to make the waist taper in a little. The pink marks are just to show you my plan. This shirt had no stretch so I didn't want it too tight.

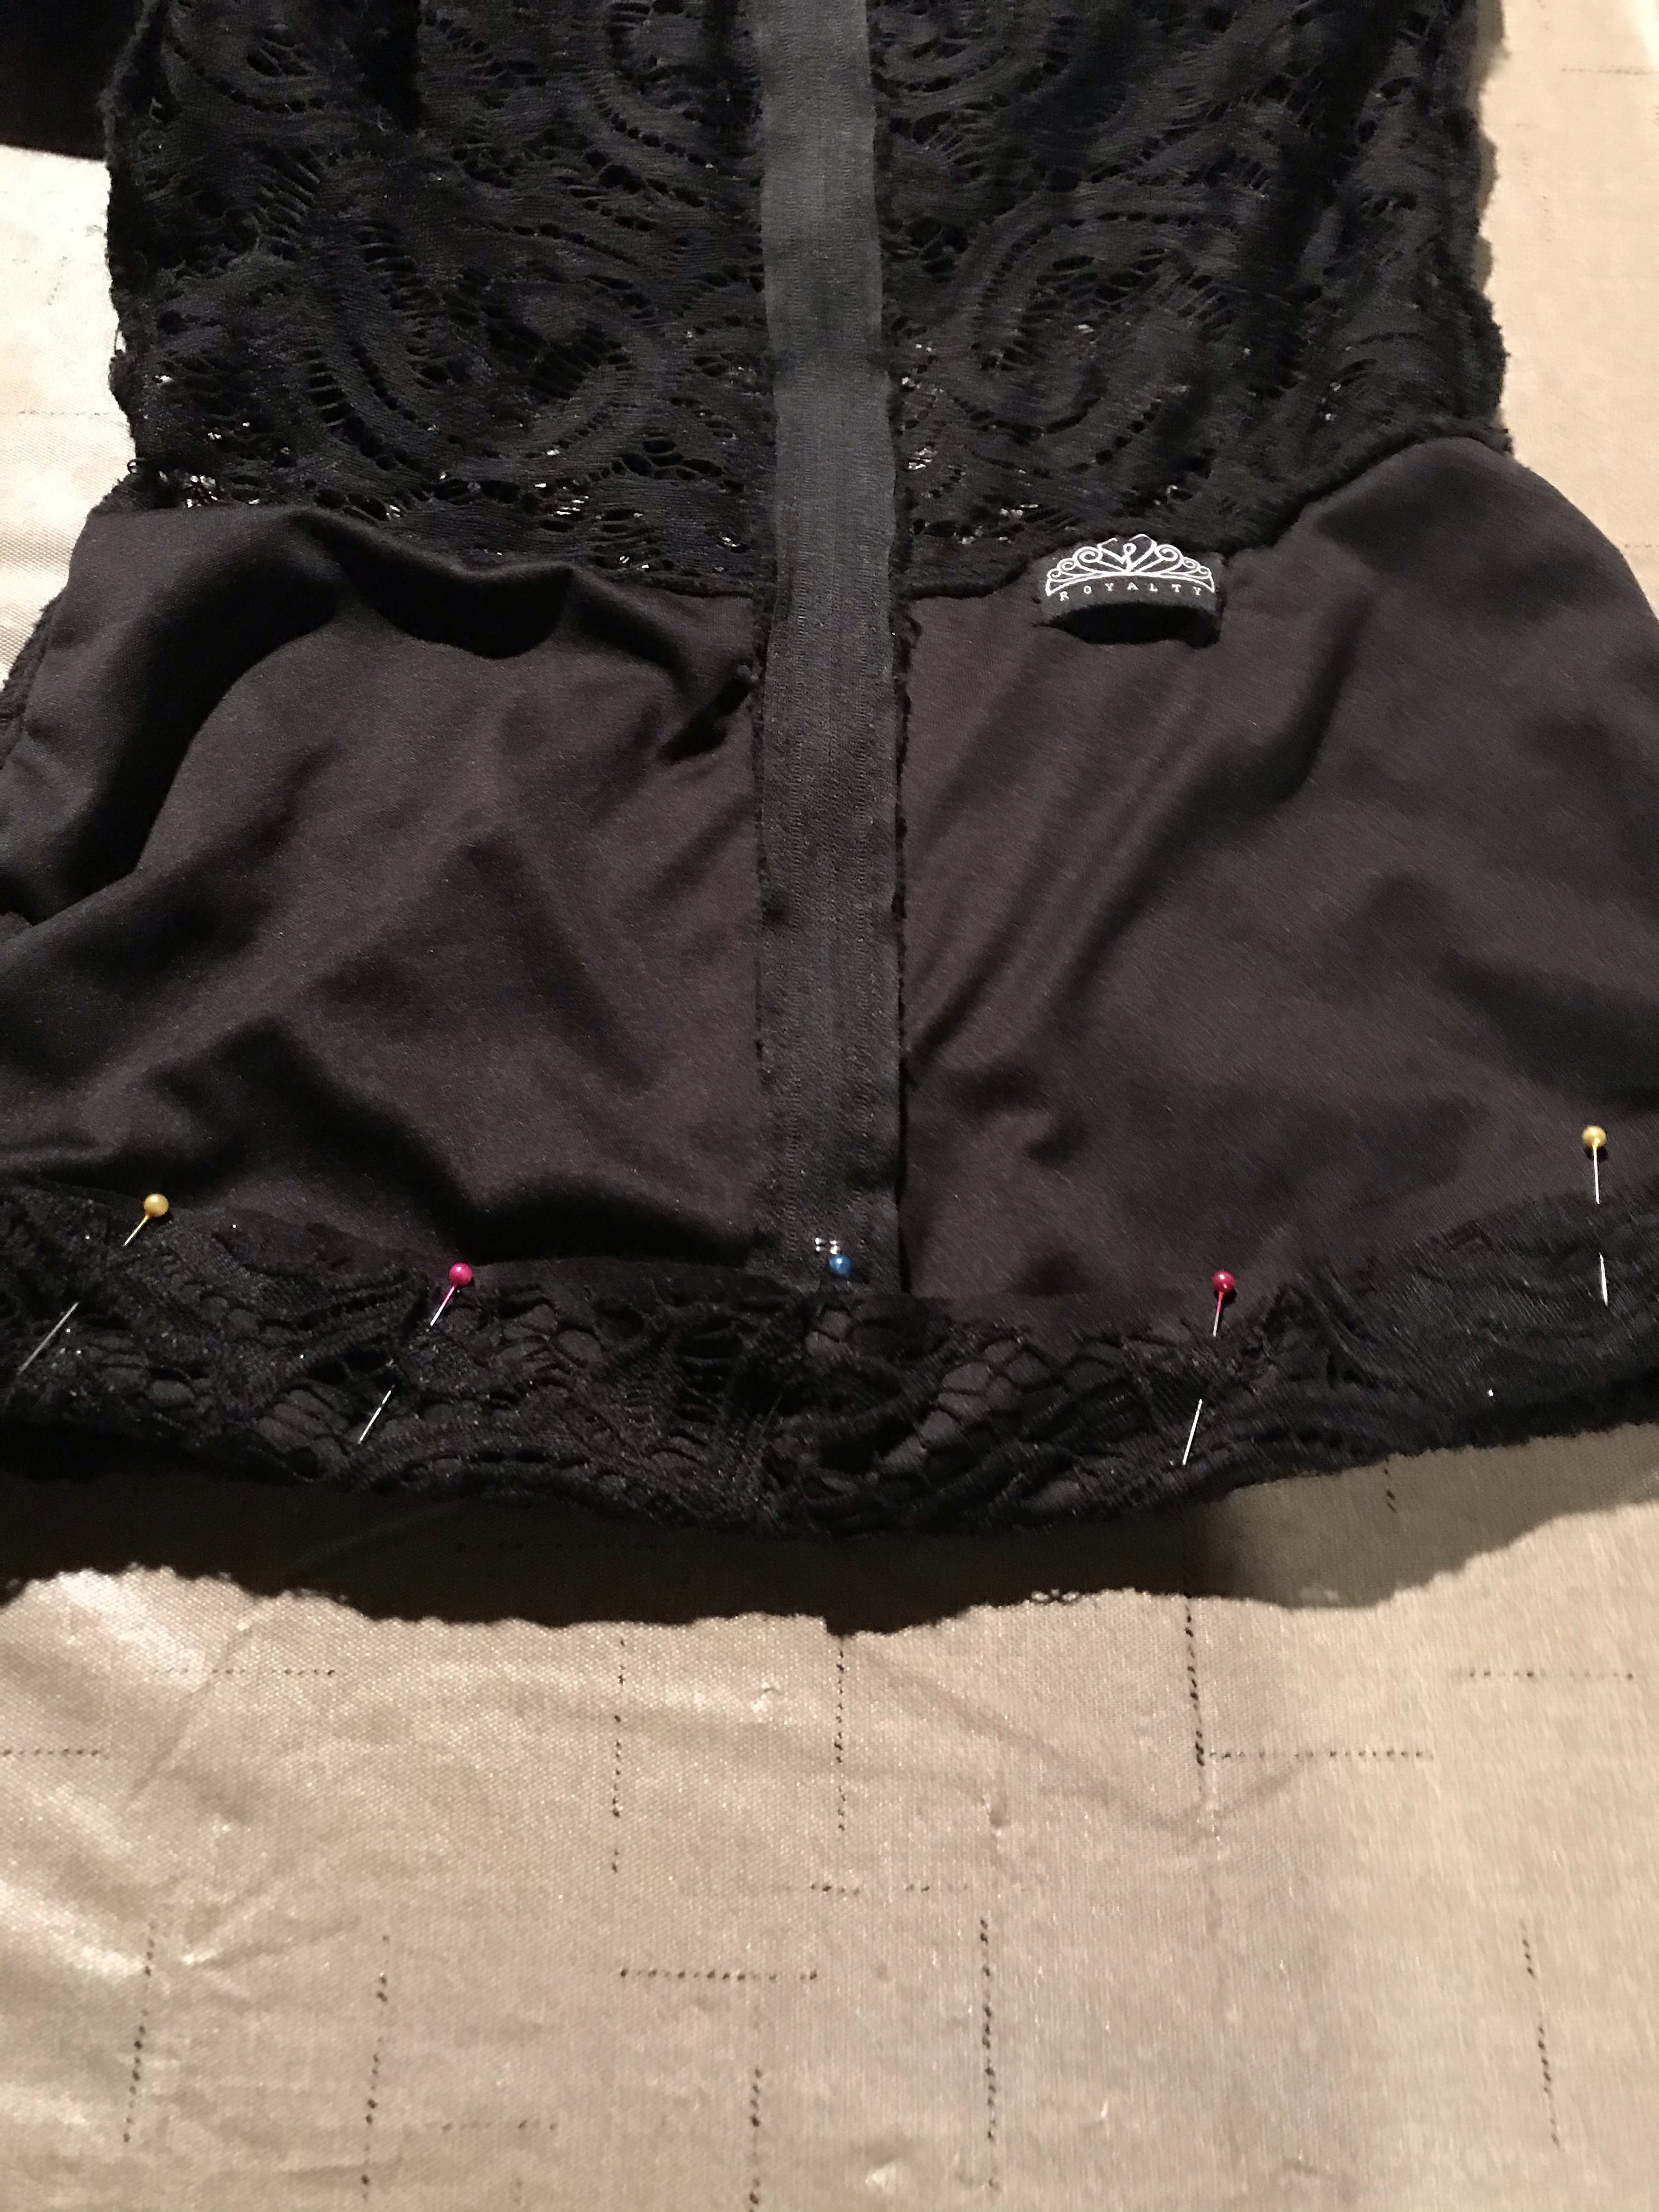
I found these jeans at a recent clothes swap and was excited to see them. I had outgrown the polka dot jeans I had. (Christmas cookies got me in a bad way this year.) I made these my size.

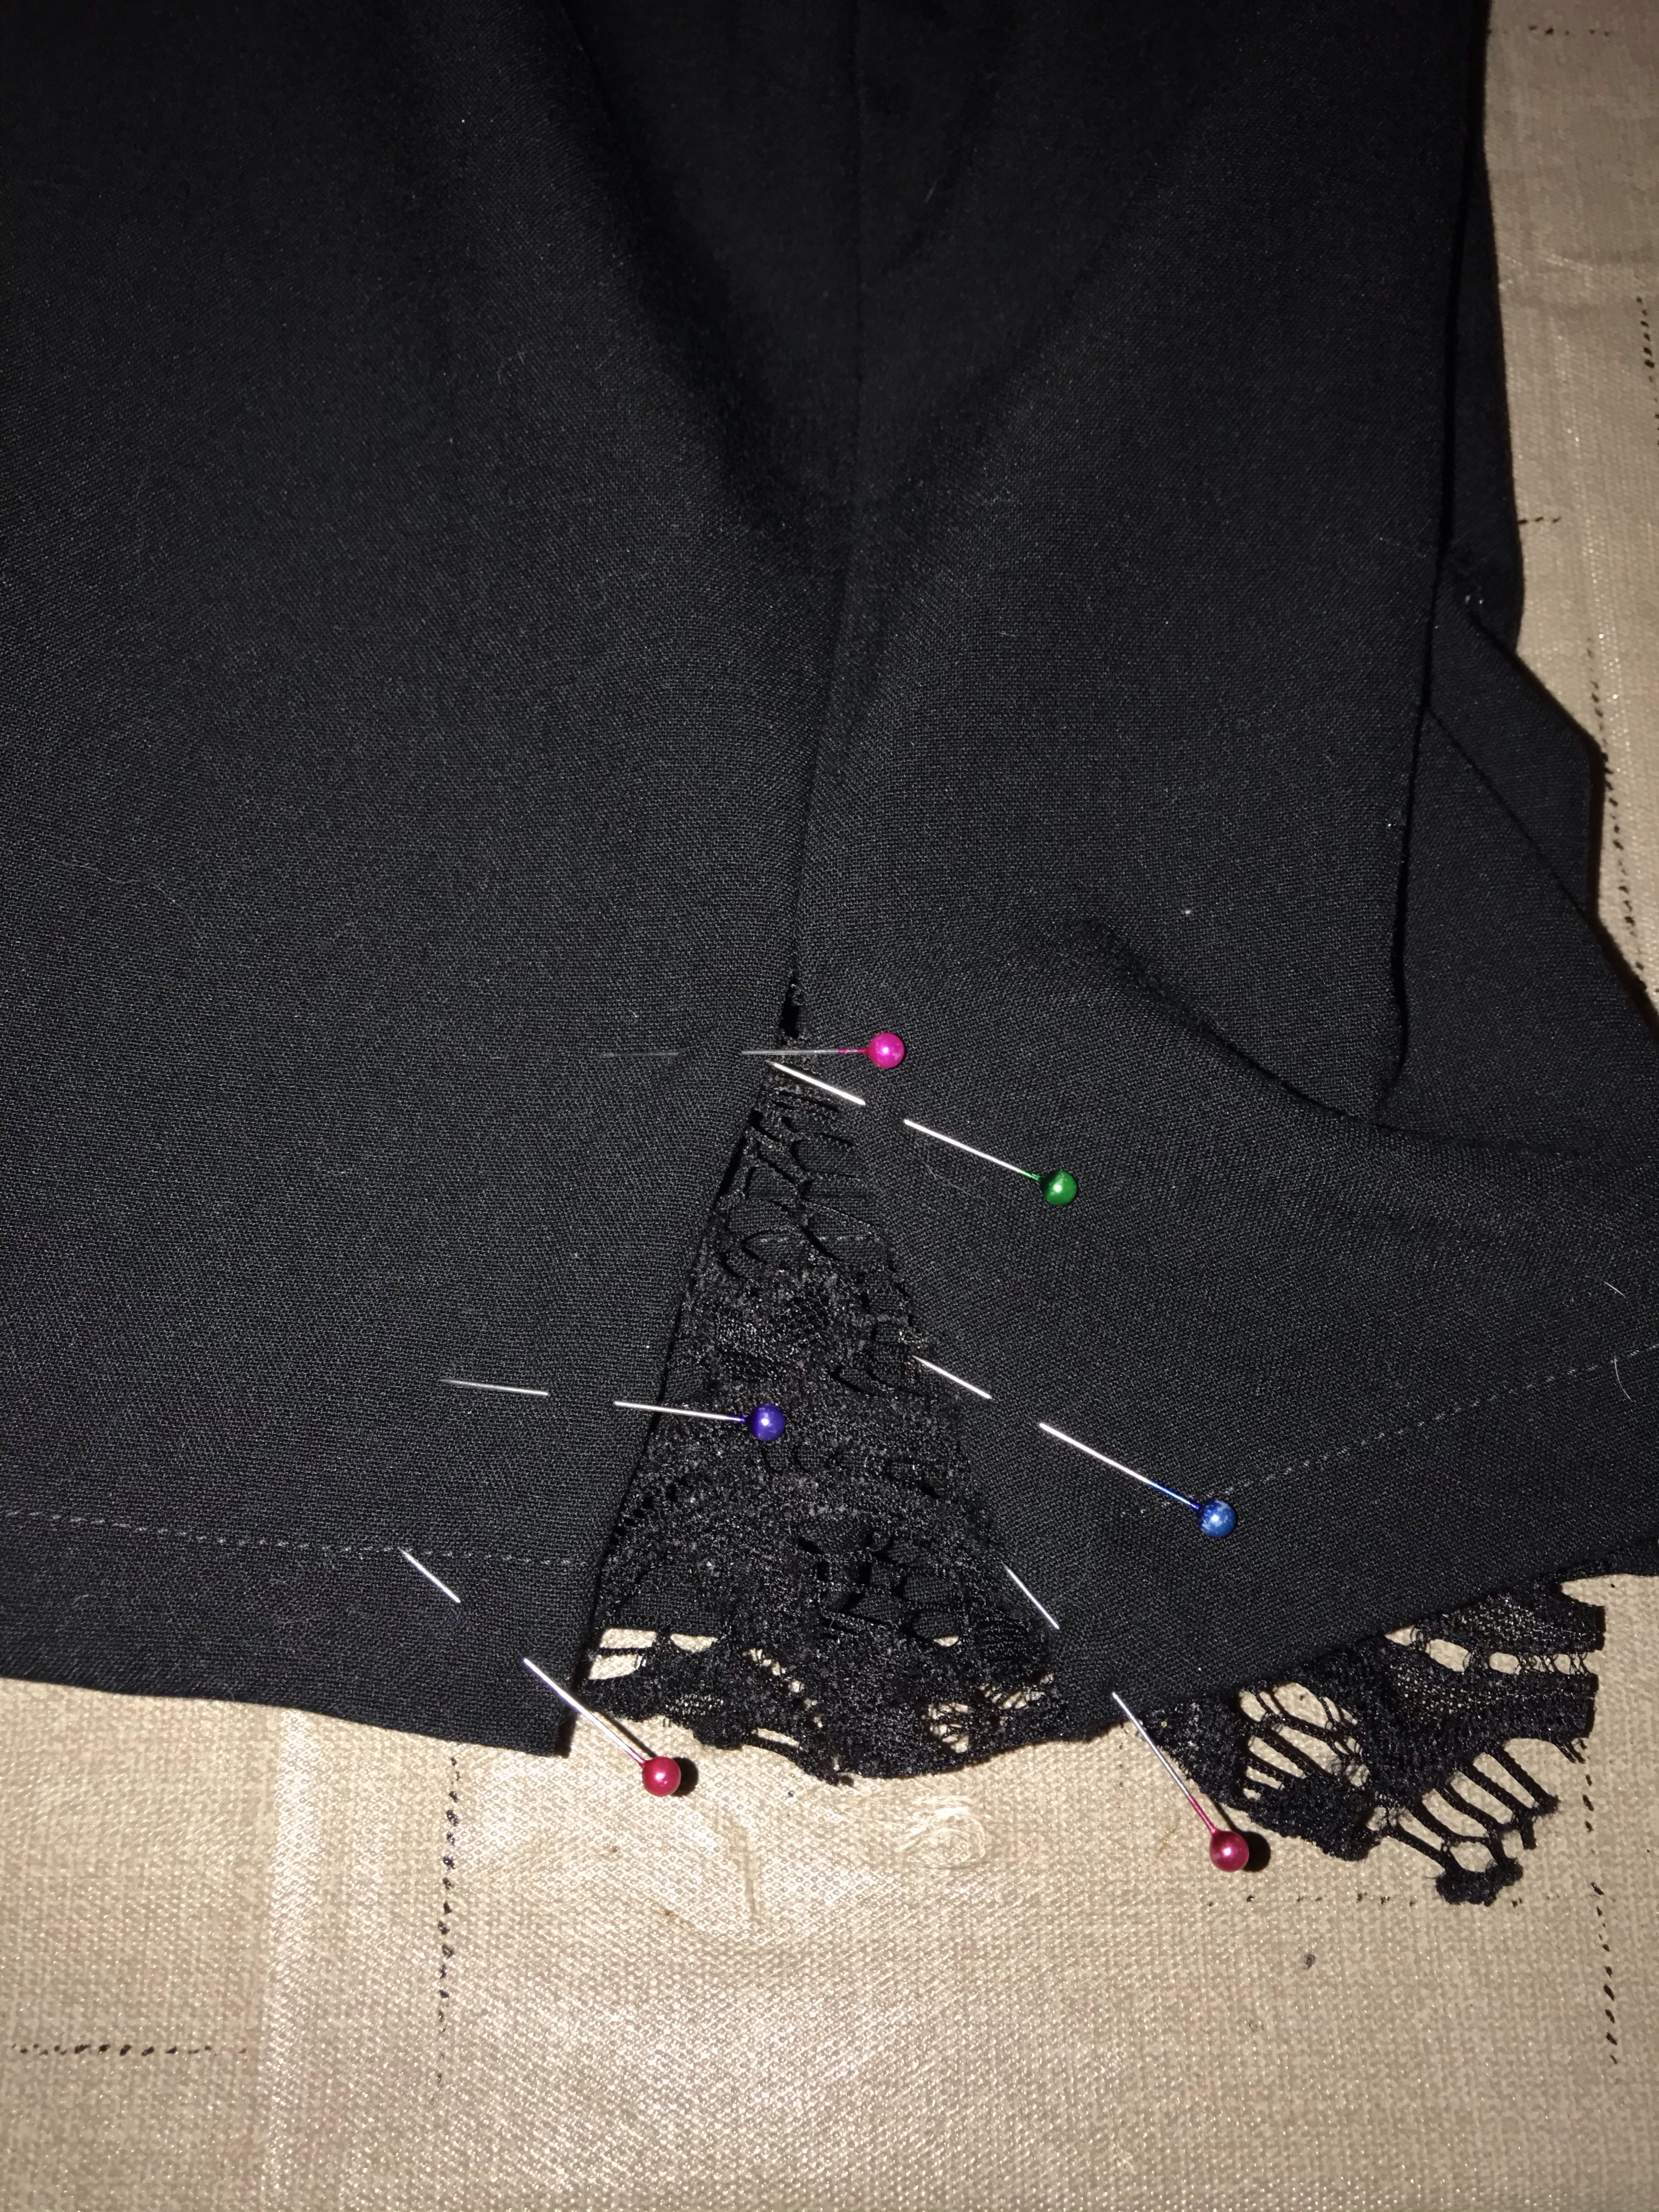
The back pockets of my new jeans were off center after my alterations. I could move them or...
I could cut the pockets off my old, too tight polka dot jeans and put them on my new, stretchy polka dot jeans.

I placed them closer to the center to make the back of the jeans more balanced. 

Thanks for reading along, for more pictures and details go to I Can Work With That.

Sunday, January 26, 2020

Refashion Runway Season 5: Statement Sleeves

The first challenge of Refashion Runway Season 5 is Statement Sleeves!

Beth Huntington the host of Refashion Runway always comes up with the BEST challenges, I don't know how she does it!

When I thought about the challenge ‘Statement Sleeves’ The terms “dressy” and “high fashion” came to mind.

I began my project with a snug fitting lace dress, a pair of black dress slacks and a sparkly top with sheer sleeves. I adored the sheer sleeves on the metallic top and thought they would make a great base for my statement sleeves.

I removed the sleeves from the sparkly shirt.


I pinned the sleeves to the lace dress. (This is a technique that I could do blind folded LOL)


I hand sewed pearl beads around the neckline. Then added 1 layer of sheer ruffle that I salvaged from an old project.

Then I stitched on another sheer ruffle.


This dress was super cute, but definitely too tight so I decided to chop off the length and make it a top!


Pinning a new hem on my shirt! I was able to still keep the zipper intact, which was nice.


I wanted to tie together the sleeves and the top so I also hand stitched the same pearl beads around the wrists of the sleeves,
One last detail: The pants!
This top could not be completed without a pair of pants.


I cut the length of the pants to knee length and sewed a new hem.


I used my seam ripper to open the side seam of each pant leg.


Up to about a 3-inch slit.


I used a scrap of lace from the bottom of the dress I cut to add into the slit I created.
And here we go!


Happy Refashioning!!!
Don't forget to vote!
Remember you can vote 1x a day!

Thursday, January 23, 2020

Fun With Flannel

Hello Refashion Co-op. I found this amazing flannel dress at a clothes swap recently and I was impressed by how soft it was. Nothing else about it impressed me. It was flannel over-load! I knew I wanted it shorter but I wasn't sure just how short.

I made it into a long vest/duster but I wasn't sure I liked this fabric that long. I decided to go a little shorter and hemmed it at mid-thigh length. It seemed better to me so that is where I left it.

What did I do with all the leftover flannel? I made a bunch of re-usable little cleansing pads for removing make-up. They are really soft and don't leave any lint on my eyes.

Thanks for reading along, for more pictures and details go to I Can Work With That.

Wednesday, January 08, 2020

A No-Sew Hoodie Refashion

Hello Refashion Co-op. It is so cold and I am tired of being cold. I want all the warm layers I can get. I decided to make this navy blue hoodie into a different style jacket.

I cut the sleeves, the waistband, the pockets, the zipper, and the edge of the hood. I wanted the raw cut edges and the loose fit. It was loose enough to wear over any sweater I wanted. I want as many layers as possible.

 This little hoodie turned into something that looked less athletic but was just as cozy.

Thanks for reading along, for more pictures and details go to I Can Work With That.

Tuesday, January 07, 2020

Llama Rama


Once upon a time, I decorated a plain long-sleeve T-shirt with a picture of my favorite pack animal!
Behold—the plain T-shirt in question:


I was measuring it in the photo, so that I could create a life-size template on my computer.

Once I had decided what imagery I wanted on the shirt, I found a photo of a llama online, converted it to an outline in Photoshop, cut it out, and used it as a stencil to cut out some fuzzy fabric.


Figuring out what to use to create the face took me a lot of time, but once I settled on painted felt, it was smooth sailing! I sewed all the pieces to the shirt, and that was that.


I posted this one on my personal blog quite a while ago, but I wanted to see how it would hold up in the wash before bragging about it. The good news—it held up fine!

Have a llovely day!

--The Unfashionista