Wednesday, June 26, 2019

The Hot Leather Pants

Hello Refashion Co-op. I had some heavy leather pants. They were really hot and uncomfortable. It was horrible to wear them in the summer heat even just to try them on.

I cut the pants into shorts. I still don't know where I would wear these shorts. I really wanted to make something from the legs off the pants. I made 2 pockets from the ends of the pants, one was a little taller than the other.

I added a little fabric inside and a piece of black cording I had for a shoulder strap. I connected the 2 pockets and I had a little purse.

I added a pin I had on hand to dress up the front. It also helps keep the taller pocket folded over the shorter pocket to close the purse.

Thanks for reading along, for more pictures and details go to I Can Work With That.

Tuesday, June 25, 2019

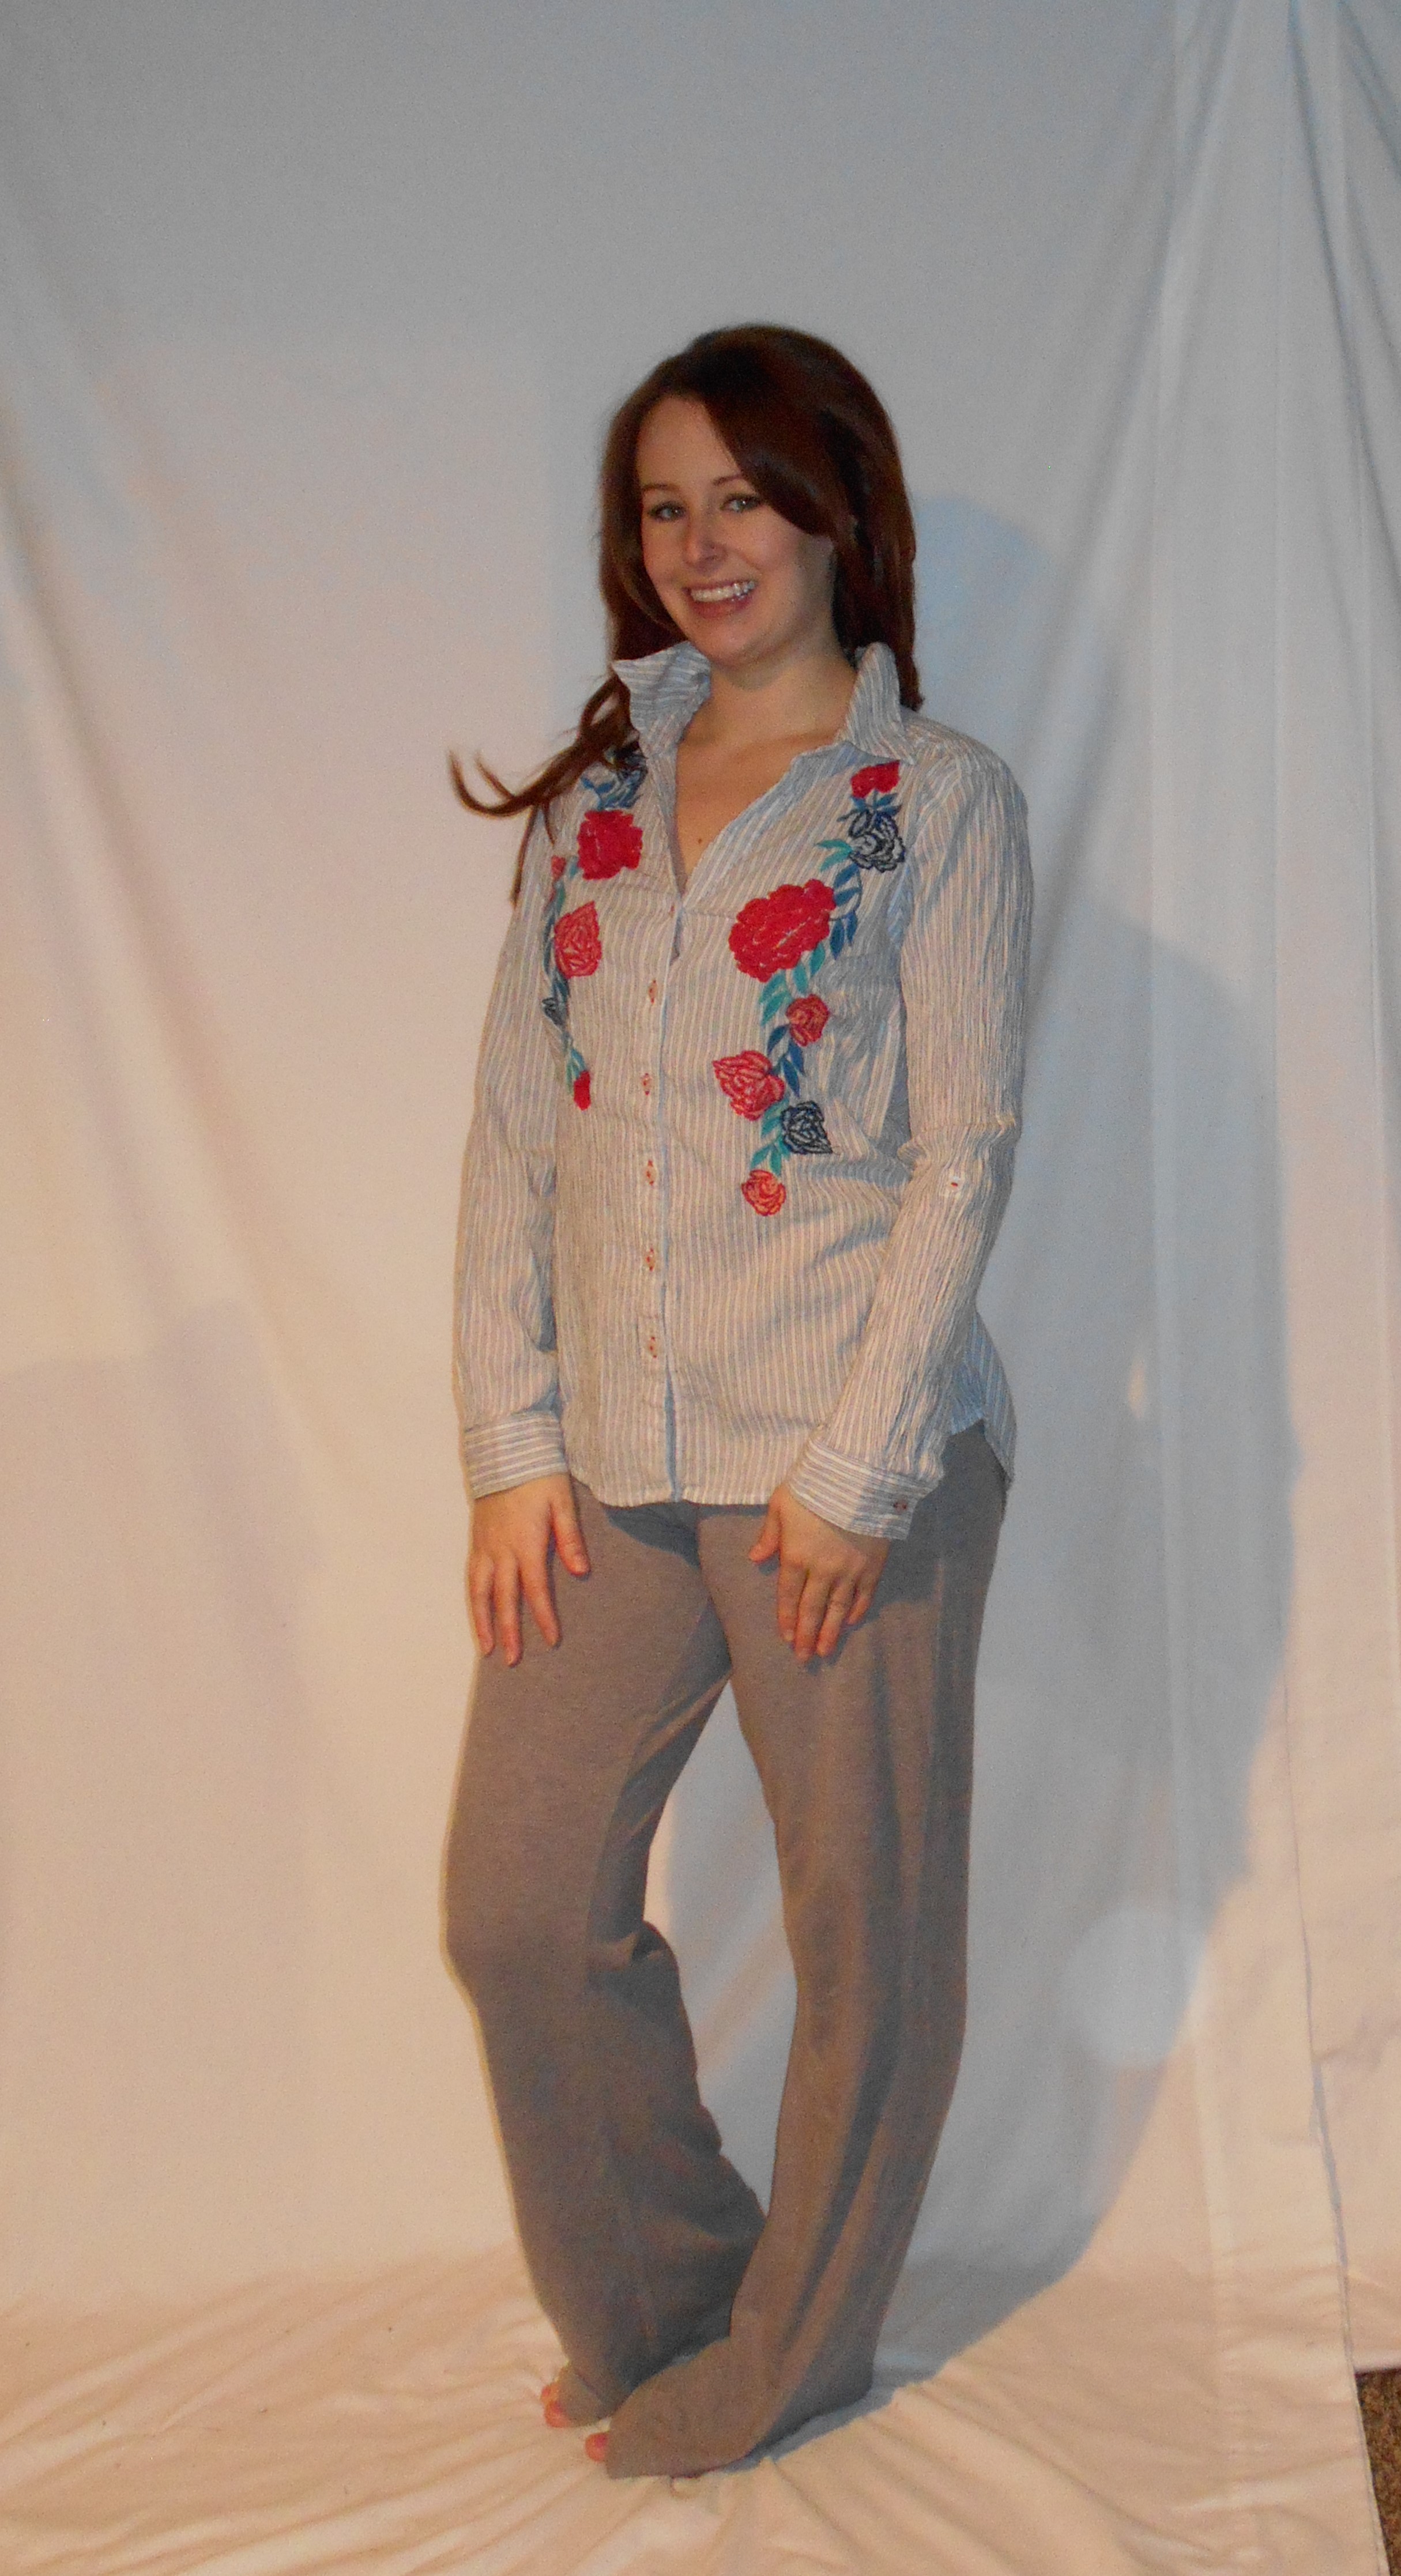
Red Rose Refash with a Sash

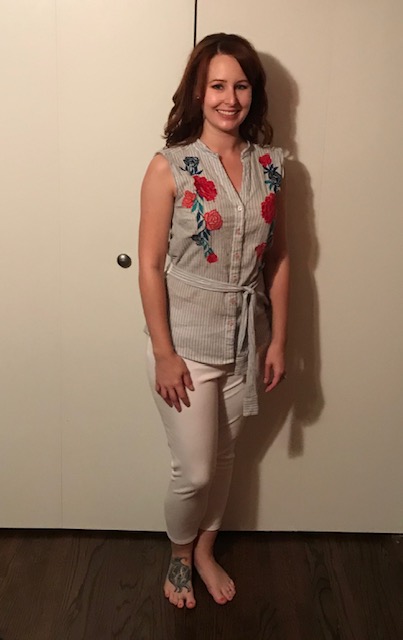
You may have noticed that I have been in love with thrifted shirts that have embroidery details! This refash is no exception.
I fell in love with this red rose embroidery, however I am not a huge fan of button down shirts.
DSCN1790
Time to transform this!
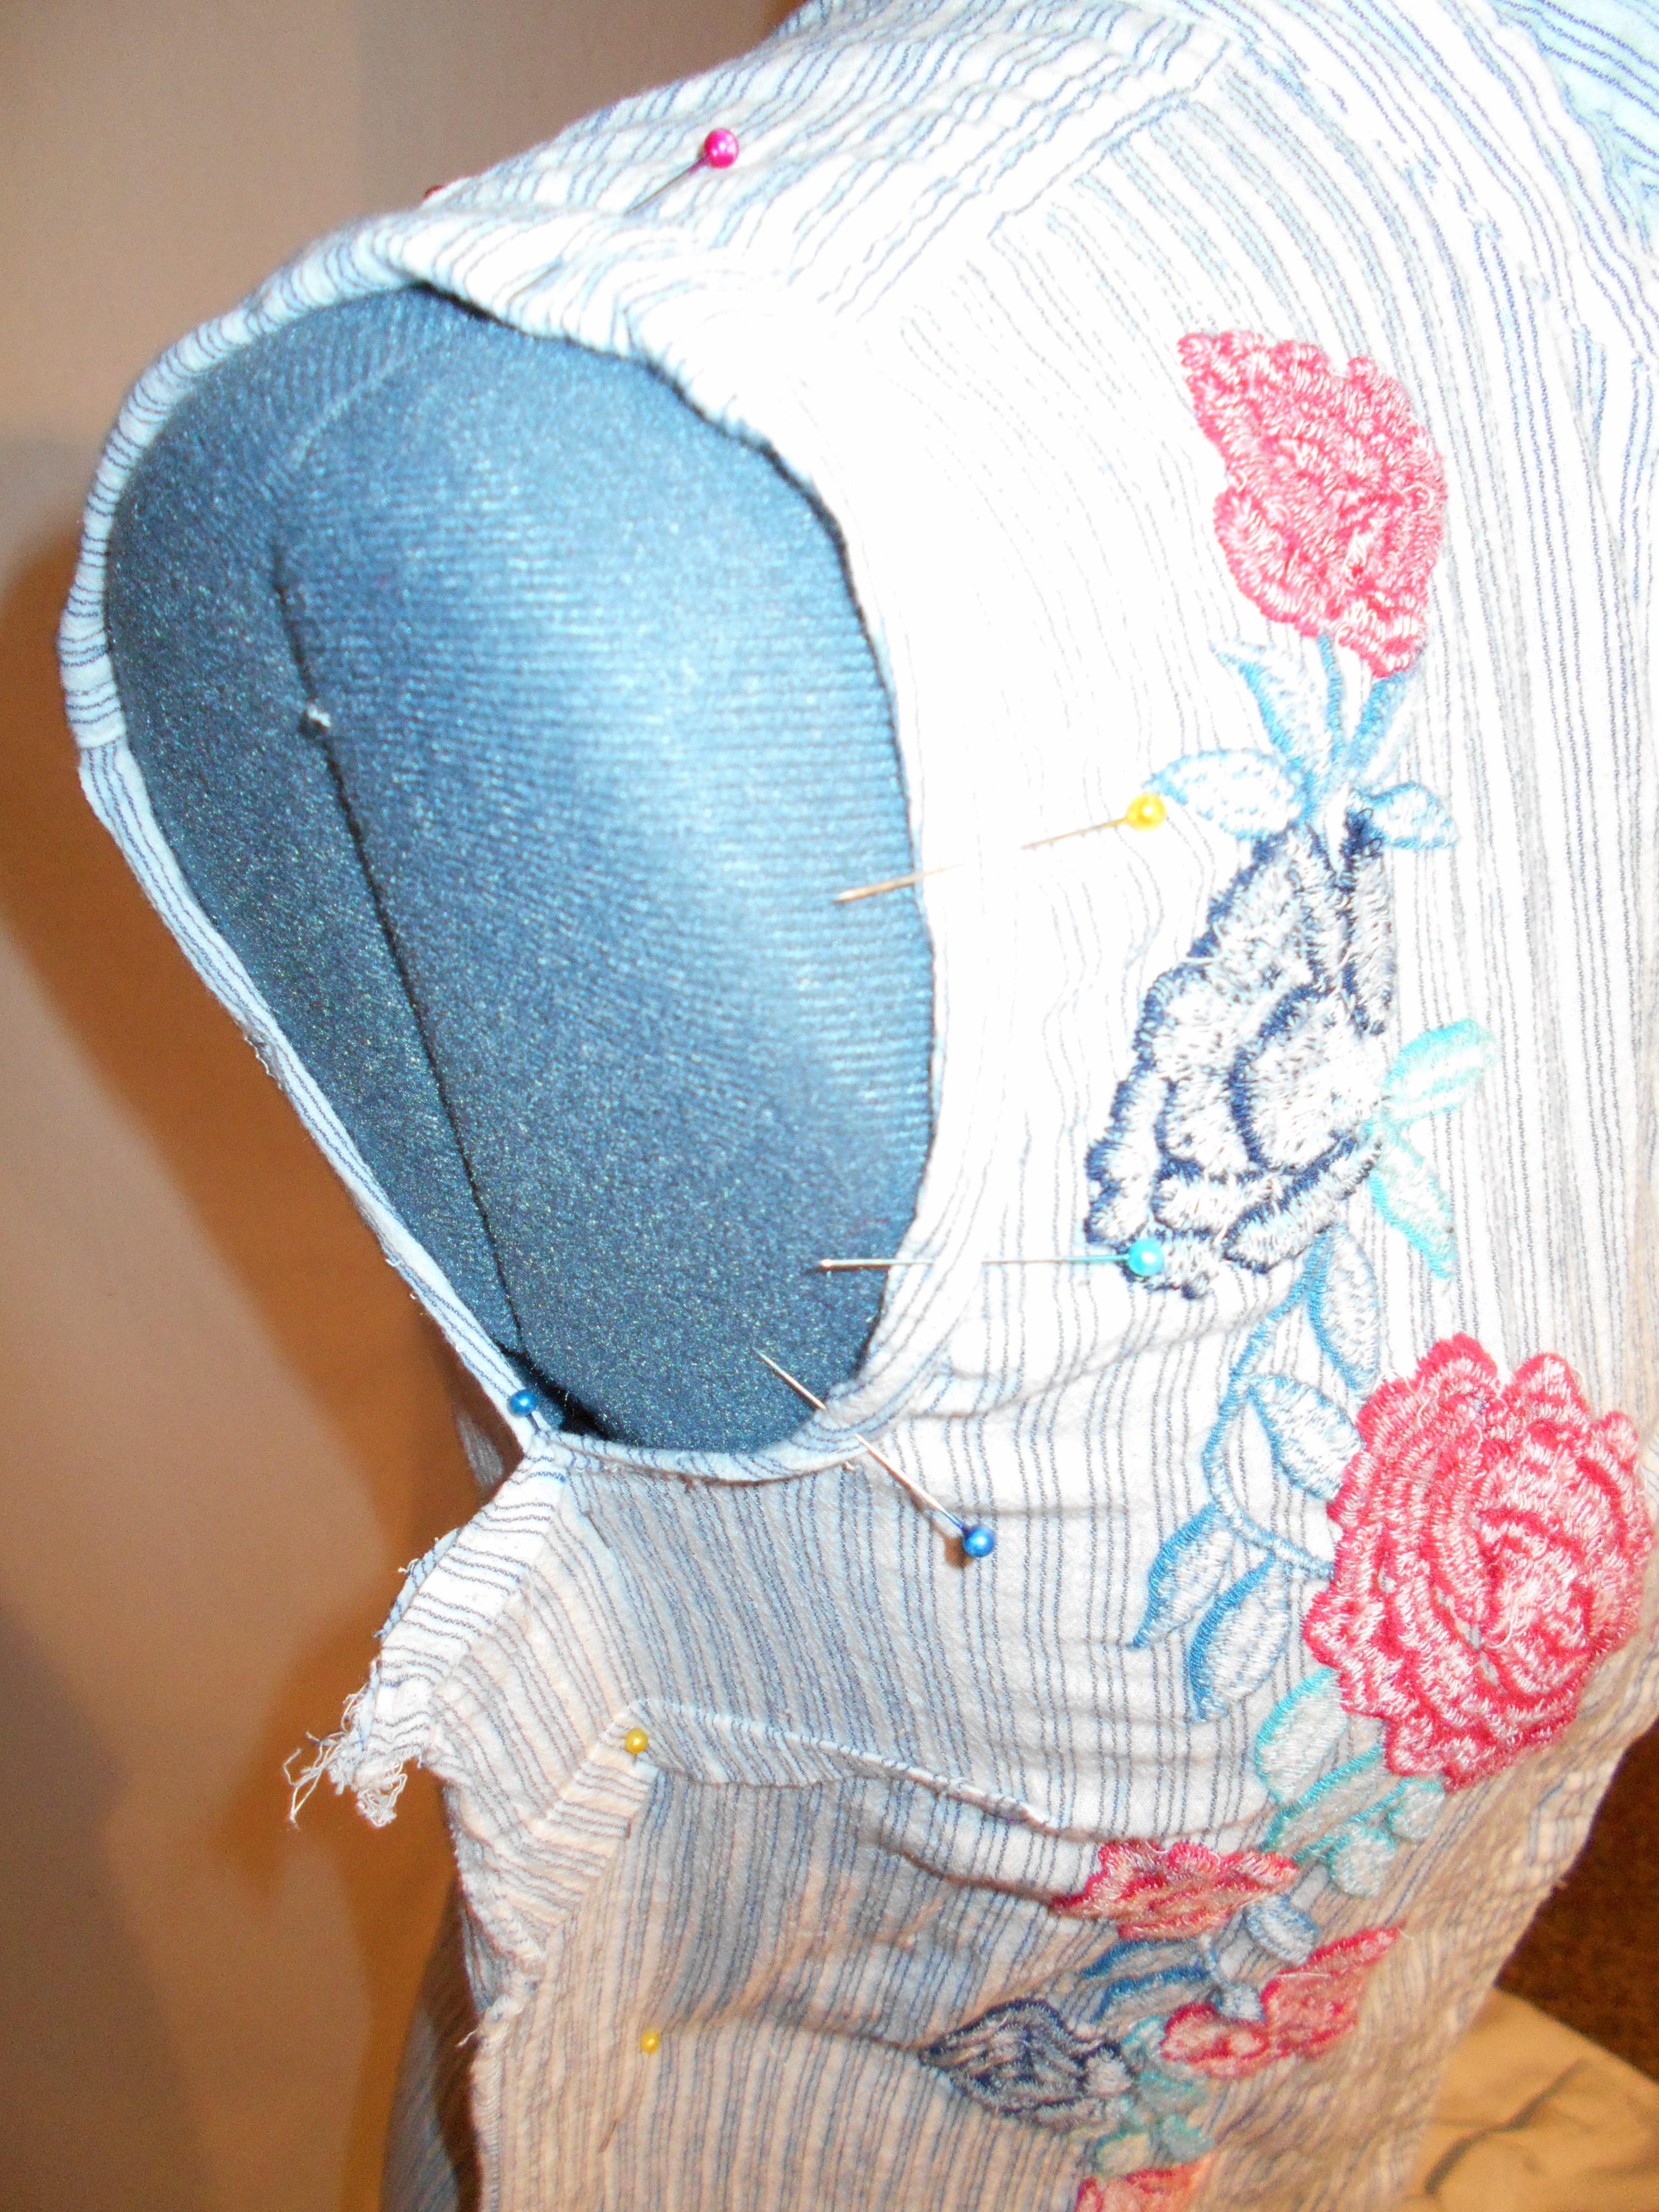
I carefully removed the sleeves. Then pinned and sewed a new hem around the arm holes. I also took in the sides of the shirt to make it more fitted.
I found the best way to do these alterations is to turn the shirt inside out and put it on my dress form. I also buttoned the shirt, which is a tricky task since the shirt is inside out. Tricky, but not impossible!
DSCN1827
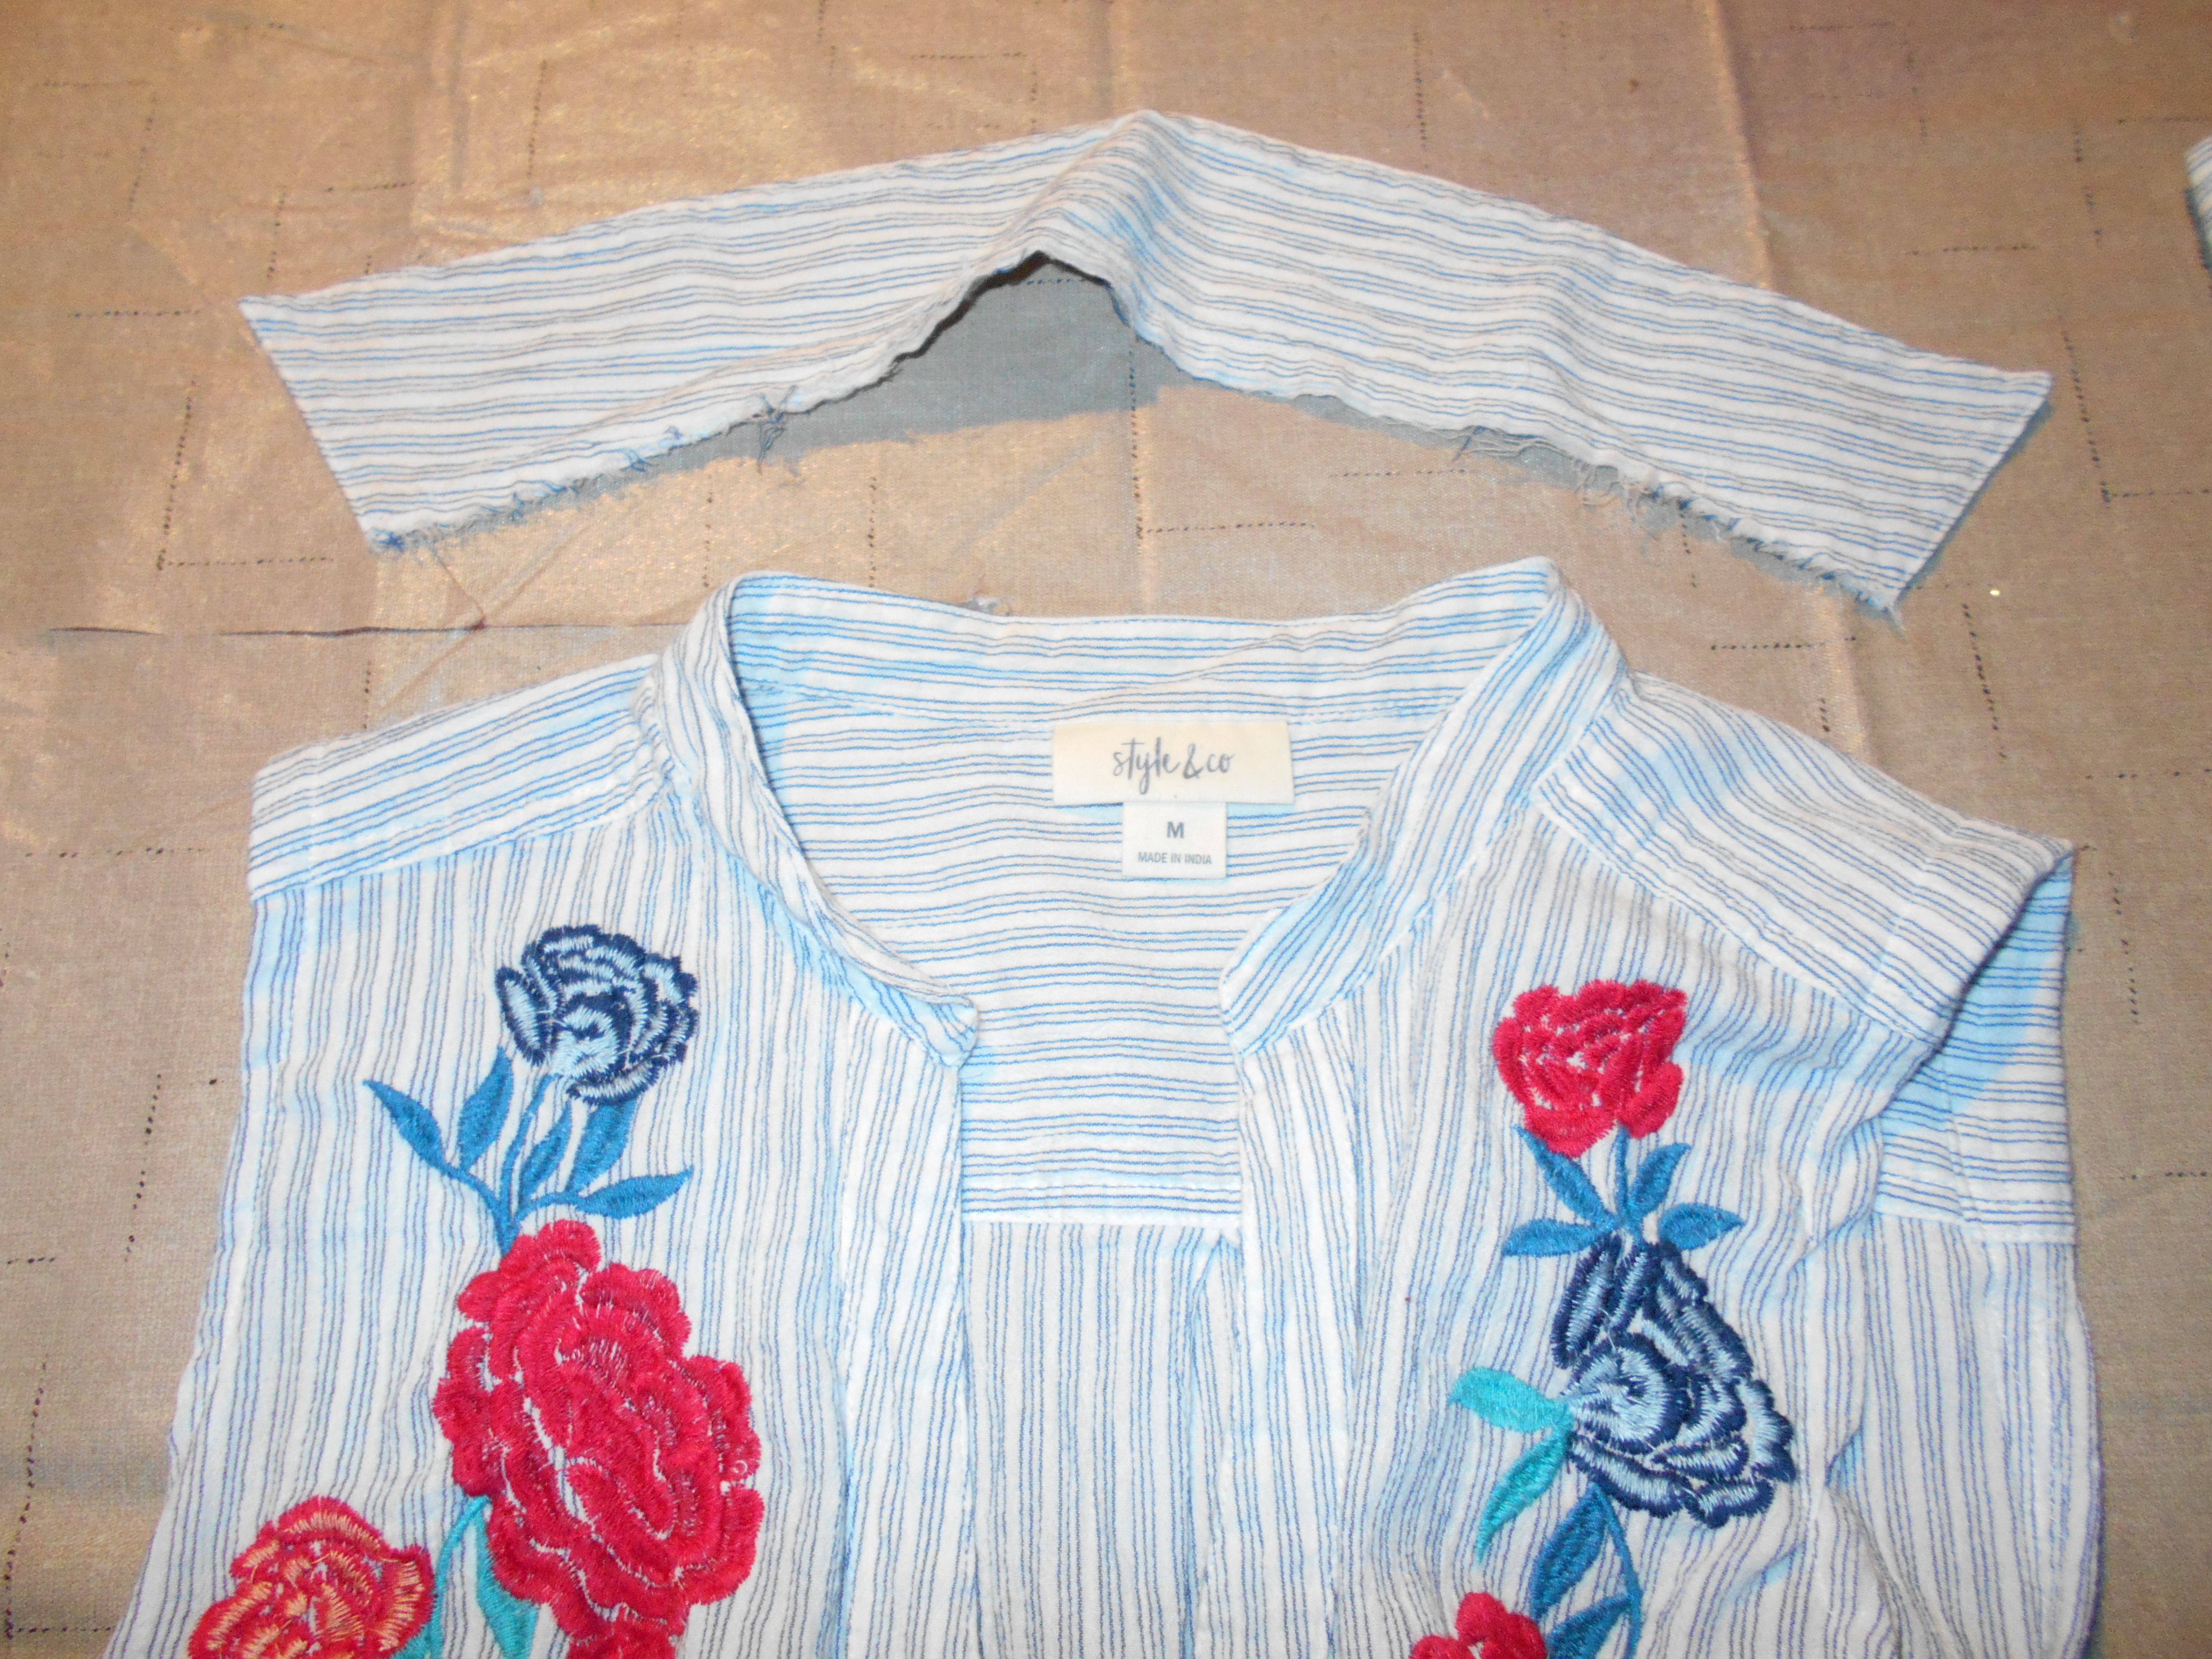
Time to removed the collar! Then stitched up the seam.
DSCN1828
I saved the sleeves just in case I needed them.
Then the light bulb in my brain turned on and I decided to make a sash out of the sleeves!
DSCN1829
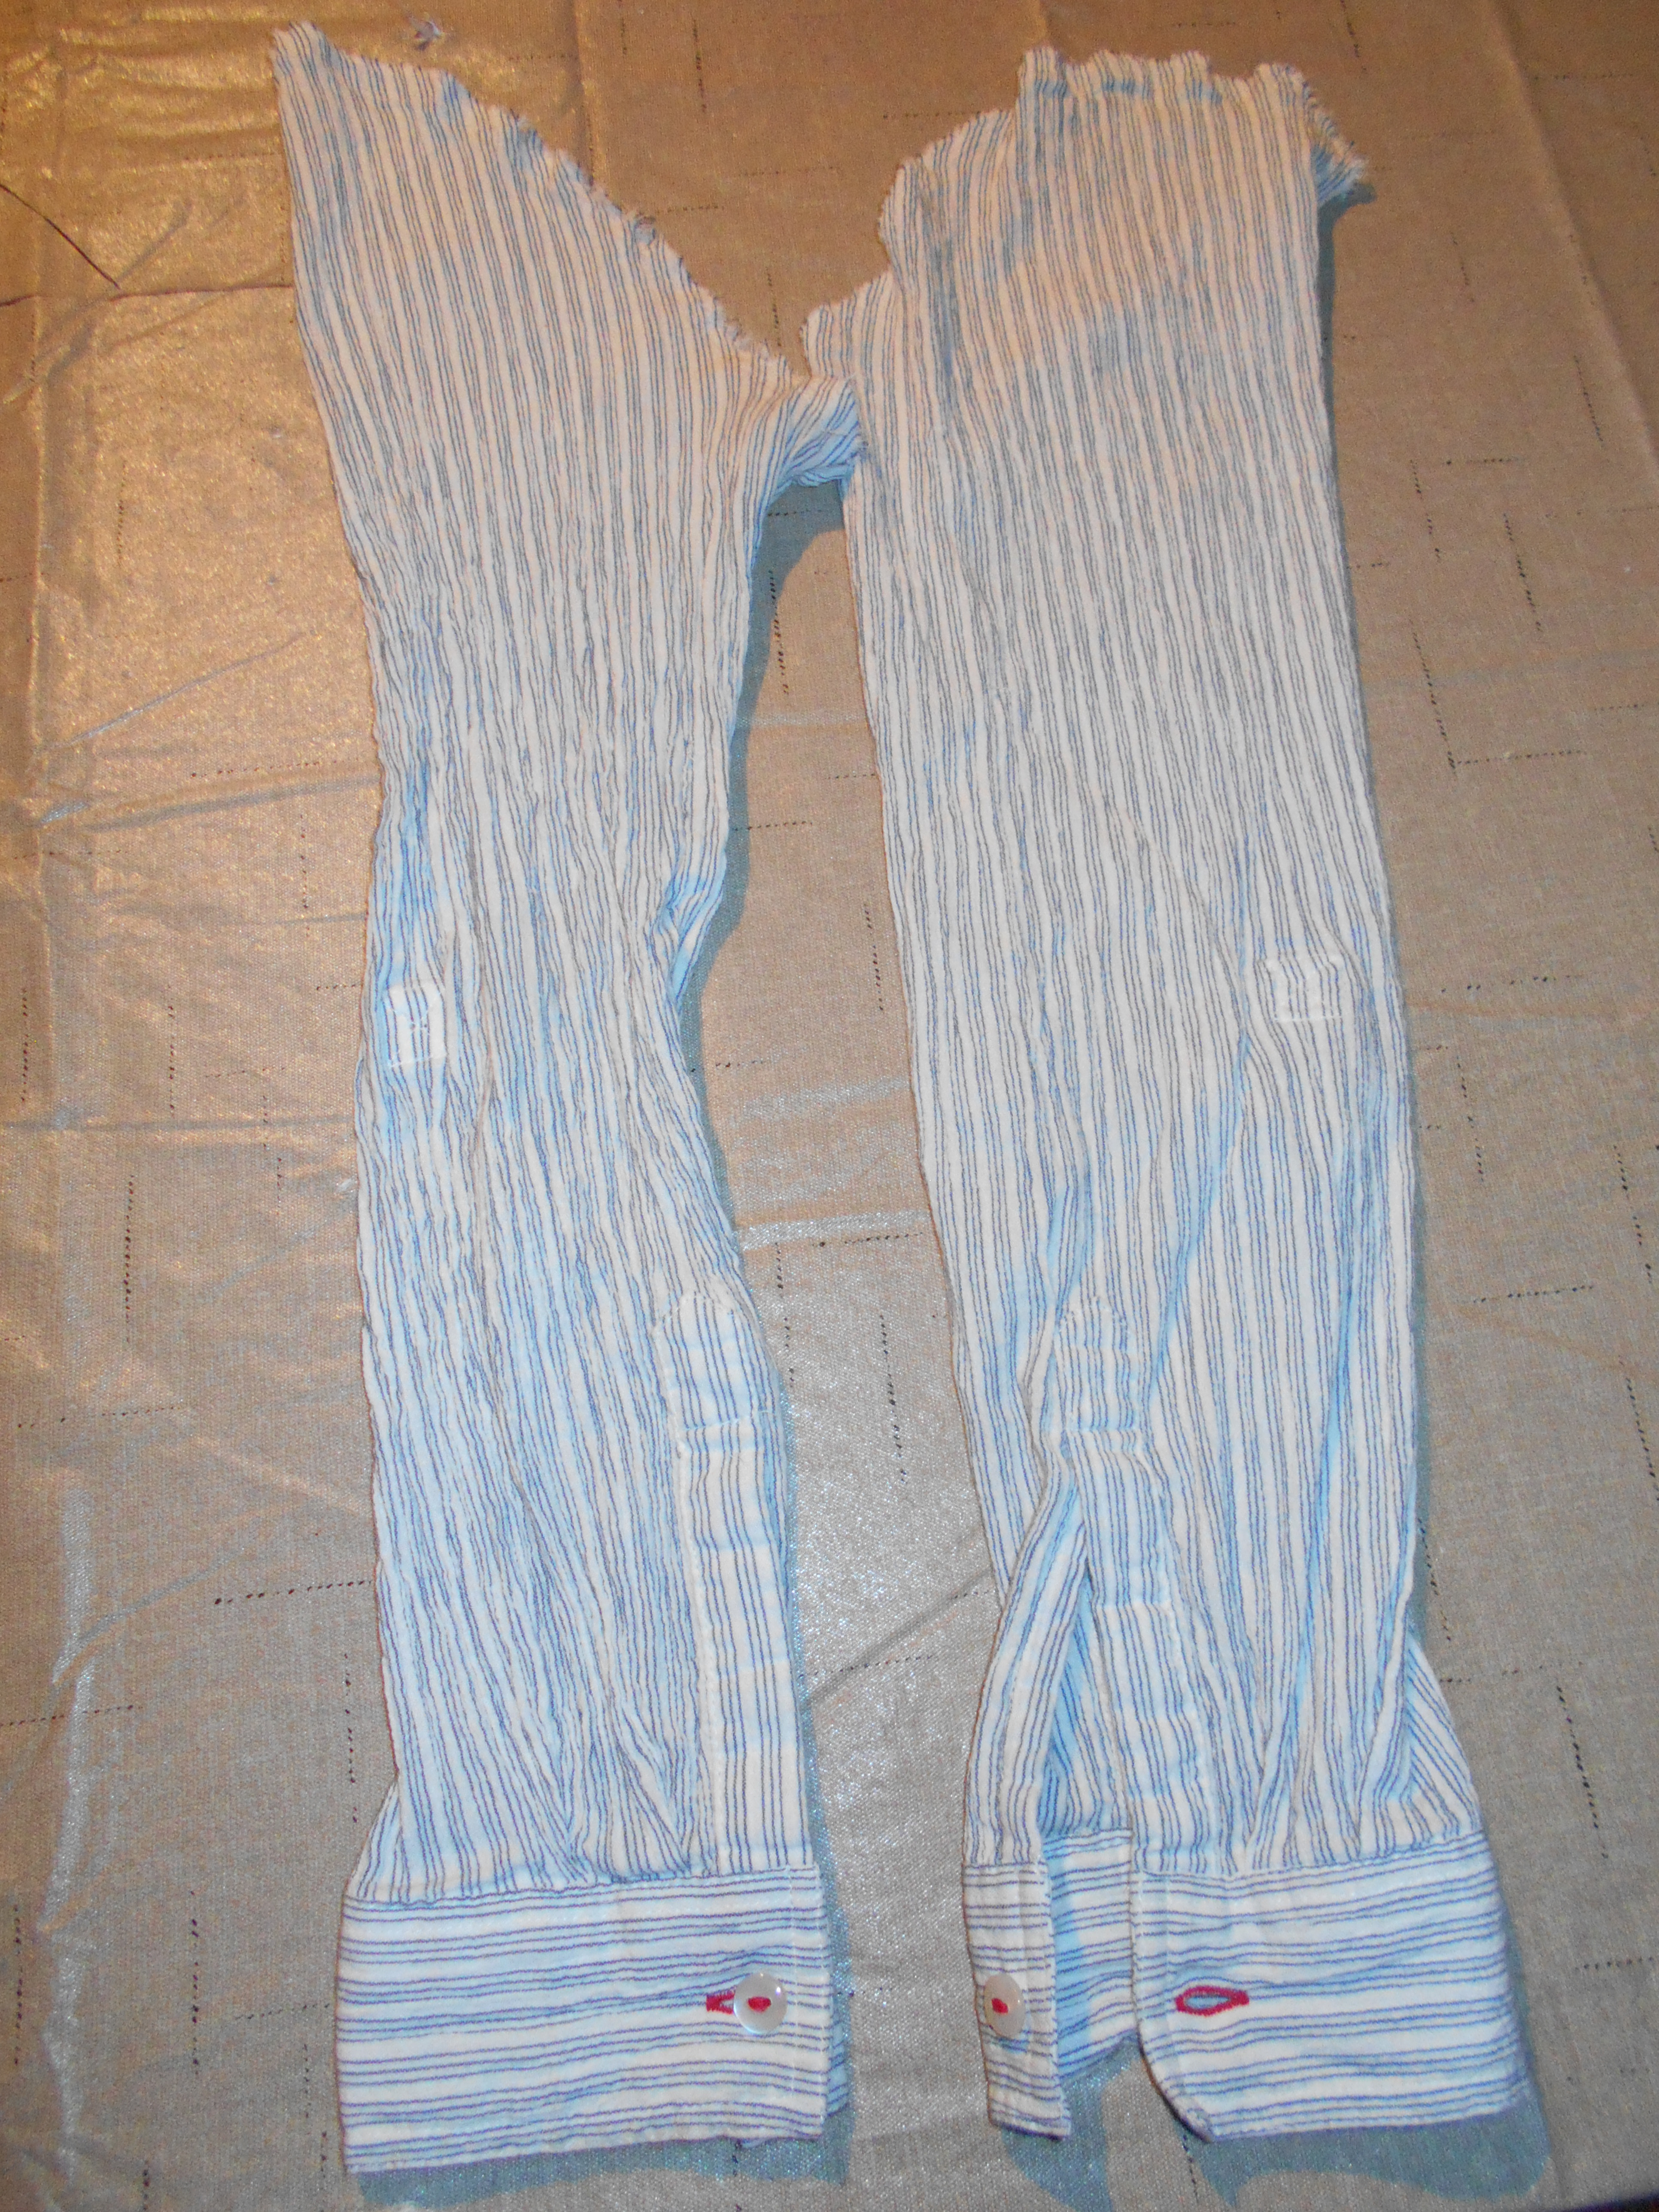
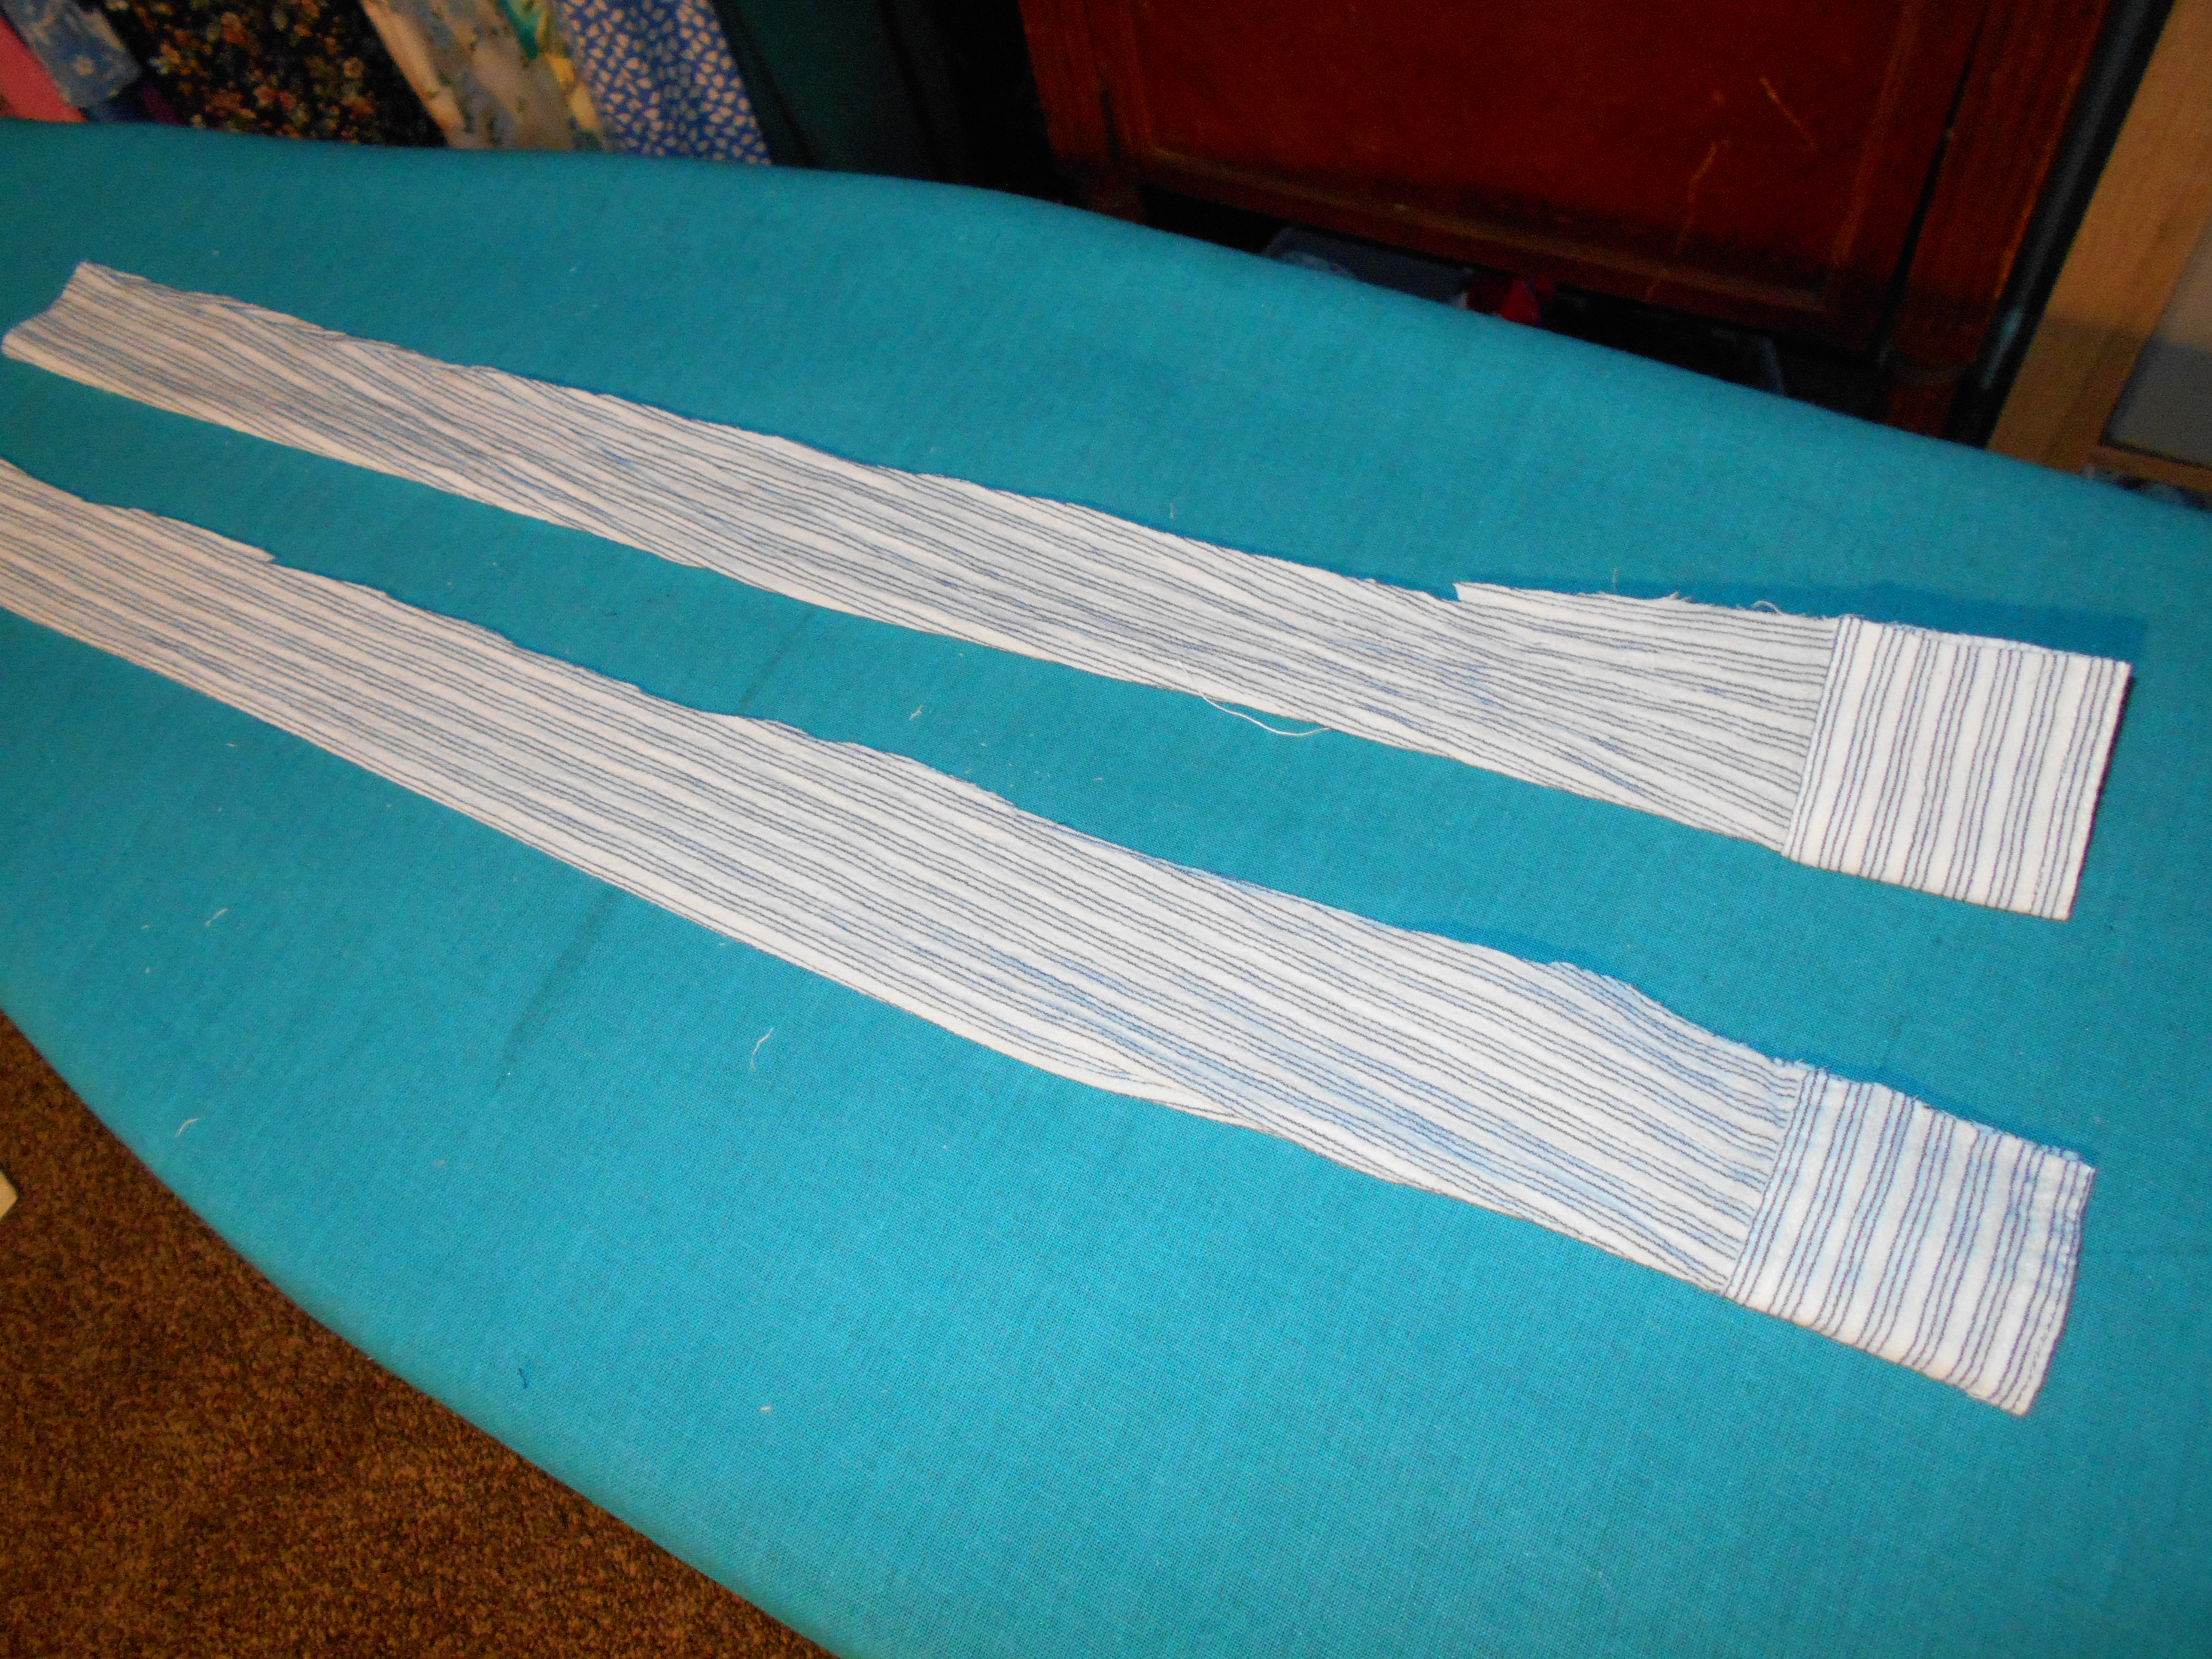
I laid the sleeves next to each other, and trimmed off the side with the buttons.
DSCN1831
A quick press with the iron helped keep the material in line when I sewed them. Note: I sewed the length of the sleeves with the fabric inside out. Then sewed end opposite the cuffs.
DSCN1833
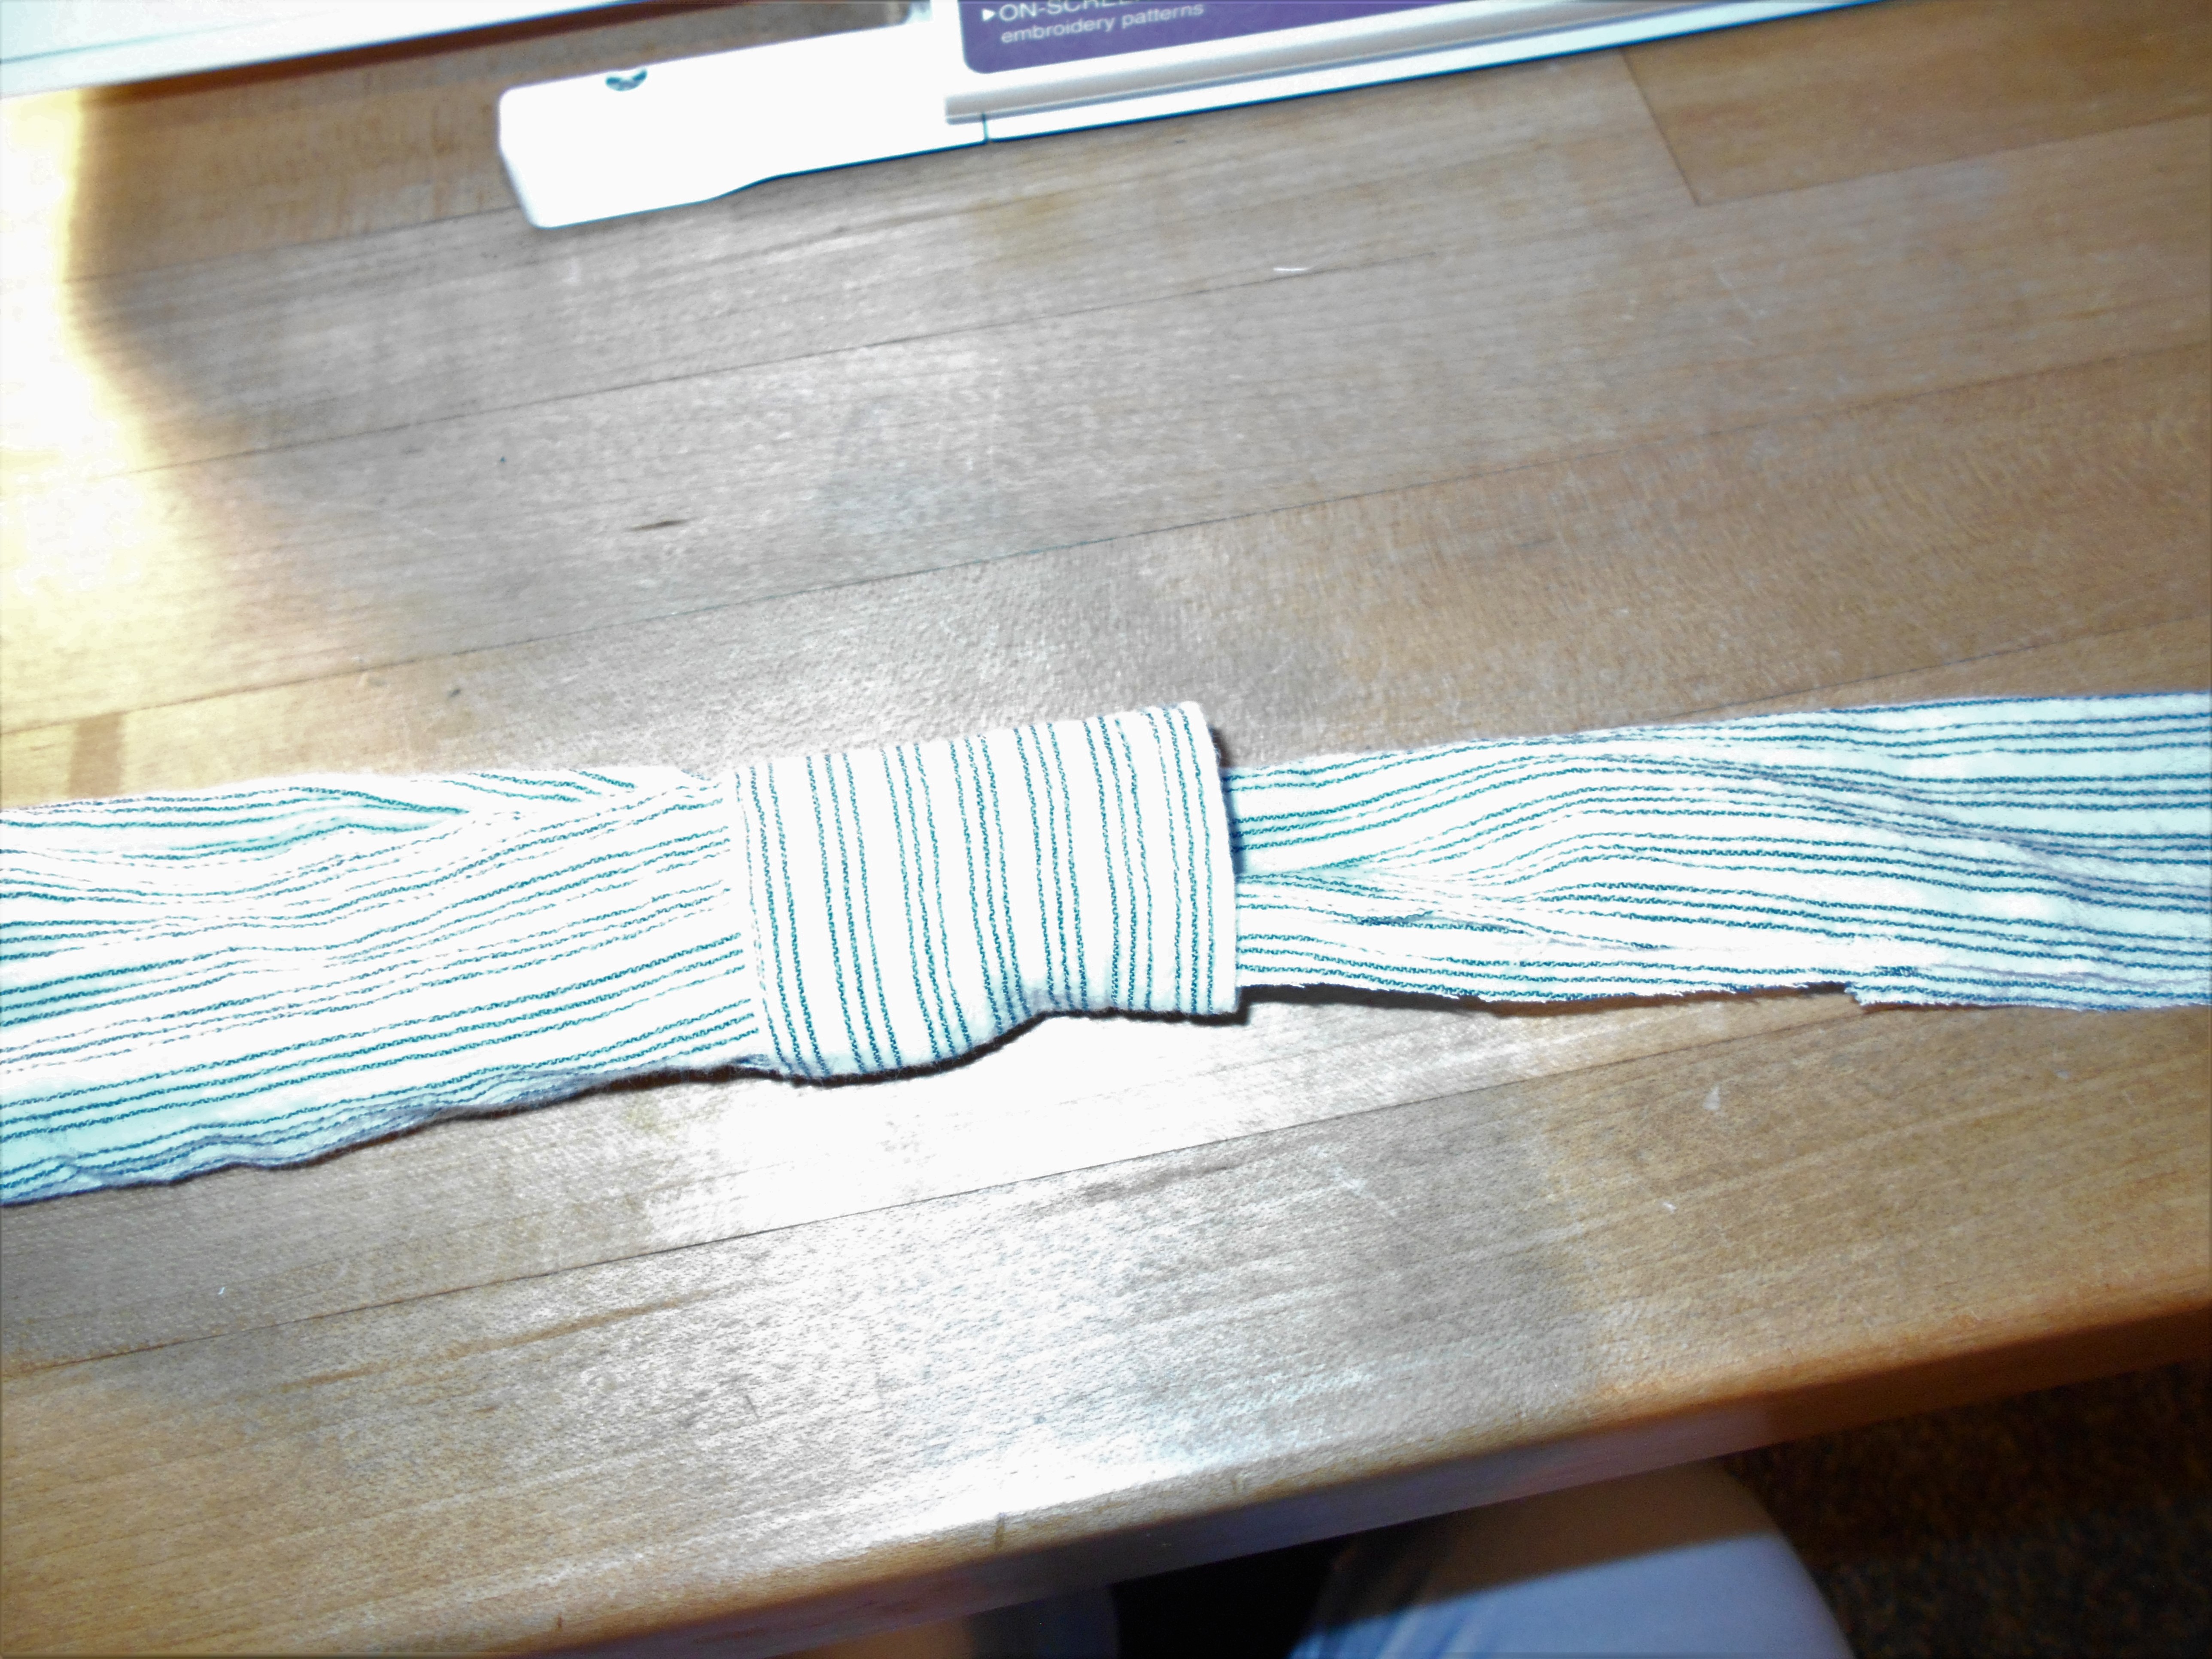
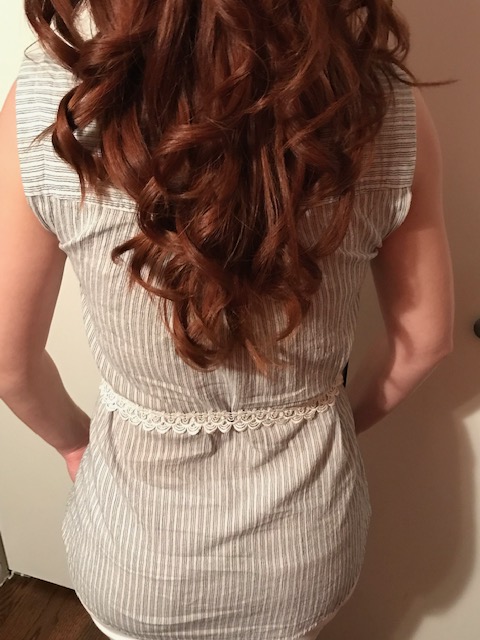
Then it was time to turn the sleeves right side out. I loved the tiny cuff at the end and left it open. I attached the 2 sleeves together by a piece of lace, which made the sash nice and long! And pretty too!
IMG_2397
IMG_2392
Did I mention this fabric was nice and light, just in time for some summer weather!
img
Happy Refashioning!!!

Check out my stash of refashions on my blog!

Wednesday, June 19, 2019

Lilly and the Pink Dress

Hello Refashion Co-op. I found some wild Lilly Pulitzer pants at a clothes swap. I wanted to make a pink top to go with them.

I had this pink J.Crew dress to work with. Unfortunately the elastic was going brittle and it had a big ink spot on the front. The neck was really warped and I couldn't iron it out. I had to use the parts that were not damaged and I fought with it quite a bit.
 Wearing a plain white t-shirt started to sound like a good idea.

I used the skirt and the part of the top you see outlined in gray.

 I ended up with an off-the-shoulder top and a lot of scrap pieces from trying different ideas and having them not work at all.

 The pants were easy to resize after the battle with the dress and the length was right already. 

Thanks for reading along, for more pictures and details go to I Can Work With That.

Saturday, June 15, 2019

Scalloped hem top


I bought this skirt for £3 about a year ago for the fabric.


And this dress last week for £1 also for the fabric to go with the roses - well the black skirt part of the dress at least.


Skirt + dress = top obviously, a scalloped hem one.


More details  and photos here

Wednesday, June 12, 2019

The Little Black Dress with Puffed Sleeves

Hello Refashion Co-op. I had a little black dress on my hands that needed help. It was boring and too revealing all at the same time. I also had a shirt that was too sheer to wear.

Here is my black dress. It was so boring. It just hangs there and looks so bland. And the scoop neck is too low for me to wear without revealing all the stuff I like to keep covered. The hem was coming undone too.
 

I cut the sheer polka-dot sleeves off the shirt. That was easy.

I added them to the sleeveless dress and it made the dress so much more interesting and fun. 

A little size adjustment in the shoulders and the side seams and the fit was better all over.

Thanks for reading along, for more pictures and details go to I Can Work With That.

Sunday, June 09, 2019

Prom Dress Fail & Outdated Blouse to New Refashioned Outfit


It feels like forever since I have done a refashion (& maybe it has). Sometimes life just gets in the way of our sewing machines, but that is why I come with a double refashion today!

My cousin gave me this prom-dress-fail a few years ago so I could play around with it. Getting excited over receiving "ugly" clothes seems weird to a non-refashioner, but to a refashioner, it is an awesome thing to receive! I knew I wanted to make a skirt out of all the fabric this dress had to offer. To finish off my outfit, I ordered this blouse, which seemed to look better-fitting online than in person, so I had to refashion it. 

The problems:


1. The dress is self-explanatory, right? Hehe.
2. The blouse had these outdated puffy sleeves and the length was too long. 

The solutions:

1. The dress was cut off at the waist and the huge pleats were seam ripped to make three layers for the skirt. The black satin waistband was used to make a new waistband for the skirt.
2. The sleeves and some length were chopped off. The fabric from the extra length was used to make cute and fully lined flounce sleeves.

And this is how my new outfit was created.
Have you ever planned to refashion one garment, and ended up refashioning a new outfit?


For the full tutorial and additional photos, please visit Sew Much Love, Mary.
Thank you for reading. :)

Friday, June 07, 2019

Save the Jewels!

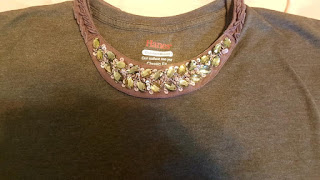
Hello Refashion Co-op. I found a cute little dress at a clothes swap. It didn't fit as I had hoped and I didn't think I could wear it. I really loved the collar with all the jewels. It was pretty and shiny and sparkly... I decided to try and save it. Some of it, anyway.


I started by cutting the skirt off the dress. The skirt would fit nicely. It just needed some elastic threaded through the waistband. That was an easy way to make a skirt right?

I took the collar off the dress. 

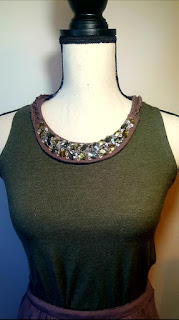
It fit around the neckband of this men's t-shirt. 

 I cut the men's t-shirt into a tank top. I cut out a tank top shape and then turned the armholes under and stitched them down. I also made new side seams.

Thanks for reading along, for more pictures and details go to I Can Work With That.

Thursday, June 06, 2019

Vintage scarf refashioin


It was my birthday again and once again I requested charity shop items which i could refashion.

I received a beautiful vintage scarf which I made into this top.

The make was not without issues, there are full details and more photos here 

Wednesday, June 05, 2019

80s jacket rescue sans shoulder pads


Take a look at those shoulders hanging right off the end of Gabbi's form!

As you may have guessed, this is an 80s era jacket.  I think it was my Mum's. It was actually made in Australia (gasp! - doesn't happen much now) and quite well made too - fully lined and quite good pattern matching.  Awesomely capacious patch pockets.  I'm pretty sure it's a polyester blend fabric, which I don't love, but it's okay for what I had planned and it's clearly very durable.  The buttons are horrible though, a very cheap looking plastic.
To work - obviously those shoulders needed revision.  Since the sleeves were too short on me, I decided to get rid of the whole shebang and just cut the sleeves and oversized shoulders off.


The sleeves were filled with this weird orange powder which got everywhere.  I believe it to the be remains of the disintegrated foam shoulder pads.  The sleeve caps were also padded.


I pinned in the new shoulder edge 5cm shorter (about 2 inches in the old money) and also tapered them to my sloping shoulders.  Then I cut both the outer and the lining fabric to the new line.  I also added bust darts which is why the vest hangs so much better on Gabbi in this photo than the jacket did previously.

I removed the buttons.  Although the jacket was double-breasted I like the jacket hanging loose so I've left buttons off  The buttons holes blend in quite well, even in real life.  Maybe I'll change my mind but I've already been wearing it this way.

And those huge pockets are indeed awesome.

Happy sewing!

Tuesday, June 04, 2019

Quick Embroidered Shirt Refash

This is a quick refashion. I found this adorable embroidered shirt at the Salvation army.
All I did was take this shirt in from each side and down the sleeves!
A nice easy nip and tuck.
DSCN1818
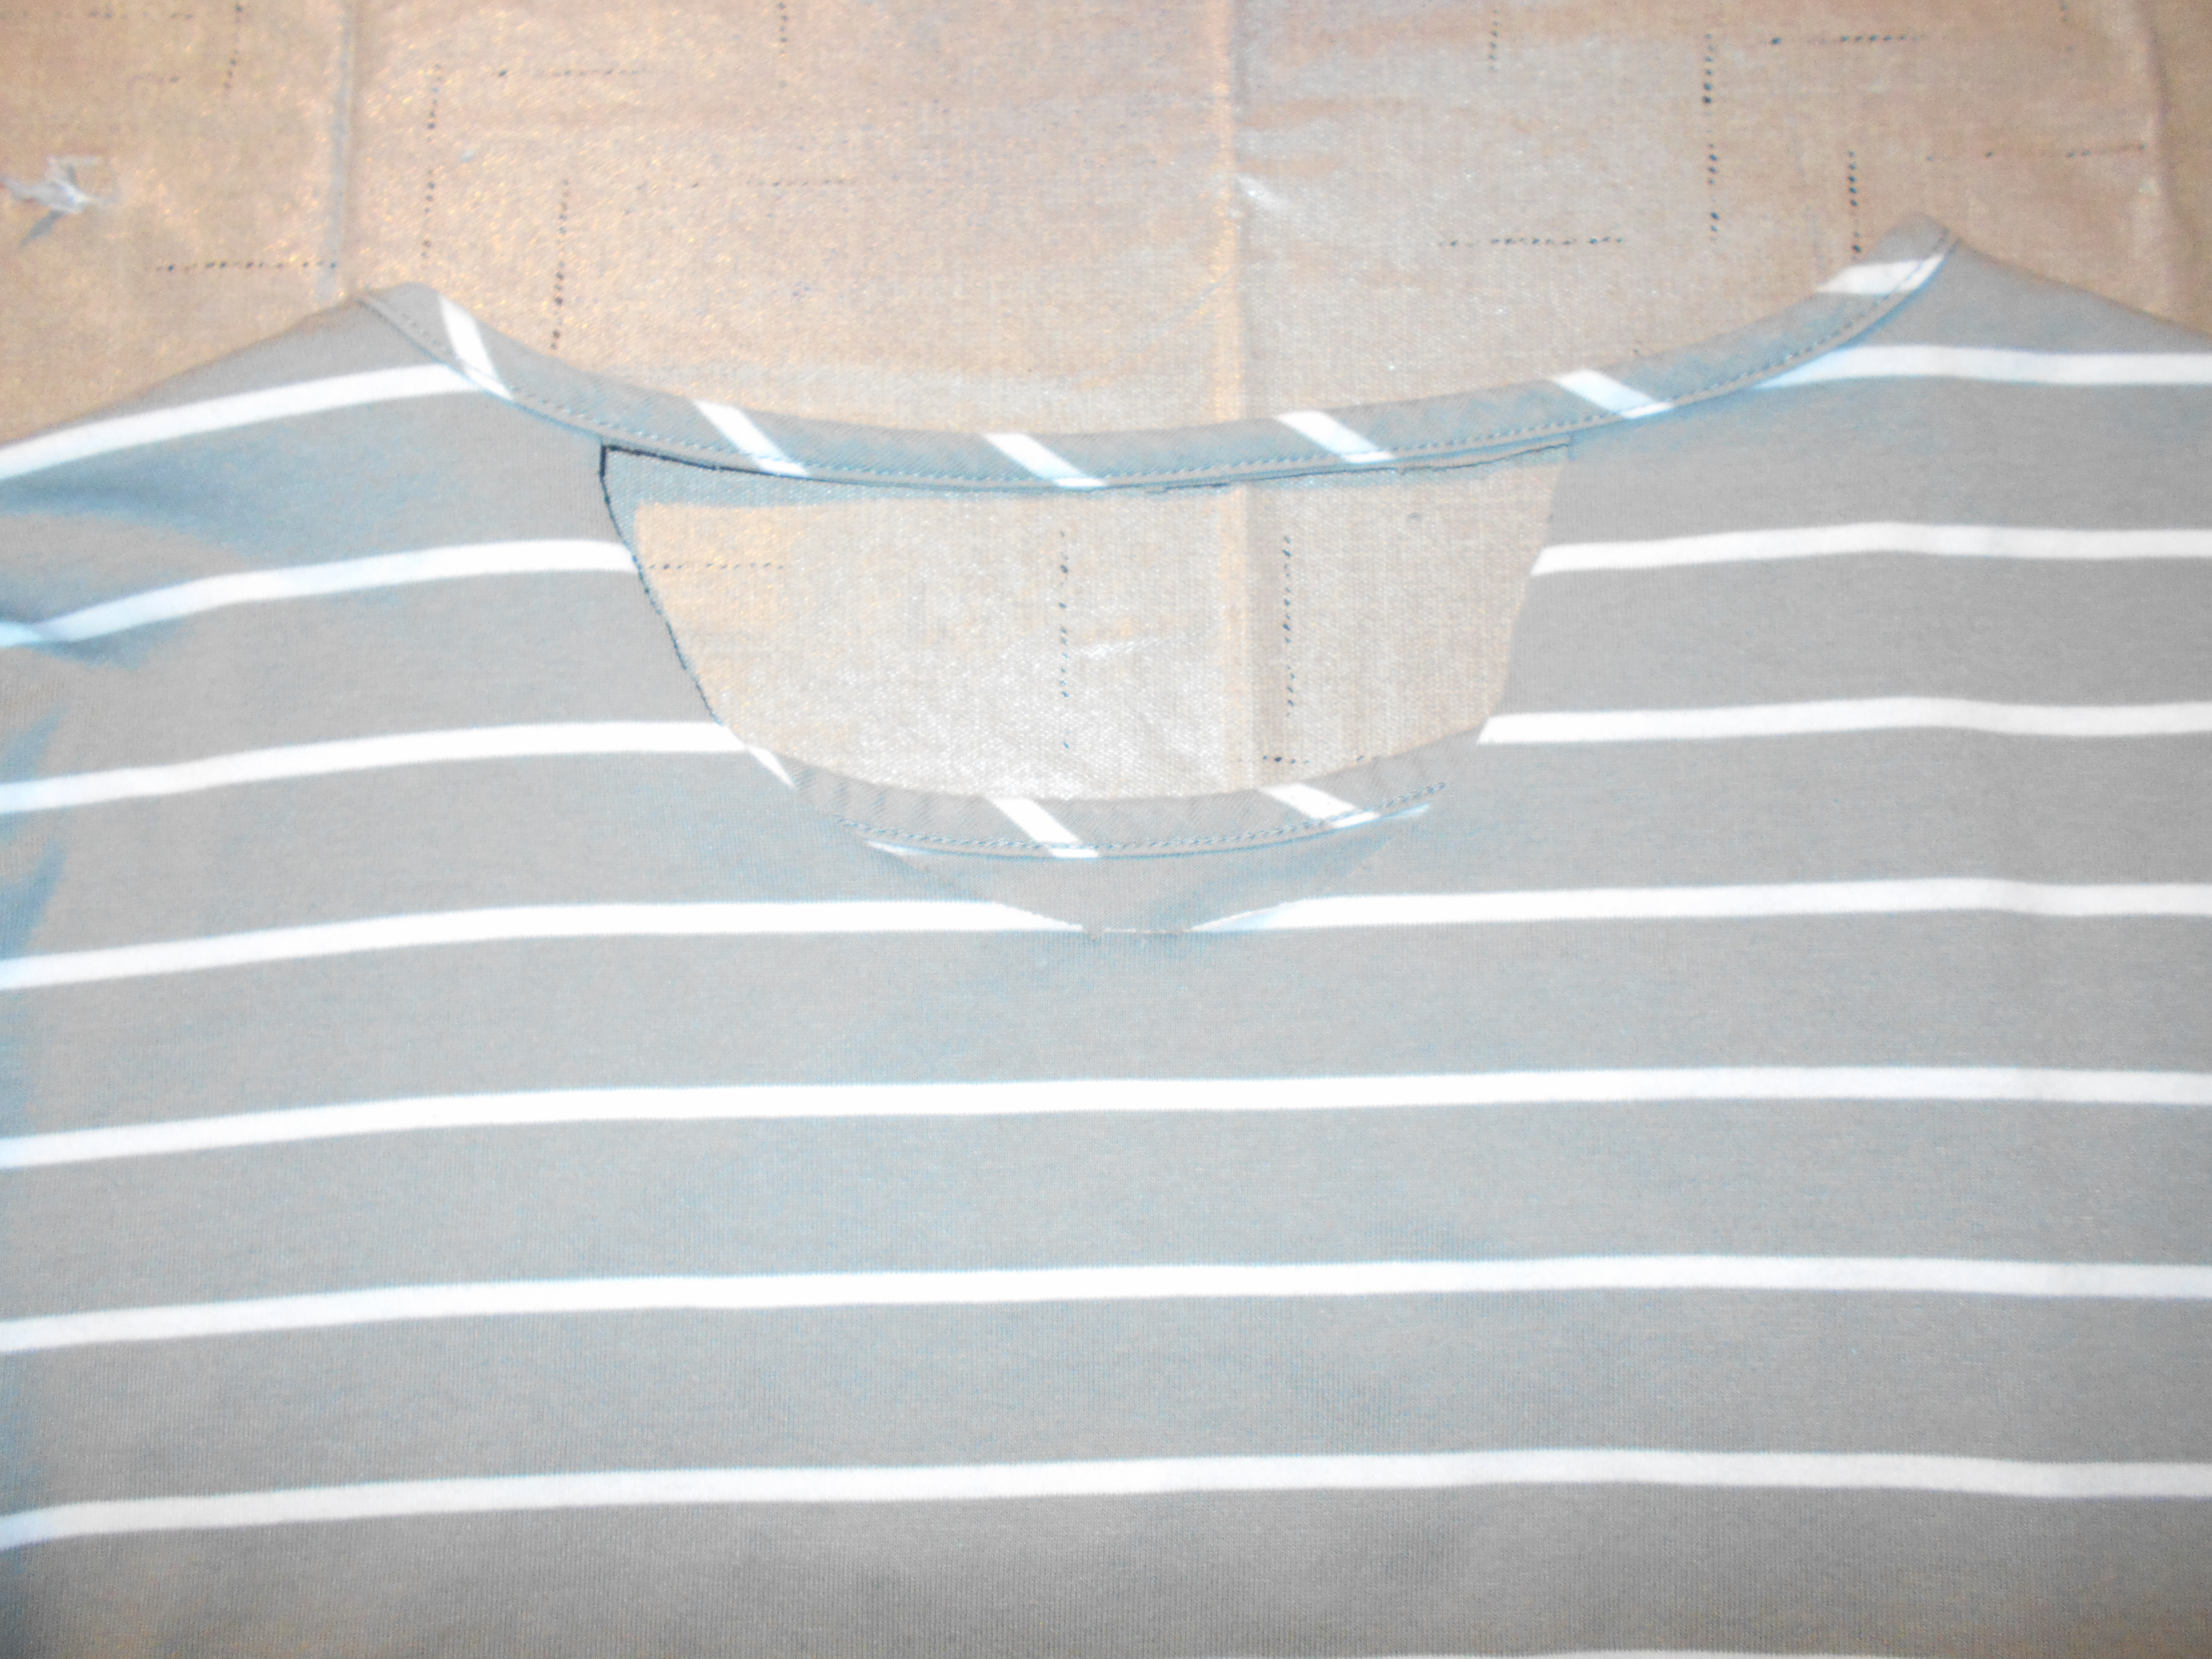
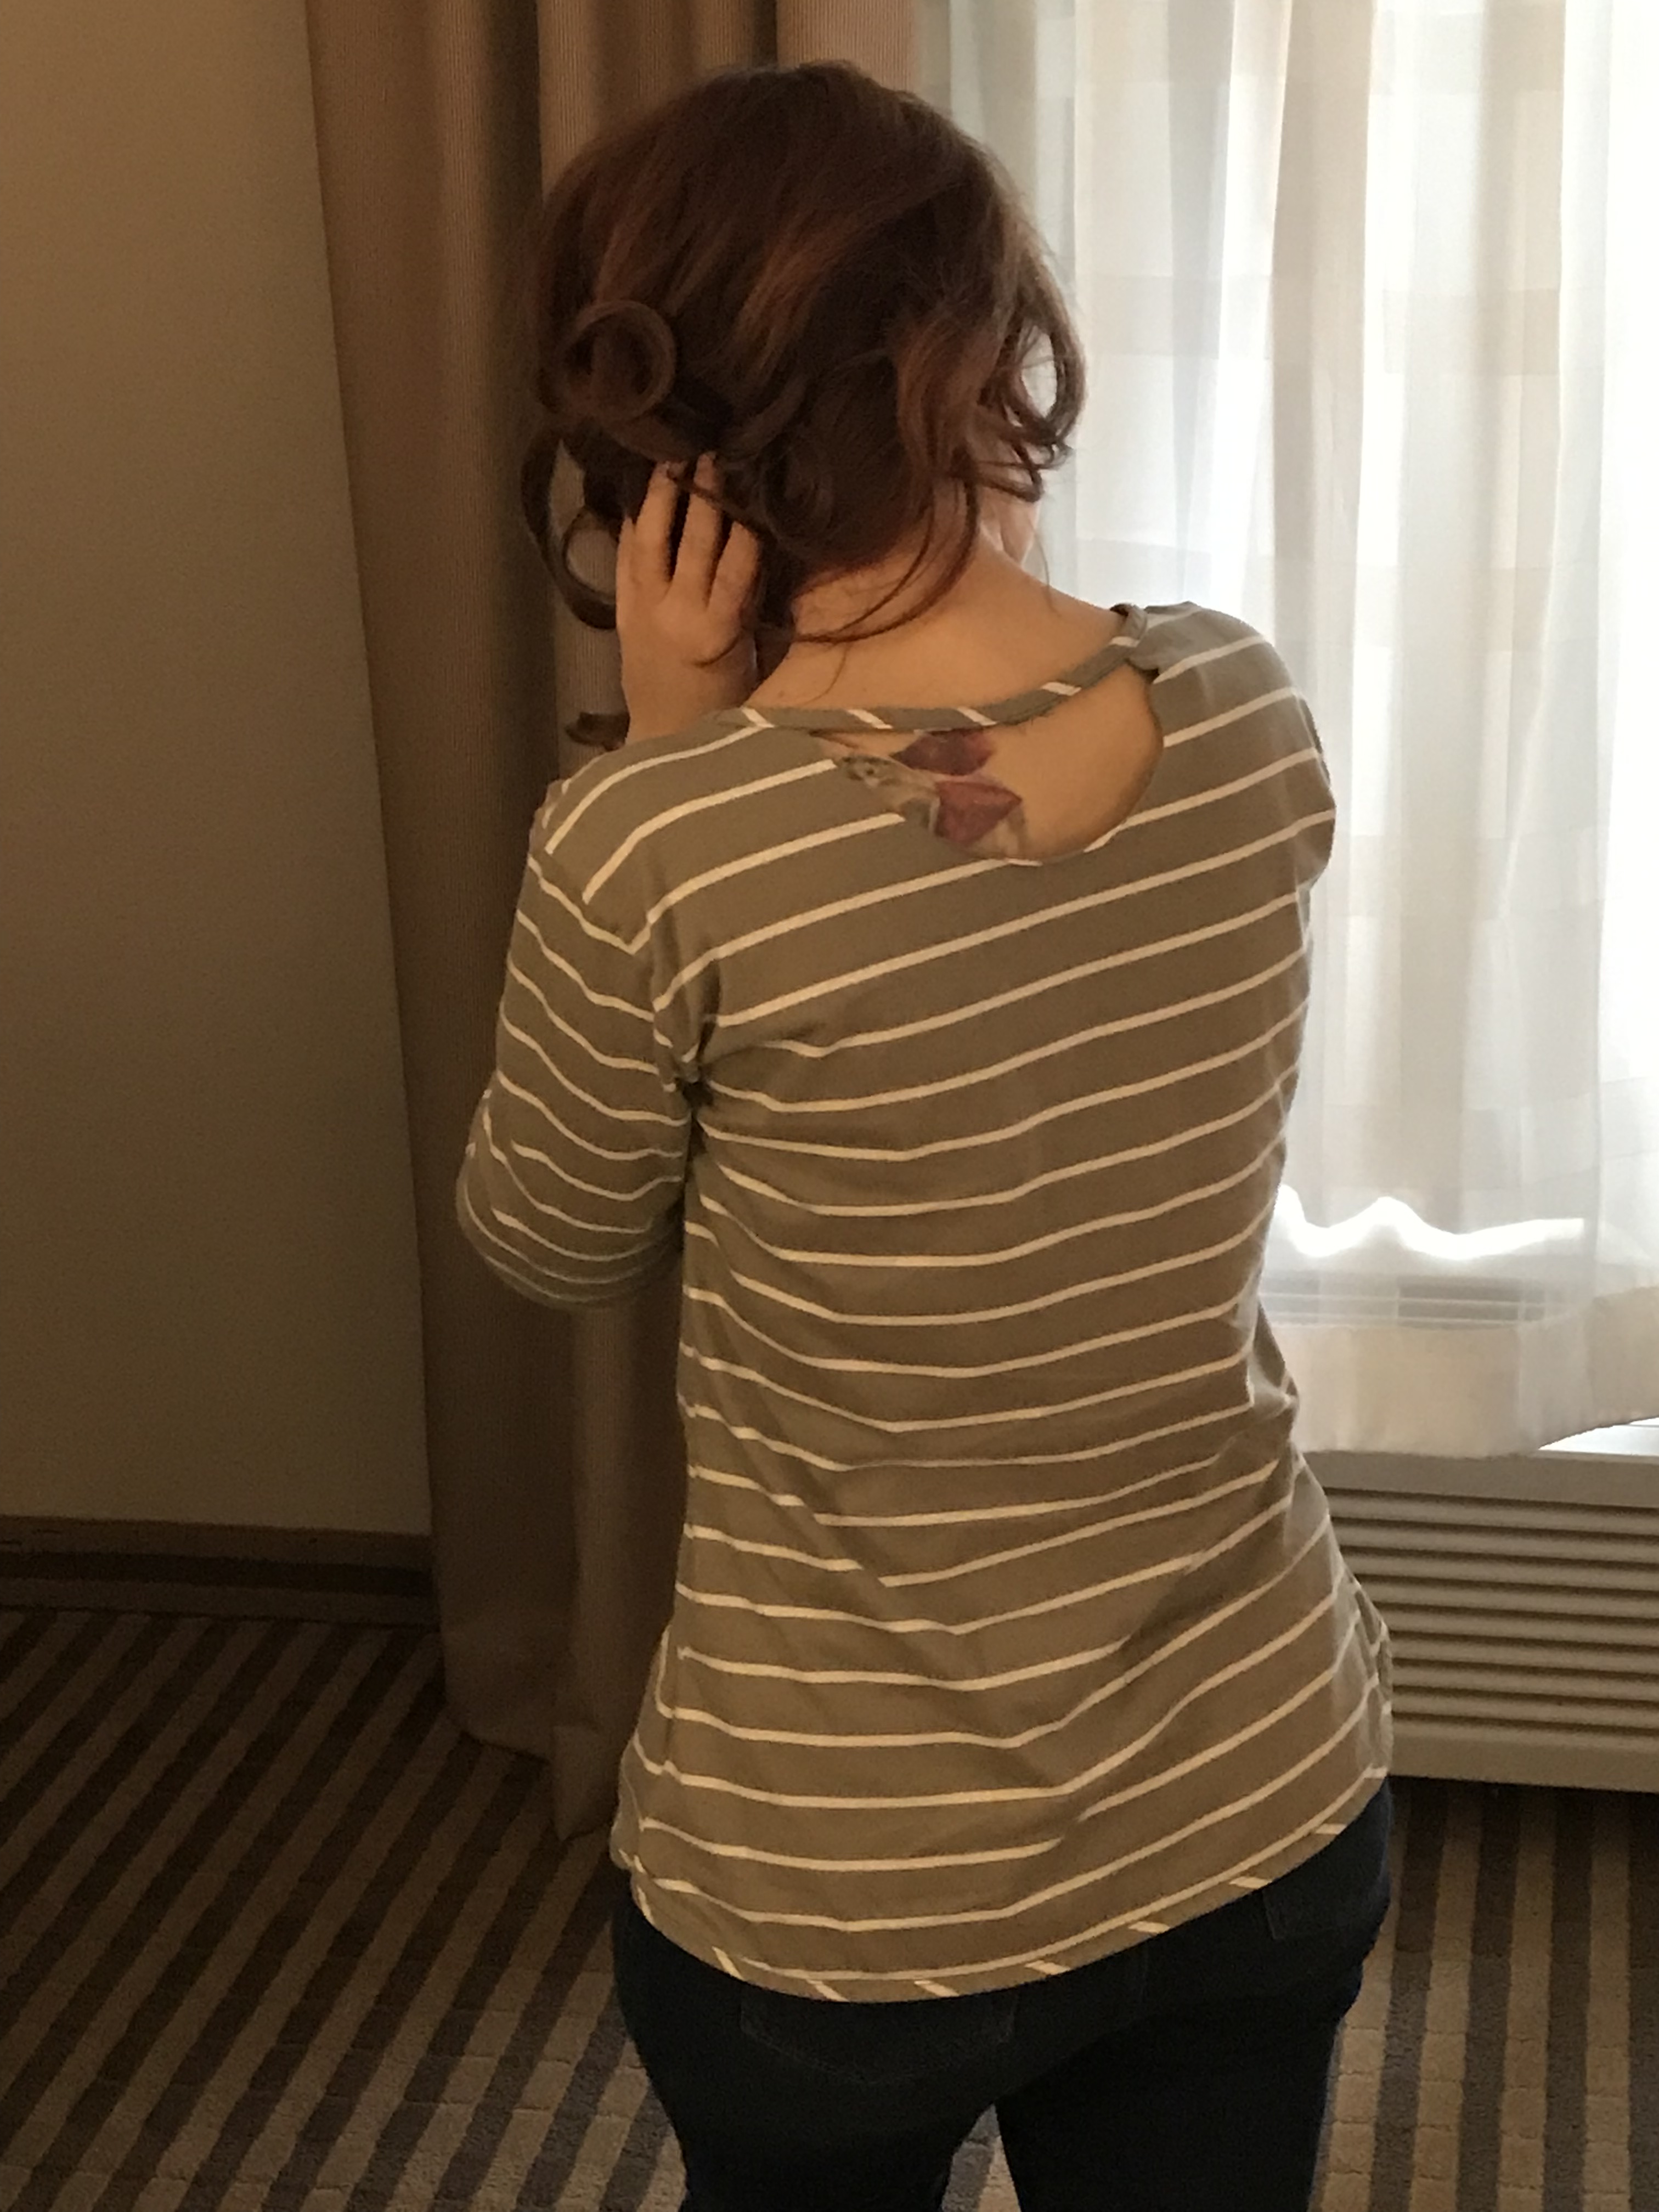
I cut a small 1/2 circle into the back of the neckline to make a cute detail.
 
Happy Refashioning!!!

Check out my stash of refashions on my blog!