Wednesday, November 30, 2016

From Baking (well an Apron) to Bucket Bag!

Why does everything get so busy the second fall hits?!? I sure don't know but I haven't touched my sewing machine in WAY to long. Anyhoo it was time to get back in the swing of things. I have made a few purses in the past but somehow never managed to keep one for myself!


I started with a worn out and torn leather jacket and this oh so cute apron. I almost wanted to keep the apron, but since I never wear the numerous ones that I already own I decided that this was a better idea.


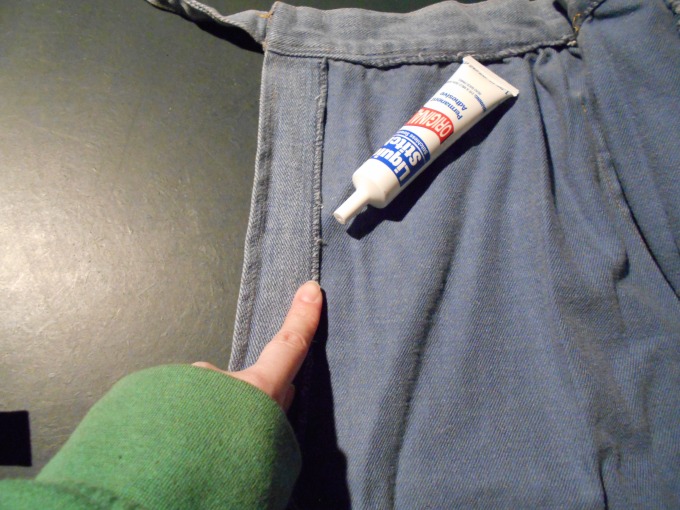
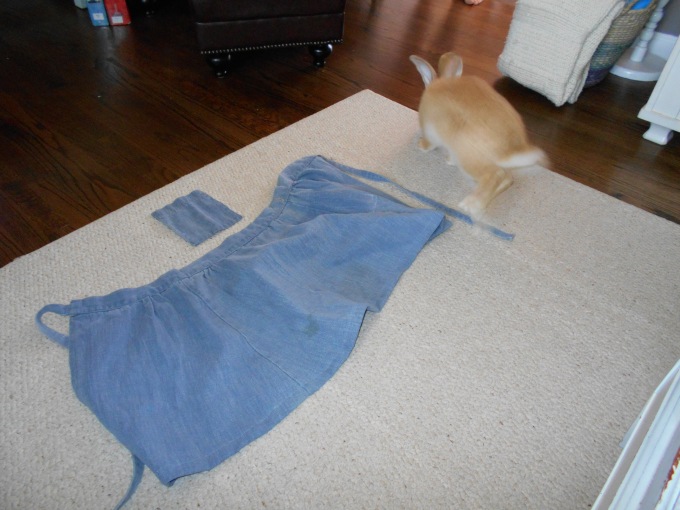
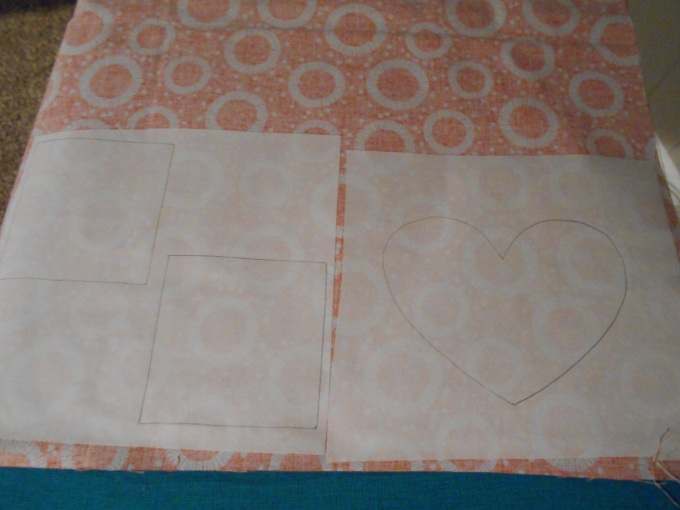
I constructed a pattern and made quick work of cutting the pieces to fit.


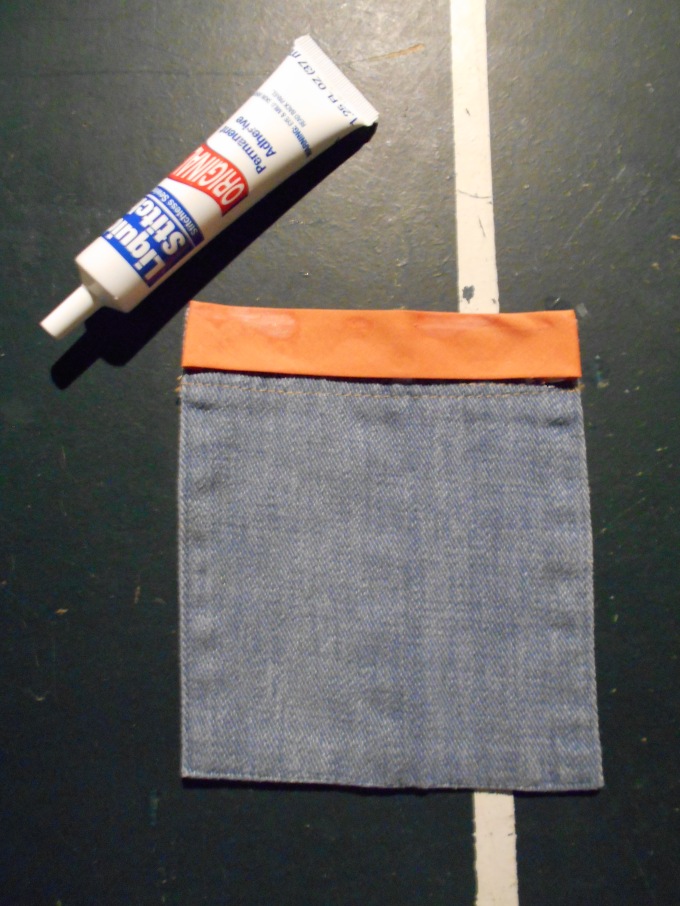
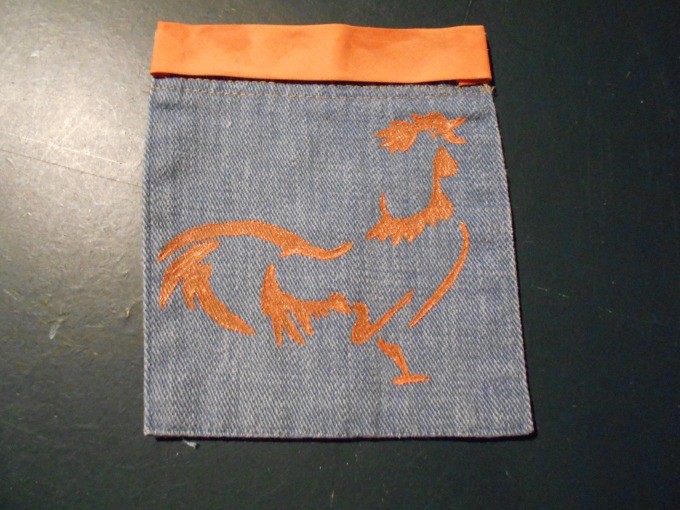
I decided to use the pattern fabric behind the draw string to not wear on the leather and to add a pop of color to the top of the bag.


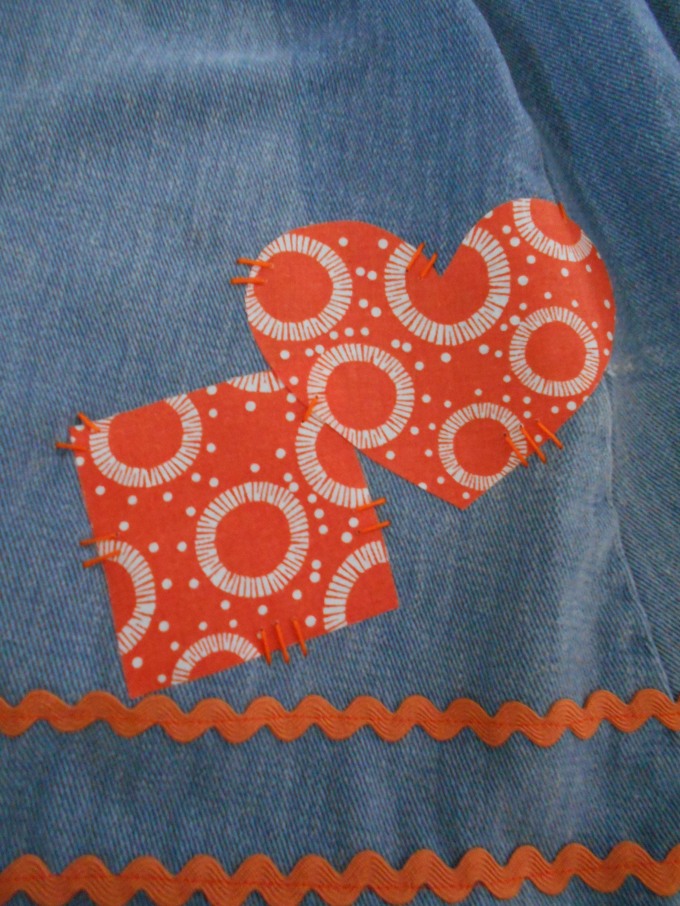
Body of the bag completed! From there I decided to add the special touches! 


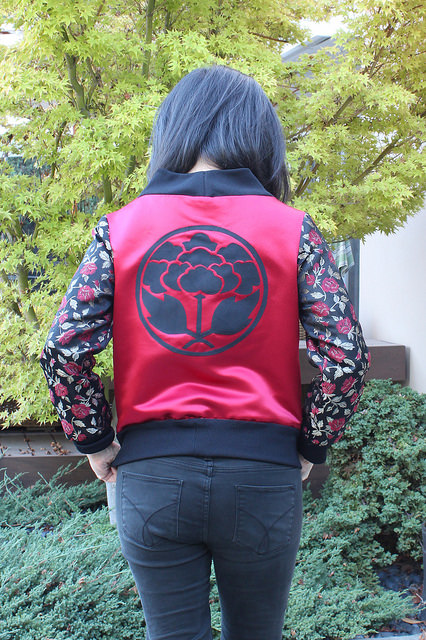
I decided to line it with a bright red and use the apron ties on the cross body strap. I also decided to add tassels on the draw strings for the top of the bag!


Completed! I am super happy with this bag and am thinking of making an embellished jacket next! Till next time stay creative and happy refashioning!

Wrap Skirt to Apron

Hi Readers! Apologies for the long wait until a new post. Within the past 3 months I have started a new job and with that I have had a change in my schedule, so I've been trying to get used to that. Anyways, today I have a refash for you that has become one of my favorites!
I started with a denim wrap skirt that came in a bag of clothes my Aunt gave me.dscn0299
It even has a pocket! (Bonus in my book!)

dscn0408
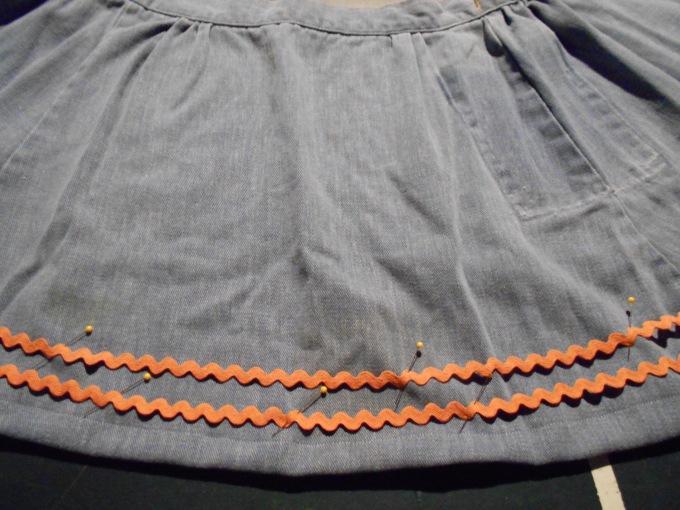
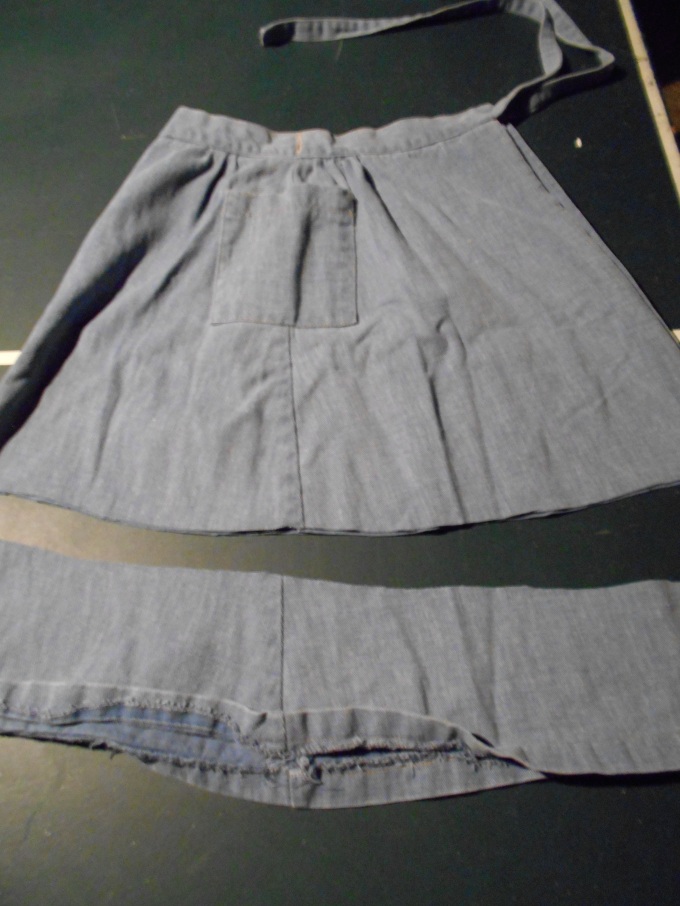
I began by chopping about 10 inches off the length.

dscn0409
Hemmed it!

dscn0410
I used liquid stitch to tack down the side fabric because the fabric flap kept curling up even with heavy ironing.

dscn0421
I removed the pocket, don't worry! I'm going to reattach it later!
Look a hippity hoppity rabbit got in the way!

dscn0422
I used my trusty liquid stitch to attach some orange bias tape to the pocket. (I felt it would be too thick to sew the bias tape to the denim pocket)

dscn1026
I used fabric paint to paint a rooster on the front of the pocket.

dscn0423
I sewed medium orange rick rack to the bottom of this skirt for added decoration.
My idea for this skirt was to make it into an apron! I have a country theme for my kitchen (hence the rooster paint on the pocket) So I thought what better for a country apron than patches!?
I found this great orange fabric at my local supercenter, Meijer.

dscn1038
I ironed on some heat n bond to the wrong side of the fabric, drew on my desired patch design, cut out my design, pulled off the backing and ironed them on my apron!

dscn1045
I also sewed a few stitches using embroidery floss!

dscn1049
Here is where my apron hangs! Ready for me to cook!

dscn1098
Here it is in action!

phototastic-2016-11-08-12-54-41
Happy Refashioning!!!
Check out my stash of refashions on my blog:http://therefashstash.wordpress.com

something blue for me

Hello, HoffiCoffi here!

Well, seasonal gift making is rather taking priority at the moment in my house, but I did find time today to make something quickly just for me.


I have previously used this duvet cover to make myself this dress...


...but I still had the bottom of the duvet leftover.  It seemed a shame to waste all those trees so today I used them to make...


...this skirt.  Just a simple gathered rectangle with a zip and waistband added.  The waistband is the leftover fabric used to make the piping on this recent skirt.


The tree skirt is lined with two different long and thin pieces of leftover lining which would be hard to use for anything else - and the waistband uses a button from my charity shop button box.

Everything will get used eventually! :)

A Swimsuit Cover-Up From A Shower Curtain!! Quick Refashion!

I loved the colours of this shower curtain as soon as I saw it and I think it was only $3.99 with a 30% off on top.  I hemmed and hawed about what I would make out of this and then remembered that I always disliked my swimsuit cover-up because it is made out of t-shirt material and sticks to me when my swimsuit is still damp.  So I thought I could use this shower curtain in a new way.

img_0317

Here is the original shower curtain.

image

Here is the dress that I used as my pattern

img_0329

Here is the final dress.  It was an incredibly easy sew.  I used the original curtain hem as the hem of my dress, so no hemming involved. I cut out the curtain around my original dress.  Then zigzagged all the raw edges as it is a highly fraying fabric.  Then it was just a matter of stitching up the shoulder and side seams before hemming the arm holes and neck hole.  I quite like that I was able to match the pattern in the front and show off the beautiful pattern and colours.  I think I may also be able to wear this dress with a white slip underneath as a regular dress, I will have to see if it works.  Hope you like my quick refashion.  Cheers, Michele. Check out my blog Here!

Tuesday, November 29, 2016

#27 Back to School: Navy Eyelet Overlay

This is #27 for my after retirement “Back to Elementary School Wardrobe”.

My goal is 10 Re-fashions per month. I hope to catch up during winter break. 

BEFORE: Loose fitting top was made years ago.

PROBLEM: Needed to update dated print with more current lace look.

STEPS: Remove neck facing & stitching from red panels.
Add eyelet overlays & stitch in place. Restitch neck binding.   

AFTER: The updated top is fun with denim skirts and jeans. Jeans are in dress code in my new Elementary school. 

AFTER:
Eyelet overlay updates top.
Horse related print is in-line in my country Texas school.
Red peeks through and stays on the neck binding. 

AFTER: Eyelet overlay.

AFTER:
Eyelet Overlay

BEFORE:
In need of update.

Halloween Refashion - T- Shirts to Peridot from Steven Universe

My kids always like to pick impossible characters to be for Halloween.  The ones you either cannot find at the Halloween Superstores that pop up everywhere, but you can find on amazon for $375 ... for an adult size costume.  Lucky for my kids, they have a mom who is up for the challenge of making their costume dreams come true on a dime store budget.  

My daughter wanted to be Peridot from Steven Universe.  


Lord help me!

I prayed as I went digging into my collection of old clothes I have saved for refashions and found some perfect shirts that would work for her outfit.  I did have to go to the thrift store and buy one extra shirt to finish the top, but her outfit is made completely from old shirts.


I had to go to Joann to find material for her hat, but I scored this vinyl, pleather stuff off of the remnant rack for 50% off.  I sewed a bendable wire into the seam along the edges to keep it upright.
Here is my little Peridot!


I hope you all enjoyed your Halloween!  I meant to post this awhile ago and somehow we are now past Thanksgiving!  I better post this before it becomes Christmas!
Erinn


Monday, November 28, 2016

#26 Back to School: Green Cotton Dress with Slip Added

This is #26 for my after retirement “Back to Elementary School Wardrobe”.

My goal is 10 Re-fashions per month during this school year.. It is November and I am working on my October goal. I hope to catch up during winter break. 

BEFORE:
1st Re-fashion years ago was to combine t-shirt and denim skirt into a loose fitting dress. 
This is similar to a version with a similar t-shirt and linen skirt posted last year.
Black too small slip with worb elastic from the stash. 

PROBLEM: 6 AM search for the right slip was not fun.

STEPS: Remove worn elastic from slip. Serge top edge. Add lace panel to slip front to enlarge. On the similar dress, a scarf was inserted to repair worn skirt lining.
Baste and stitch the slip into waist of dress. 

AFTER: An easy go to for school day mornings.

Many teachers and staff wear jeans, so this denim skirt/dress fits right in.

AFTER:
1st Re-fashion was to combine denim skirt and loose fit t-shirt,
2nd Re-fashion was to add a too small slip as a lining.

After:
Top-stitching joins top & skirt.

BEFORE:
1st Re-fashion skirt & top unlined.

AFTER:
2nd Re-fashion added black slip.

Thursday, November 24, 2016

Men's Flannel Shirt Refashion to a Vest

I grew up cuddling up to my dad who was always wearing a flannel shirt. And now I get to sort through those old flannels and get creative with refashions. This men's shirt refashion turned a quilted flannel shirt into a reversible vest. (Get the full details here)

Men's Flannel Shirt Refashion

BEFORE
The original flannel shirt was an XXL so there was plenty of fabric to play with and adjust to my size.

Men's Flannel Shirt Refashion

Changes made:
  • The collar was removed
  • Sleeves removed
  • Sides were taken in for a more feminine fit
  • Buttons were replaced with larger buttons and placed on both the inside and outside
  • Side pockets were created using the extra flannel fabric
  • All edges were finished with bias tape
AFTER

Men's Flannel Shirt Refashion

BONUS: It's reversible!

Since this flannel shirt was quilted, it was ready to be reversible and show the quilting on the outside. This is my favorite was to wear this refashion.


Wednesday, November 23, 2016

Refashioned Bomber Jacket from a Funky Prom Dress


A few months ago, I went to the thrift store to replenish my refashion stash.  I didn't have any particular project in mind, so focused more on interesting fabrics and patterns.  I found a Jessica McClintock prom dress with a pretty floral brocade for $5 and threw it in my cart without looking too closely at it.  Once I got home, I found this weird, funky embellishment on the back of the dress I completely overlooked at the store.


That stupid, fugly bustle stumped me for the longest time.  I assumed the entire dress was made of the satiny brocade I fell in love with and was counting on that yardage.  Since there wasn't much brocade to work with, I put the dress "on hold" for several months in my guest room/junk room.

I finally found inspiration with the current bomber jacket trend.  I figured I had enough brocade for the sleeves.  For the bodice, I found a thrifted skirt in the perfect shade of red.


I was determined to do something creative with that stupid bustle, so I made a applique from a Japanese crest pattern.


Read all about this bomber jacket refashion on  my blog www.Trevorlovesmommy.com.


A Tale Of Two Sweaters

Hello Refashion Co-op. I had these two sweaters that I used to make one bigger sweater that I could actually wear. (Even adults can outgrow their clothes right?)


This white sweater is cashmere and I really wanted to wear it. I cut the side seams from the waist to the wrist. I took out the seam.


I cut two long pieces from the sides and arms of this pink sweater. The pieces were about 3 inches wide. 


Under the big black flower pin was another flower. I liked it much better than the big pin. 


You can see the pink pieces in the under side of the arms here. I was being goofy and this picture actually showed the arms well.


You can see the sides of the sweater and the flower here. The new pink pieces made the white sweater large enough for me and I like the look of the pink flower.


Thanks for reading, and Happy Thanksgiving!
For more details and pictures go to I Can Work With That.