Wednesday, February 27, 2019

The Coat Skirt

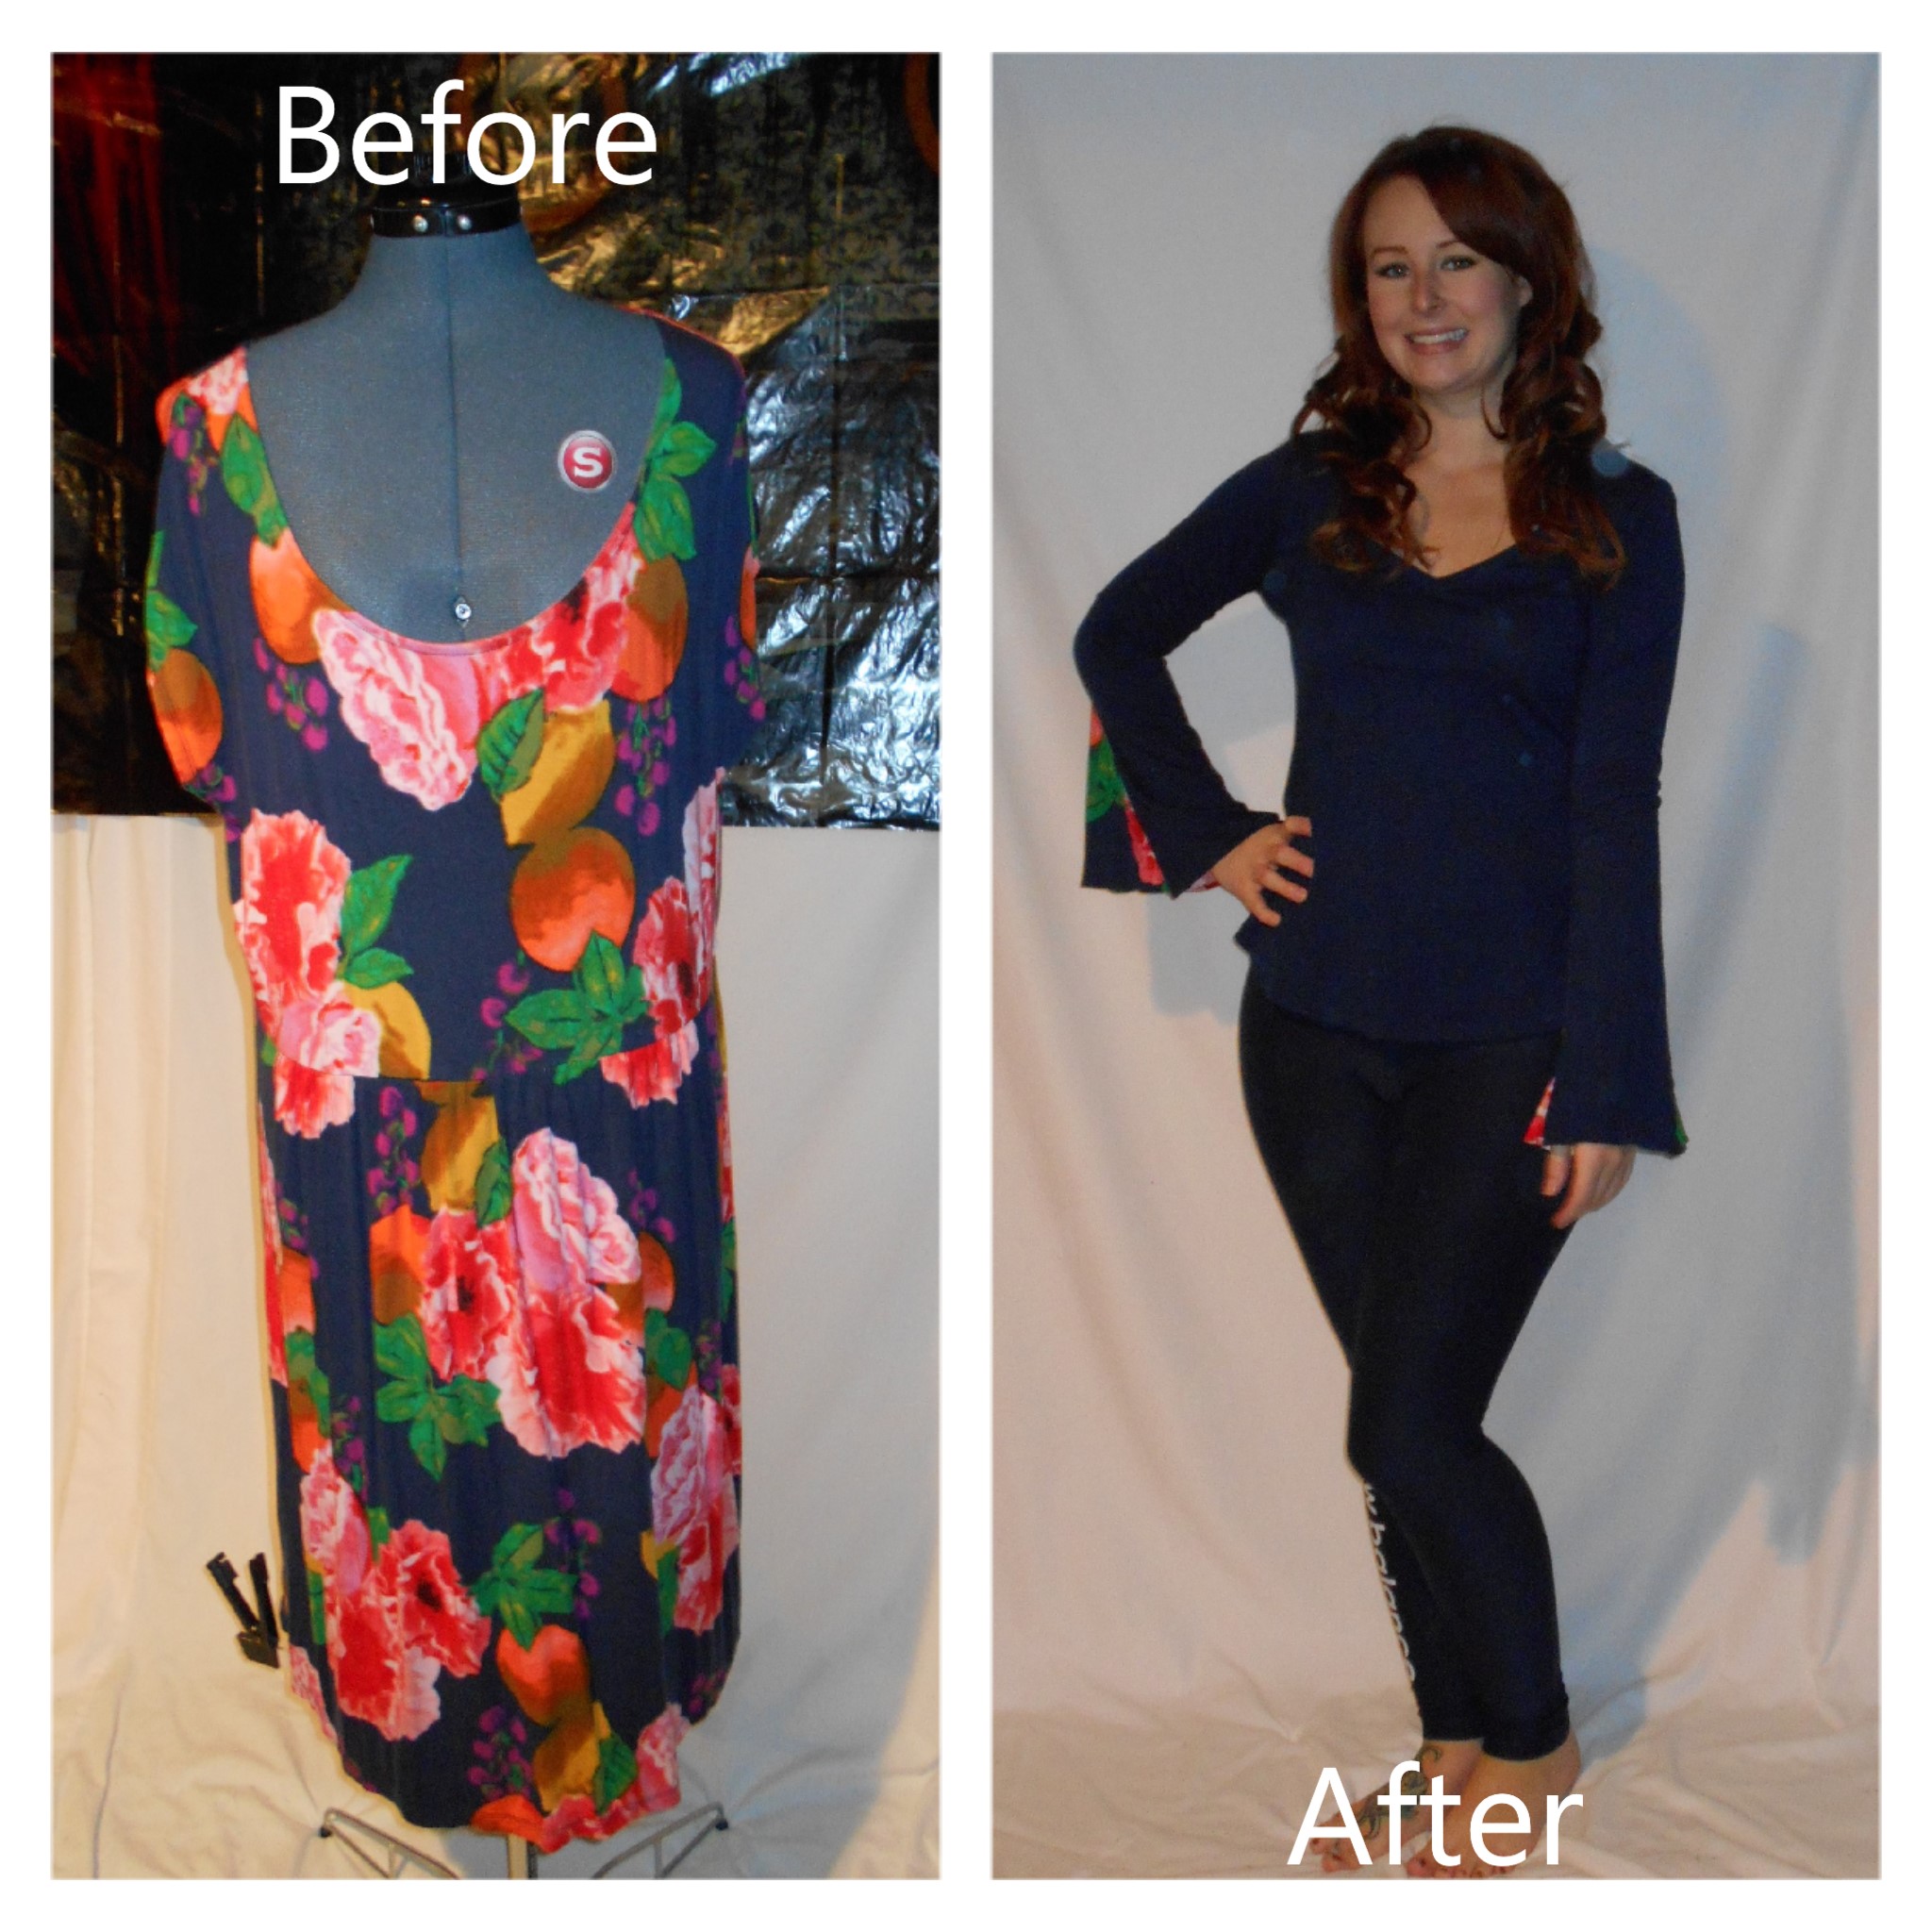
Hello Refashion Co-op. I had a coat that wasn't really warm. What could I do with a thin coat? I made a skirt.


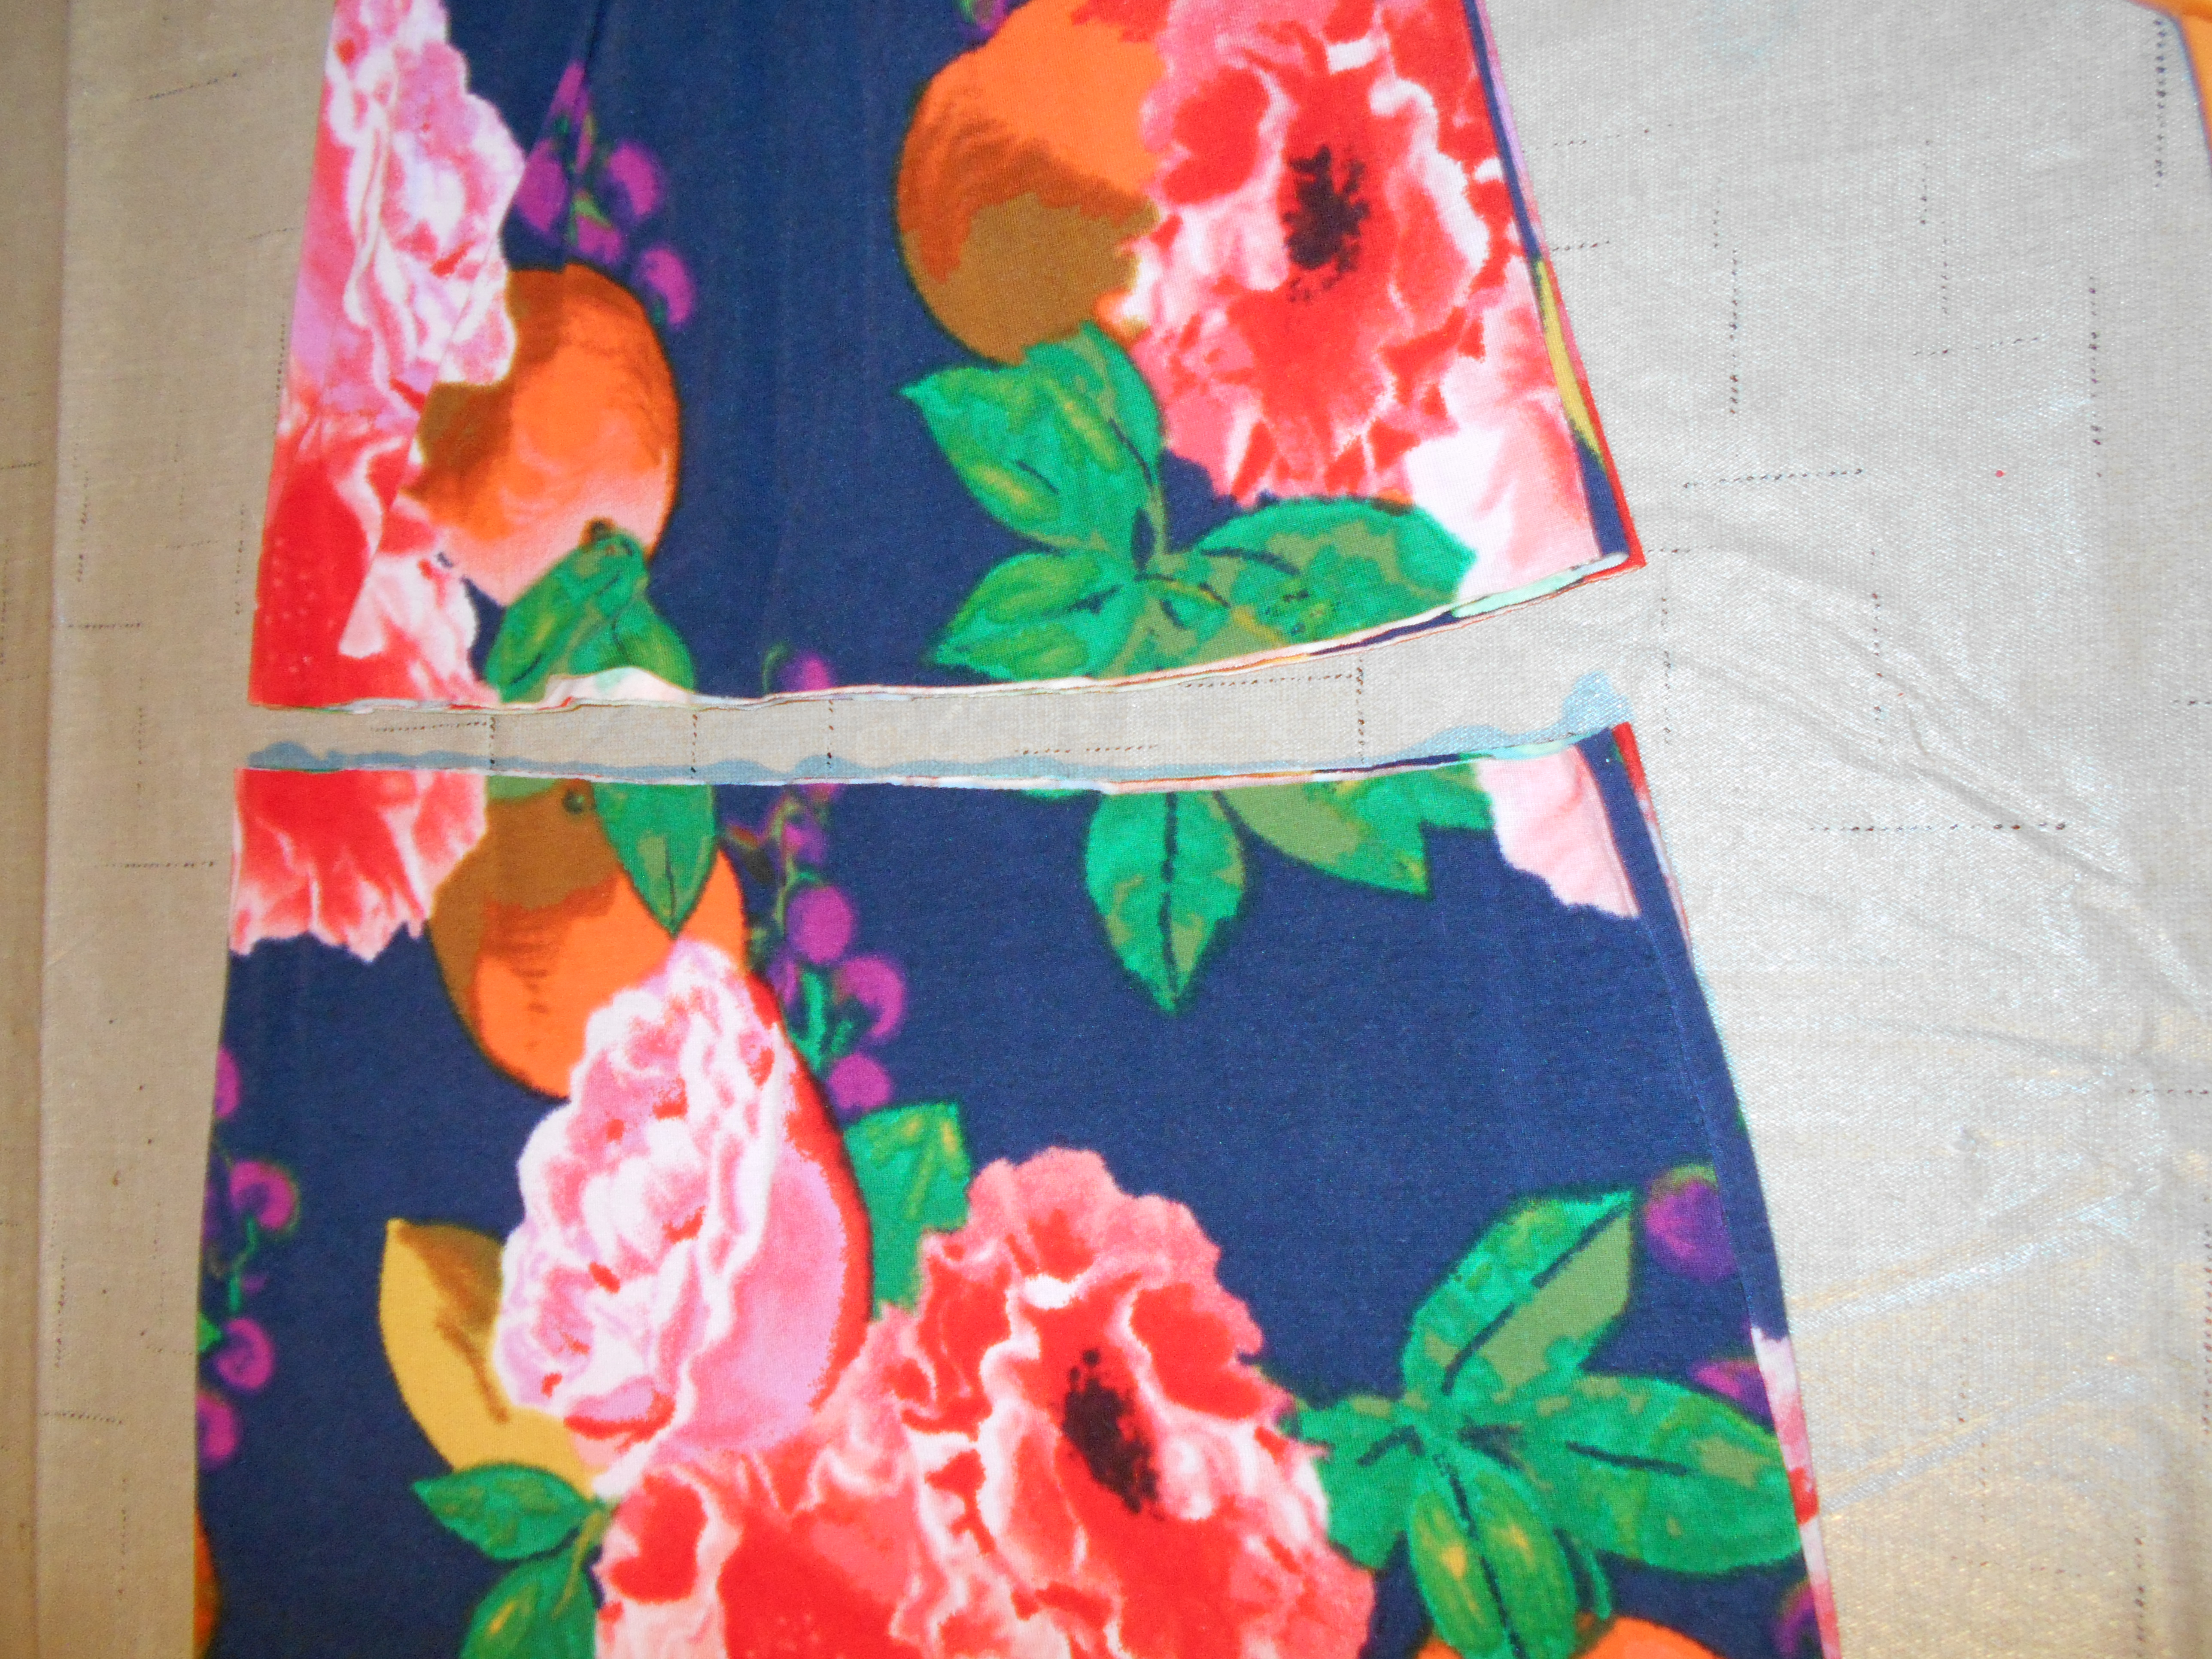
I cut the top of the coat off.


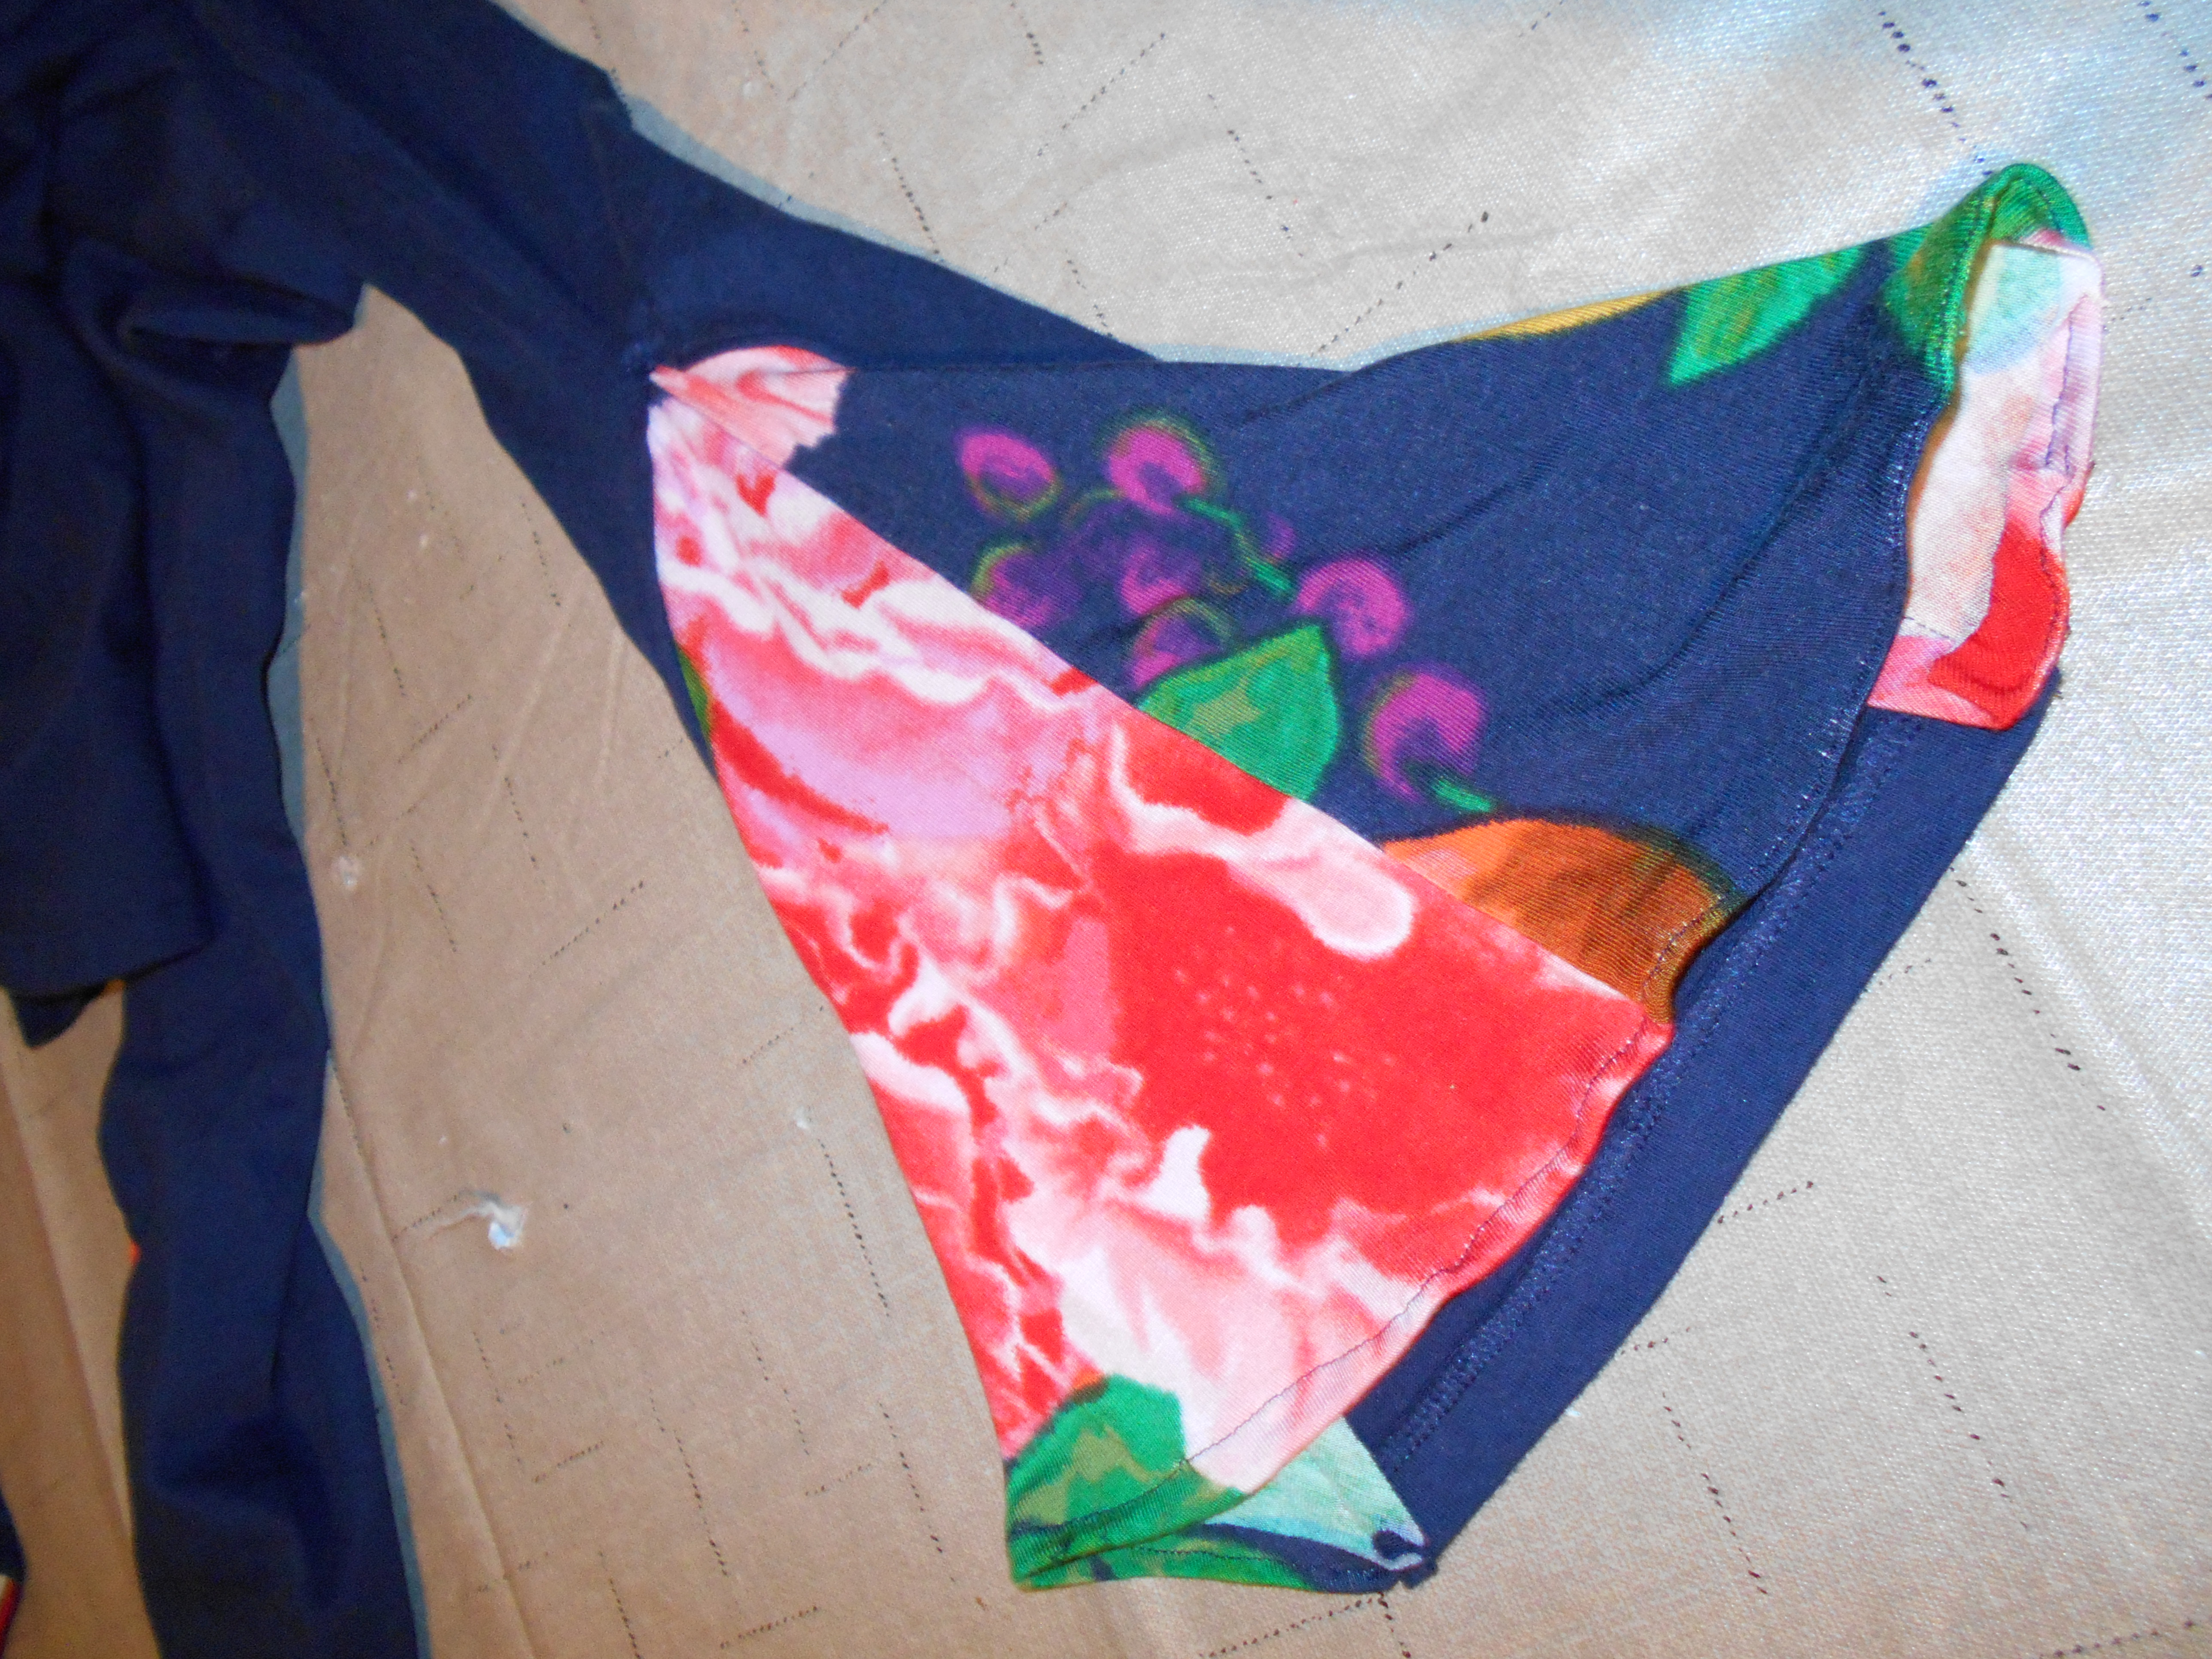
I stitched the coat/skirt closed in front. I finished the waist and folded the cut edge in. I tucked the lining in when I was sewing the waist so it is all closed up inside too. The lining is like a built in slip.


 I used a sew-on snap that came with the coat to close the waistband.


I was happy with how the skit turned out.


Thanks or reading along, for more pictures and details go to I Can Work With That.

Monday, February 25, 2019

Un pull cool !

J'avais chiné chez Emmaus ce pull rayé qui me plaisait bien mais qui manquait de pep's :


Avec l'aide d'un patron je l'ai transformé un peu en modifiant l'encolure et en mettant des bandes plus larges aux poignets et à l'ourlet ......... et voilà un petit pull bien plus sympa désormais .......


C'est pas mieux comme ça ? 
Plus de détails Ici
Bisous, Elisa Elisa 


Sunday, February 24, 2019

Bell Sleeves Part 2

Part 2! Part 2! Part 2! Aren't you excited?!
DSCN1709
I enjoyed making and wearing my 1st bell sleeve shirt that I couldn't wait to make another!
I started with wanting to use the fabric from these pants and adding it to a plain black cotton long sleeve shirt.

DSCN1710
I took the band of fabric that folded down at the waist and pinned it to the v-neck of my black shirt and stitched that in place.

DSCN1714
Then I took the rest of the waist fabric and sewed that to the bottom hem of the black shirt.

DSCN1715
Then just like my other refashion I opened up the seam of each sleeve.
Cut 2 triangles from the pants and sewed that in the sleeve hem, making bell sleeves!

IMG_1827
Here it is! My final project! :) Hope you enjoyed part 2!

2018-02-12-13-05-01.jpeg
Happy Refashioning!!!
Stay warm!
Check out my stash of refashions on my blog!

Friday, February 22, 2019

Vintage Pink Polyester

Hello Refashion Co-op. I found this pretty pink polyester dress at a clothes swap. It was hand-made a long time ago. It was very thick heavy polyester. It had a nice soft lining in the bodice but the sleeves were scratchy.


The first thing I did was make a V-neck to open up the dress and make it more comfortable. 


I also decided to make 3/4 length sleeves. I thought that would help make it more comfortable and make the pink less overwhelming. It just seemed like A LOT of pink.
 I still didn't love it.


I decided to make the dress sleeveless. I didn't like the sleeves, why keep them?


Now this little dress I really liked. It was so much more comfortable and I don't feel lost in a sea of pink polyester anymore.


Thanks for reading along, for more pictures and details go to I Can Work With That.

Monday, February 18, 2019

Peasant Blouse to Kimono

Hello Refashion Co-op. I love to go to clothes swaps and thrift stores. I usually pick things based on the material rather than the size or shape. If the material looks good I figure I can always do something with it. I loved this red peasant blouse because the material was so pretty. When I got home I realized it was open down to my belly button. It looked rather strange. Why was it SO low cut?


I decided not to fight it and cut it open all the way down the front. If it wanted to be open, I would let it be open.
 

I cut a little more off each side until it was smooth and flat like a little kimono jacket. I turned the edge under and stitched it down.


I liked the end result. It is a nice layer on top of a plain shirt.


Thanks for reading along, for more pictures and details go to I Can Work With That.

Wednesday, February 06, 2019

Buffalo Plaid Sleeves

Hello Refashion Co-op. It has been SO, SO cold here. That polar vortex was no joke. It was far below freezing every day. Short sleeves won't work, but my sweater dress had short sleeves. What to do?


This sweater dress was soft and cozy. I thought it had a hood but it was actually a big soft collar/shoulder wrap. That would be nice and warm but the dress needed new longer sleeves. I had this great buffalo plaid shirt to use for long sleeves.


I cut the sleeves off the sweater dress. I left the seam in place so the arm hole wouldn't stretch out.


I pinned the plaid sleeves into the sweater dress.


I liked how the sleeves worked in the dress and they were much warmer. I still had the body of the shirt and I made a warm infinity scarf from the it. They were both great for the very cold weather we had.


Thanks for reading along, for more pictures and details go to I Can Work With That.

Sunday, February 03, 2019

Bell Sleeves Part 1

Happy February!!! ! I have been so busy creating but not very busy in posting. I am now finally playing catch-up with my posts, so get ready for some awesome refashions!

Here we have this very lovely fruit/flower dress. Very nice, but a wee bit too big for me. Since the cold weather has hit Michigan I did not really see the need to make this into a better version of its self as a dress. I need long sleeves!!!!

DSCN1705
I decided to use the fabric of this dress and add it to a long sleeve shirt.

DSCN1704
I had this navy cotton long sleeve shirt which fit perfectly but was very plain. To incorporate my fruit/flower I opened up the seam of each sleeve.

DSCN1706
I cut the dress in half making a ring of fabric.

DSCN1707
I then cut 2 triangles out of the corners of that ring of fabric.

DSCN1708
Then I used the triangles of fabric  to sew into the open seam of the sleeves. Thus, making a bell sleeve!

DSCN1718
Ta da! This was a simple way to update a plain shirt! I love how it turned out!

2018-02-12-12-52-06.jpeg
Happy Refashioning!!!
Stay tuned for Part 2!
Check out my stash of refashions on my blog!

Saturday, February 02, 2019

The Modded Knotted Vest

I'm in love with open-front vests! They can add a splash of color to any outfit, and they're useful for covering up spaghetti straps and other skimpy tops when you want to stay cool but don't want to show a lot of shoulder.

This particular vest just wasn't doing it for me. I didn't like the way the front panels curved and connected in the back. I think a straight-up-and-down front opening is more flattering.

Before

During


I detached the front panels almost the entire length, and then reattached them so they hung straight down!

After

Now I can wear the vest two ways: with the front panels hanging down like a maxi vest (is that a thing?)...


...Or I can knot the panels in the front for a twisted look! I never had a knotted vest before, but I think I could get into it!


I have one more photo of the reassembly process on my original blog post, but you've basically seen it all! Thanks for reading!

--The Unfashionista