Saturday, December 31, 2016

Dip Dye Refash

I am so excited to share today's refashion with you! I am really happy with how this turned out! Living in Michigan you would think I would have an abundance of winter clothing, but I do not. I actually have way more summer clothes, which leaves me really cold in the winter months. I have decided on trying to refashion more clothes I can wear in the winter.
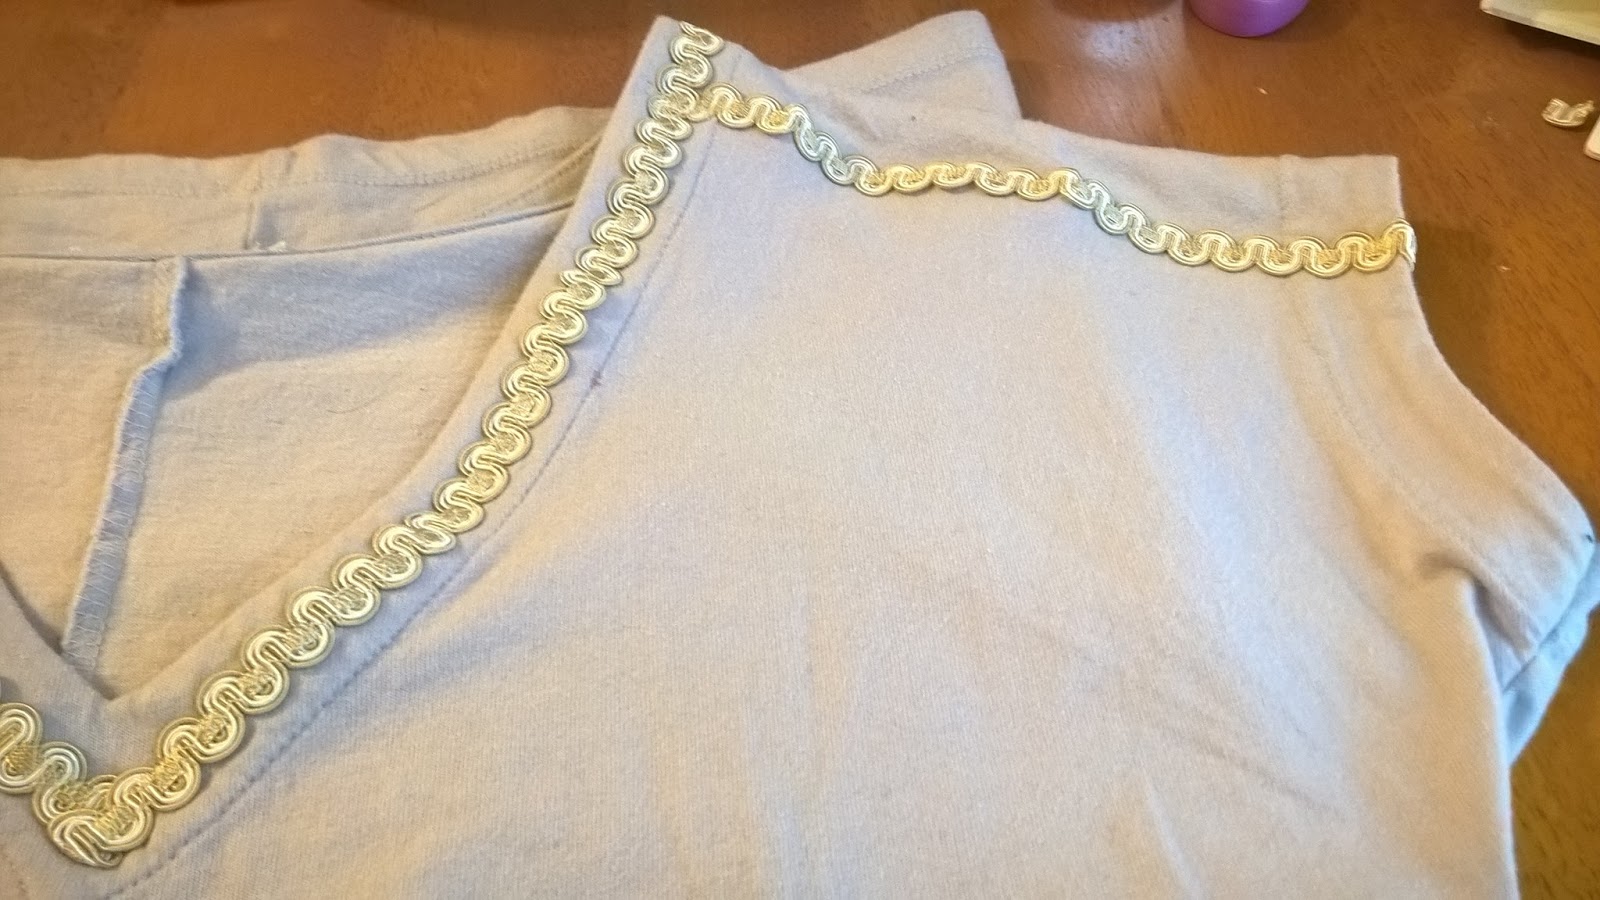
I started with this over-sized waffle shirt.
dscn1111
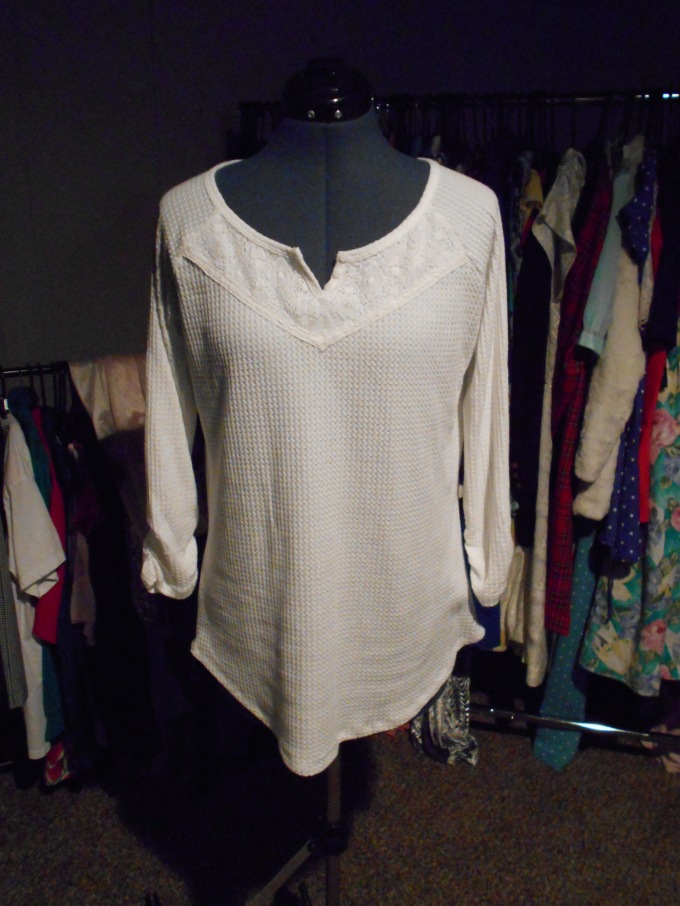
3/4 length sleeves, which is actually practical for me because all long sleeves are too long for my short arms. Pretty lace detail that blends in with the white blandness of the shirt.
I wanted to spice up this shirt with a little color!
  dscn1120
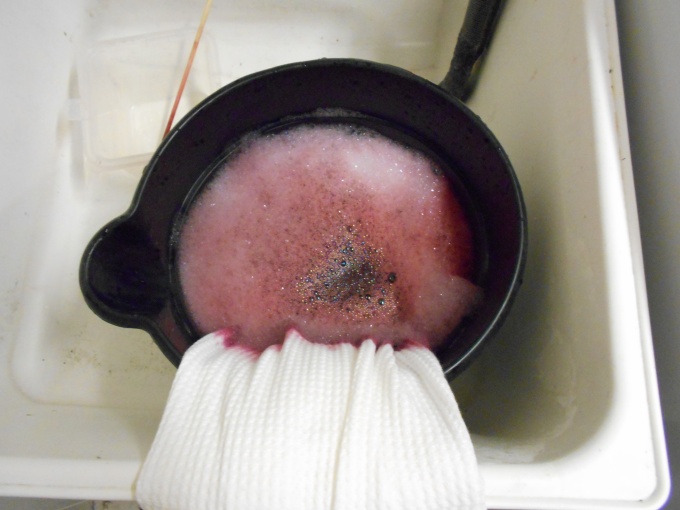
I used a box of Wine colored Rite Dye according to the "sink dying" method. I used an old bucket and dipped the bottom 1/2 of the shirt into the bucket.
After I rinsed the dye off of the shirt I put it into the washer on a "drain & spin" cycle. Unfortunately the dye on the bottom transferred onto the white portion of the shirt, turning it pink. Don't get me wrong I LOVE pink but I REALLY wanted this to stay white.
I quickly mixed water and bleach in the bucket and dipped the top part of the shirt in for about 30 minutes.
This actually fixed the problem! Fewf!
dscn1124
The finished product!
2016-31-12-16-46-41
Happy Refashioning!!!

Check out my stash of refashions on my blog: http://therefashstash.wordpress.com

Floral in the Winter

Hey y'all! This is going to be a pretty easy refashion, so I'll just jump right into it!


This dress didn't need very much work. Look how pretty that pattern is! It already had waist ties to cinch, but the length wasn't right.


All I did was chop off a few inches and finish with a rolled shirt hem! Easy peasy! I have more complicated refashions coming up, but sometimes the most simple turn out so pretty!


Check out more at dramaticattic.blogspot.com

-Rachael

Give the Cat Vuitton II

Every time I looked at this dress I had absolutely no creative juices for a refashion.


I decided it was time to take inspiration from the professionals


My Louis Vuitton knock off.


Come see the end of my Dressember projects on my blog!

#36 Back to School Wardrobe: Grey Vest from Blazer

REFLECTIONS: This grey vest is for the Jan/Feb school wardrobe.
This is #2 of pre-retirement grey blazers / suit jackets re-fashioned into school days vests
to wear with winter pants and jeans. This is my first education job where jeans can be worn daily.

BEFORE: Much worn and now too small pre-retirement jacket from the closet.
Moths and wear left bare spots in the sleeves. Lining was ok.
Years ago shoulder pads were removed and oversized collar was trimmed down.

STEPS: This jacket will become an easy to wear vest.  
  • Use a seam ripper to remove and open the jacket sleeves and side seams.
  • Serge exposed seams to prevent additional fraying.
  • Use sleeves and sleeve lining to cut side inserts to enlarge the sides.
  • Trim shoulder seam to fit narrow shoulders. Slowly 1/4" at a time, trying on for fit.
  • Cut and insert bias armhole trim from the silk tie.
  • Hand stitch trim fron the stash, Machine stitching did not lay flat and gathered jacket fabric..
  • Change buttons found in the stash.

  AFTER:  Easy wear vest for a variety of grey, pink, black, white, purple tone turtlenecks. 
AFTER: Vest with top worn with original blazer.
Shoulders were trimmed back to fit narrow shoulders.
Pinterest search shows some vests shoulders trimmed very narrow. 


AFTER:
Handstitched stash trim was worth the time.


New button from the stash.
Note: true collers are dark grey and black
Bias trim cut from stash tie.


Auditioning trim.
Original double breasted buttons.

BEFORE:
Much worn: Pre-retirement blazer from the closet.

Un pull bicolore

Cette fois je me suis inspirée d'un modèle de tricot (Pull Vivienne de La Maison Victor-automne 2014) pour transformer ces 2 pulls :


Je me suis servie des mesures indiquées pour faire le patron papier et pour le côté bicolore j'ai coupé dos, devant et manches 5 cm sous l'emmanchure.

Voici le résultat :


Et voilà , 2 pulls de moins dans mon stock ! et 1 nouveau dans mon armoire !
Pour en voir plus c'est Ici 

Bonnes fêtes de nouvel an et à très bientôt,
Bisous, Elisa Elisa


Friday, December 30, 2016

Cut Out

I turned this stretchy dress into a top today.


I cut the bodice in half and used the arm holes to create a cut out look on my sleeves.


Super easy!  Come see it on my blog!

Thursday, December 29, 2016

Scrubs

Hello Refashion Co-op. I did a quick T-shirt refashion recently. I found this top on the clearance rack. It said XS but that's a lie. It is a large at least. When I put it on it looked a lot like medical scrubs healthcare professionals wear.


I took in the sides and gave it a more fitted look and created little cap sleeves. I also added some trim.


The trim I had on hand. It helped make the top less medical and more feminine. I used a wide zigzag stitch and attached the trim around the neck and across the shoulders.


I love working with T-shirts, it is so quick and easy. 


Thanks for reading, For more pictures and details go to, I Can Work With That.

#35 Back to Elementary School Wardrobe: Boyfriend Length Grey / Pink Plaid Vest from Blazer

REFLECTIONS: During winter break I am planning the Jan/Feb school wardrobe.
I am re-fashioning several grey blazers / suit jackets into school days vests.
To be worn with winter pants and jeans. This is my first education position where jeans can be worn daily.

BEFORE: Much worn, now too small Liz Claiborne jacket from the closet. Moths / wear left bare spots in the sleeves. Lining was much too worn. I removed shoulder pads years ago.

STEPS: This will become a boyfriend length easy to wear vest.
Tiny pink stripe runs through the grey,
  • Seam rip to remove jacket sleeves and lining. Open sleeve and side seams.
  • Serge exposed seams to prevent fraying.
  • Use old lining and jacket pieces as patterns for new lining from a bright stash fabric.
  • Hand / machine stitch lining in place as facing pieces. Not as a loose bagged lining.
  • Cut wedge shapes from sleeves. Insert into side seams to enlarge sides. Serge seams, press,  hand stitch serged edges to lay flat.
  • Trim arm holes at shoulders to fit. Do this 1/4 inch at a time, trying on often. My shoulders are very narrow and existing shoulder is far too wide. 
  • Cut and insert bias armhole trim from the lining fabric.
  • Add new buttons from the stash.
AFTER:  Versatile vest to wear with grey, pink, black, white, purple tone turtlenecks.
Rumples in the after pics fill out when wearing. I love the bright pink lining!

AFTER: A lot of work,
but this will be much worn. 

Left the original boyfriend length.

AFTER: Side view

AFTER: Tapered side insert,
cut from sleeves
plaids matched.

New buttons from the stash.
Tiny pink stripe.


AFTER: Back

AFTER: Faced lining was
time consuming, 

but adds layer of warmth.

AFTER: New lining.

AFTER: Bias cut armhole facing

AFTER: Hand tacking the seams.


BEFORE: Well worn blazer from the closet

BEFORE: Lining beyond repair. 


Wednesday, December 28, 2016

#34 Back to School: Purple Orange Pink Swing Vest from Jacket

#34 Back to Elementary School Wardrobe
REFLECTIONS: A 30 year professional wardrobe provides a large Re-fashion stash. 
I have challenged myself to shop this stash for my return to teaching wardrobe. 

BEFORE: A jacket from the re-fashion stash, bought in an auction lot of nicer clothing. 
Too small and never worn.

STEPS: This will be a fun and loose swing vest. 
  • Use a seam ripper to remove the sleeves and to open sleeve and side seams.
  • Serge all exposed seams to prevent additional fraying.
  • Cut a wedge shape from the sleeves and lining. Insert into side seams to enlarge the sides.
  • Cut and insert bias armhole trim from a fun color,

 AFTER:  Fun and loose swing vest to wear with a variety of purple tone turtlenecks. 
Rumples in the after pics fill out when wearing.

AFTER: Loose swing vest

Large insert cut from sleeves.
Fun pink bias facing 
is just peeking out. 

Fun with a variety of purples.

AFTER: Loose on
the smaller dress form

AFTER: Fun color for inside
bias sleeve facing. 

It peeks out when wearing the vest.

BEFORE: Serged seam ravels during re-fashion. 
BEFORE: Sleeves removed from small jacket

Tuesday, December 27, 2016

The Rorschach Test Sweater

Hello Refashion Co-op. I found this dress on the clearance rack. It was marked down to almost nothing. I think because the top was so big and loose and the bottom was super tight. It was so tight I couldn't post a picture of myself in it. 

The design looks like ink blots to me, like a walking Rorschach test. 


You can see how the top and bottom are a little bit mismatched in size. This skirt revealed way too much but the sweater top was so soft and cozy. I cut the skirt portion off. I left a 2 inch waistband on my new sweater.


I used my machine to attach the raw edge of the skirt to the neck of the sweater. 


I made sure the finished outside of the skirt would show when it was worn and not the inside seams. It is so soft, it drapes down very nicely. It is like a super soft infinity scarf.


Thanks for reading, for more details and pictures go to, I Can Work With That.

Recyclage de pull en snood

J'adore les snoods mais je trouve que les modèles (dont on propose les tutos) sont trop larges et trop courts........alors à force de tatonner j'ai trouvé les bonnes dimensions.

Voici le dernier que j'ai confectionné à partir d'un pull chaussette en stock :


Hi hi ! j'ai oublié de prendre le pull en photo avant de commencer à le couper , mais bon là il est encore quasi entier ..........lol

J'ai fait un petit tuto sur mon blog pour celles que ça intéresse ; et voilà le résultat :


Fini, mon snood fait 20 x 120 cm en tissu maille donc extensible et c'est mieux si on veut pas être décoiffée en le mettant  ou en l'enlevant....
Pour en voir plus, et notamment le tuto c'est Ici 
ça vous plaît ? prêtes à vous en faire un ?

Bisous, à bientôt,
Elisa Elisa