Sunday, January 31, 2016

Dunkin' Dresses

The print on this dress was a bit faded.  I thought it would be a good candidate for a dye bath.


I took off the sleeves and used one to make it a high collar.


Then I dunked it in a tub of blue.


You can see more on my blog!


REFASHION: my something new shirt

I don't have the confidence to mix prints with my outfits, i.e. stripes and florals. So, I'm taking a few small steps to gain that confidence, but by the time I possess it, the fashion will no longer be trendy. With a T-shirt that's a little too small and one my husband's old button work shirts (started to refashion into a skirt), I refashioned a new cute shirt.


120.bluebee

With the super dark blue (probably could be mistaken for black) T-shirt, I cut open the side seams up to the armpit area and snipped a straight line across the back panel. With my husband's old shirt, I cut a big square or rectangle piece from the back, snipping along the side seams and about an inch above the high back seam to save the pleat (how smart am I?).


120.blue

For more details and pictures, click here.

Until next time, Jennifer Elliott

From "Too Much" to "Just Right"

What's up, team?

Today I bring you a classic: the ole 'dress-to-shirt' routine!

Found this dress half off at Goodwill. In addition to being too long, it's got some other issues. (Oh hello Leon, what are you doing there?)

Unflattering boob ruffle...

Strange hem ruffle that was falling off in multiple places...

Plus, as a maxi length dress, the bold print was just WAY too overwhelming to look at. So I marked and snipped.

I carefully cut off the boob ruffle, which caused the fabric in that area to come loose 

NBD, we'll just zig-zag that back down!

New hem...

I tried a new-to-me jersey trick that I read about turning the tension all the way down on your machine, so it doesn't cause waves and bumps

It worked great on the zig-zag, but not on the straight stitch. While the hem wasn't ripply, it did come out like this. I didn't bother to redo it, because you can't really see it, but if you try this trick, ONLY use the loose setting for zig-zag!

I ripped the ruffle off the bottom, cut it in half, then cut one of THOSE halves in half...

Did some pinning, and some sewing...

Tadah! Front...

And back!

MUCH cuter as a top! And the ruffle made nice pseudo-sleeves. For all you folks up to your eyeballs in snow wondering why in God's name I basically just made a tank top; it's been sunny and in the 60s here for weeks. And I'm not saying that to make you jealous; I can't stand it! Bring back my winter! I'm not ready for spring!!!

See you next time!

~Illy

Saturday, January 30, 2016

Attach your knickers to your bra and look fabulous

I have been dying to show this of! I think it is hilarious and giggle to myself as I walk around town with a thong attached to my bra.

Everything can be refashioned. Everything, even panties. I had a small handfull of thongs, that was "free gift with purchace" of some bras I once bought. Never used them. When I recently sorted out my wardrobe, they were unearthed and I decided to let an idea of mine come to life.
When I first saw these pictures on Pinterest, my thought was: "That woman is attaching a thong to her bra??"
Link to the picture as I don't think I am allowed to post it here: https://dk.pinterest.com/pin/222646775299791000/

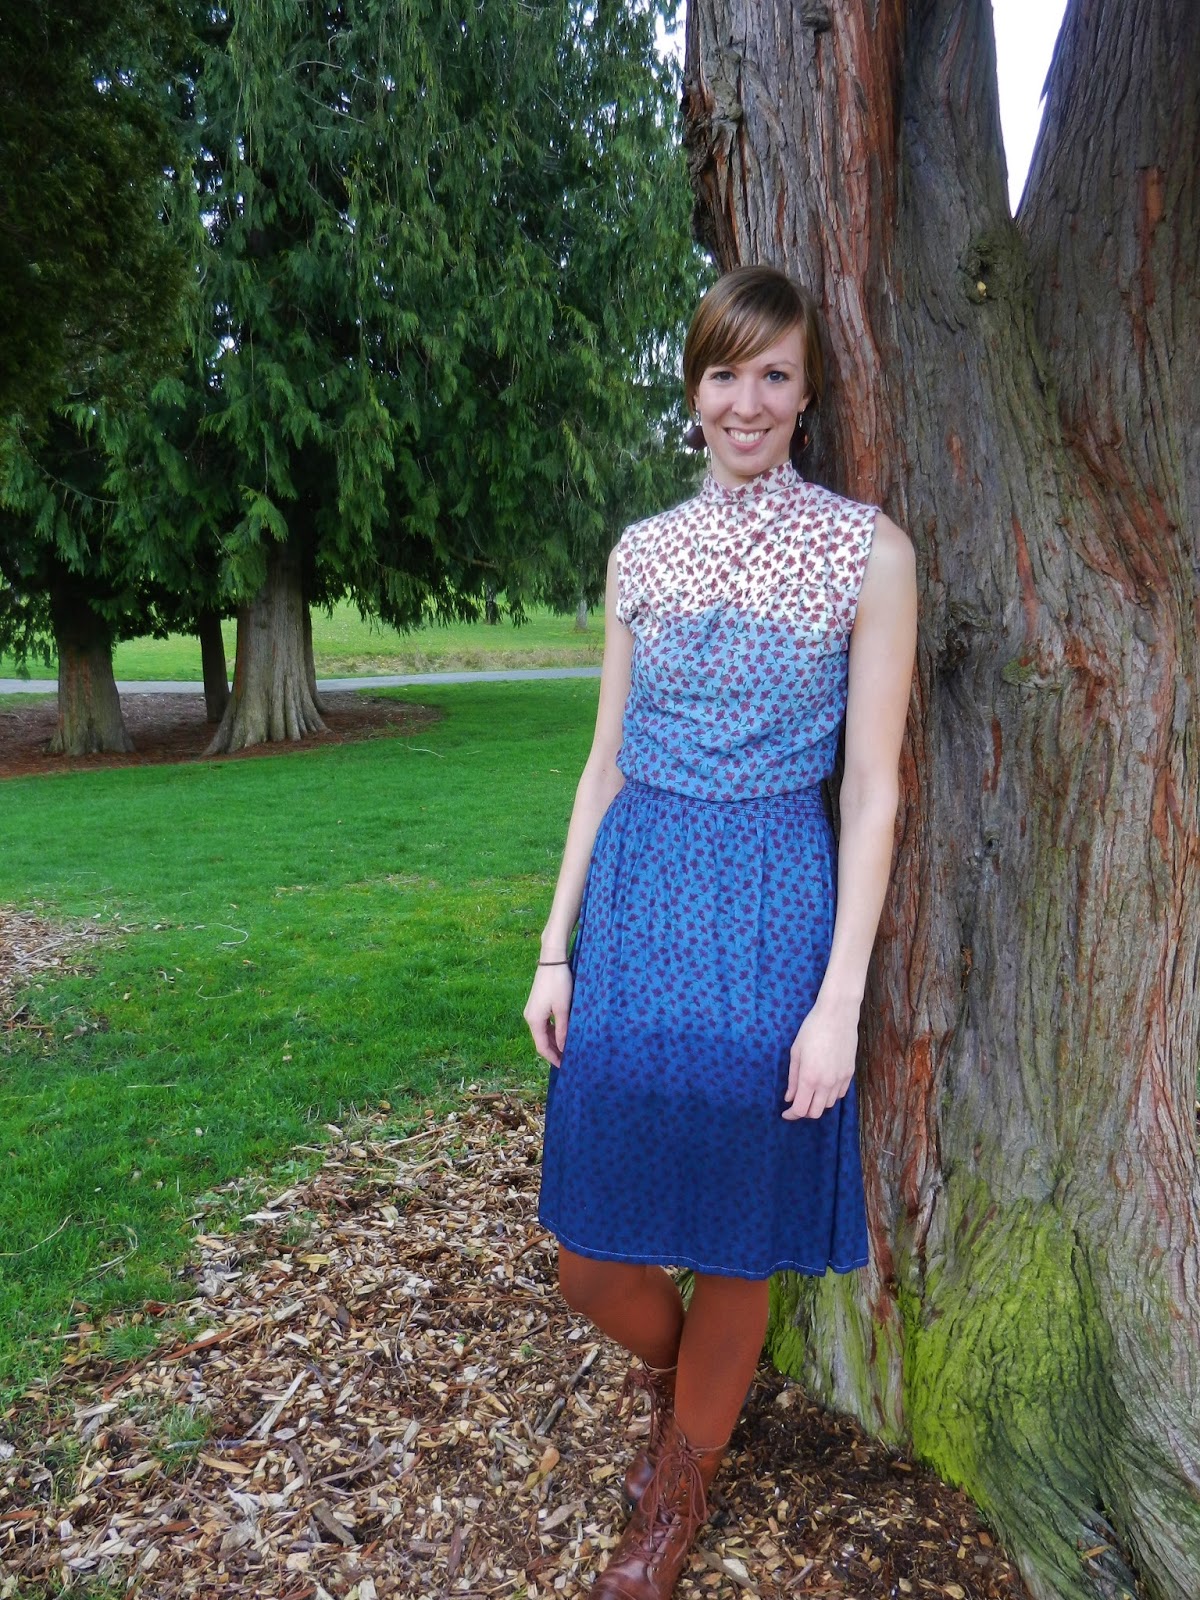
Such a cleavage cover is a good idea. I don't feel the need to cover up completely, but a neckline can become too deep. And also I like layering my outfits, and with these I can add a layer without adding the bulk of a camisole.

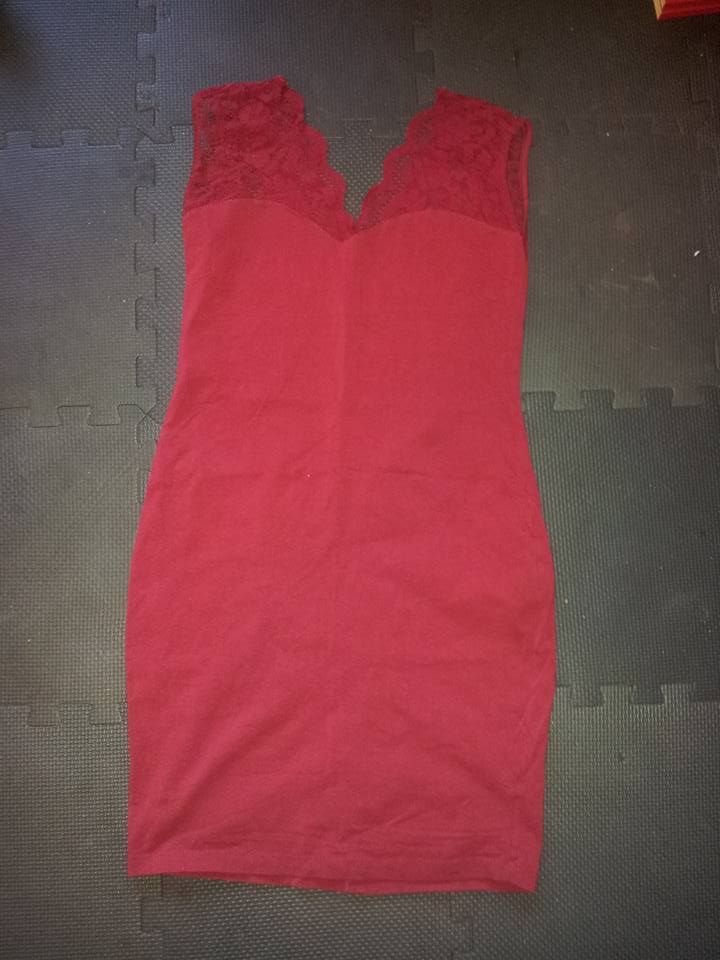
I cut the back off of the panties.
Then I put on the cleavage cover-to-be and marked where to put snaps. And added those.
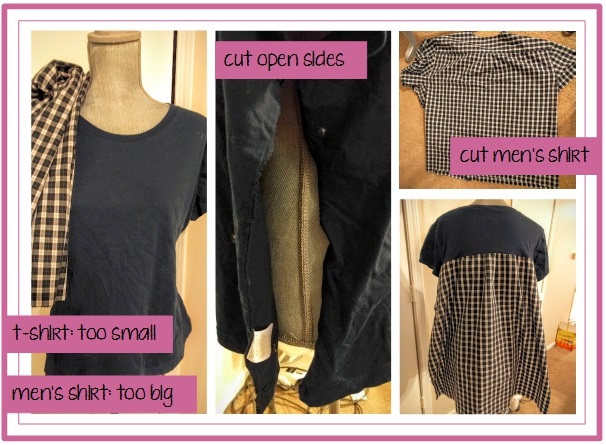
Before:

The sides of the cleavage cover is folded around the straps of the bra and you close the snaps. The lower edge is folded down and around bra edge. A proper tightfitting bra will be able to hold the edge of the cleavage cover in place.
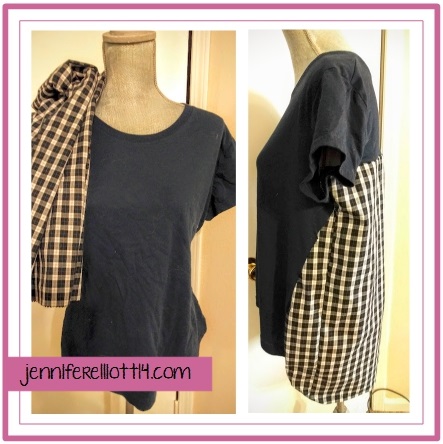
After

Styling. I like how they add a bit of interest to a simple shirt. The same way a necklace does.


Friday, January 29, 2016

Too narrow dress gets added hip width

I am sorry for the quality of the pictures. No sunlight and only a mobile phone camera is not the best premisses for good photos.
I fell completely in love with this dress, that I found in my favourite charity shop. It was a size medium and fit me well in the upper body, but was to narrow around my hips/bum. I bought it anyway. I have methods for that sort of thing...

- I ripped the side seams of the dress up to about where my hip bone would be.
- I found a remnant of black chiffon, and pinned it to my foam floor tiles (that I use for workout), so it couldn't run away from me, that pesky thing.
- I measured from my hipbone to the hem of the dress. I added 2 cm (hem) and 1 more cm (upper seam).
- Then I used a pin and my measuring tape as a pair of compasses, using the number from above in order to draw half a circle. I cut it into two fourths.

Chiffon is a notorious pain in the behind to hem, but back when I made my poofy frilly skirt, I found a clever way of tackling it hemming chiffon. You can also see it in the blog post for this refashion: Hemming chiffon

Once I had seamed the gussets, I stitched them to the ripped open side seams.

I wear a black satin slip underneath in case you were wondering.


I had a narrow satin belt that fit just nicely to dress. Now I am ready for a party to come my way. :-D


Un re-recyclage !

J'avais déjà modifié un petit haut mais je n'étais pas satisfaite du résultat alors je l'ai remanié à nouveau en me servant d'un patron du Burda de février 2016.
Voici le vêtement après le premier recyclage :


Comme le montrent les photos j'avais simplement rajouter une bande tout du long des coutures côtés et dessous de manche, et mis également une bordure dans le bas et aux manches avec du jersey noir.

Du coup j'ai tout remanié en supprimant tout ce que j'avais ajouté et recoupé le tout avec des pièces supplémentaires dans un jersey gris tout doux. 

Voilà le résultat : 


Alors c'est pas mieux comme ça ? 
Et moi ça me plaît bien !

A bientôt, bisous
Elisa Elisa 


Thursday, January 28, 2016

Valentine's Day Throwback. :)

Since Valentine's Day is fast approaching, I decided to blog about one of my refashions from last year. I took a plain tee and refashioned it by adding three floral hearts on the front. I later decided to add white lace to the sides. :)
For the full tutorial go here! :D


5 dresses into 5 pencilskirts

My closet was full, but I had nothing to wear, classic. I sorted through everything, and realised I had at lot of too short knit and jersey dresses, that I didn't wear. I needed skirts, so the solution was obvious. Snip snip.
And an added bonus is that you don't need to hem the bottom, as it is already hemmed.

When do I need a dress like this. No. Snip snip.

I used my favourite method for a non-casing, non-twisting not-crunched up elastic waist. Se the method here: The easy and beautiful elastic waist. (scroll down for the English language version).
I used a wide 4 cm (1½") elastic.

Red jersey dress before and after:


I did the same trick with four more dresses:

White and grey striped cotton/viscose (rayon) jersey:

Beige and black wool:
The wide, not crunched, elastic makes for a good looking waistband, so you can wear it with a tucked in shirt and it still looks good.


Brown knitted wool:

Burgundy and pink wool:

I had cut one more dress apart, as can be seen in the photo of the cut skirts, but it wanished into thin air. Dear psycic cat, where is my grey and green skirt-to-be?

Flower Power Part 2

Hello Refashion Co-op. 


Here is the floral top I used in a previous project. Today I used the ruffle from the top of the shirt. I detached it from the shirt carefully.


I attached it along the narrow edge of this tank top's neckline. 


Here is the finished top. It is a big upgrade for the plain tank. And it was super easy.


For more pictures and details you can check, I Can Work With That.
Thanks for reading, now go make something fun for yourself.