Showing posts with label Illy Mooncat. Show all posts

Wednesday, January 31, 2018

Fiesta Fashion

Hello everyone!

Sorry for not posting for so long. The end of the year was super busy; my little sister got married, I have started some new hobbies, I'm back in school, and work was insanely busy for a while, as well as me dealing with some physical/mental health stuff! But I am really excited to get back into my stash and start getting some projects done. Here is my first project of the new year :)

Please forgive the lack of before pictures, I thought I had one :( I found a huge t-shirt with hand-painted sombreros and confetti on it at the thrift store for $2! It was obviously made in the 80's or 90's and was so funky I HAD to have it.

The first thing I did, which took a couple weeks, was to take some permanent fabric glue and this little brush and paint over ALL the glitter glue! It was cracked and peeling in some places, and I thought maybe some fabric glue would act like a 'varnish'. I'm happy to report it worked great! I will still only hand-wash this shirt but all that glorious sparkle is not going to peel away! 

I simply cut off the length of the shirt below where the design ended, and cut off the sleeves also

I cut open the sides, cut strips, and tied them together to add a little interest and also bring in the fit somewhat

Tah dah! Here you can see the glorious design! Because the shirt was so big, simply cutting off the length and the sleeves made it slightly cropped (an adorable length, not too scandalous) and the shoulders are now sort of a "cap sleeve"
The tied side. I can't wait to wear this somewhere! The little gold scribble in the lower middle of the photo is the artist's signature, it's either "Laura Nora" or "Laura Nara". I hope Laura would approve of how I made her art wearable again!

Hugs to all!

~Illy

Sunday, November 19, 2017

Taking a "Shot" at Reverse Applique

Hello Refashion Fam!

I made this a couple weeks ago and I am still thrilled with how good it turned out. Enjoy!

I have this men's t-shirt from an indoor shooting range we used to go to when we lived in AZ. I like to sleep in it. But I realized this shirt could be SO much better, and cooler!

I found an outline of a Desert Eagle online, sized it up, and printed it out.

Even sized up, the barrel and slide area still wasn't quite big enough to cover the logo on the shirt. So I added some size to that area and the grips (to make it look proportional)

Logo is covered! 
I outlined the 'stencil' in tailor's chalk.

I chose this slightly-psychedelically butterfly fabric. It came off an old miniskirt that was handed down to me.

I set my machine on a fairly small, quite tight zig-zag, and sewed over the chalk outline. I had to go slow since there are so many corners and curves!

I cut away the extra fabric on the back (inside) of the shirt around the applique. I don't think this material will fray so I didn't do anything to the edges

Then I cut out the black fabric/logo on the front of the shirt inside my stitch lines

TAH DAH! Because of the fabric it makes me think of some groovy 1970s spy LOL. I also cut away the neck ribbing

And I cuffed the sleeves and tacked them down with a few stitches for a cool-girl casual-rolled-sleeves vibe.

There ya have it! This has become one of my favorite tops for sleeping in; the applique turned out great and it's just a really cool homage to a gun range t-shirt!

To all my American friends, I hope you have a wonderful Thanksgiving next week!

Best,
~Illy

Saturday, October 14, 2017

Back At It Again!

Yaaayy!

I FINALLY have a new sewing space!

God bless Ikea
Tonight, everything was set up and I finally had time for a project!

I had a MASSIVE square scarf with this amazing print on it. It was made in Italy! I thought it might be fun to make one of those square-scarf tops.

Finding the center to cut out a collar

Snip, like cutting a paper snowflake, and hem the new neckline!

I then laid out where I wanted the 'sleeves' to be and sewed. Except, I forgot that if you want a butterfly style top, you need to sew the OUTSIDE (wrong sides together), not the inside. I realized this as I was trying it on but...

It... Actually looks amazing?

It looks like I have puff sleeves!

Please pardon the bathroom selfies; Addie is still stuck in the closet and I need my husband to save her. Seriously, I won't be able to get away with wearing this a lot of places, but it's the weirdest and coolest thing ever!

I'm so shocked! I think my mistake was ok because the scarf is very silky; it's polyester but it's very thin and smooth. I thought about undoing it and making it right but this just turned out so fabulously strange I'm going to leave it as is. I can see it being used for a nice dinner out or a trip to a museum or something!

Utah is amazing by the way; it's FALL here and still in the 90s in Arizona. We're surrounded by mountains and lots of fun outdoor activities. Life is basically back to normal for Illy and the gang!

Love,
~Illy

Friday, July 28, 2017

Bleach Dye... Underthings (NSFW?)

Hello Co OP!

Today's post is a no-sew, iPhone recorded number from the beautiful land of Utah! We've been here for 3 weeks and I LOVE it! But, as moving goes, things are still chaotic, so I don't have a sewing desk and my machines are still in boxes :( But I'm hoping to get another desk soon (c'mooon payday!) so that I can get my machines up and running again!

Underthings! Avert your eyes! Seriously though; I was folding these hum-drum-drawers the other day and suddenly, out of NOWHERE, bleach dye popped into my head! 

I have never done this before, so I took the undies, and bunched them up as you would for tie dye

I very carefully made a bleach and water solution and let them soak for... About an hour? I wasn't really timing it. I was just looking for a change in color.

Annndd this pic is sideways. SIGH! But I undid them, washed them in hot soapy water, then washed and dried in the machine. The pink and blue turned out pretty cool! The grey ones literally did not change at all LOL. 

There you have it! Has anyone done bleach dye before? Do you have any tips? I know bleaching too hard will ruin the fabric of things.

Back at you with a real project soon :)

~Illy

Sunday, June 18, 2017

A Shirt-Sleeve Short-Sleeve Refash

Hello all!

Woo! I am moving in 2 weeks and feeling the pressure! My sewing room is being packed up now, but I managed to knock out one more project before condemning my sewing machine to a moving box.

I previously refashioned this top by taking it in, removing the collar, and shortening the sleeves to elbow length. I wasn't really feeling the sleeves anymore, so I wanted to change them.

I chopped them into short sleeves, but because the fabric was so flowy I was having a hard time rolling a hem under

So I decided to use the edge of some somewhat canvas-like fabric as a "facing" of sorts? I'm sure this is not proper and seamstresses all over the world are screeching but it actually worked really well! I sewed the fabric to the raw edge...

Then rolled it under a couple times and sewed it down! 

Tada! This tunic now has short sleeves and I'm excited to start wearing it again! 

And there you have it.... The next project you see will be coming at ya from a new room in a new place!

~Illy


Thursday, May 18, 2017

This "Seams" Easy Enough!

...I can't stop the puns guys.

Woo! We have been getting ready for our move so sorry for the radio silence! But tonight I managed to squeeze in two easy quick fixes, and I'm really hoping I can get into a more involved project this weekend.

I apologize in advance for the messy desk and mediocre pictures!

I got this cute little semi-crop top from Forever 21. I LOVE lemons! Problem: there was a really tight piece of elastic at the waist (the folded up area in the bottom of the photo). I seam ripped it out and then just re-sewed the original hem closed again! Super simple and the top is way better now.

This tank was from a post I did on here a while ago; I had simply cut out the sleeves and called it done. The edge of the armhole was still serged so I was good to go. But over time, it had started to wear a little and was starting to look frizzy and unprofessional.

So I just took this serged seam, and folded it in to the wrong side of the top, and sewed it down! The armholes look much tidier and nicer now.

Easy peasy bacon cheesy! I hope I'll be seeing you guys this weekend with something a little more exciting :)

Love,
~Illy

Wednesday, April 19, 2017

A Little Somethin' Somethin'

Hello again!

Here is the other project I mentioned in my last post! Very quick and easy.

Wooh, blurry! Sorry about that. Also inside out. Wow I am so organized. Anyway! Tank top; nice fabric, easy to dress up, but too large. Pretty easy take in, seam and serge.

I have a zillion 'plain, dress up or dress down' tank tops though, so I wanted to add a little something to this one. Nothing too wild, just a weeeeeee extra detail. So I 'auditioned' a few buttons and settled on these two. Dunno how old they are; 99.5% of my buttons are from my grandmother's stash she was going to junk many years ago.
 
I hand sewed them onto the front for a little cuteness. It was SO HARD to get them in a straight line... I had to redo the bottom button like 3 times LOL

Here is a (sideways) close up! The vintage creamy color goes with the flowers perfectly!

That's all for now!

Kisses,
~Illy

Wednesday, April 12, 2017

Ciao, Sleeves!

Hey peeps!

I've been busy lately because I have some exciting news! My husband got a wonderful new promotion so in a couple months, we'll be moving from sunny AZ to our company's main office, in Salt Lake City, Utah! I love AZ, I do, but I am SO excited to be someplace new and to live in a place that has FOUR SEASONS!

So amid all the kerfuffle of beginning the (slow, arduous) process of preparing to move to another state, I managed to slap together this lil' project:

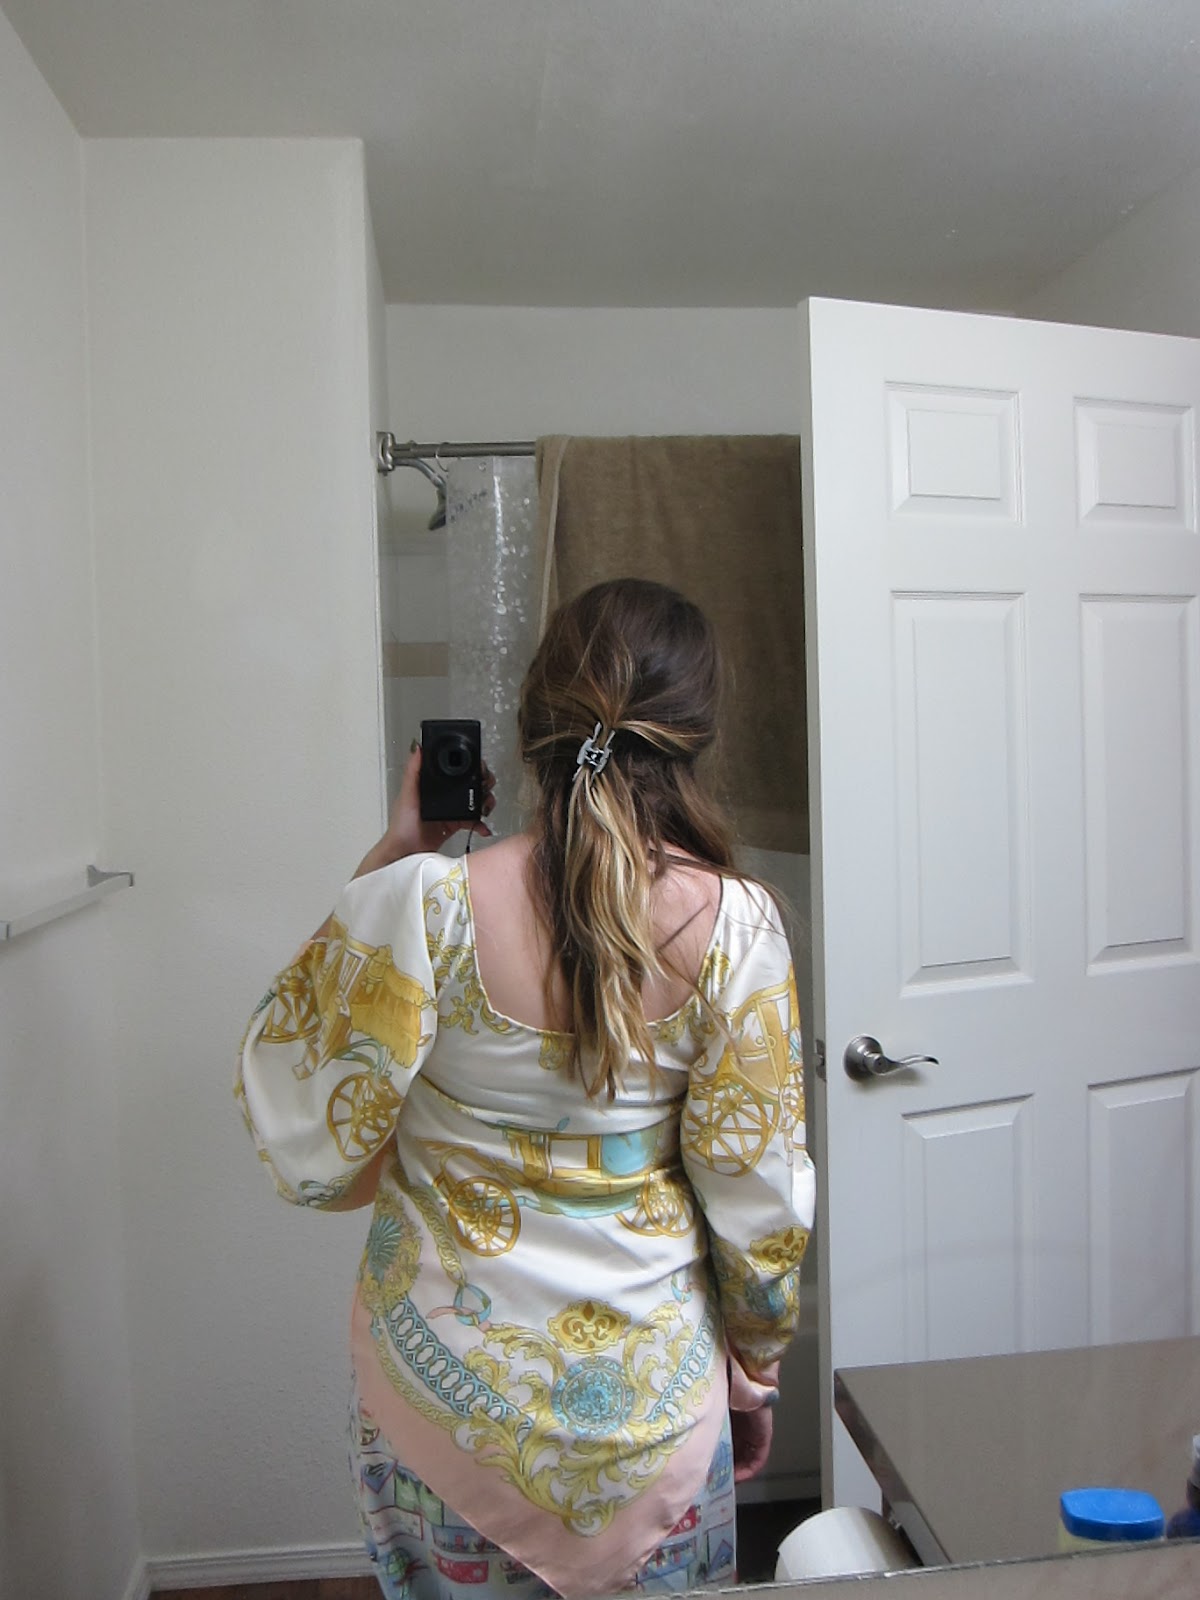
Long ago, in one of my first posts, I took the sleeves off a light sweater to turn it into a long sleeveless vest. It become one of my wardrobe staples so I decided I needed another!

I love the shape and color of this, but the weird short sleeves have gotta go!

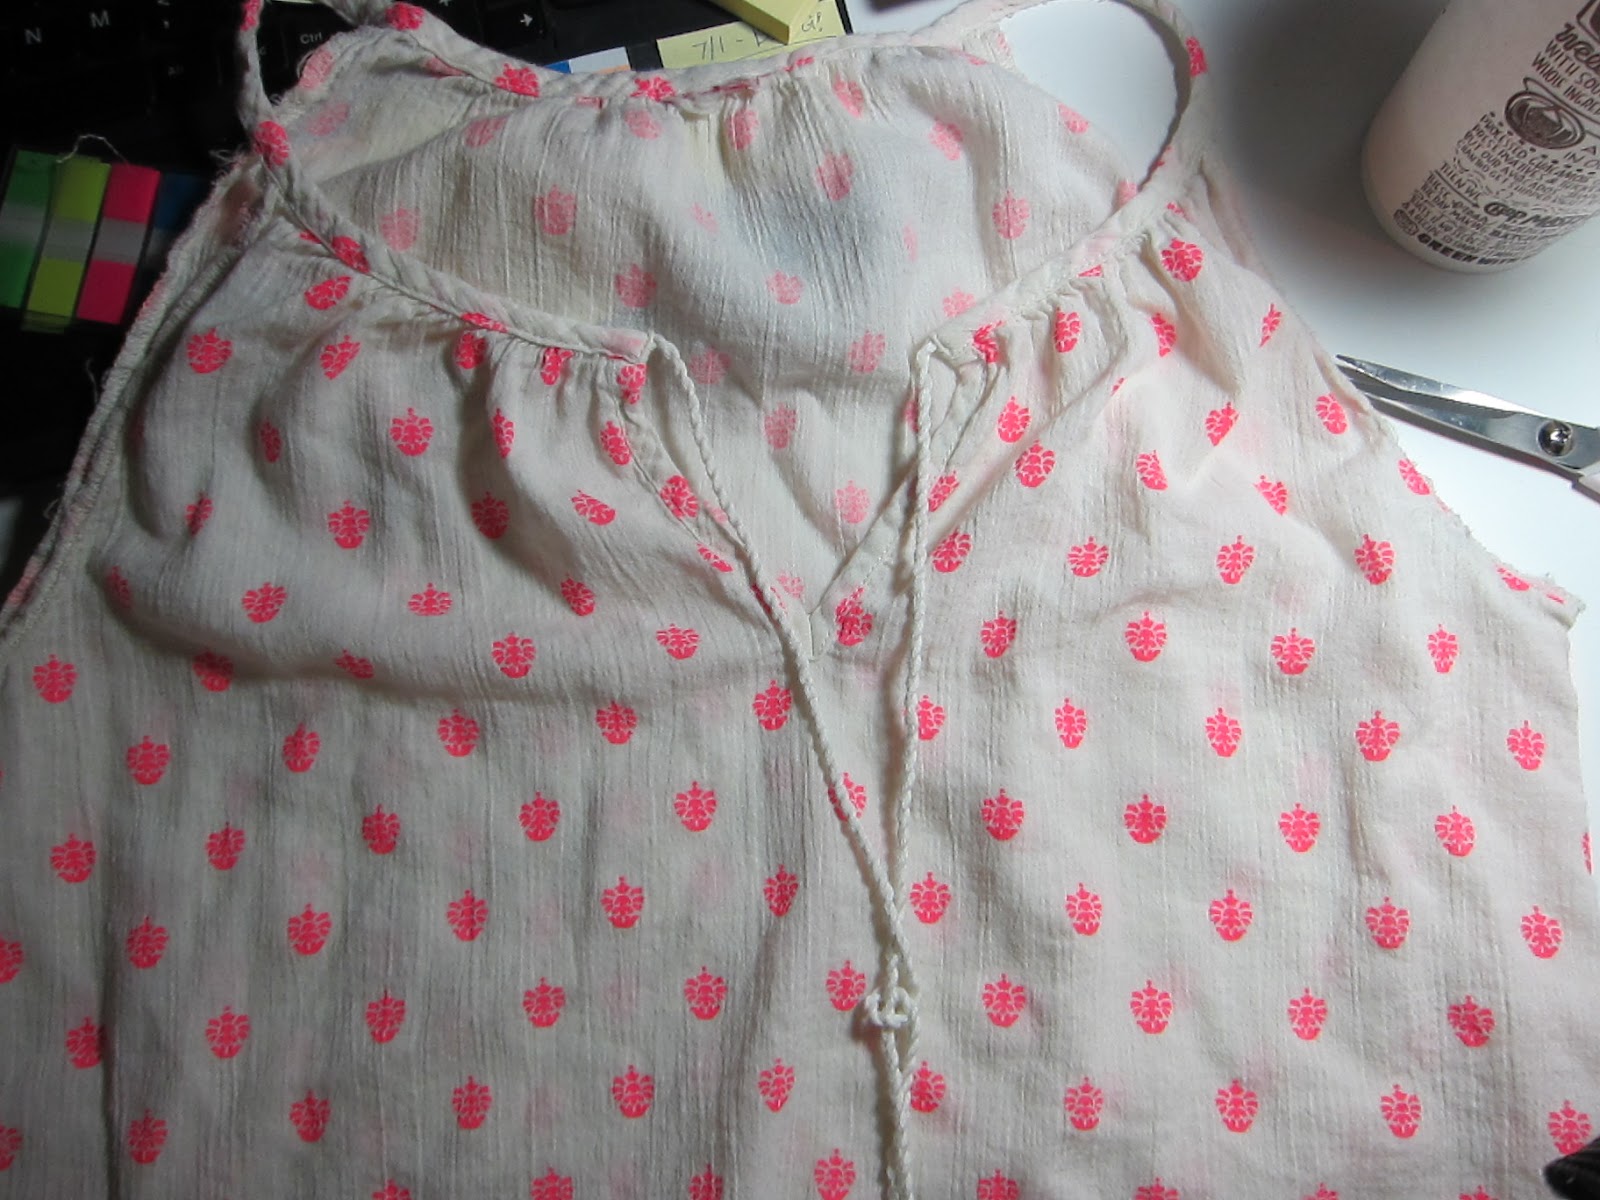
Step one: remove tiny weird belt loops

Step two: chop off sleeves, fold raw edge under, and stitch with a small zig-zag. I actually did this step TWICE because only doing it once resulted in a ripply mess, and a second fold under seemed to fix it.

Voila!

See? Sleeveless! 

There ya have it! I'm actually almost done with another quick project so I'll be sure to post that soon too!

Hugs,
~Illy

Saturday, March 11, 2017

FINALLY

Hey guys!!

I've been working on this and it was SO tedious. I'm glad it's over and probably won't do anything like this again. But if you have more patience than I do it may be something you want to try!

A patchwork (decorative) pillowcase made of my and some of my husband's old t-shirts! It was a great way to clear out some of these tops that I had no idea what to do with (because honestly how many refashioned t-shirts can you deal with?)


And now my camera battery is charging so I'm taking a moment before I work on some actual projects. I'm free though! Free to move on to more normal refashions. Typical posting will resume again shortly LOL.

Thank you for being patient with me! :)

~Illy

Friday, February 10, 2017

Workout Gear

Hey all!

Wanted to knock together a quick project since I know it's been about a month since I posted (eep). Life has just been really busy and sitting down at the machine has been a major struggle!

I stole this cool t-shirt from my husband when he tried to get rid of it. I cut off the sleeves, took in the sides, and folded under the raw edges on the arms.

And here you go! The shirt is a little worn out to wear for an outfit, so I made it to be a workout top. I think it'll be great from Zumba to weights!

Tadaaahhh! I think the whole thing took 30 - 45 mins. Perfect!

Hugs,
~Illy