Friday, December 28, 2018

Dressember 2018; Dress 8

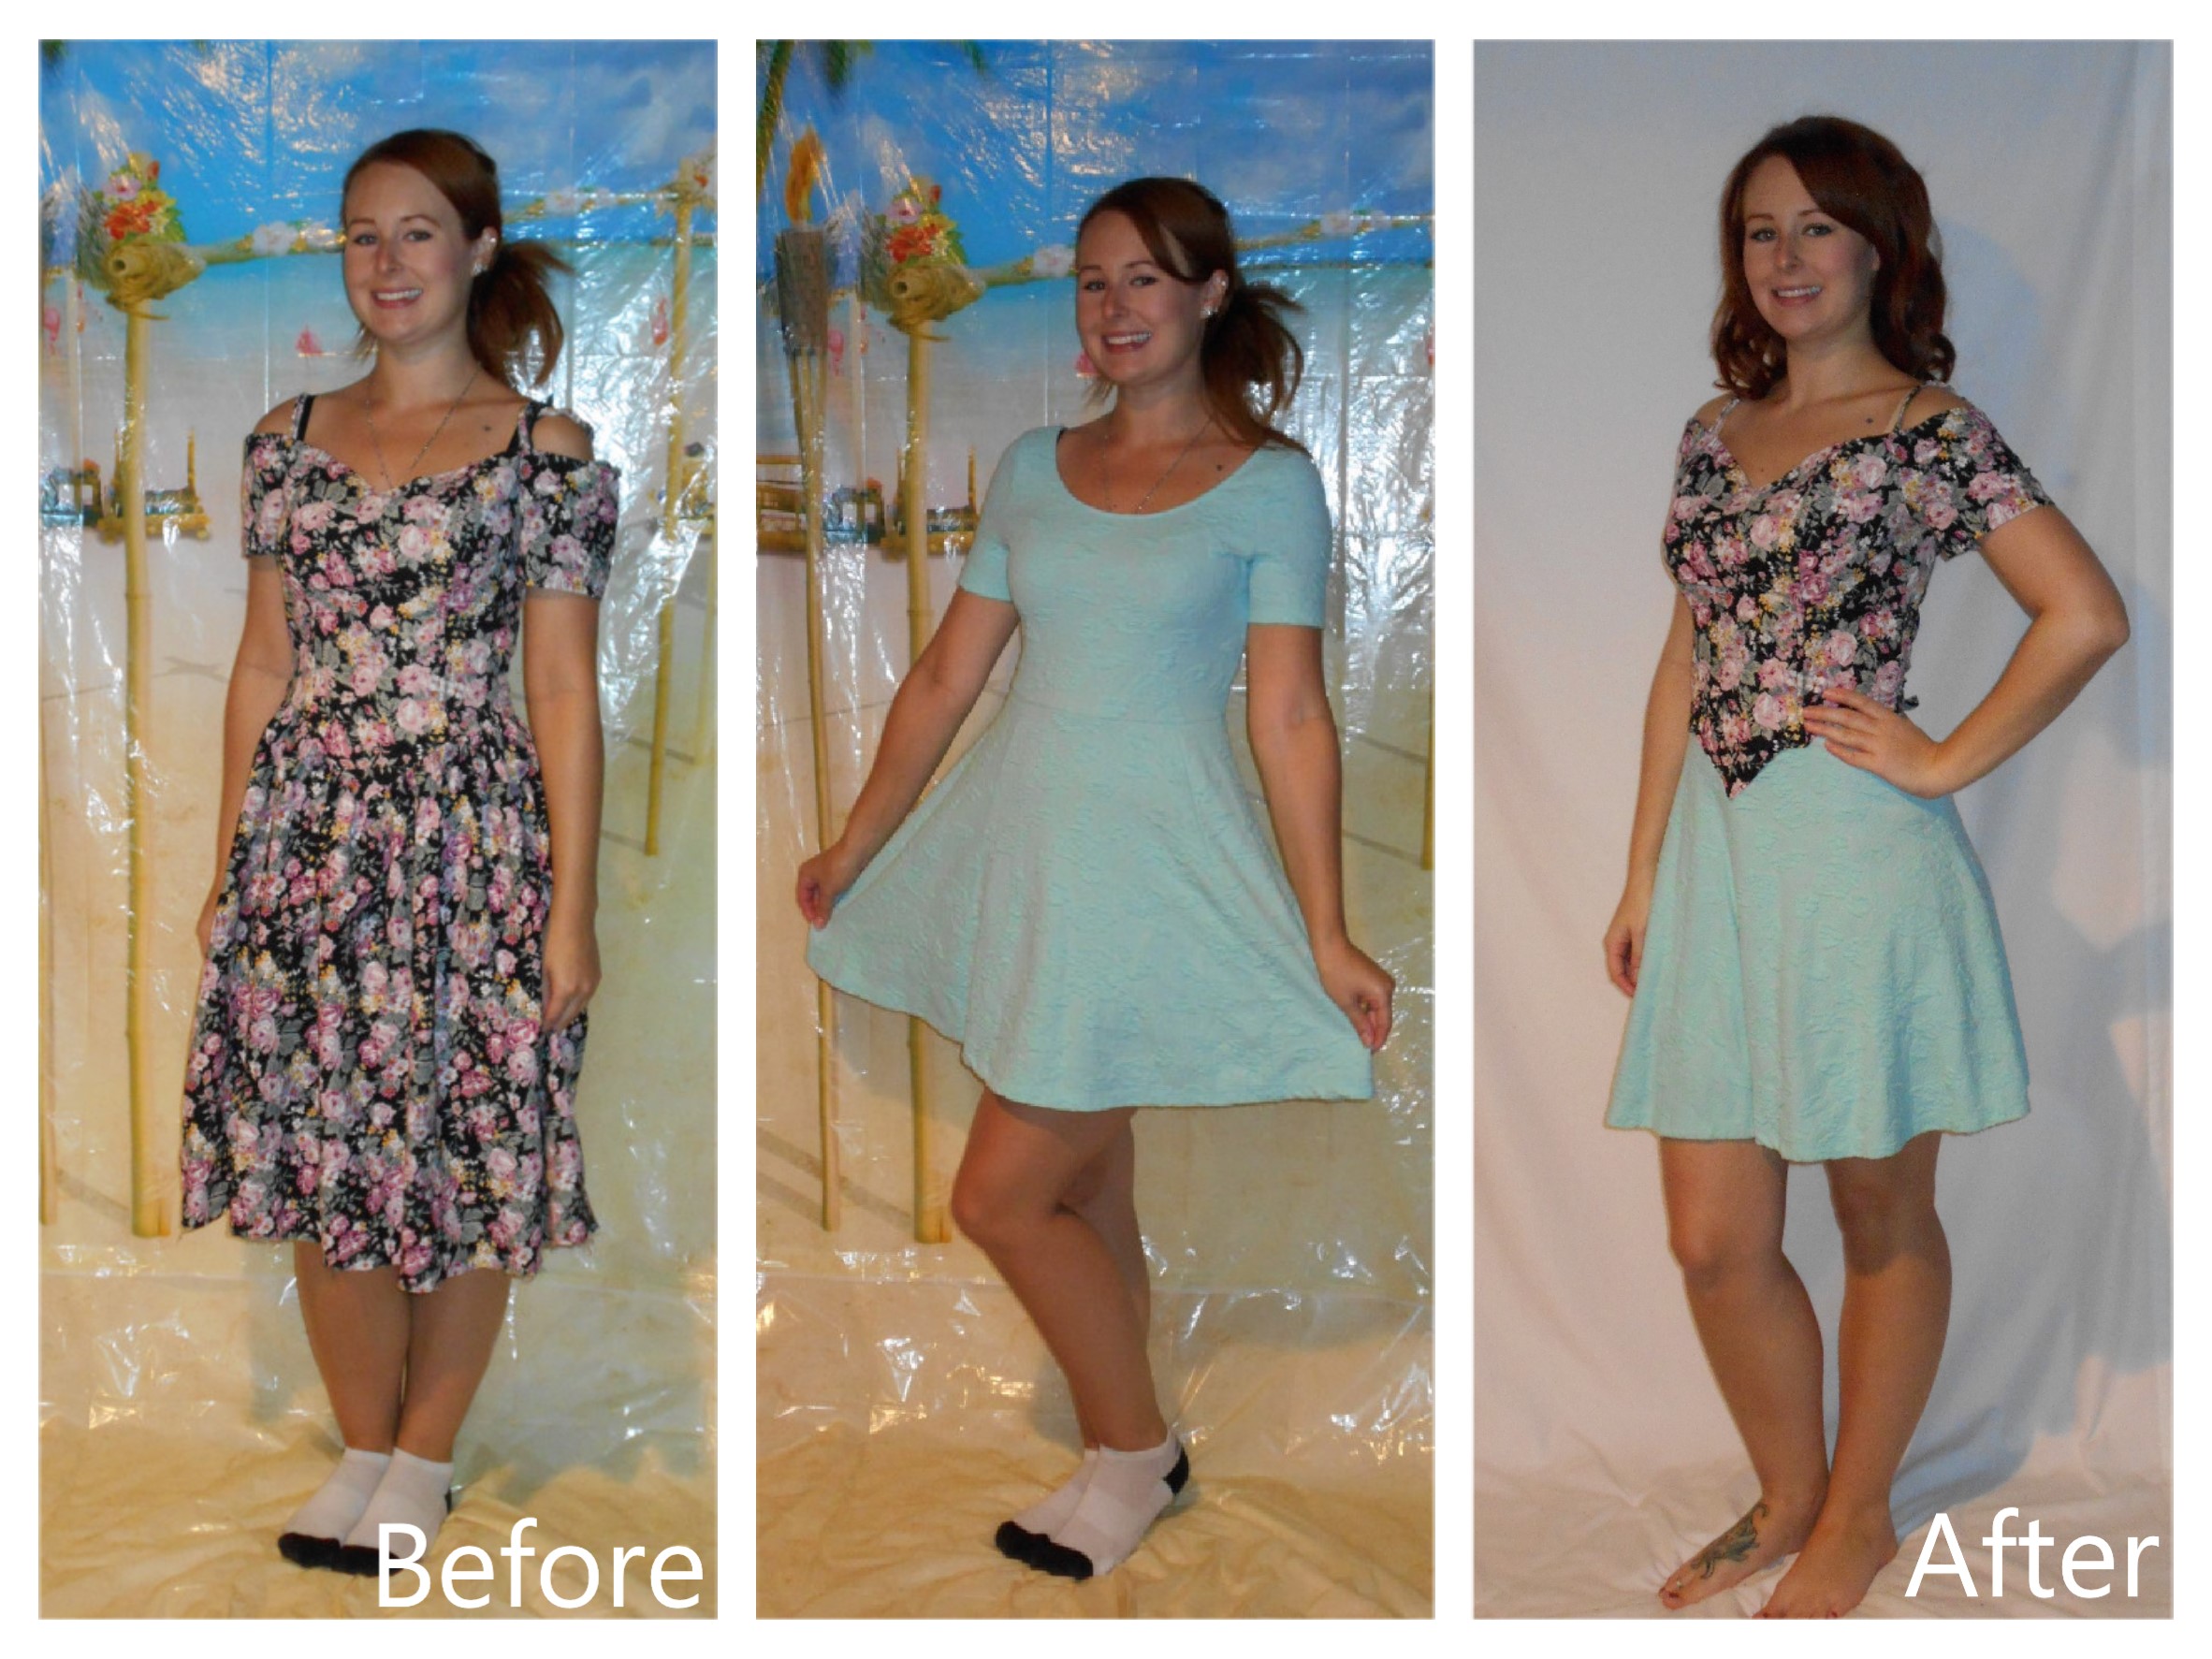
Hello Refashion Co-op. This is the last dress in my Dressember series. I wanted to highlight their work to fight human trafficking.
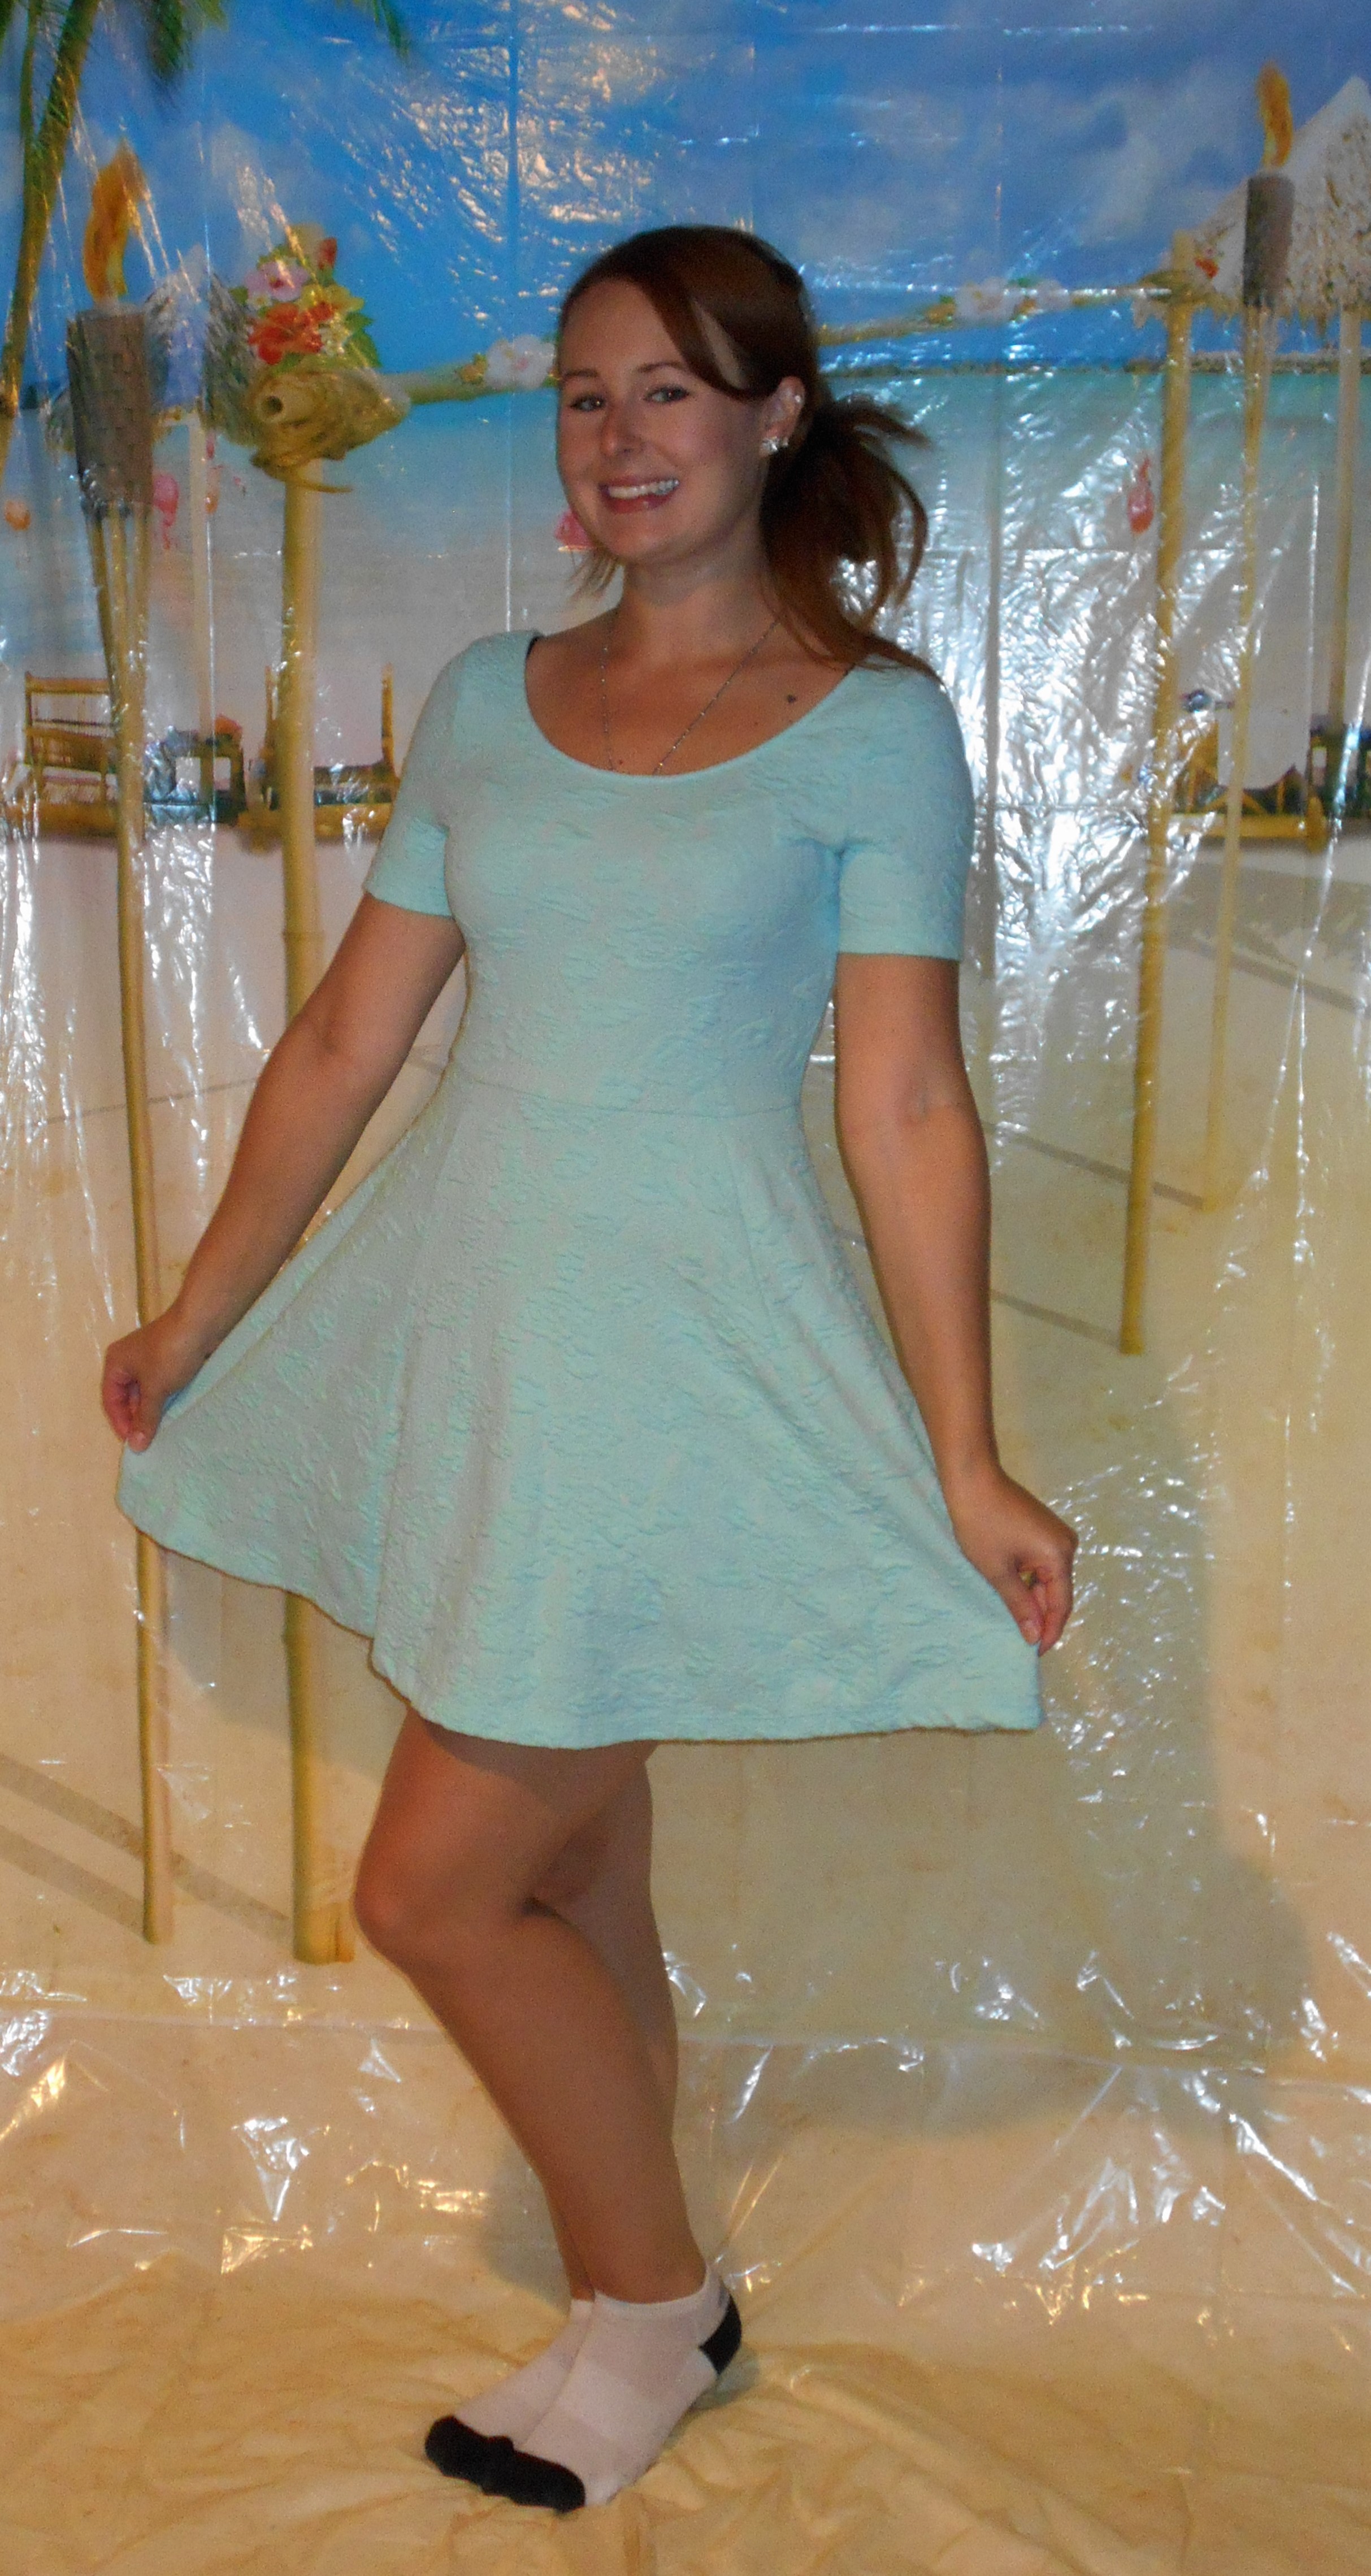
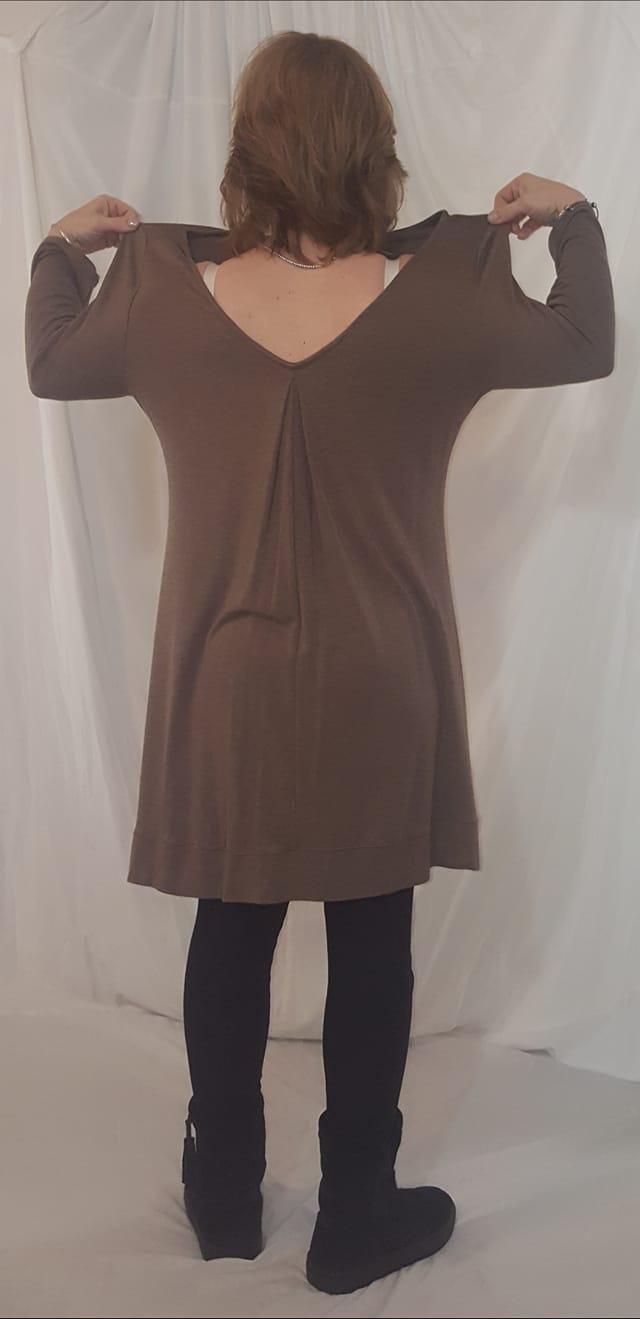
This dress was just too long on me. It had a black lining that ended at knee length and the lace continued to floor length. Actually, it continued to drag on the floor because I am pretty short. (Really short. Like super-short.)


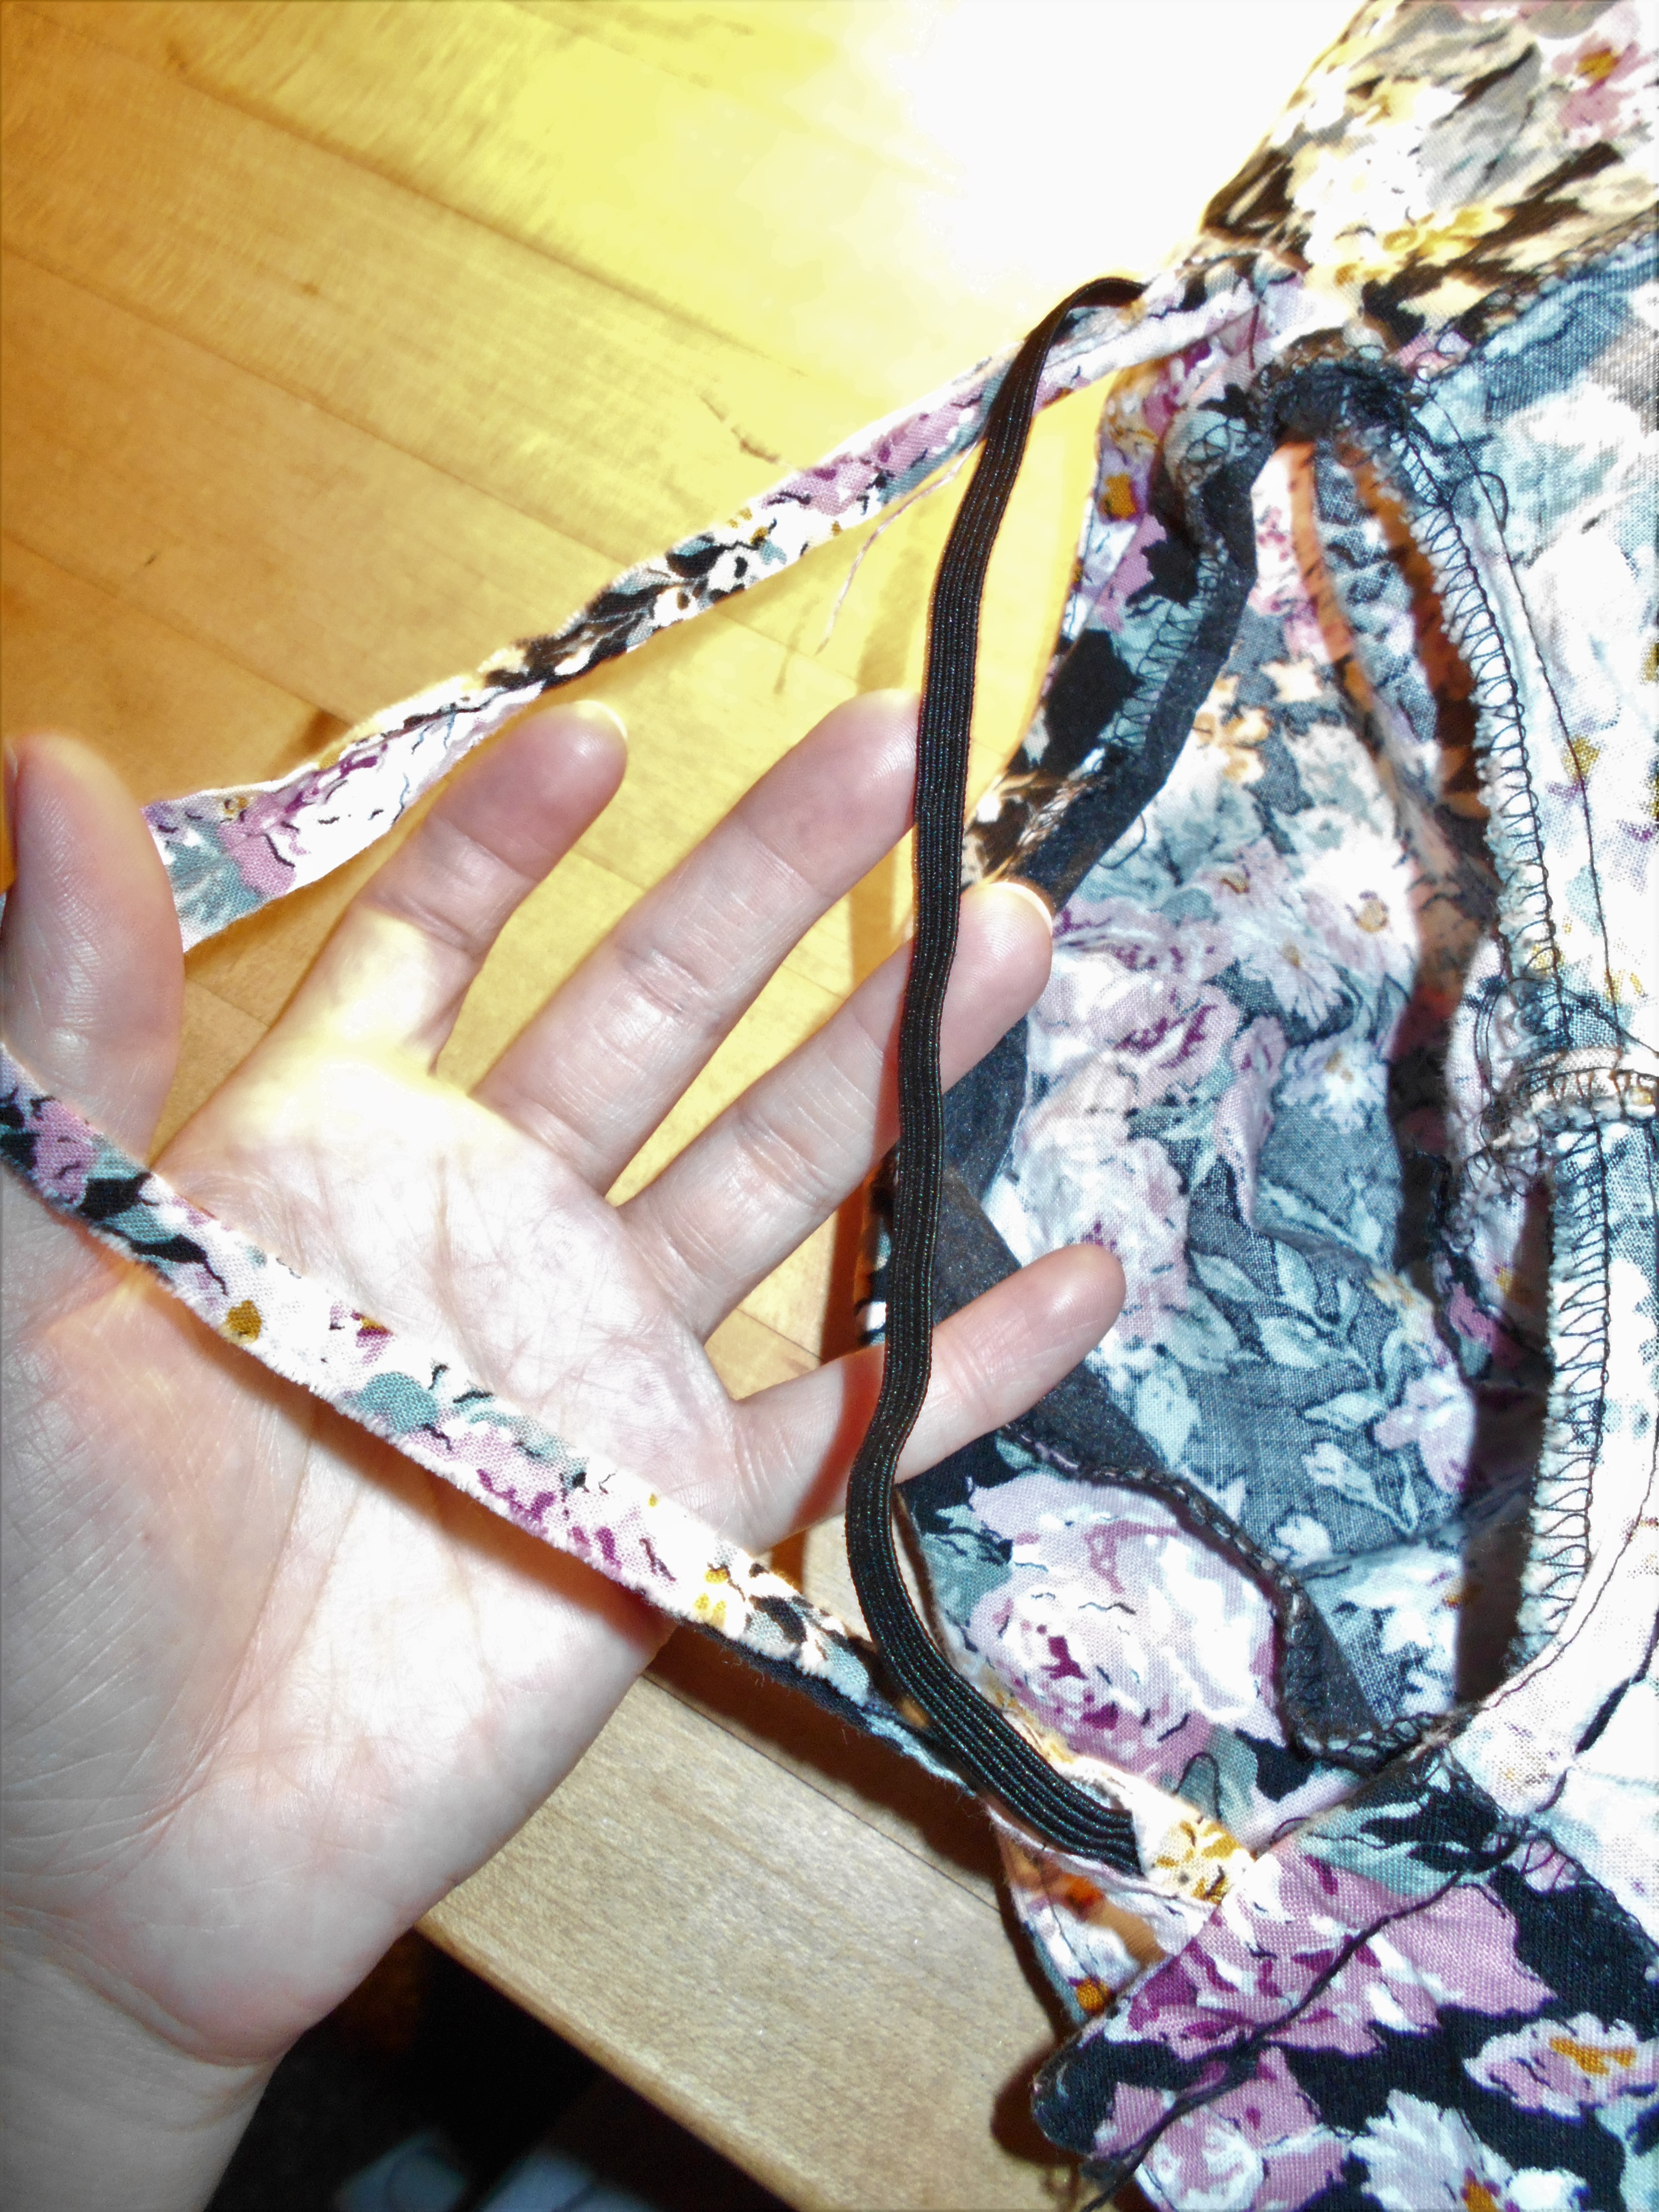
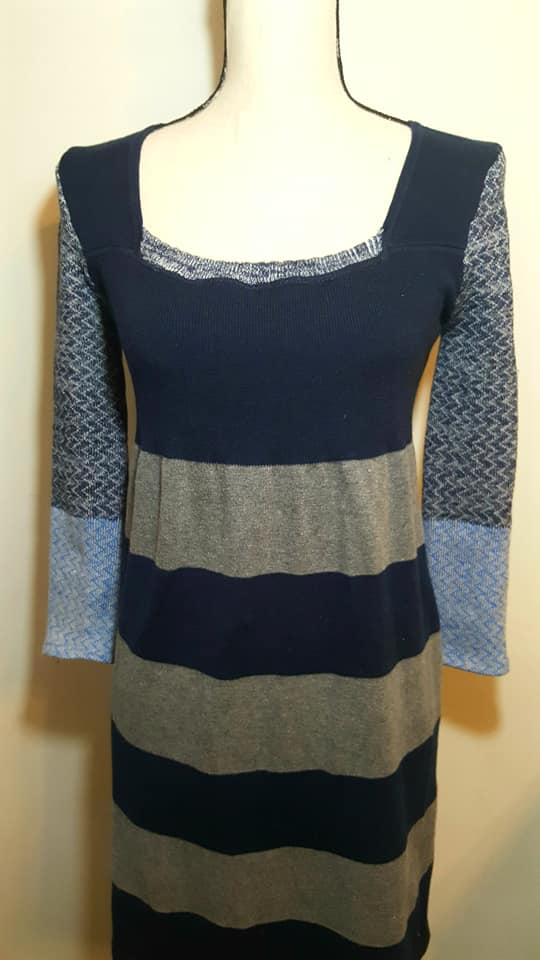
I had a lot of trouble photographing this dress. Here is a close up of the material. It was really pretty.


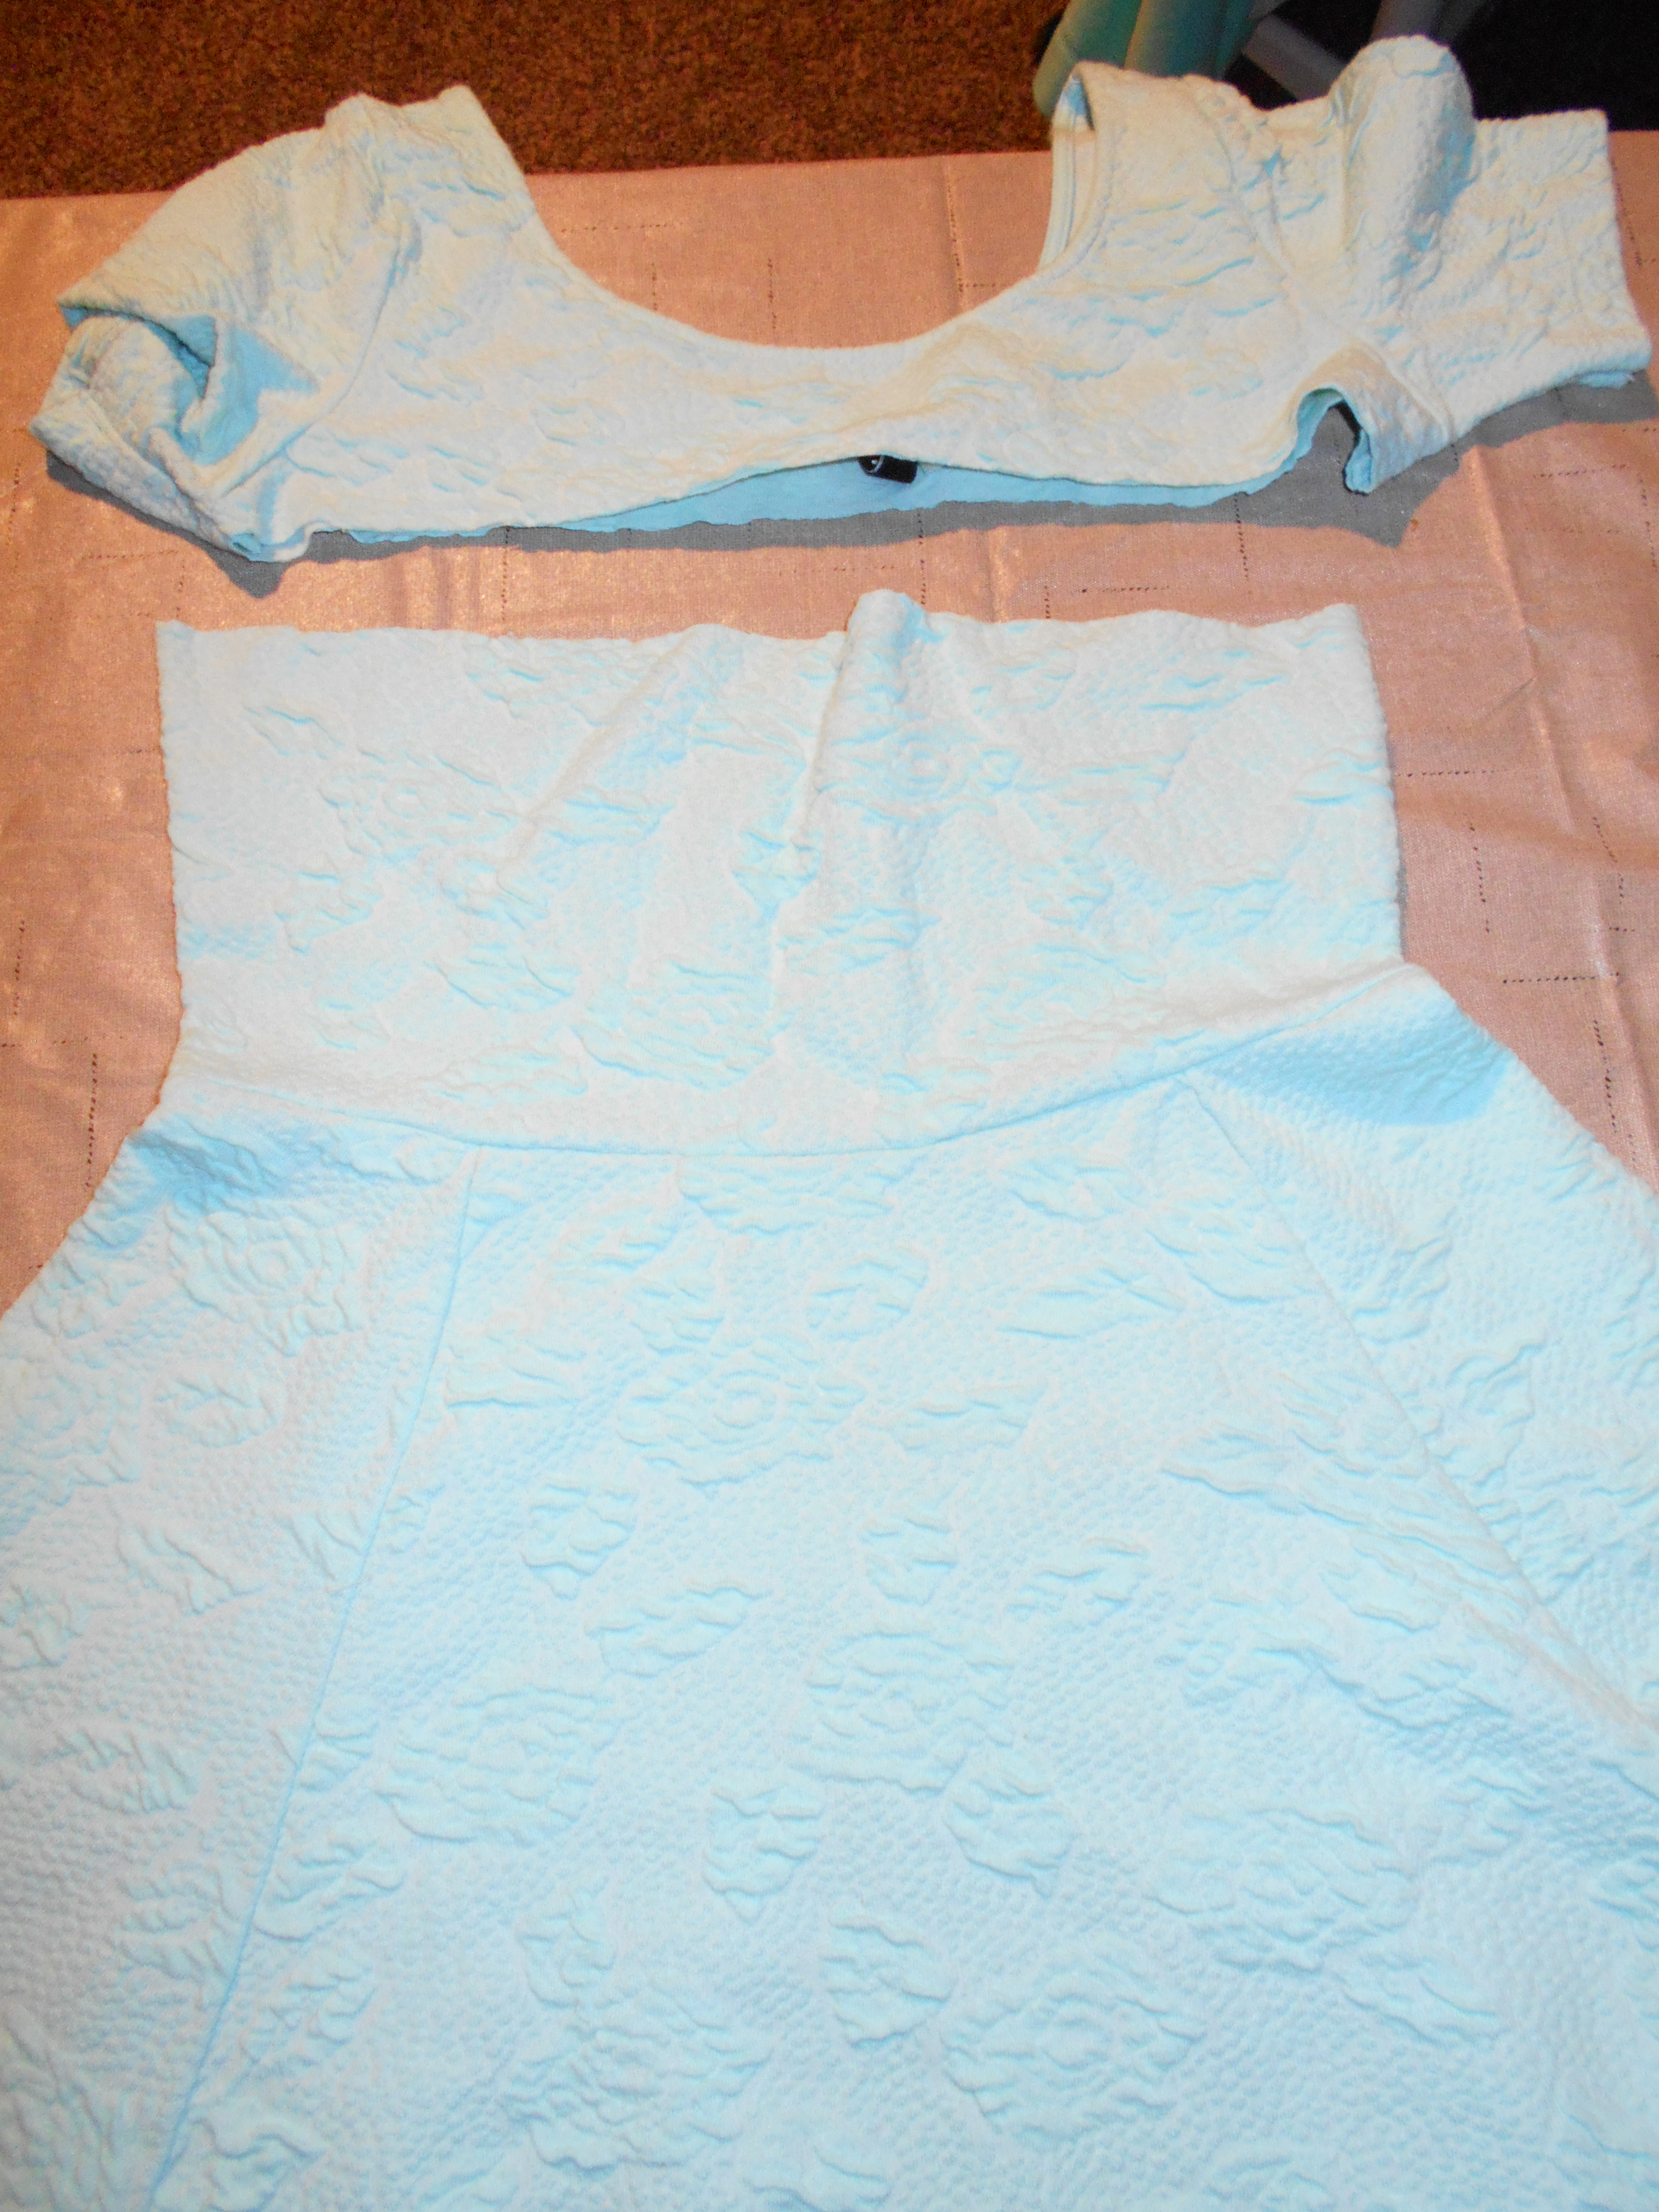
 I decided to cut the dress off where the lining ended. I didn't hem it though. I had an idea.


I decided to use that extra lace to make a ruffle along the bottom of the dress. 


I attached the ruffle so it would be just below the lining. The sheer ruffle is a nice balance to the sheer sleeves.


Thanks for reading along, for more pictures and details go to I Can Work With That.
And Happy New Year to all of you!

Wednesday, December 26, 2018

Dressember 2018; Dress 7

Hello Refashion Co-op. It is a busy time of year isn't it. It has been for me. I am still working on dresses this month in honor of Dressember
This black dress caught my eye because I didn't like it. The baby-doll style and the ruffles and the puffy sleeves and the scratchy sheer outer material......
The only thing I liked were the black and white appliques around the neckline.


What did I do? I cut them off the original dress and stitched them onto a plain and simple sheath dress. It was the perfect home for the little circles and flowers.


 I didn't use all of them. I thought that less was more in this situation. I wanted to make the simple sheath dress more fun. I didn't want to wear an overwhelming amount of circles all over my chest.


This was a quick refashion job. And that was good because the Christmas season is busy at my house. Thanks for reading along, for more details and pictures go to

Tuesday, December 25, 2018

Christmas parkrun sweatshirt refashion


I acquired this unwanted superman sweatshirt which was in good enough condition apart from the faded and paint spattered logo.

I decided to customise it using a parkrun 50 top as the new front of sweatshirt.
Parkrun is a wonderful organisation, originating in London but now worldwide They organise weekly free timed 5 km runs which are open to everyone.   It would be useful for me to wear to keep warm while waiting for runs to begin.

I basically cut out the front of the sweatshirt and used it as a template to cut a new front from the rear of the parkrun top.


There were some minor fit issues to deal with, and the armholes were different designs on the two garments.  There are more details, photos and a bonus feature here

I couldn't resist adding the superman label back onto a sleeve.


Here I am with husband, post run Christmas day 2018, face now red to match the sweatshirt.  Official time 31.14.


Monday, December 24, 2018

A Christmas Dress


In searching my photos for the "before" picture of this refashion, I realized that this one started over two years ago!!  I had picked it all apart, set it aside, and then went on to live my life for over two years.  Well, with Christmas upon us I decided it was time to wrap this one up...no pun intended!


I really liked the red plaid rayon fabric, however, I didn't like the gunny sack fit, the length, or the the front patch pockets.


I removed the pockets and detached the bodice from the skirt.  I then took in the bodice along the side seams and added front and back darts to get a better fit.


Next, I decided on my new length and cut the excess from the top of the skirt, retaining the existing hem.  No sense making more work than necessary!  I gathered the top edge of the skirt and reattached it to the bodice.


From the excess fabric, I found a covered buckle kit in my stash (picked up some time ago at a thrift store) and created a matching belt.


I also didn't care for the original placement of the top button, so I added a buttonhole and moved it in line with the rest of the buttons.  One more buttonhole and button to close up the bottom front of the skirt and my dress was ready!

You can find more refashions on my blog, Second Chances by Susan!


 photo signature.png

Friday, December 21, 2018

2 into 1

I have really been into refashioning dresses! I love finding 2 separate dresses and putting them together as one!

DSCN1650
Here is the 1st little number! Cute, Cute, Cute!

DSCN1652
And then here is # 2....not so cute, cute, cute. More like frump, frump, frump!

DSCN1653
I can't tell you how much I fell in love with the bodice of this dress. I love the off the shoulder part as well as the structured midsection that came to a point in the front. I obviously kept the top and discarded the bottom skirt portion.

DSCN1654
For dress #1 I cut it just below the sleeves to be able to use as much of the fabric as possible!

DSCN1655
When I bought this I noticed that one of the shoulder straps was unstitched from it's elastic. A quick run through the machine fixed that up nicely!

DSCN1656
Next I found the point to where the actual point of the bodice would end up on the skirt portion of dress #1. Stuck a pin in it!

DSCN1657
I used the side seam of dress #1 as the new back seam so I could reattach the zipper from the bodice. So I cut in line with the original seam.

DSCN1658
Then used my seam ripper to open the seam to allow the zipper to fit.

DSCN1659
Found there the zipper would stop and pinned that.

DSCN1660
This is where my nerves really set in....This is my very FIRST zipper! I broke in my zipper foot! I stitched the zipper in on each side and across the bottom.

DSCN1661
Time to put the rest of the dress together. After the zipper was sewn in I pinned the rest of the top to the skirt part. Then stitched that together!

DSCN1717.JPG

2018-02-12-13-13-18.jpeg

Happy Refashioning!!!

Check out my stash of refashions on my blog!

Spool of Tulle Tutu Part 2

Yay! Here is part 2!!
I know Halloween is over but it took me a while to finish this tutu. It took me 3 runs to the craft store for black tulle!
Anyway. Here is my Halloween themed tutu!
1 st I set up my Brother Scan N Cut and printed out a Happy Halloween text. Scanned it into my Scan N Cut. Made a file and then cut it out using orange heat transfer vinyl.

DSCN1697

DSCN1698
After weeding the vinyl I always like to trim the clear transfer as close to my design as possible before ironing. I keep a thin towel nearby to place over my design before ironing. You don't want to melt the vinyl, just adhere it to the fabric!

DSCN1699
I even drew a little spider using fabric paint!
Okay, now that my shirt is complete I am ready for my tutu!
1st I grabbed some 1/2 inch black elastic, measured around my waist and then stitched the ends together to make a waist band.
I purchased 4 spools of tulle 6 in. by 20 yard spool in black, purple, green and orange.
Later, I realized I needed 3 spools of just black to finish this tutu.

IMG_1697
I placed the elastic waistband onto my dress form. (Don't have a dress form? Use a chair or cardboard box).
I cut the tulle in 36 inch pieces, which would make the length of the finished tutu to be 18 inches (Mid thigh for me and I'm 5'2"). It's best to cut all the tulle 1st.

IMG_1698 (1)
Then I folded 1 tulle pieces in half. Tucked that under the elastic waist band.

IMG_1699
Took the ends of the tulle and pulled it through the loop at the top and pulled it tight!
The pattern I used for this tutu was 3 black/1 purple, 3 black/1 orange, 3 black/1 green repeated this until the elastic was filled.

DSCN1701

DSCN1716

Happy Refashioning!!!

Check out my stash of refashions on my blog!

Friday, December 14, 2018

Dressember 2018; Dress 4

Hello Refashion Co-op. This is the fourth dress in my Dressember series. Blythe Hill founded this organization as a way to use her love of  fashion  to help others around the world.
This knit dress was so soft and cozy. It felt wonderful to wear.


The dress was a little big but it had this seam down the back. That seam was a perfect place to take some of the baggy-ness out of this dress.


I took out about 5" from the back and made the arm a little more narrow too. 


I didn't change the dress drastically, I just made it fit better. It was easy and fast work too. 


I even had time to "shrink" this purse. It was so deep, I couldn't find stuff at the bottom. I cut it up and put it back together. 


Thanks for reading along, you can see more at I Can Work With That.

Wednesday, December 12, 2018

Dressember 2018; Dress 3

Hello Refashion Co-op. This is the third dress in my Dressember series. Dressember is an amazing organization doing amazing work to fight human trafficking around the world. Dressember estimates that every 30 seconds someone somewhere becomes a slave. 71% are women and girls. That is why the focus is on dresses all month, to symbolize them.

I found this dress at a clothes swap and the graphic fabric really caught my eye. It was a great knit dress but the collar was just too much for me. Why would I want this collar up in  my face every second of the day? I couldn't deal with it.


I also shortened the sleeves and made a V-neck. I also shortened the over-all length. I just wanted to simplify the dress and keep the fabric the star. It didn't need all the ruffles. 


I wore this dress to church but I think it could be worn anywhere.


Thanks for reading along, for more pictures and details go to I Can Work With That.


Friday, December 07, 2018

Dressember 2018; Dress 2

Hello Refashion Co-op. I wanted to refashion dresses all month in honor of Dressember. Dressember is a way to raise awareness about human trafficking by wearing dresses everyday of December. A dresses symbolizes women because they are the primary victims.
Today's dress is a soft cozy sweater dress. It wasn't warm enough because the sleeves were short.


I wanted to make sleeves out of these over the knee socks. Could socks be sleeves? Sure, why not?


 I cut the short sleeves off the dress. I didn't remove the seams, I wanted to keep them to stabilize the armhole.


I cut the feet off the socks and then cut top of the socks in a curve that matched the shape of the sleeves I had just cut off. Was it exactly the same? No, but it was close.


 I stitched my new sleeves in place. It was easy to manipulate the knit fabrics together.


I used the stretchy cuff at the top of the sock and stitched it on at the neckline. It fit perfectly and made the neckline a bit higher. It also made it more secure so it didn't open as much when I bent down. 
And it also added a little more of the sock pattern to the dress and helped tie it all together.
I loved how it turned out.


I was warmer with the longer sleeves, I am so glad I tried it.


Thanks for reading along, for more pictures and details go to I Can Work With That.