Monday, October 31, 2016

Vintage Dress Needs a Fix

I have this really neat vintage dress that is really well made and pretty intricate. Unfortunately its too long for me and so all these years I have never worn it. With my moms help we went bout fixing it. The first thing I did was hand sew some spots where the beading had started to come loose. I made sure it was all nice and tight and then we got started on making a new hem. Here is the dress:

Its also missing a belt!

First we measured and then cut off the bottom with pinking shears.


Next we sewed a lace trim on the bottom.


Then my mom hand stitched the new hem so that you wouldn't be able to see it from the outside. She made tiny little stitches that I would never have had the patience for but Im so glad she showed me how to do it because had I sewn it the way I normally do with the machine it would not have looked as good.


After that we ironed the new hem down.

We also had to cut the lining and sew a new hem on that. The lining is sort of rough feeling because its old and my mom thought I should remove it but I opted to keep it because it adds some fullness to the skirt.

Hem the lining

Can you even see these tiny hand made stitches!?

Inside view. Tiny folds in the hem to keep things straight.

So here it is after- I still need to find a belt or sash that will work with the dress. I was too lazy to button it up all the way for the pic and find proper shoes. I need to wear it out and update with a new pic once I do!
And the results!


I made a blog post about it here!

Colourblocked winter skirt

This dress didn't work for me (made me look boxy, instead of curvy, as I think it was supposed to) and it was too tight across the chest. But I really liked the fabric and the colourblocking.


I tried to make it work for me in many different ways, but eventually I grabbed my scissors and sliced the wretched thing in half and made myself a nice and warm winter skirt, which I like. But I am still slightly annoyed with that old dress's defiance...


Blogpost: http://saga-i-farver.blogspot.dk/2016/10/vinternederdel-af-kjole.html
(And in case anyone wondered, the shirt is a refashion too, from the beginning of this year: http://saga-i-farver.blogspot.dk/2016/01/to-til-en-bluse-med-tatoveringsmotiv.html ).

#21 Back to School: Denim Skirt: Narrow Hem Updated

*Before retirement, jeans were off-limit at my University job. I replaced them with denim skirts.
A lot of denim skirts. It is time to get some into shape for fall transition weather.
*I pledge not to buy any new RTW or thrifted for my "Back to School" wardrobe.
*I pledge to shop from my closet.

BEFORE:
·      Denim Skirt from the closet. It fit, so no changes there..

PROBLEM:
·      The narrow hem was hard to keep flat, even with steam pressing.

 STEPS:
•         Unstitch the hem and serge raw edge.
•         Attach thin lace from the stash. On the inside of the hem.
•         Top stitch the top of the lace and again into the denim hem.

AFTER:
  • Ready to wear to school tomorrow. This will transition through fall. And, into winter with black tights, 
    AFTER:
    New hem makes this
    great for fall transition

    New hem lays flat

    Thin lace reduces bulk in hem

    Thin hem did not lay flat,

    BEFORE:
    Hem did not lay flat

Sunday, October 30, 2016

T-Shirt Dress Refash Part 2

This refashion is the second part of my last post T-Shirt Refash!

 Since I used the bottom part of this dress to add length to my t-shirt dress I had the whole top part left over!

dscn1029
I began my sinching up the straps.

dscn1025
Made a new hem!

dscn1039
Added some floral lace to the pockets. Aren't the buttons adorable!?

dscn1059
And there you have it! A nice new tunic top! I just love the polk-a-dot pattern!


Happy Refashioning!!!
Check out my stash of refashions on my blog: http://therefashstash.wordpress.com

T-Shirt Dress Refash Part 1

I got inspiration from the The Refashionista for today's refashion. See Jillian's original blog post here
In the refashionista's refashion she takes an XL t-shirt and turns it into a dress and it's super cute!
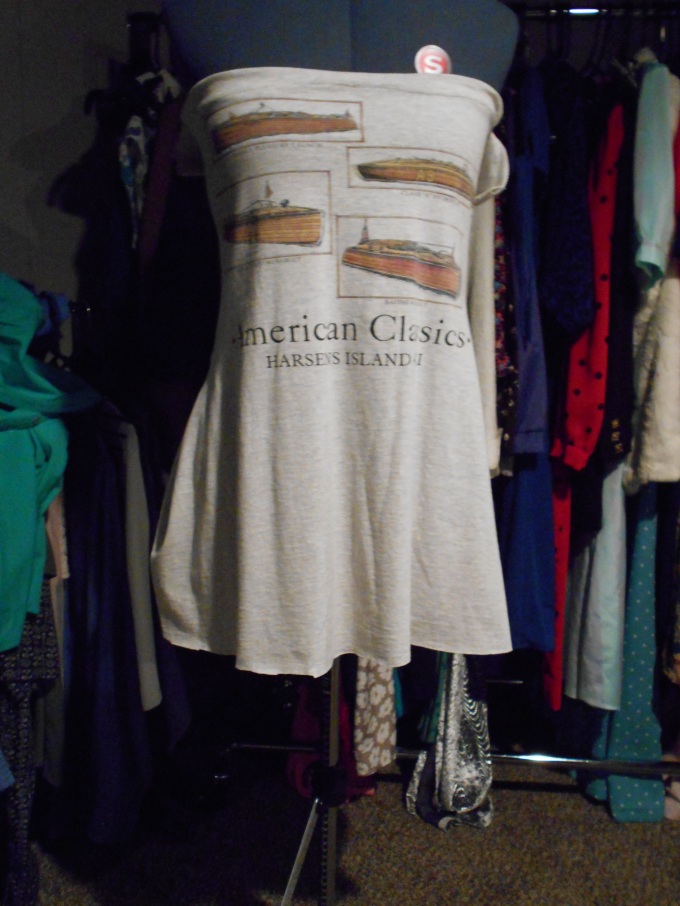
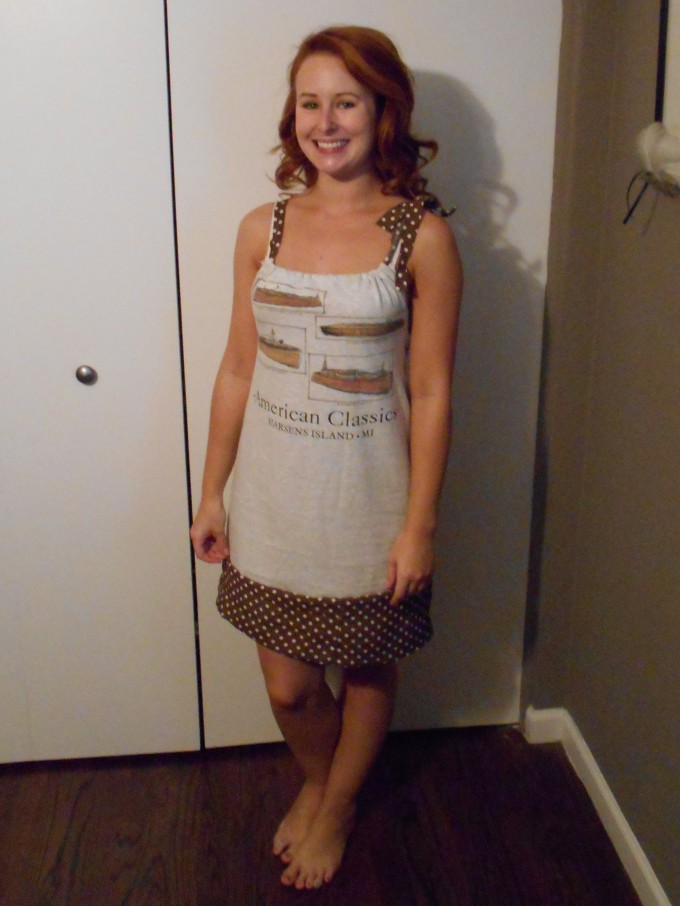
Awhile ago my dad had cleaned out his closet but before he could donate the old clothes I riffled through them. I pulled out a t-shirt that my dad had worn for years and I had always loved it. This t-shirt features pictures of antique wood boats, which is awesome because we have one! Plus the shirt is from Harsens Island, which I'm sure you've seen in my previous posts, is where we spend our summer weekends at on our boat!
I had plans of making this t-shirt into a dress but I never was quite sure how I wanted to do that, until I read the refashionista's blog post! Yay thank you Jillian!
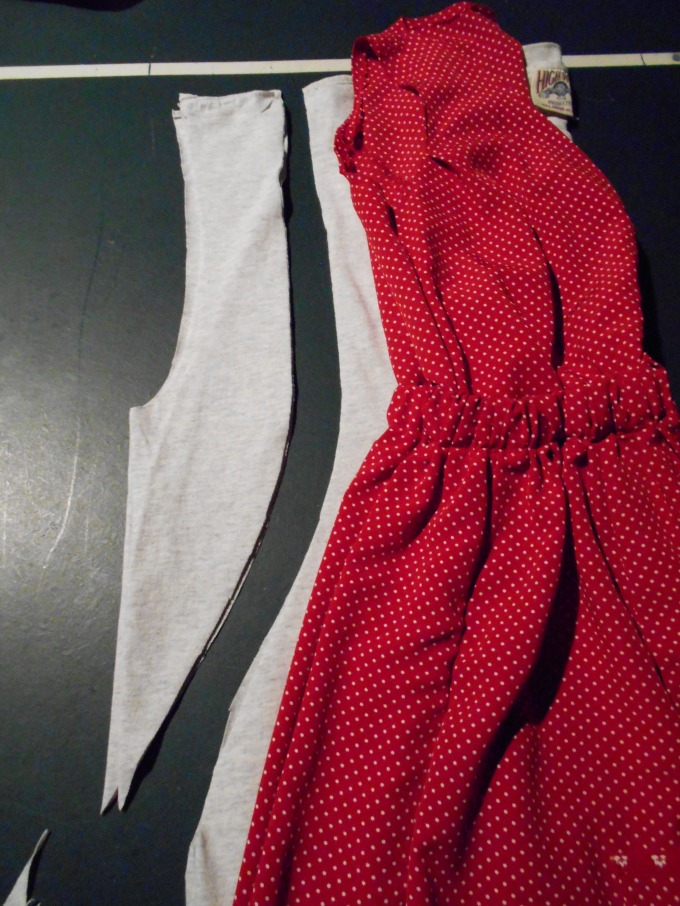
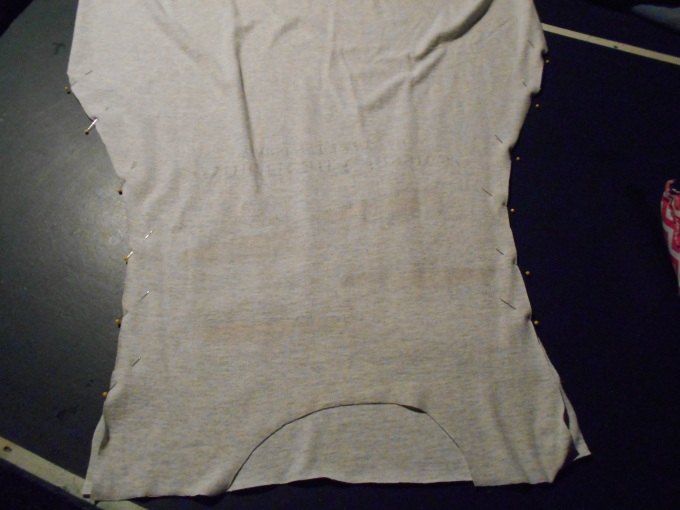
I began by folding my XL t-shirt in 1/2 lengthwise (hot dog style, if you will). I used a previous refashioned dress as a template because I loved the fit! I cut the t-shirt to size.
dscn1014

Pinned the sides and sewed them together.
dscn1015

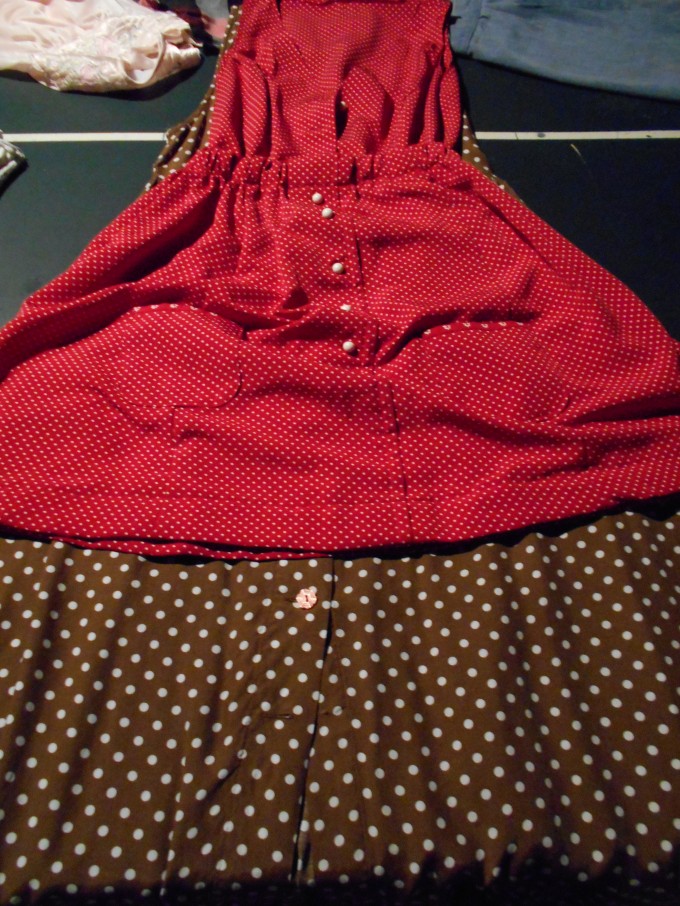
After looking at the length of the t-shirt I decided that it would be too short for wearing in public all on its own.

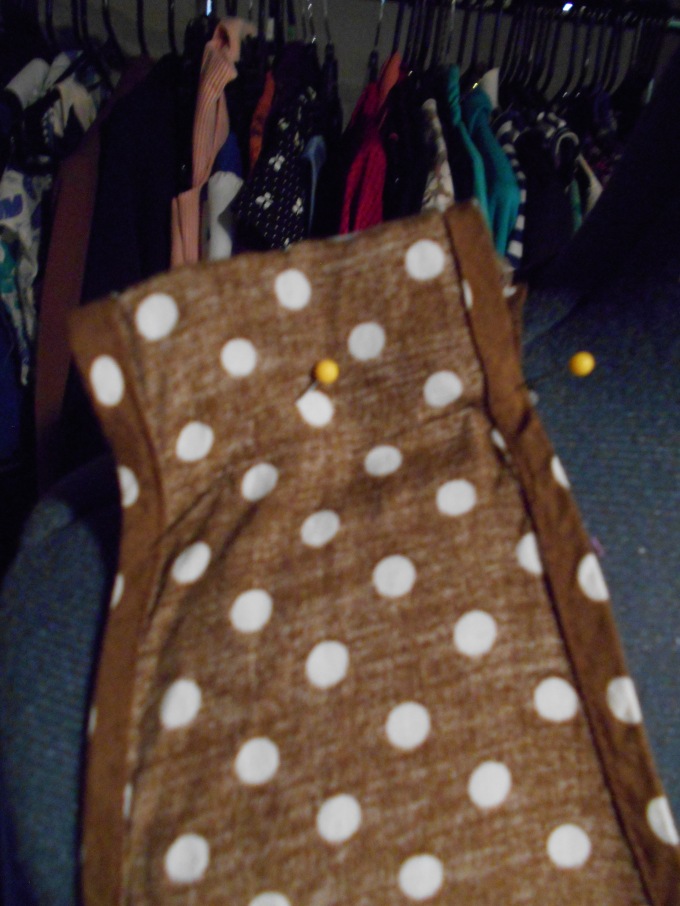
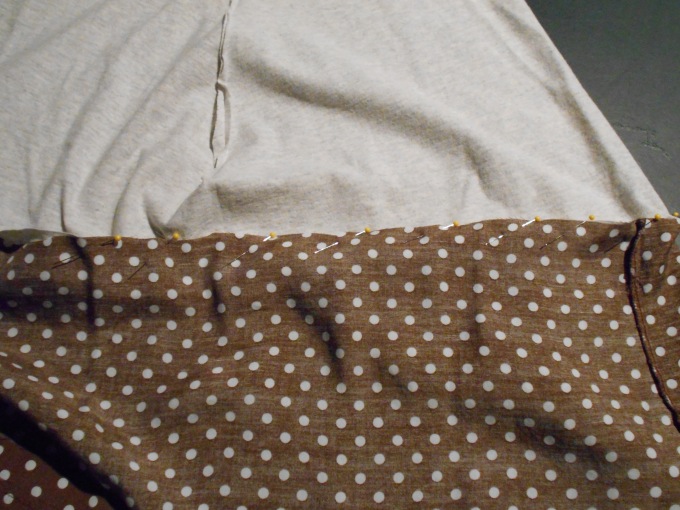
I rummaged through my refash rack and found a brown and white polk-a-dot dress I have been dying to refashion! This dress was in dire need of shortening, and what luck!? I could use the scrap for the bottom of my t-shirt dress! A 2 in 1 refash!
dscn1016
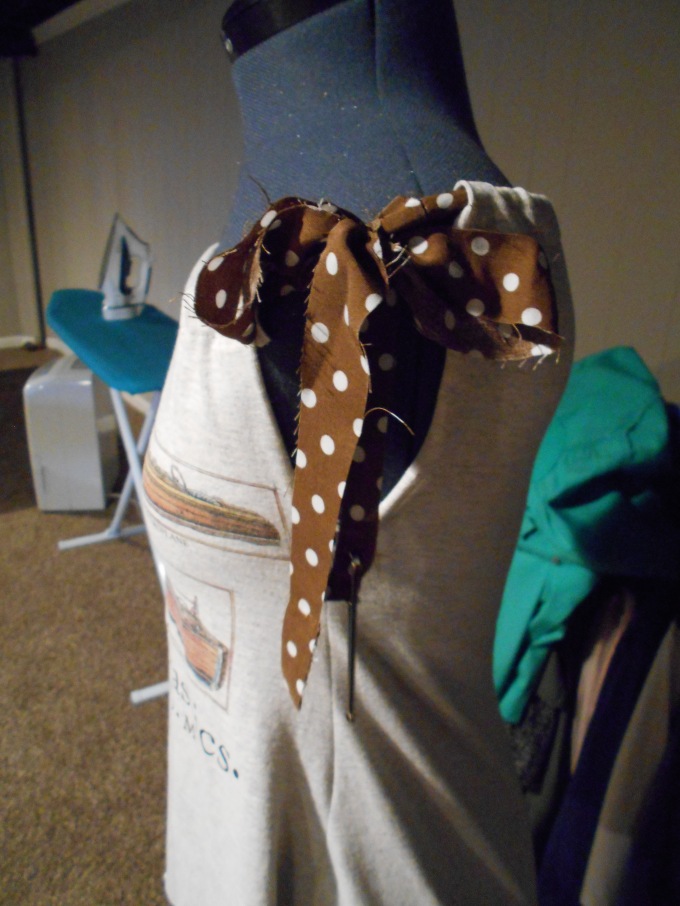
After I sewed the sides of the t-shirt together I made a casing at the top for a fabric scrap I was going to use for a strap!

dscn1017
I threaded the thin scrap of fabric through it's casing and tied it into a bow at the shoulder.

dscn1018
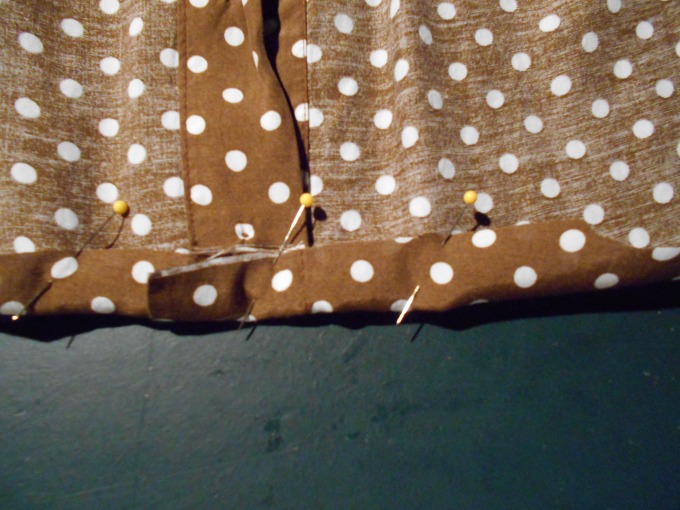
I used a 4 inch scrap from the polk-a-dot dress to add length to the t-shirt dress.

dscn1019
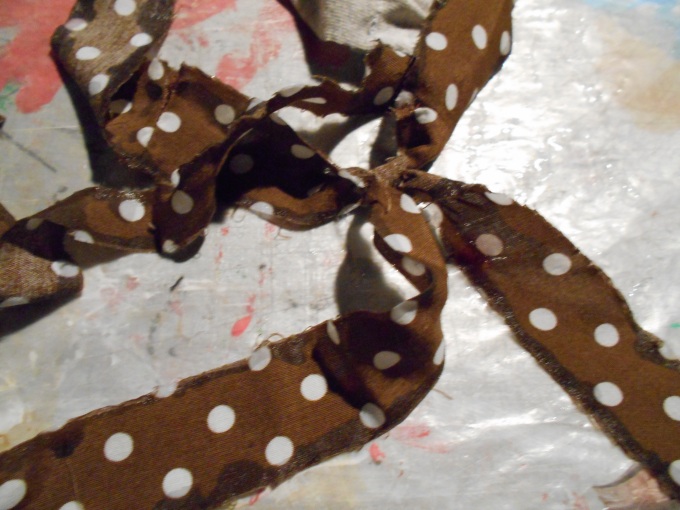
Now this fabric was raveling at an alarming rate so I used fray block on the edges to keep the fabric from raveling any further. ( I always keep a cardboard piece wrapped in wax paper handy for placing the wet items on, keeps it from sticking to itself or my table)

dscn1021

dscn1032
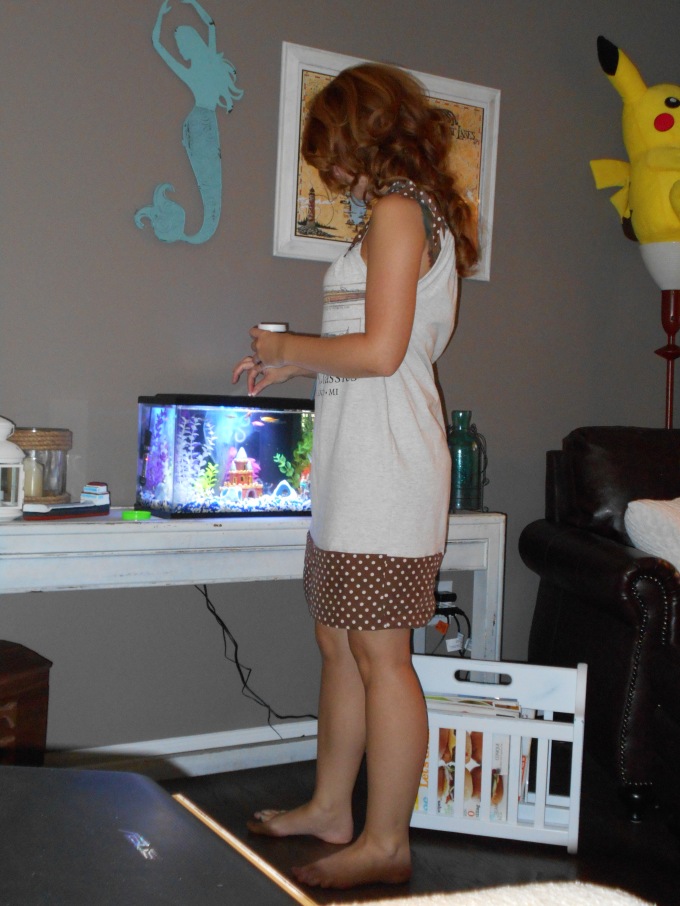
Ta Da! My cozy new t-shirt dress! I sported my new dress around the house doing chores: making dinner, feeding my fishies etc.
dscn1034

dscn1036


Happy Refashioning!!!
Stay tuned for the second part of this refashion!
Check out my stash of refashions on my blog: http://therefashstash.wordpress.com

Upcycled - Felted Dryer Lint Minnie Mouse Ears with Faux Wool Roving


Hi All,

I guess I am calling this a "Headband" refashion hopefully you will forgive the stretching of the rules a little here but I wanted to conclude My Minnie Mouse Costume Series.  Sorry no before pictures but I am pretty sure nobody needs one.

And since I am stretching the rules a little I will also tell you that I used some dryer lint to make this project so technically it is a refashion of a whole bunch of my clothes and towels and sheets.  :-)

You can find the tutorial here.

Happy Halloween!

Cindy @ Upcycled Design Lab 

Ensemble pour les cours de gym

Je me suis inscrite à un cours de gym , mais je n'avais pas de tenue pour ce genre d'activité alors je me suis fait un ensemble avec un patron et quelques vêtements que j'ai recycler .........

Voici les éléments de départ :


Et voici les éléments de mon ensemble : un pantalon large (customisé), un tee-shirt amélioré (et transformé) et un tee-shirt à col roulé et manches longues (d'après un patron)


Alors il est pas beau mon ensemble pour la gym ???
Et pour en voir plus c'est  Ici   

A très bientôt, bisous
Elisa Elisa 

2 for 1s are my favorite

Hello everyone! When I found this set I loved the pattern and the material was so soft! It was new with tags but because it was from a thrift store I still wanted to wash it before I used it. Which normally isn't a problem, but this time it took the nice flowy tassel like trim and tied it in tons of knots seen below:(
Hai Archie! 
The trim was a mess and after 30 minutes trying to untangle (I'm a sucker for tassels:( ) I just ended up seam ripping it off. Because the fabric was so soft and the threads so small and fine I knicked a couple and started runs in the fabric:( Fortunately the pattern hides them nicely:) I just did the jacket this time. I took it in starting at the sleeves to make it more form fitting. I used it to dress up a plain tee!
I think it turned out alright:)
He loves being in my pictures!:) If you want to see more step by step photos and instructions as well as more refashions head over to myBlog!

#20 Back to School: No More Slidding Down Skirt

INVITE:
Join me in posting Winter / Christmas / Holiday 

Sweater Re-fashions
Some Ugly and Some Lovely


·      The post below is about an outfit for my after retirement "Back to School" wardrobe.

BEFORE:
·         Skirt and two coordinating tops. Several years ago, they were first Re-fashioned from three skirts bought for that purpose.  
·         Knit dress from the Re-fashion stash.

PROBLEM: I wore the skirt to the new job last week. It slid down when I walked. This left a gap between the skirt and loose overtop.

STEPS:
·      Remove the sleeves from the knit dress. Finish the arm holes by serging.
·      Unstitch the folded over skirt waistband and serge the edge.
·      Pin and hand baste the skirt on top of the knit dress. Top stitch.

AFTER:
•   The under-dress now serves as a cami and slip combination. The under-dress holds the skirt in place so it does not slide down. 

WHAT I LEARNED:

·      Take time to make small repairs to garments while Re-fashioning. 
These items had very thin serged seams. I added narrow straight seams to reinforce. 

AFTER:
Set was 1st Re-fashioned from
1 blue / 1 green skirt 

Now under-dress holds
the skirt in place so that it does not slide down

After:
Original skirt pleat in green top.

AFTER:
 Back of green set.

AFTER: Bue set.
1st Re-fashion
from 2 blue skirts.

AFTER: 
Blue knit under-dress
serves as cami / slip combo.

Skirt is topstitched onto under-dress
to keep the skirt from sliding down


AFTER: 
Waistband opened.
 Top-stitched onto under-dress to keep skirt in place.

AFTER: Sleeves removed 
on the under dress
Edges serged

BEFORE: Skirt slid down
leaving gap between loose tops.

BEFORE: Loose skirt