Thursday, March 31, 2016

Little Shoe Makeover


Hello All,

I refashioned these shoes a couple of weeks ago.  In my head they are part of a whole outfit.  Time will tell if I can get the rest of the pieces out of my head and into the real world.  I am planning for it to be a summer outfit and since it is snowing here today I am not feeling highly motivated.

Happy Refashioning,

Cindy @ Upcycled Design Lab

Purple Dress Refashion

Hi! I was attending an event where I needed to wear a long purple formal gown.

I started with this dress that has this AMAZING shoulder bow but a really awkward middle. I tried cutting it apart and placing it differently but after 2 hours, I decided the middle needed to leave permanently. 

with the middle removed, I took the bottom which was a circle skirt and added it back.

The result was really fun to wear and twirl around in!

Here is the tutorial.  
Happy Sewing!
Katie


Salvaging a 70's Outfit

Hello Refashion Co-op. My project today is made from something I got at a clothes swap. This wonderful, crazy, vintage 70's fabric is actually part of an ENTIRE outfit. Imagine a head to toe ensemble made of this pattern. It made you dizzy to think of it, didn't it?


The top was in good shape but very small. The wrap skirt was lined and in great condition but it was really small too.


It was delicate fabric and I had some issues when working with it. It was easily damaged and I got nervous I would ruin it. In the end I made this simple elastic waist skirt. 


For more pictures and details you can check I Can Work With That.
Thanks for reading, now go make something fun for yourself.

Wednesday, March 30, 2016

March Plaidness pt. 2

So, I don’t know about you, but my NCAA Tournament bracket was busted in the 1st round when dang Michigan St. lost!  Despite this early loss in my work bracket competition, I still want to pay homage to the tourney with my second and final March Plaidness look. Take a look at my first run at March Plaidness.
Queue the too long plaid skirt:
Plaidness 2 - befores
I procured this skirt from ebay for $9.99, plus $3.45 shipping. I can hear you thinking, “Whoa, Jess, that’s a lot for one old skirt.” .Well, this skirt is an authentic Pendleton Woolen Mills skirt, see:
Plaidness 2 - tag
They are local and practically THE authority in all things wool, so I just HAD to make it mine! However, I guess it turns out I didn't know what "virgin wool" was like. It's a little weird. Feels a bit like a polyester/wool blend, but I can't argue with the tag.  Actually, I CAN argue with the tag. Can you see the size on this?  It says 12.  This is not a current size 12. So I guess, yea! for vintage and yea! that it actually fits. I would say the actual size is a today's version of an 8. Big difference.
All I needed to do was take the length up on this skirt, so it was cutting time!
Plaidness 2 - removing length
As I've said before, a nice even lined pattern really makes cutting length easy! I just found the spot on my legs where I wanted it to hit and marked it. Then I went about 1/2 inch down to allow for the hem.
Here is the amount I removed, not a ton, but enough to update it:
Plaidness 2 - cutting along the line
Then it was time for hemming! I just folded and pinned along the pattern line.
Plaidness 2 - sewing hem
I once again used the clear thread for this thick multi-colored fabric.
If you recall from the first March Plaidness, I refashioned a top to go with it. You know, this one:
Plaidness 2 - white top
I figured, why not use the same top with this second iteration.
Plaidness 2 - afters
Paired with my pointy black pumps, it was a great outfit for the first 70+ degree day of 2016 in Portland!
By the way, see that pocket I am using? It is actually a faux-pocket. I've never seen this before, but it is really just an opening where it buttons up, so it appears to match the actual pocket on the other side. When I stick my hand in the "pocket," I am actually touching my lower stomach. So weird!!
Final comparison:
Plaidness 2 - final comparison
May your day be filled with sunshine and purposeful pockets!
To see the extended version of this post, including the history of the skirt's tartan, check out my blog: www.hemsandhahas.com 

Using a kimono bargain to create a 70's blouse!

This was one of those bargain buys that had a good amount of fabric in it, ready for a refashion.


I wanted to use a vintage pattern that I have used once before, but I didn't quite have enough fabric in this kimono to fit in all the pieces?? So for a tutorial on how to make a full sleeve narrower, if you, like me, want to use a specific body shape, and are determined to make it all fit in to a limited fabric piece, have a look at my blog here


I love this piece of fabric, it really reminds me of the 70's!


And that collar shape, so of the time.

Un gilet transformé en pull

J'avais un gilet que je ne portais plus du fait surtout de sa longueur , alors j'ai décidé de le transformé. Mais pour cela j'ai eu besoin d'un tee-shirt (trop petit).


J'ai donc fermé le gilet devant et agrémenté le tout avec le tee-shirt au niveau des manches , de la bordure du bas et fait un snood avec les chutes du tee-shirt.


Et me voilà avec un nouveau pull pour finir la saison. 
Et pour en voir plus c'est ici 
A très bientôt, bisous
Elisa Elisa

Hello! It's Lindsay from The Crafty Disaster. I just moved and haven't unpacked my sewing machine yet. 

But I did refashion this *cute* tote from goodwill. 


I made this super cute door basket for less than $10! It's definitely re-purposing these straw bags that were all over my goodwill. Want to see how easy? Hop on over to my blog.


Junk Shop Vintage Necklace Refashion

I found this amazing (and high quality!) necklace at a junk shop in Augusta, Georgia (where I was stationed while in the military). I went back down to visit family and friends, and my friend suggested we go to this cute little junk shop. 

If you're ever in the area, you must check out Mema Had One. My friend, her son, and I had a ball wandering around in there. 

I think I paid $5 for this necklace, and although I thought the length made it look a little frumpy and old ladyish, but I thought it would look cute shorter. 


And it did look cute shorter! 


For more information, check out the post on my blog, Emprovising

Tuesday, March 29, 2016

Cozy Cotton Dress Refash

Today I started with is soft and comfy cotton dress. I picked this one up because of its funky pattern.
DSCN0159This is more of a winter dress but I really hated the look of the sleeves plus the elastic at the cuff was all stretched out.
DSCN0162Pinned my new sleeve hem.
DSCN0182Took 3 inches off the bottom and hemmed it.
DSCN0172Next, at the waist the elastic was too big. So I picked open a hole and pulled the elastic tight and sewed it together.
DSCN0184I went way out and changed the black buttons to bright red ones and I even used red thread for the hems.
DSCN0201I didn't do too much exciting with my new dress, just lazed about the house all day. I liked the look of a belt with this dress but perhaps not this red belt, I think it miht be too dressy for this one.
Phototastic-2016-03-26-23-23-45 
Happy Refashioning!!!

Check out my stash of refashions on my blog: http://therefashstash.wordpress.com

Binning, Winning and Buttoning up for Easter

Hello Re-fashion Co-op readers! This is my first post and I am so happy to have been invited to join!

Over the weekend I made my second ever trip to the Goodwill Outlet, a.k.a - "the bins."   For those of you who are unfamiliar, the bins are the last stop for unsold Goodwill items. Everything is dumped into large blue bins, to be sorted through by bargain hunters. While some items have set prices, clothing is sold by the pound!
My friend, Tatyana, and I have found some really great deals in our two trips so far!
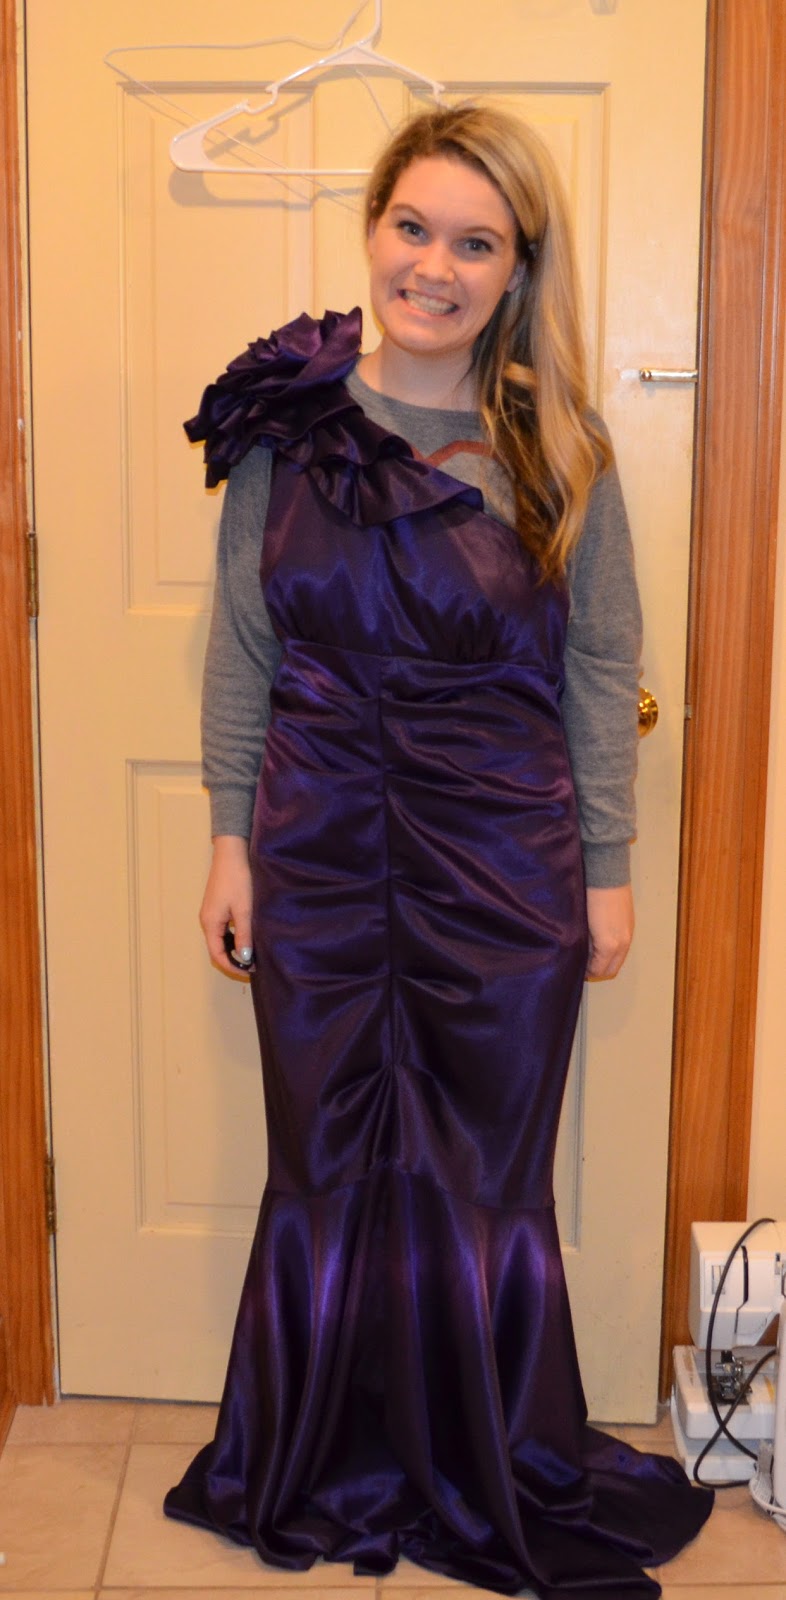
Easter - bins
Binning!
On Saturday's trip I ended up spending $8.65 on 10 items, which averages to just under $0.87 per item. So today's refashion cost me under $1.
I found this lavender men's dress shirt, (Van Heusen, I believe. Forgot to take a pic of the tag) in perfect condition.
Easter - befores
I needed an outfit for Easter dinner at my dad and stepmom's house and knew that this shade of purple would be perfect. 
After proper laundering (machine washable..score!!). The first step was to get rid of the sleeves. This was a job for Jack the (seam) Ripper!
Easter - picking sleeve
The color varies throughout my pictures, based on lighting conditions. 
This was a long and tedious process. Especially when dealing with large men's shirts, it means a whole lot of arm seam to rip. Seriously, it took me a couple hour-long television programs to get through it all.
Following the removal, I hemmed the hole, using the folded bit of material left over. No pins needed.
Easter - sewing sleeve
Men's collars are much too big to look properly feminine on a dress, so that needed to be removed as well. I used nice sharp scissors to cut at the fold.
Easter - removing collar
Then, with arms and collar removed, it was time to put it on "The Body" inside out.
Easter - sleeveless on the body
After getting it properly straightened out, I pinned to fit The/my Body.
Easter - pinned on the body
Once pinning was complete, I stitched along my pinned lines:
Easter - sewing sides
I tried it on to assess fit, then took it in just a little more on one side. Then, I tried it on again and it fit, so I removed the excess fabric with my pinking shears:
Easter - removing excess
Easter Sunday, I added a cute belt, aubergine leggings, and my Gucci jellies. The result was not bad for a shirt that cost less than a dollar!
Easter - afters
Yes, I should have ironed this. I was being lazy. 
Check out the extended version with more after pics and some online bargain hunting advice on my blog at: www.hemsandhahas.com 
Thanks for reading! 

It IS Easy Being Green; A T Shirt

Hello Refashion Co-op. My project today is so simple that if you blink, you might miss it. It started with this green T shirt. I got it from a clothes swap I went to with a few friends. None of us thought the original strap across the chest was a great idea. What is it, why is it there? 


I basically cut it off. It was a great basic top with out half of a beauty pageant sash at the neckline. I couldn't just cut off the front of this knot detail. I trimmed and tucked the front of the sash inside and added a few hand stitches to secure it.


Here it is finished and simplified. I love the color so I am glad I could save it from the reject pile.


Thanks for reading, now go make something fun for yourself.


Monday, March 28, 2016

Nip, Tuck and Hem Refash

DSCN0260On my recent trip to the Salvation Army I found this vintage dress! I bought it with the intention of a refash but once I got it home I thought better of it. I realized I loved everything about this dress! Such a classic!
DSCN0265Annnd it Swiss!
DSCN0267I ignored the Dry Clean Only directions (like I do on all my thrift store purchases) and once I got it out of the dryer I was faced with the lining in this crinkly condition. So, I had to douse it with a good amount of spray starch and tamed that mess with the iron.
DSCN0268Are 2 of these hangy thigs really necessary?
DSCN0270I took 2 inches off the length.
DSCN0272Took in the sides by 1/2 inch.
DSCN0274I did not quite understand why the buttons on the belt were so plain?
RSCN0280So I changed the buttons to a nice little pearl button to match!
DSCN0284I tacked the neckline down.
DSCN0285And if I hemmed the dress that means I had to hem the lining as well.
DSCN0287I wore my fancy new dress on Easter Sunday when my family went to Frankenmuth for a delicious chicken dinner!
DSCN0289DSCN0290DSCN0291Even stopped in my favorite store: The Michigan Shoppe where I purchased some delicious cherry coffee!
DSCN0288The weather was so beautiful! Took my picture next to the Cheese Haus mouse!
DSCN0292
Phototastic-2016-03-28-16-21-01
Happy Refashioning!!! 
Check out my stash of refashions on my blog: http://therefashstash.wordpress.com