Tuesday, September 27, 2016

The Refashioners: Denim Faux Shearling Vest

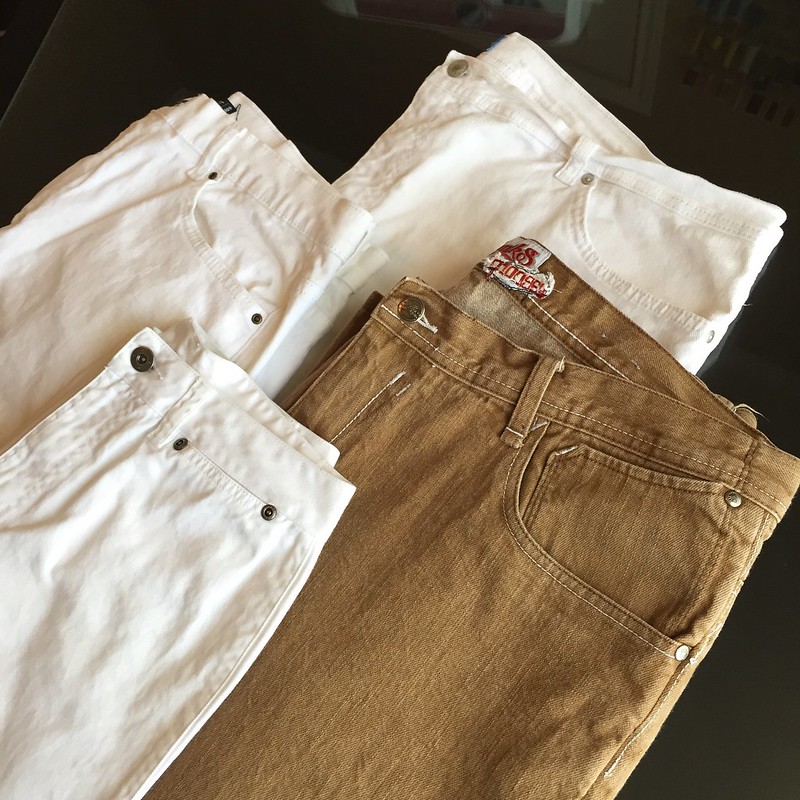
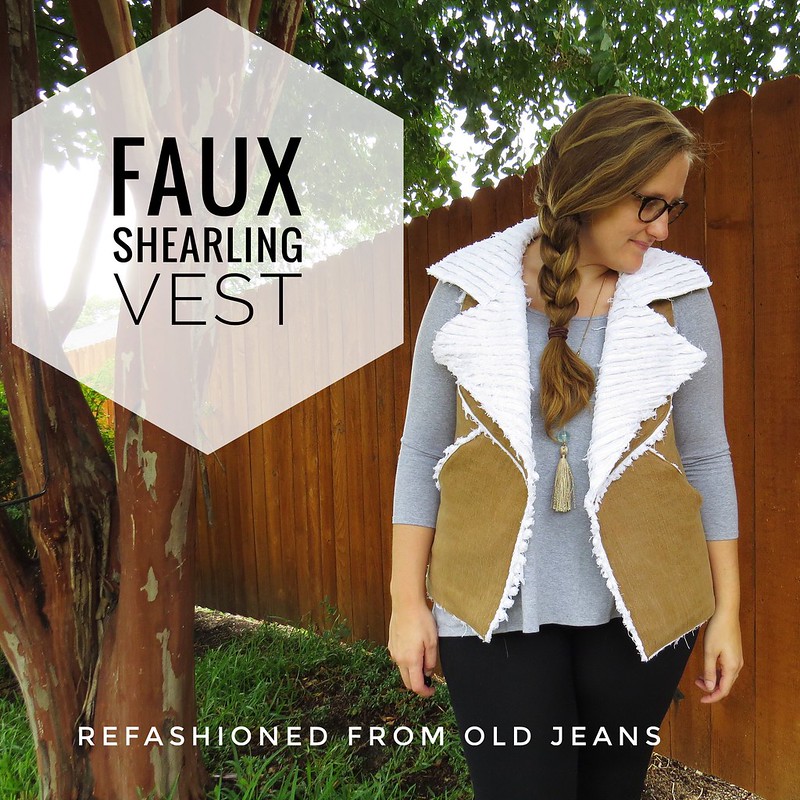
My second "jeanius" refashion for The Refashioners community challenge was a bit of an experiment. I wanted to see if I could take a pair of brown jeans and a few pairs of white jeans...

Denim Faux Shearling Vest - Before

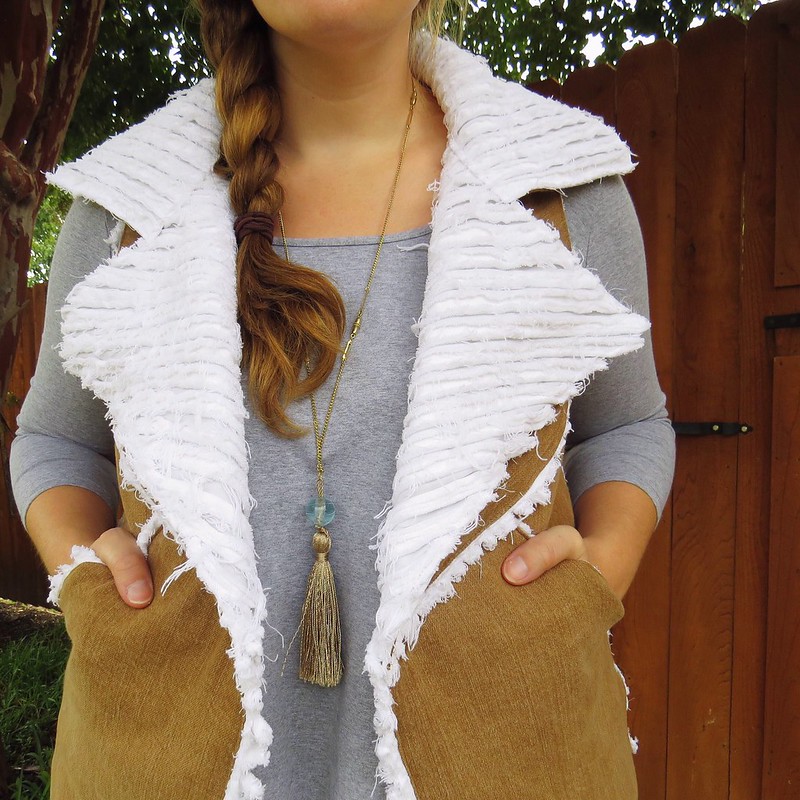
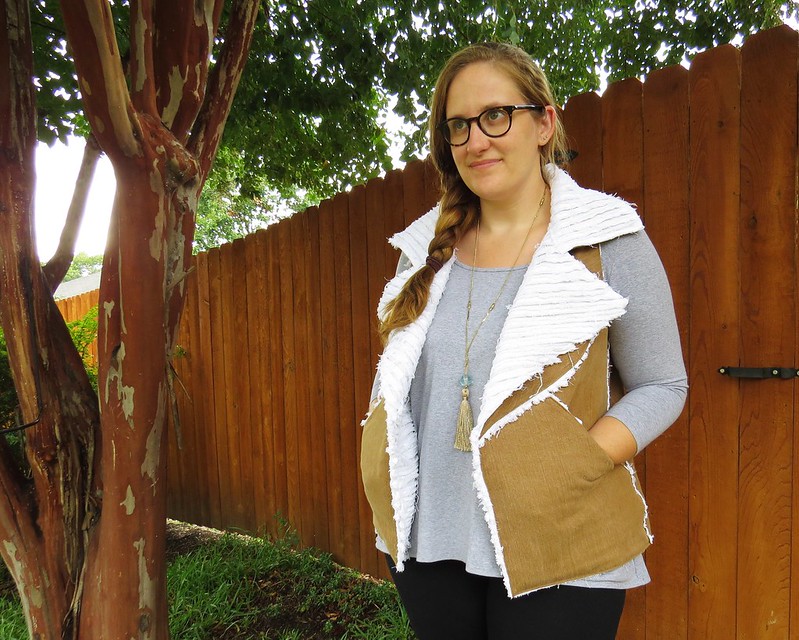
...and turn them into a faux shearling vest. It took a while to figure out how to do so - and how to get all my pieces cut out of that one pair of brown jeans - but I did it! And just in time for our first real cool front!

Denim Faux Shearling Vest - After

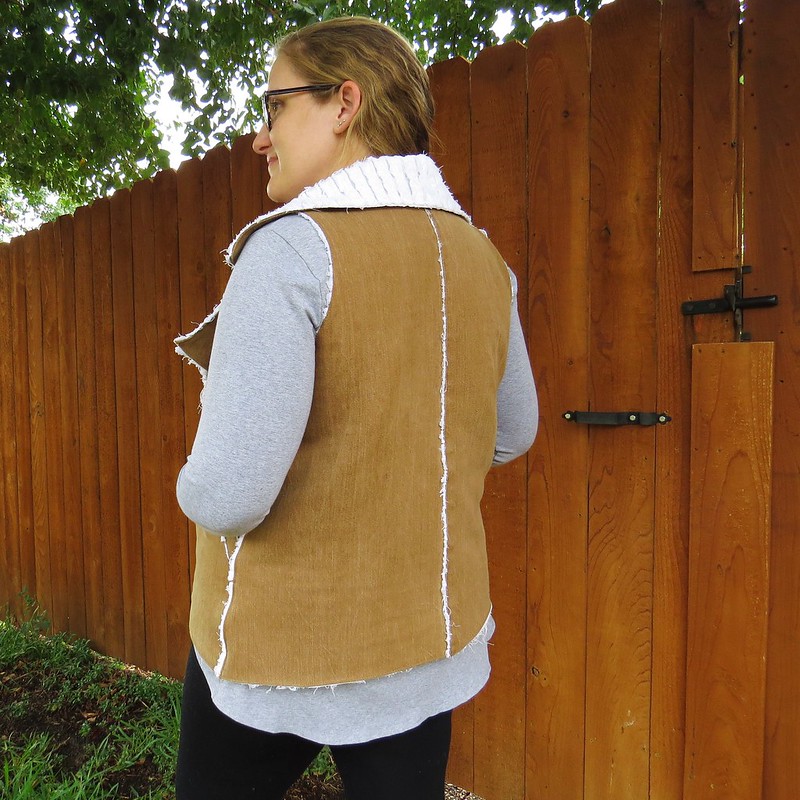
You can read all about the process and see more photos at CarissaKnits!

Denim Faux Shearling Vest - After

Monday, September 26, 2016

#13 Back to School: Dress Refashioned AGAIN!!! with New Trim

 #13 for ack to School.


*I am a "retire / rehire". Retired from University and Rehired into an Elementary School
*I pledge not to buy any new RTW or thrifted for my new "Back to School" wardrobe.  
*I pledge to shop from my closet.

BEFORE: 
  • The dress for this Refashion was made MANY years ago from a flowered dress & black/white dotted cotton fabric.
  • The First Refashion is too small now
  • Wide black trim is from the stash
STEPS: 
  • Remove flowered fabric from the hemline.
  • Add a flowered gusset in the side seams to enlarge the dress bodice.
  • Shorten the drop waist by 1 inch. Waist dips in front & back.  
  • Add the black trim to the hemline.
  • Restitch the wider black dotted neckline to make a thinner binding trim
AFTER:
  • An easy Refashion that put this dress back into the school days rotation.
    After: 2nd Refashion
    Trim added
    Side gusset added to enlarge
    Drop waist dips in front and back
    Waist shortened by 1 inch

    After:
    Drop waist dips in front & back
    It was shortened by 1 inch

    After:
    Neck band was narrowed


    After:
    Trim replaced
    flowered border
    Before:
    1st Refashion from 

    MANY years agowas
    Too small

    Before:
    1st Refashion
    Wide neck band

FFO - Finally Finished Object

So, I started this project before I joined Refashion Co-op (actually a looooong time before) and I didn't take a photo.  But that's okay, because Chickie did it for me at the beginning of September:

Chickie's shirt

Okay, it's not exactly the same shirt, you might have spotted the colour change.  But the style is the same (and not my style either).  There were belt loops for the self-fabric belt that were at the end of my rib cage rather than my waist, plus it was really awkward to get on and off.  The label said "cotton elastane" but it has no stretch whatsoever.

Solution?  Cut the shirt the rest of the way down the front, unpick the side seams and take out the belt loops then re-sew them, unpick the belt down the long side and make it into button bands either side (just enough fabric).  Wait until suitably calm and relaxed, take a deep breathe and make buttonholes.  Unpick a few, make some more.  Unpick a few again, make some more.  Declare them finished as "perfect is the enemy of good" and no-one but me will ever notice / care.  Sew on a whole lot more buttons, an odd assortment of blue then white because that's how I roll.  Done!


Happy sewing Refash Co-opites!

Mimi

Sunday, September 25, 2016

Dress To Skirt- A Fashion Save

I picked this dress up from the Goodwill a week ago. I love the orange silk top and the skirt is really cute with buttons and pockets. I LOVE pockets! I tried it on and there was one issue. As you can see in the image below one side bulges out. And you probably can't see this in the image but the other side pulls to the center slightly. I was about to give up and sadly place it back on the rack when I suddenly had an idea. I could turn this dress into a skirt! The skirt was really what made the dress anyway so I wouldn't miss the top too much despite the fact that I also LOVE silk.

Uneven sides are no bueno.


I love the way it turned out. SO much better! Maybe I will turn the silk top into a sash or something for another refashion.

To see pics and a description of the entire process please check out my blog about this project!

Saturday, September 24, 2016

Long Sleeves to No Sleeves

 I have a fascination with decorative collars on button down shirts. However, most come with long sleevs and I have no use for long sleeves. I prefer no sleeves and a cardigan if the weather is cold. So this is where my inspiration for todays refashion comes from!
dscn0624
I found this adorable coral shirt with rhinestone bling on the collar for .50 cents!
dscn0625
So blingy!!
I removed the sleeves and rolled over the material at the armholes to give it a finished look.
I was so excited for my new top I decided to wear to a dental hygiene seminar that the hubby and I were attending.
But to make my shirt professional I decided to pair it with a skirt I had from a skirt suit. The skirt was a too long for my short legs so I hemmed it by 4 1/2 inches.
dscn0627
dscn0630
I also had to hem the lining of my skirt.
This also looks super cute with a pair of jeans for a casual look!

Happy Refashioning!!!
Check out my stash of refashions on my blog:http://therefashstash.wordpress.com