Showing posts with label Novenas. Show all posts

Saturday, June 13, 2015

Old Onesie to Custom Tee

This refashion is not one for the runways, but was certainly fun and definitely practical.

I swear my son grows nearly an inch every day, and sometimes right before my eyes. He is also a pretty messy eater who refuses even the coolest bibs. Due to this, I had quite a few too-small and quite stained onesies laying around.


I used the fold-and-snip method to cut the sleeves and the bottom portion of the onesie.


Don't forget to snip out those pesky tags while you have scissors in hand!


Now, you could stop here and have yourself a nice pile of white tees for your kiddo (and some scraps for a future pillow).


  But we were feeling adventurous that day so we stuck our tees in a bath of Dylon Bahama Blue dye!


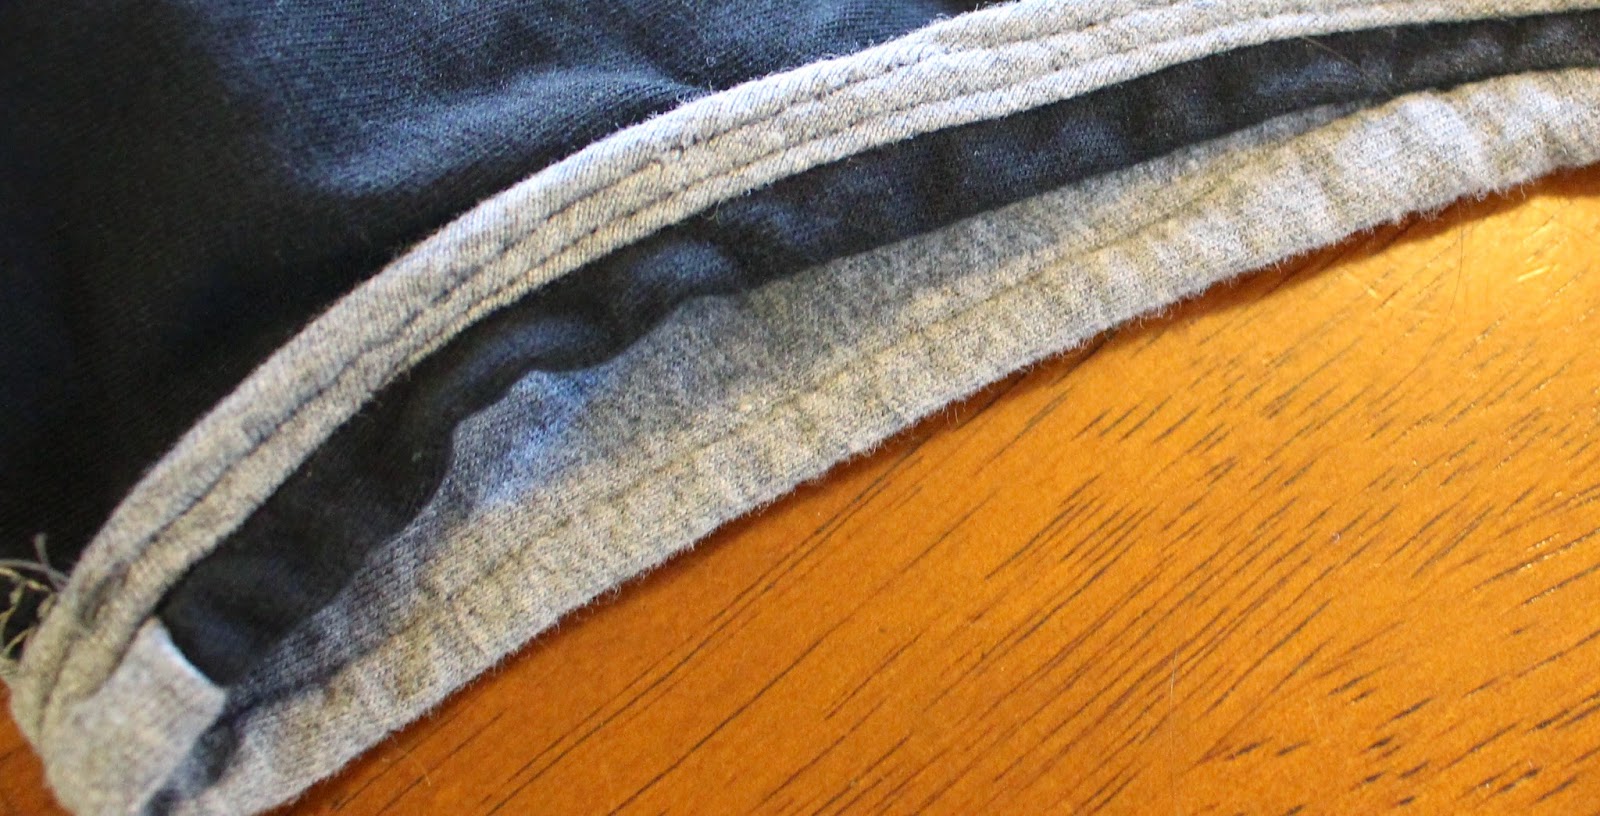
While the blue dye covered up most of the stains on the shirts, it unfortunately did not cover old syrup stains very well.


But this t-shirt and all the others are still wearable. You could technically stop here with the refashion. But since we were still feeling adventerous, I busted out the Tulip Fabric Markers and let the girls go to town.


 And now little brother has some custom t-shirts for wearing for pajamas and wearing around the house. He really loves them and the girls were so happy to make something really cool for their brother!!! We hope you enjoyed this refashion as much as we did. Thank you for reading.


Thursday, May 28, 2015

Purse to Wristlet

Hey everyone! I've got another simple refashion to show you today. A few years back my Mom gave me this here wallet purse. It's my absolute favorite. It fits all of my "junk" in such an organized fashion and comes with removable/adjustable straps so you can wear it as a purse. I just love it so! It usually stays in my diaper bag, but on the rare occasion when I get to travel light, I just take my nifty purse!


Unfortunately, most every time I tried to use it in this way, the silly hooks that hold the straps on would come loose!!!  So to save my favorite wallet (and my sanity) I decided to improve on it's design!


My first step was to trim the purse strap to wristlet length. By doing this, I also removed those pesky clips.


In this picture I am checking the length prior to sewing.


I used my rock-solid Rocketeer to sew this. She is a lot more forgiving when sewing thicker items.


I had to sew the straps sideways to get traction from both feed dogs.


I sewed MANY stitches back and forth to make sure the straps could withstand the weight of the wallet. I also singed the edges of the straps with a lighter to make sure they wouldn't fray over time.


And there you have it! This wristlet wallet is now completely functional! Thanks Mom, and thank you all for reading.


Friday, May 22, 2015

Dust Catcher to Wardrobe Staple

Hello! I completed this refashion a few weeks before joining Refashion Co-op, but still wanted to share it with you. I did not get a good before picture, but I did keep my scraps--so use your imagination!


I originally bought this shirt at the thrift store without trying it on. When I got home I found the arms to be a bit too tight...womp, womp. So the shirt sat in my closet for a long time, sad and unworn. Once we moved to warmer climates, I found myself in desperate need of tank tops. So I grabbed this shirt out of the closet. What did I have to loose?

I began by cutting off the arms. I then folded the fabric over twice and sewed a new hem using gray thread. Nothing fancy here folks.


But the result was great!


This tank fits me well and is neutral in color so it goes with just about anything. Since the fix, this shirt has gone from dust catcher to wardrobe staple!

Thanks for reading!

Friday, May 15, 2015

Metamorphosis of a Dress

Hello! My refashion for today is of a dress that was given to my daughter when she was just over a year old. Here she is wearing it!


The dress was so small on her back then that I had to tie a ribbon on the straps to get them to stay up. This was before I learned how to sew. :)


A few years later when both her and her sister had grown out of the dress, we cut the shoulder straps off and made it a maxi skirt.


Now the waist is too small for both my girls, so it's time for the next stage in the life of this dress. Instead of cutting off the ruched area, I decided to use it as my new waistband. Not only did I save some of my precious elastic, but I saved the existing pockets that my girls just adore. They love being able to collect leaves, rocks and flowers and put them in their pockets. Mental note: check pockets before washing!


To create my new waistband, I cut a small slit in each side of the ruched "waistband." I  then measured and 1.5 inches from the top of the waist all the way around, using pins as a visual guide for where I would eventually sew.


I sewed the faux elastic waist with a lightning stitch, and although it looked great, the skirt was still missing something. So I went to my stash of goodies, and found a scrap of ribbon I have had for YEARS. It complimented the colors of the skirt, is one of my daughter's favorite colors, and it is sparkly. 

I call that a WIN-WIN-WIN.


I tied a pretty bow and seared the ends with a lighter. I then marked the front/center of my skirt with my favorite sewing pen and sewed it on.


Here it is! Five years old, handed down twice and refashioned three times!


The girls just loved it! Thanks for reading.

Friday, May 08, 2015

Simple Refashion of a Boy's Shirt

Hello everyone! This is my first post as a contributer to Refashion Co-op. I have been following this blog for about a year now. All of your hard work is truly inspiring! Thank you for all that you do!

For my first refashion, I decided to do something very simple. We just recently moved to a warmer climate and found some of our clothing suddenly less useful! My husband and I happily packed up our sweaters and coats. But what about the kid's clothes? By the time we see another winter they would surely be too small!

With this in mind, I grabbed one of my son's long-sleeved shirts from his closet. He looks great in this print and it is in like-new condition, but the sleeves are long and therefore too uncomfortable to wear when the temperatures hit 90 degrees.


To begin, I placed one of his well-fitting, short-sleeved shirts on top of the refashion shirt to give me a visual guide of where I would need to cut the sleeves.


Once I determined the desired length, I measured, marked and cut each side. I gave myself ample seam allowance to turn the sleeve over twice as this kind of fabric would fray after washing.


With the shirt inside out, I made my first fold on the sleeve at about a 1/2 inch, followed by a second fold of a 1/2 inch. Instead of pinning, I pressed both of these seams while I was folding them. I find pressing seams makes sewing a breeze and also makes the garment look more finished. After pressing, I sewed the seams with the shirt inside out. 

Here is a close up of the finished sleeve.

Inside out:

Right side out:

And here is the finished product!

This project took me less than 30 minutes from start to finish, and now my baby boy will have a "brand new" shirt to wear to church on Sunday. I hope you enjoyed my simple refashion. Thank you for reading!