Showing posts with label dress. Show all posts

Wednesday, June 17, 2020

Tie-Dye Loungewear

Hello Refashion Co-op. I liked the colors of this tie-dye dress but the fit was pretty sad.

I decided to make a 2 piece outfit. I used a pattern and cut out the shorts.

I added a waistband to the shorts.  It was cut off a sweatshirt a long time ago.

I made the top of the dress a little more narrow and I had a matching shirt and shorts.

For more pictures and details go to I Can Work With That.

Tuesday, July 01, 2014

Re -Refashioned Dress To Top

Original dress - these are widely available at my local Goodwill

Originally refashioned a few years ago to this summer dress that I probably wore a few times

I recently refashioned the dress again,  to this top with new pleating and belt loops


Back view - I messed up here - so I replaced the print fabric from a scrap that had leftover from another project


Belt loop detail 

Thursday, January 30, 2014

Spruced up!


Spruced up!

Hello and happy Chinese New Year!!

I found this cute red dress which said it was my size, but it wasn't. I bought it anyway (that's what's sooooo good about refashioning!)

Slightly too everything...

I popped it in a tub of dye - Rosewood Red from Dylon to give it a less tartan-y and deeper and richer feel. I know, it's still pretty damn tartan-y...


Way too long


I then popped it on a dress form and brought it in, there was a side zip thank goodness - and raised the hemline.


It was just a little spruce, but it made all the world of difference. It will now get loads of wear instead of being looked over because it's wasn't quite right.

You can see the full details here..


Thanks for reading!
☽AliceSaysNo☾


\

Thursday, December 05, 2013

Re-Refashion: Star Trek Romulan dress no more!

Remember this refashioned sweater dress I made last month? After wearing it out I decided to reduce the bulkiness of the Star Trek sleeves. I used some remnant grey cotton knit in my stash as facings and cut back the sleeves to a more manageable size. Here is the before:

And here is the after:

I think the dress looks less Romulan but more Uhura!! :-) What do you think?

Tuesday, November 19, 2013

80's Power Dress to Batwing short dress

I thrifted this large 80's 100% pure virgin wool jersey dress from my local thrift store for a few dollars. I liked the forest green colour and I liked wool jersey. I also liked the gold button details on the shoulder. The only problem was that I didn't examine the dress too closely and only discovered later that there were many moth holes on the dress!

After removing the shoulder pads and doing some quick hemming and narrowing of the dress body as well as moth hole repairs, this is the resultt:

Friday, July 26, 2013

Rose-print summer dress - from curtains!

Curtains are wonderful for a couple of reasons:  they block out the light and they make fabulous dresses!

So I found some curtains in a charity shop and bought them with a view to making a dress.  I wasn't too sure what kind of dress, but it was to be a dress all the same.

And then it dawned on me - I already had a summer dress that I loved, so perhaps I could make something similar...


Ah yes, it appeared that I could!

I altered the top to give it more shape and added a waistband too.


For more details of this and other refashions, feel free to pop along to my blog at:


Happy refashioning!


Monday, May 27, 2013

Serendipity Dress

Ever have a project that just won't work? You've tried everything you can think of, but nothing works. Nothing. This is not that project. (That project has been tossed into the "bag of failure" and may never see the light of day again.) This project turned out almost exactly as I imagined it would. I know. I was shocked too.

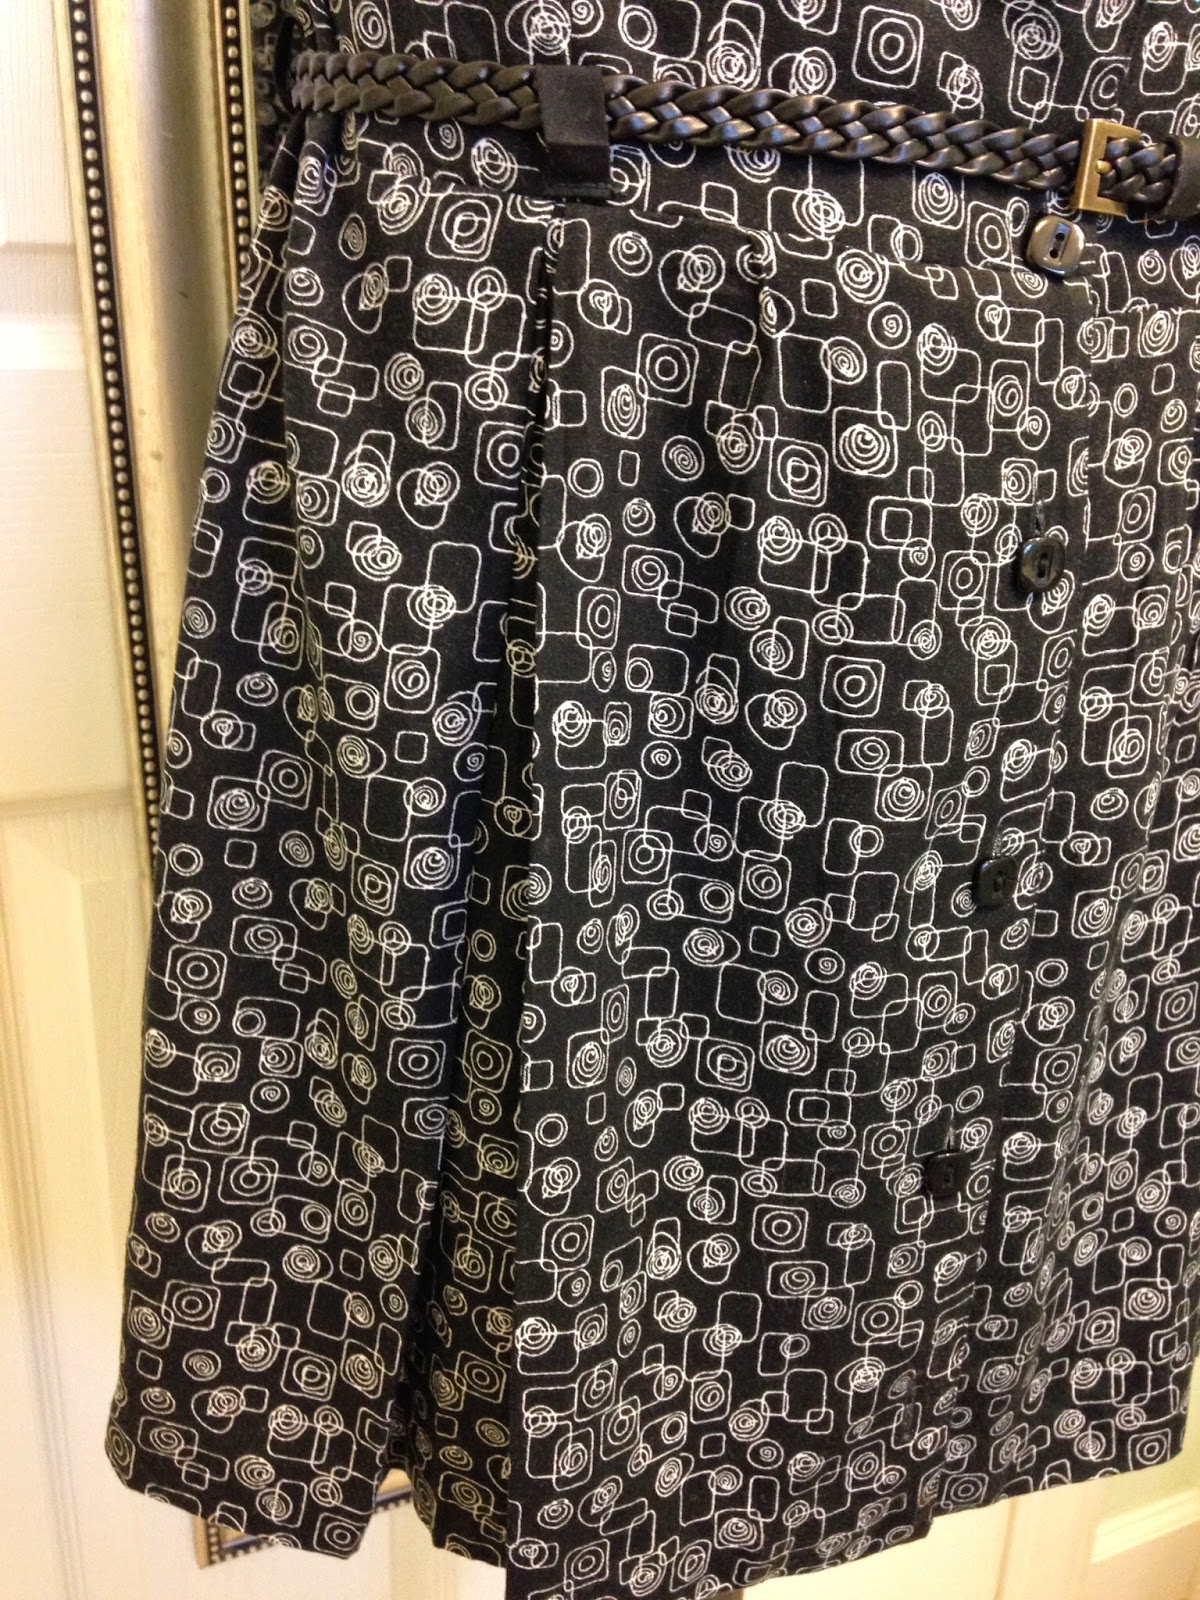
I started with an old dress I picked up in one of those $10/bag sales I like so much. It had a fabulous print, but a horrible shape. With a little inspiration from the internet, I knew what I was aiming for.

Meh...

Since I had plenty of fabric to work with, I ditched the seam ripper and reached for the scissors. I removed the sleeves, collar, and the button closures down the front. Then, I cut the dress in half, altered the neckline, and started fitting the top of the dress to my dress form.

Snip, snip, snip...

Next, I used a tutorial from the Renegade Seamstress to create the ruffly part around the top of the dress. I lined mine in lightweight black cotton so it wouldn't have noticeable seams.

Ruffly thing in the making.

After attaching the ruffly things, I reattached the button closures to either side.

Getting there.

To finish off the area around the new neckline, I used the ends of the sash belt that came with the dress originally. I pinned the pieces of belt around the neckline, and sewed them on. Then I flipped the piece of belt down to make a little collar.

Because a popped collar just won't do.

I used the rest of the belt to finish the front edge of the top, and some wide bias tape to finish the elastic casing in the back.

More and more sewing...

Before reattaching the bottom half of the dress, I added a few pleats to remove the bulk around the waist. I also lined it in the same black cotton I used for the ruffly things. Then, I sewed the bottom and the top of the dress together, ran some elastic through the casing in the waist, and finished the arms off with some bias tape.

New favorite dress!

The refashion went off without a hitch. And boy, was I surprised! Someone has a new favorite dress for the summer.


 - Elizabeth
   aka The Hungry Octopus

Thursday, April 04, 2013

Nun dress to Party dress!!!

From a nun-like mock neck long dress:

After some chopping and safety-pinning.......

To a year 2011 party dress!!


Thursday, January 03, 2013

Dress refashion

For my daughter's 8th birthday, I have resized adult thrifted dress into kid's friendly version, plus one tutu, one skirt with lace details and few "wings" from old nightie... and one huge bow that she put on a head band.

Doesn't she look lovely, my big princess....


and here is her little sister trying it out:


bye bye to old unwanted clothes:


Happy sewing my friends
Love Jana

Wednesday, December 12, 2012

Bling up that old dress

Is this considered a refashion or a restyle? This casual ponte knit dress was drafted and made in late 2009 when I entered Pattern Review's Wardrobe Contest:
I bought some jeweled clips and brooches years ago when my local fabric shop was getting rid of them at bargain basement prices. I just clip them in different places and the dress turned into this:


So I think with the right makeup, hair, shoes, festive shawl and jewelry, this could be work as a  casual 'cocktail with friends' dress. What do you think?

Sunday, August 19, 2012

Mens Shirt to Dress Refashion

Hello again!  This is Erinn from Sticky Genius, here with my second contribution to this wonderful community.  I really enjoyed all the positive feedback I received from my Jeans to Skirt Refashion post.  Thank you so much for such a warm welcome.

This is probably my second favorite refashion.  My same friend who gave me the jeans in the previous post also gave me two shirts like this:


The other shirt was identical to this only in a lighter blue.  I forgot to take a before picture of the one I refashioned, but you get the idea.  The blue one also had the same cool lining (just in blue).  As you will see I made use of that as well.  The two layers were connected, though, so you could not separate them without destroying the fabric.


Here is the finished result!


I used a lining for the top.  I had some hemp linen on hand and used that.  The piece across the midriff is also lined.  I found that on the remanent rack at Joann and it suited it nicely.  I used the inside lining of the mens shirt for accents on the sides and in little places to cover seams.  I sewed the button holes closed and added the sleeve plackets in different places to hide seams or just add style.  More details can be found on my blog.


I believe there are a few other refashions in the same post and also some of my newer bags.  I don't sell my clothing, but I have a small business making bags, hence the name Sticky Genius.

Thank you again for including me and for giving me such a warm welcome.  I hope you like my refashion!!


Wednesday, August 15, 2012

From Frumpy to Fab!

The project I'm going to share today is actually my second project.  I'm so excited about it I couldn't keep it under wraps.  So I bumped it to the front of the line!  Here it is... check out the before:
 
Before

I started by chopping off the top portion of the dress, folding over the raw edge and stitching it up.


After I pressed the newly sewn seam, I turned the piece upside down, stepped into it and tied it at the shoulder.  This caused the hemline to become asymmetrical, which was all part of my plan.  I added a belt and voila!  This piece went from frumpy dress into a hot little number!


Before & After:


Check out the full version on my blog Refashion Forward. :)

-Laura M.
refashionforward.com